How to give a Monochrome Effect into your Photos using Photoshop | Step by Step Guide
Today I will show you some guidance about how to make a Monochrome effect into your photo using Photoshop.
First Open Photoshop and click Ctrl + O or open the photo that you wanted to give the effect in Photoshop. For example, I'm using this photo:
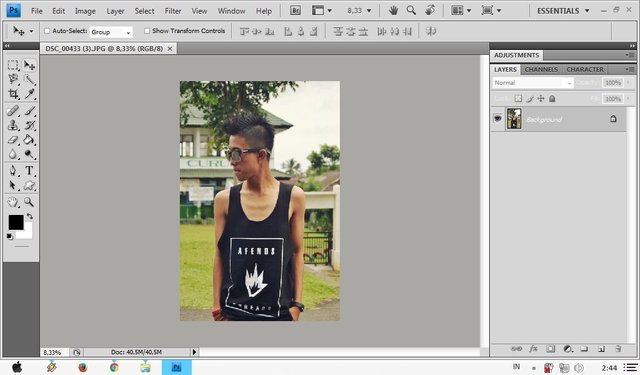
image sourceAfter that duplicate the background/photos you select earlier with CTRL + J (right-click on mouse and select duplicate layer)
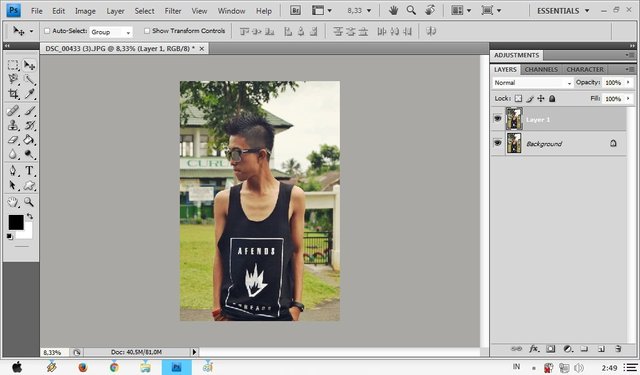
image sourceIn the duplicate image/photo, give or set hue/saturation by click on the menu bar, select image - adjustment - hue/saturation then click on yellow then set its saturation to 72 (can be set according to your wish).
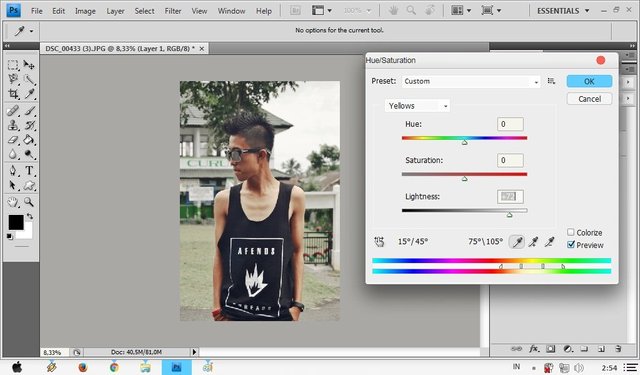
image source
on the green option set its saturation to be 72 (can be set as you want), then click OK
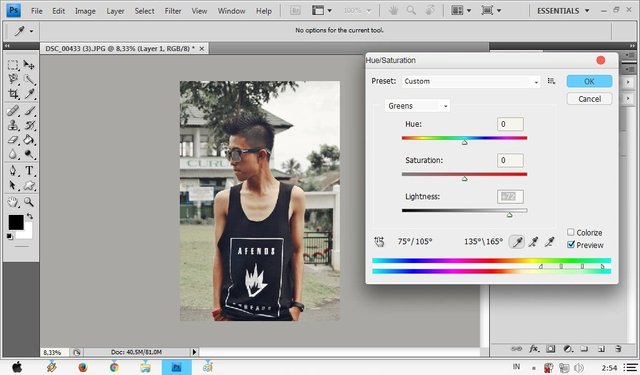
image source
And right after, we can see the changes in our photos.
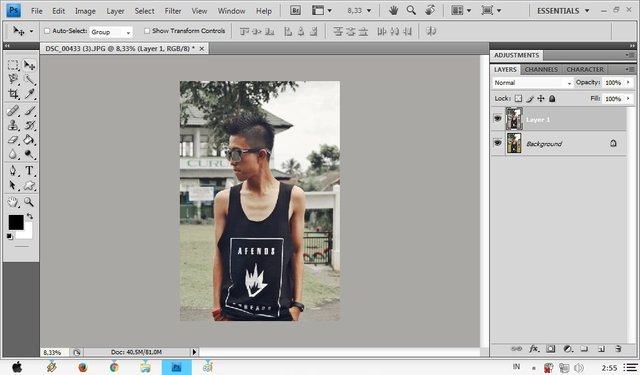
image sourceDuplicate back the photo that you are editing. Then in the duplicate image (Layer 1 copy) give effect black and white ( image - adjustment - black and white / CTRL + ALT + SHIFT + B ), then click OK. After that the photo will change to black and white, then change mode Normal to the screen (located above the layer) and set its opacity according to your desire.
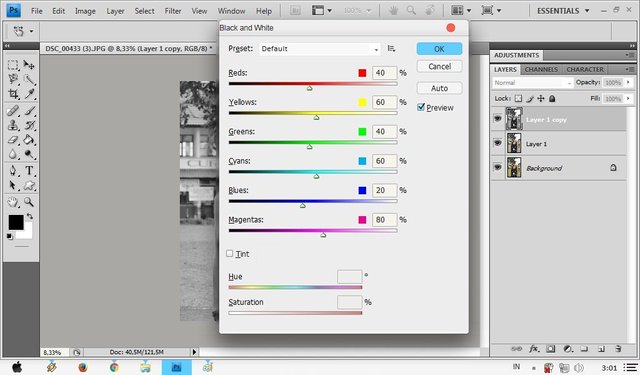
image source
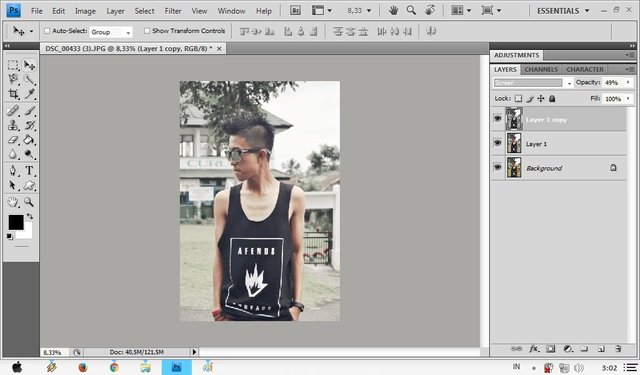
image sourceDuplicate again the layer 1 copy (CTRL + J)
Then In layer 1 copy 2 , set the screen mode to linear dodge (add), and set its opacity to your desire.
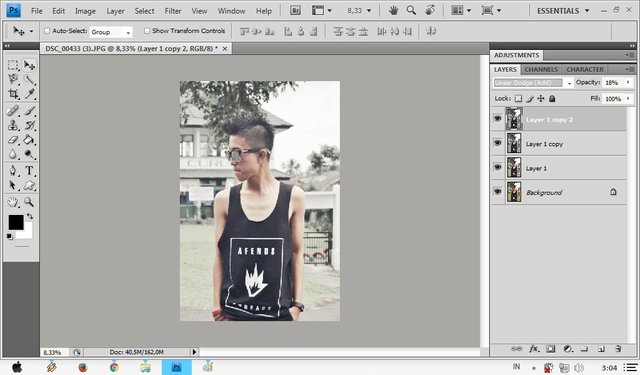
image sourcePut all the layers from the bottom to top by clicking on the top layer (layer 1 copy 2) after that click CTRL + SHIFT + ALT + E and the result will be layer 2 as below.
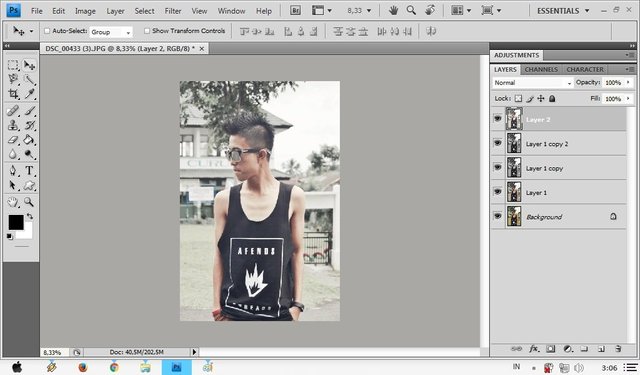
image sourceIn layer 2 click on the channel tab, if it is not in the right corner, pop up its channel by clicking on the window in the menu bar and click find the channel, if its channel appears, go to channel tab, and select all layers by CTRL + A, then click GREEN menu and click CTRL + C (Copy), then click BLUE menu. After that click CTRL + V (Paste, then when it finished, click the RGB menu to see the changes in the image, to eliminate the selection line click CTRL + D. If you're confused, just follow the steps below.
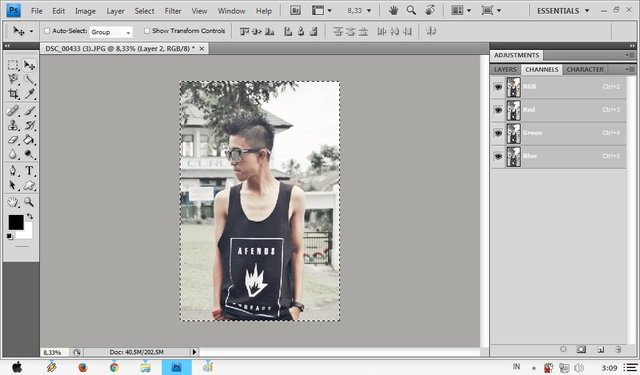
image source
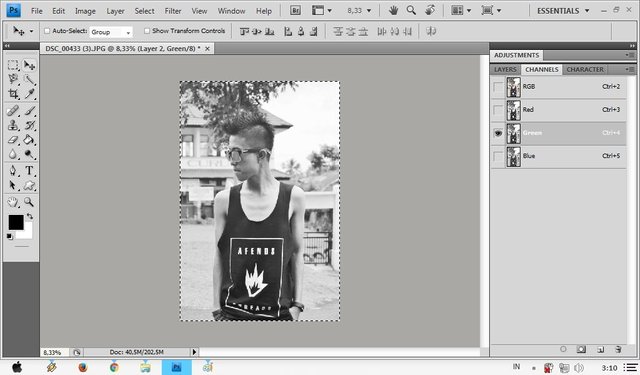
image source
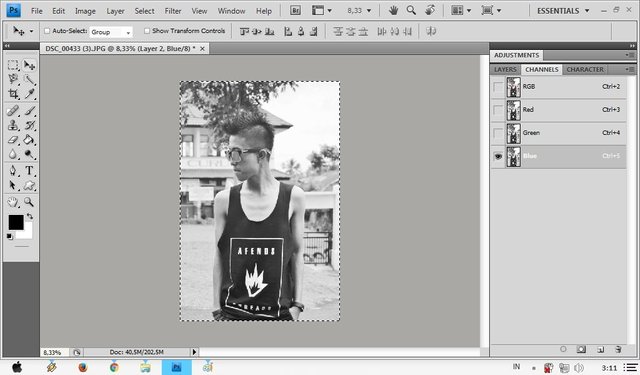
image source
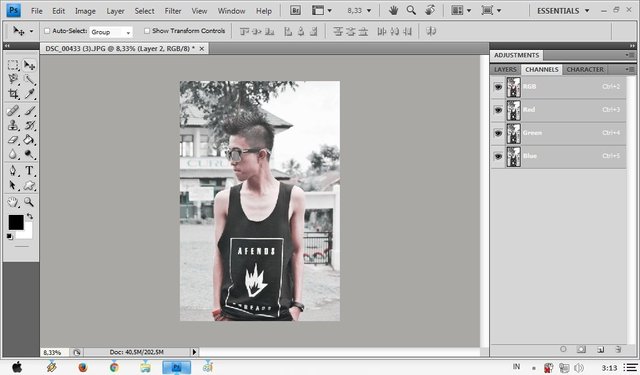
image sourceGo back to the layer menu, and set the curves for the lighting and sharpen the color of the photo.
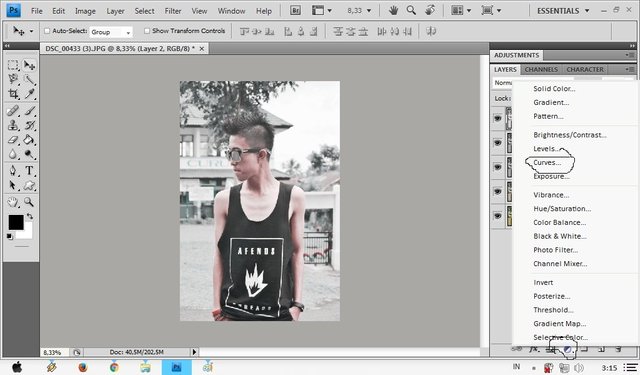
image source
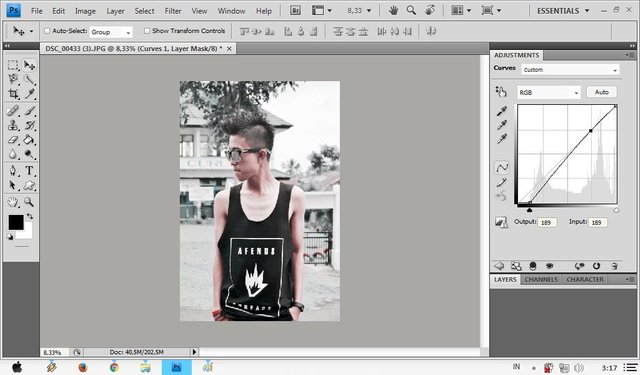
image sourceAnd it's all done, here is the final result.
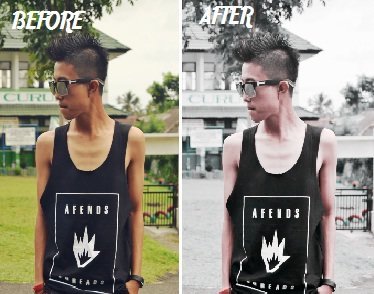
image source
Thank you for stopping by and reading my post. I hope it's useful for you and you can follow it right away.
all fine but you're left with too much magenta in the end, I would use the hue or selective colour to turn the magenta more natural skin colour while keeping it desaturated as it is.
Nice guide!!!
dope! thanks for the info :)
Congratulations! This post has been upvoted from the communal account, @minnowsupport, by vernando from the Minnow Support Project. It's a witness project run by aggroed, ausbitbank, teamsteem, theprophet0, and someguy123. The goal is to help Steemit grow by supporting Minnows and creating a social network. Please find us in the Peace, Abundance, and Liberty Network (PALnet) Discord Channel. It's a completely public and open space to all members of the Steemit community who voluntarily choose to be there.
If you like what we're doing please upvote this comment so we can continue to build the community account that's supporting all members.