Basic techniques for painting miniatures and helpful tools!
This will be the post I will most likely put as a link on every following one I do for miniature painting. That way everyone that is interested in how I painted a certain mini in one of my step by step posts, can get a better understanding of the techniques and tools that I used.


Lets start with my work station
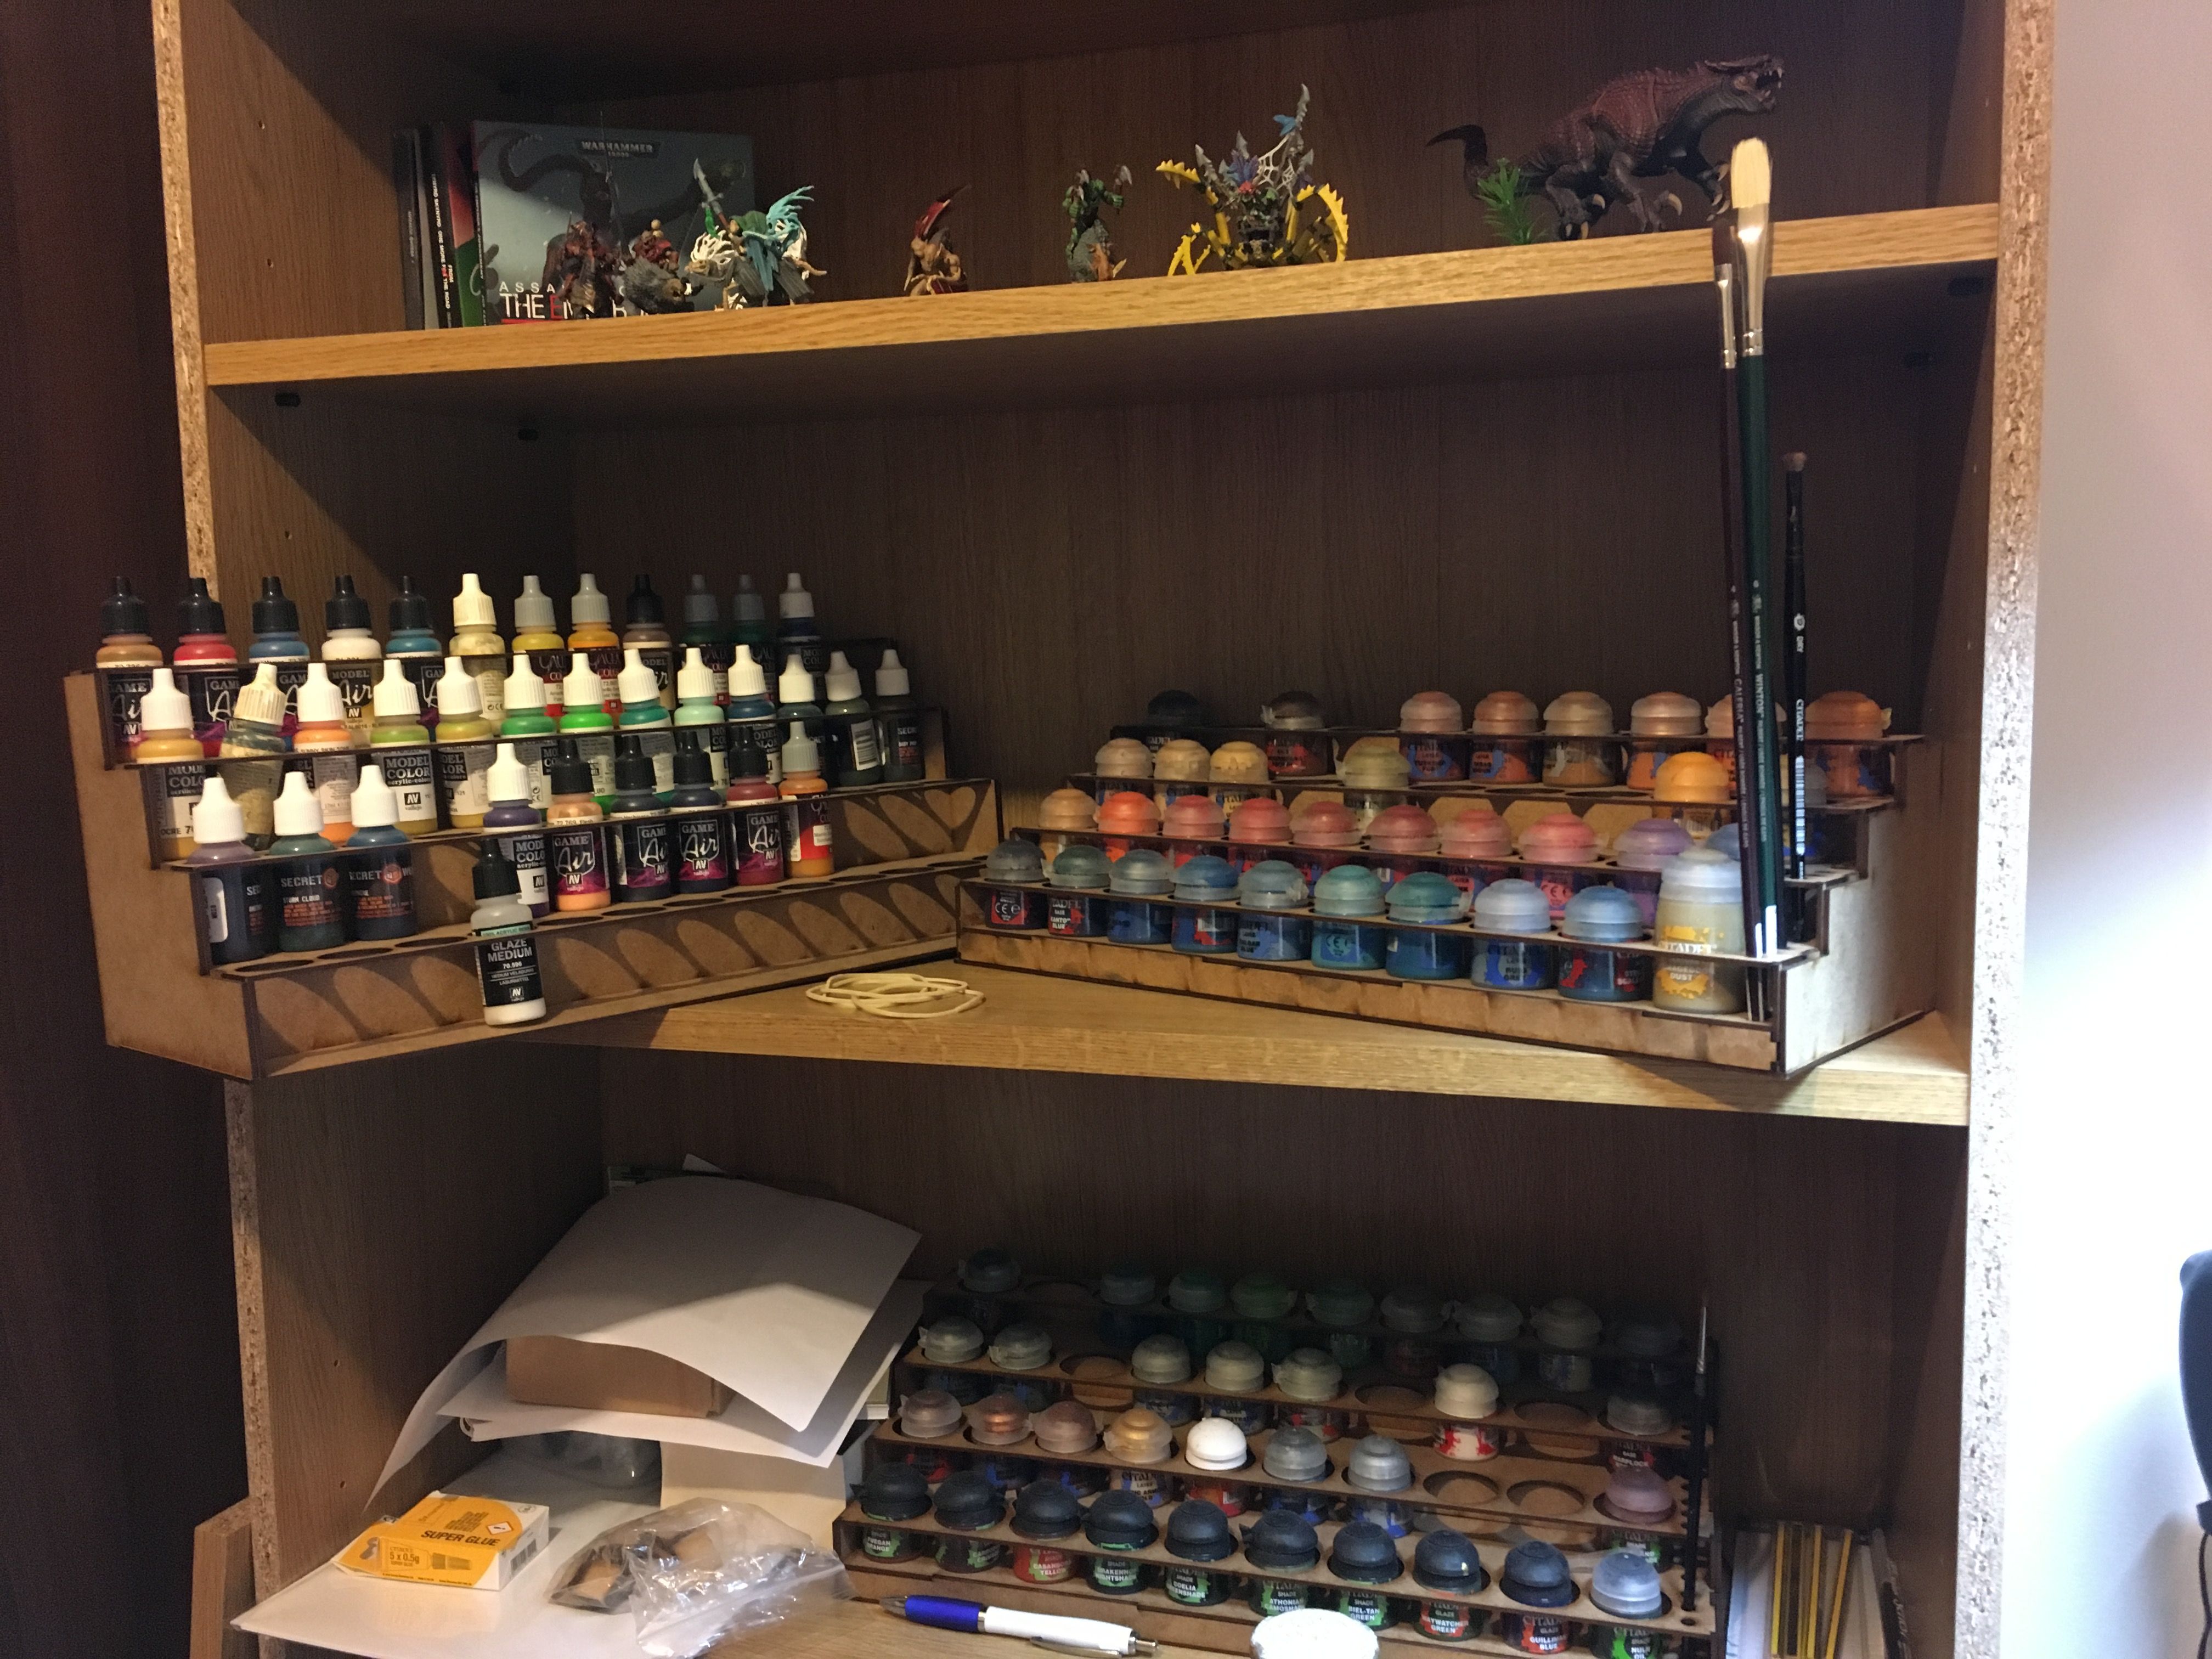
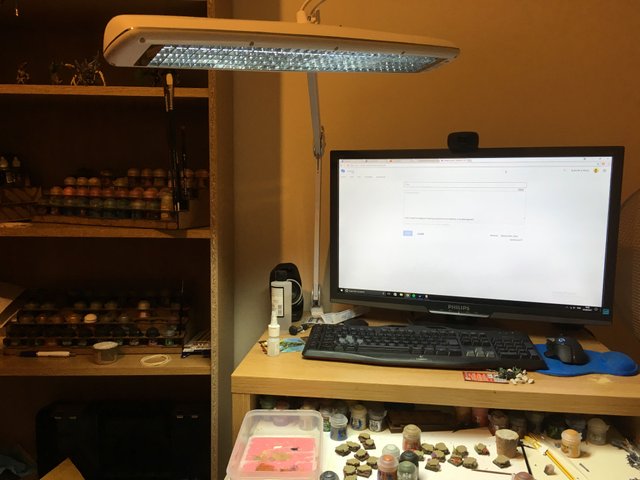
My setup is very simple since my space is very limited. Got my paints on the side as well as my box filled with tools and materials. My compressor for my airbrush is under the desk too and I use my PC desk to paint. It isn't the most comfortable since it isn't very spacious but It works alright and I have easy access to references that way.. or can watch a TV series while painting.. why not? Another thing I added recently is the Triple Bright Lamp which made my life so much easier! Don't use it with a second light source as you see now in the picture though (I am just lazy and didn't bother switching off my rooms light for the second picture of the desk..).
As for paints, you can see on the picture I have mostly Games Workshop and Vallejo paints with some secret Weapon washes out there on the shelf. Not that I don't like other brands I just used these since I started the hobby and am most comfortable with them.
I use a wet palette since I work with acrylic paints and they tend to dry really fast. Mixing and deluding is so much easier with a wet palette. I will make a post about how to make one yourself very soon.

Lets jump straight into the techniques
Now first things first preparing a miniature for painting is a very important step. Cleaning the plastic mould lines that some of the plastic figurines have isn't essential but is recommended if you are about to do a better paint job. Washing a resin or metal miniature with soap and warm water (not hot though.. especially resin miniatures) helps out with the spray paint setting better on it. And then the spray paint itself. We can't just start applying acrylic paint coats on top of the plastic or metal. We need a solid undercoat before that and there are plenty of choices there. Many colours and brands. Just make sure you read the back of the can and use it properly so you don't ruin your model with the spray (using it in a cold or very warm weather, or spraying too close might leave you with a pretty bad experience).
No matter what techniques we use for painting a miniature you will need to base coat it first. That means applying the base colours (usually mid tones from which we can work with highlights and shadows after). They are usually painted on with thicker layers but most people make the big mistake using their paint way too thick. Now this might leave you with a very harsh finish which will ruin the details of a figurine. It is always better to delude your paints even thinner than what you might need because you can always go back with a second, third coat and so on until you cover everything evenly. In fact 2-3 coats of a base colour are exactly what you need. The way to dilute paints is very easy, just add some water to it on your palette and that's it (play around with the consistency and you will find our for yourself how much you need in time). Once we have that set and done we can proceed with the more interesting work and add some different techniques to the mix.
Glazes and Washes
People don't really understand the difference between these two and the one's that are strongly involved with Games Workshop usually understand the word washes a bit different since the GW paints have a full range of ink washes which every beginner uses in their paint jobs. I used them quite a lot too when I first began and they do help out a lot.
The difference between these two is the consistency of the paint. Glaze is a very diluted paint that is usually applied in layers so it can unify colours or make very smooth transitions between highlights and shadows. Wash is even more diluted paint (very often pre-made washes have an ink base added to the pigment) that pools into the recesses and goes in places where the shadow will usually drop. Games Workshop's ink washes are pretty good for this but some of them, when they get a bit old leave quite a glossy finish. If you delude your paints yourself with water you have a bit more control or at least I feel that way.
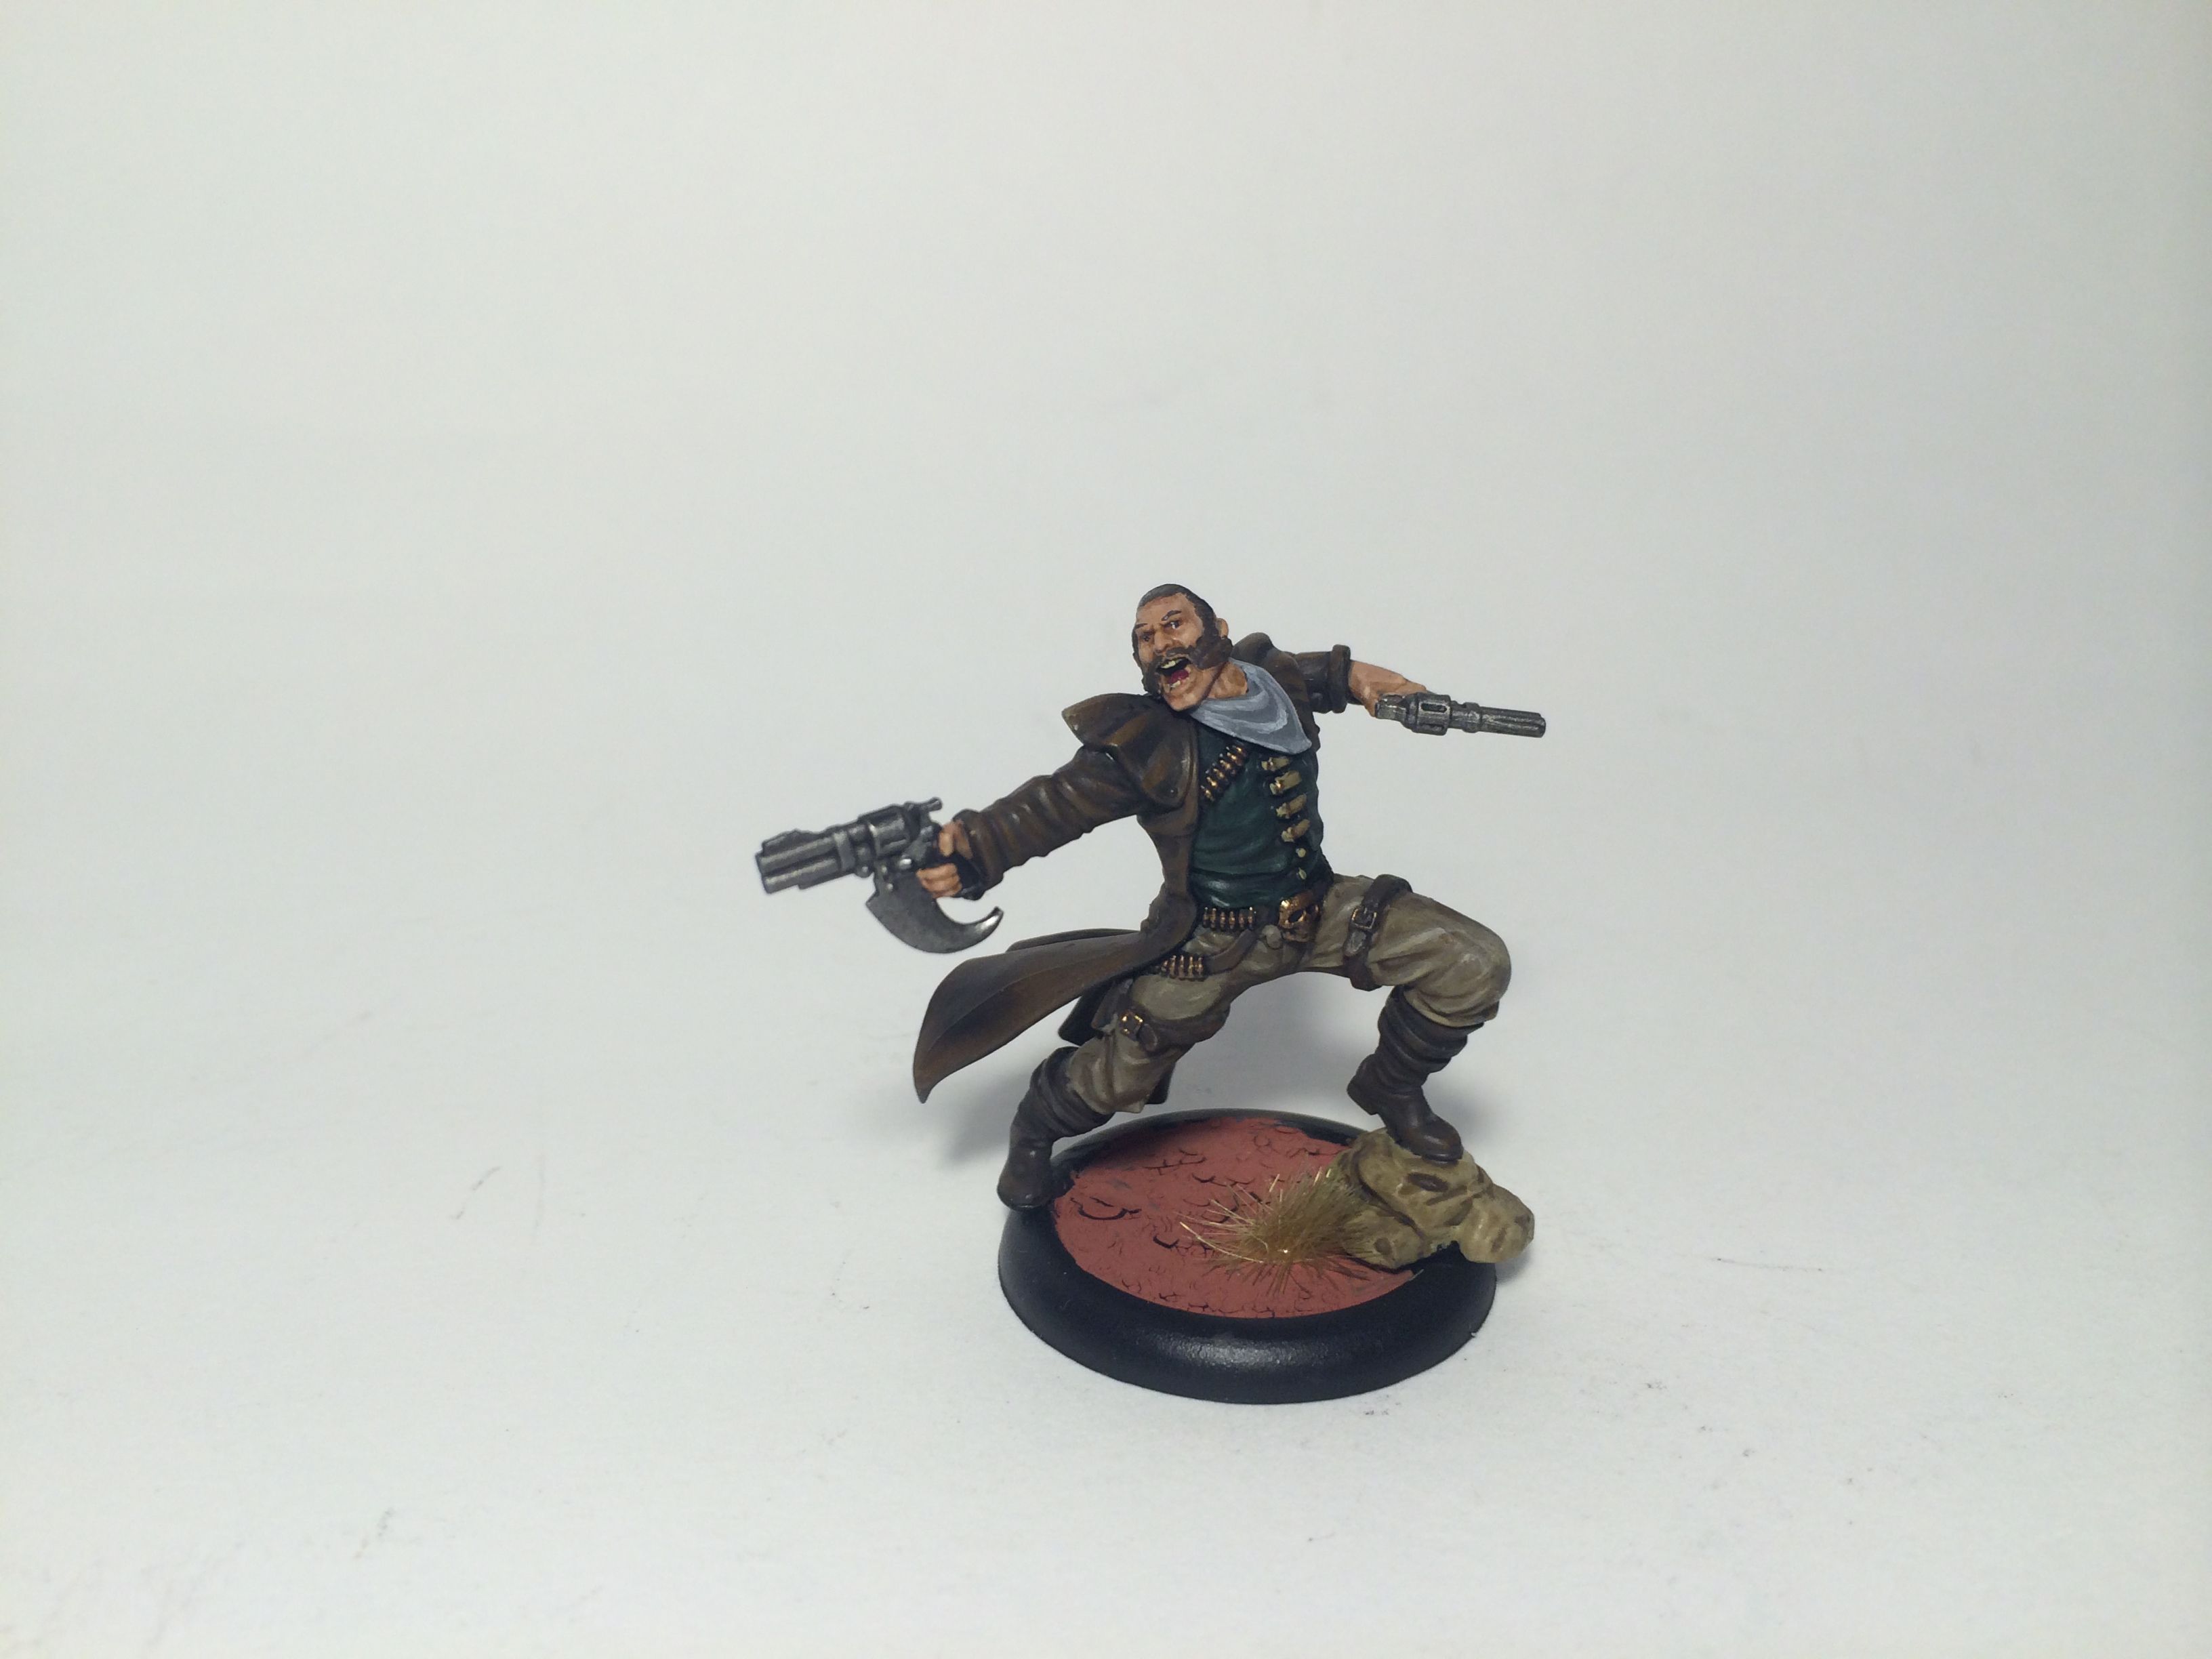
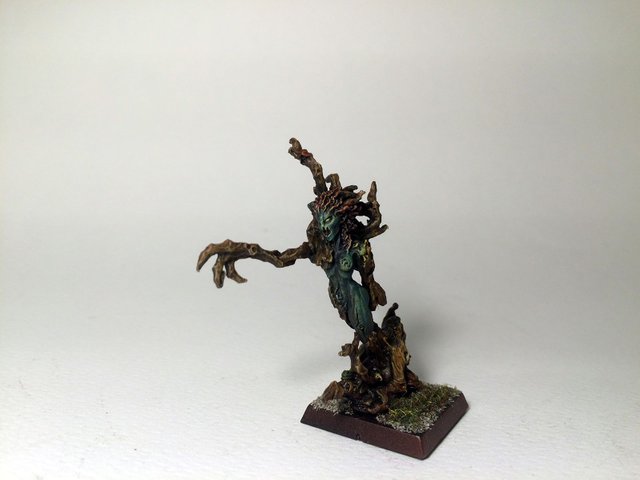
On this one I used quite basic techniques with quite a bit of ink washes. Base coated it in the mid tone colours then ink washed it waited it to dry and highlighted with thin layers but not as thin as a glaze would be. I painted this one for an old workshop I did showing beginners how to use GW paints back in Bulgaria.
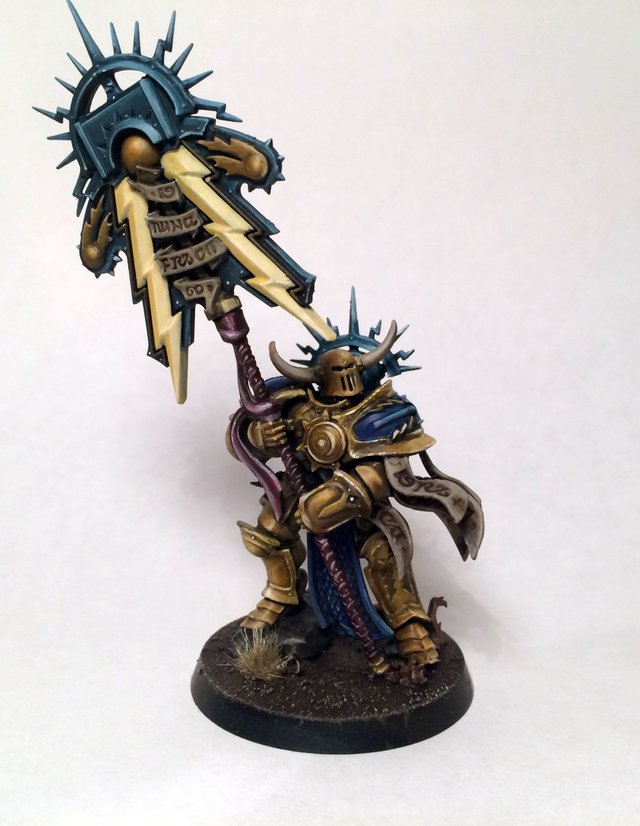
This one was a bit more recent and it was made mainly with glazes and strong pure white highlights to bring the contrast for that non metallic metal effect.

Another one I did with glazes. I tried something different here and did the shadows a bit orange as it is a complimentary colour to the blue. You can see how much smoother the transitions are this way where they are a bit more harsh with the normal ink washes. Strong contrast isn't bad at all though.
Dry Brushing
Everyone's favourite beginners technique (was mine too). Why do people like it? Well it is fast, easy and doesn't look too bad. I used this technique so much for the first year or two of my painting "career". I used it in many different ways though since it can be a diverse technique . It is quite simple.. all you need is and old brush - preferably flat. What you do is you dip your brush in the paint (well dip is a bit too much maybe but you need some good amount of paint on it) and then you wipe it of on a tissue until it is.. well almost dry as the technique implies. Then it is all up to you. You can go with light brush strokes or dotting effects or simply go hard on it and even make smooth blending mixing dry brushed colours. I've done it all. There was a speed painting technique I used very often on some commissions where I used dry brushing just to add value colours and then use a glaze on top to unify everything giving such an interesting finish.

The fire here is made just with one base coat and then dry brushed lighter tones of red, orange and yellow.
This is the technique I talked about - dry brushing before adding the base colour with a glaze. It is so fast and looks so nice in the end. I finished this whole miniature in less than 20 minutes.
Wet Blending
Wet blending is maybe a bit more advanced but it is forgiving as well because you can use a 'glaze medium' or an acrylic retarder to make your paint dry really slow and give you a lot more time to work with. Once mastered is one of the best ways to make smooth blends fast and easy and all you need after is a few glazes to give it a really nice finish. The way it works is you apply two or more colours and mix them on the miniature itself. They must be wet but not too thin or use a glaze medium or acrylic retarded mixed on your palette with the colours you are using. You go back and forth between the colours on the miniature itself until they blend together and have a smooth transition.

Here I have started sketching using wet blending on the skin and wings. It is far from finished but you can see the transitions which will give me room to add on highlights and shadows on top of that and smooth everything out with glazes at the end.
Combining the techniques together
Every good painter will use a lot more than one technique in his work. Everything has it's own place and time to be used and you have to find a way to implement these in your own style. A lot of painters alter these techniques into new ones while mixing them up and coming up with new ways of painting - making it more comfortable for them. I do use most of these above in different situations and still experiment with them adding them in certain ways to my own style of painting.

Here for example I've used wet blending and glazing quite a bit. Later on I used some washes for the wing as well. All of the different techniques work together once you know how to combine them. Experiment and paint on!
Watch other peoples work and tutorials too for inspiration and to find different ways of bettering yourself. Once you find something you are comfortable with start adding up to it until you can use all sorts of different shenanigans depending on the situation and what you want to achieve. This doesn't mean copying others, simply learning from the once that are better and try and exceed their level!
That's bananas, I won't be able to do like that! :d
Practice :P
These are a dream come true..I used to wonder how people make those detailed models and now its right in front..Thanks to @Steemit and of course you Mr. @george-topalov..Much respect..!
Thank you very much! :)
This post recieved a vote from @minnowpond. For more information click https://steemit.com/steemit/@minnowpond/boost-your-rewards-with-minnowpond
This post recieved a vote from @minnowpond. For more information click https://steemit.com/steemit/@minnowpond/boost-your-rewards-with-minnowpond
This post has received a 2.83 % upvote from @booster thanks to: @george-topalov.
Great Post. I used to have some Lord of the Rings Figures to paint when I was a younger. Takes me back to those memories I was nowhere as good though:D
Also Id like to nominate the post in a group im in
This gem of a post was discovered by the OCD Team!
Reply to this comment if you accept, and are willing to let us share your gem of a post! By accepting this, you have a chance to receive extra rewards and one of your photos in this article may be used in our compilation post!
You can follow @ocd – learn more about the project and see other Gems! We strive for transparency.
Thank you! I do follow ocd and accept the nomination. :)
@george-topalov got you a $1.64 @minnowbooster upgoat, nice! (Image: pixabay.com)
Want a boost? Click here to read more!