How Outlook Junk Email Filter Would Junk 50Emails Per Day
Email addresses under this tab are treated or considered as safe. The messages form these emails mentioned here will never be marked as spam and go to Junk folder. So if you have any email whose messages are going to Junk folder. Then you may add his email here by clicking on Add.
In recent times, spamming and getting junk emails in our ids is a daily schedule. You may get angry but you can’t ignore it. It’s a part and parcel of our life. With the help of some innovative terms named email marketing, this spamming has grown by leaps and bounds. Now with this article, I will share you the steps to use Outlook junk email filter. An inbuilt Microsoft Outlook filter, to keep a check on these email marketing emails.
I really don’t like spamming.
I hope you also don’t like spam emails too in your inbox?
I guess I am right.
But it doesn’t matter whether you like spamming or not, you will receive this marketing emails sent by various small and big firms from different corners of the world promoting their stuffs over the emails.
And that is how our internet life goes on.
This Outlook Junk Email Filter doesn’t ignore these marketing emails or let me clear it out it can’t ignore. But it does the second best thing know to us and that is it moves these marketing emails to junk folder. YYYIIIIPPPPEEE………………………………………….. :P
Hope you are happy now that you know the solution? :)
But don’t be happy before going through the step by step procedure of activating this Outlook Junk Email Filter Tool.
Steps To Turn On Outlook Junk Email Filter
By the way you don’t have to turn on this filter as by default the Outlook Junk Email Filter is turned on. You can make the filtering more aggressive if you are still getting spams. This tools evaluates your incoming emails on various factors like:
· Email content
· Links inside the email
· Senders history
· Spam authority of the linked website (if there is any website linked with that email)
So now after all this free knowledge, let’s get into the steps activate more aggressive filtering
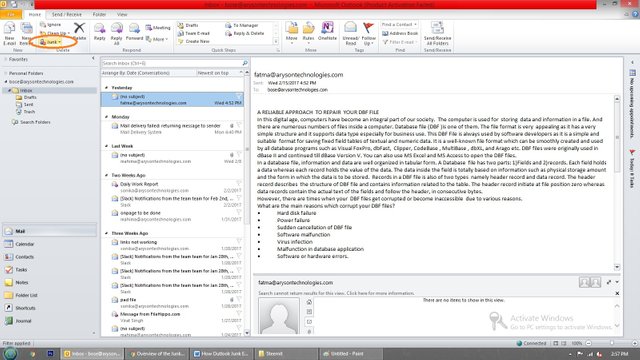
Process: Go to “Home” (Outlook Taskbar) – Junk (as shown in the below image)
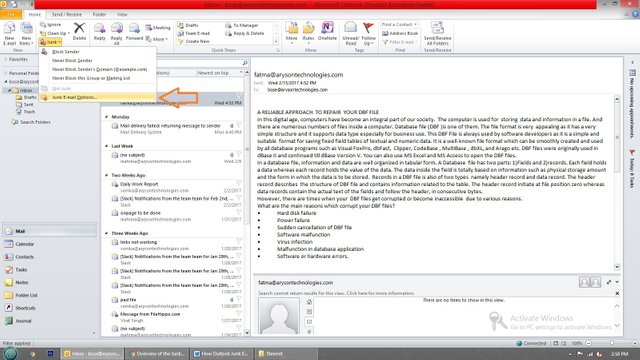
As soon as you hover your mouse on Junk, an option menu will open. Click on “Junk Email Options”
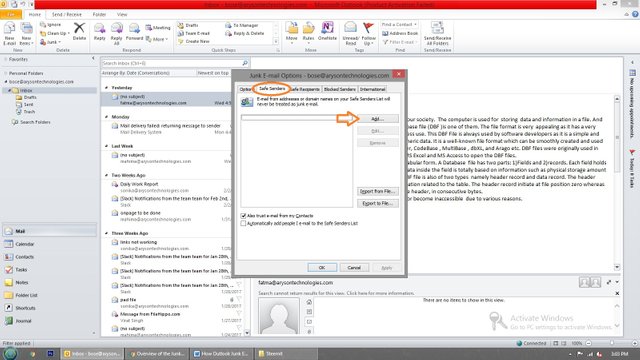
Note: By default protection level will be at “No Automatic Filter”

Now let’s go to 1st tab.
- Safe Senders: Email addresses under this tab are treated or considered as safe. The messages form these emails mentioned here will never be marked as spam and go to Junk folder. So if you have any email whose messages are going to Junk folder. Then you may add his email here by clicking on Add.
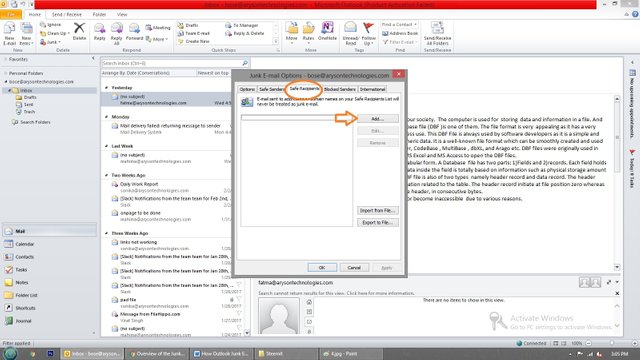
- Safe Recipients: If you are somewhere connected to any mailing list then you may add that list sender to this recipient list. Emails sent on these ids will never be treated or marked as spam irrelevant of their content.
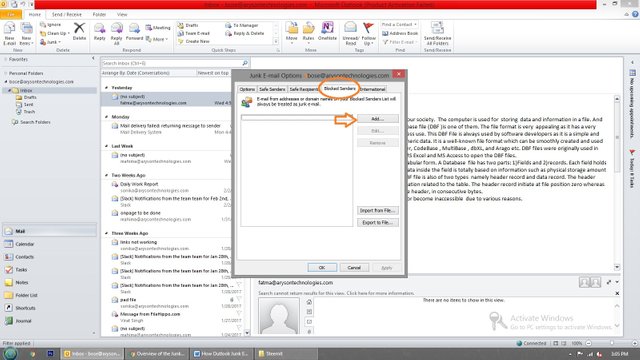
- Blocked Senders: Now comes the best part and that is the email ids that you want to be blocked or treated as spam. With the help of this tab, you can easily block anyone’s email and can direct it to the Junk folder. Here you just have to mention the email id’s or the domain name that you want to block. As soon as you insert the id or domain name, Outlook would automatically direct any incoming messages from this id’s to Junk irrelevant of their content. This is the magic of Outlook Junk Email Filter.
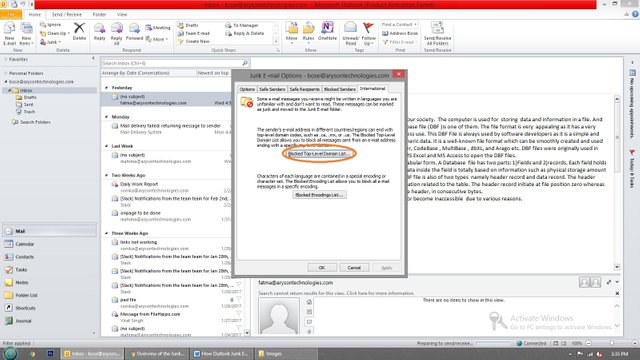
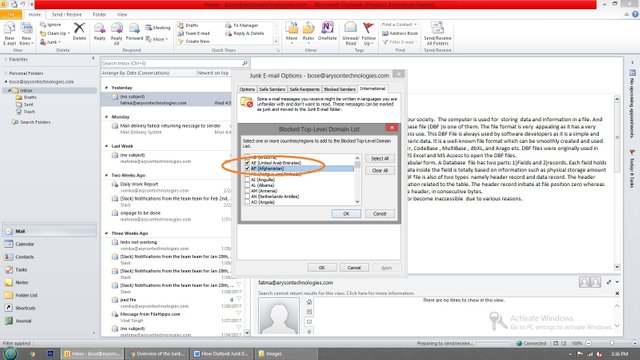
- Blocked Top-Level Domains list: With the help of this tab you block messages from other countries.
To add a particular country or region, you can select the code from the given list.
Like: United Arab Emirates: AE
Afghanistan: AF
- Blocked Encoding List: With the help of this tab, you can block emails that appear in different language or characters.

To add the codes, you may click on that “Blocked Encoding List” Tab and get the Codes.
Like: Arabic or Baltic.
Tick mark that and click OK. And it’s done.
So finally, you know how to work with Outlook Junk Email Filter. I hope these steps helped you out in understanding the procedures.
By the way, if you are planning to Schedule Email in Outlook, then you may go through my earlier blog.
Or you can also check out my EasyTechTools Blog, where I write my heart out.
For any edits and appreciation, you may comment below in the comment section .
Congratulations @virat8586! You received a personal award!
Click here to view your Board
Do not miss the last post from @steemitboard:
Congratulations @virat8586! You received a personal award!
You can view your badges on your Steem Board and compare to others on the Steem Ranking
Do not miss the last post from @steemitboard:
Vote for @Steemitboard as a witness to get one more award and increased upvotes!