Producing music: On the way of becoming a MIDI ninja - Part1 - Tips (not only) for beginners (Ableton live 9)
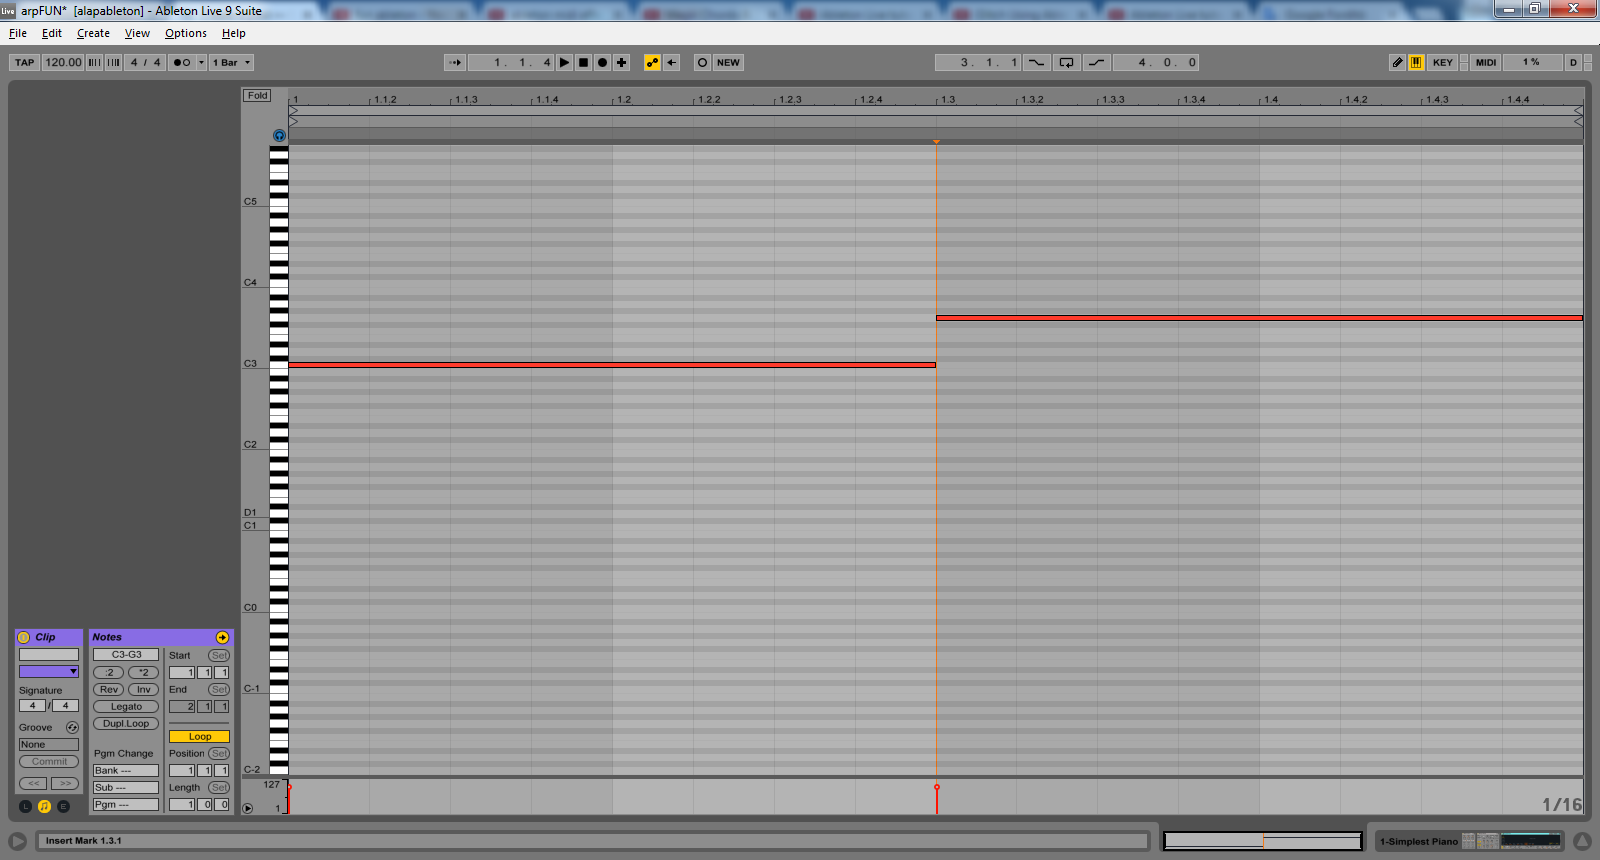
Playing 2 notes:
Hello steemains!
Are you getting headaches from music theory? You have difficulties finding the right scale and writing chords? Or you just need a progression idea without thinking too much?
No problem!
MIDI effects are here for you.
This series is featuring MIDI effects, showing how you can create whole new worlds using only a few notes.
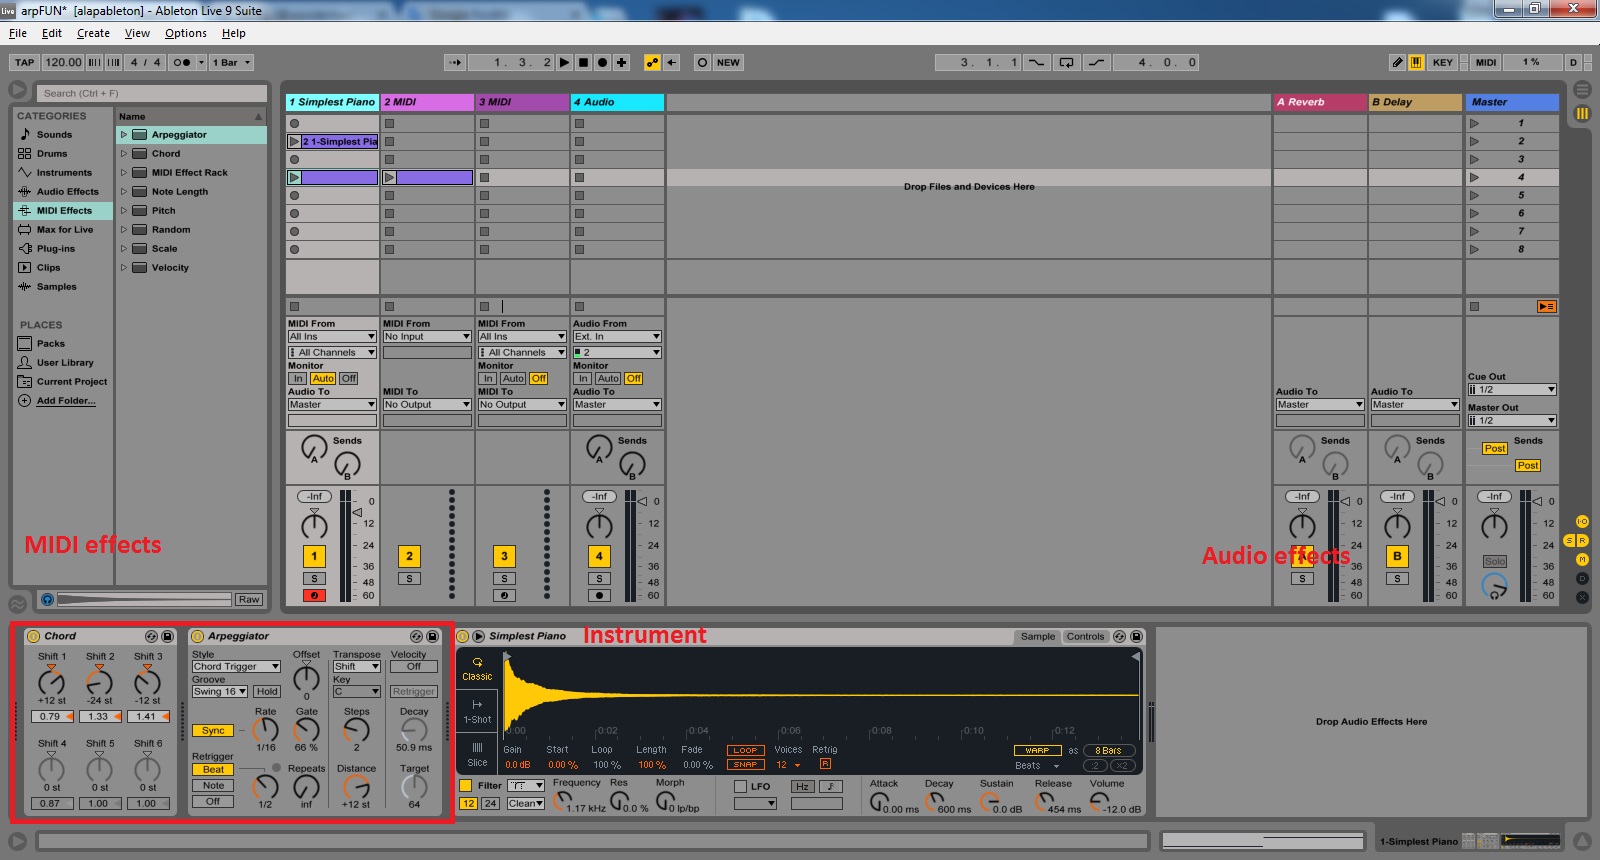
In this presentation we are going to combine the Chord and Arpeggiator effects to achieve a very exciting development on our simple MIDI clip.
The function of the Chord MIDIeffect is nothing complicated... you can add extra notes on top of the one you're playing, ergo creating chords by pressing one key only.
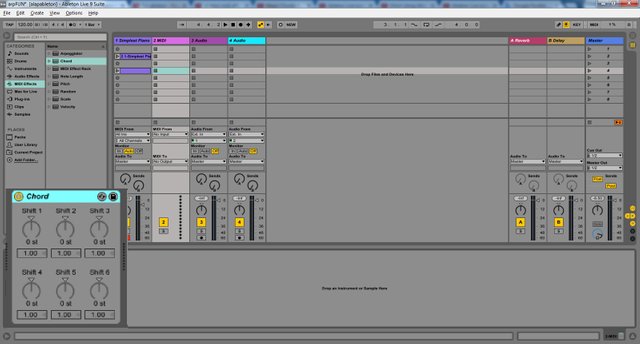
As you can see, you are able to set up to 6 extra notes on top of your rootkey. If you set a knob let's say to +4st, it'll give you the note you're playing plus the note 4 semitones/halfsteps away from your key. So since you have 12 keys in an octave +/-12st would be the same note one octave higher or lower. Under the knobs you can set the velocity of the keys, the higher the velocity the louder the note.
That's all about it without going into music theory. You can look up the combinations for different kind of chords that will harmonize with your notion. I have a little notebook where I used to (and I still do) write tips for myself, so If I need an idea of a chord progression I just look it up, but the magic numbers are not in my head all the time.
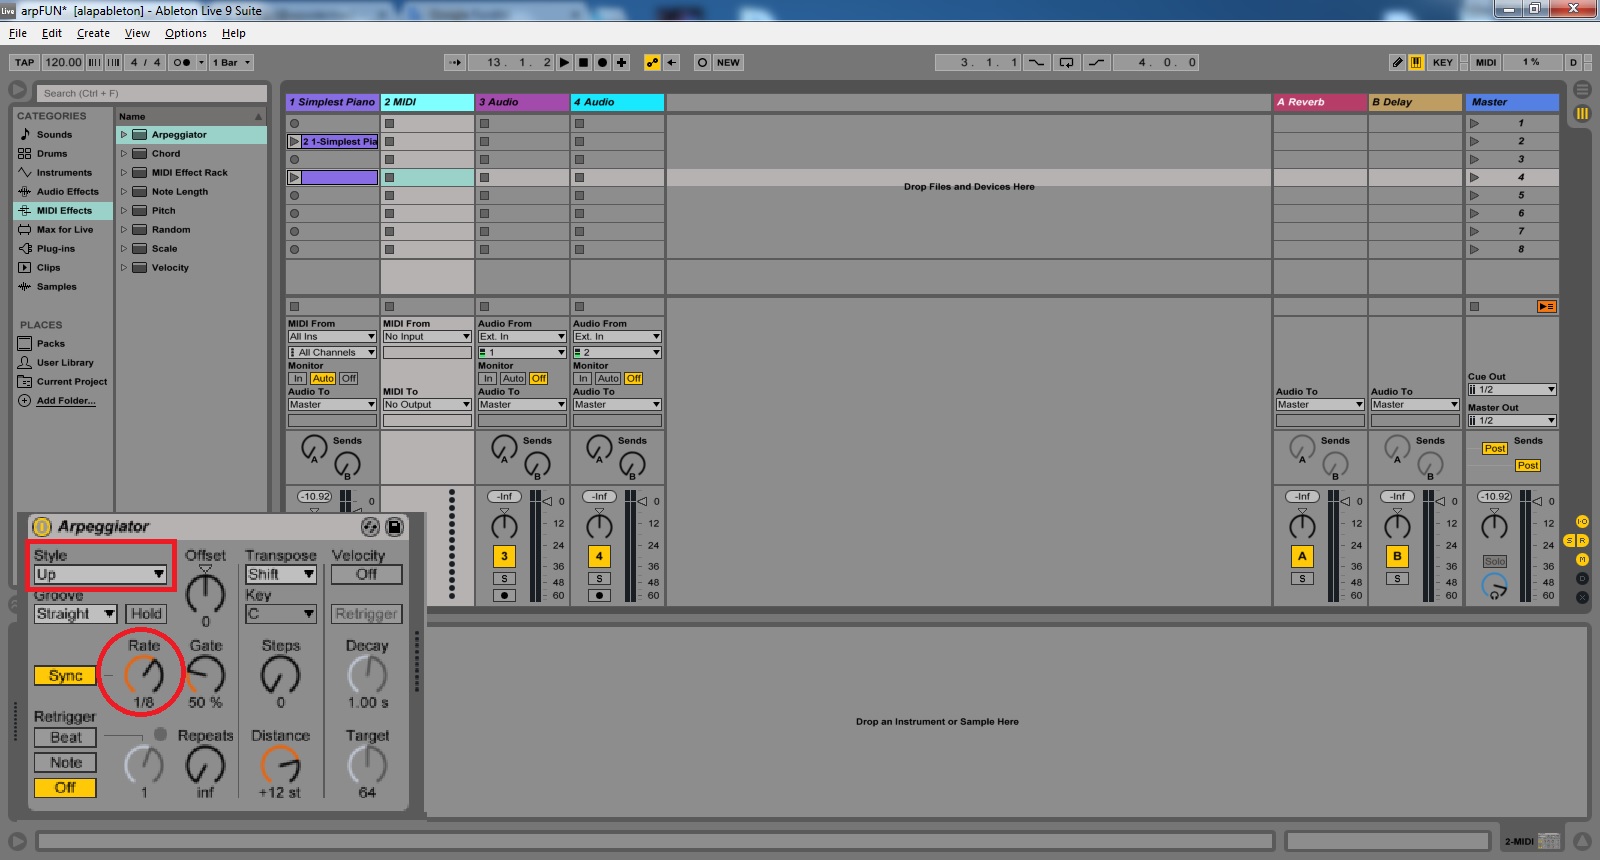
Let's move on to the Arpeggiator:
If you play the notes of a chord in a specified order that is called an "arpeggio"
... hmmm sounds italian, anyway:
This MIDIeffect will break down your chords to individual notes and trigger them at a rate in a certain style. This "style" will define the order of the notes being played.
In this case, if we have a chord from 3 keys. The notes will be triggered at every 1/8th bar in an ascending (Up) style, so starting from the lowest note, the next 1/8th will be the middle and the 3rd 1/8th will be the highest note of our chord, then it will start over. There are plenty of different styles that can be set, I won't be explaining each and every one of them, you can have hell a lot of fun while experimenting with its setups, not to mention ableton's base presets.
The "Groove" setting will give the timing of the triggering... it'll sound good with each option, it is unneccessary to waste any more words on that...experiment...
The "Gate" knob lets trough the notes, you can set the intensity of the notes, the higher the amount the longer the notes.
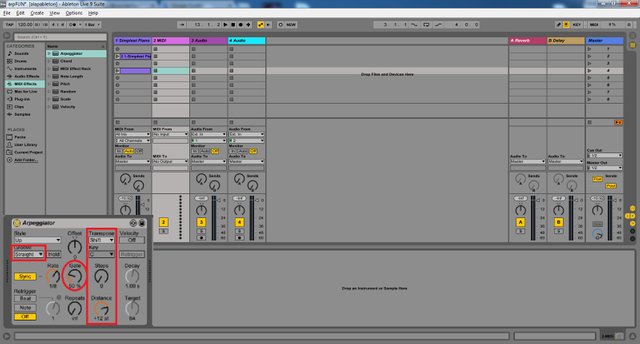
At last: The transpose panel.
You can transpose the pattern that you've created with Arpeggiator setting a few steps, this way smuggling some extra notes into your clip. The mode of transposing can be set to whole Major/minor intervals or simple semitones-----> Distance knob.
That's all about the essentials.
Now let's listen to what can it do with a simple tune:

The only modification I did was changing Arp's Rate knob at a few points, and turning off the MIDI effects one by one at the end. You shall also try changing the Style and twisting the Gate knob while playing your clip, or just pressing keys.
LET THE EXPERIMENTATION BEGIN!
STEEM ON!
Love the work! Come check out my stuff and let me no what you think!
On it
This post has received a 7.35 % upvote from @buildawhale thanks to: @woodermax. Send 0.100 or more SBD to @buildawhale with a post link in the memo field to bid on the next vote.
To support our curation initiative, please vote on my owner, @themarkymark, as a Steem Witness