Monthly Computer Maintenance And Installing The Newly Bought SSD
To start the cleaning or maintenance of my computer, I removed first the thumb screws that holds the tempered glass side panel of my system unit. This will allow me to access the parts inside the computer which needs to be cleaned.
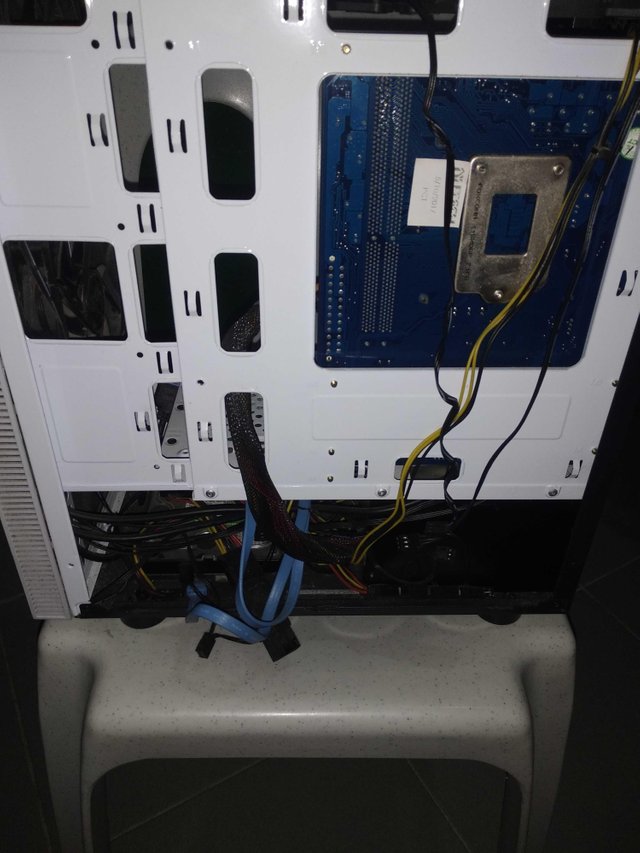
After that, I removed the back panel of the computer case and I started to unplug the connecting wires of the the power supply to the different parts of the system unit.
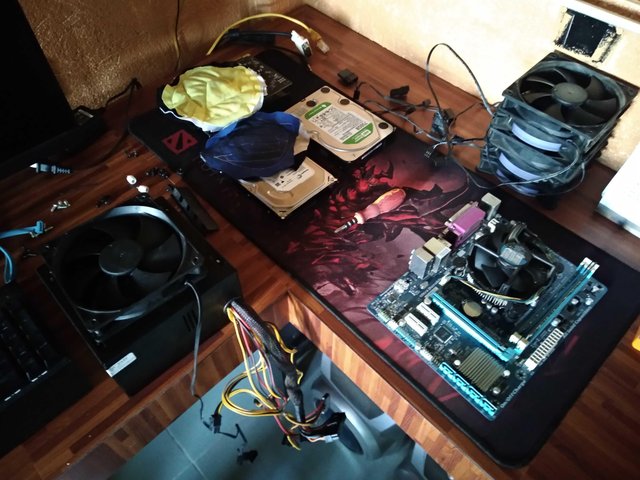
After that, I started removing the various parts of the system unit. This way, I could surely clean the individual parts before putting or installing it back to the computer system.
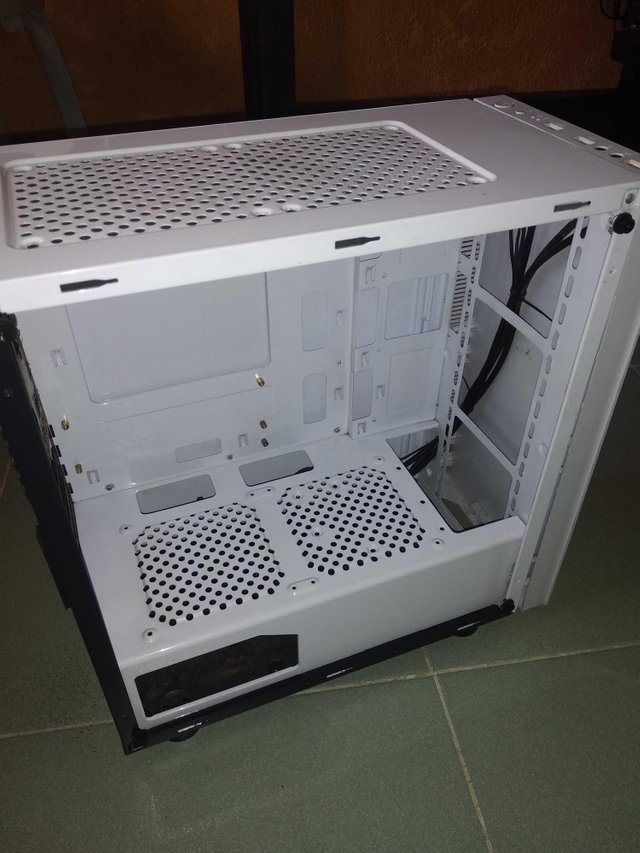
Here's a photo of the various components that I removed from the comouter case to be cleaned. After it had been cleaned individualy, O know started to installit back to the computer case. Note: The case was also cleaned before placing the components back.
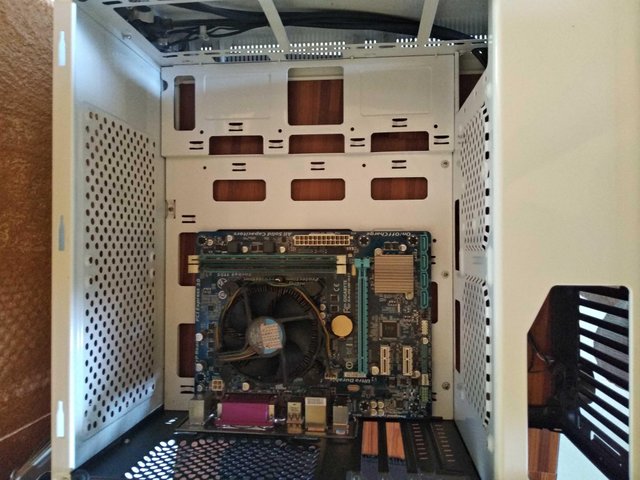
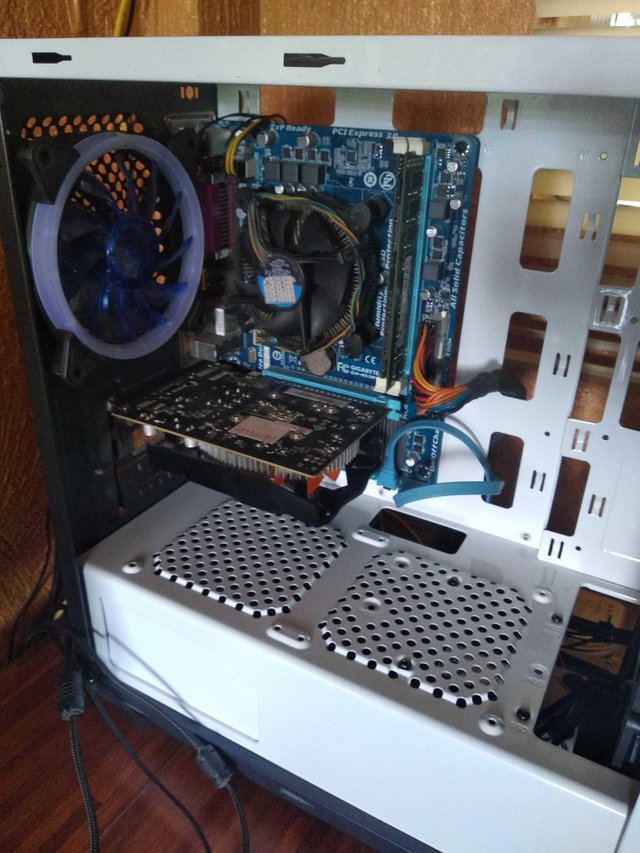
The first component that I jad installed back was the motherboard. The ram sticks, the heatsink fan were removed and cleaned befored the motherboard was installed back.
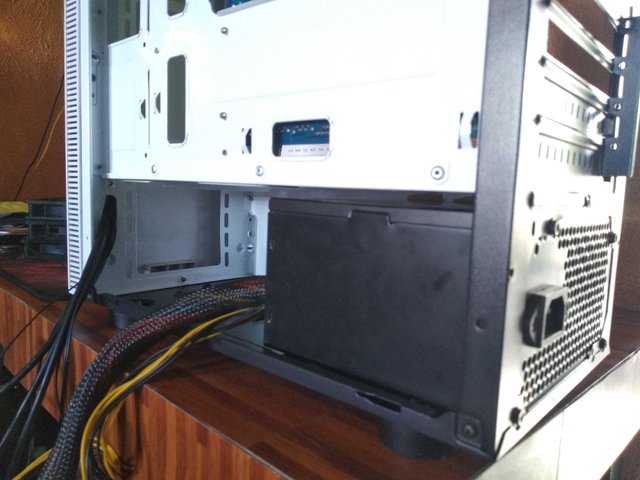
Then after the motherboard, the power supply at the bottom part of the system unit was then installed.
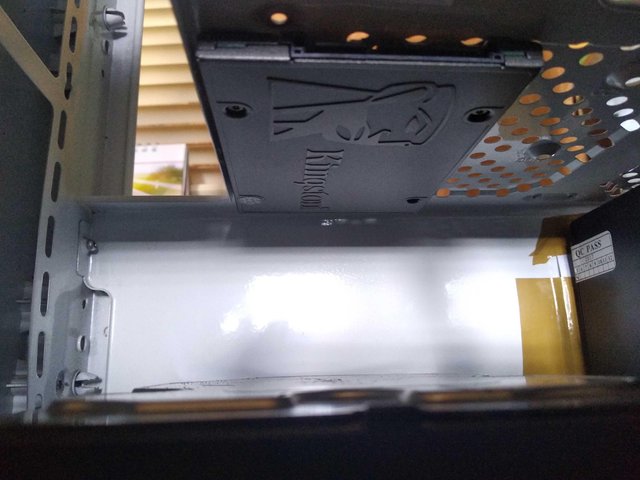
The newly bought SSD or solid state drive was then installed. It was positioned below the power supply enclosure in the system unit. Below it is the location where the main hard drive was installed.
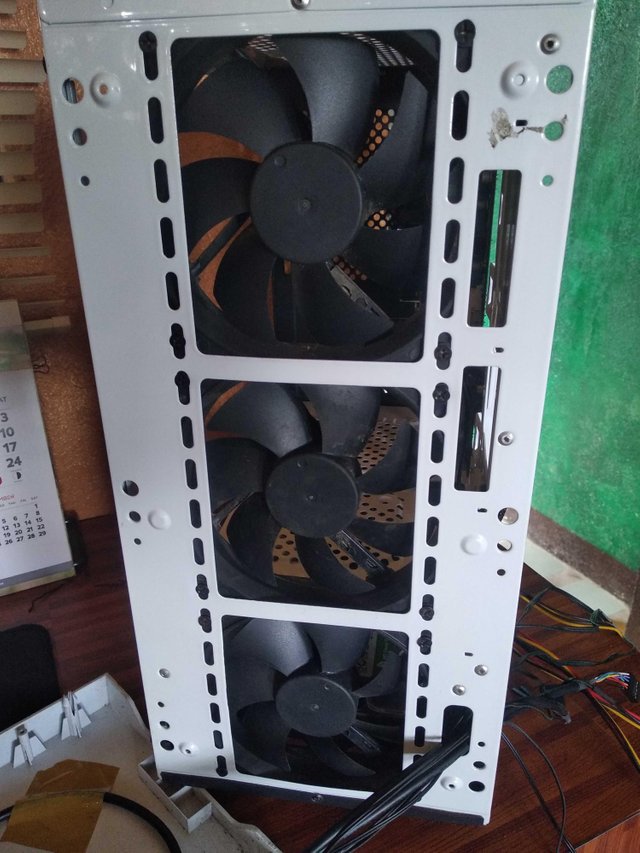
Then I started to install the fans in front of the computer case. These fans help to regulate the temperature inside the system unit.
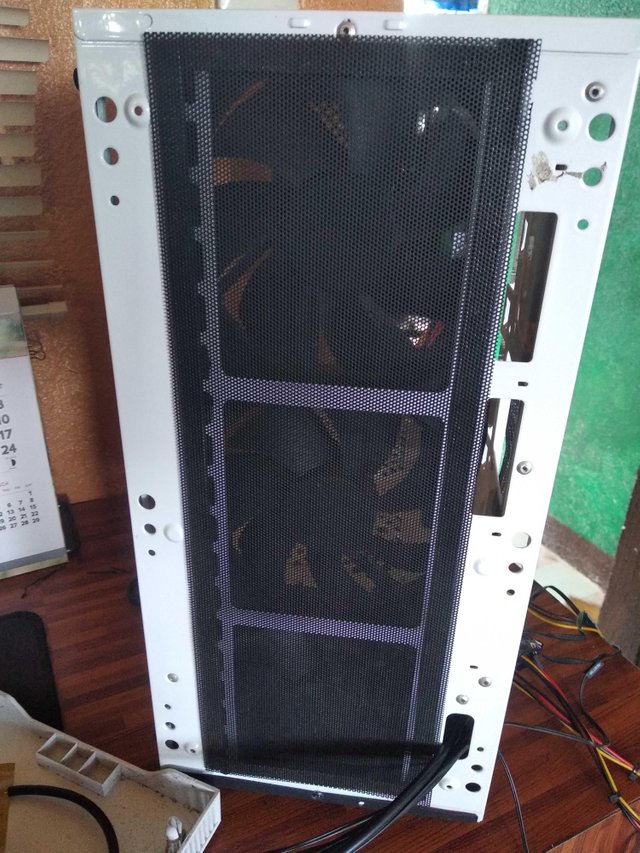
After that, I placed back the fan dust filters, this will help prevent the entry of duwt directly to the system unit.
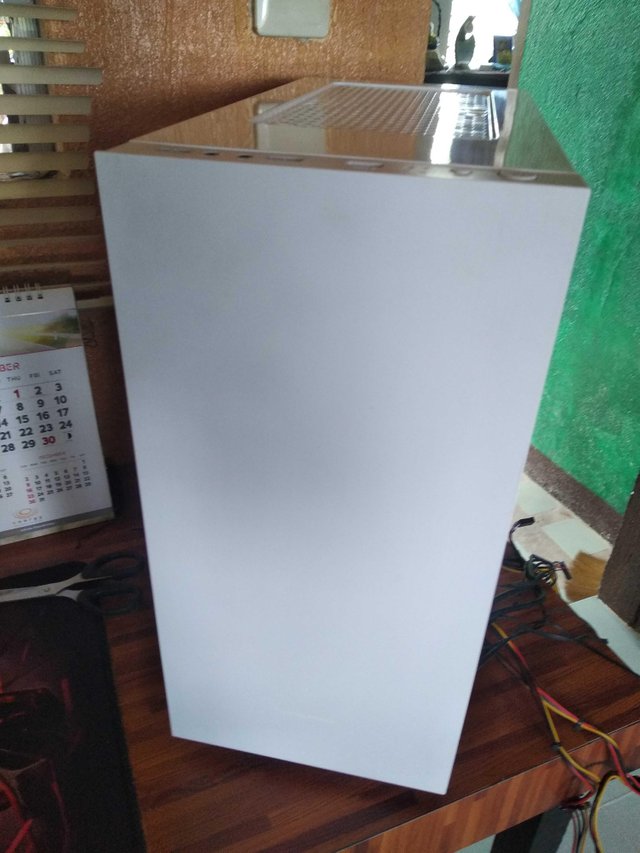
Then after that, the front cover of the computer case was installed back to its position.
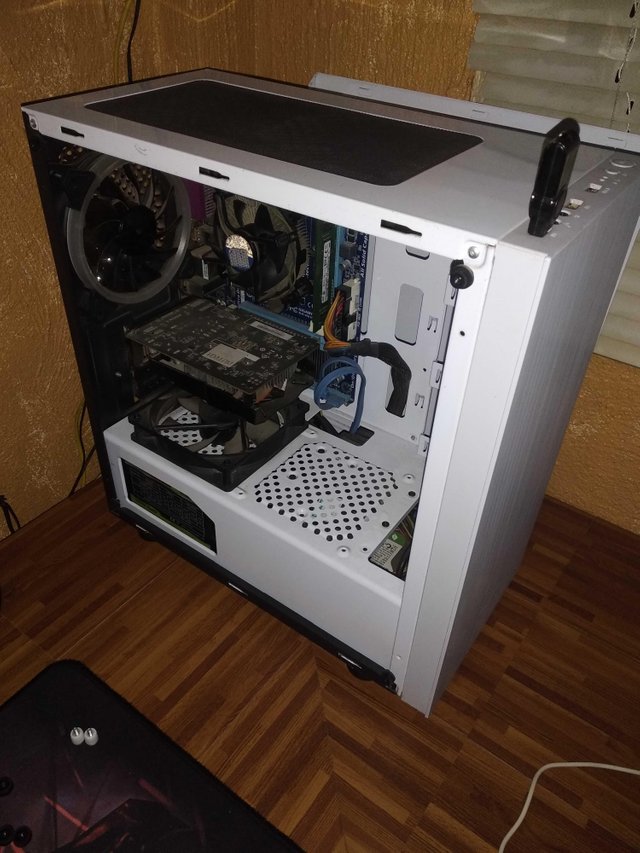
Then I placed back the GPU or my Graphics Processing Unit back to the system. Then I installed the blue ring LED fan at the back. I set it to negative or in other words as an exhaust which helps to suck the hot air inside the system and blows it outside regulating a cool temperature inside.
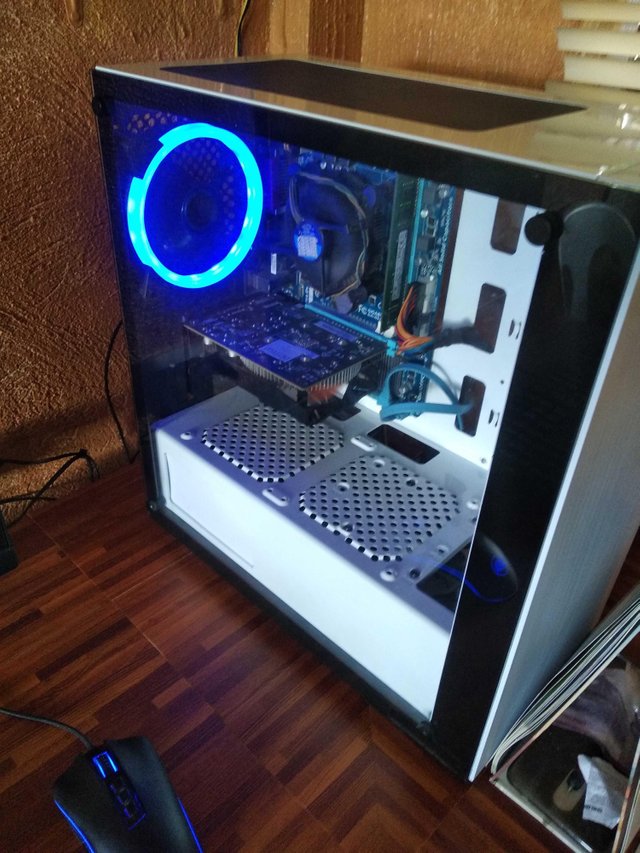
Then lastly, I installed back the tempered side panel, placed the thumbscrews to secure it and tested the system unit back. As you can see in the photo that the LED of the ring fan is lighting, that means that I had successfully cleaned and installed the new SSD to my computer system.
Thanks for using eSteem!
Your post has been voted as a part of eSteem encouragement program. Keep up the good work! Install Android, iOS Mobile app or Windows, Mac, Linux Surfer app, if you haven't already!
Learn more: https://esteem.app
Join our discord: https://discord.gg/8eHupPq
Hi @baa.steemit. Congratulations!
You've been featured by @steemph.cebu on our Daily Feature of Authors #24. You've chosen as the top best blogs of this day. With that, you've enjoyed the benefits for being featured.
Continue to post more quality content having #cebu & #philippines as part of your tags.