Making freedom pills
Having a day off is good at the best of times. This week I get 5 of them so have been doing some things around the house and getting ready for some upcoming events.
Today I did some reloading for a shooting competition I have coming up in Darwin, Northern Territory, Australia.
I often get asked what making ammunition is all about and never really have an answer because people don't tend to understand so I thought I'd do a post about it. Please keep in mind that this post does not go into the case preparation part of the process. This is simply the basic construction of the round.
Below are empty cases that have been previously fired by me. I have then removed the old primers, tumbled in stainless media to clean, resized (cases expand when fired), measured then trimmed for length, chamfered and de-burred, weighed and batched. Batching is done to ensure cases all weigh the same.
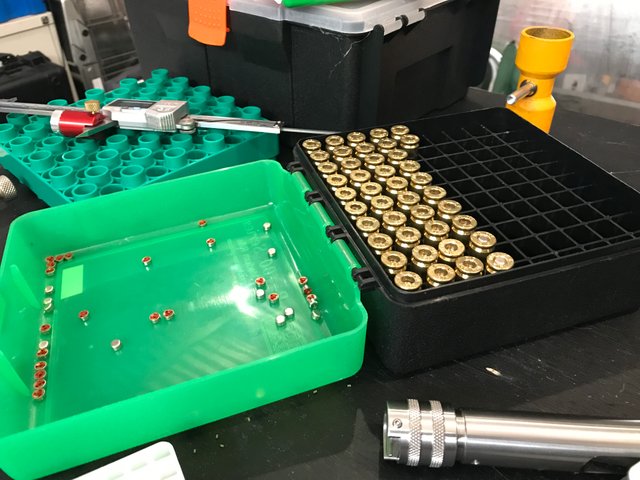
The little red and silver things are primers which I am about to seat into the primer-pockets.
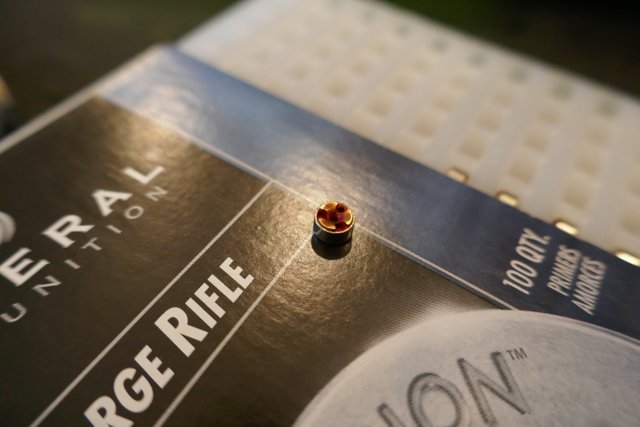
Below is a close up of a primer. The red part is explosive. The firing pin strikes the base of the primer igniting the explosive which in turn causes the gun powder in the case to explode. The expanding gases of that explosion push the bullet (projectile) down the barrel and out the muzzle. (in the case of this round at 2880fps (feet per second).
The video below is me seating a primer into the primer pocket. This is done manually using a tool. In this case I have the Sinclair priming tool but there are others. This one is just simple and provides a good feel. I seat primers precisely at the same depth in the pocket every time for greater accuracy.
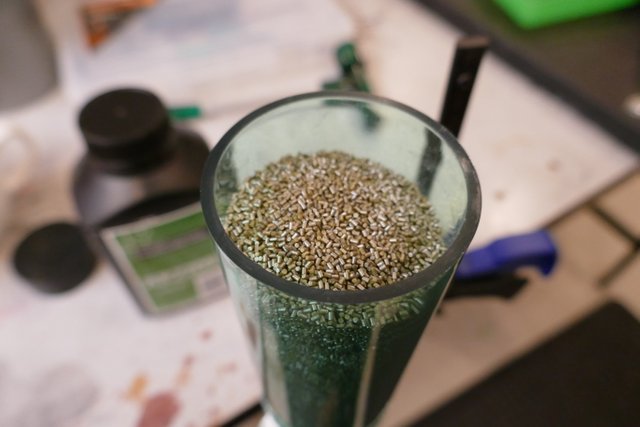
After priming the powder thrower is set up to deliver a measure of gun powder. Again I use a manual version although there are electronic throwers around but I'm old-school. In the video below you can see the measure of powder and how small the granules of gun powder are.
My powder thrower hopper full of gun powder.
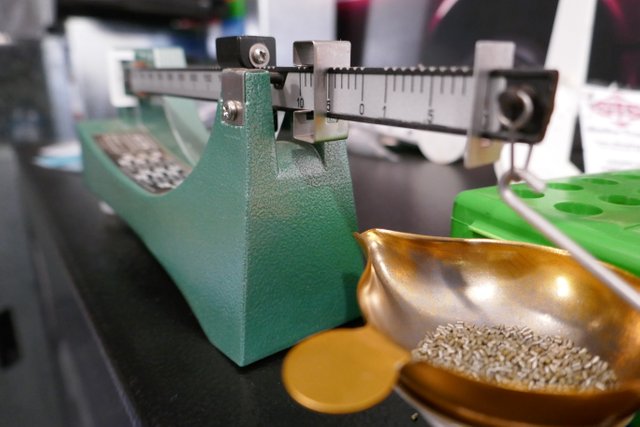
After throwing the charge it's weighed on beam scales. I like the manual method as you know. I also have very accurate electronic ones but like the feel of doing it manually. I feel I'm getting better accuracy.
Below is an image of my beam scales. Today I was making .308 calibre ammunition with a load of 45gr of powder. It doesn't always work out that even with every different ammunition however. I can adjust to 0.1gr increments as required. Load development is done in the field, but that's for another post. FYI, there are 15.432grains in a gram. It's a small measurement.
Now I have an accurate charge I have to drop it into the case and seat the bullet. I have made a little video below to show you how this is done. I have not videoed the set-up process which is tedious and time consuming. I've cut right to the fun part! You will see me work the lever three times. I twist the bullet around slightly between each throw of the handle to ensure the projectile is seated evenly. Some don't do it, but I'd rather take a little extra time and feel the round is as perfect as I can make it. (It might be a psychological edge, but confidence in your ammunition is important.)
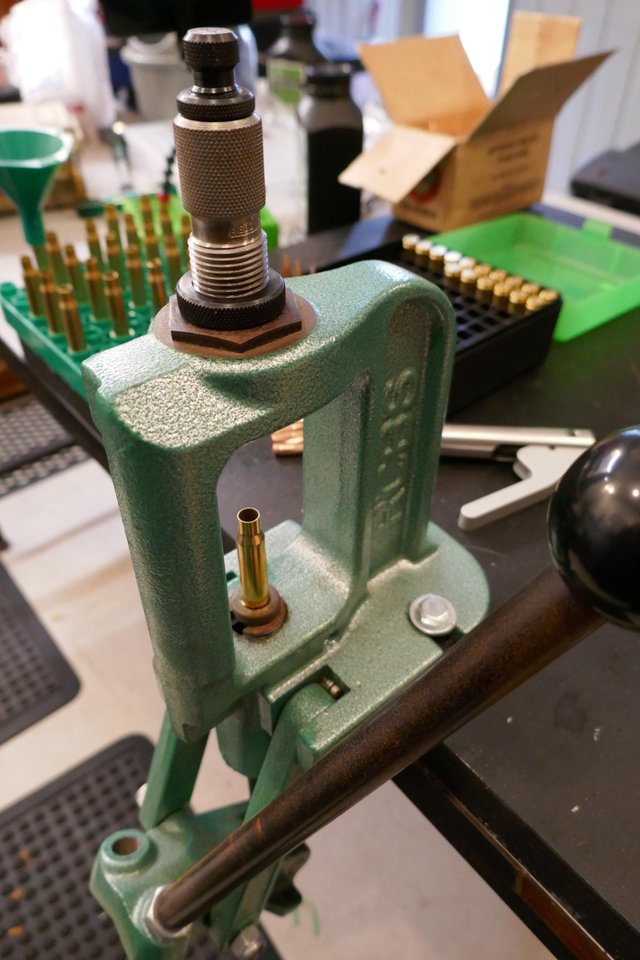
Below is a closer view of the bullet seating die and press. The top of the die is adjustable to set the seating depth of the projectile in the case. (That's tedious!)
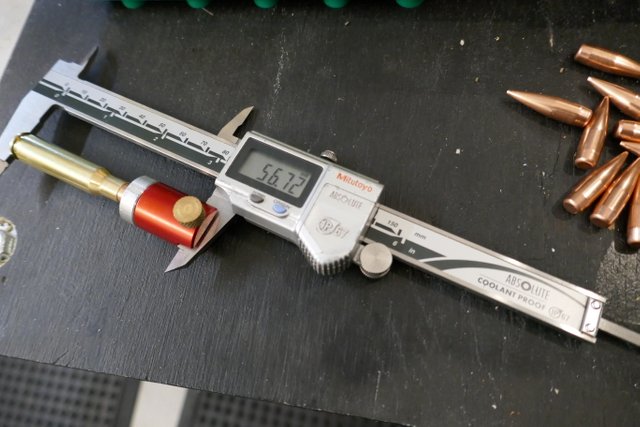
The end result is a finished bullet, but there's still one more thing to do. I always measure every round. I run a .020" (2 thou) jump to the lands in the barrel for optimum accuracy. Some rounds and rifles don't mind a bigger jump but this rifle and ammunition is more accurate with a tiny jump. The measurement of .020 of an inch is a small tolerance. I measure the overall length (OAL) of every round before I confirm it's worthy of a competition round. The image below is of my vernier calliper fitted with a comparator gauge to measure OAL. It does not measure butt to tip though. It's inserted into the gauge to measure butt to ogive which is the fattest diameter of the projectile. (For lack of a better way to put it.) You can see my OAL on this particular ammunition is 56.72mm.
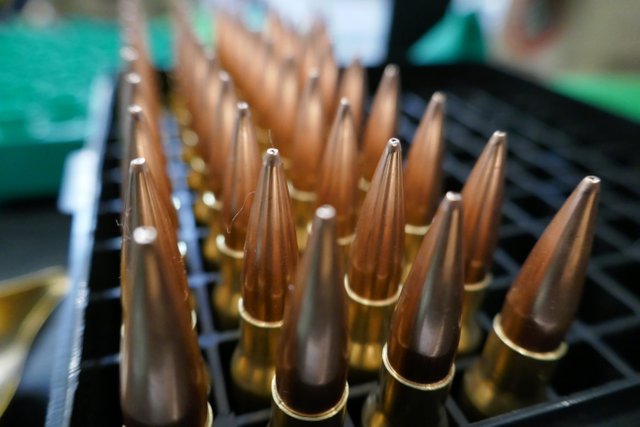
Below is the finished product.
In a competition shoot I would send about 200 rounds down range over distances of 200-1665m shooting off various barricades and shooting positions, all timed or under some form of duress. The process of making 100 rounds from start to finish including de-priming and cleaning is about 4 hours so you can see it's quite involved. I find it relaxing though and with some tunes on the iPod in the background, a beverage or two and some corn chips I'm set for an afternoon!
These particular rounds will go down range tomorrow. I'm getting one of my competition guns back from my sponsor so I can start my preparation for the competition in Darwin. It's a long way from my home in South Australia so I have a lot of preparation to do to ensure the best result possible. (Darwin is 3,028km or 1,881 miles away).
Anyway, I hope you enjoyed my post, if you read all the way through, and if you didn't then you're not reading this part anyway!
Thanks for reading.

Is that bitcoin you are mining there?? Haha
Good old Aussie Bitcoin!
Nah, freedom pills...
Haha. Maybe they could be taken by some of the people in my last post!
🤣
Nice post my friend! It looks like easier with a press!
I'm making pills with a lee loader! It hold all my stuff needed in an ammo box (except the powder). Small, great for testing recipes and learning the basics of reloading!
Thanks for your post!
Good luck for the contest!
I've never seen a reloading kit so small! Looks like a good kit for a bugout bag or something like that. I need super-precise rounds so have gear to do so. The items I showed in my post are only some of what's required. Thanks for reading and commenting
To see it in action:
Have a blast!