DIY/ How To Make A Crochet Hello Kitty Shoes - Handmade Craft
Hello everyone!!! Welcome to Alodia's Crochet Corner!!!
I am happy that I could share another tutorials to all of you.
First of all I would like to say thank you to all #steemians who support my last tutorials. To all who leave comments, I am very happy that you have appreciate my work. You really don't know how you make me super happy. I feel so motivated and very successful because I was able to give a smile, happiness to all of you!!!
Because I am very happy with every feedbacks I received, I am going to share another pattern that I just made.
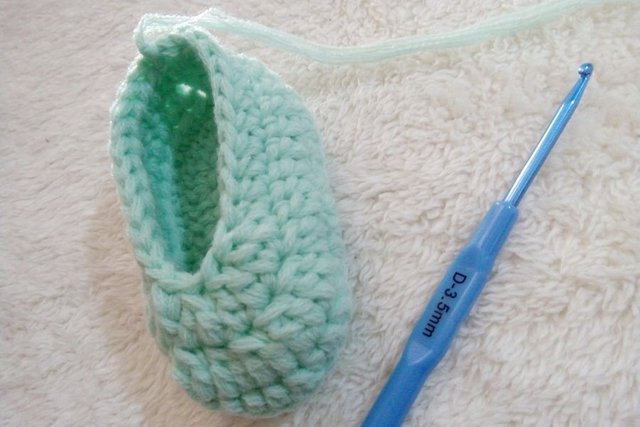
For this time, I am going to make a Crochet Hello Kitty Baby Shoes. This will fit for a newborn baby.
I made a hello kitty because I know, not only children are fun of the very famous hello kitty.
I made this for about 2 hours. This is so easy and perfect for beginners.


Before to start this tutorial I am going to show you first the stitches that we will going to use in our project.
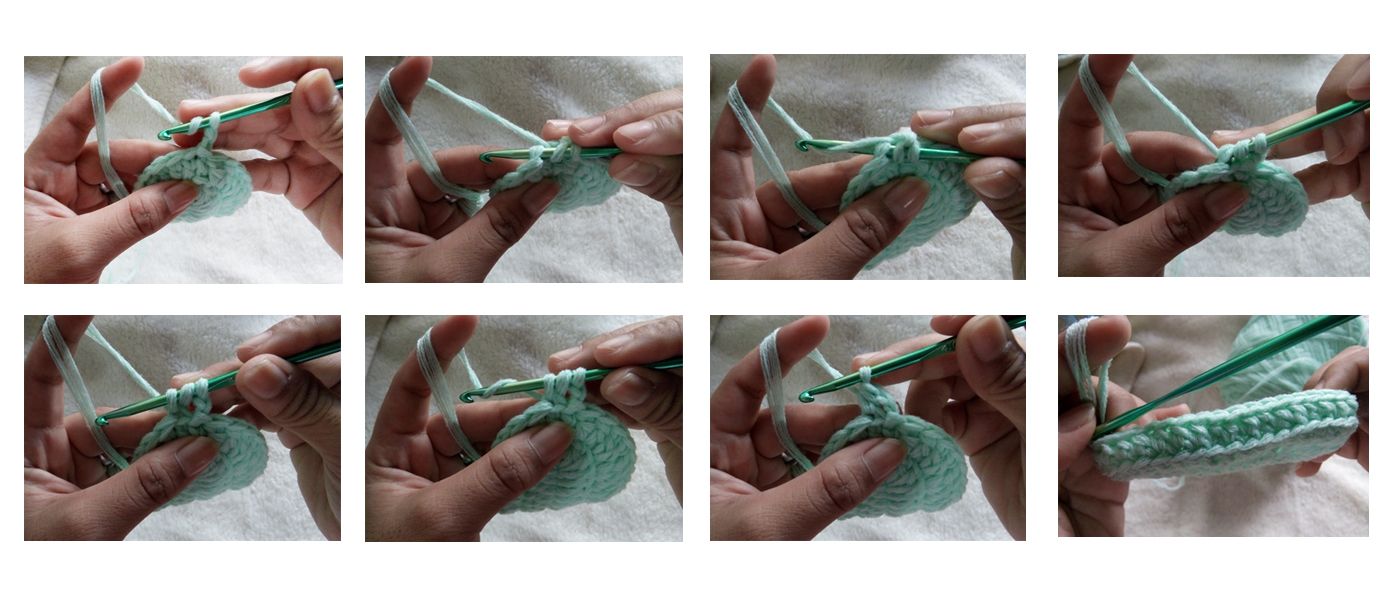
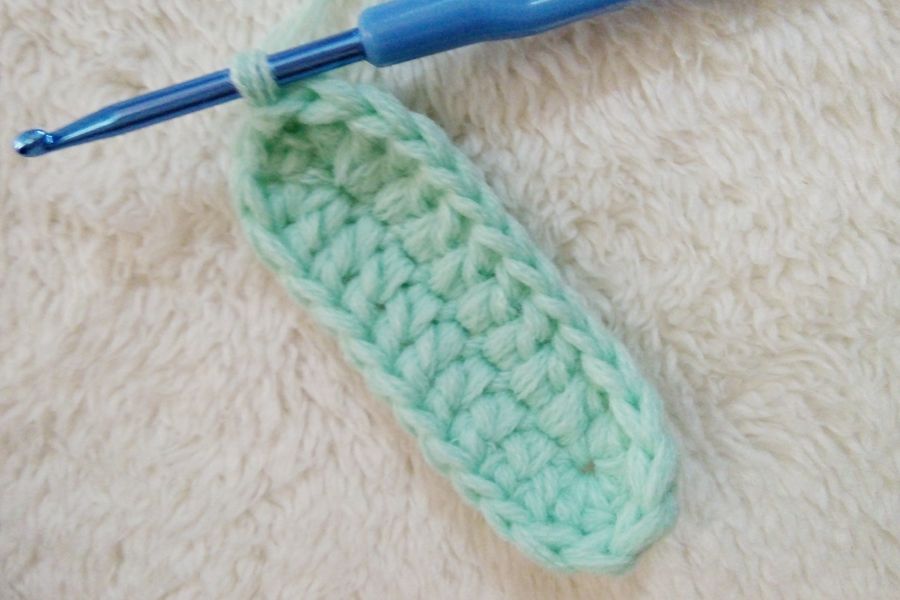
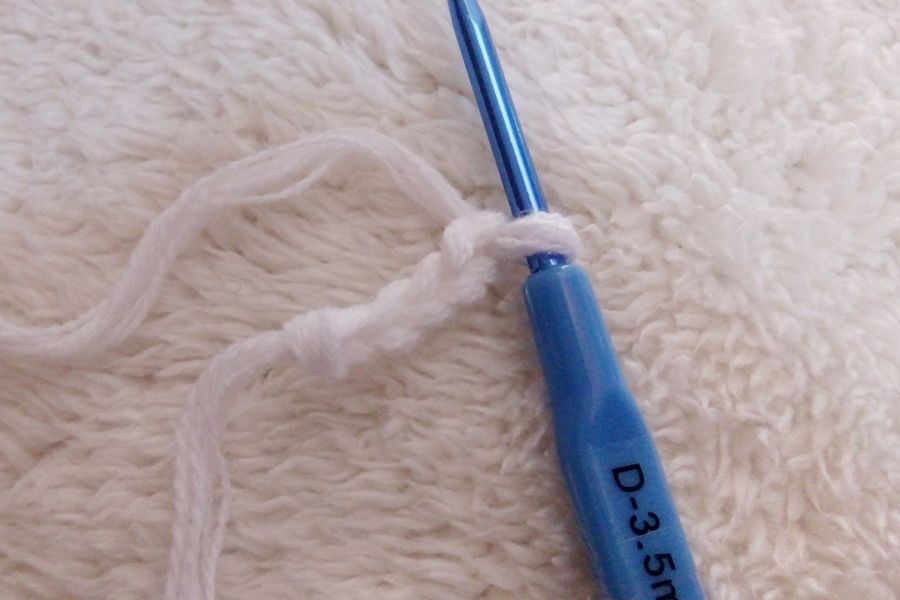
This is how to make the "half double crochet in back loops".
As you can see in the first photo,
- yarn over, insert the hook on the back stitch
- pull one loop, and inserted in the back stitch where I inserted the hook
- then you will see you have 3 loops already
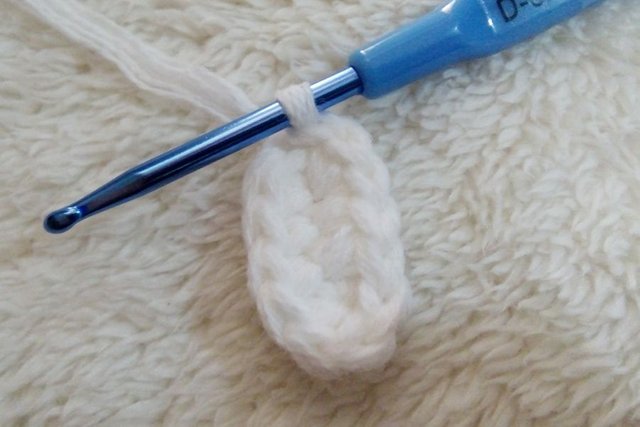
- yarn over and pull the yarn through 3 loops
- On the last part, as we have finished the row, you can see a back stitches outside our shoes
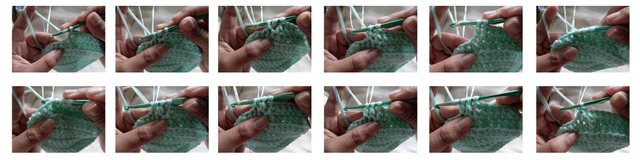
Another stitch is the "Double Crochet 2 together"
- yarn over, insert the hook on the next stitch
- pull yarn, and insert in the stitch where you inserted your hook
- you have already 3 loops, pull yarn then insert through 2 loops
- 1 loop left, yarn over, insert the hook on the next stitch
- pull over a yarn, then insert on the loop
- yarn over then insert through all the loops
Next stitch is the "Triple Crochet" that we are going to use on the ears of our Hello Kitty face.
- yarn over two times, insert the hook on the next stitch
- pull over a yarn, then insert on the loop where the hook is inserted
- you have 4 loops already, yarn over, then pull through 2 loops
- yarn over again, then pull through the last two loops
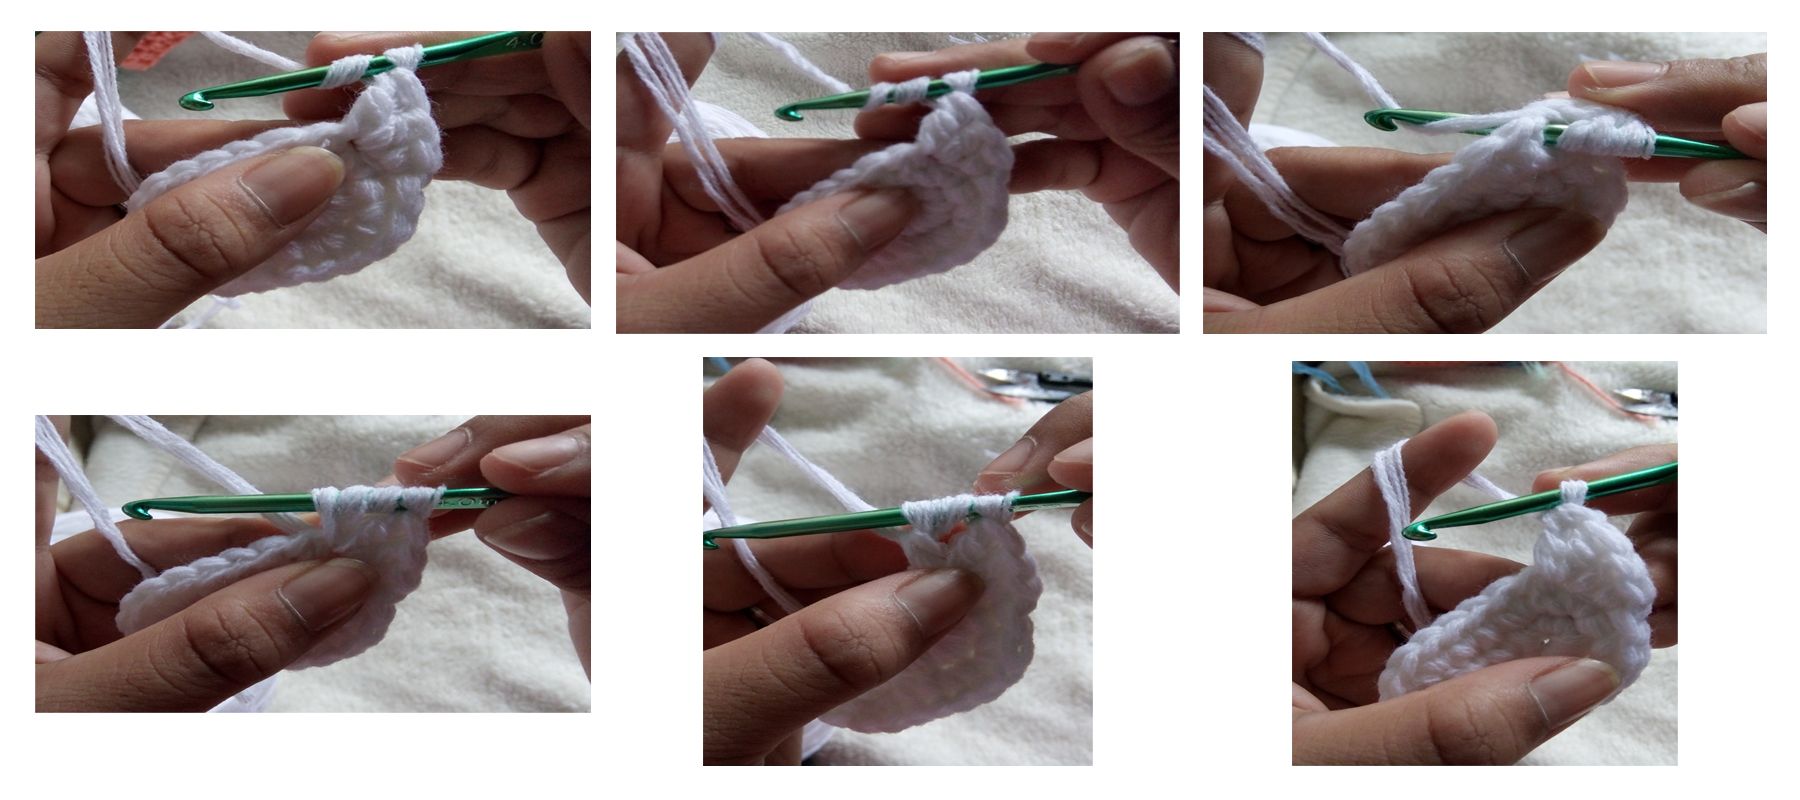
That's are the basic stitches that we are going to used.
Then this time I will going to let you show the video tutorial I made:
It has 2 parts and this tutorial is already complete. I shared the whole process in the video.
This is the first part
And this one is the 2nd part:
So this time let's start the written and photo tutorial:
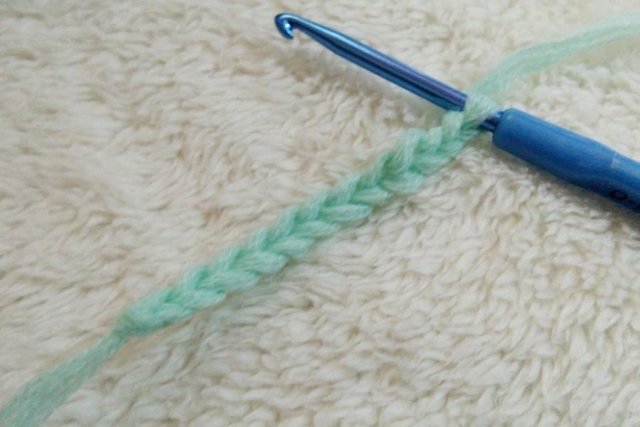
The materials I used are 100% acrylic yarn and my 3.5mm crochet hook.
I used Mint Green as the main color for my baby shoes.
| 
|
| 
|
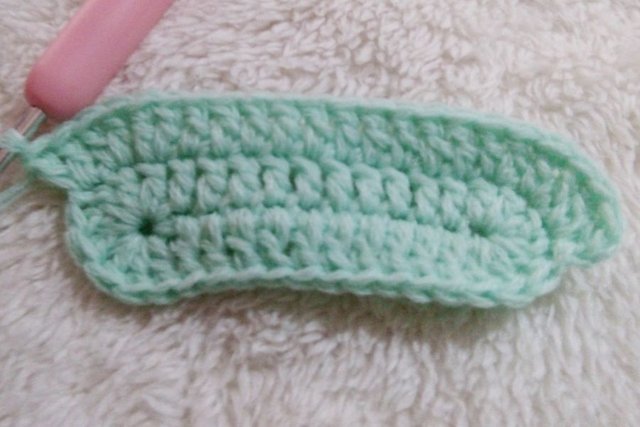
Row 4: chain 2, half double crochet all the way round Back loops only. (See the photo tutorial on top,to know how to do the half double crochet, you can also play the video for actual instructions.)

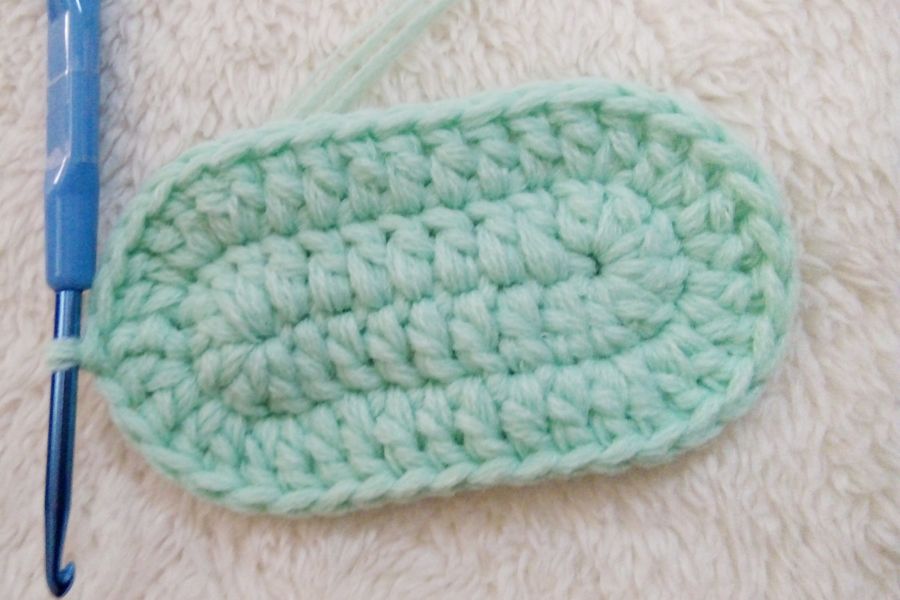
Double crochet 2 together 8 times in the next 16 stitches (8 double crochet 2 together made)
(See photo tutorial on top, or you can play the video for actual instructions)
Double crochet in the next 11 stitches, slip stitch on top of chain 2.
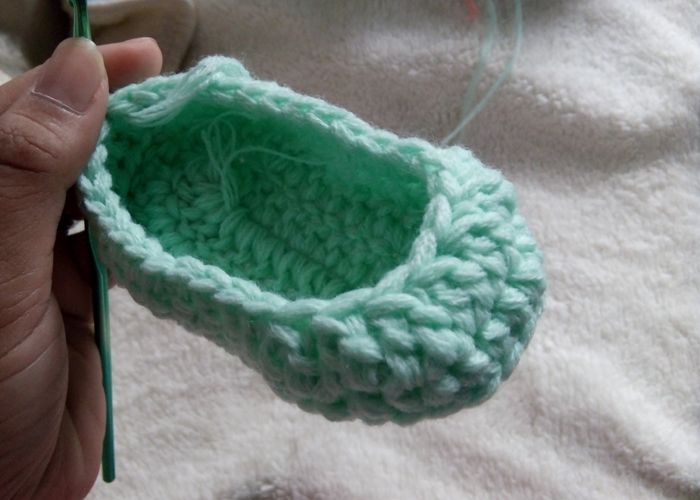
double crochet 2 together in 4 times in the next 8 double crochet 2 together made in the previous row
double crochet in the next 11 stitches, slip stitch on top of chain 2.
You are already done with your first shoe, make 2 .
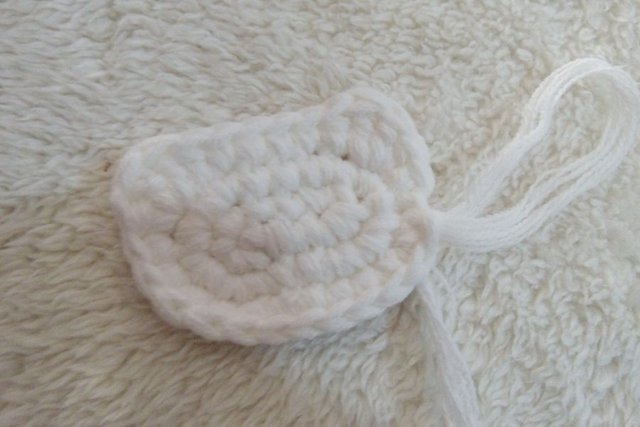
Let's now start on the face of our hello kitty.
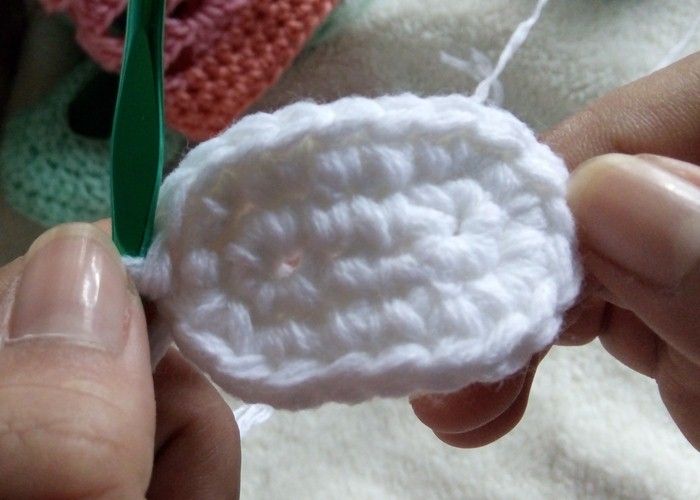
Row 1: chain 5, single crochet 2 times on the 2nd chain from the hook
single crochet in the next 2 stitches
single crochet 4 times in the last stitch
single crochet in the next 2 stitches
singlec crochet 2 times in the last stitch
slip stitch.
|  |
single crochet 2 times in the next 4 stitches
single crochet in the next 2 stitches
single crochet 2 times in the next 2 stitches
half double crochet in the next stitch
double crochet in the same stitch
triple crochet in the same stitch
double crochet in the same stitch
half double crochet in the next stitch
single crochet in the next 4 stitches
half double crochet in the next stitch
double crochet in the next stitch
triple crochet in the same stitch
double crochet in the same stitch
half double crochet in the next stitch
single crochet in the next 5 stitches
slip stitch.
(see the photo tutorial above for triple crochet stitch, or play the video for actual instructions)
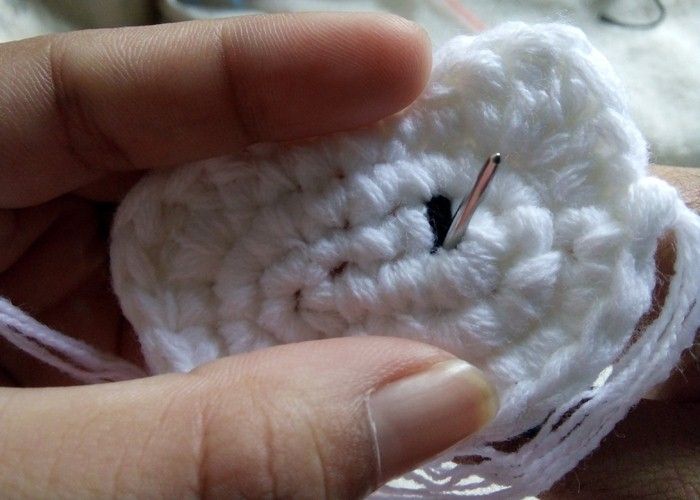
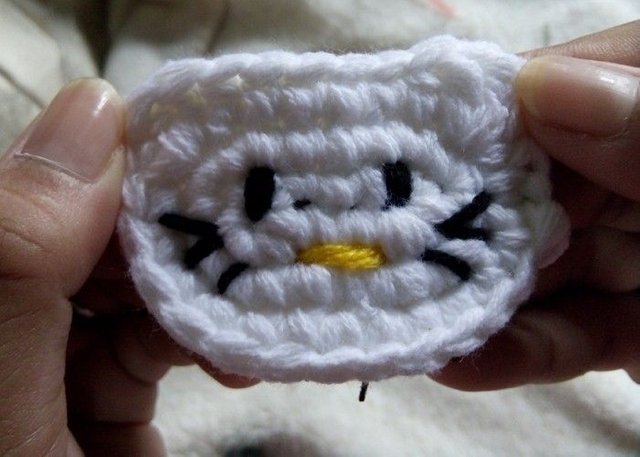
In putting the details of the face for hello kitty, I just did is back stitch
sewing in the eye, 3 times back stitch
for the whiskers, 1 back stitch, did straight and slanting as you can see in the photo.
| 
|
For the bow or applique:
I decided to make a flower fro hello kitty,
This is the most simple:
Chain 3 in the magic ring
Double crochet 2 times in the magic ring
Slip stitch in the magic ring
Repeat this until you have already made 4 petals
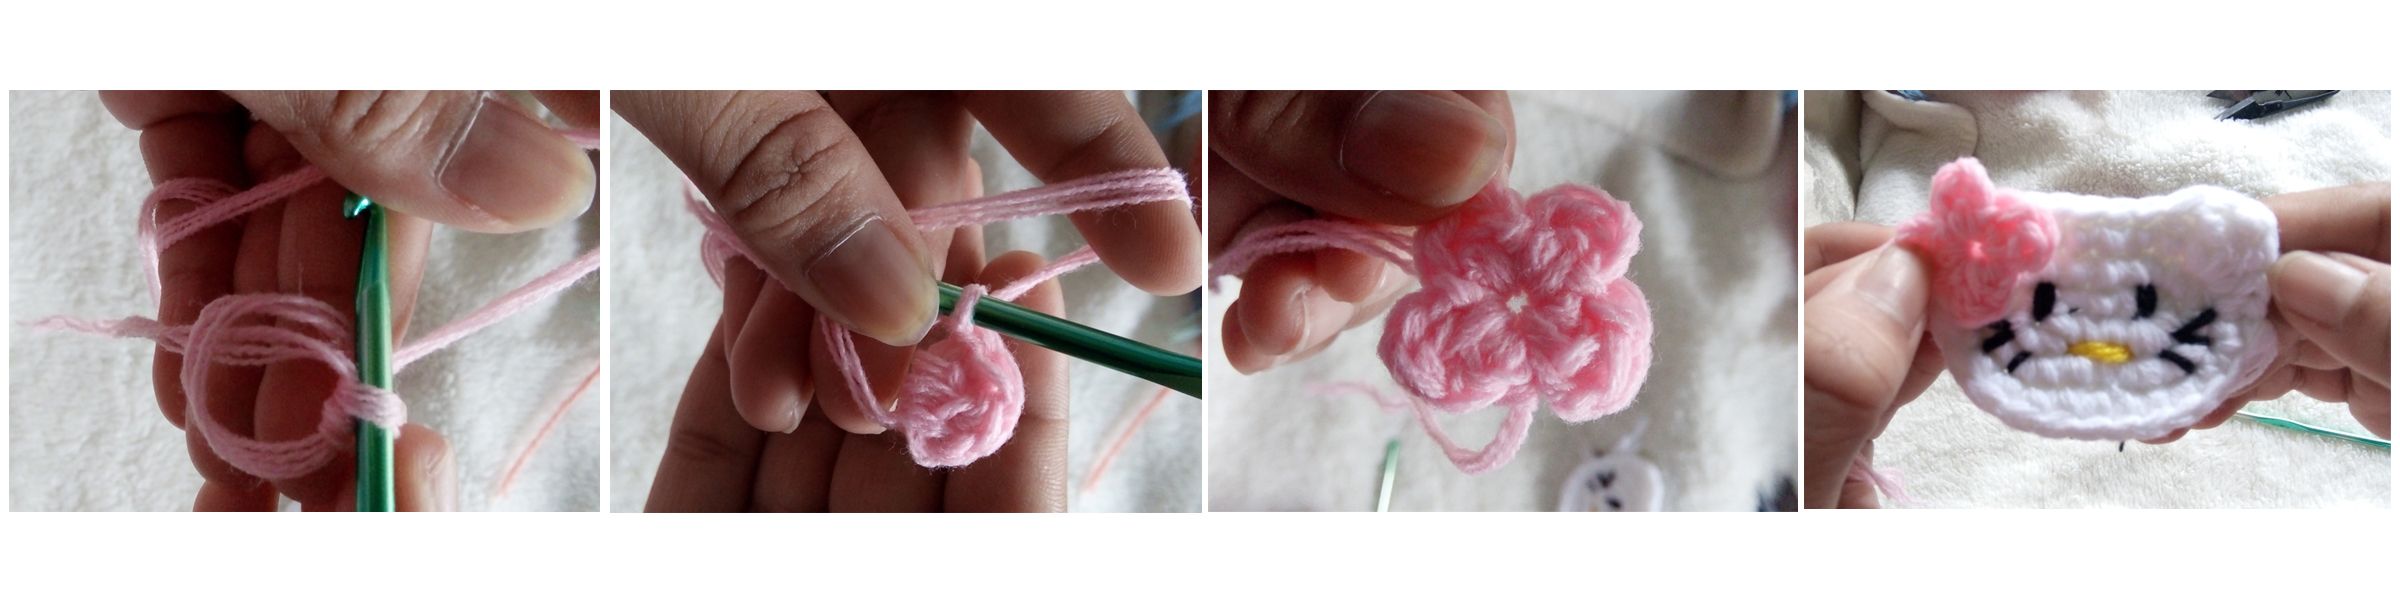
After all of these, sew the hello kitty face on our baby shoes then weave ends.
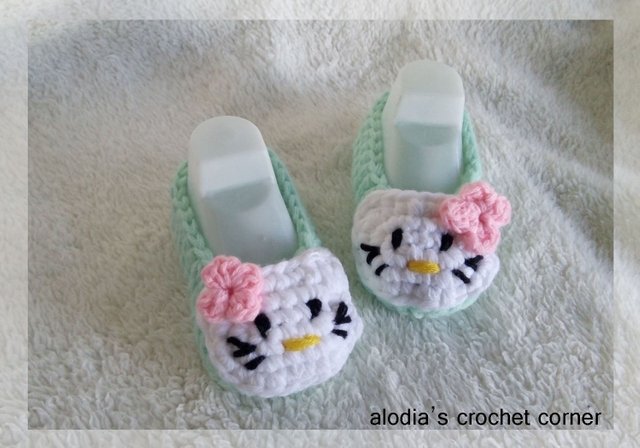
And Yehey!!!! We are already done with our Crochet Hello Kitty Baby Shoes!! Newborn babies can now wear it.
You can also make for 1 to 3 months old baby. What I did is just, with the same pattern I just used my 4mm crochet hook or 4.5mm crochet hook!!
You can make it too, try for yourself. This can be also a gift for your nieces or whatever you wanted to do. You can sell this too!!

I hope this time you will like again my tutorial guys!!
Now I am thinking what to do on my next tutorials. You can suggest what do you wanted me to do just leave a comment below..
For anyone who is interested to see some of my works you can visit my Facebook page : https://www.facebook.com/alodiascrochetcorner/
I have also my Instagram account : https://www.instagram.com/g.alodia/
Thank you so much!! Until next tutorials to be shared!!


This a really nice tutorial. I will love to learn how to use crochet. I gave up the last time I wanted to try. Maybe because there is no one to teach me how.
#promo-mentors
Hi ! I am willing to teach you :-) Just dont give up.. we can chat at discord if you want..my username is still the same @xorexman :-)
Dante is here, No FearHahahaha!! I am afraid of the gun ehehe! Thanks for upvoting sir
Congratulations, your post was discovered and featured by @OCD in its daily compilation 201!
You can follow @ocd – learn more about the project and see other Gems! We strive for transparency.
If you would like your posts to be resteemed by @ocd to reach a bigger audience, use the tag #ocd-resteem. You can read about it here.
@ocd now has a witness. You can vote for @ocd-witness with SteemConnect or on Steemit Witnesses to help support other undervalued authors!
thank you so much @ocd