VECTOR ART: Autodesk Sketchbook Walkthrough tutorial
This android application is very sophisticated yet simple. It requires a lot of technicality and patience if you are going to get it right. It's been a while that I made a tutorial so I decided to do this again. I will be very straightforward with the tutorial as it is for those who have a knowledge of the basics. If you are still new with this app, I suggest you check this tutorial here by @camzy
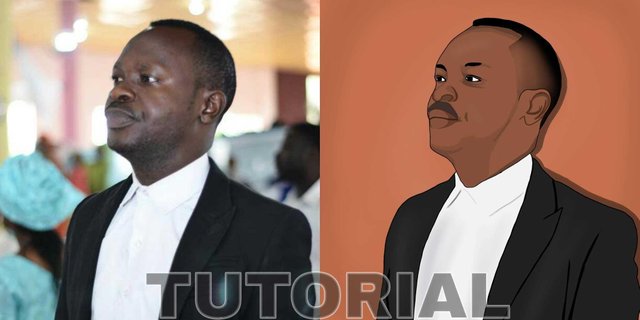
Firstly the image is imported on a layer of custom resolution 2882x2990. For devices below 1gb of ram, I suggest you scale the slider down a bit else, the incessant lags would frustrate you. I chose this resolution because it is very neutral and it is perfect for display pictures without cropping.
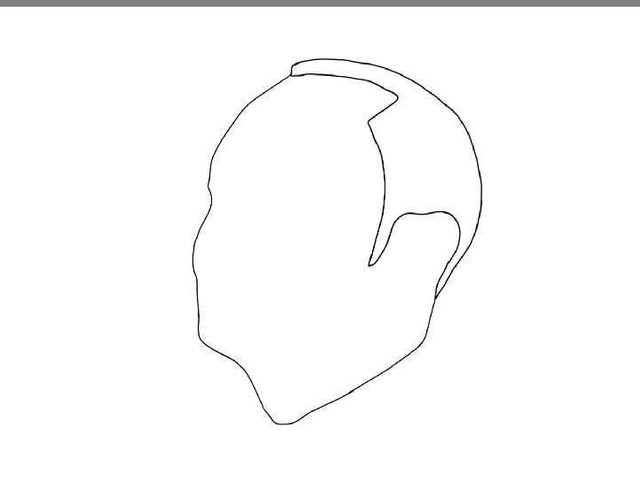
The original Image is placed above the empty layer and its transparency/opacity is reduced to 82% so as to see through both the image and the toon. Then the empty layer is selected and the hair is outlined with the Medium tip marker with a size of 3.3 for this very resolution. The higher the resolution, the larger the brushes would be. For a lower resolution, you would need a size of 2.2 as anything above 3 can be too large and can distort the neatness. You have to get the balance between the resolution and the brush size.

As the outline is done, the hair outline layer is duplicated and the duplicate layer is used to complete the outline of the head. I like to complete the head of the image I'm tooning first before moving on to the cloth. Another layer is created for the eyebrows, eyes, nose and hair outline.
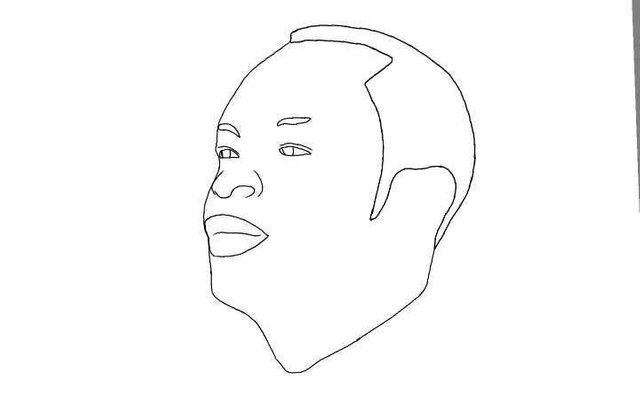
The black areas of the head is filled with black colour. Remember that you have to click each layer before you fill. I.e you can't fill the eye with the hair layer.
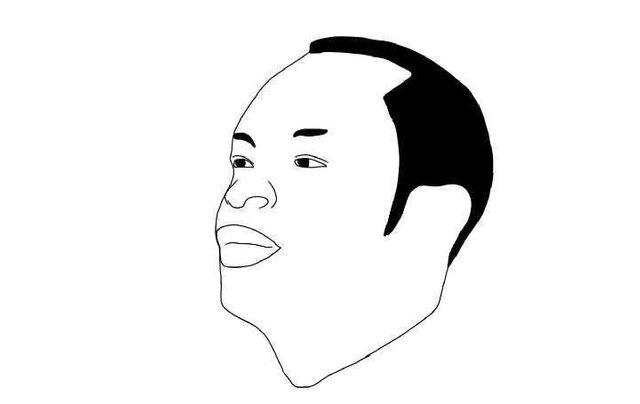
Next. The hairstyle needs to be perfected. The soft eraser is selected with an opacity of 15% and a size of 134. It is used to erase part of the hair to make it blend with the head. You need to select the hair layer so as to erase it. Also, don't forget that the there's still an hair outline in the head layer that interferes with this new effect so you have to clean it with the hard eraser.
The head layer is then duplicated and one is filled with the complexion. You can manually tweak the complexion to your taste. I just copied mine from another toon to speed up the process.
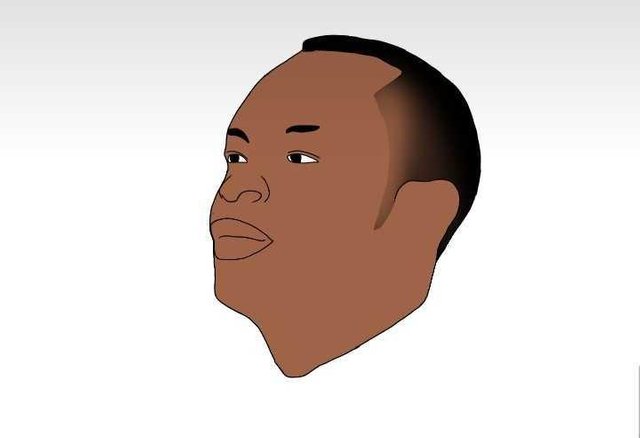
After it is filled, you can notice that the eye too is filled. That is because the white you saw before I filled it is not actually white but transparent. So you now have to properly fill it with the white colour. The background too is not white but transparent.
Now to the most tricky part, the shadows. You have to be very careful so as to avoid mistakes. You will be needing 3 types of shadows, the dark, the slightly dark and the slightly light. You will be creating three layers for each and those three layers will be between two layers- the head fill layer and the head outline. You have to select the complexion and reduce the brightness a bit to give a dark coloured version of the complexion, then a layer is created between the aforementioned layers as in.
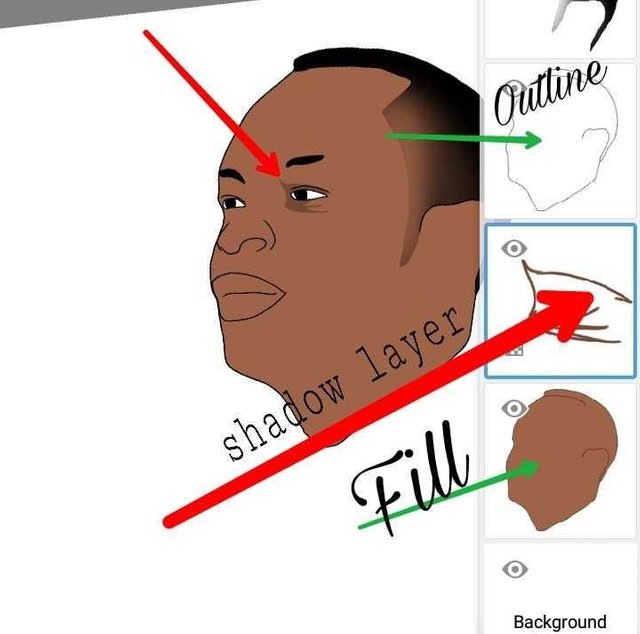
Gently trace the IMPORTANT dark shadows. I had to emphasize the importance because it is very vital to the neatness. You can't possibly trace all the shadows, you only need the major dark ones. Majorly in the eyes and ears. Here is my completed dark shadow.
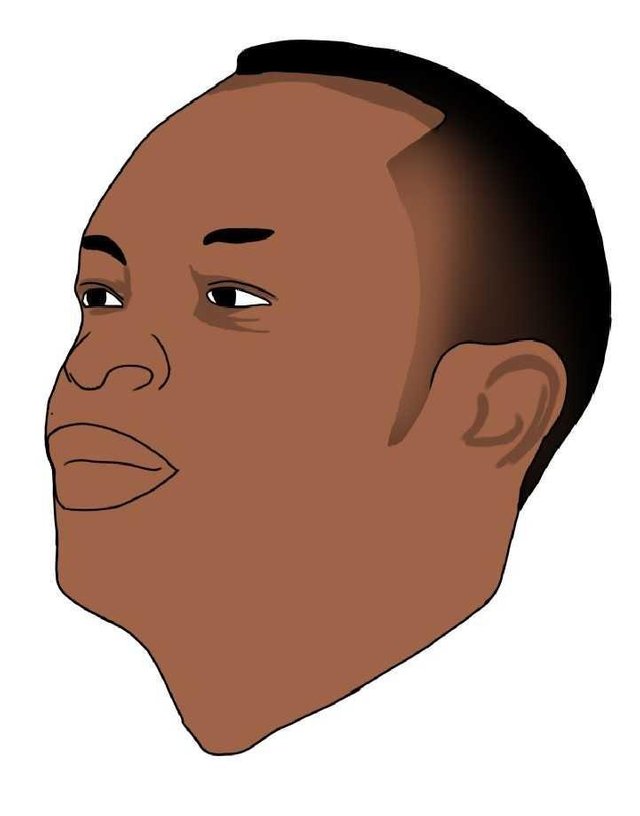
Then another layer is created right below the former layer with a slightly dark version of the complexion and it is used for the slightly dark area. Please put in mind that tracing shadows does not need to be overly accurate as it is not a realistic drawing. This is for mostly, the nose.
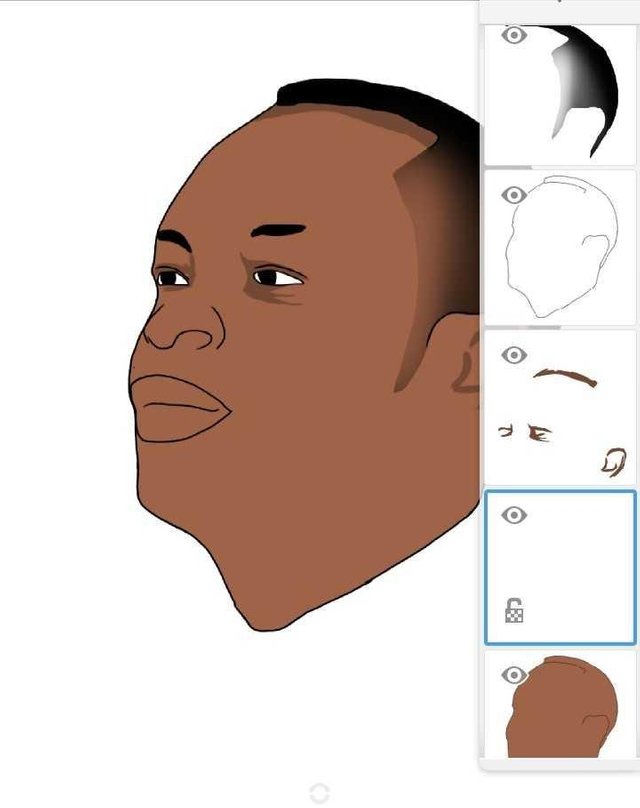
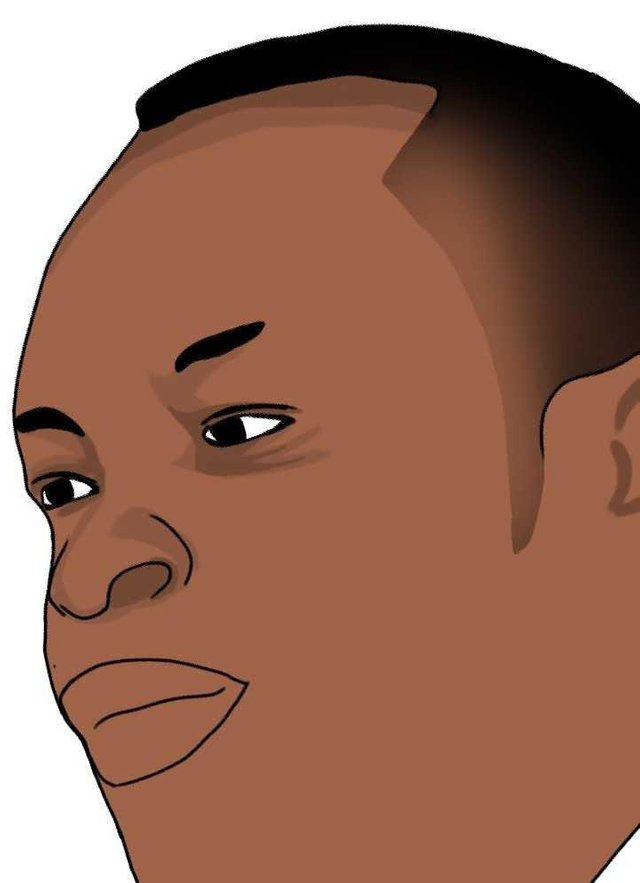
Now that it is done. Proceed to shade the mouth with both of the previous colors. You can see how I did it. As usual, create a new layer for this.
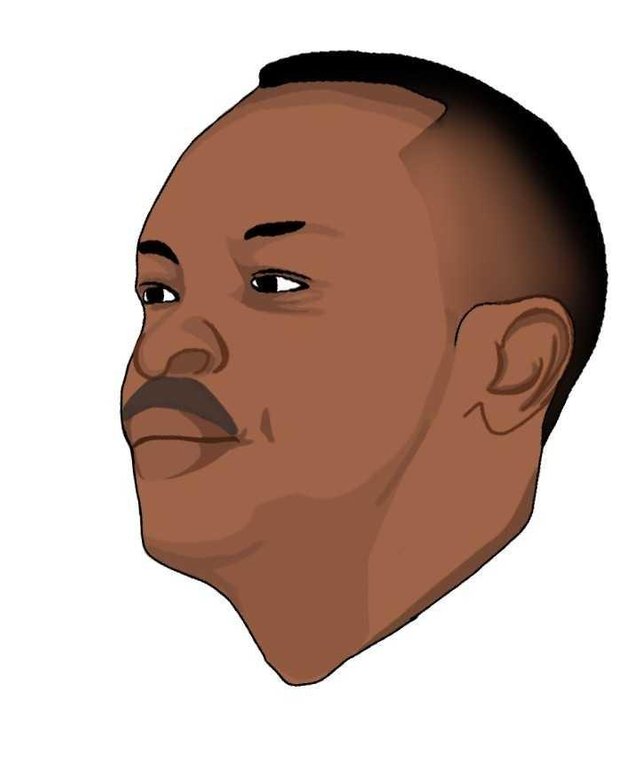
Now I made some changes to it which you can notice and modify if you want. You needn't bother yourself with it anyway. But it makes it more cool. Now we are done with a larger part of the shading. Let us go to the beards. I used vector so I did not use any texture in this. Rather, the shadows was tweaked so as to give the beard effect. You can create a new layer for this too.
You can draw the body in continuation of the neck. The head filled with complexion which is the last layer.
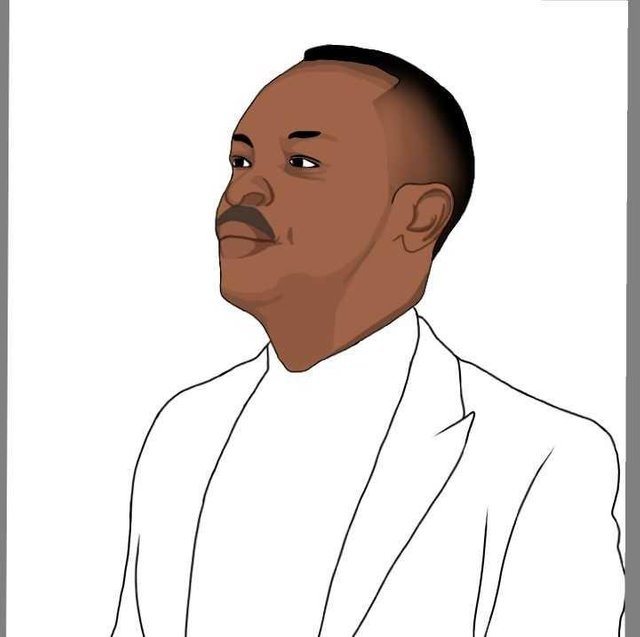
The cloth is completed and other adjustments you may deem fit.
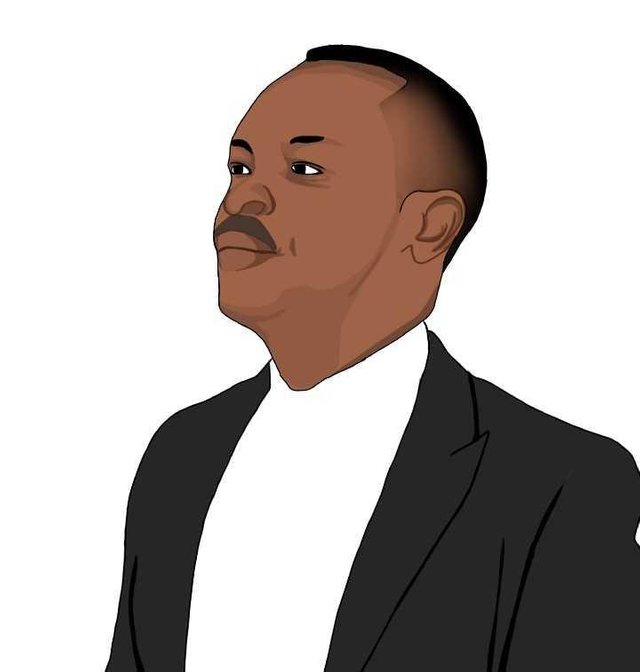
Here is a time lapse video of the overall process to help you out