Make a split rail fence.... The hard way.
Intro
The Family and I were out at Runge Conservation Area. A fine little forest part area in the heart of Jefferson City Missouri. Along the short trail, they have a low split rail fence that separates the path into uphill and downhill sections. Mrs. Gnome says to me something like that would be perfect to keep the kids toys from rolling out into the road. So you know what that means Mr. MotinkerGnome is now tasked with figuring out and making a fence.
While we live on gravel in the middle of the country this house has a fair amount of traffic down the country road and most likely they are either high or drunk, as it runs parallel to the US highway. Yes, I am prepping to build a new house on 8 acres along a dead end road but for the meantime, the split rail is in service.
The easy way would be to go to the local farm and home and buy pre-split rails stack them in the zigzag fence pattern and admire the thought of actually building a fence.
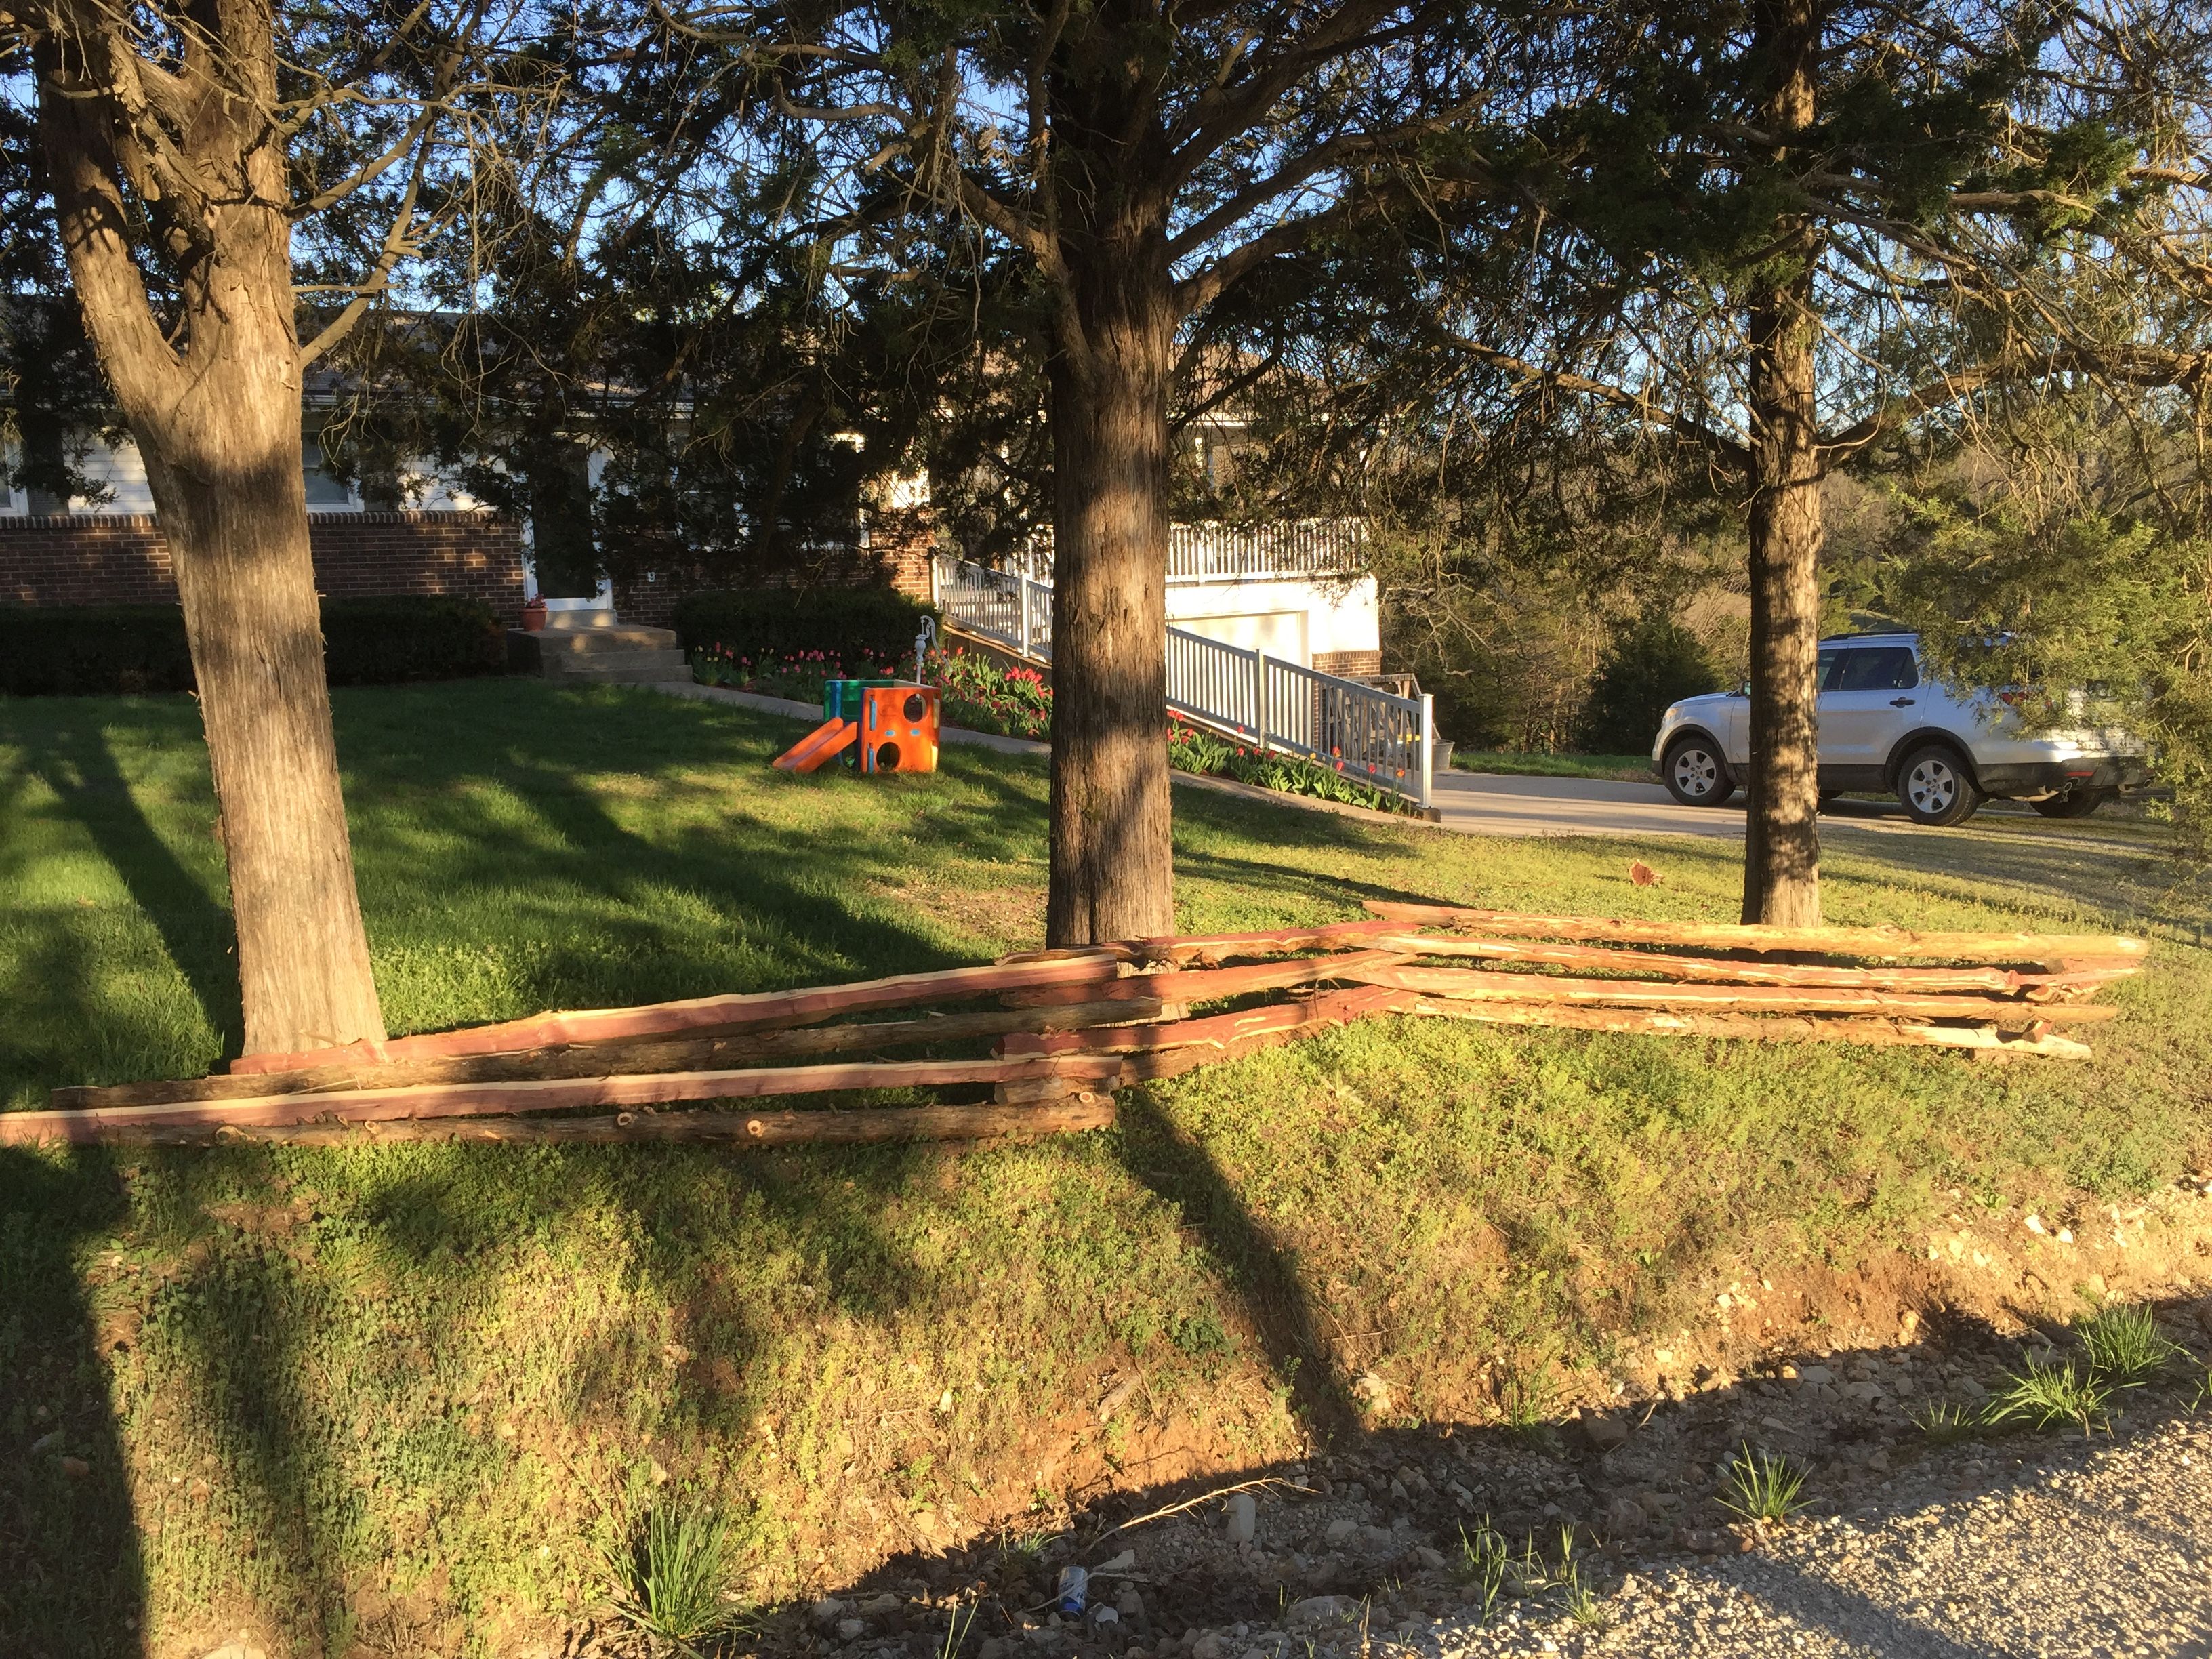
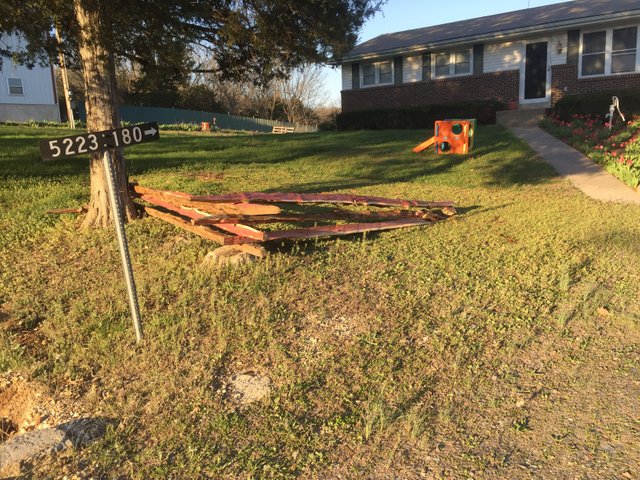
The hard way, on the other hand, means felling trees and carrying over the logs to where you want to build the fence. After that use wedges and a sledgehammer to split those logs into rails then stack them into the fence shape desired. So that is how I did it. And here is a pic of it about halfway done. I have it completely going the length of the front of my house.
Step 1
Gather some logs. I was lucky in one aspect as I already had about 8 10 ft cedar logs that were to be used as corner posts already felled and in a stack. I also had 2 more cedar trees that were storm damaged and needed to come down resulting in about 12 10 ft long cedar logs. Unfortunately, I cannot find the pictures of me looking exceptionally rugged with a 10 ft log over my shoulder but you get the idea.
Step 2 Gather your tools.
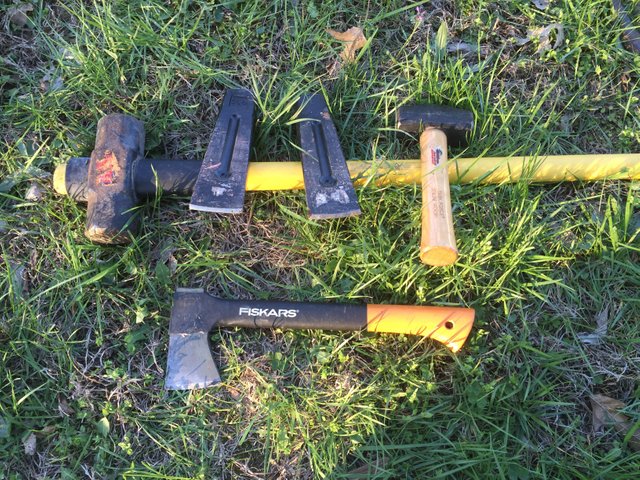
I used the following. The wedges and sledgehammers I picked up from Harbor Freight. if you are outside of the US Harbor Freight is your typical tool retailer of marginal quality cheaply produced crap. But it is hard to screw up a lump of metal and a hammer right? But for my axes, I tend to like quality as they will hold an edge and keep on cutting. My absolute favorite hatchet is a Fiskars 14 inch that was made in Finland. This thing has held an edge for years with only minimal touch-up sharpening to remove a burr from a knick.
Tools
1 - Fiskars hatchet
2 - Splitting wedges
1 - 8lb Sledgehammer
1 - 3lb Drilling hammer
Step 3 Pick your first log.
I am going to show in a log that was already halved by this method but it is the same on a whole one. The reason cedar is used is multifold. It is a naturally rot-resistant wood, It also resists most insects, and lastly, it grows with a long straight grain that facilitates easy splitting into uniform pieces.
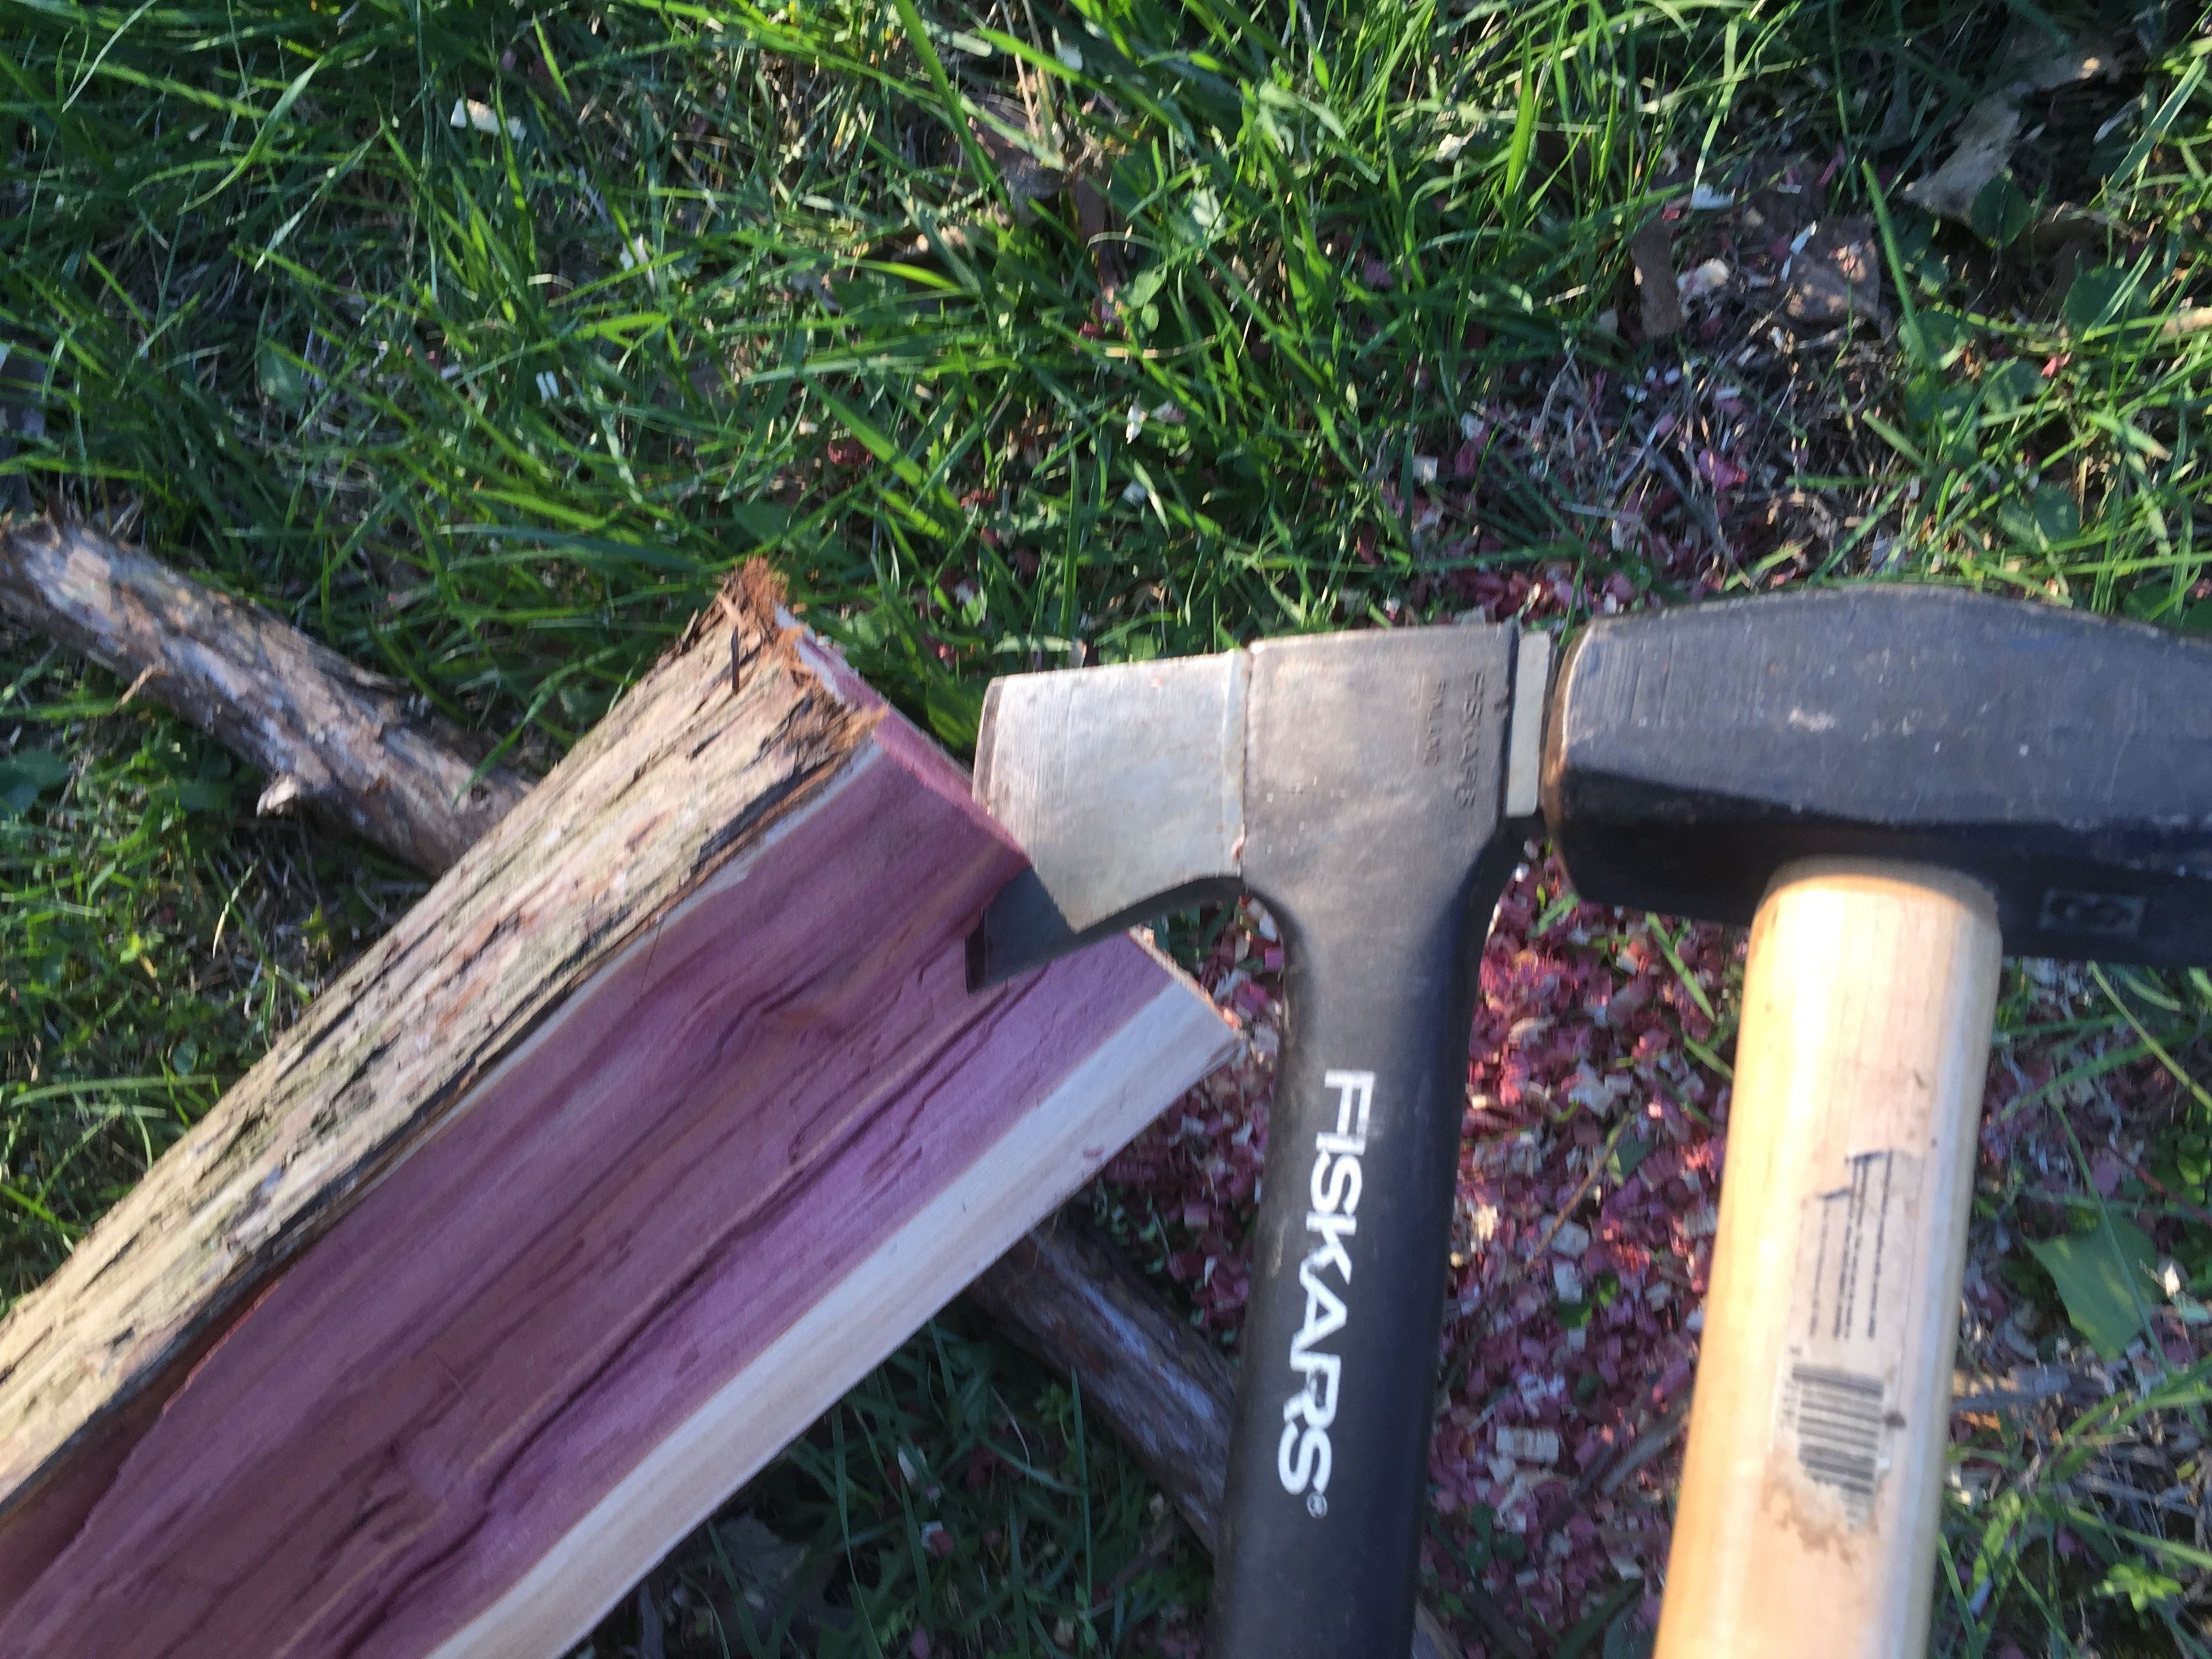
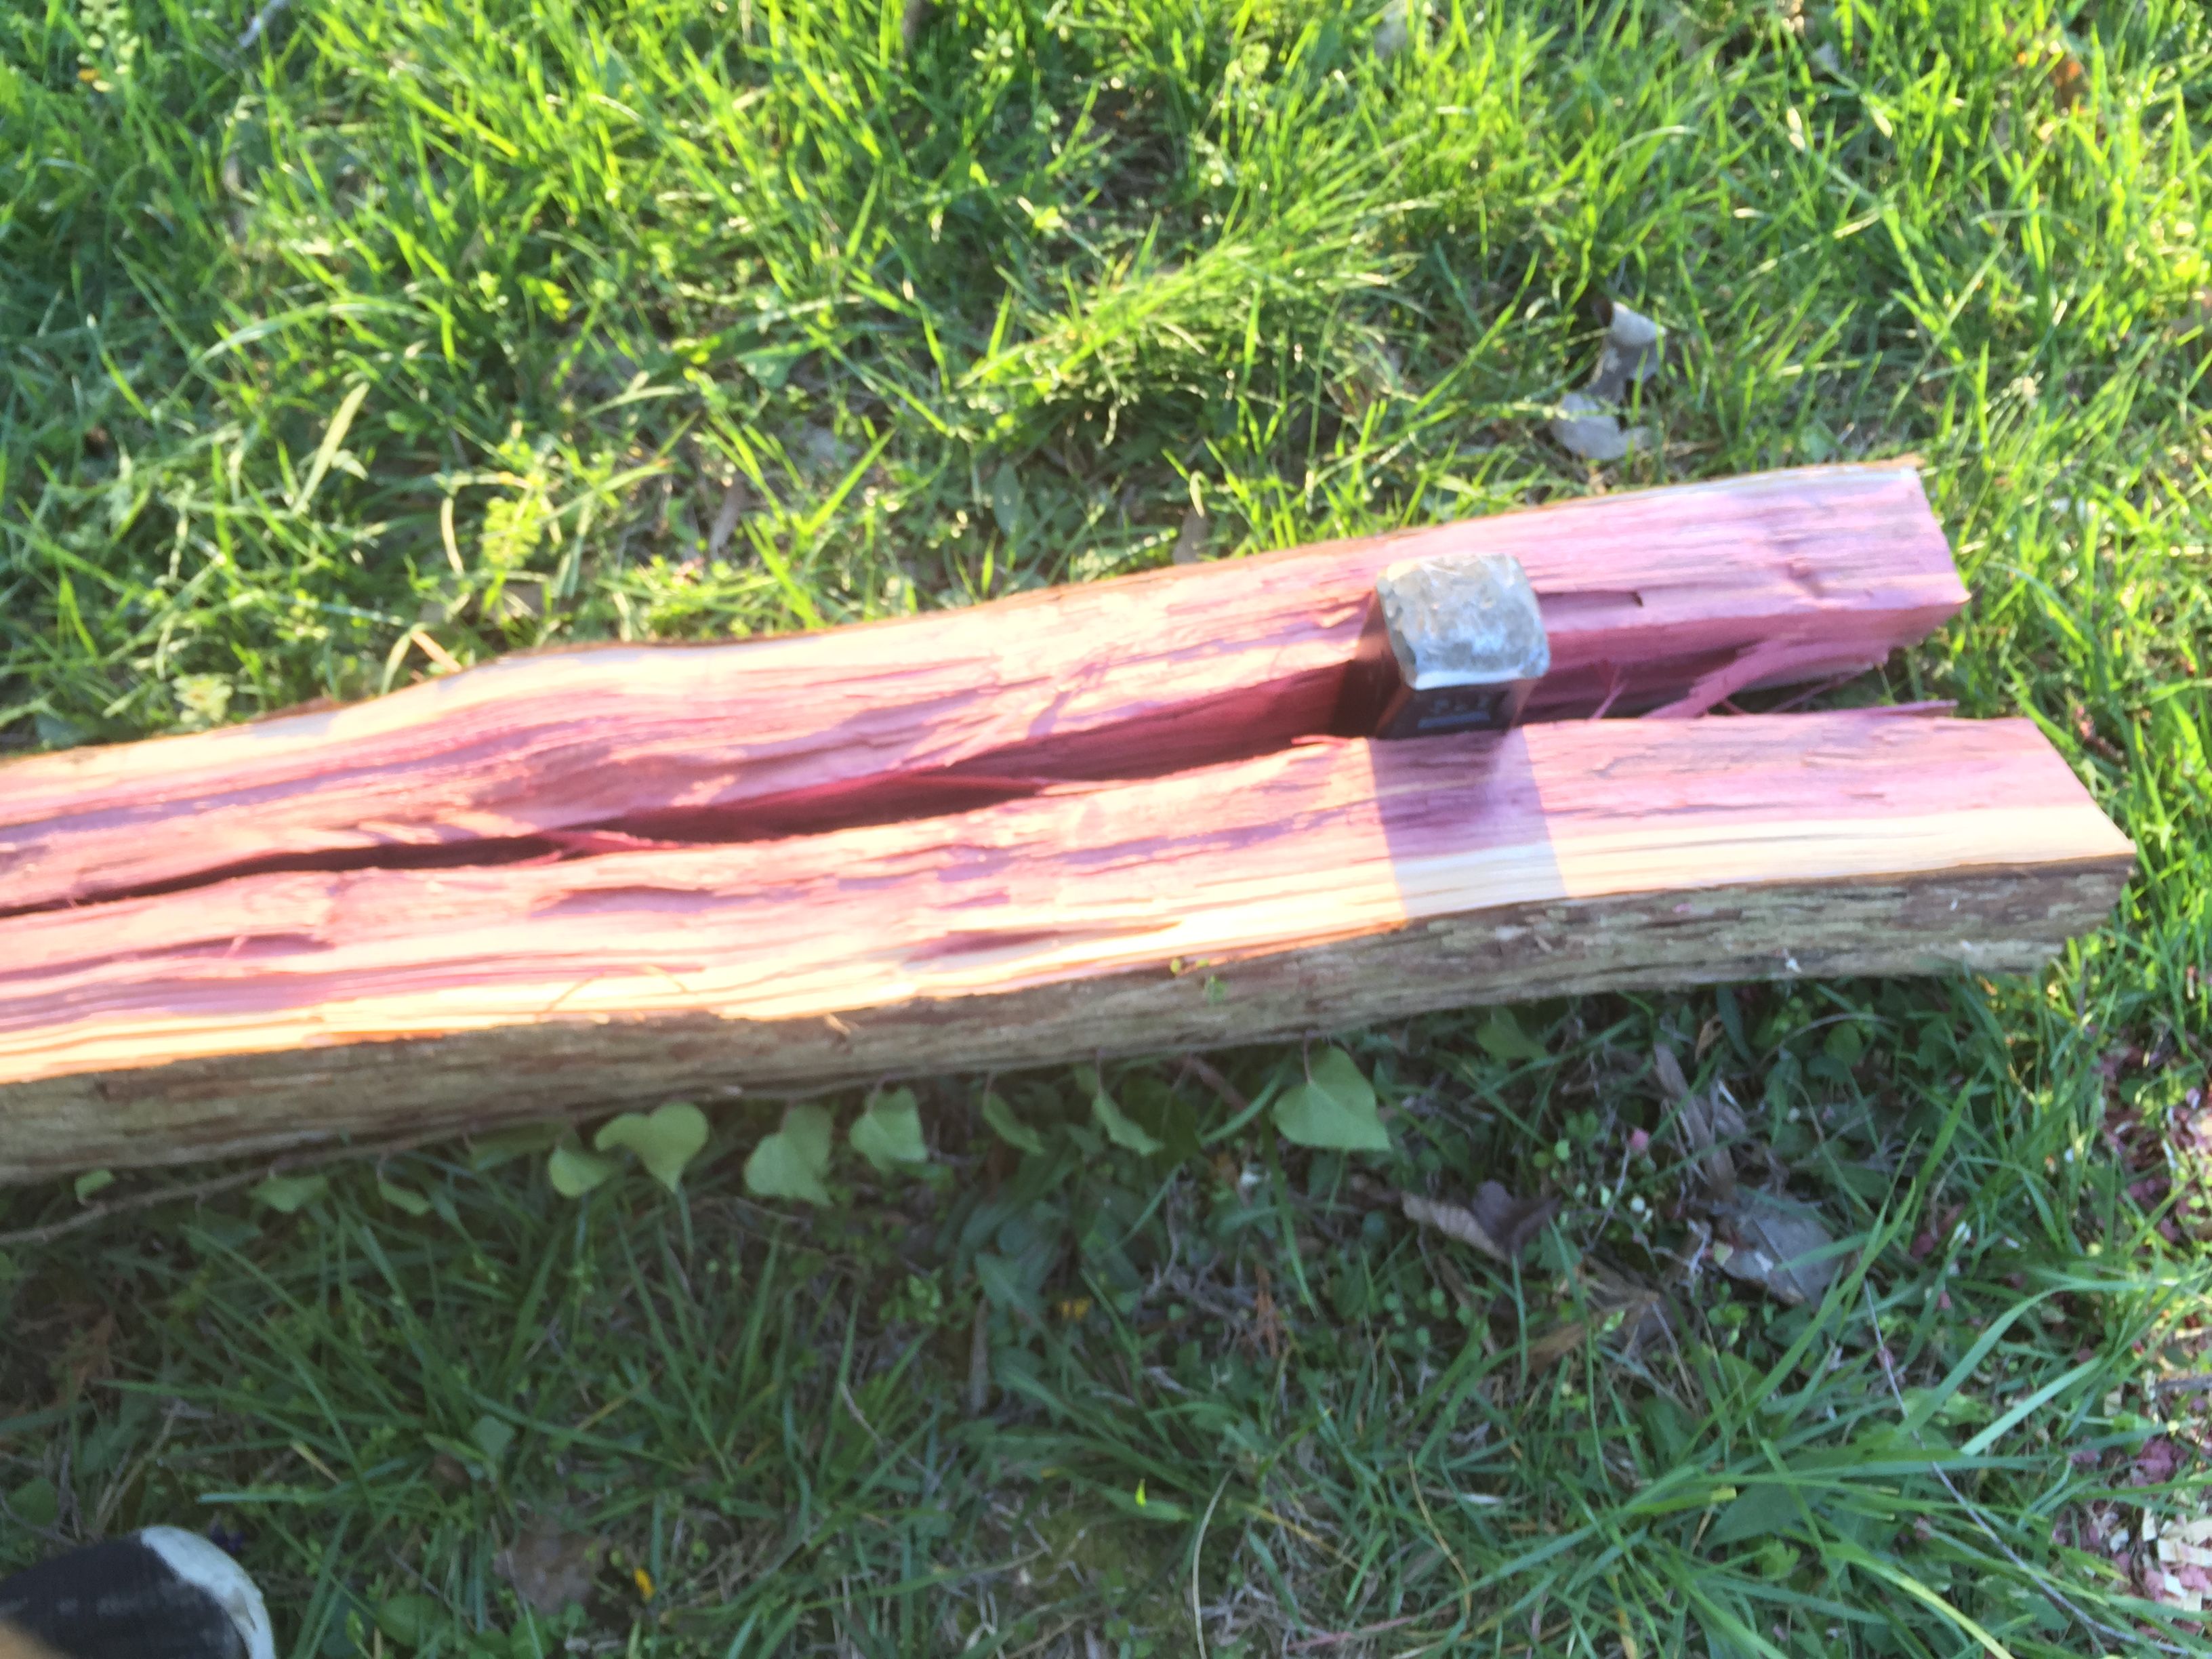
To make the initial crack, I placed my hatchet on a visible grain and gently tapped it in with my drilling hammer to start the split.
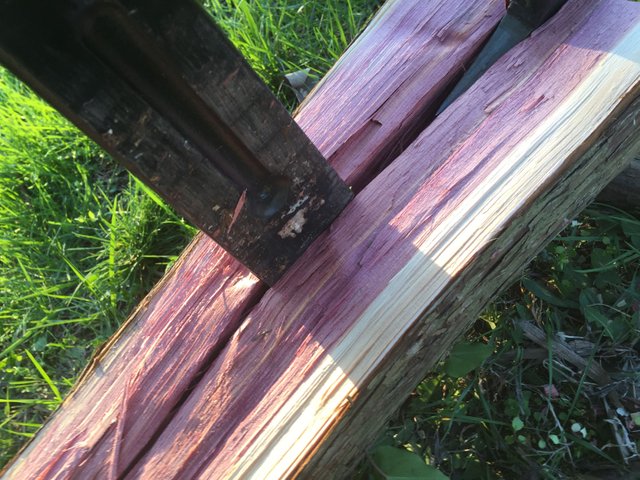
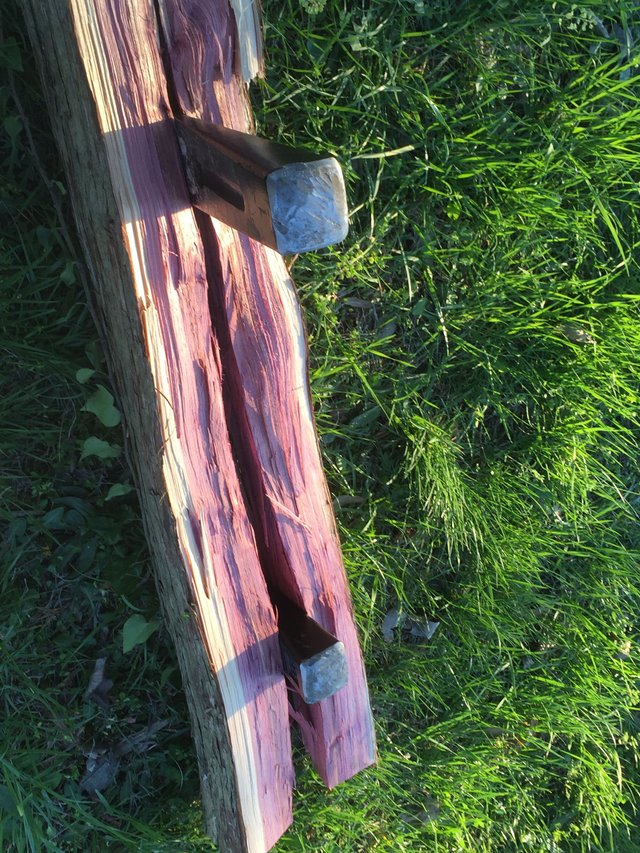
After the hatchet is driven in, next is to expand it using wedges along the length of the log. Inset a wedge in the crack started with the hatchet and drive it in using either the drilling hammer with many strikes or the sledge with fewer strikes.
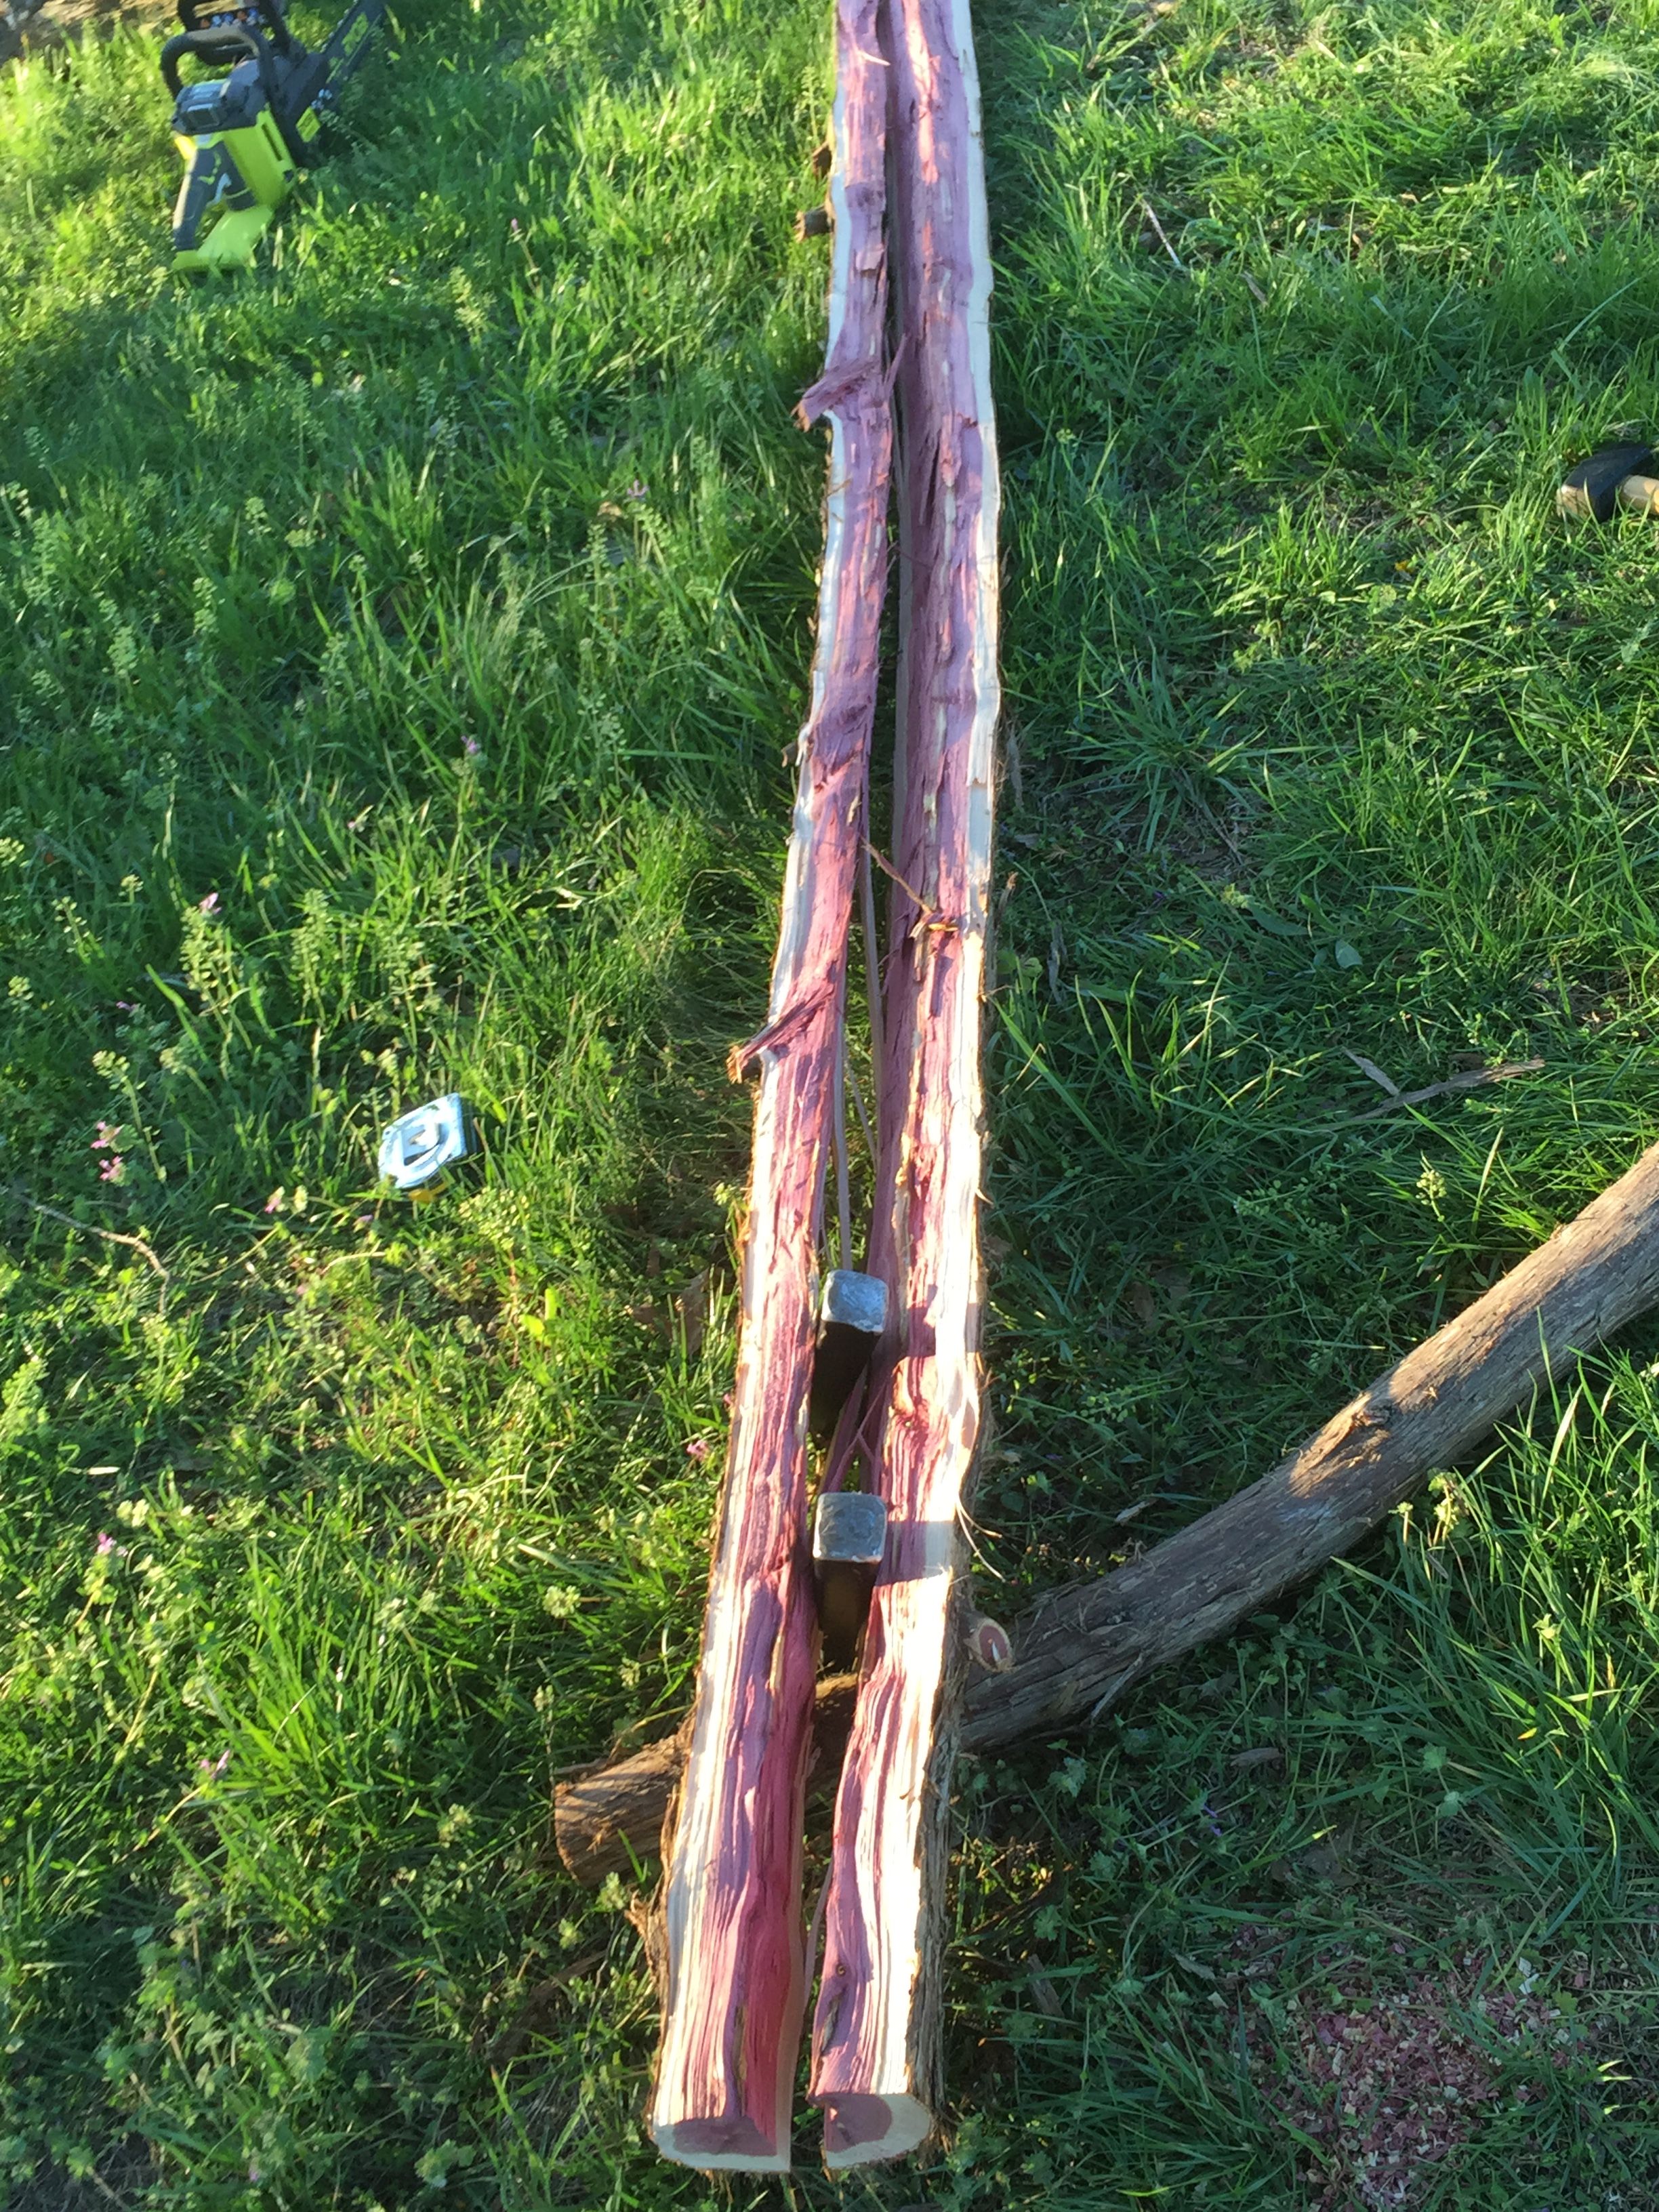
Place a second wedge in further down the split and proceed to dive it in elongating the split towards the end of the rail. At a point that varies, the log will split in half. rinse and repeat until the logs are split to your desired quatity and size. I would average about 4 rails per small diameter log and 8 on the larger ones. I tried to keep them all about the same size but there are some that vary.
All that is left is to stack them in the zig zag shape you desire, stand back and take in your handy work.
The fence I made is fine for keeping the kids balls out of the road and as a visual marker to keep the kids out of the ditch. But if one were to use this type of fence to hold in livestock they would want to drive stakes on either side of the X formed when stacking the logs.
Congratulations you are now a railsplitter.
I was also chosen to be featured by SOTALL

Community Forums
Congratulations! This post has been upvoted by SteemMakers. We are a community based project that aims to support makers and DIYers on the blockchain in every way possible. Find out more about us on our website: www.steemmakers.com.
If you like our work, please consider upvoting this comment to support the growth of our community. Thank you.
You can read about us here
Great work. Thanks for sharing about your activity
Thanks have a great day.
Congratulations! This post has been added to our growing directory of Steemit post for the Homesteading/Survival communities. If you haven't done so already, you can claim your badge along with the code to add to your posts to let the world know you have chosen to help others Survive, Thrive and be Prepared! Click here to get the code
Thanks, I added the image.
I never actually seen this done thanks for sharing.
Thanks it was a bit of trial and error. I saw a woodcut of Lincoln with an axe and figured I could do that... Ill just use wedges. :)