DIY - Building an aviary - Part 3
I’m not a professional builder, I deal with legal issues for living but I really do enjoy creating and establishing things around the house. Our old English friend told me once: “After all, this is what makes a man, isn’t it?” I think he’s right.
Originally, I had planned two posts on this project, but writing the second one I realized that all good stories are divided into three parts. I think I still have enough information to share with you for a third one. This is the final chapter of my trilogy AVIARY project.
You can find Part 1 here and the Part 2 here. If you are interested in the birds, I posted in #animalphotography at @photocontests.
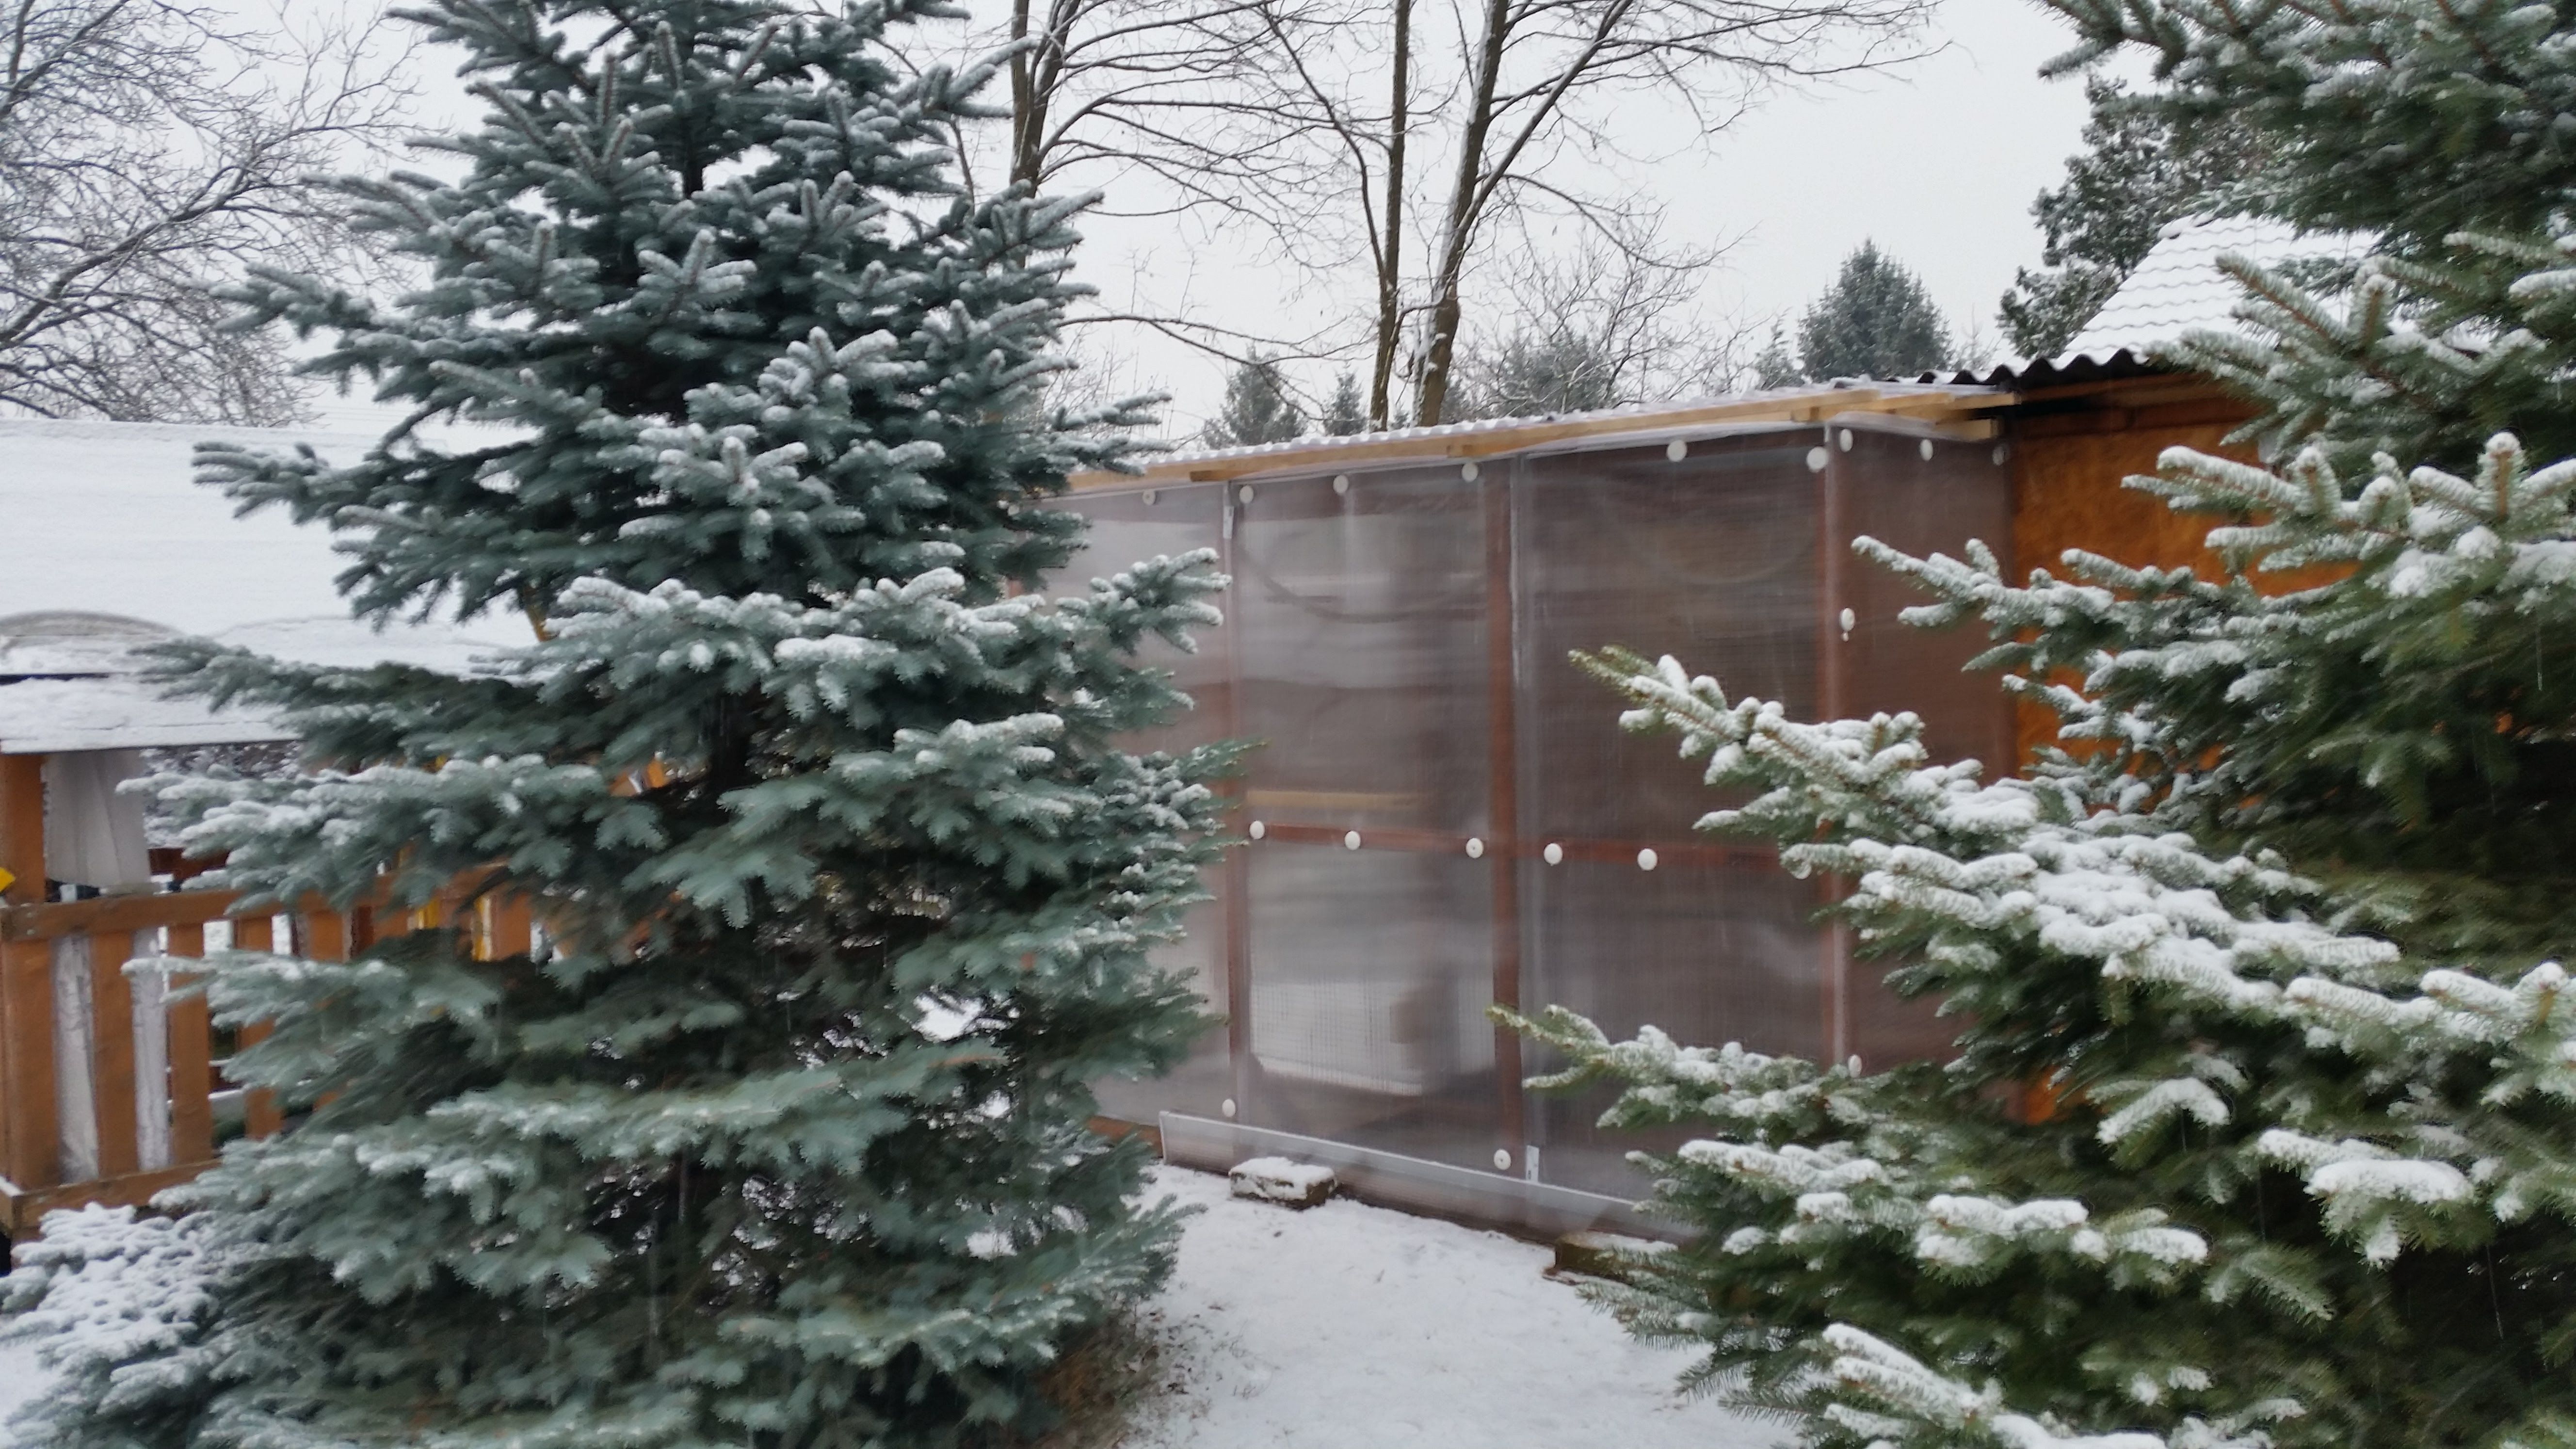
Winter is coming!
Game of Thrones fans know very well this sentence. And as a matter of fact, I was not prepared enough. When the second part, the extension was completed, I wanted to finish the shelter. This was one third of the original version of the aviary, and its top and three walls were already covered by OSB and equipped with isolation.
My intention was, that I would halve this part, and the upper section would be the shelter. I mounted a transparent multiwall polycarbonate sheet as a fourth wall inside the aviary. I made an entrance for the birds, so that they can go inside if they are cold or it’s windy outside. It was 1m x 1m x 1m, there was plenty of place inside even for a short fly.
Give a second thought
When it was done, I was waiting contentedly for the cockatiels to go in. I kept waiting… And nothing, they didn’t even go close to the shelter, which was quite strange. Their sleeping rod was inside, they always slept on it together before. And now, nothing. I put them inside and it was a huge mistake! They started to panic, tried to break out and collided to everything. Having seen the first blood drops, I removed the polycarbonate sheet. Shit happens.
Researching
I did a research on the Internet again and consulted with veterinaries. Cockatiels can bear the frost well, even minus 20 degrees Celsius for a few days. I learnt, that not the cold is the biggest danger, but cold and strong wind together. And if they are wet, they can easily get cold, fatally. The average temperature in winter in Hungary is not like in Siberia, but minus 15 sometimes happens for a few days. And according to the weather forecast, it was coming in a few days, so I had to act quickly.
Plan B
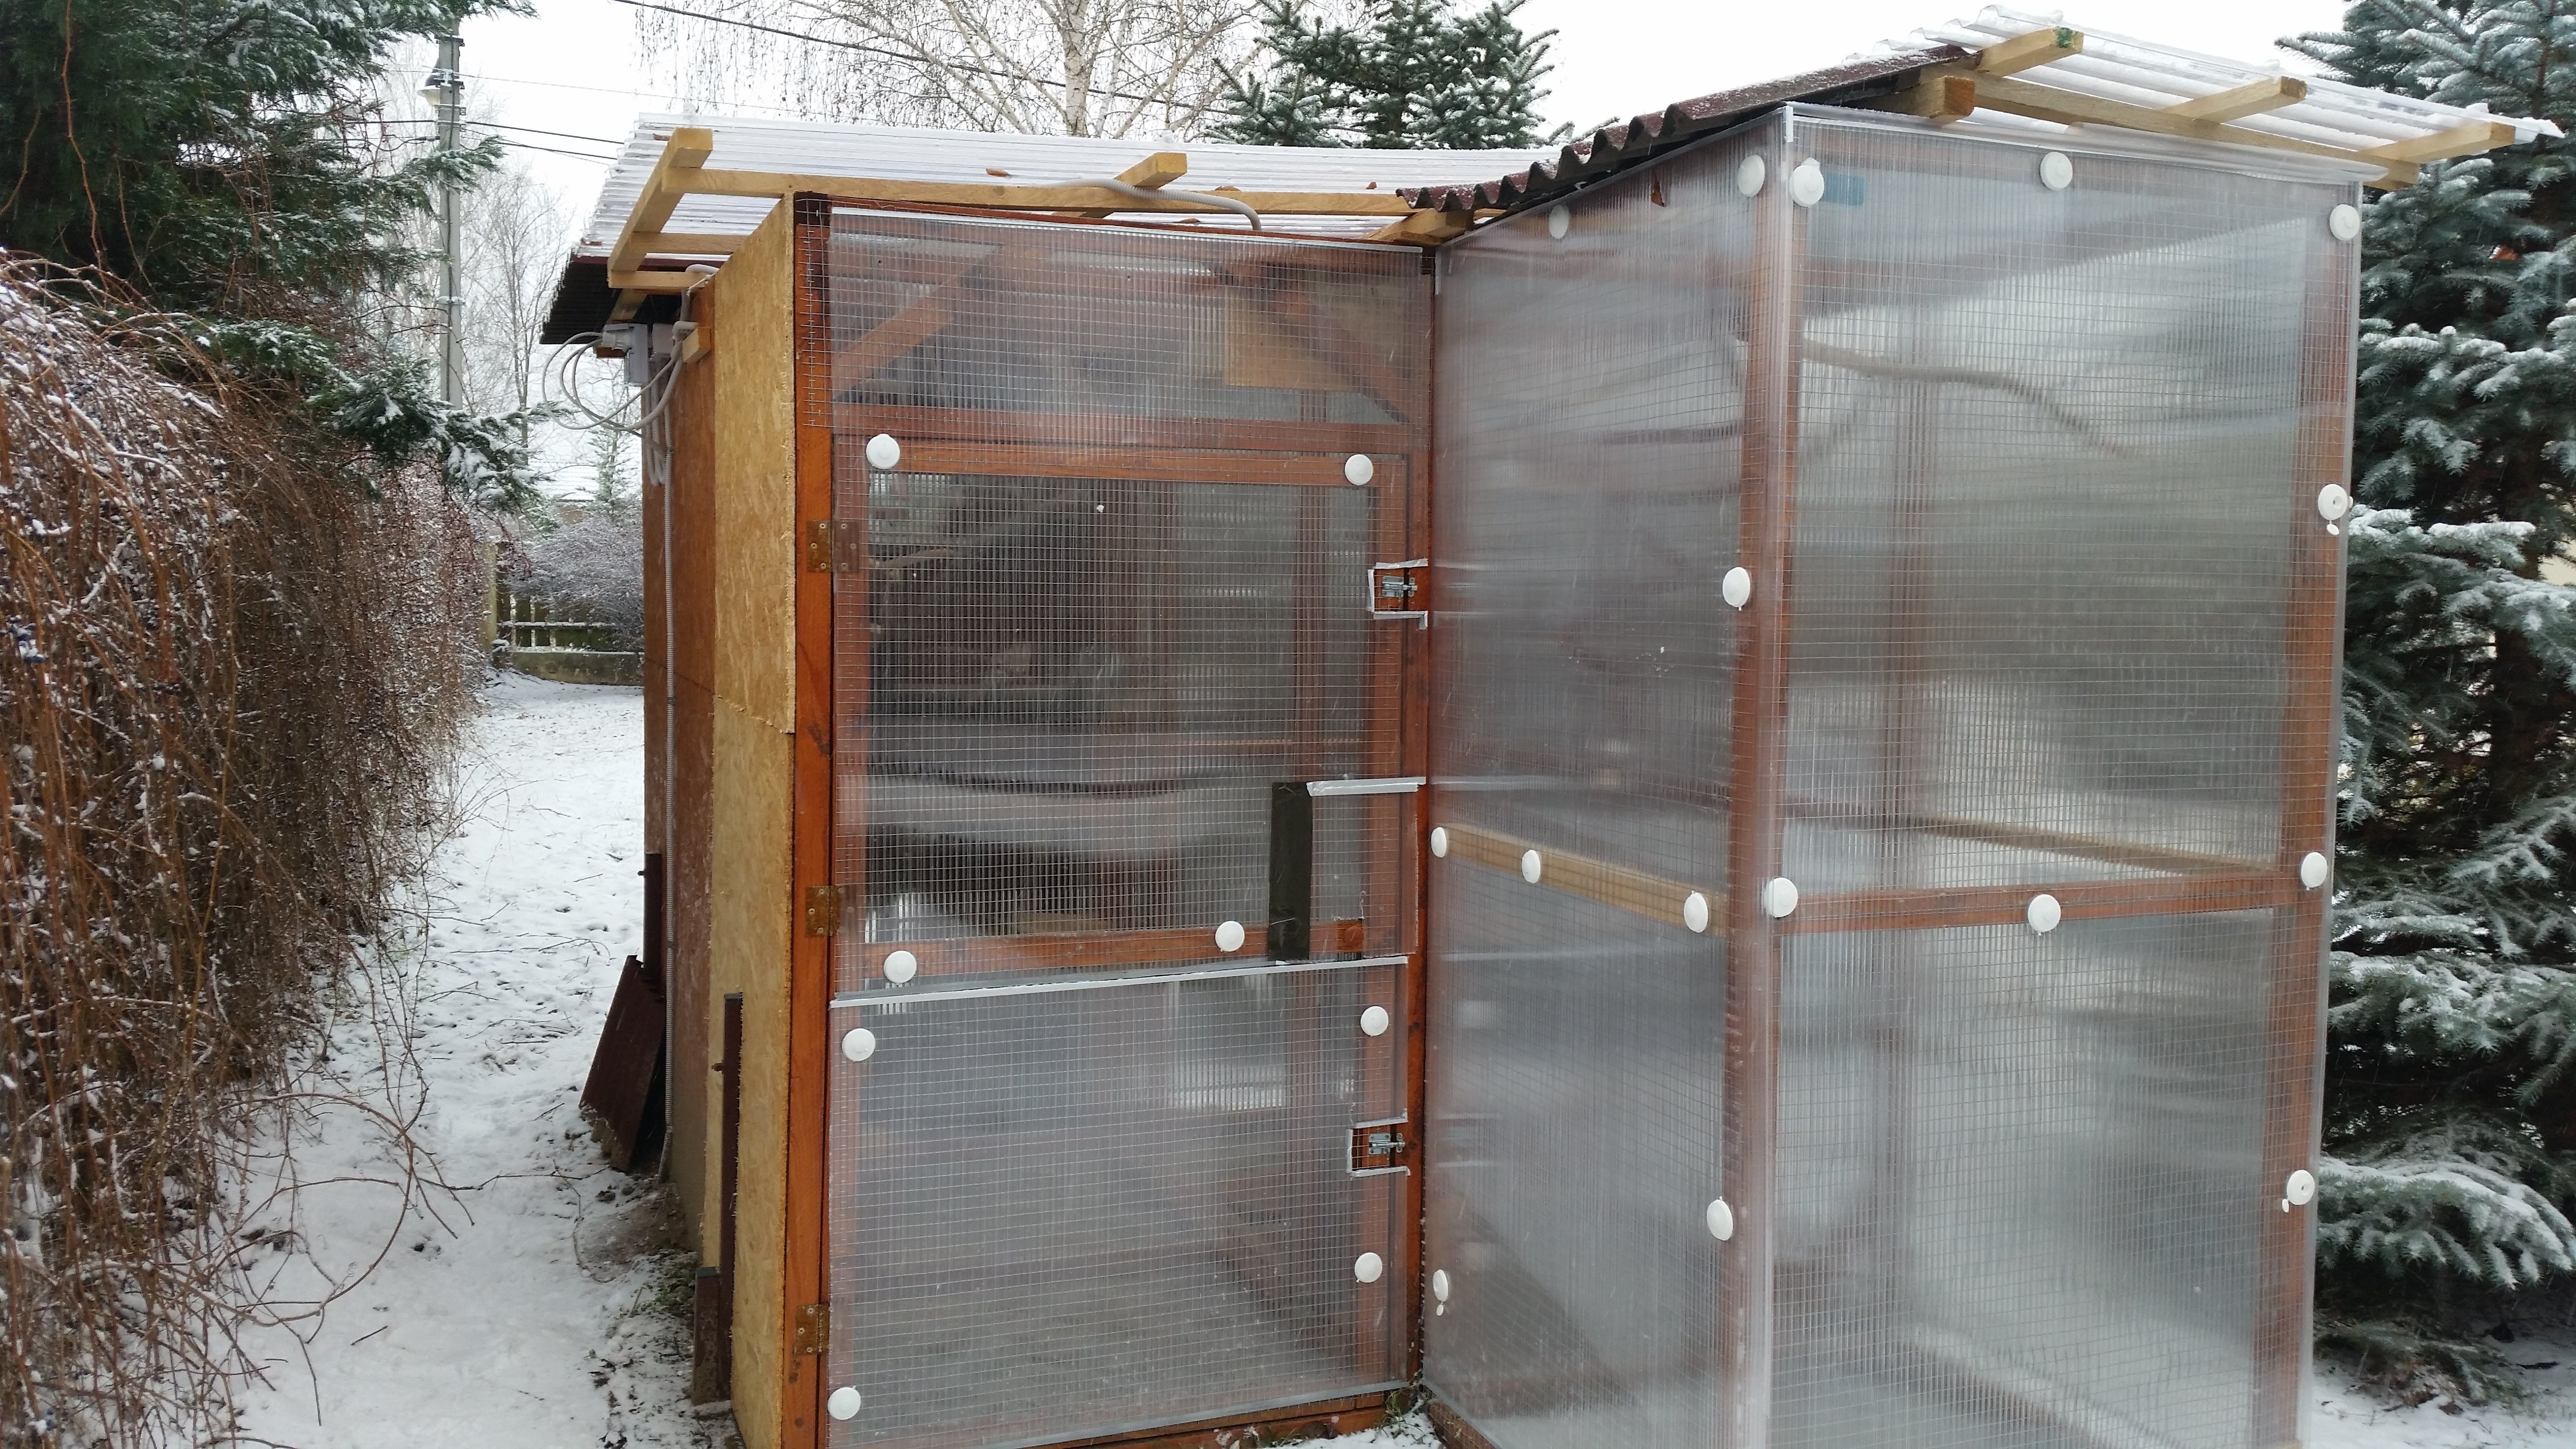
If they refused to go in, I can assure that they are in. I had to cover all the walls and create a top on the extension. Quickly. For this reason, I didn’t take stage photos. I bought transparent multiwall polycarbonate sheets and screwed them on the skeleton of the aviary.
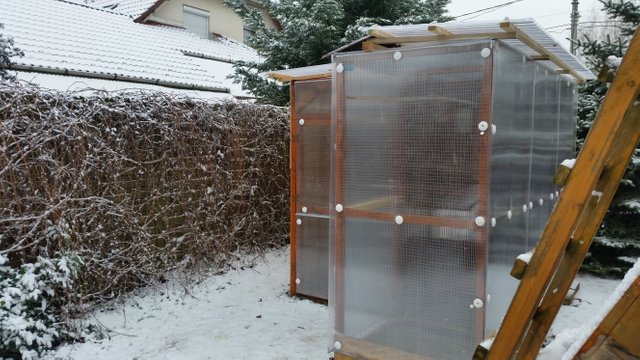
I didn’t want to create a fixed roof over the extension, so I made a framework on the ground and I mounted transparent polycarbonate roof sheets on it. I put the whole structure on the top of the extension and screwed it from inside. That way I can easily remove it in spring just like the other polycarbonate sheets from the walls.
Interior solutions
Cockatiels need light. During the winter days, there’s daylight for around seven hours. I dug through the whole garden to bring electricity to the aviary. I installed two led lights inside, controlled by separated time-switches. They turn on at the same time, but one turns off half an hour later than the other. With this solution I wanted to indicate the bed time to the parrots.
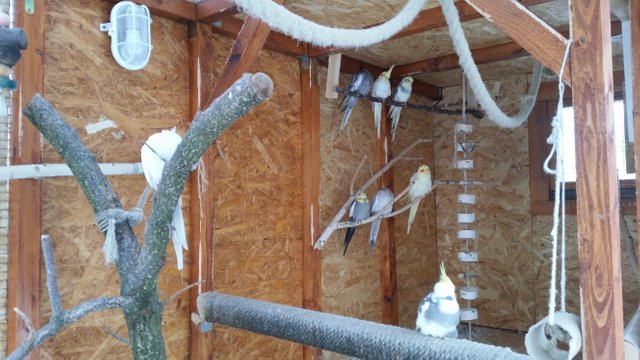
As an extra protection against the cold I mounted an infra heating panel in front of their sleeping rod. I attached a third time-switch to the panel, it operates mostly during the sleeping time. Infra panels work like sun, they don’t heat the air but the subject in front of them. The highest temperature of its surface is only 30 degrees Celsius, so the birds won’t be baked by it.
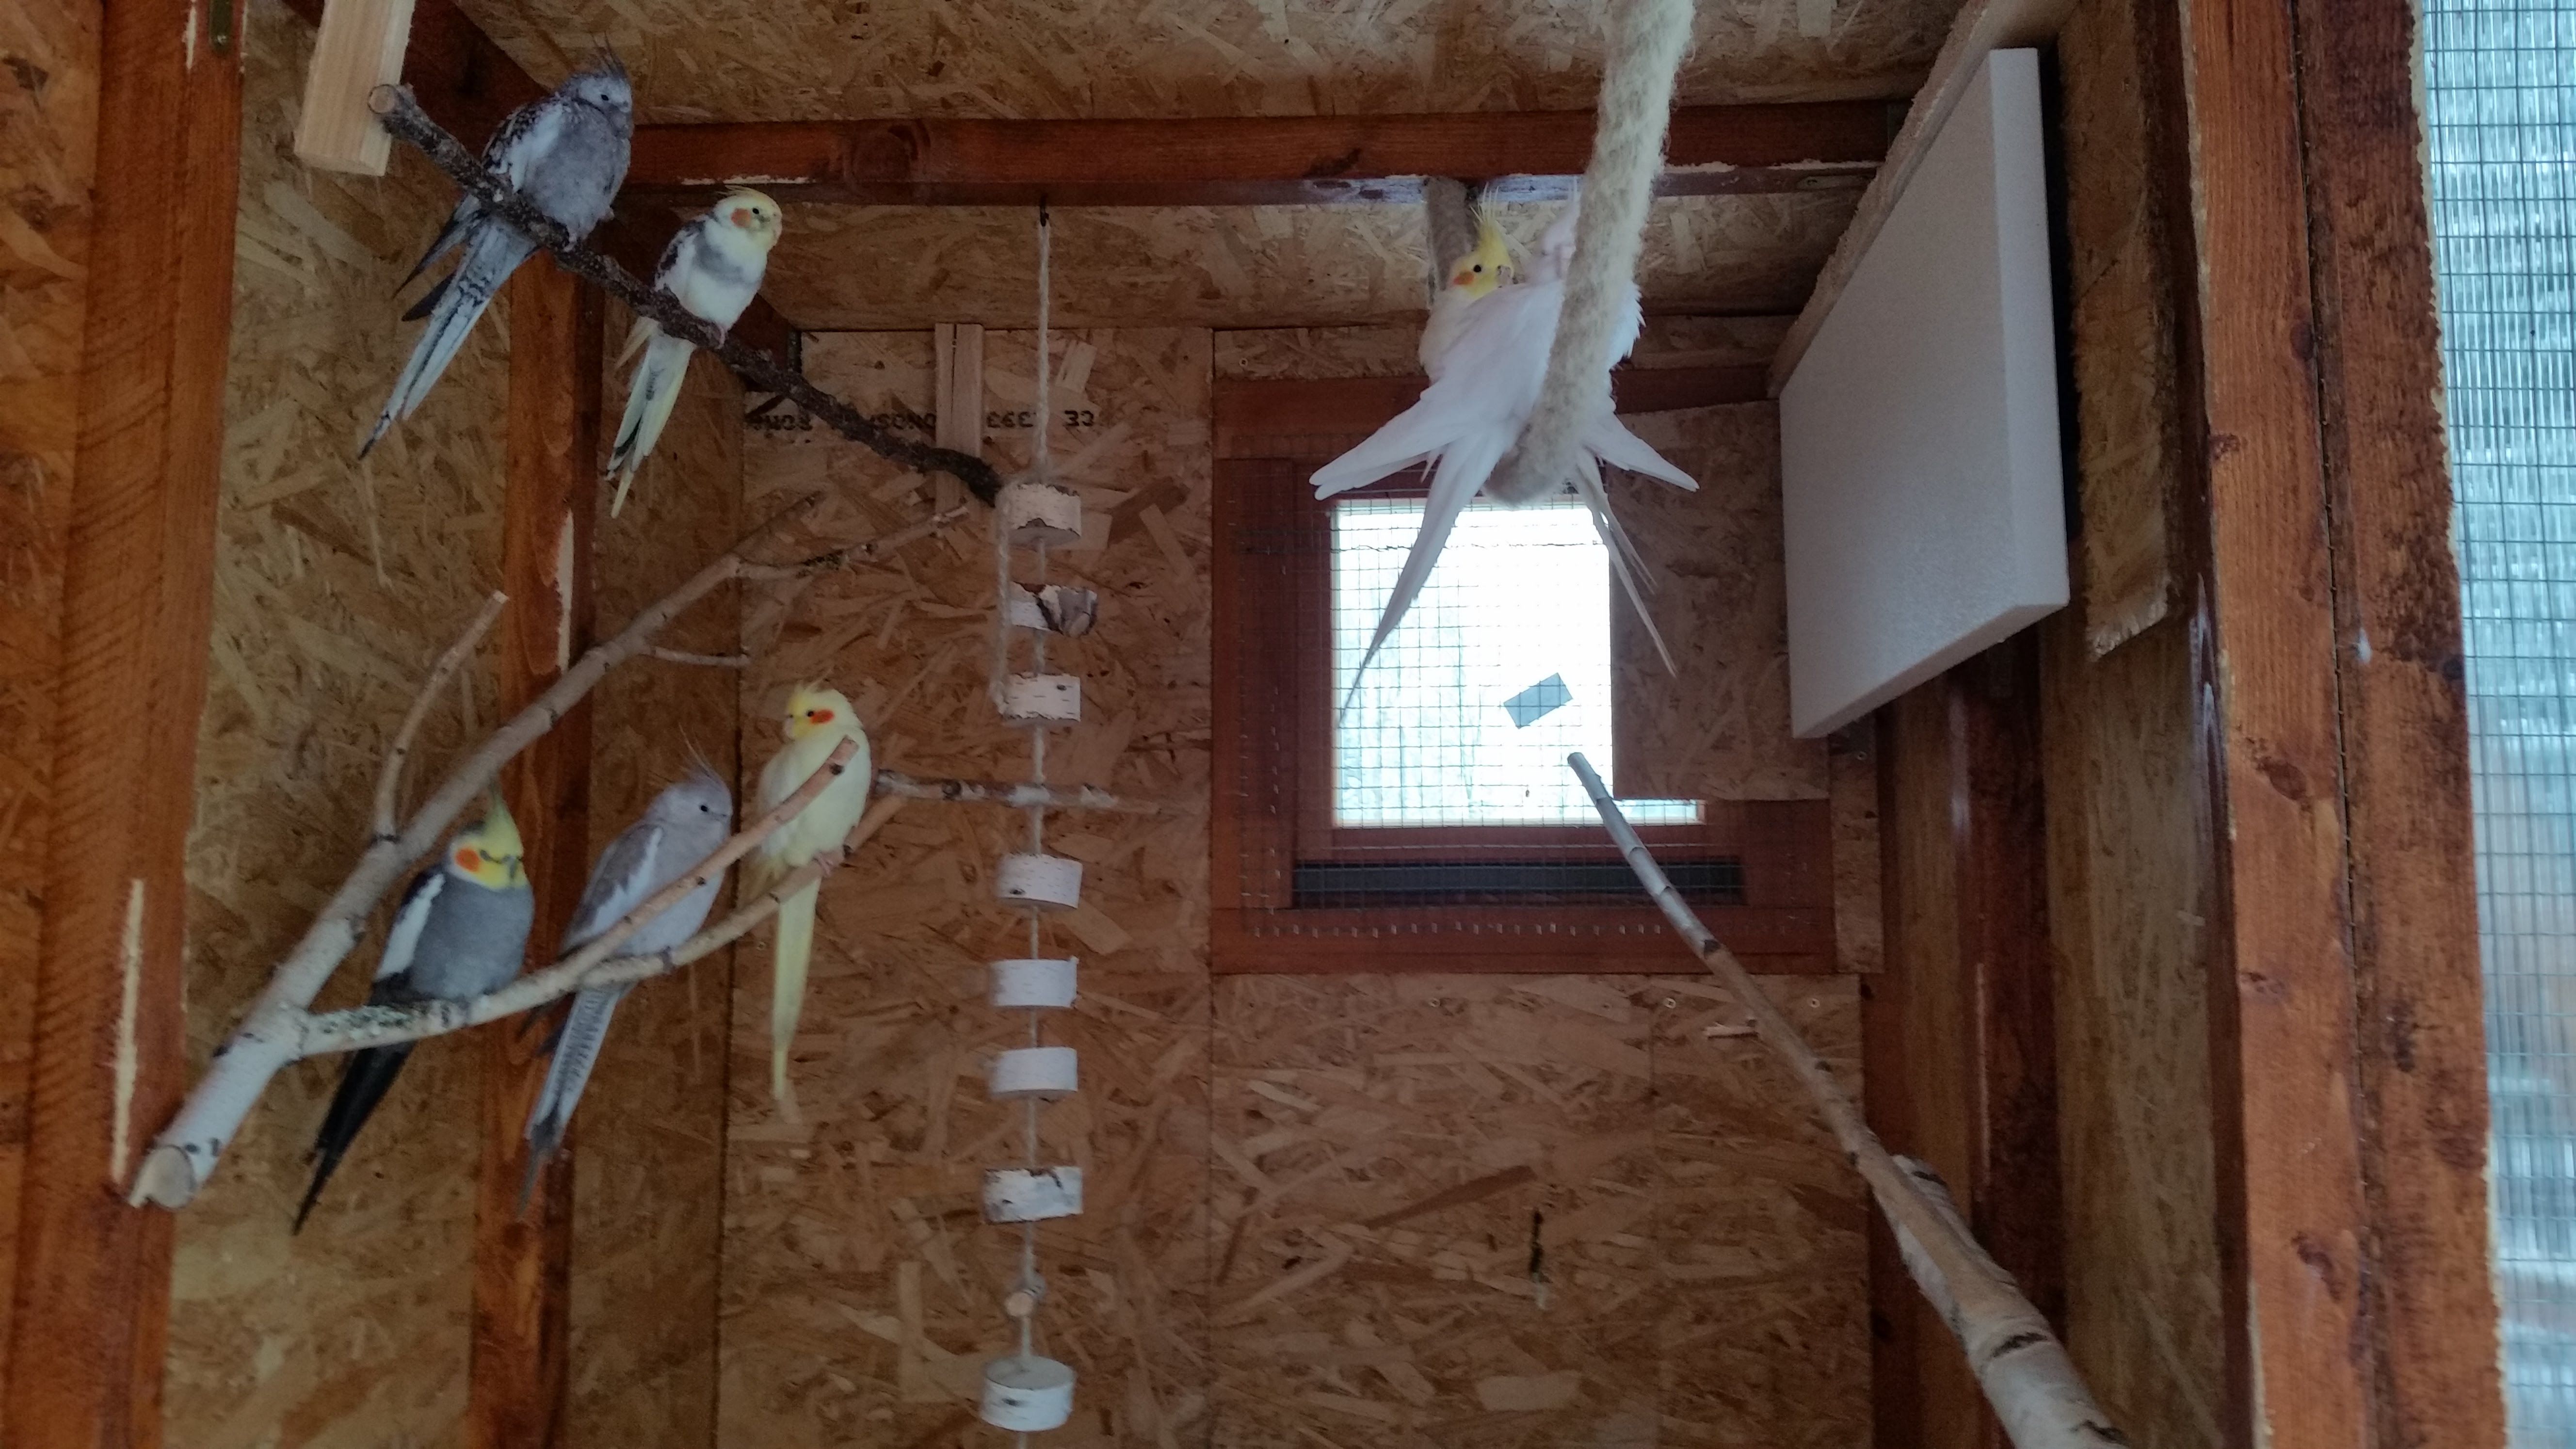
I really do hope that the current stage of the aviary is the final delivery of my project, but to be honest I really did enjoy establishing it.
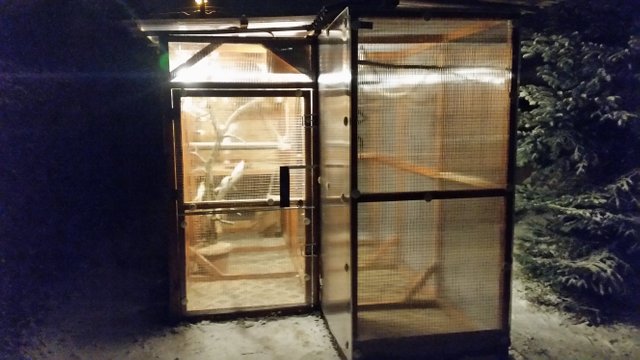
I’ve never calculated the exact total raw cost, but it was around EURO 1.200 (USD 1.600). Yeah, it’s quite a lot money, but I didn’t have to spend it all at once. Meantime I learnt a lot about woodworking and cockatiels as well. They can live for as long as 30 years; therefore, I hope this aviary will last at least for 10 years. So, I have time to think on my next project sitting in my parrot-free living room. :-)

Thank you for reading, if you are interested in cockatiels or in the aviary, please, indicate in your comments!
The grateful inhabitants of the AVIARY send their regards.

Great job!!!!! I had Cockatiels many years ago but they stayed in a cage inside and I was young and lost interest soon. I gave them away to someone that enjoyed them much more than I was at the time. Later in life I built an aviary for in the house and had finches and some other smaller birds that were a lot of fun.......You did awesome on this project and I'd guess the birds are happy you did it too....
That has been quite a journey all in all and I have enjoyed following it.
Thank you, @jist! Both was exciting: to build it and to write about it! :-)
You got a 46.42% upvote from @luckyvotes courtesy of @gabeboy!