DIY - Building an aviary - Part 2
I’m not a professional builder, I deal with legal issues for living but I really do enjoy creating and establishing things around the house. Our old English friend told me once: “After all, this is what makes a man, isn’t it?” I think he’s right.
Now, I would like to share with you the second part of my AVIARY project.
You can find the first part here.
Newcomers
As I wrote in my previous post, having built the aviary we thought that it was huge for two cockatiels, so we decided that we would get more. Eventually, cockatiels live in flocks in Australia, they move together, eat together, escape together. So our intention was to create a natural living space for them (as much as it is possible in such artificial circumstances).
In each month of last summer, we bought two new birds from different places. Now we have eight specimens. Our aim was to collect birds in different colours.
We succeeded, more or less.
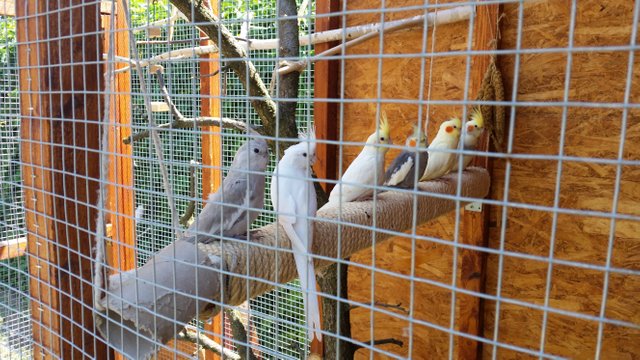
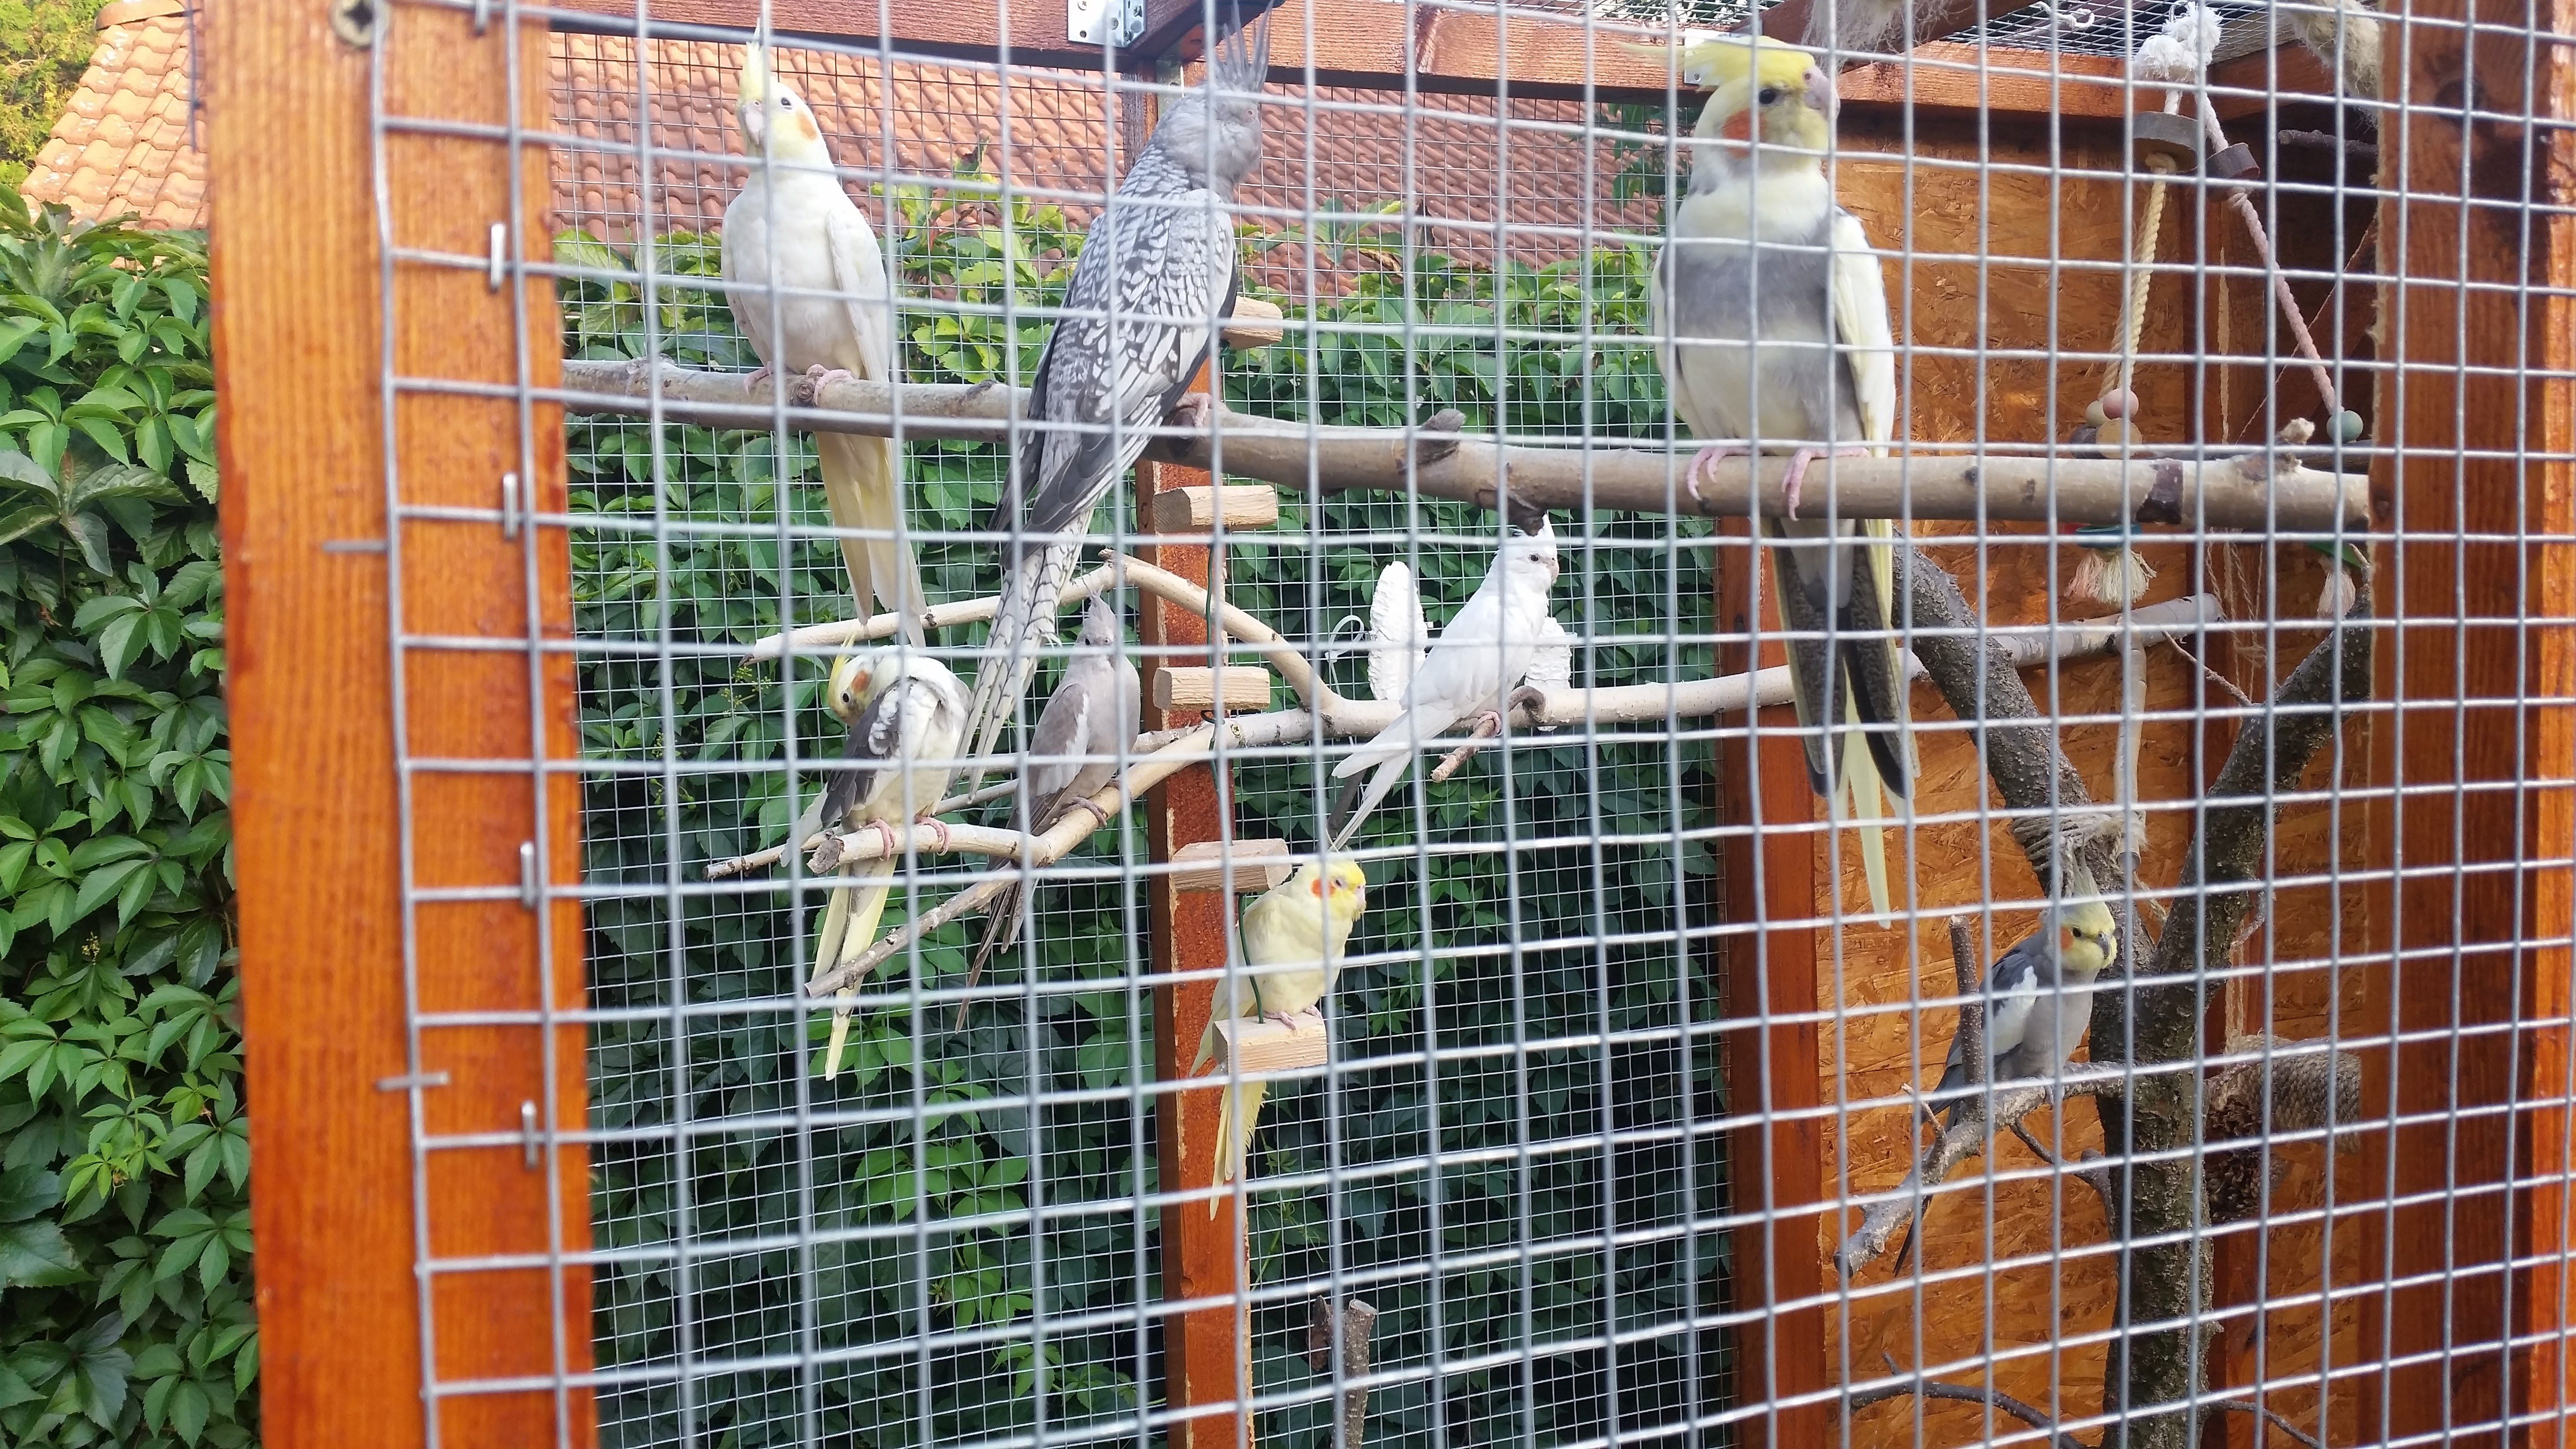
Idea is born
I had left some components (wire netting, wood, OSB) from the previous phase, so I decided to extend the aviary, which meant that I would double its size. I purchased the missing stuff, and I started the next project phase. But a few days earlier I covered the open half of the roof with polycarbonate sheets.
Lessons learned
First time, I didn’t take standards into consideration. That caused some trouble during the building process. For instance: the width of the wire netting was exactly 1 metre. If you can remember, I used 5cmx5cm wood sticks for the skeleton, and I fixed the walls together with 1 metre long pieces. If you do the math, it’s obvious that it was a mistake. 5cm+5cm+100cm means that it’s wider by 10cm then the web. So instead of rolling it easily on the top and the narrow sides of the aviary I had had to cut it.
During this process:
- I used only 90 cm long sticks between the walls to make the work easier;
- I chose stronger and longer metal corner braces;
- I stapled the wire netting with longer pins, because I had to repair the first work at many places. Due to the temperature changes the metal web deformed and the pins loosened.
- I paid more attention to the polishing, that way it drank less woodstain.
- I did the wood staining with rolls instead of brush. It was significantly faster.
- I stapled the wire netting to the wall when it was laid on the ground. It was a lot easier horizontally than vertically.
The extension
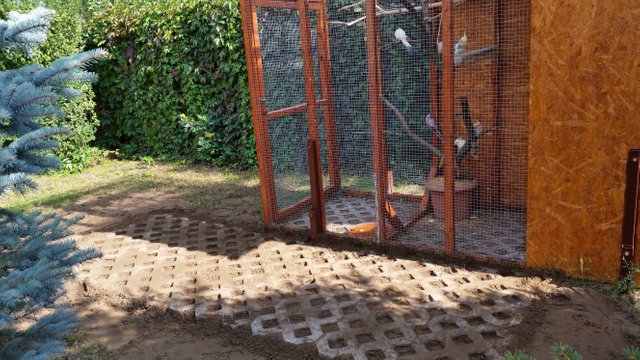
I started the work with digging the base. If you have a look at the picture, you can see that because of the pine tree, I couldn’t put the extension directly next to the aviary. So I cheated. :-)
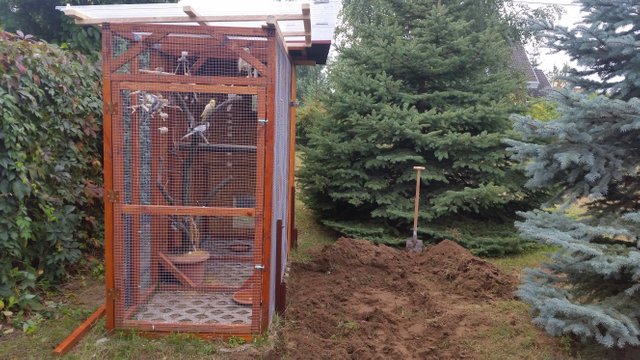
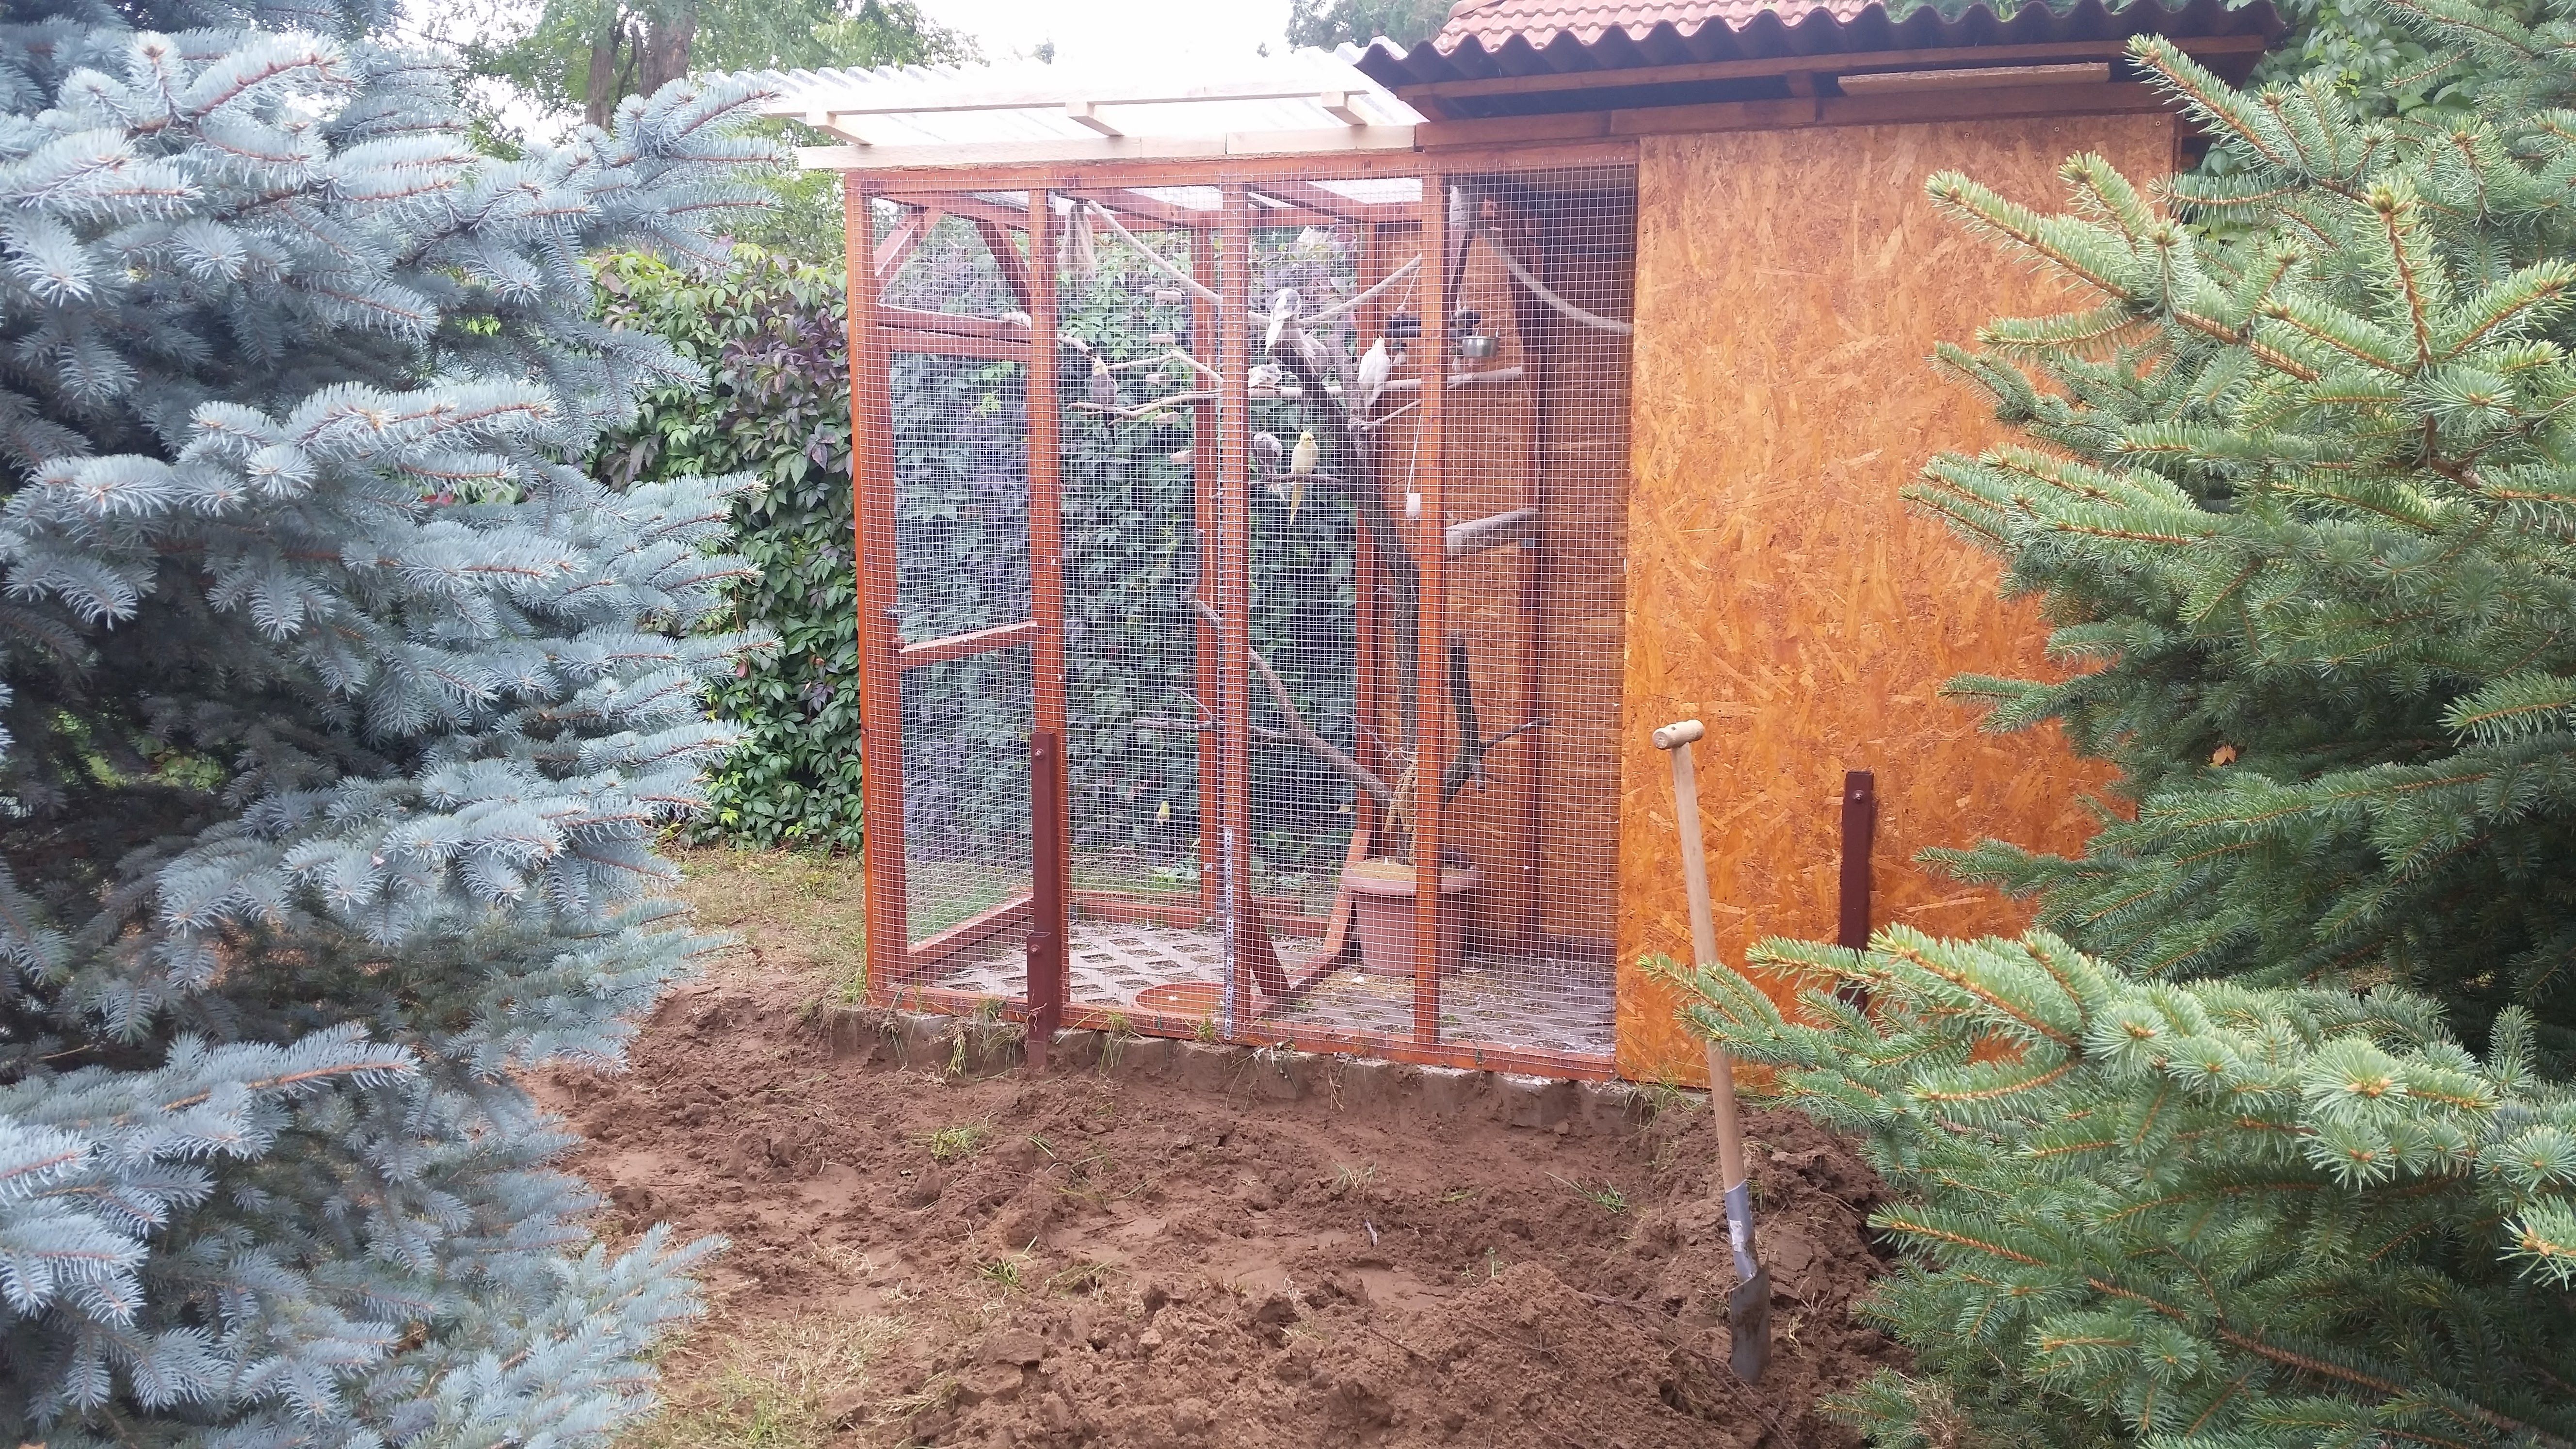
That time the levelling was not that easy, because I had to join the new base to the old one. I did it from the same paver blocks, but I kept checking the correct level after each laid block. I was really happy when it was done.
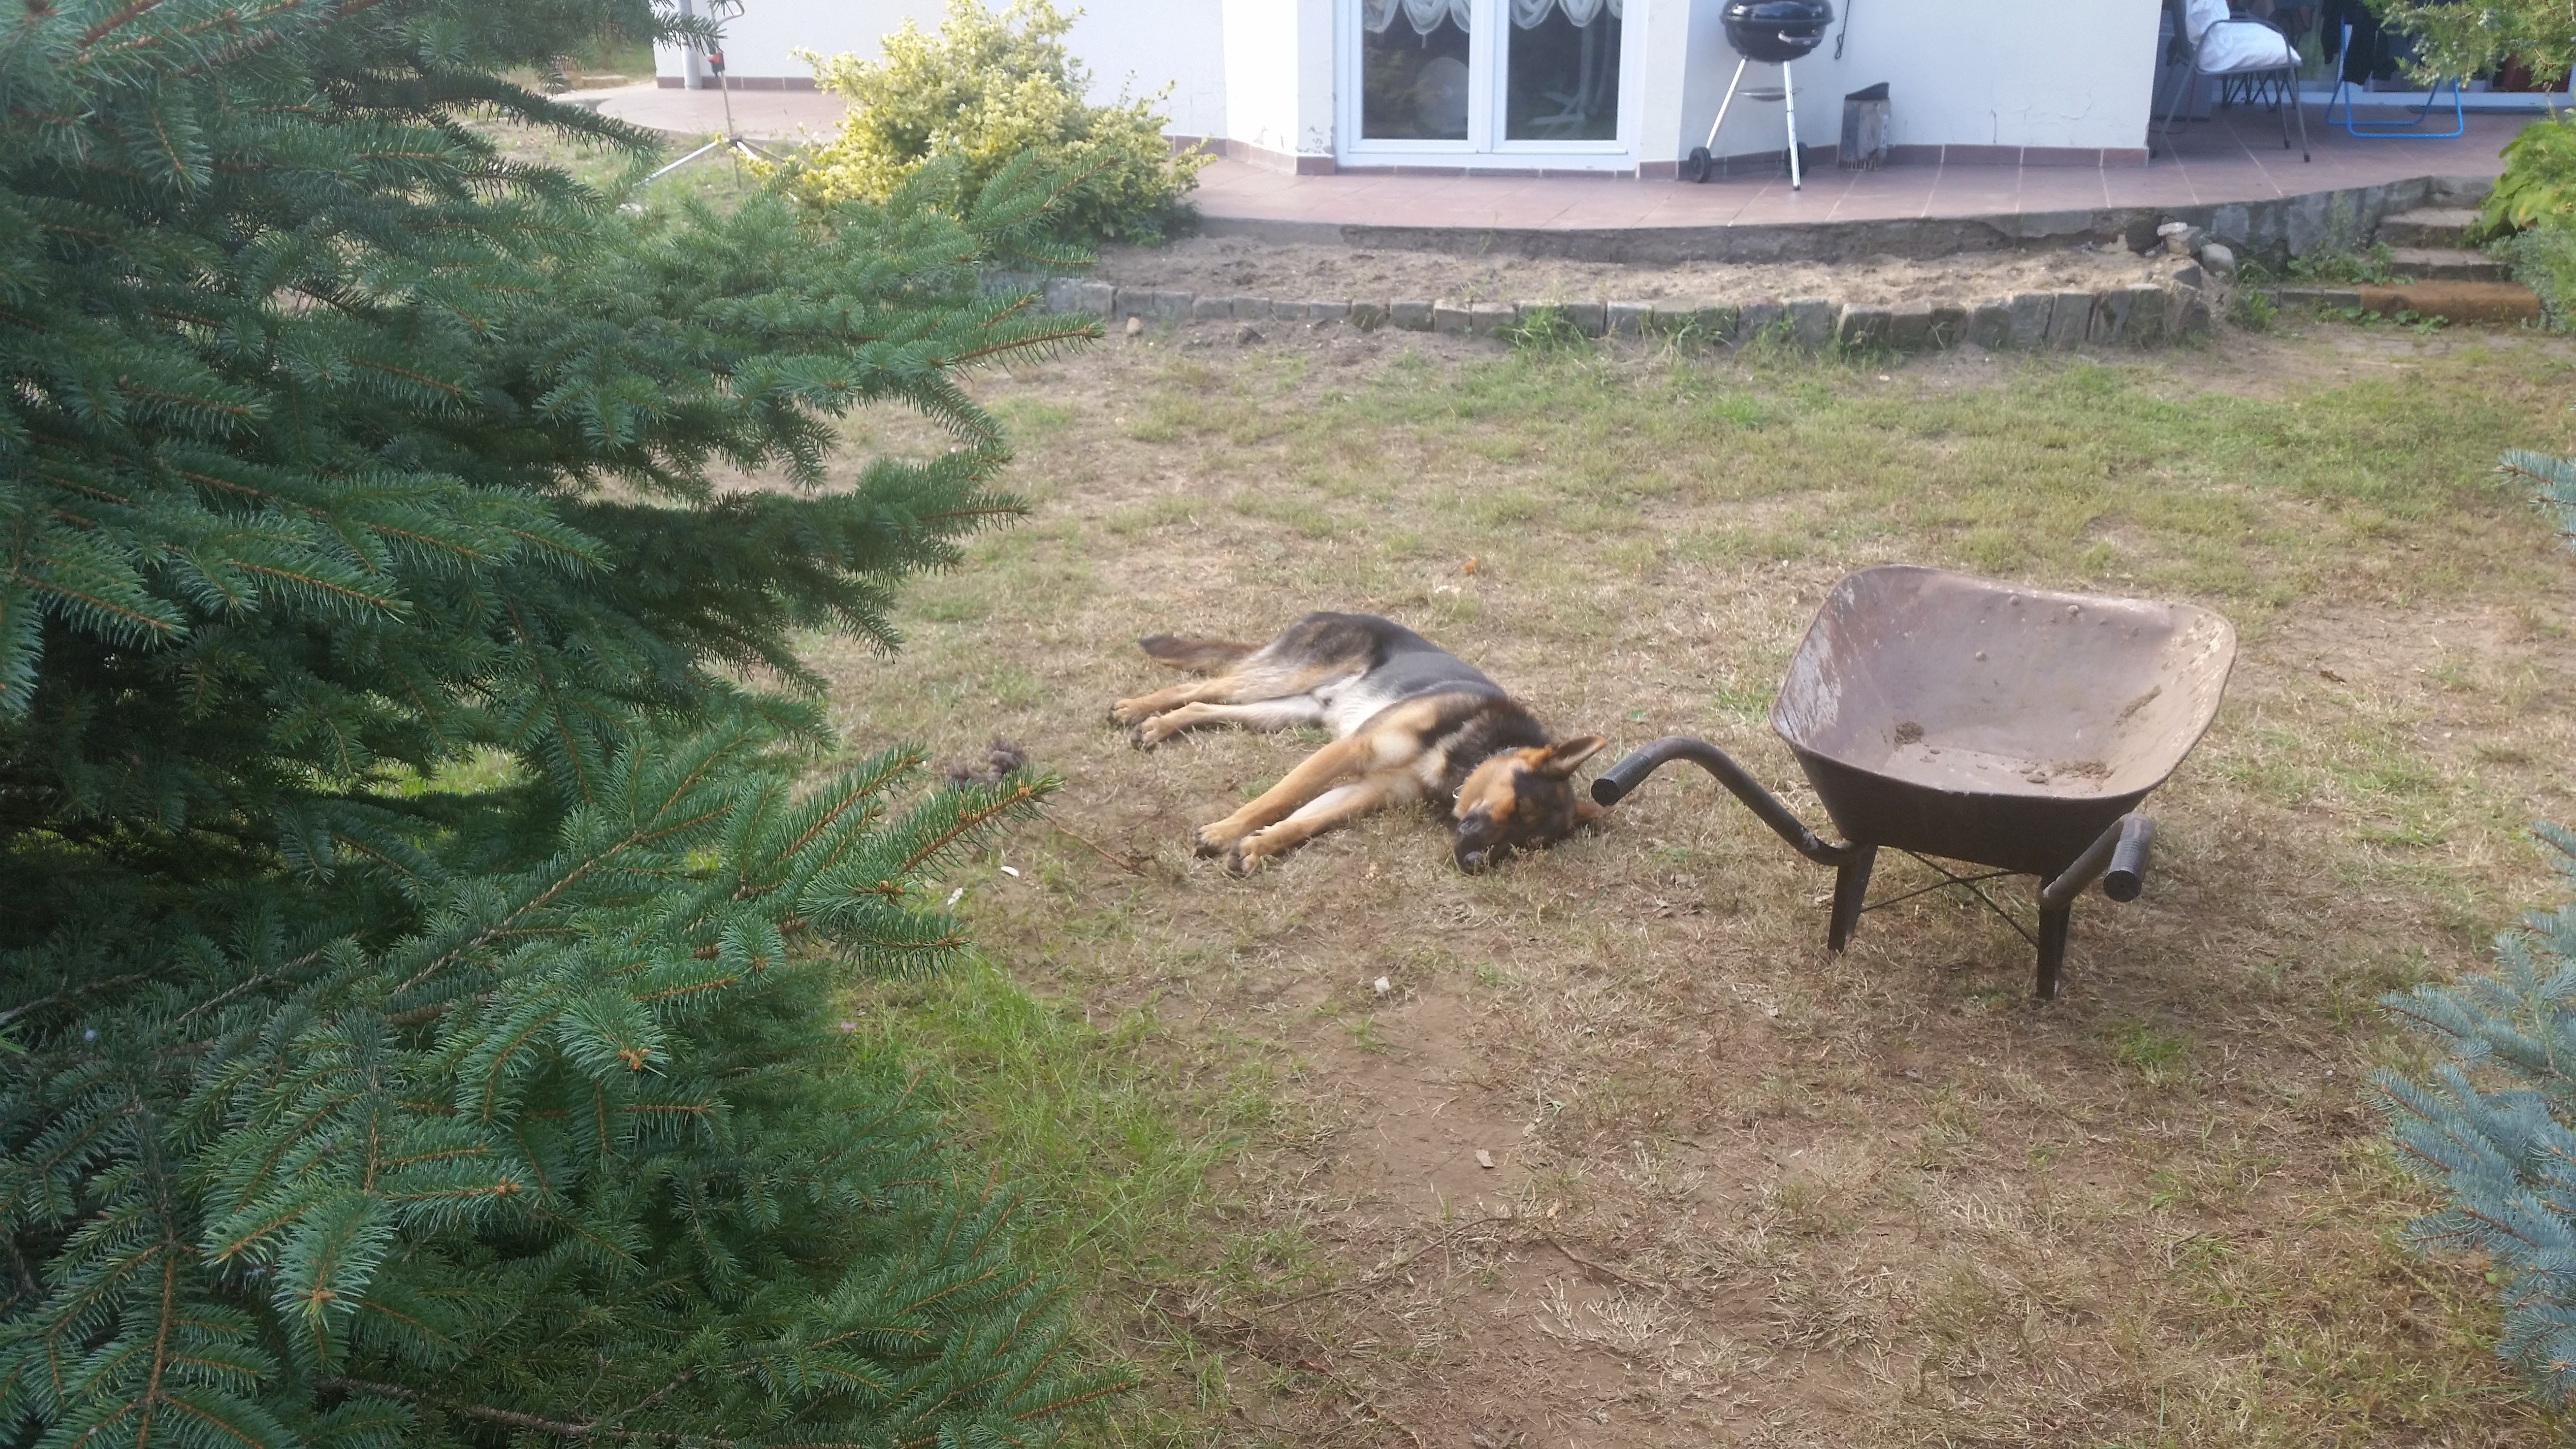
My supporting and nice permanent assistant got tired as well:
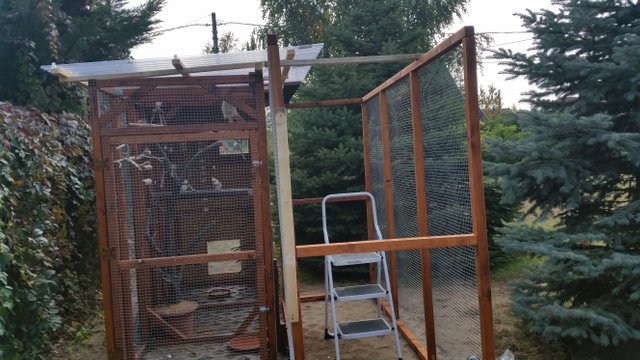
Next day I screwed together the wall, stapled the wire netting on it, and attached it to the side of the aviary.
That time I didn’t had to care about fixing it to the ground, I screwed the frame of the extension to the original part. I rolled the web on the top and stapled it.
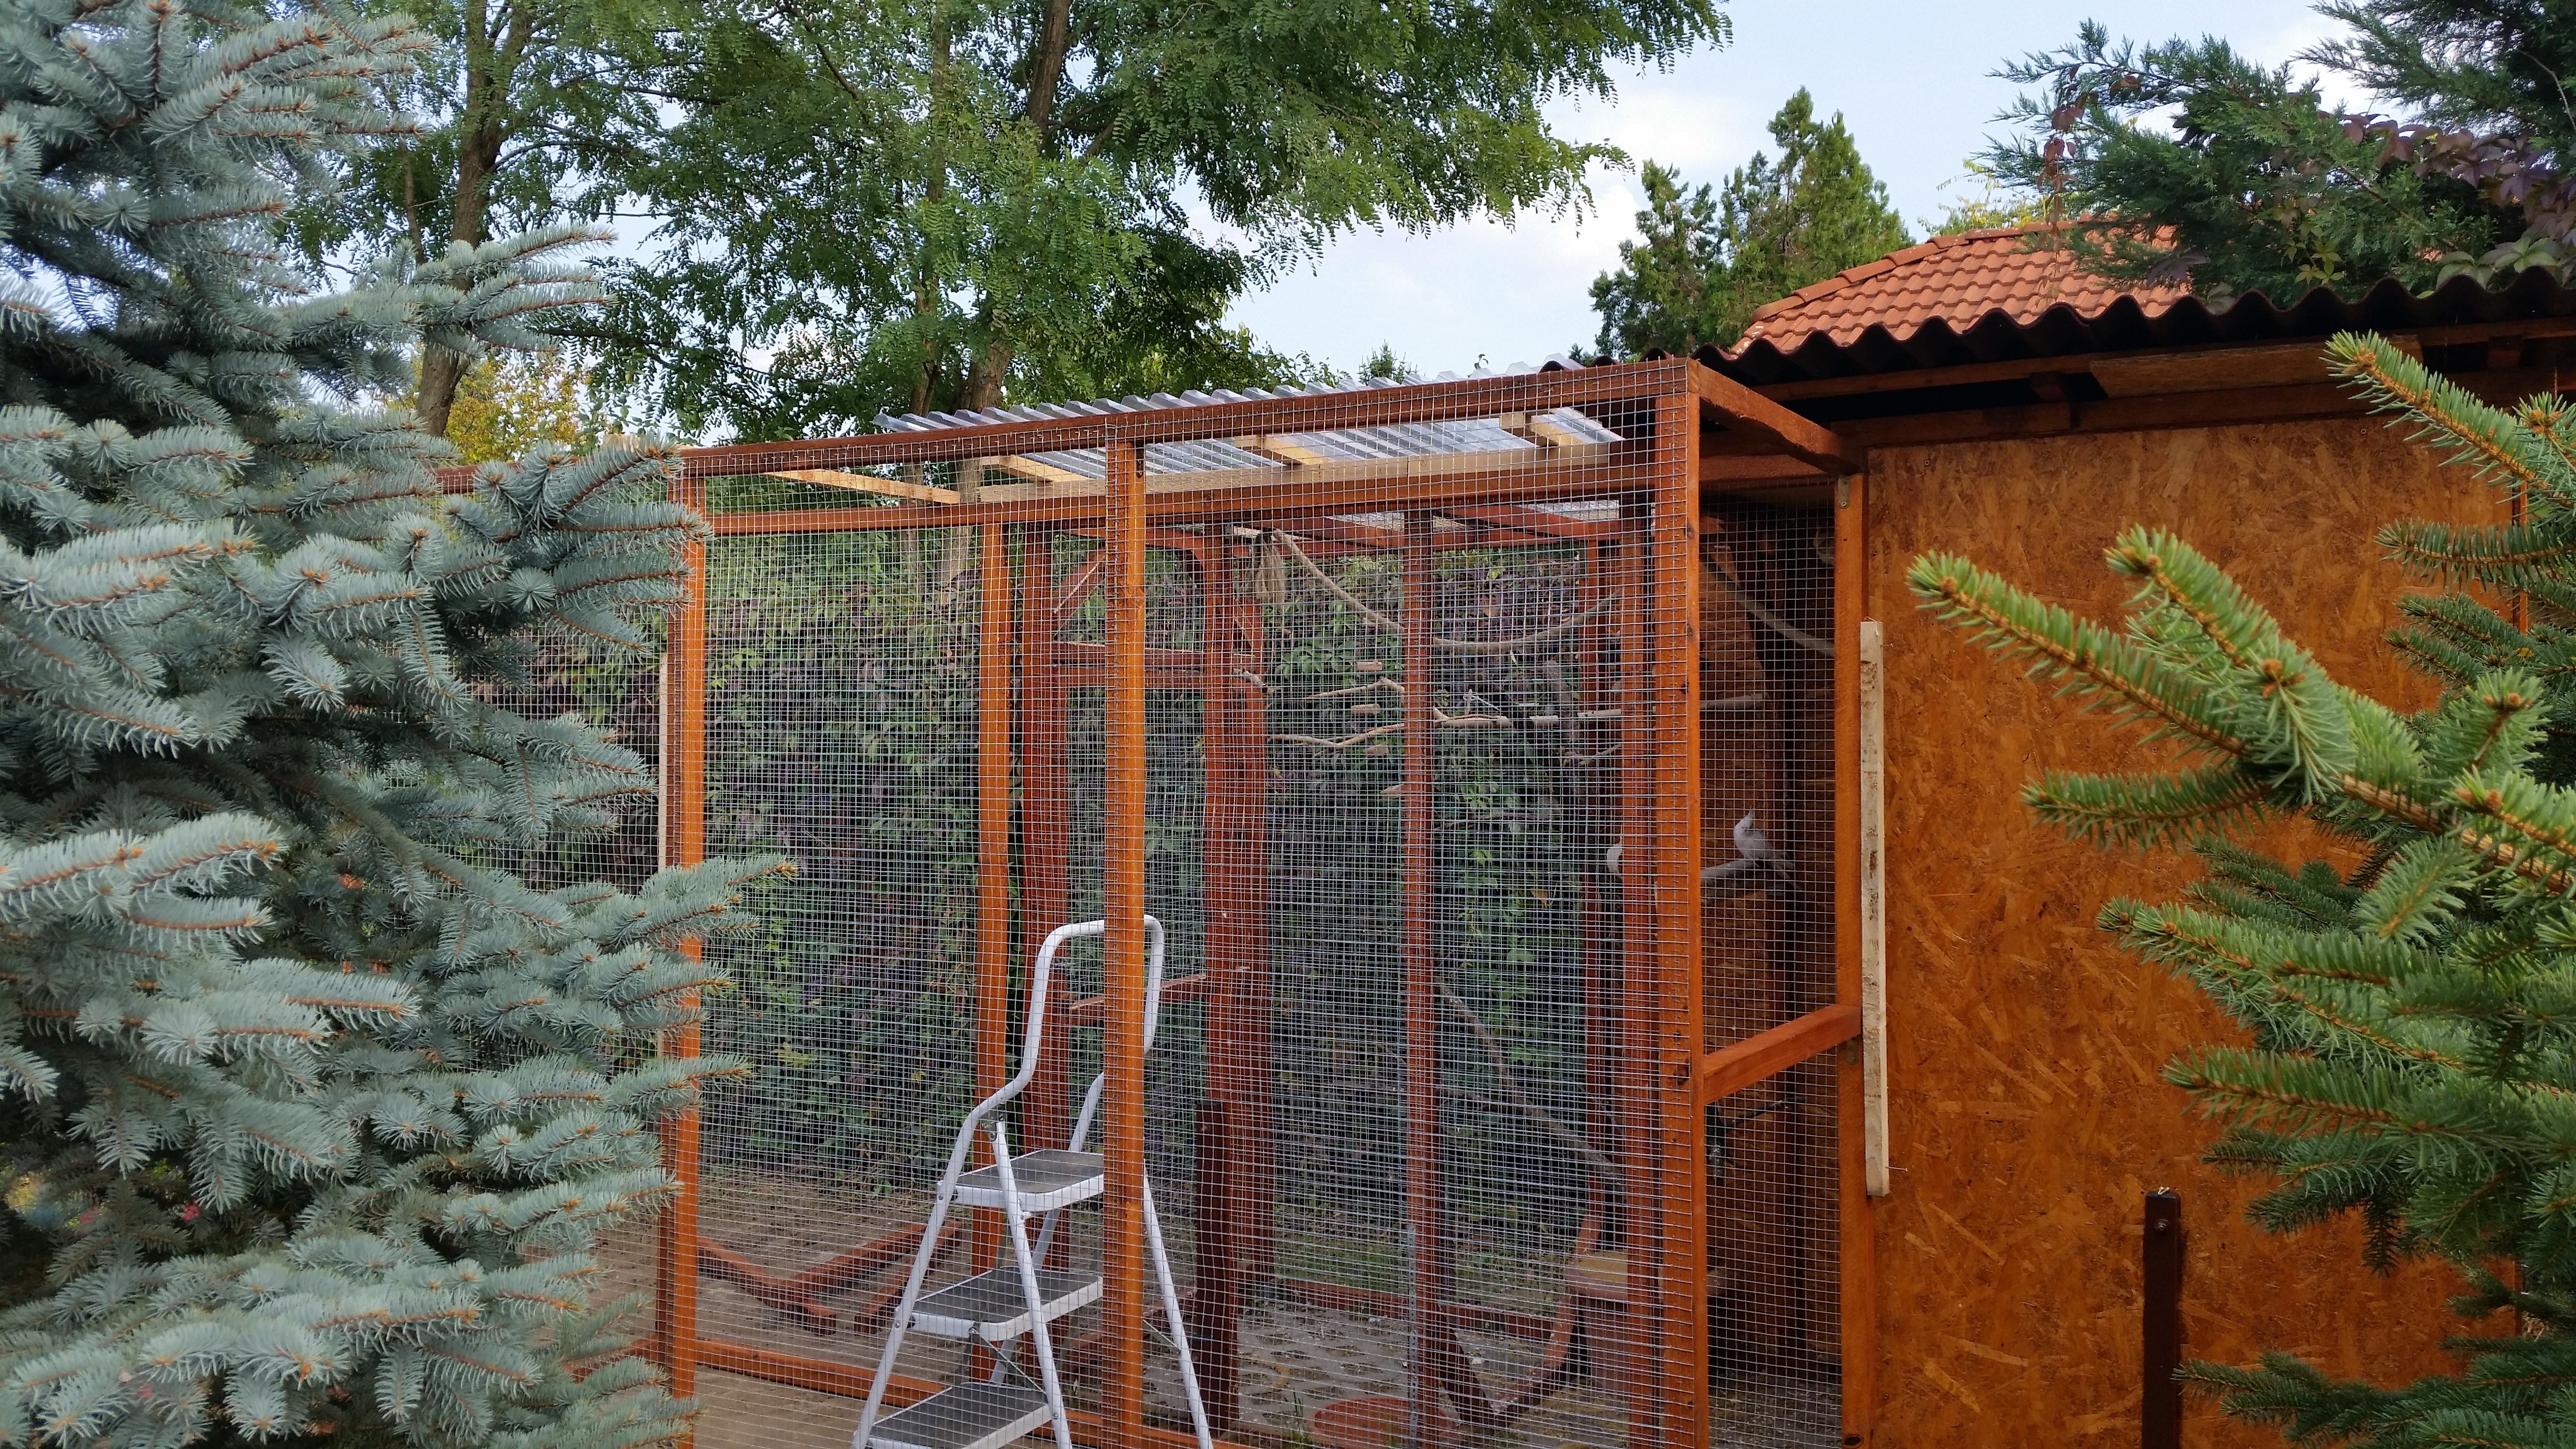
The only trick was that the birds were in the original part of the aviary, and I didn’t plan a door to the extension. So, I had to close myself into the new part, fix it to the original wall, then cut myself through to the door. :-)
Work is done, the cockatiels have a bigger aviary, the walls and the top of the new part is open, they can enjoy more sunshine, rain and mild breeze, during three seasons of the year.
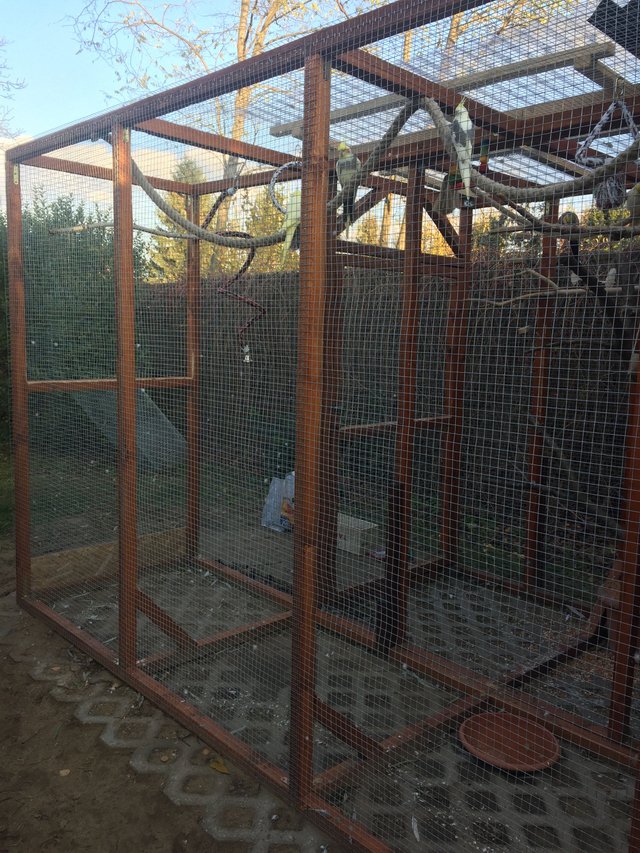
But there’s a fourth one, which made the things more complicated and gave me some additional work at the end of the autumn. ’Winter is coming!’
About this I will write in my next post.
Really useful post!
Thank you, @anna89!
Very cool series, I will be following this from now on.
I can definitely learn a lot from your posts, have just started my own series on building a tortoise enclosure, but looking at your post... You've put a lot of details into it.
Taking notes here... ;)
Thank you @daan, it's kind of you! I will check your series for sure!
Great post. Are you making another? Quite the flock you have there now, Looks awesome.
Thanks @jist! Yeah, we have eight cockatiels. I've just posted the last part of the series.
This post has been resteemed by @woodworkcurators