Getting My Compost Toilet Out Of The Workshop, And Into Its Own Space: Part Two
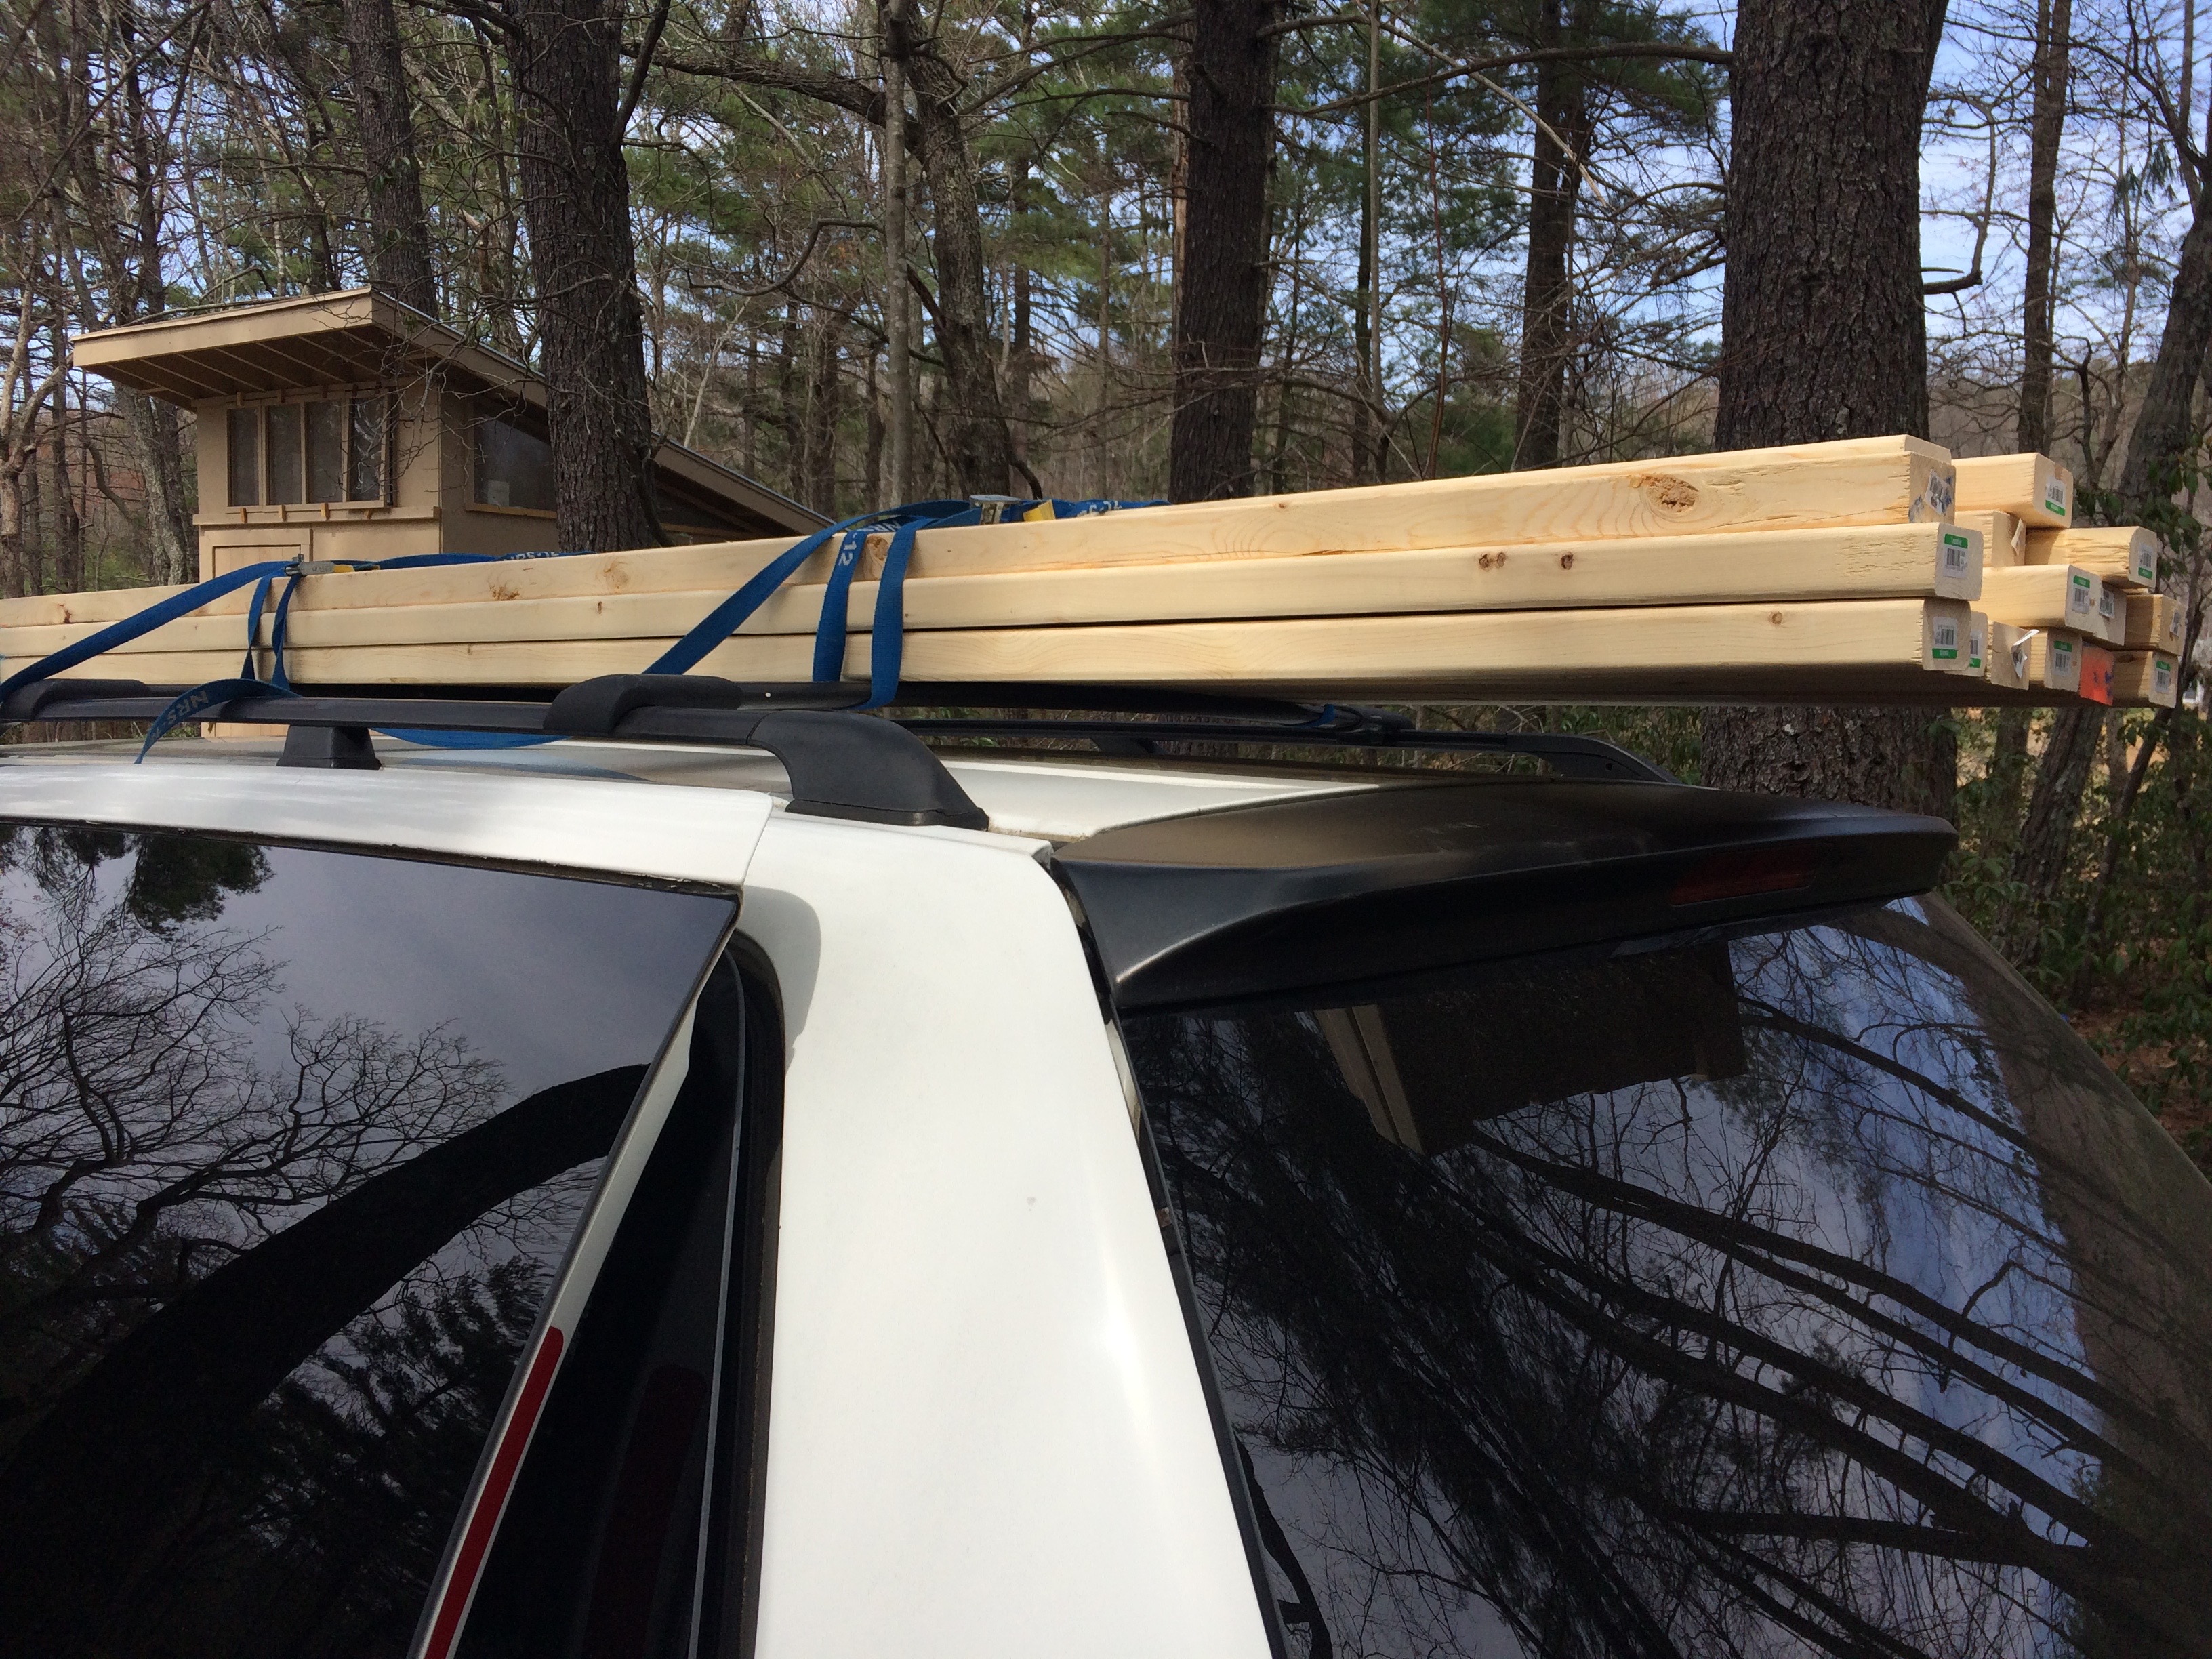
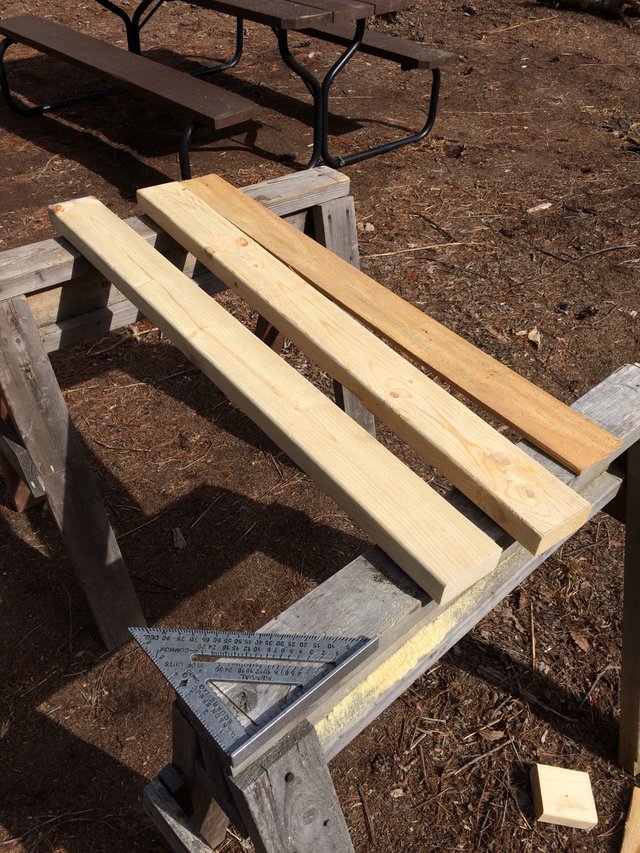
I bagged some 2x4s at Lowes. Going shopping for supplies is the hardest part for me. Rounding up all of the supplies takes a lot of searching, and time. Picking out straight lumber too... What a Job!
A tangent: Have you ever picked out all your lumber, and left it on the cart, to go get some nails?
And when you come back your hand picked lumber is gone? Employees put it back, as they thought it was abandoned. (That's what they tell me, anyways.) I think they do it as a prank. I bet they get together later, and talk about how many doofuses they scored.

I thought I needed 20, but I had one left over. That's pretty good figurin'! I hate having extra materials lyin' around.
Where was I?
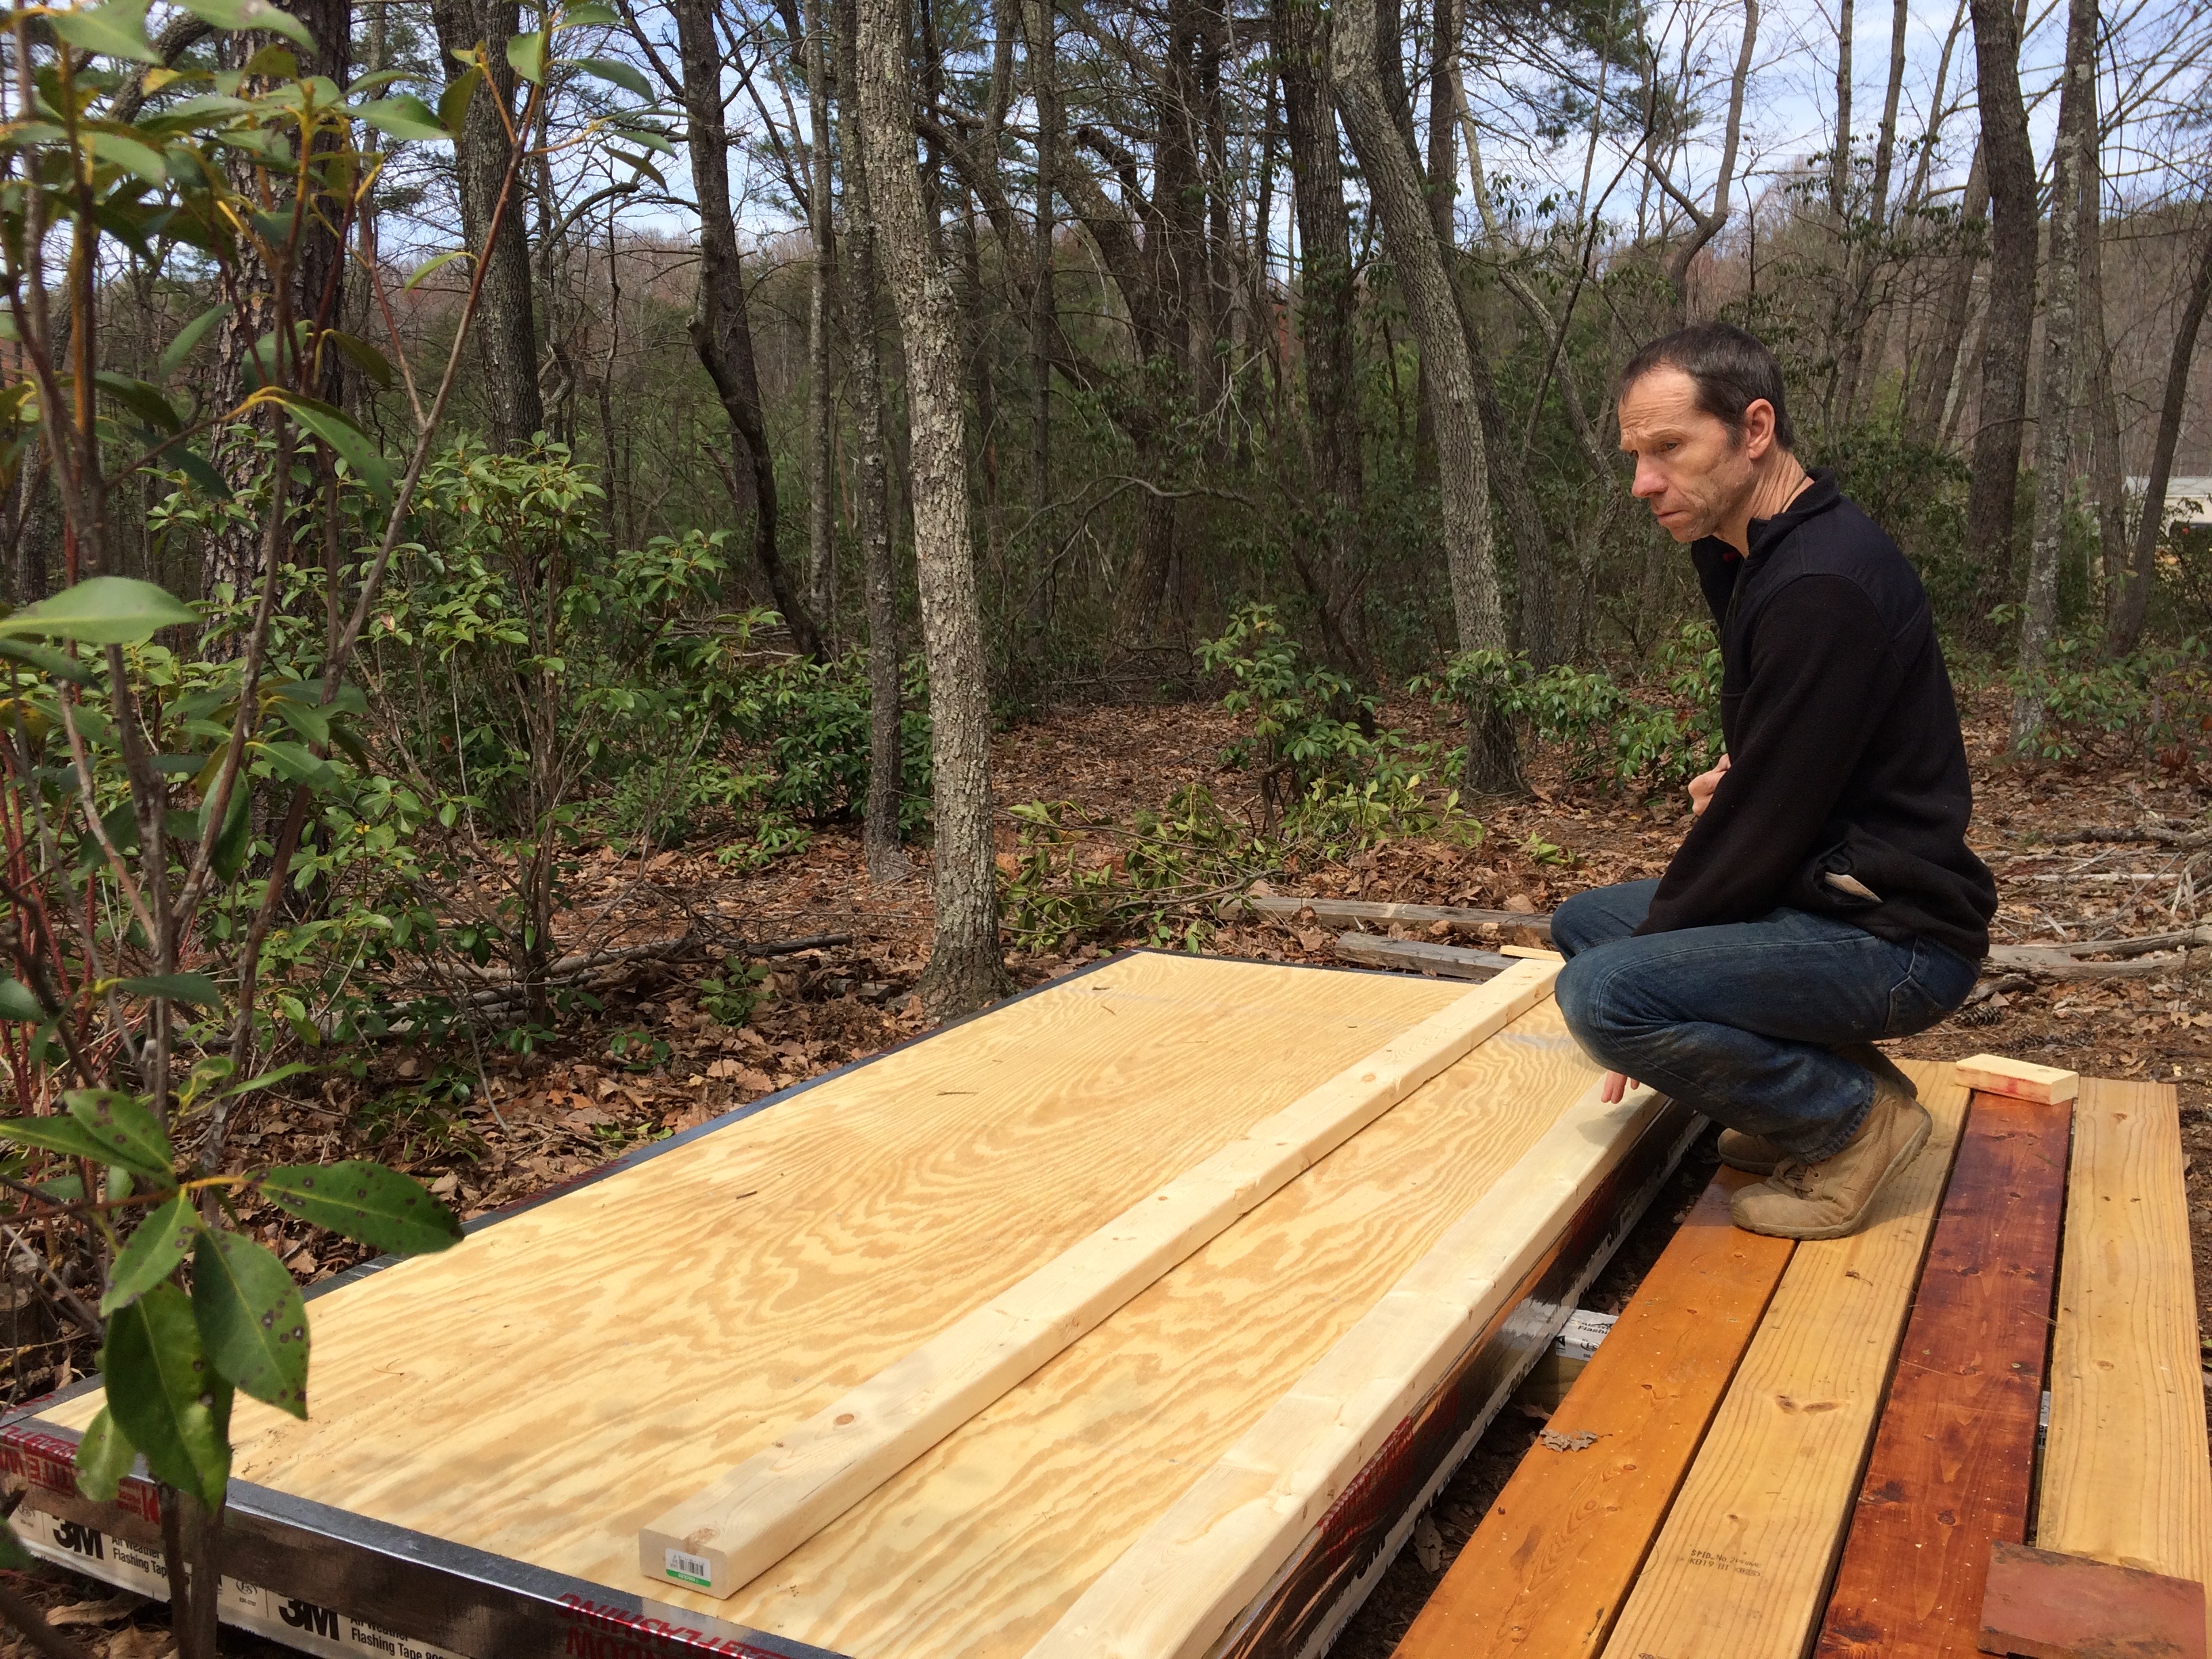
I used the floor base to work on. It is nice and square, and flat.
I have plenty of screws.
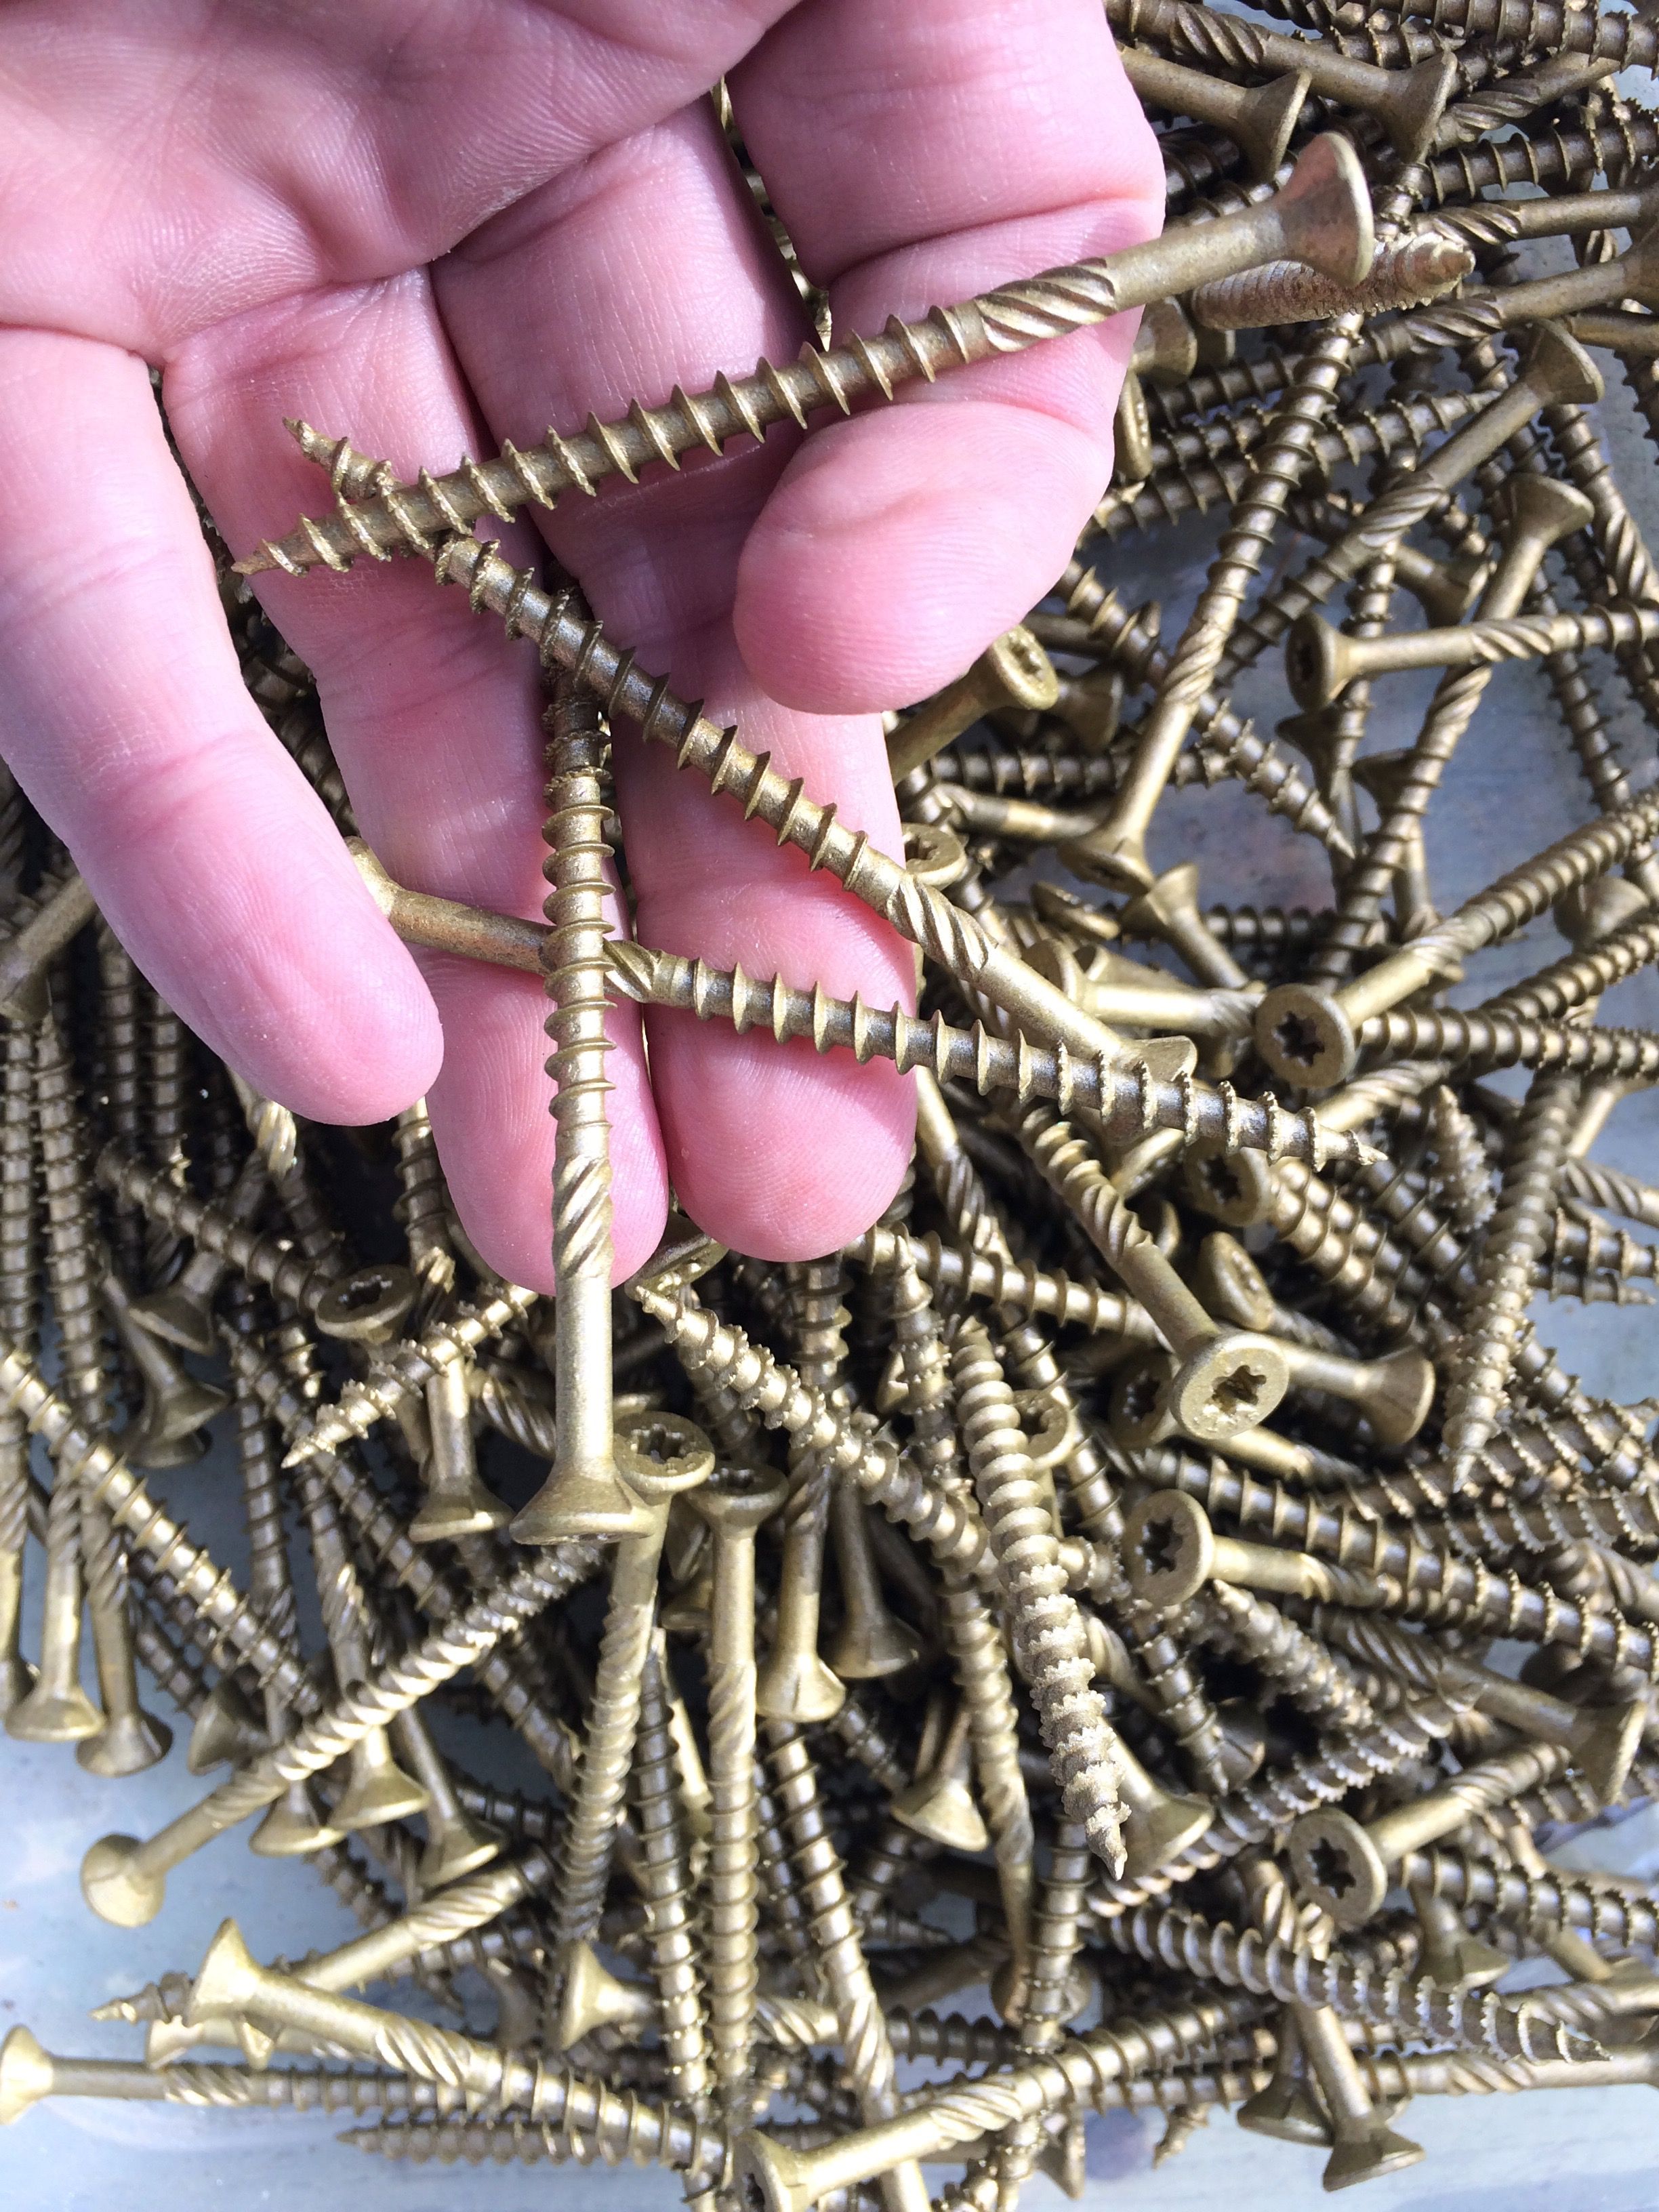
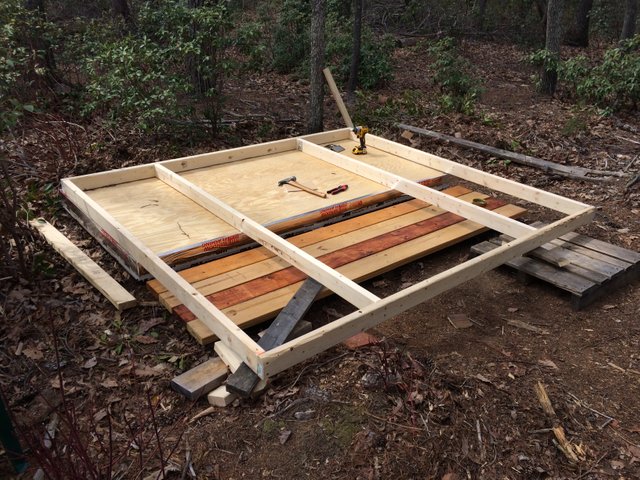
I predrilled for the screws. I laid the studs out 24 inches on center. I put the walls together the same way I did the floor on part one. Check it out if you haven't seen it. (I'll put a link down below.)
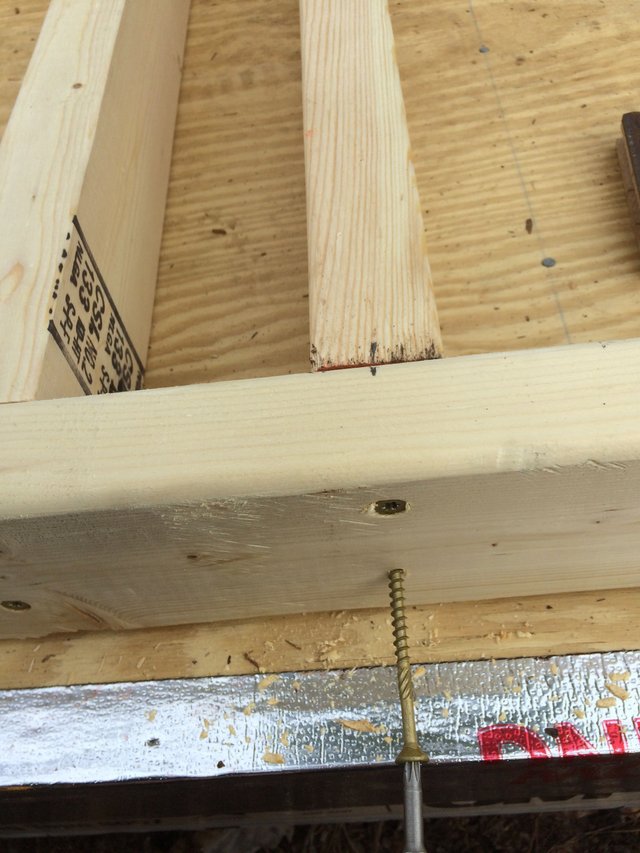
At this point, I switched to nails, where the fasteners would be seen. I think they look better, than the screws.
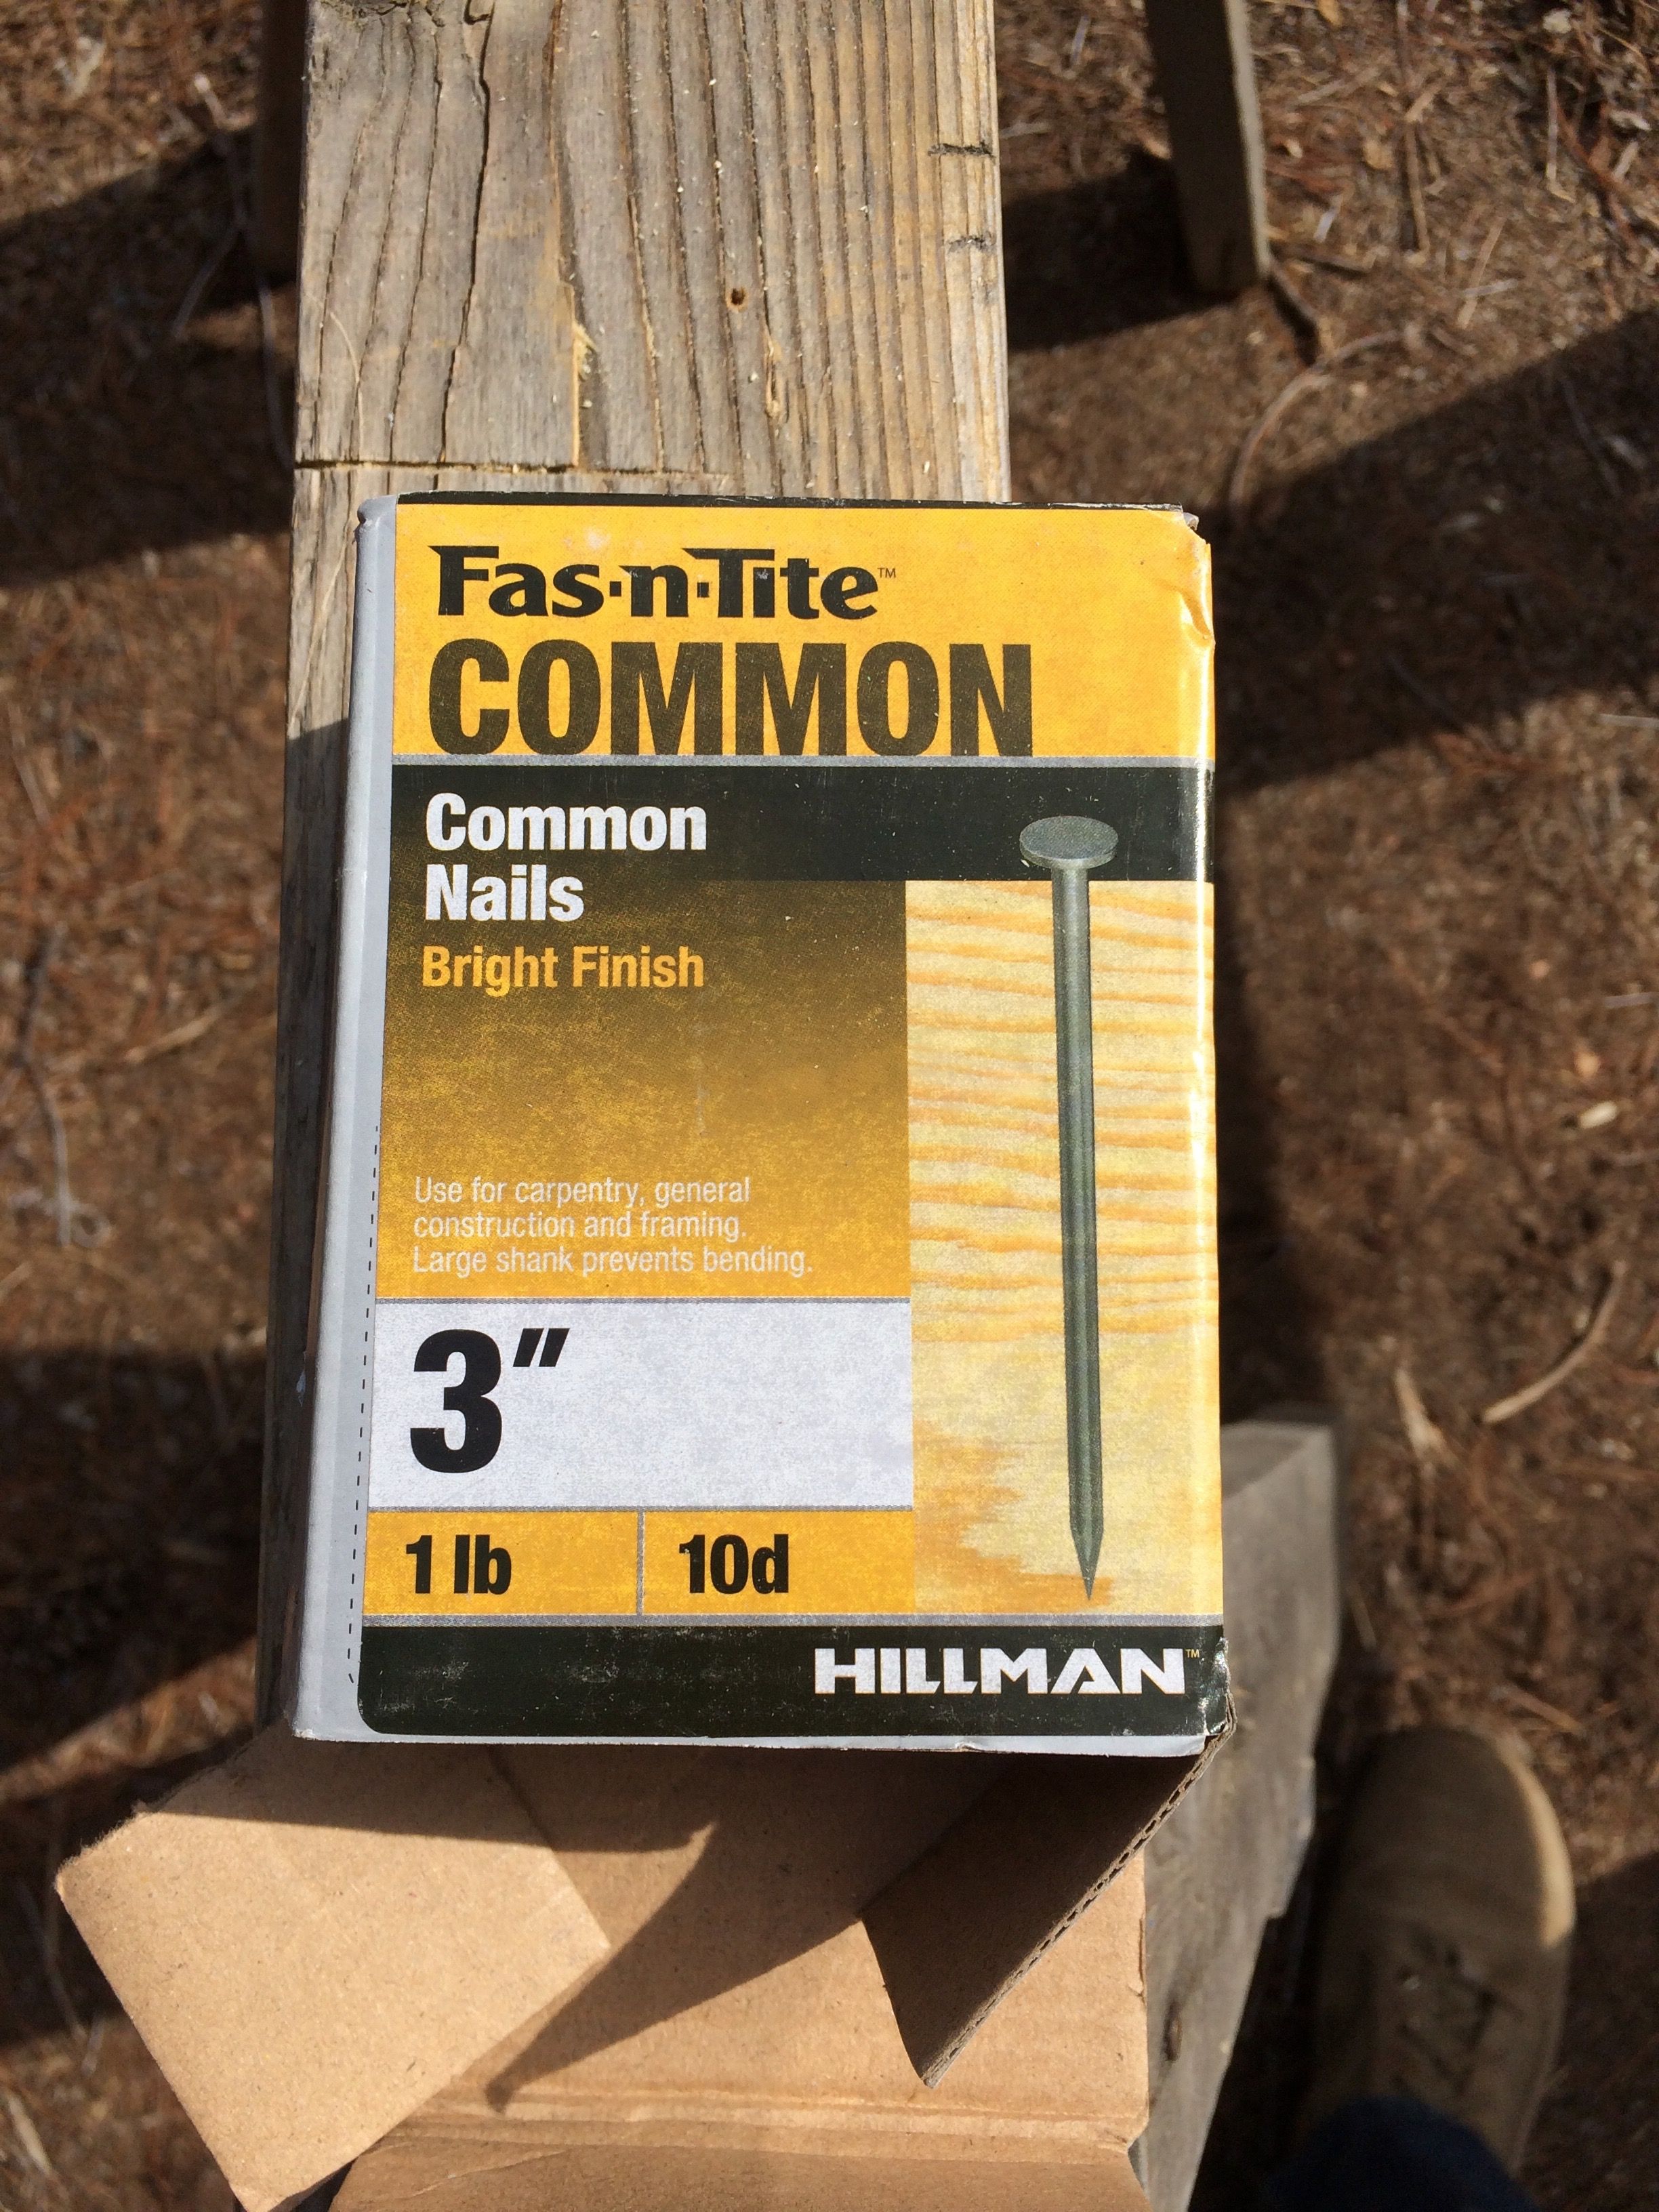
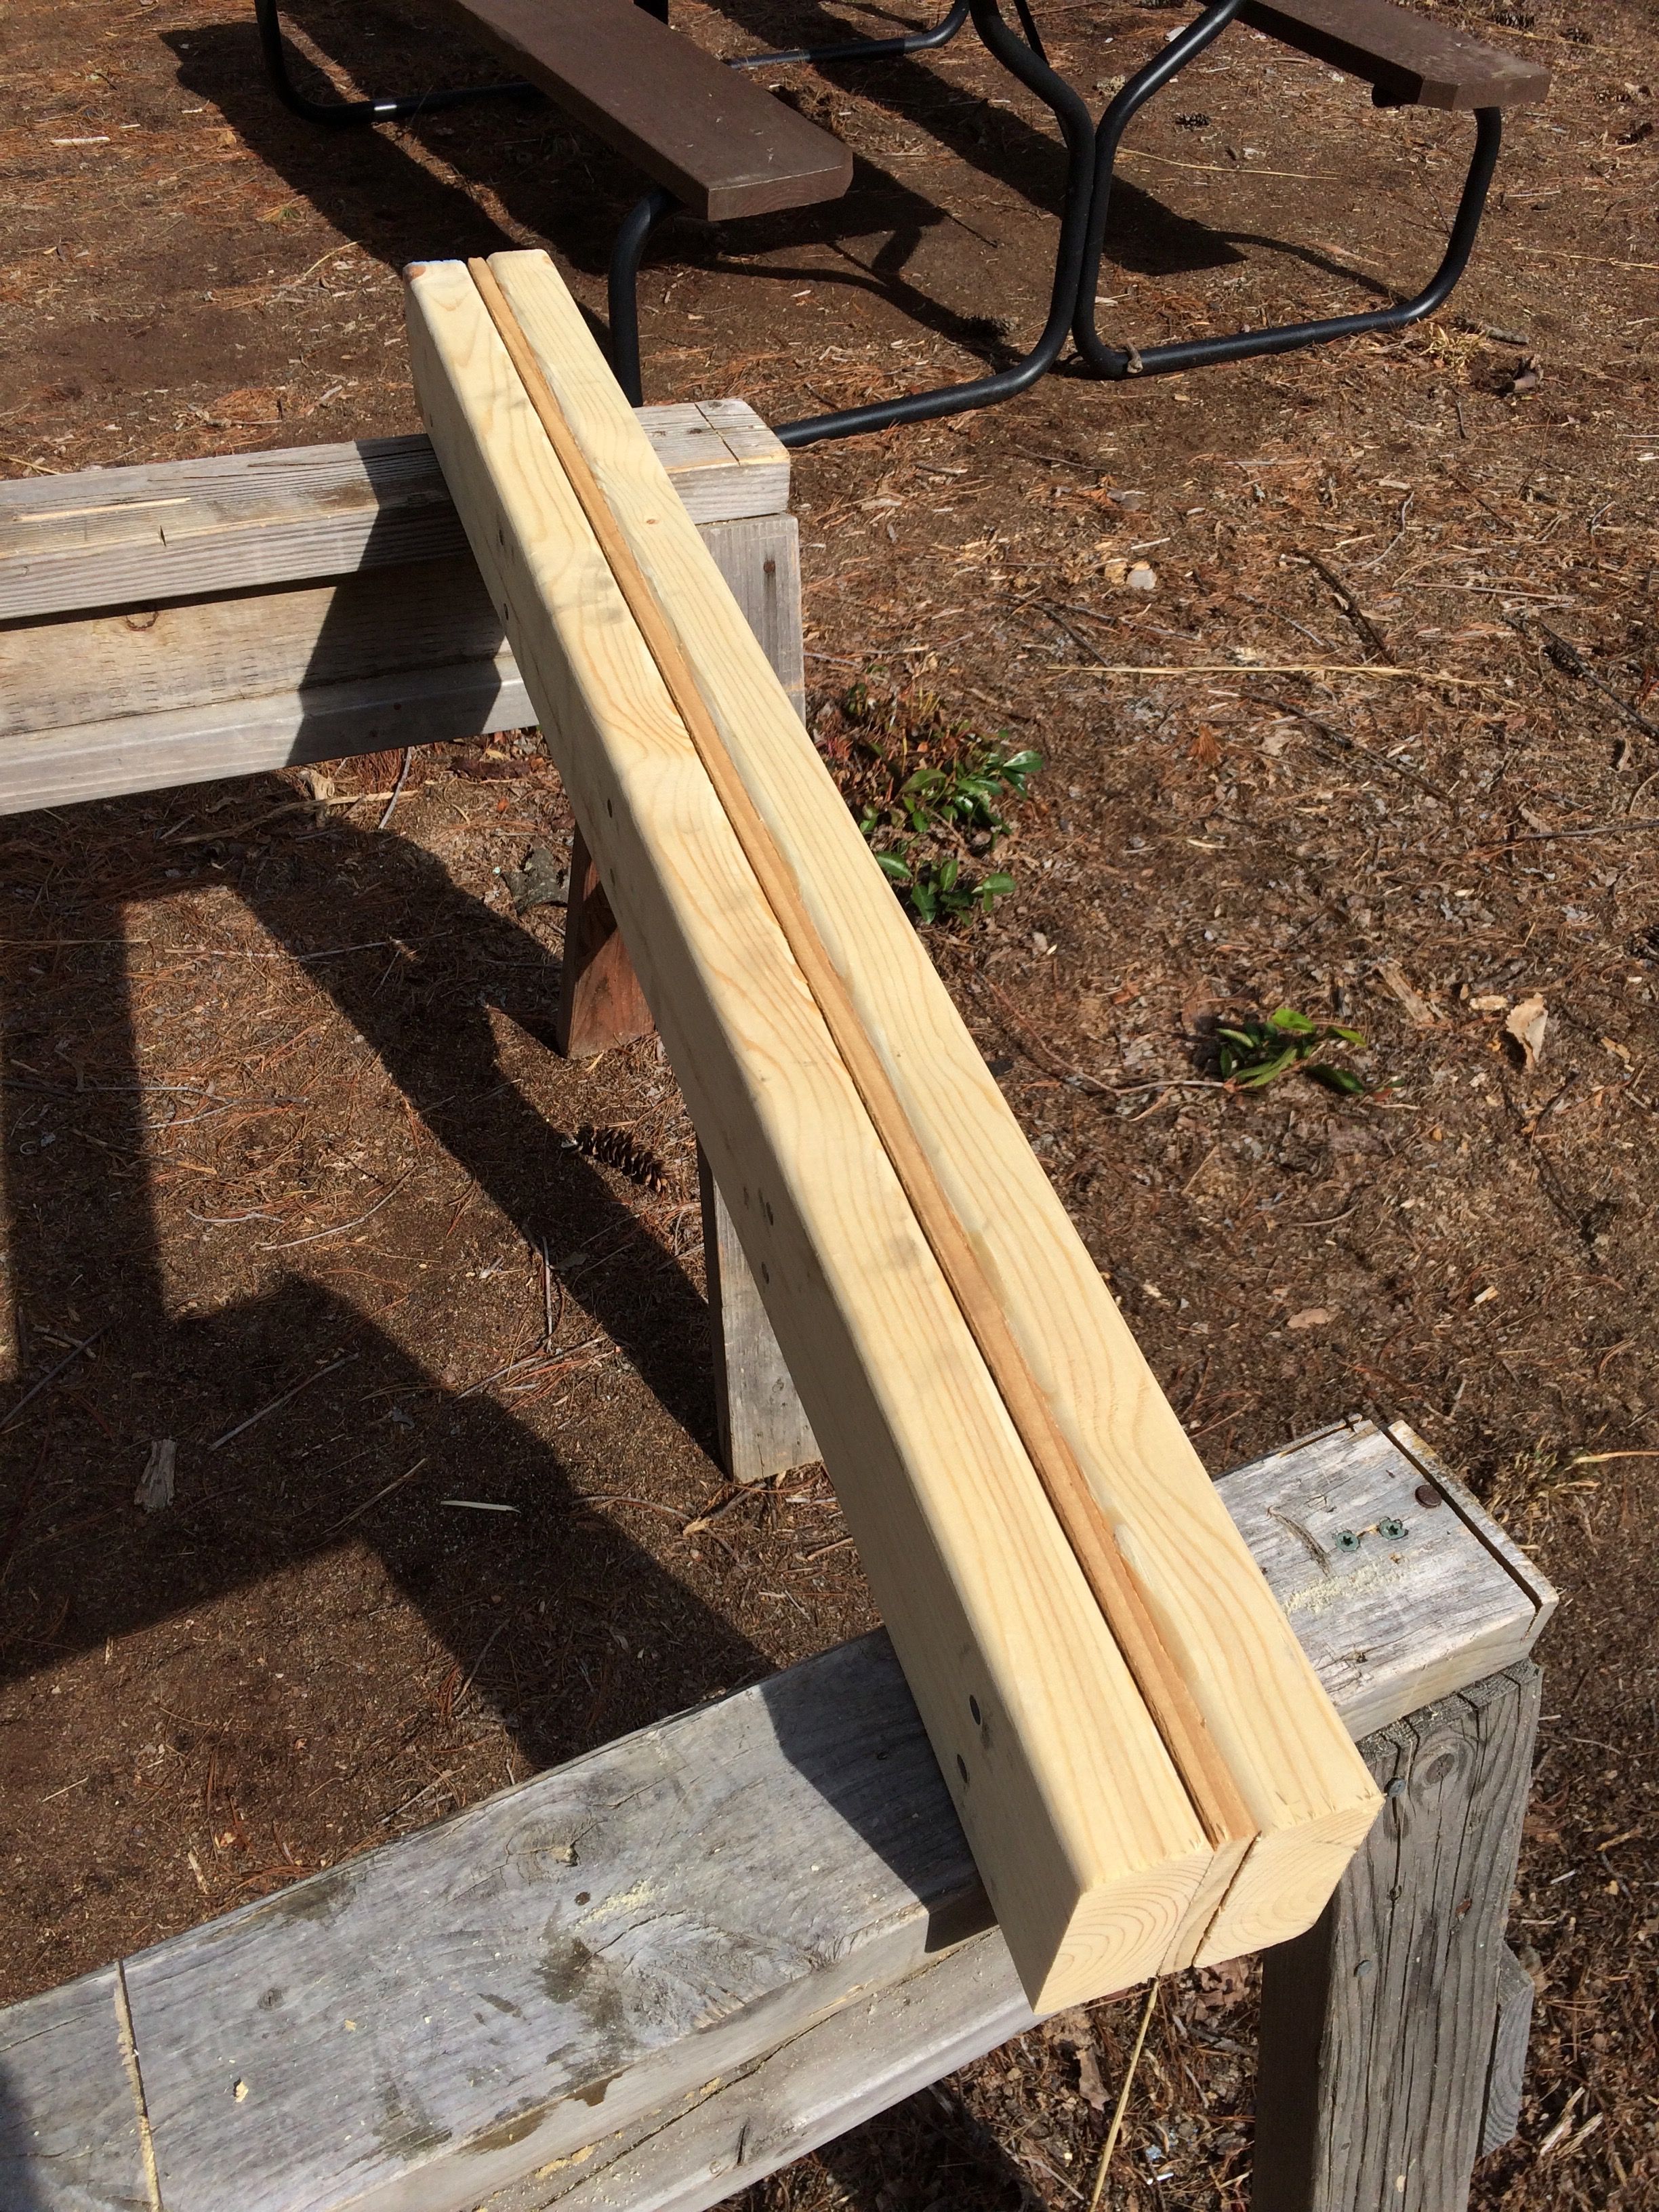
I nailed the header together for the door frame, and then rinsed and repeated, for the window.
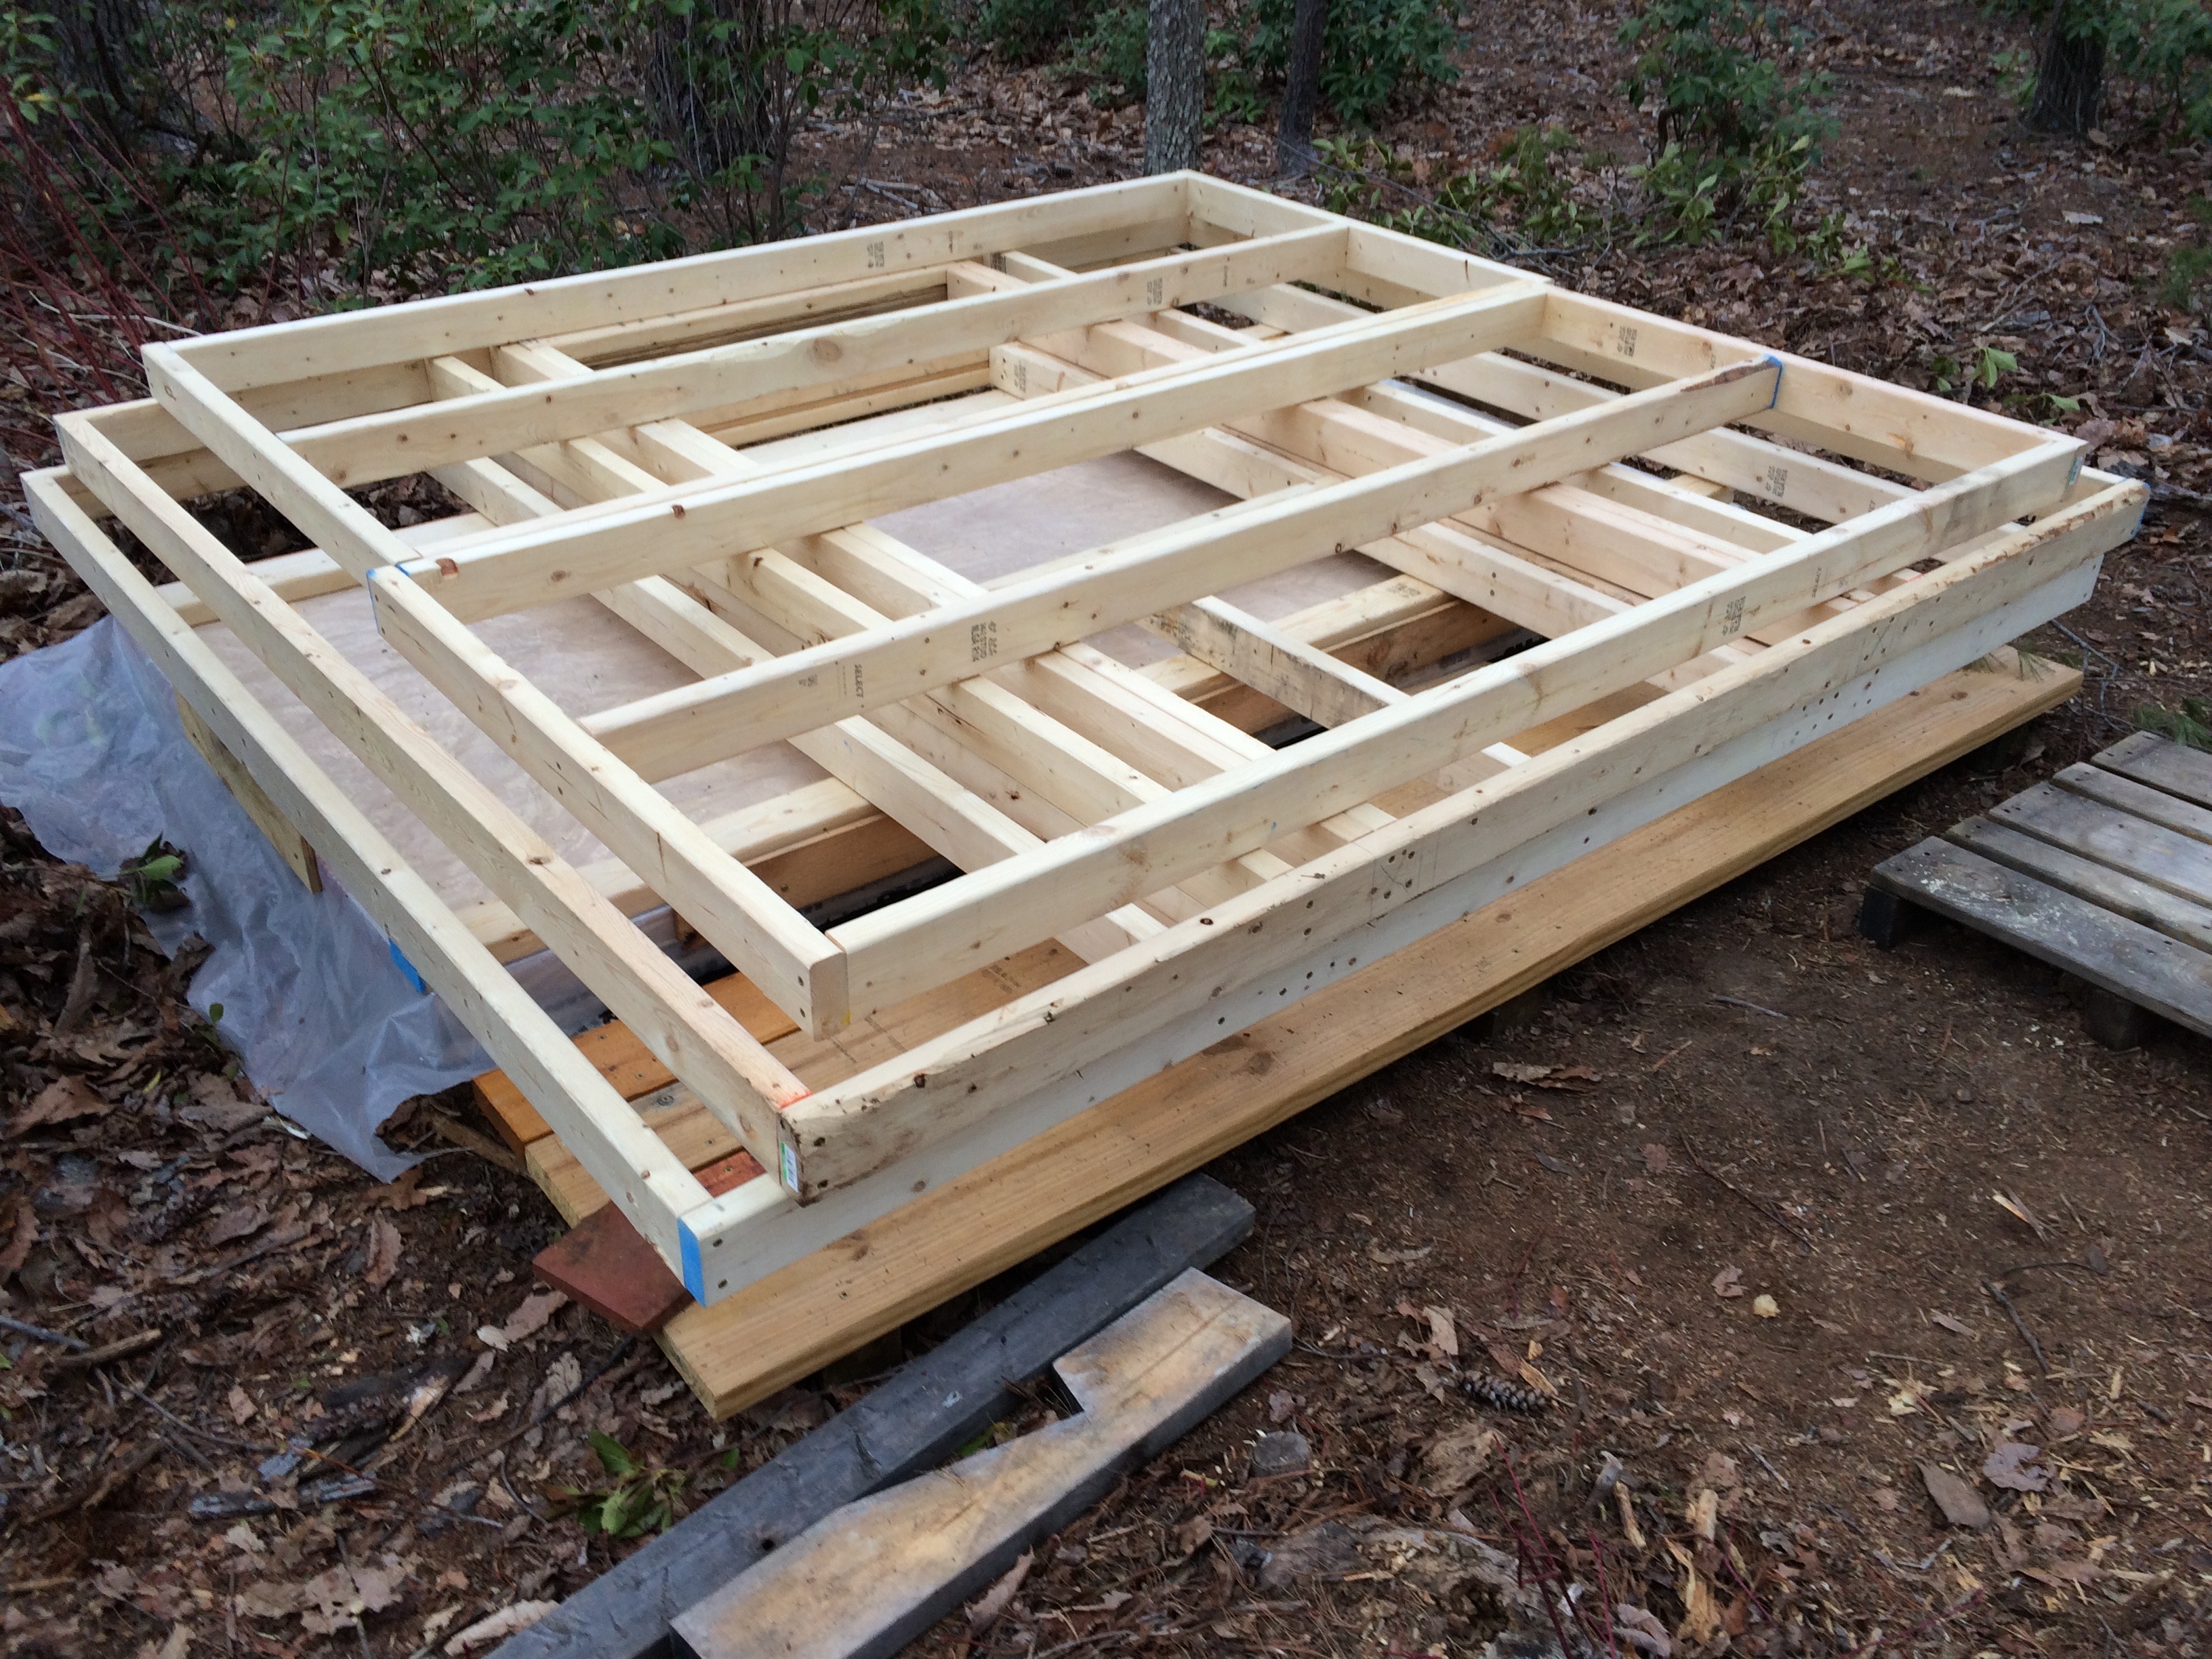
I got all of the wall frames built. (My back was killing me!) The walls are surprisingly HEAVY when they are all put together, so having a helper would be nice here. When you go to move them, they are top heavy, and awkward. When they start falling, or changing direction it is very hard to correct them.
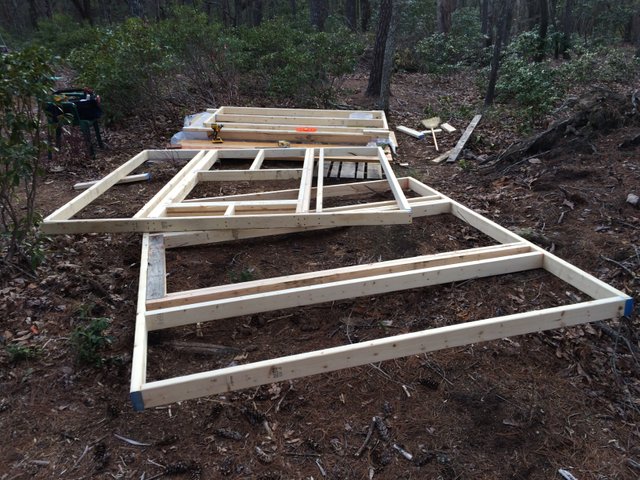
All stacked up neatly, for my return today.
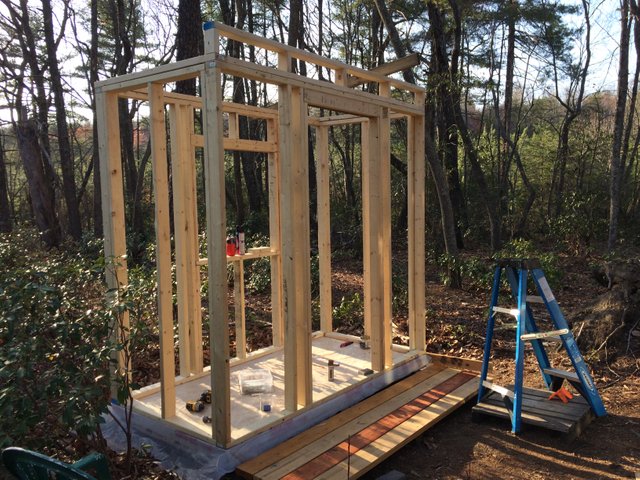
I raised the walls today, and as I mentioned above, have some help here if possible.

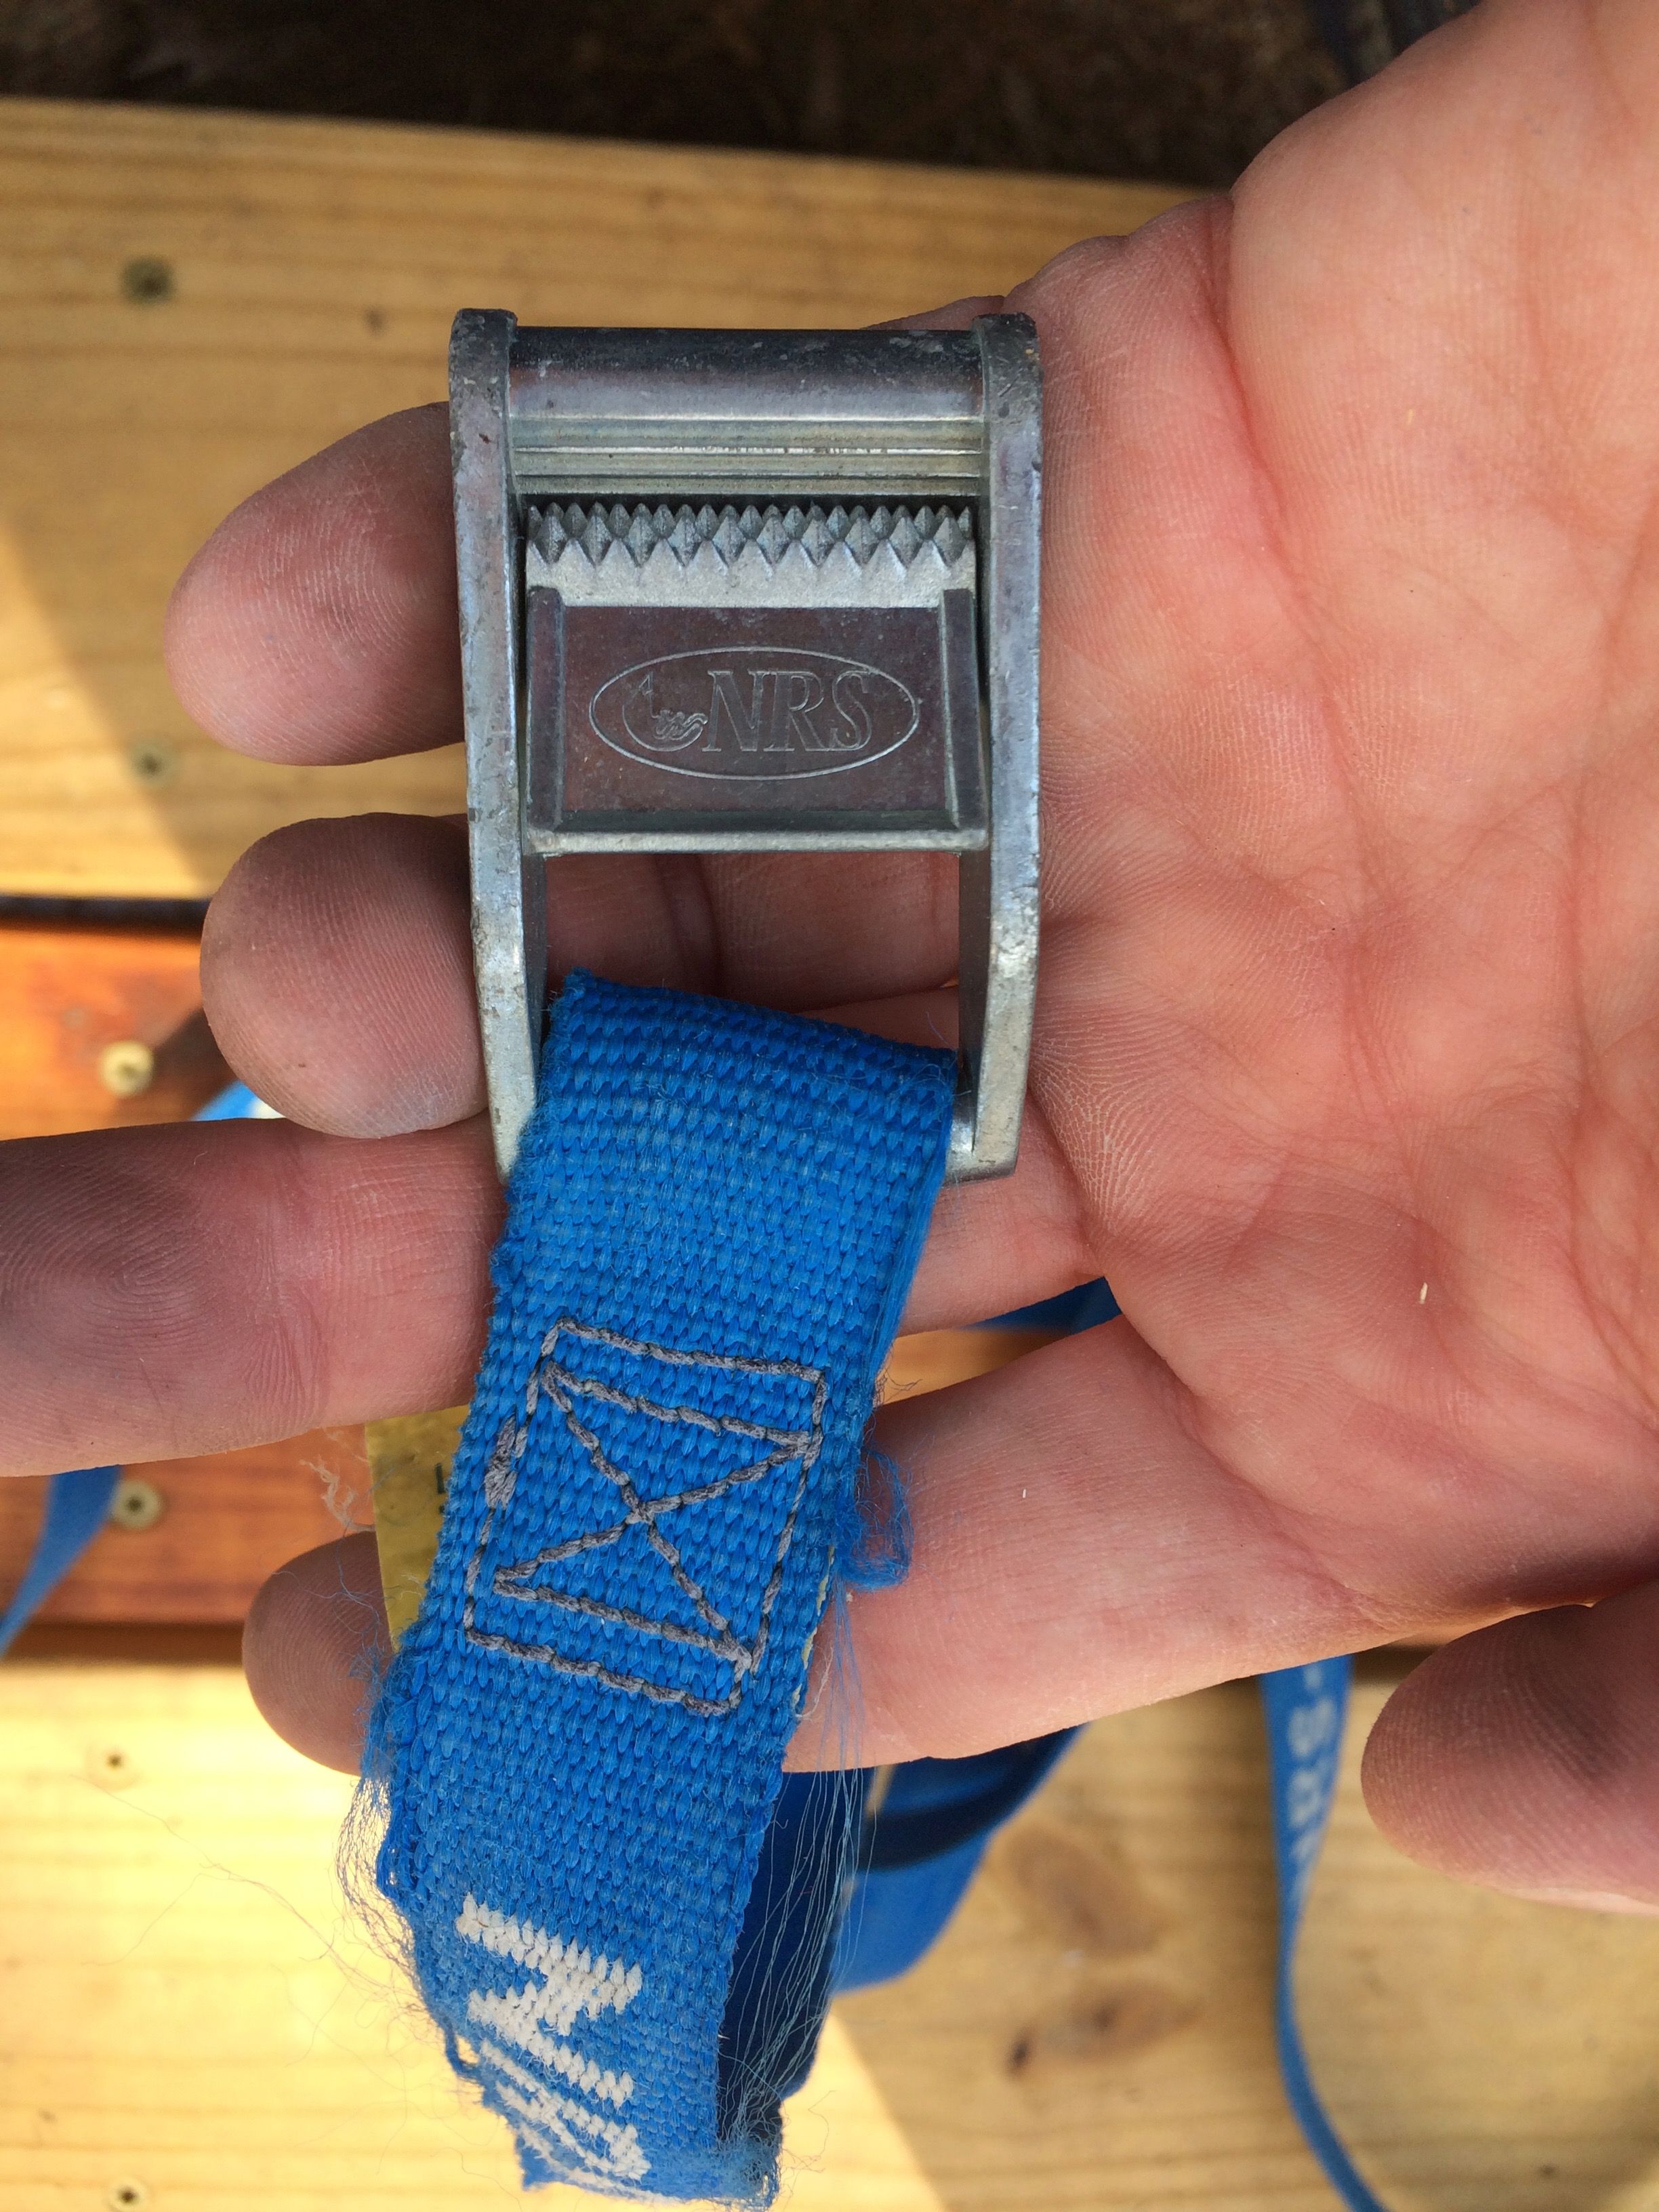
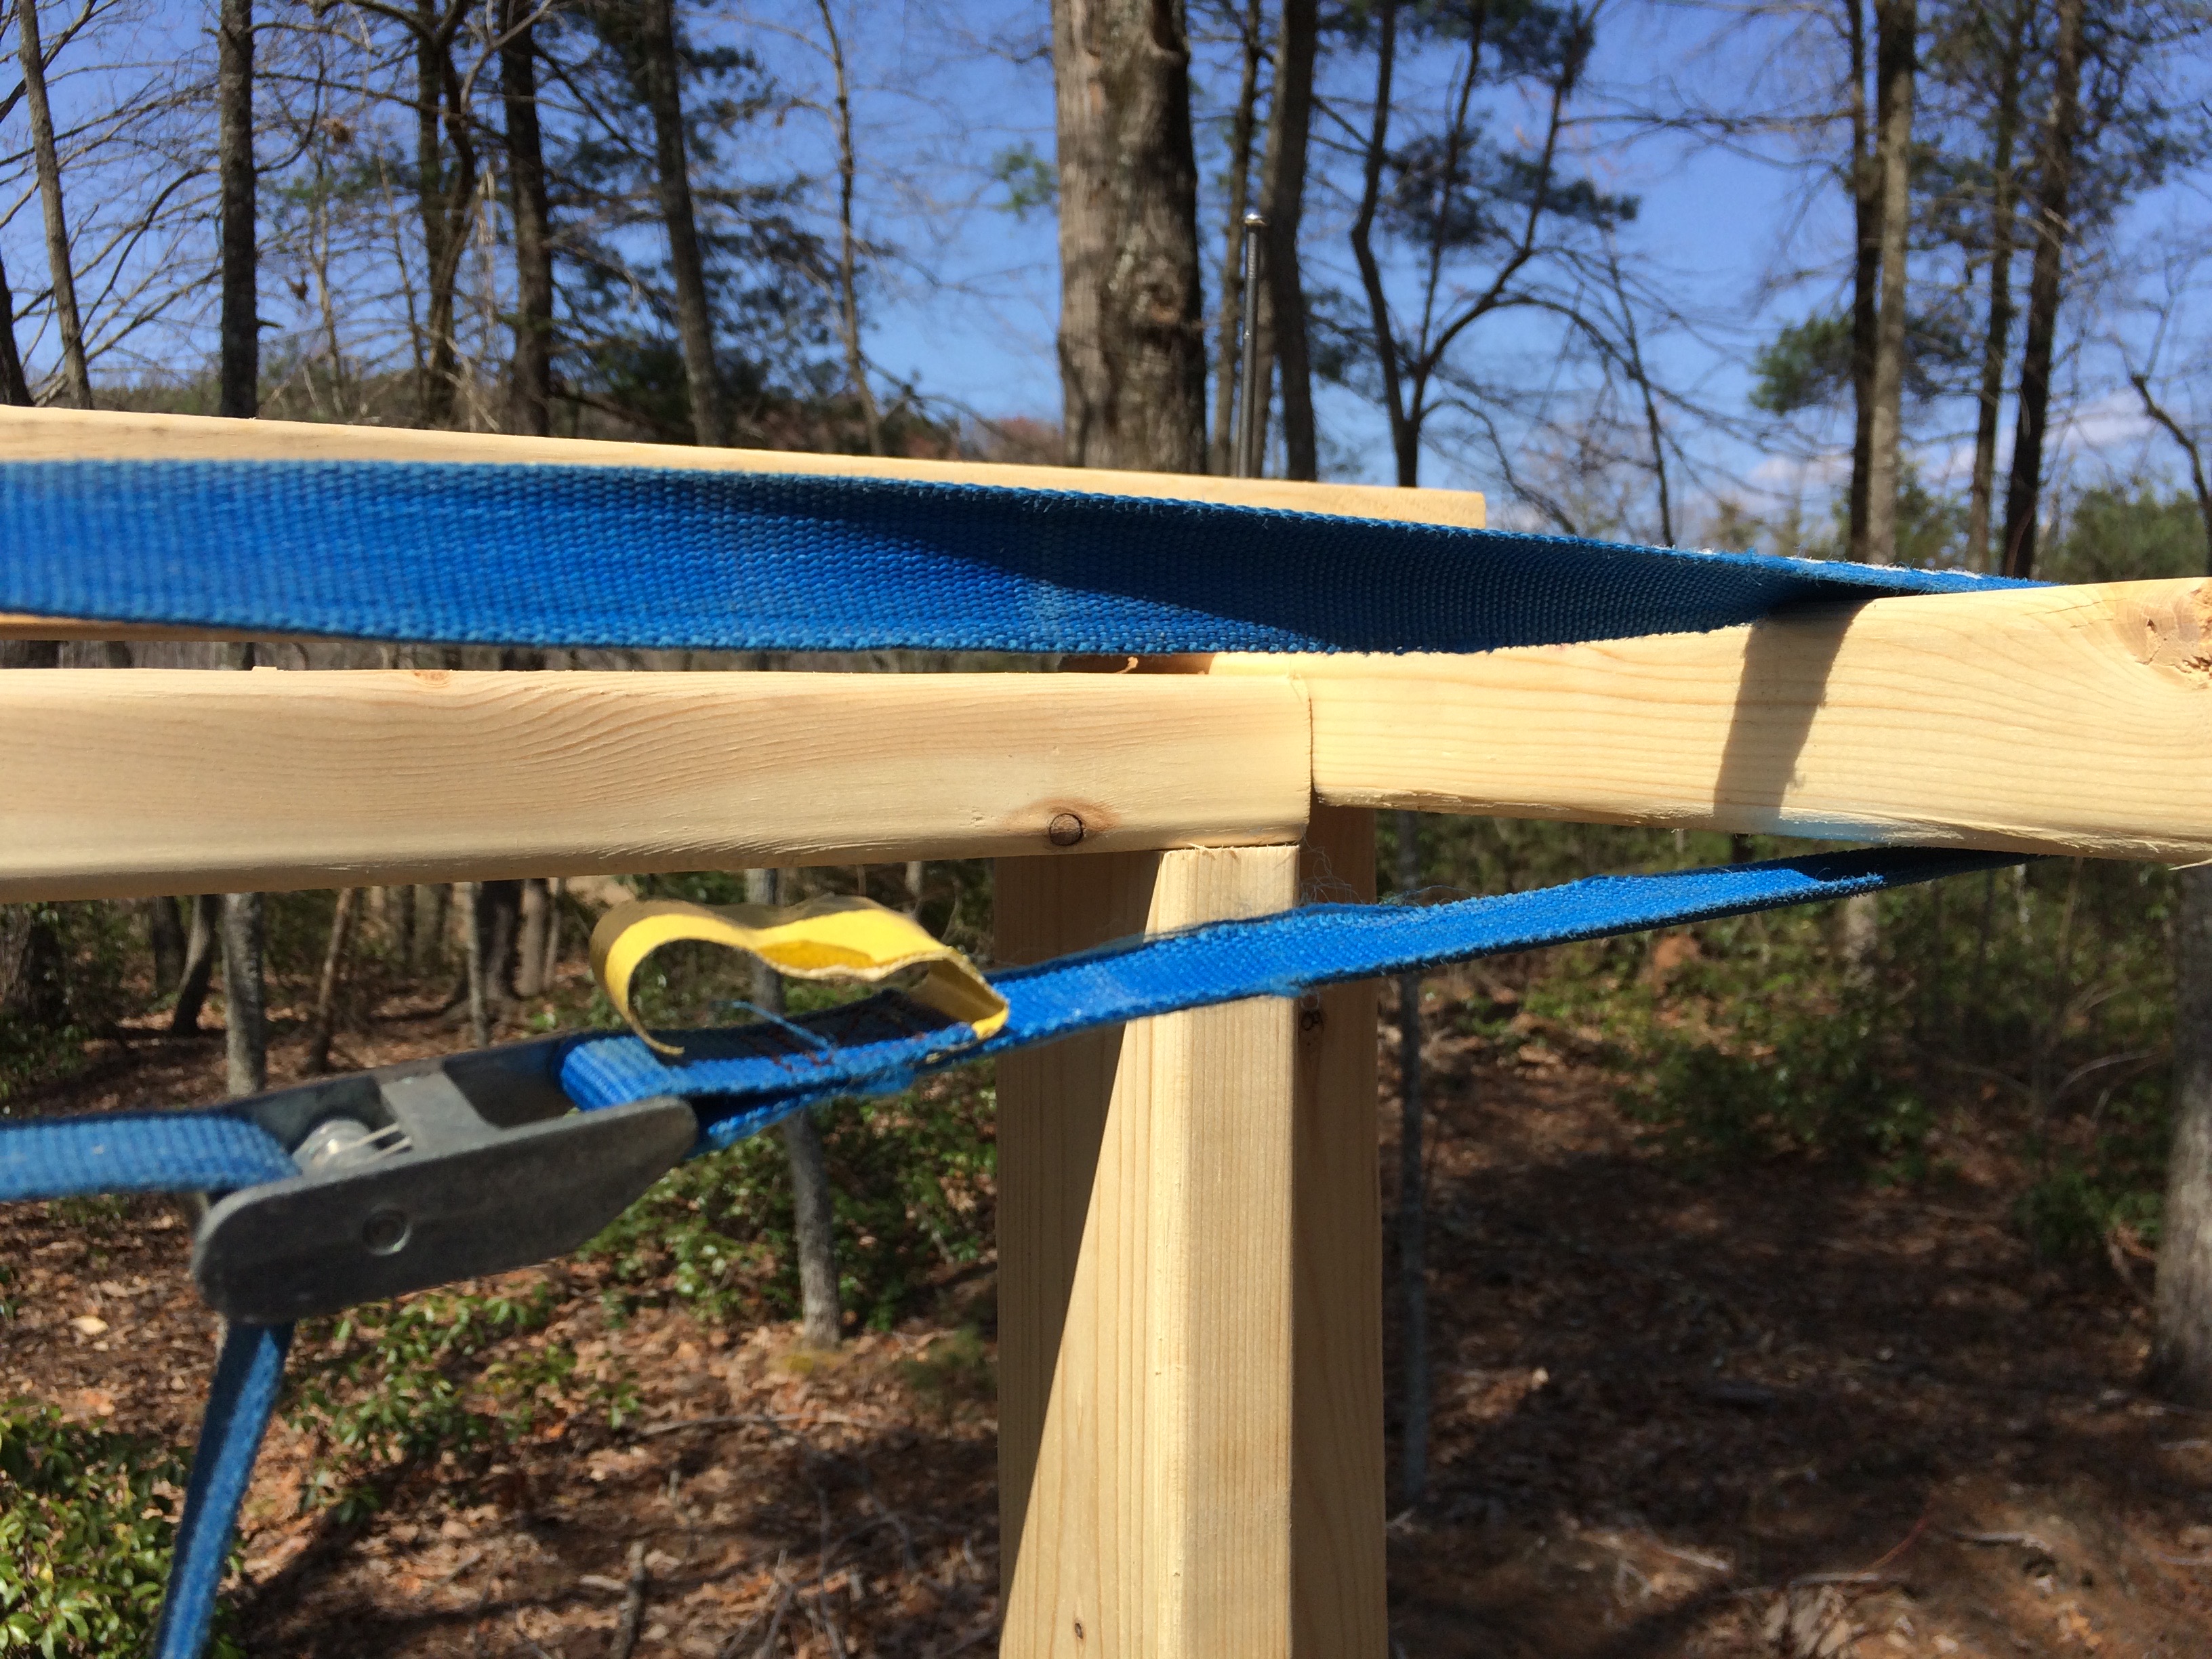
I used a cam buckle strap, to pull the walls together tight, so they could be fastened. These straps are the bomb! They are great for securing kayaks, lumber, and as here, can be used as a 12' clamp. The clamping mechanism is very ingenious. The harder the load pulls on the cam, the more it holds. I have yet, to have one fail.
A tip: buy good ones, for ease of use, and safety. This is not an area to save money.
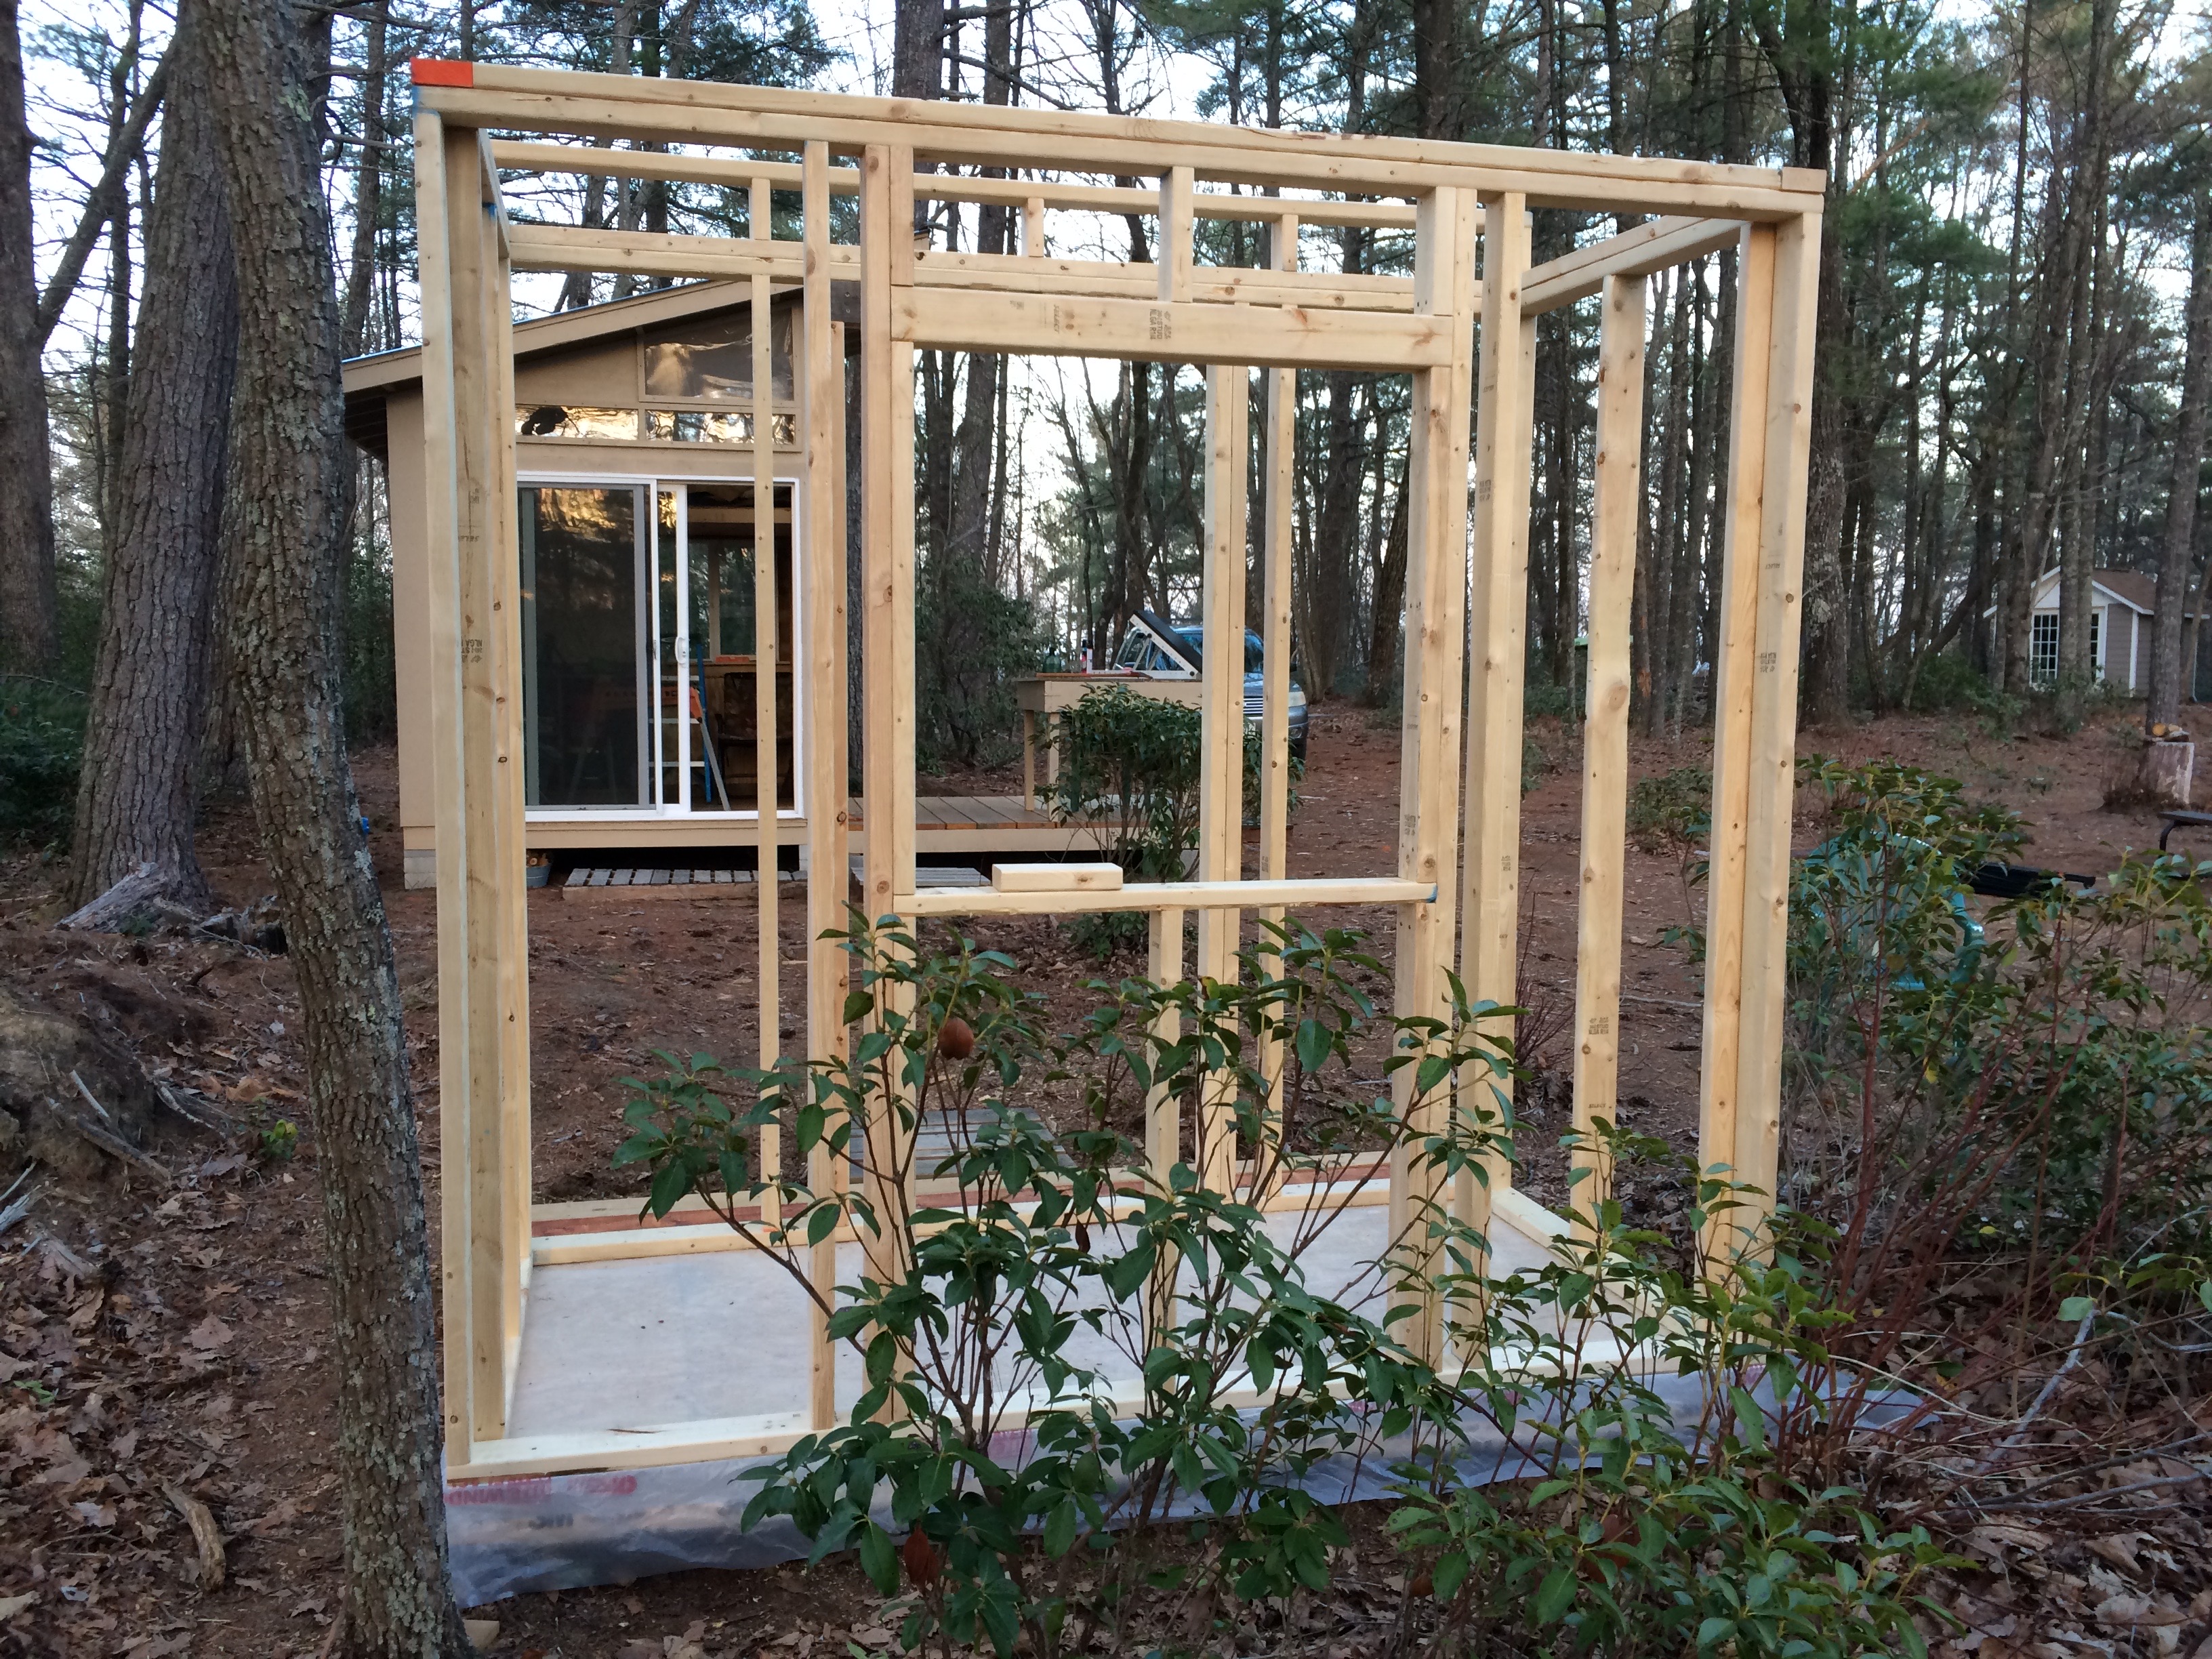
The door is 80x32.
Looks pretty good, and I am happy with it. This window is 36x36. I may add another 24x36 window in the end. Too many windows can take up valuable wall space, so I am taking that into consideration. It would be facing south which could be good, and bad. Valuable light, but perhaps too much solar heat gain.
This has been a pretty smooth project, so far. I did mess up the window frame dimensions, however, and had to tear it out, and start over. (Undoing it may save more time, and effort, than trying to make the mistake work.) Sometimes you just have to backup, to go forward.
The roof is next on my agenda, and then the exterior siding. With the siding installed, I can start putting in the windows, and the door. Let me back up a little. I have some ideas to implement for the roof. Don't want to get ahead of myself.
Come back later to see what it turns out like. I can imagine 2-3 (4-5) more posts until this is finished. It is turning out well, and I am excited about it!
Look here if you want to see the first part:
Getting My Compost Toilet Out Of The Workshop, And Into Its Own Space: Part One
[Thanks for joining me, and I hope to see you later!]

.png)


Join our Discord Channel to connect with us and nominate your own or somebody else's posts in our review channel.
Help us to reward you for making it ! Join our voting trail or delegate steem power to the community account.
Your post is also presented on the community website www.steemmakers.com where you can find other selected content.
If you like our work, please consider upvoting this comment to support the growth of our community. Thank you.
Your method of building the walls was very similar to how we built our tiny house. We had to build the sections of the walls on the trailer itself and then set them to the side.
I am so glad to see you have found your way to curie. That’s just great. Your posts are very comprehensive and entertaining at the same time. I am waiting for you to put your out house together. 🐓🐓