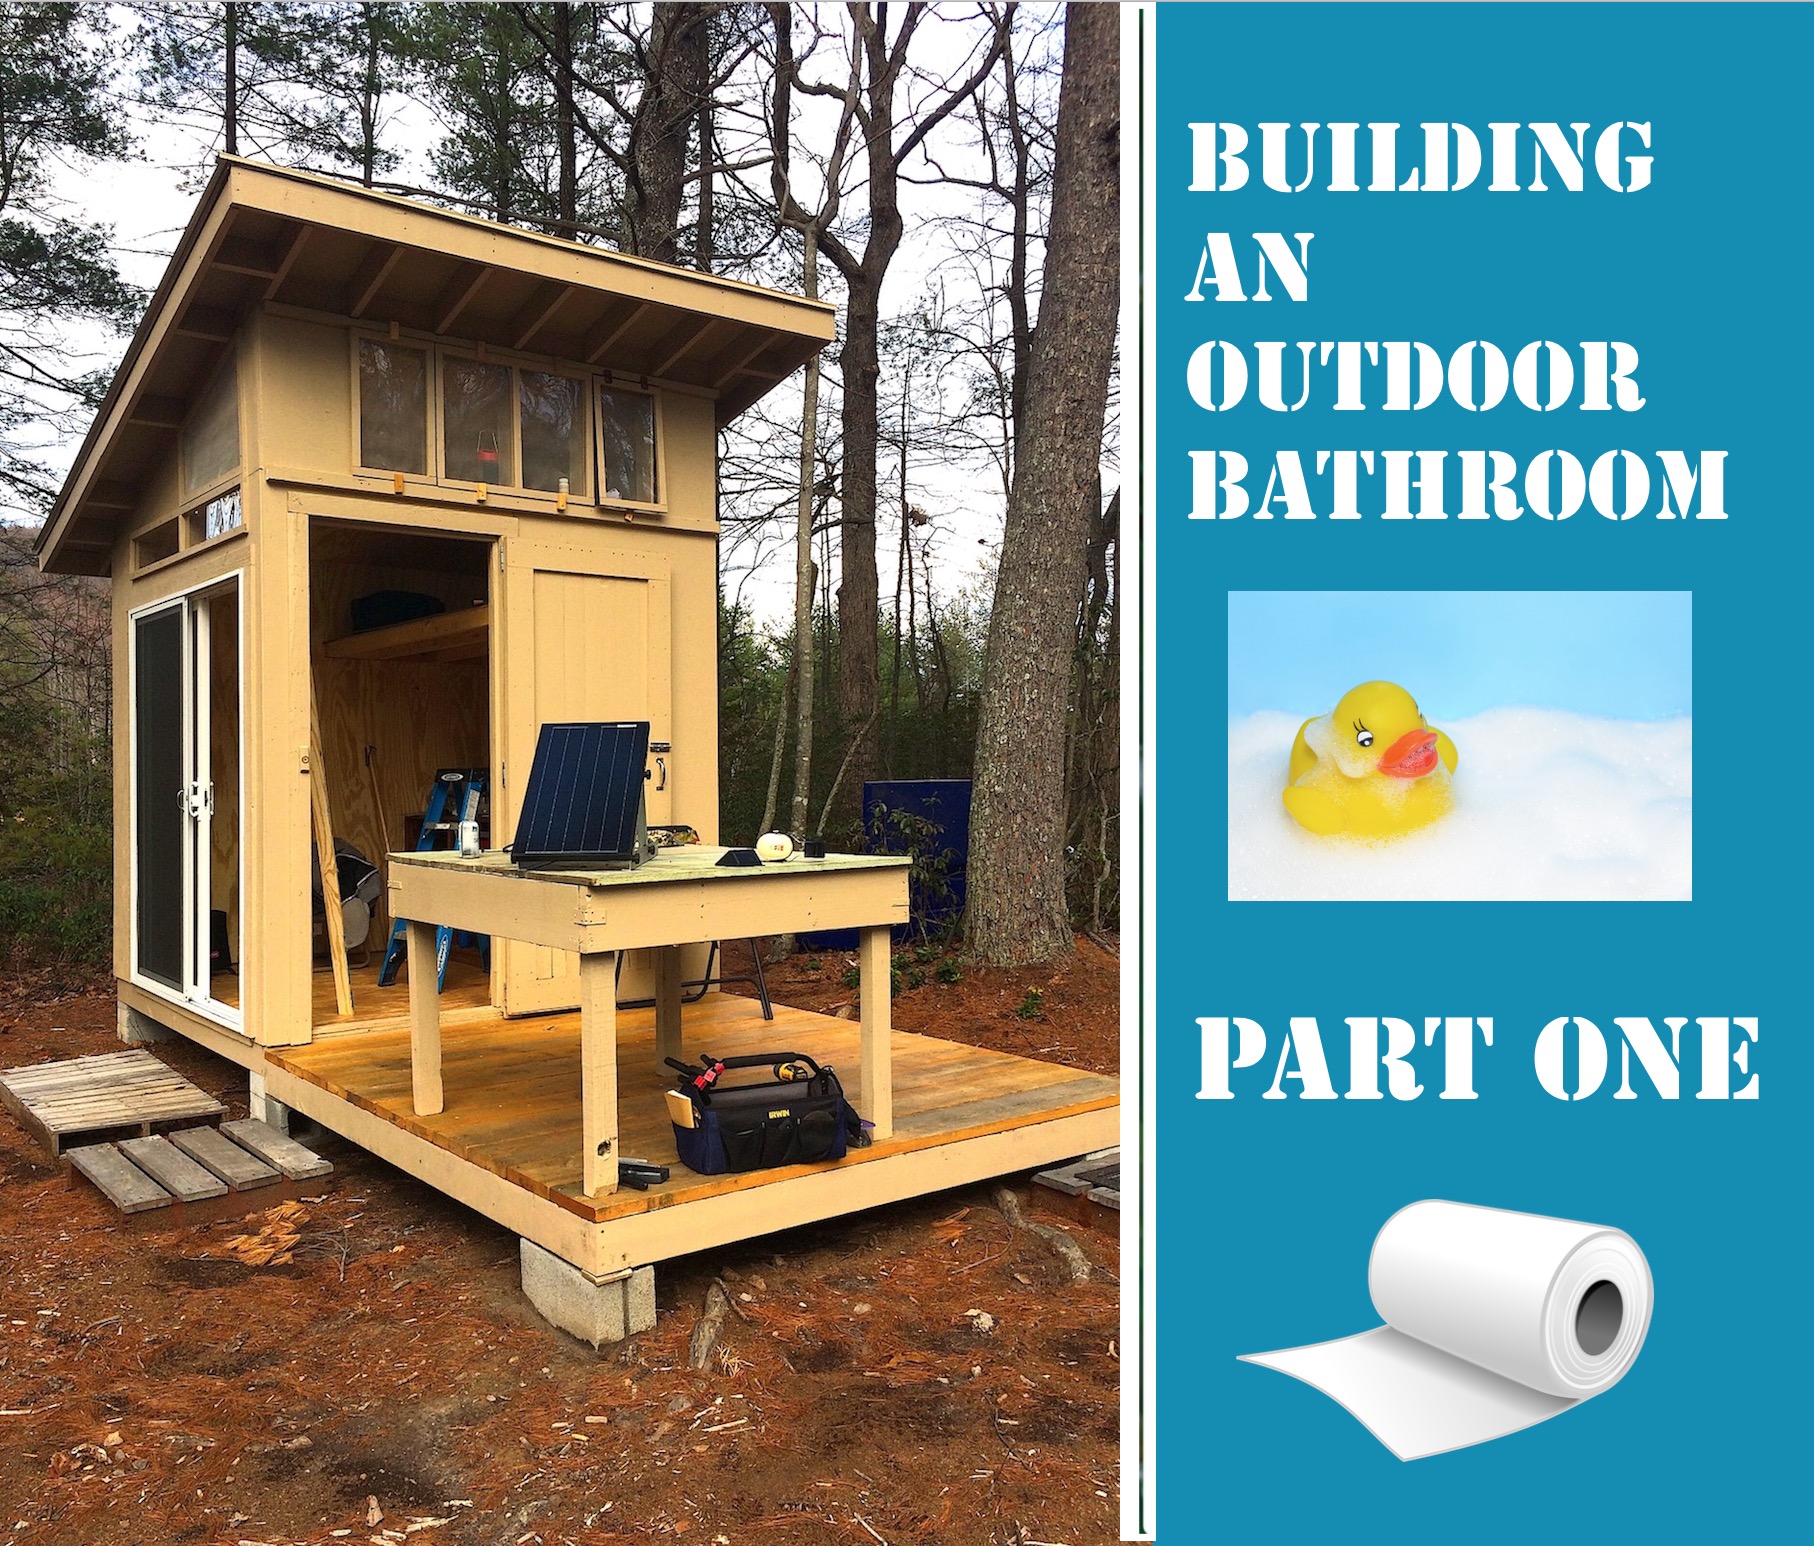
Getting My Compost Toilet Out Of The Workshop, And Into Its Own Space

Here is where I want it.
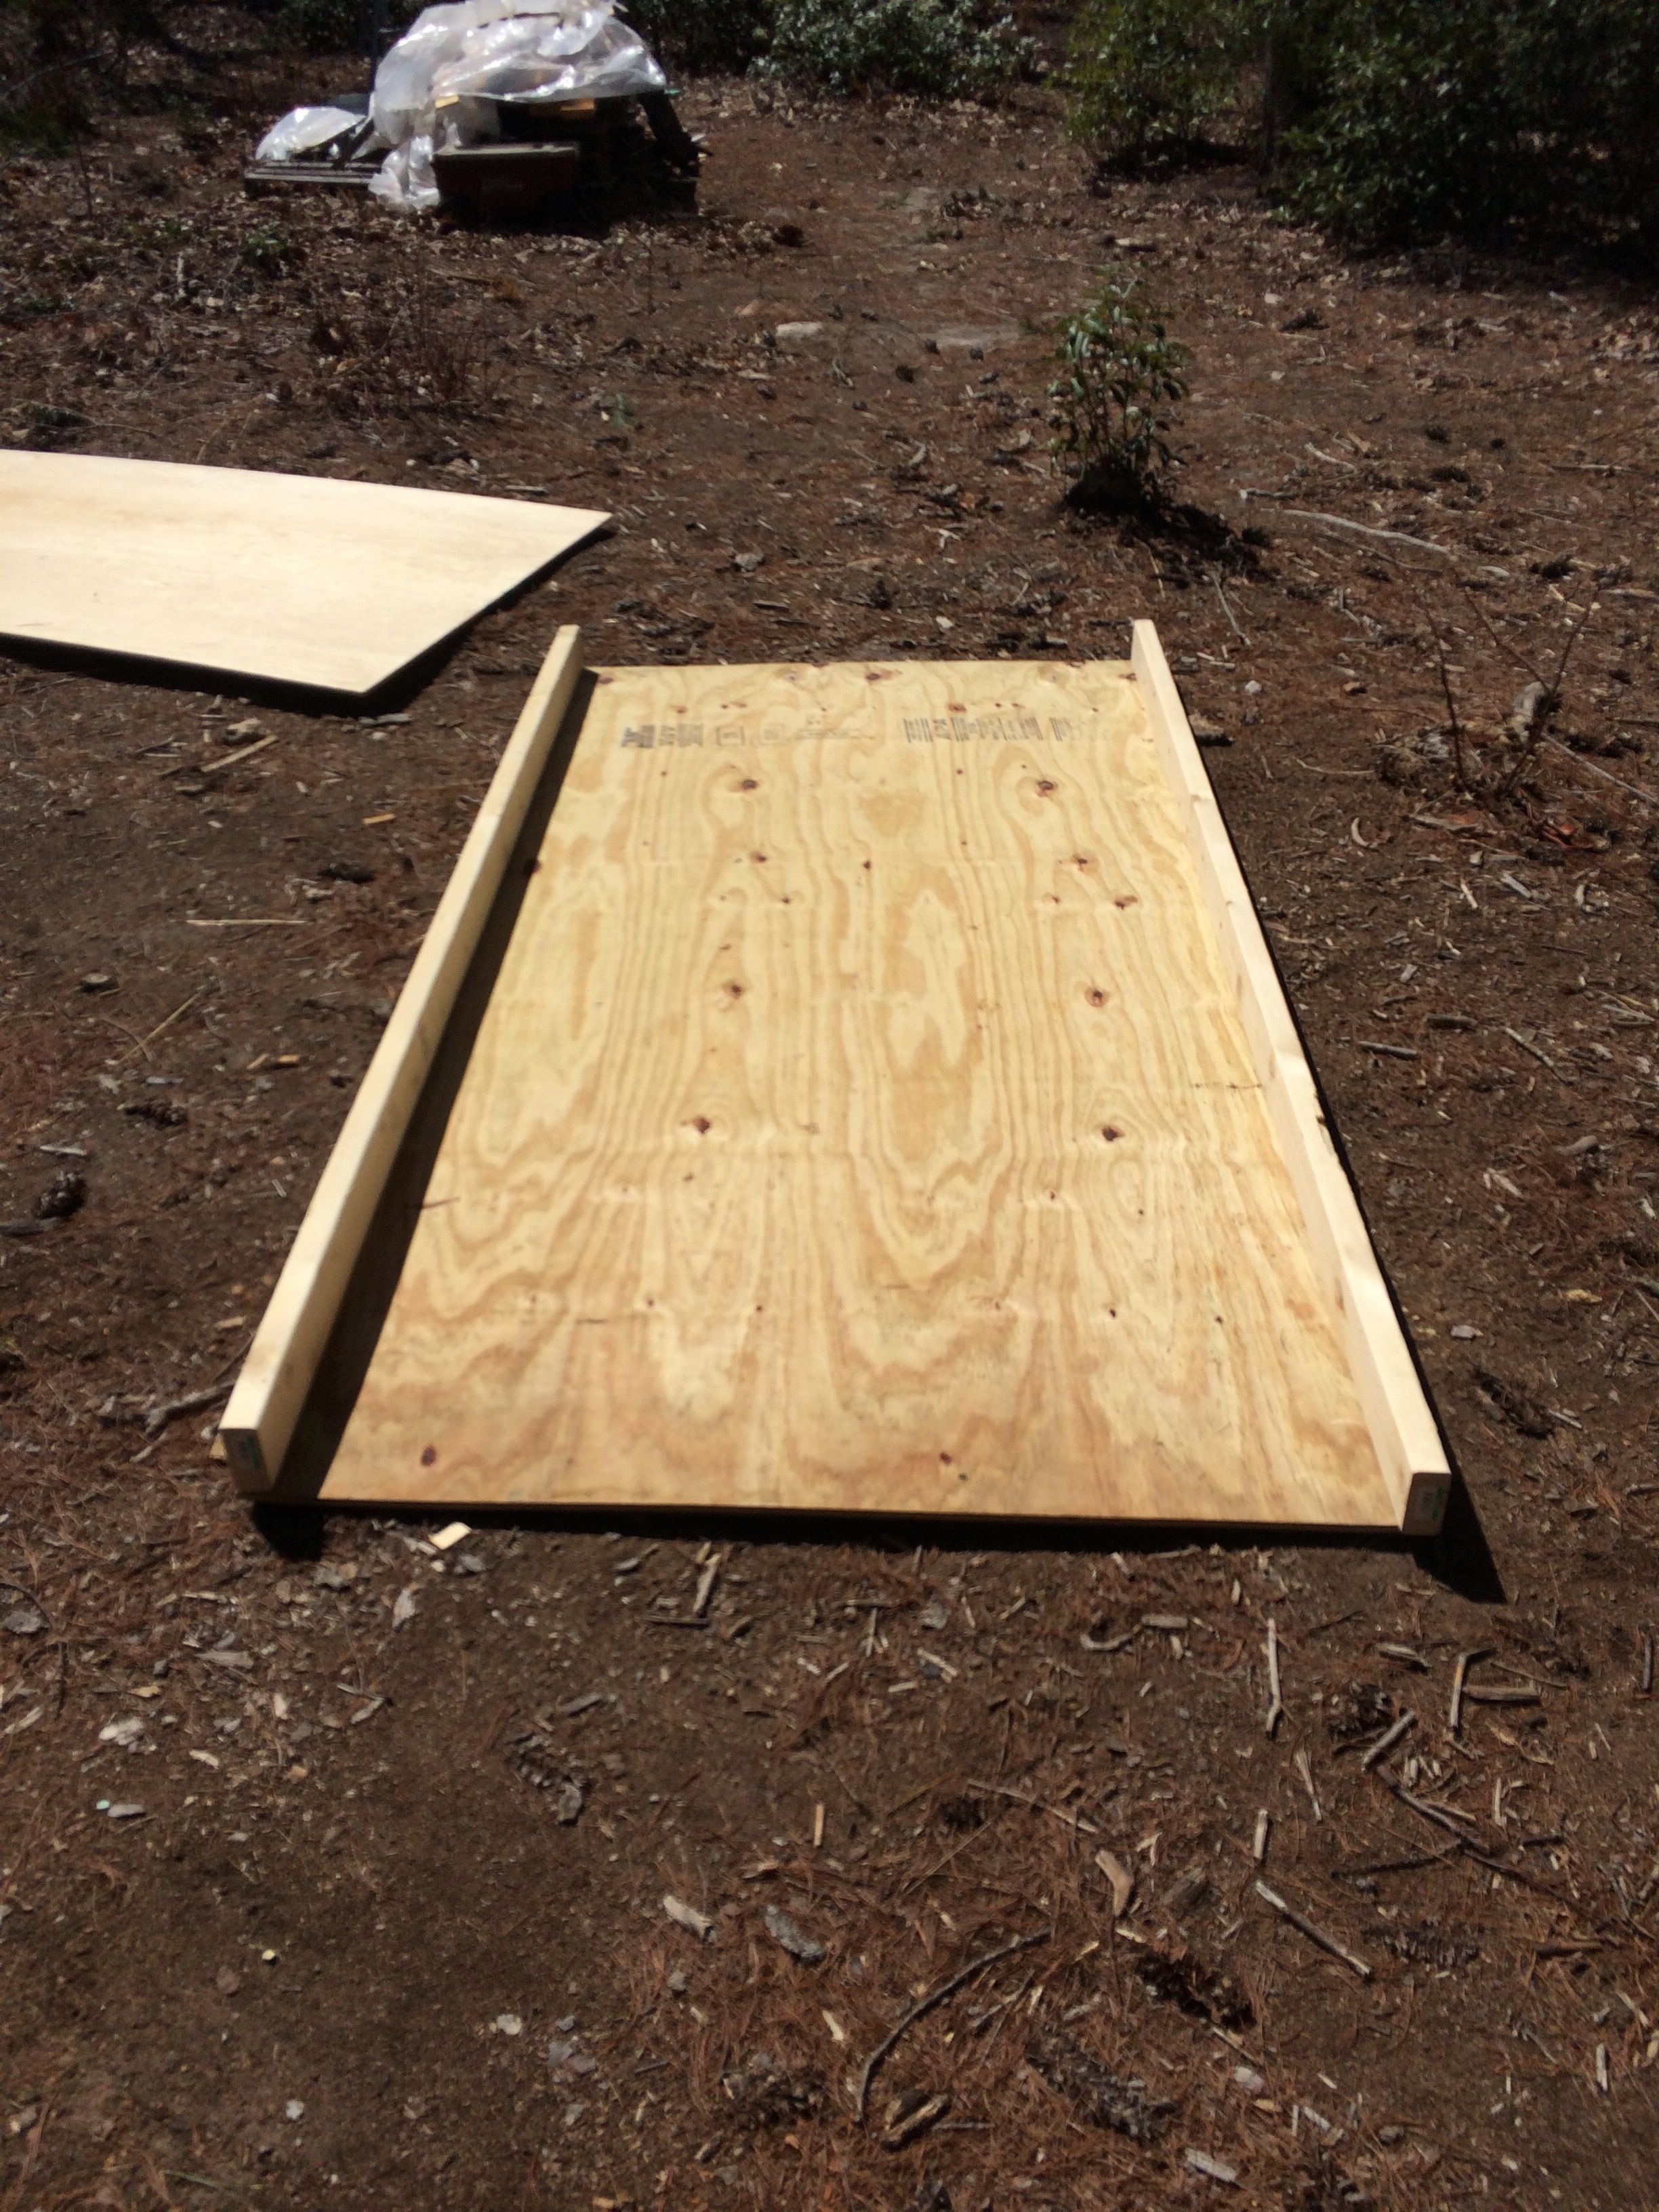
I am starting with two sheets of plywood, and five 2x4s. I laid the 2x4s on the plywood. The plywood is already square, so I don't have to worry about that. Just measure and cut the 2x4s, to fit the plywood. Easy! (Hard to mess up here.)
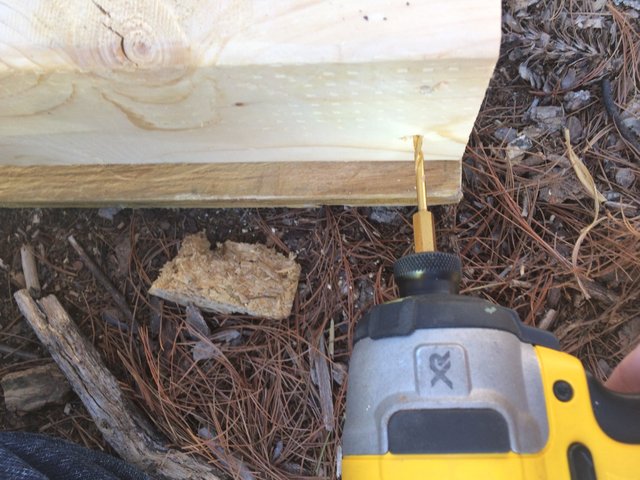
I predrilled the holes to screw the 2x4 frame together. It keeps the brittle 2x4s from splitting.

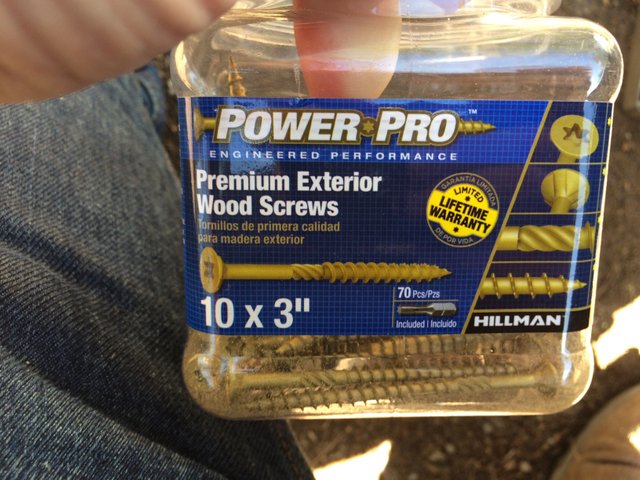
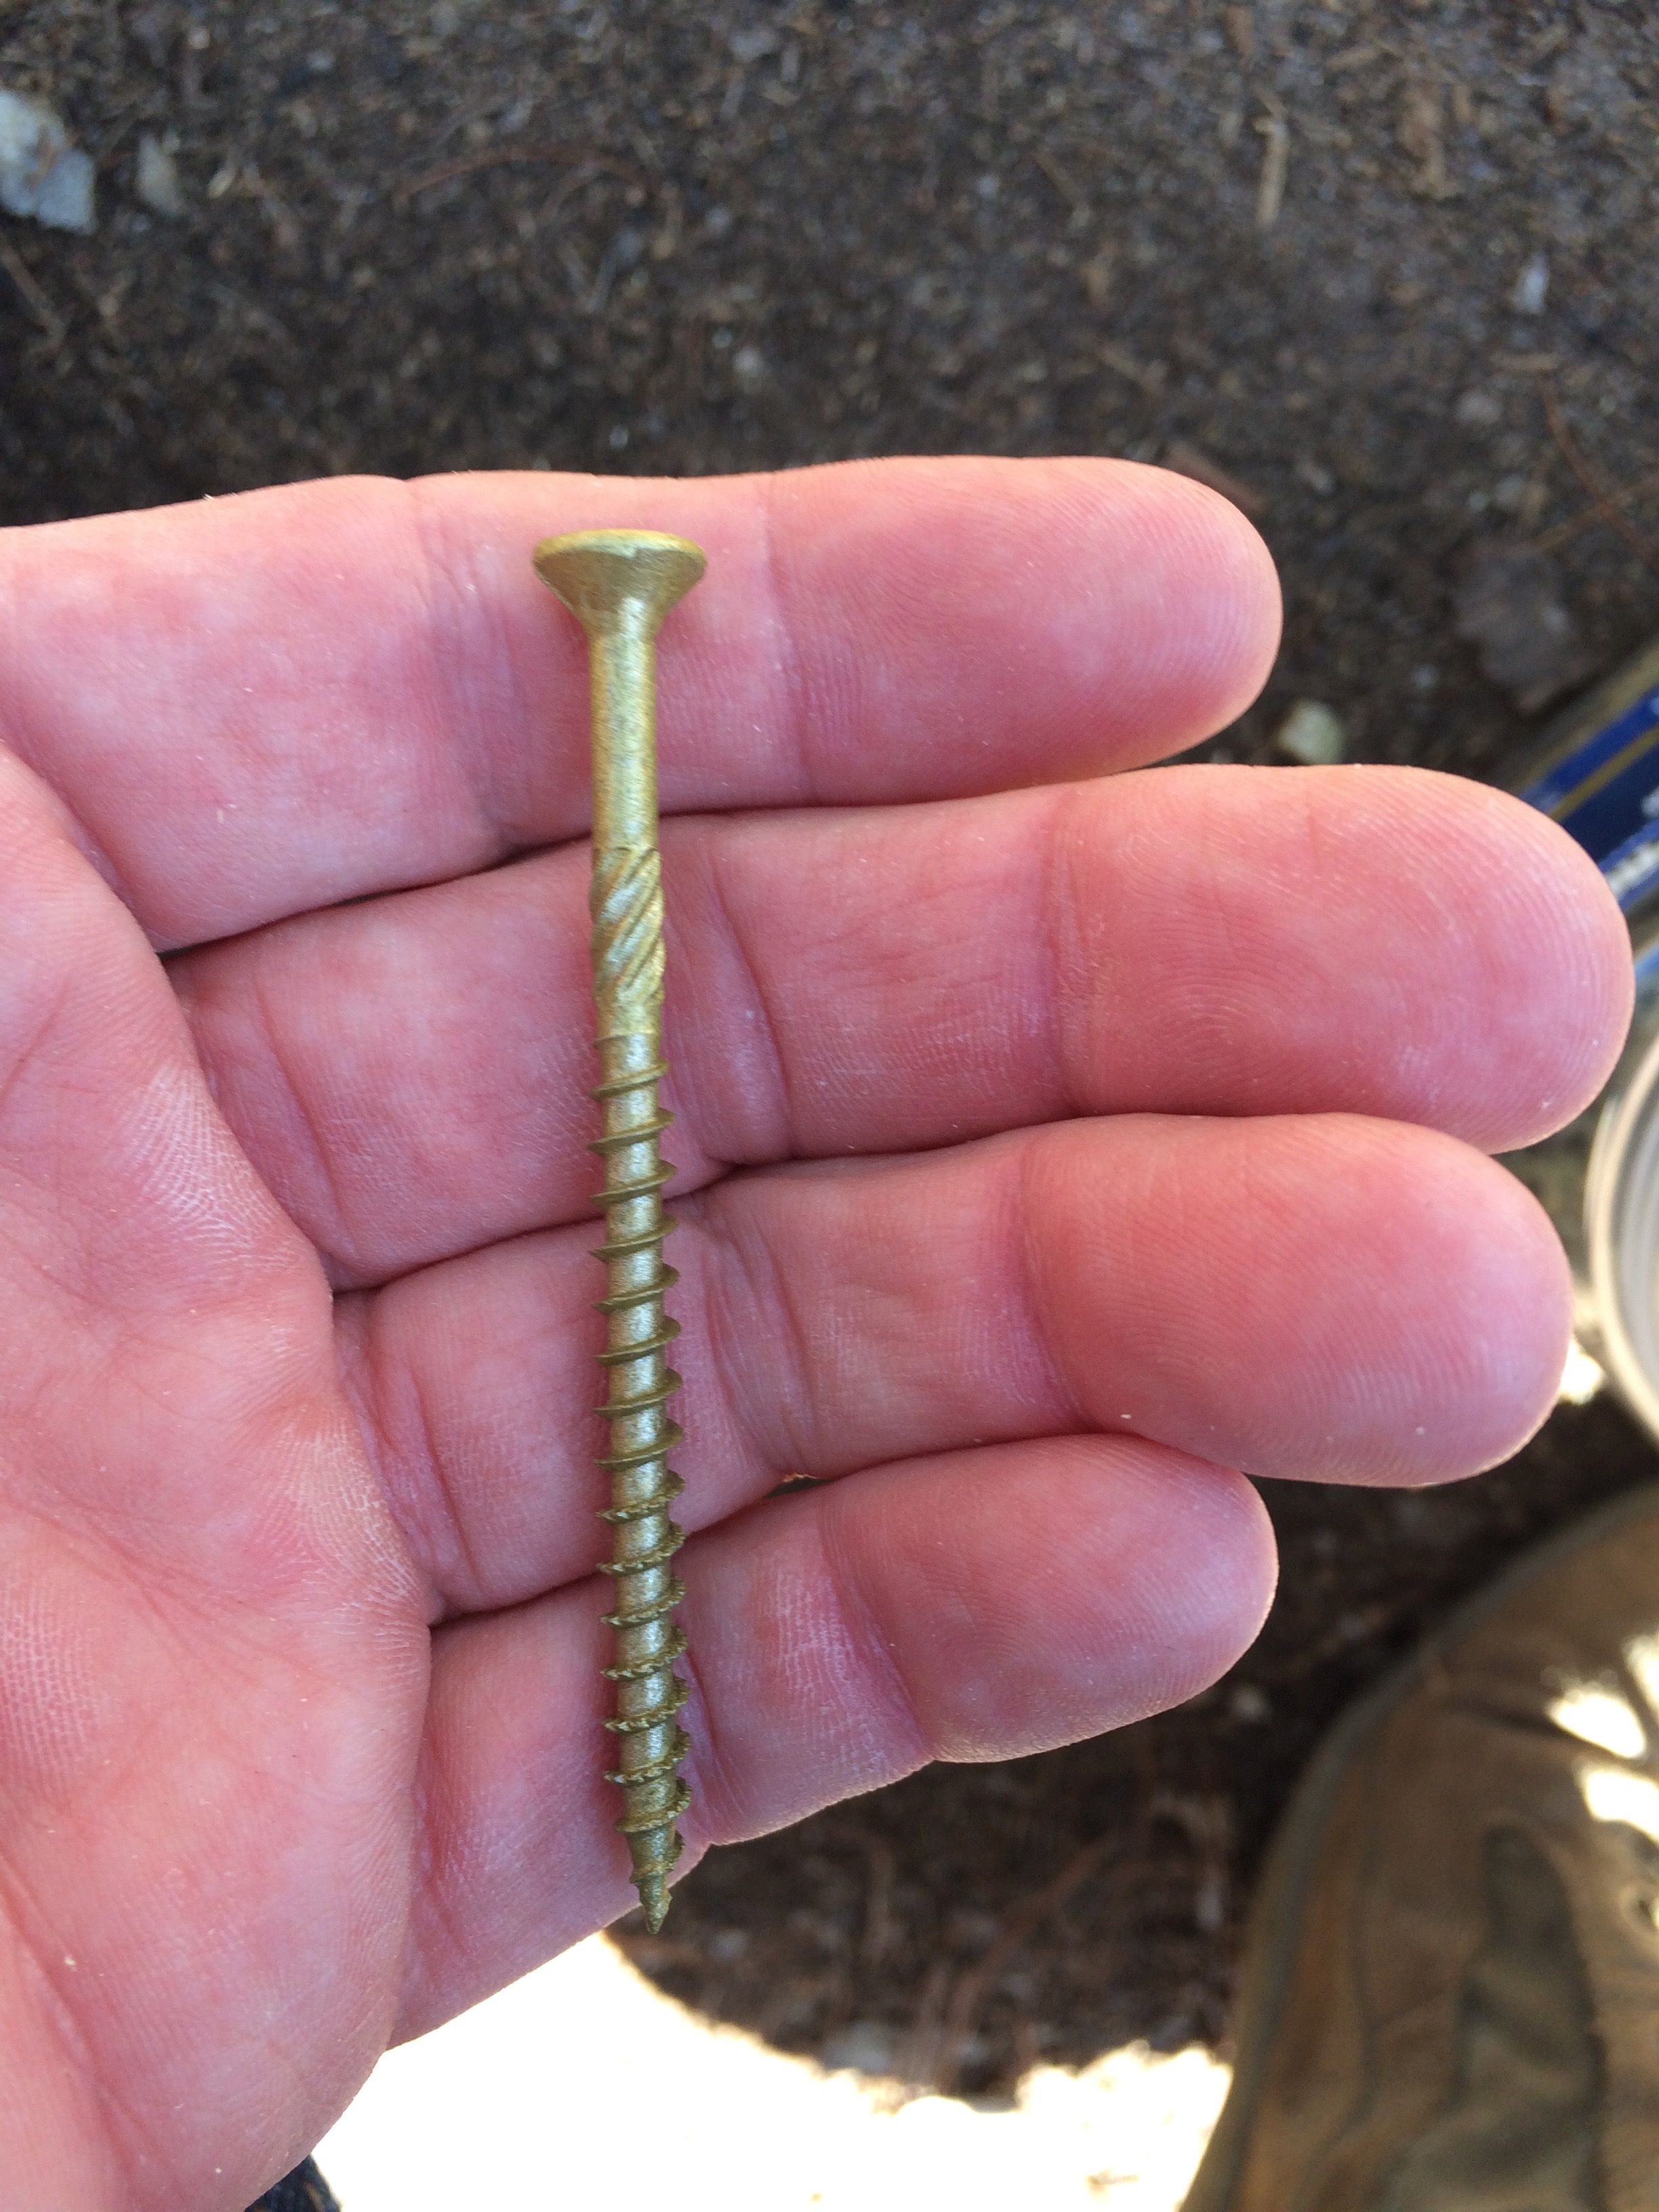
Laid out the joists 16" on center. Using these screws to fasten.
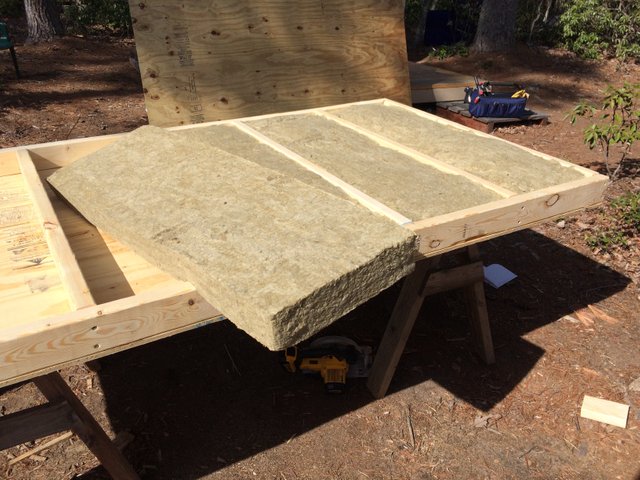
I filled the floor joist spaces with Rockwool, as I want my bathroom to be easy to heat.
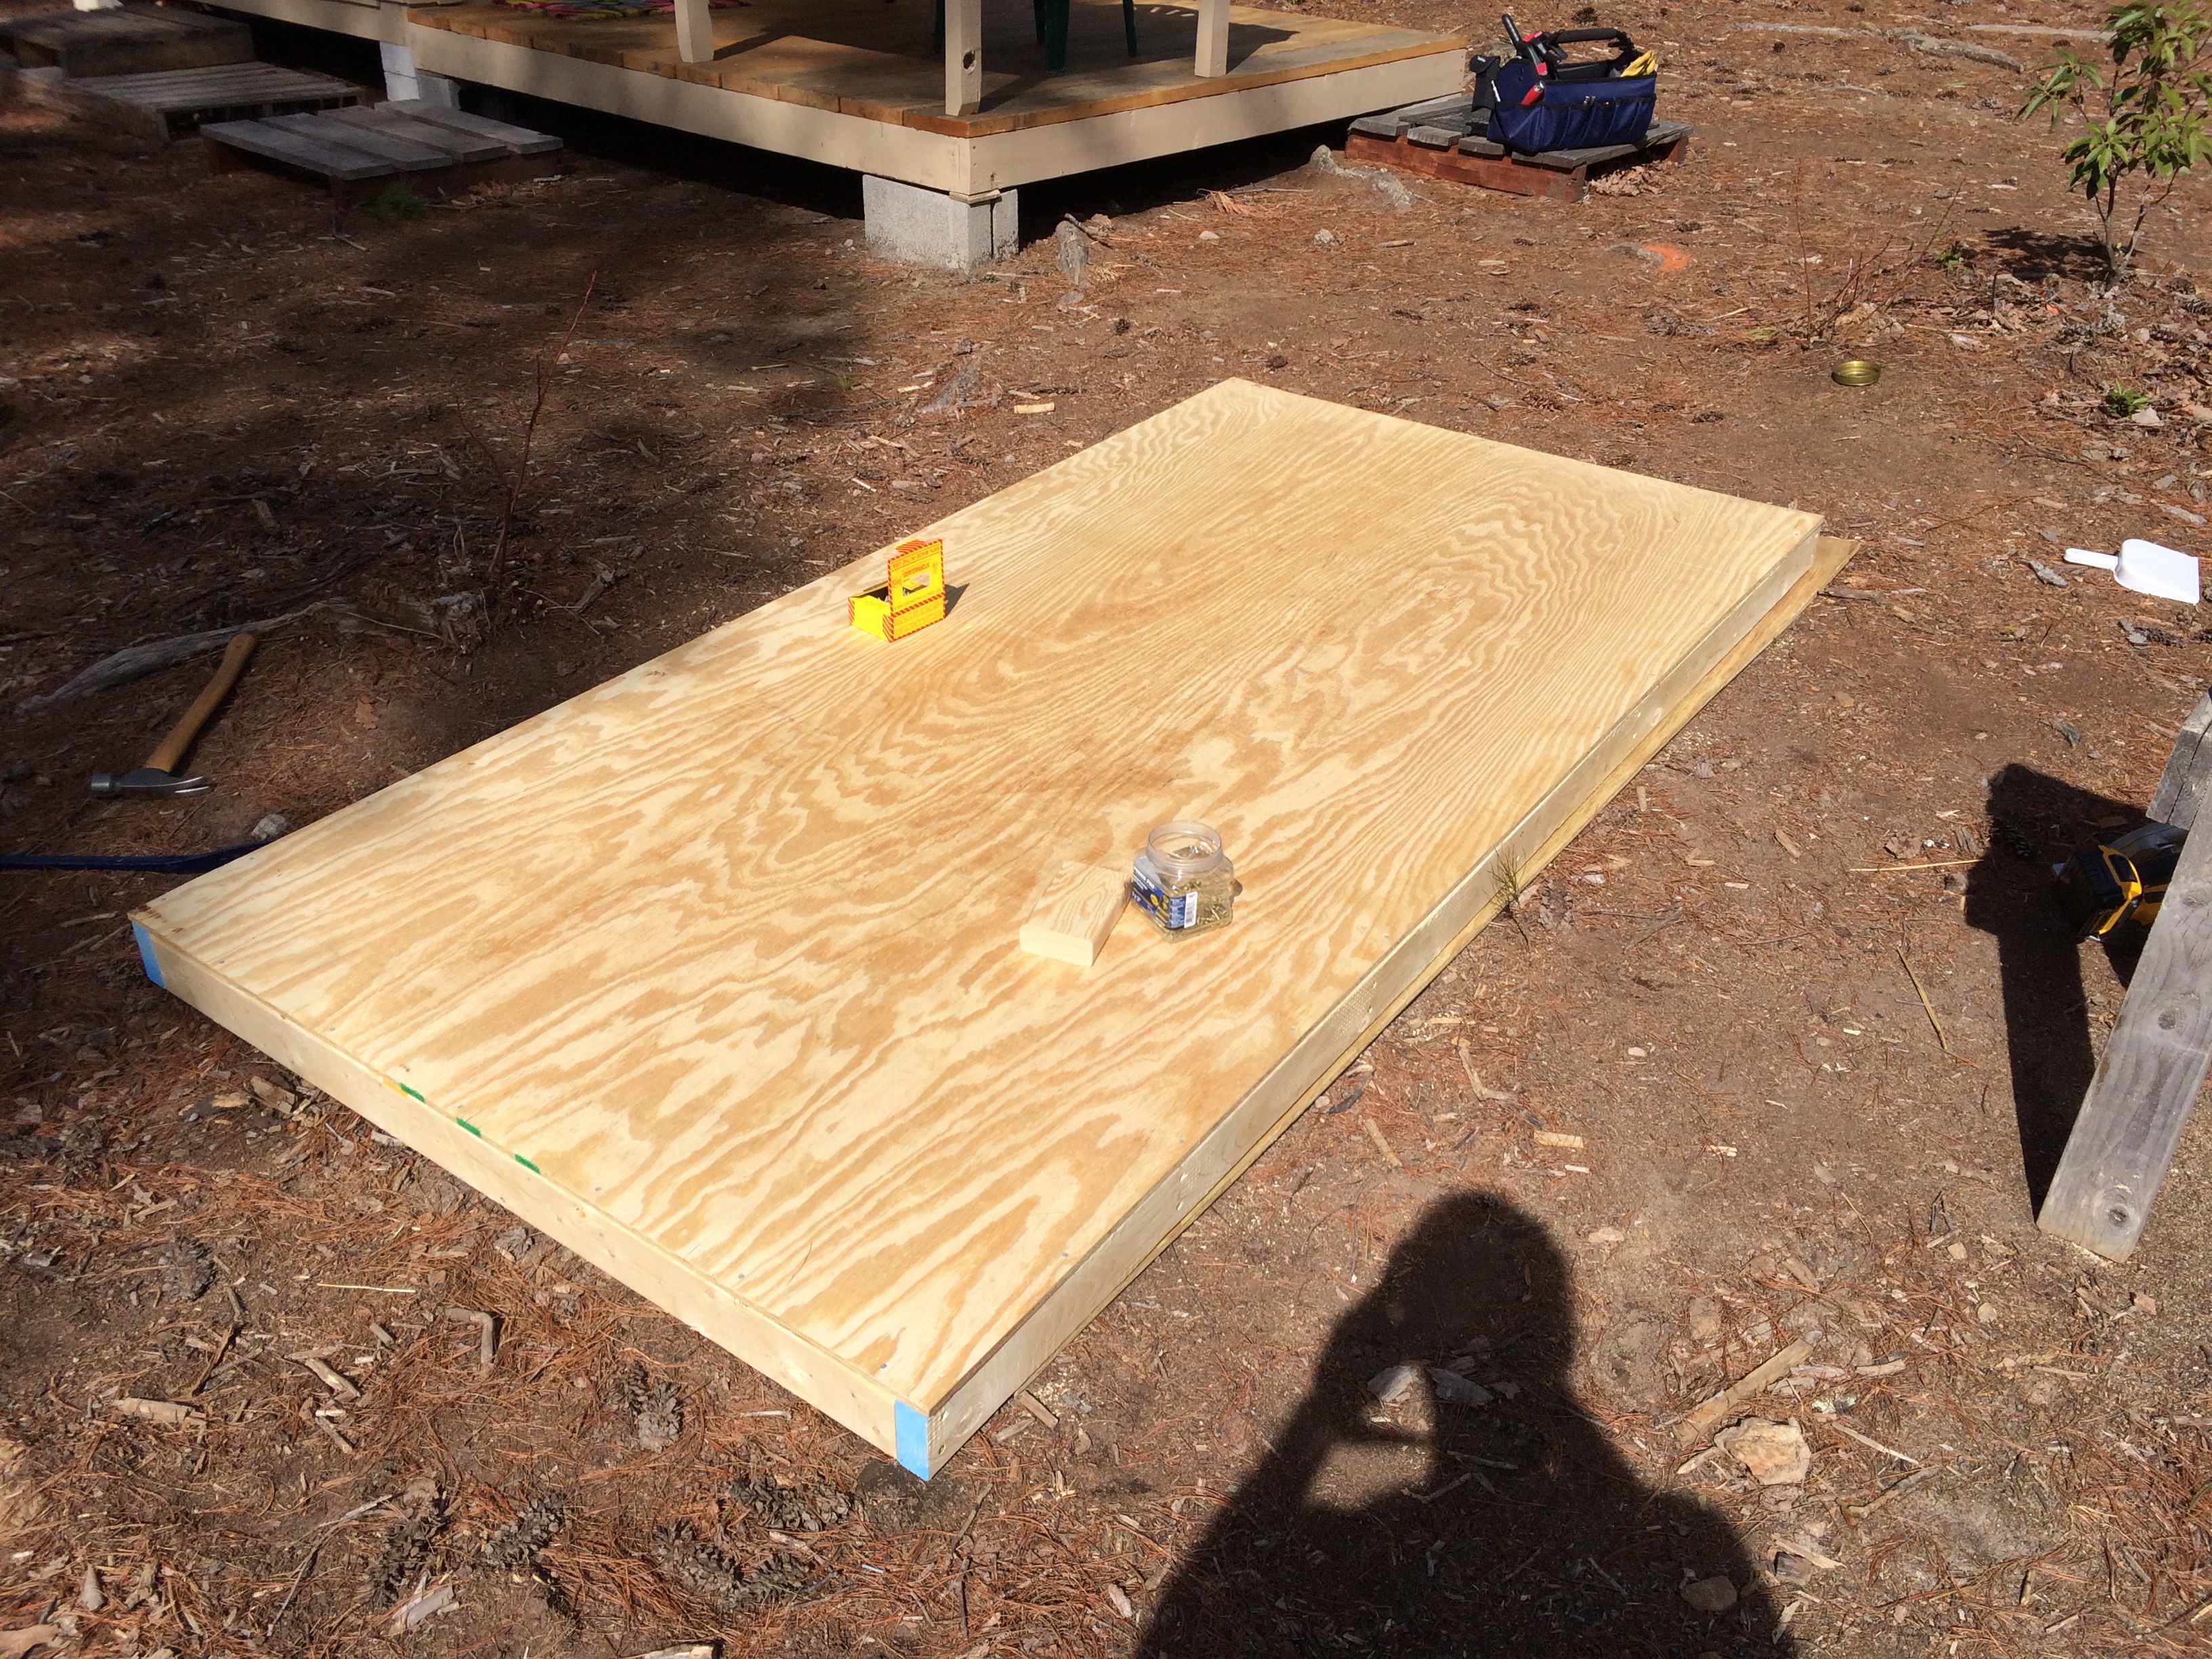
I laid the other sheet of plywood on top, making a sandwich.
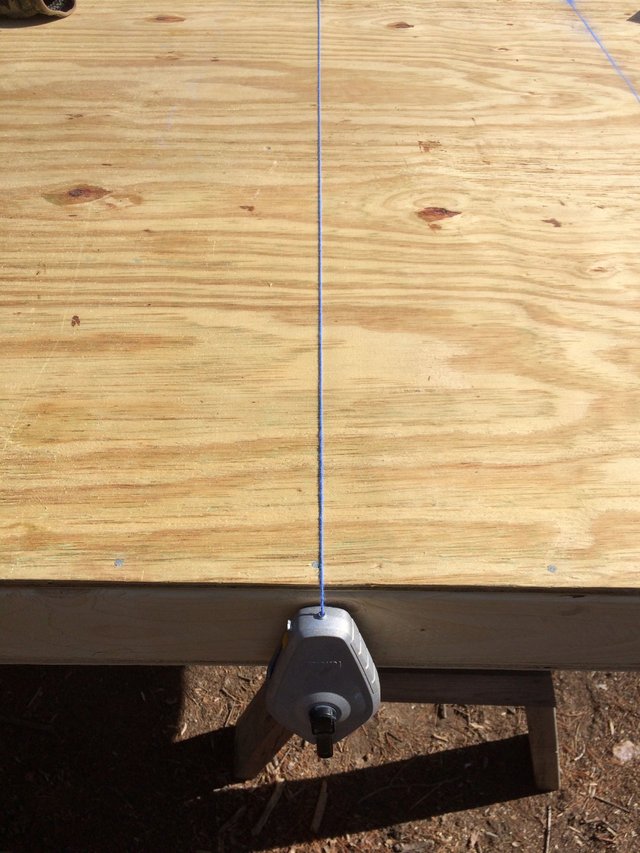
I used a chalkline to lay out where the fasteners should go. Otherwise the 2x4 floor joists would be hard to nail consistently. The chalkline makes an easy to follow target for the nails. I used 1.5 inch ring nails. Ring nails hold well, but use what you have (1.5 -2 inches long).
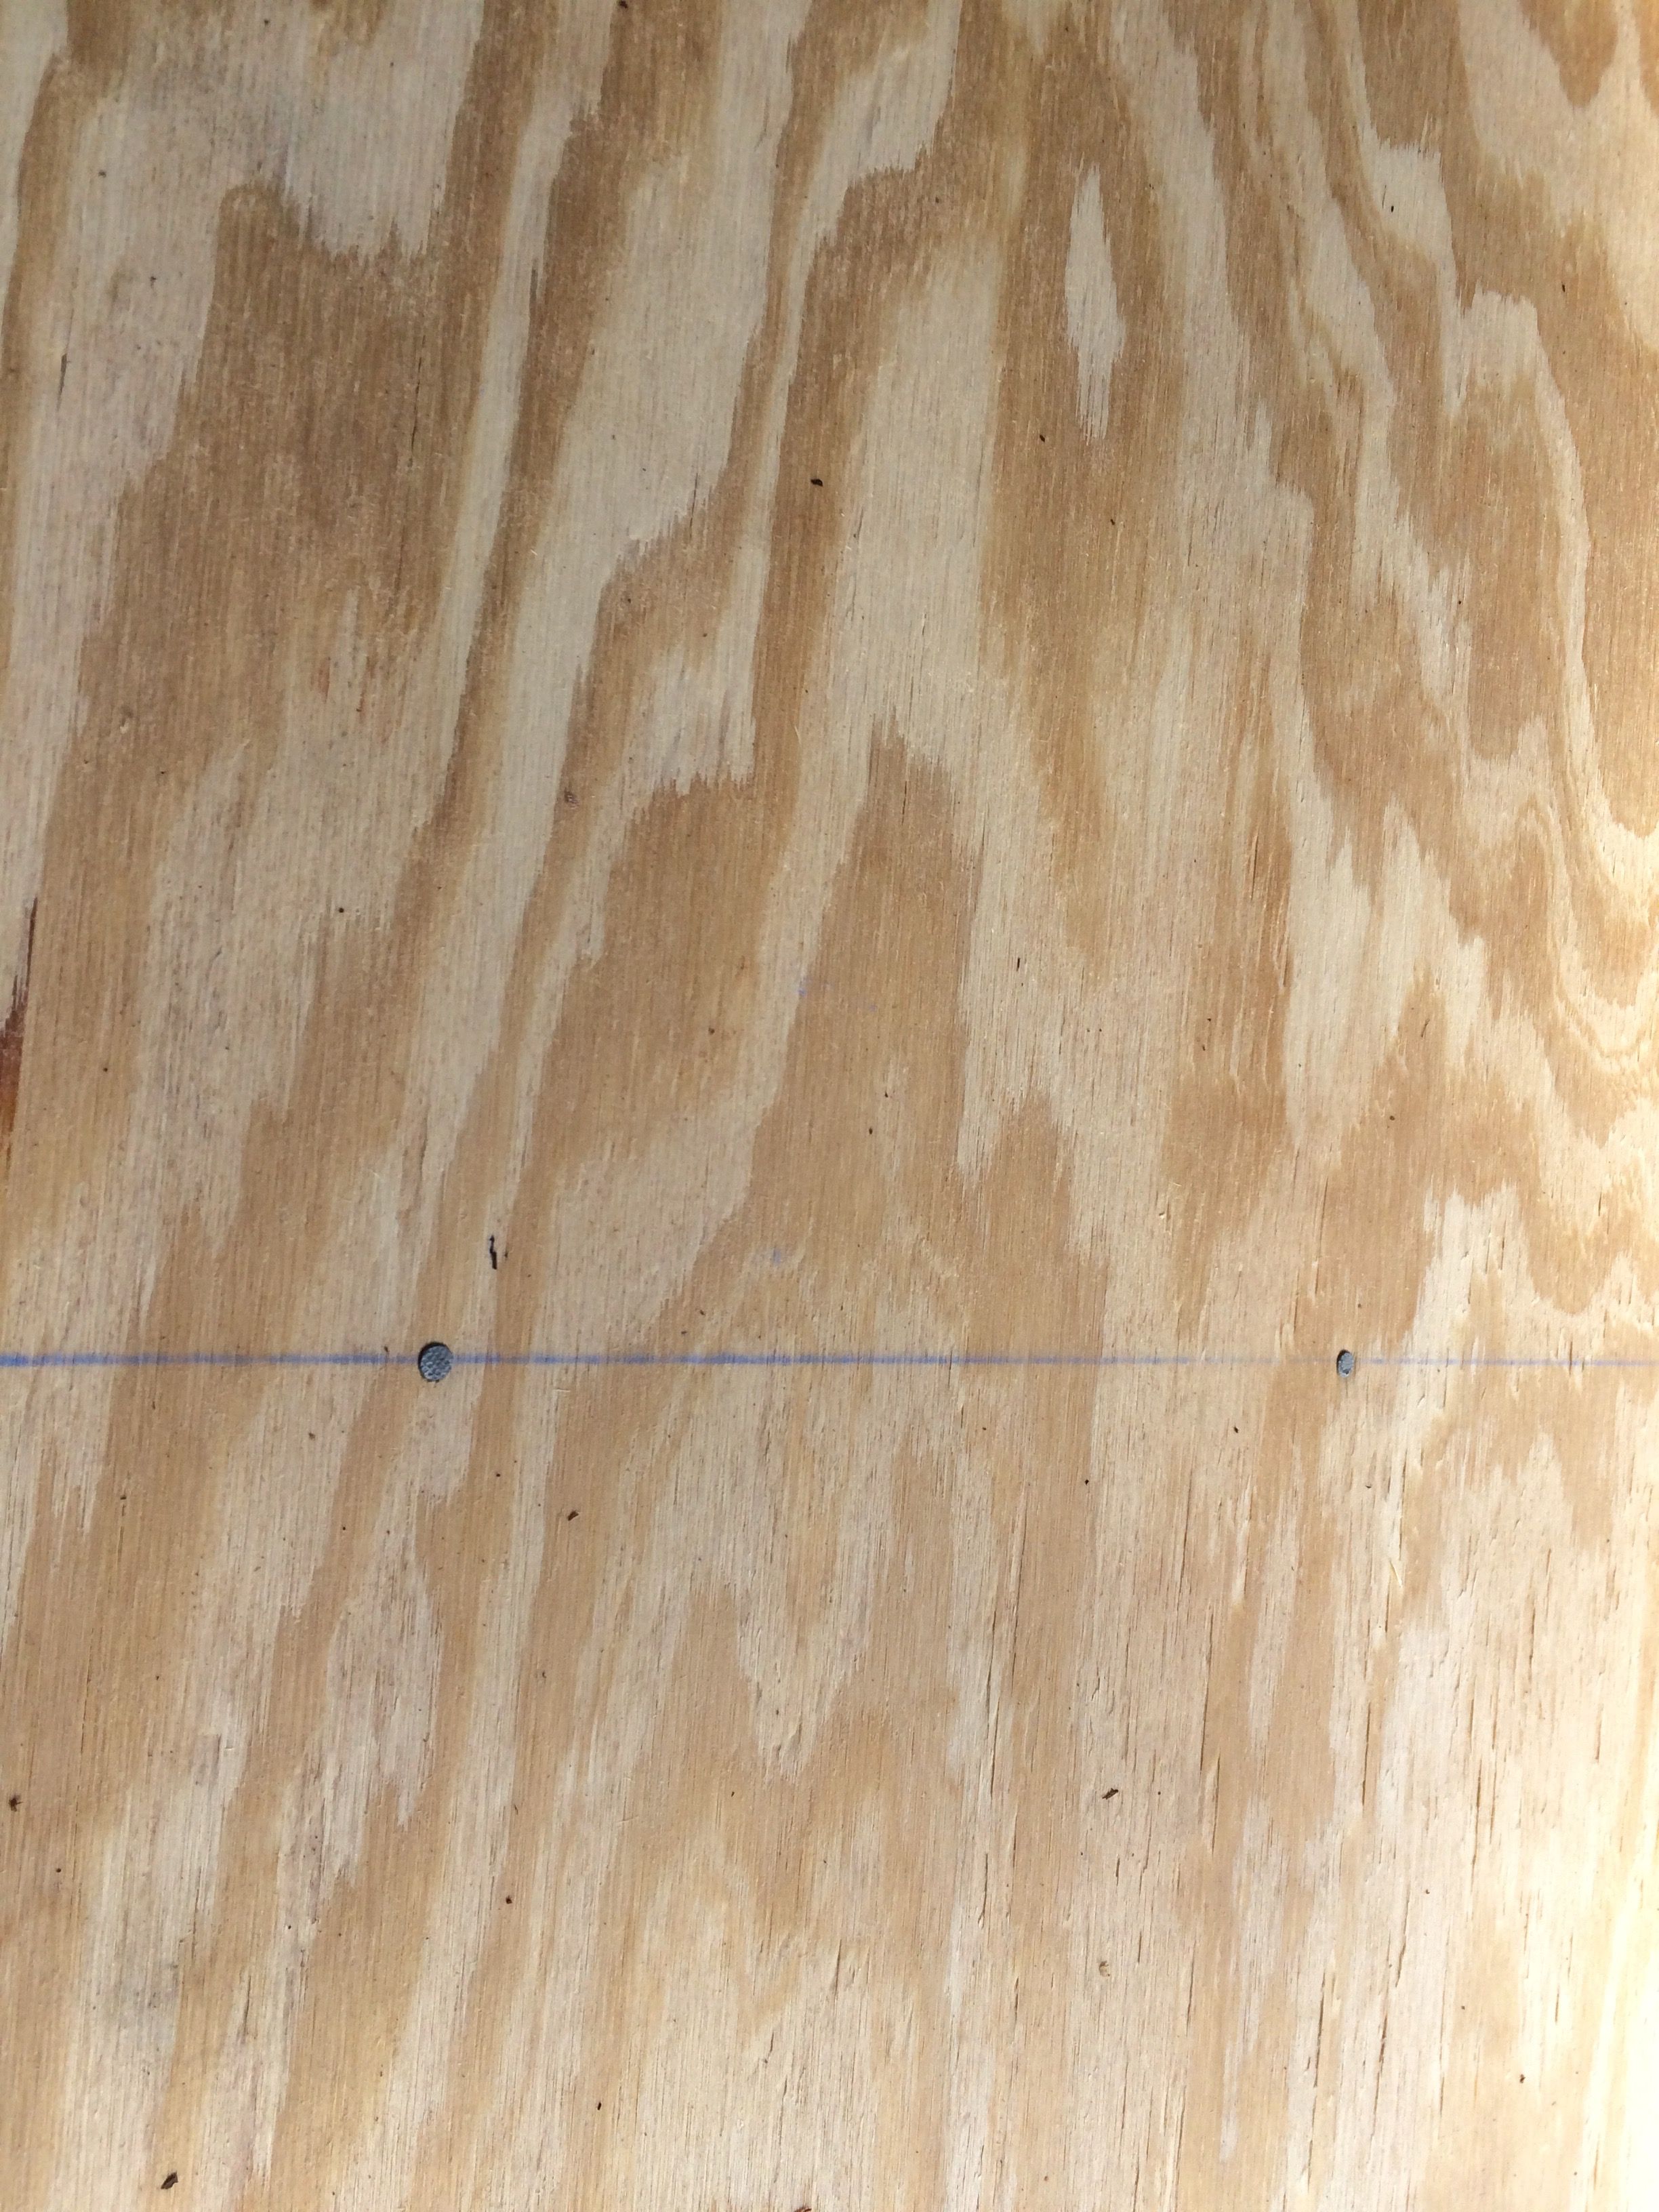
Looks neat to to use chalkline, and space nails evenly. Even if you can't see them, it feels good being neat.
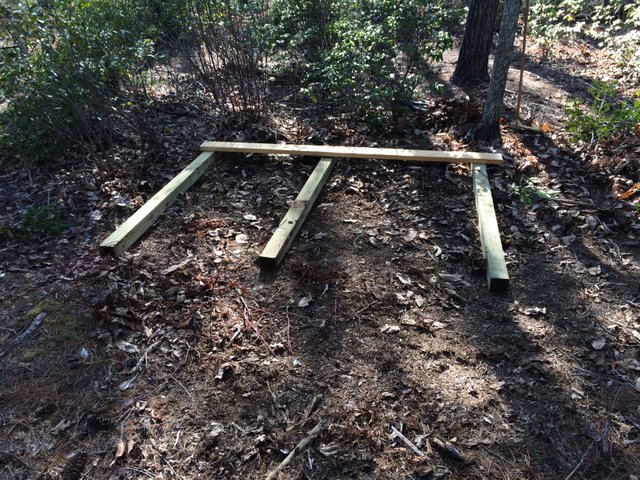
Here is the base made of three 4x4s, not fastened to the ground. Treated in this case, since I already had them.
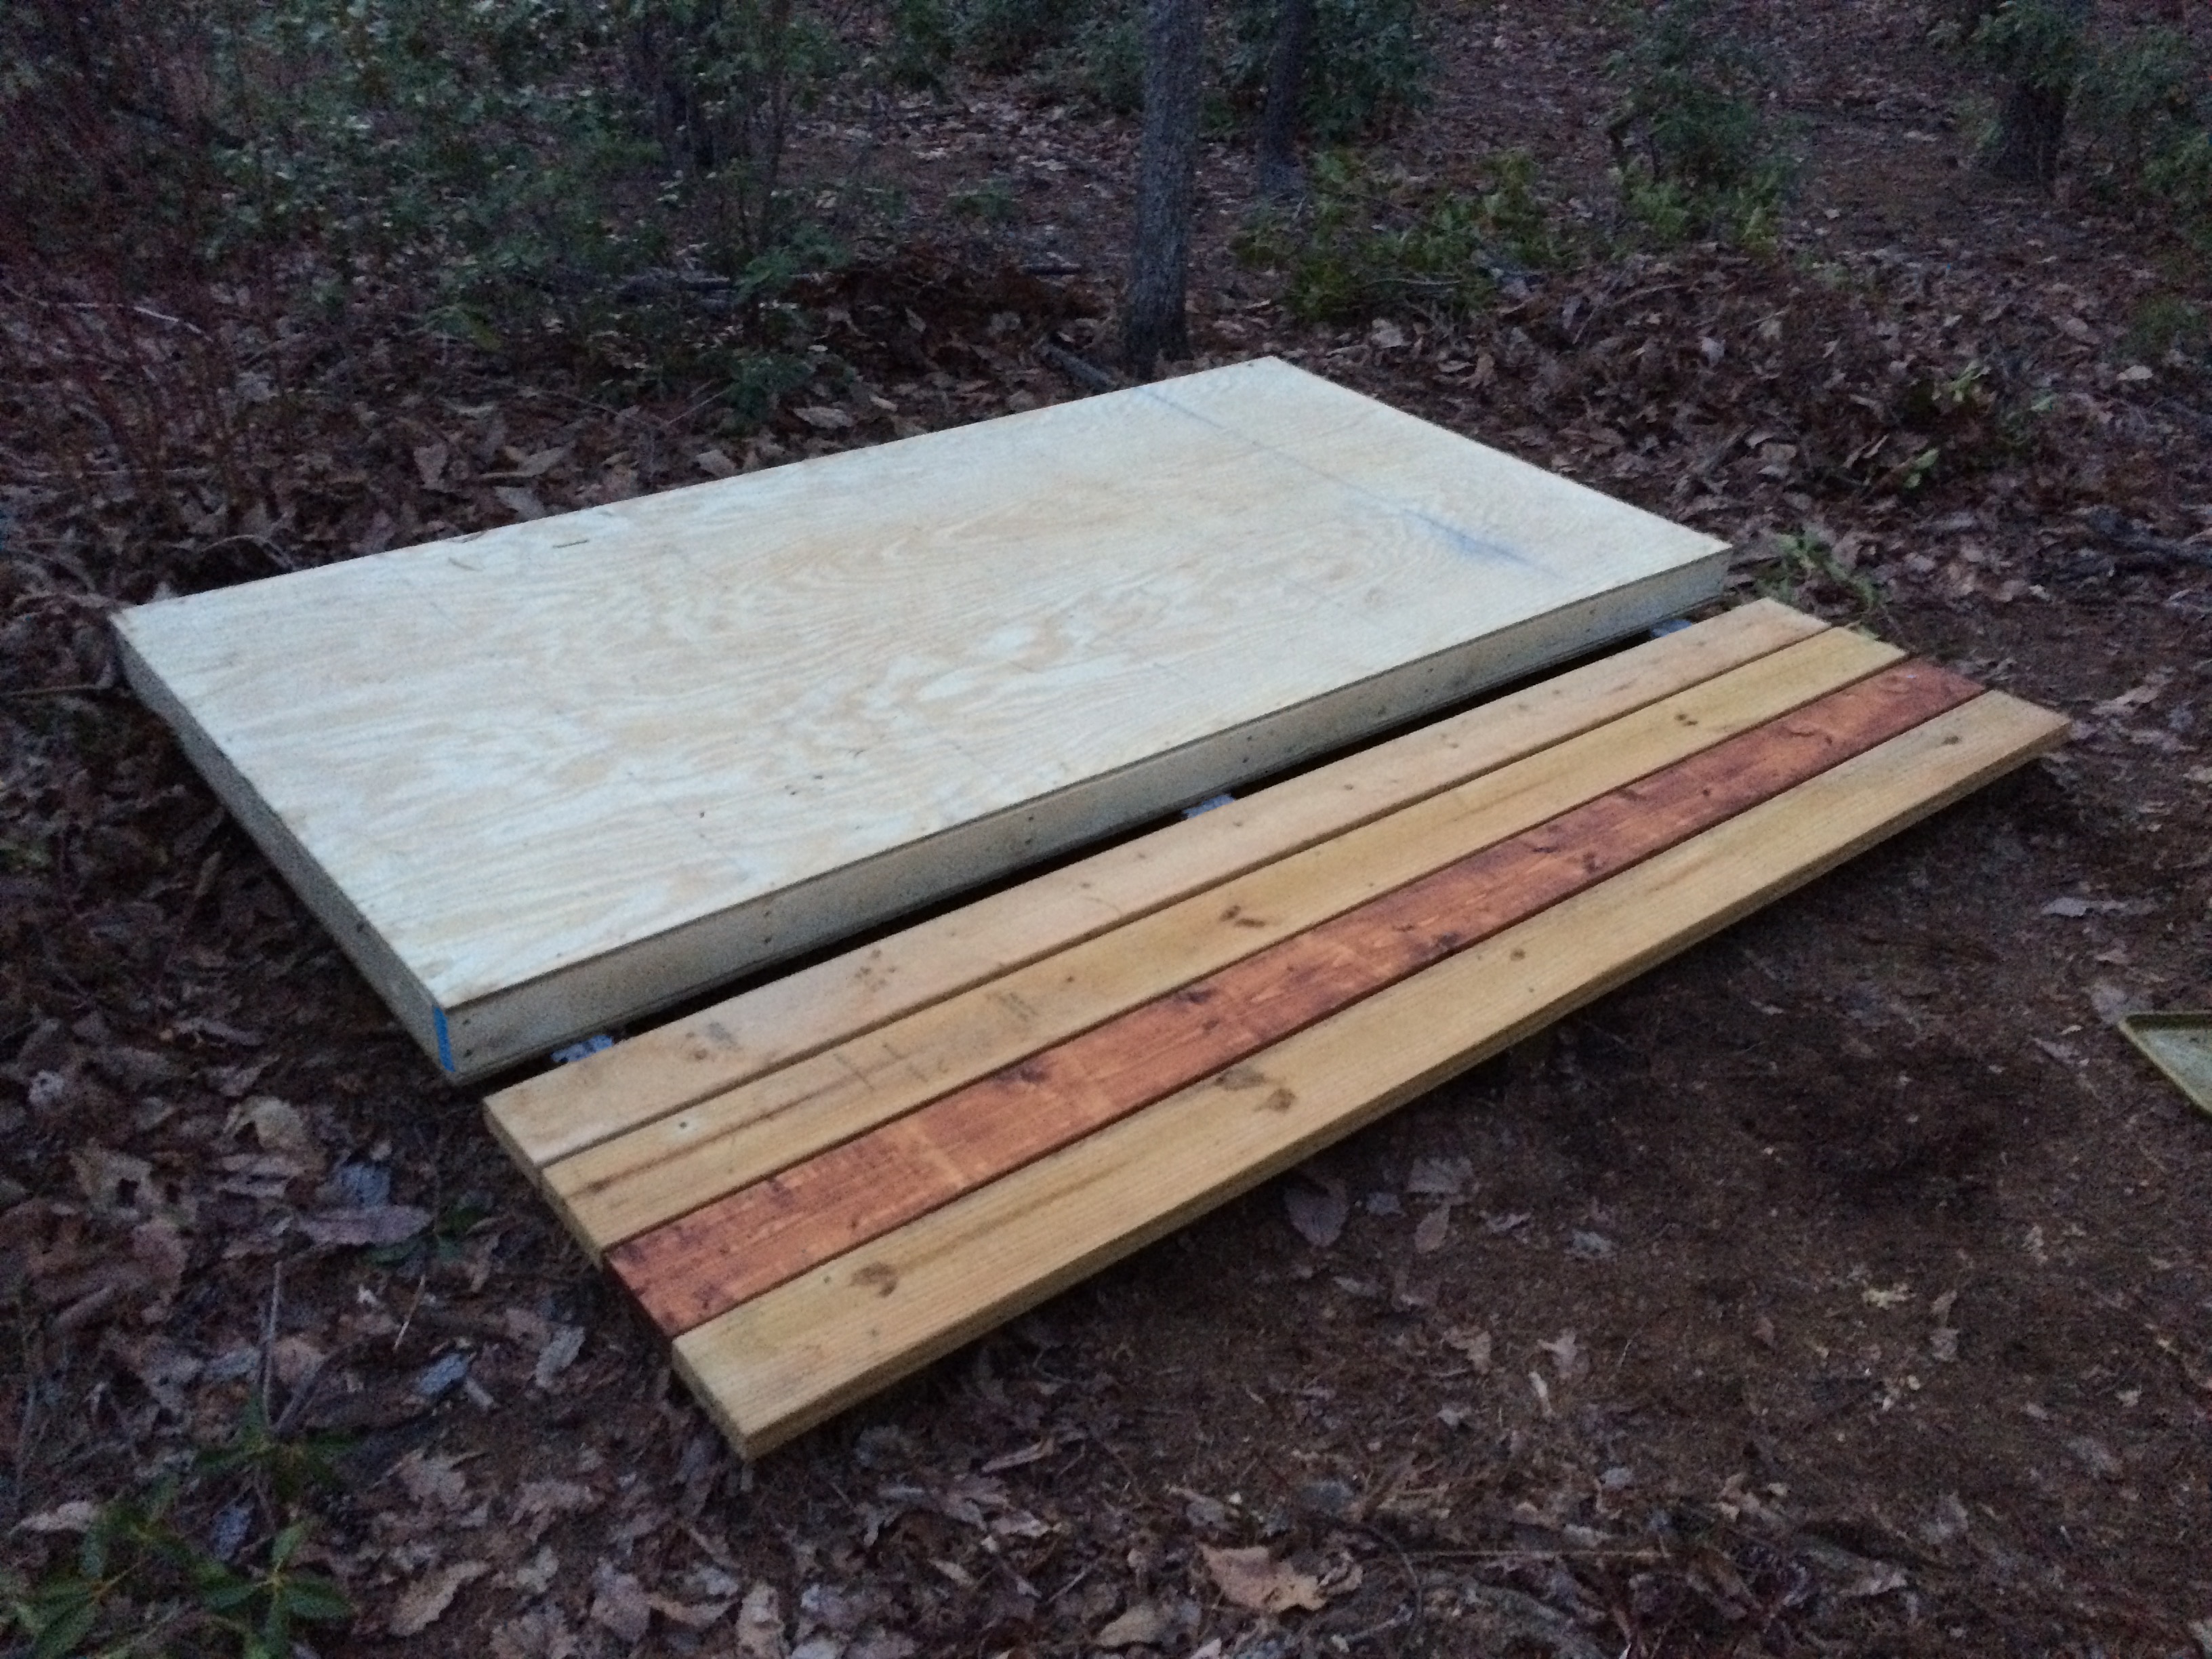
On the two feet of 4x4s that stuck out in front I added some 2x6s that I already had to make a small deck, or landing step. Good for a rug perhaps.
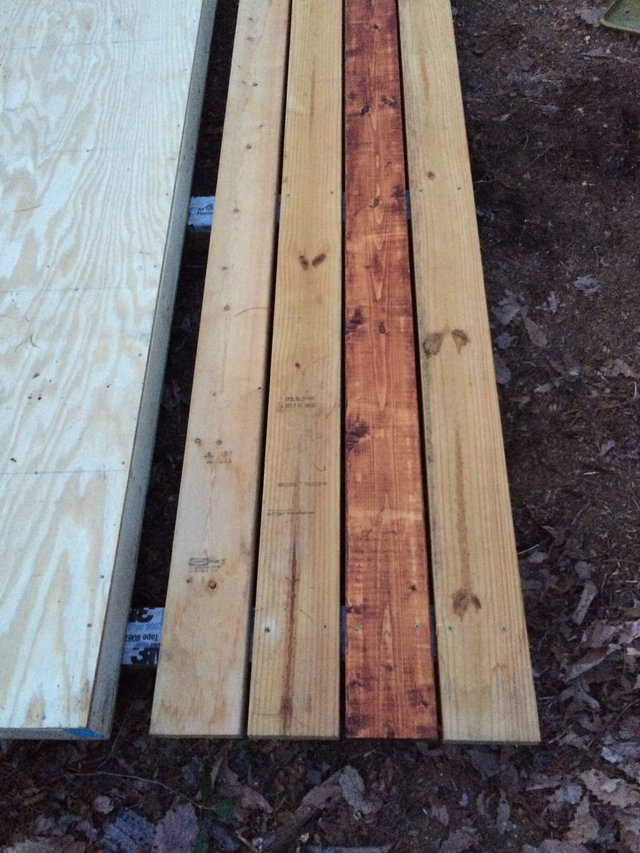
That's it so far. I am going to do more tomorrow. This project is exciting, and coming together fast. Now where to put the door, and windows?
[See you tomorrow]

.png)


Join our Discord Channel to connect with us and nominate your own or somebody else's posts in our review channel.
Help us to reward you for making it ! Join our voting trail or delegate steem power to the community account.
Your post is also presented on the community website www.steemmakers.com where you can find other selected content.
If you like our work, please consider upvoting this comment to support the growth of our community. Thank you.
You know I love this part of the building process! Great step by step how to. Thanks! 🐓🐓
You're welcome. Thanks for coming by. You're my oldest friend here, and always welcome.
Some bloopers I didn't put in post, here is one: I was dragging the bathroom base to its resting place using a hand truck. It was far heavier than I anticipated. I hit a root, and fell. The base landed on my legs, and feet. I was trapped for about a minute, until I could figure out how to get out. I had to turn into the Hulk. I am a bit sore today.
I laughed when reading your story, because a friend of mine was putting a new driveway gate in for us, and insisted he didn’t need any help. Later he admitted to slipping on the stones and laying in the driveway wearing the gate across his chest. He was really wishing someone could film how dumb it was for the funniest videos moments.
Sorry you are feeling beat up today. My little story is to let you know you are not alone.
Cool. I love tutorials like this. Thank you @binaryflat. I cannot wait to see more.
Thank you @yoginiofoz. I am glad you like this. Please come back and check out my progress. Comments like yours give me encouragement.
I am glad I checked just now. I thought that I followed you this morning, but it didn't stick (country internet is so so). I am following you now, so of course I will keep checking in on your progress!
FOLLOW⇆BACK⇉@a-0-0