Lightroom tips: Discover shrouded devices
Lightroom tips: Discover shrouded devices
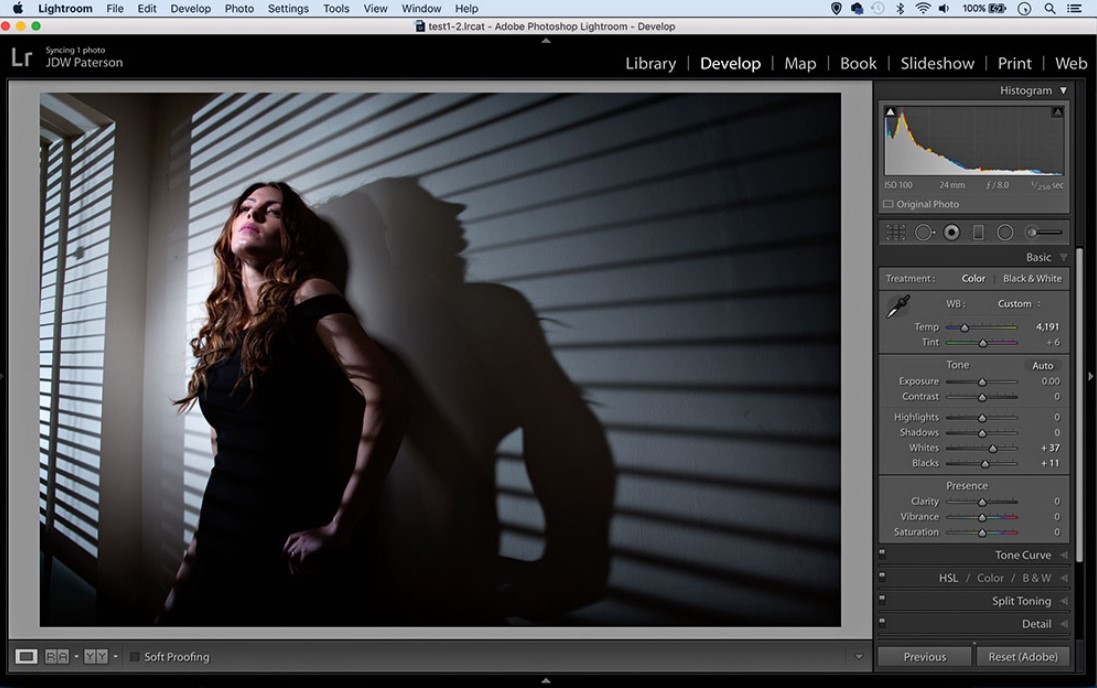
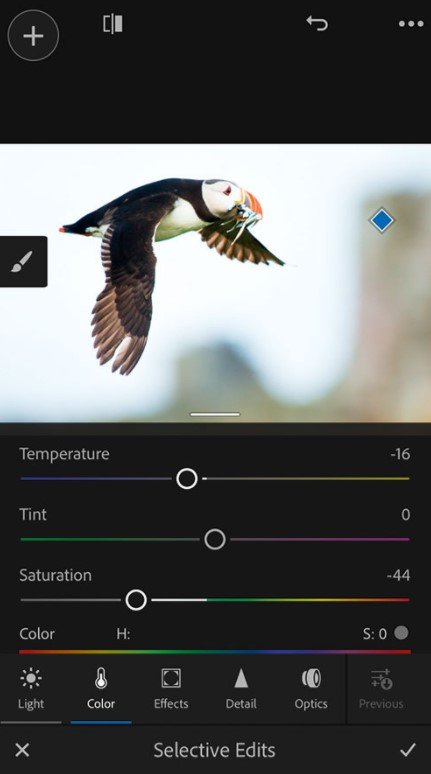
1 Auto-settle whites and blacks
Move clicking any tonal setting's name inside the Develop Module's Basic Panel will apply an auto-revision for that particular setting. In this way, for instance, you can auto-redress Temperature and Tint autonomously of each other, or auto-set the whites and blacks to guarantee a tonally rich picture.
2 Speed up arranging
This little-known diamond is found under Photo>Auto-Advance. When arranging pictures in the Library Module, after setting a rating – utilizing pick (P), unpick (U) or rate (1-5) – Lightroom will progress to the following picture, instead of sitting tight for you to utilize the bolt keys to proceed onward. Tops Lock likewise empowers/impairs the component.
3 the Lose slack
Picture slack can be an issue. On the off chance that you find that Lightroom takes a couple of moments to raise a full-screen picture the issue may be with your show, as it takes additional handling energy to attract to a high-determination screen. Have a go at diminishing the window size, or set your view to 1:2 or 1:3.
You can paint with the Spot Removal apparatus to evacuate overhead wires
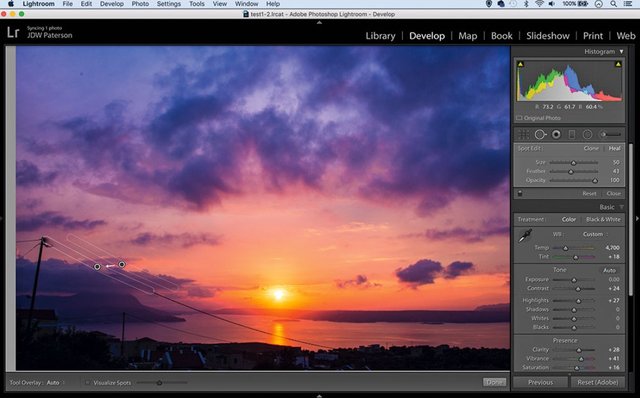
4 Straight-line recuperating
The Spot Removal instrument gives you a chance to expel stamps and spots, and you can likewise paint with it to clear up scratches or lines. In the event that you tap toward one side of a line, hold Shift and tap on the flip side, you can mend the entire line in one go – extraordinary for expelling overhead wires in scenes. A similar procedure works with the Adjustment Brush as well.
5 Increase your reserve estimate
On the off chance that you see a tumble off in running velocity, it may be on account of Lightroom's store estimate is too little. The reserve stores information that can accelerate introductory picture preparing. To build the span of the reserve go to Preferences>File Handling and set it to at least 20gb – yet ensure you have the circle space.
6 Use more seasoned sliders
The Process Version setting inside the Develop Module's Camera Calibration board gives you a chance to return to more seasoned Lightroom controls. On the off chance that you set it to '2010' the Basic Panel changes to the more seasoned 'Fill Light' and 'Recuperation' sliders which are significantly more powerful than the Shadows and Highlights sliders that supplanted them.
7 Get smart
Underused and profoundly valuable, you can make Smart Collections by tapping the Collection Panel's in addition to symbol. They let you hunt and gathering photographs in view of the metadata held inside. For instance, you could gather together all photographs taken inside a date run, or with a high ISO, or appraised five stars.
8 Clever graduates
At the point when stacked with negative presentation, the Graduated Filter device can work ponders over a sky. Nonetheless, any articles that stick into the sky will likewise be obscured. To settle this basically increment Shadows in the instruments tonal settings. This will neutralize the obscuring impact over the land however leave the sky (fundamentally features) unaffected.
Lightroom CC clients can alter online by marking in to their record
9 Edit on the web
Lightroom CC clients can alter photographs from any PC with a web association. In the first place, you have to adjust the photographs in with your standard Lightroom desktop (check the synchronize box beside any Collection to do as such). At that psoint go to lightroom.adobe.com and sign in to your CC record to begin altering.
10 Tone your recordings
The Develop Module doesn't bolster video, yet here's a workaround. Import your video, go to the Library Module and utilize the Capture Frame catch beneath the video cut. Take this edge into the Develop Module and tone it, at that point spare a preset. At that point utilize the Quick Develop board in the Library Module to apply the same preset to the video.

The Radial Filter is preferable for vignettes over the Post Crop vignette device
11 Better vignettes
The Radial Filter is preferred for vignettes over the 'Post Crop vignette' apparatus, as it gives you more control over the obscuring of corners. As opposed to attempting to position the roundabout zone by hand, essentially hold Cmd/Ctrl and double tap over the picture to snap the hover to the edges of the edge.
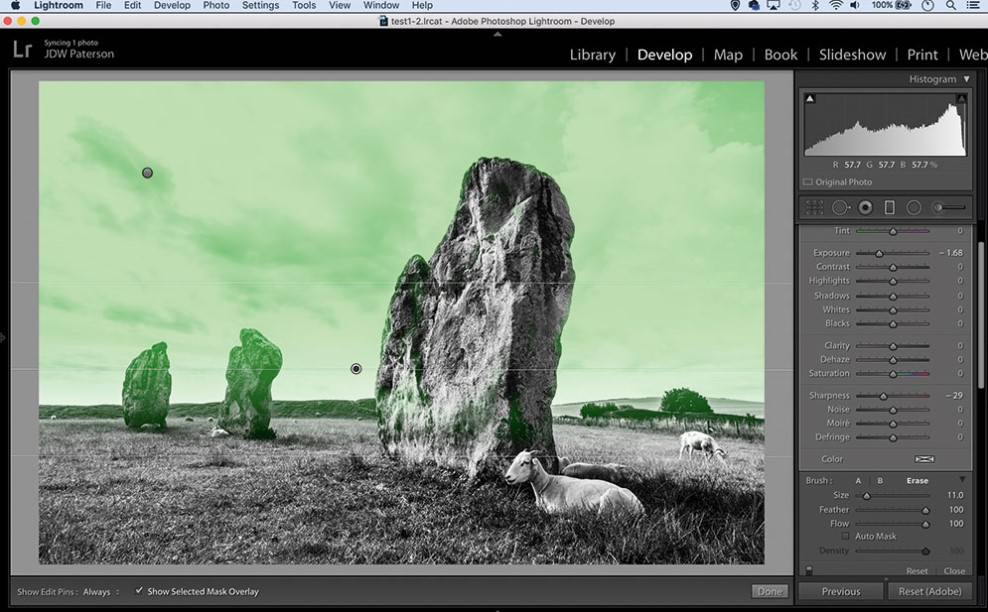
12 Brush your graduates
One of the considerable qualities of the Graduated and Radial Filter devices is the brush alternative found in the settings to one side, which gives you a chance to add or subtract to the impact made by either channel. Empower the brush and hit O to flip a cover overlay on so you can see where to paint.
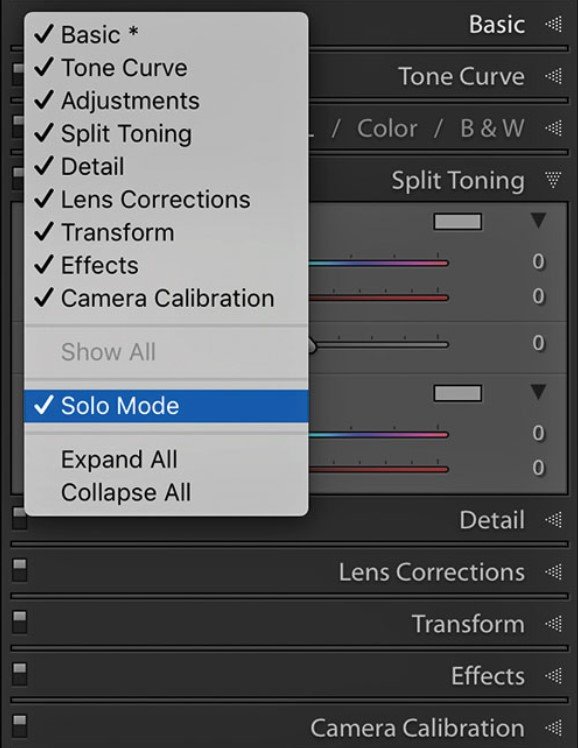
13 Super Solo Mode
This is a colossal timesaver – looking down the boards to one side of the Develop Module takes important seconds, so all things being equal empower Solo Mode by right-clicking over any board name. Once turned on, each board will naturally crumple once another is opened, keeping the interface clean and available.
14 Hide the Modules
The rundown of modules at the highest point of the Lightroom interface takes up important screen space. You can limit it by tapping the bolt, at that point utilize console easy routes to switch between modules – utilize G for Library lattice see, E for Library Loupe view and D for Develop Module.
15 Order of alters
Adobe records a 'right' request for alters that will streamline execution: first complete spot recuperating, at that point do any focal point amendments that are essential. Next, perform worldwide tonal alterations, for example, presentation and difference (this should likewise be possible toward the begin in the event that you like). At last, apply honing and clamor diminishments.
16 Useful modules
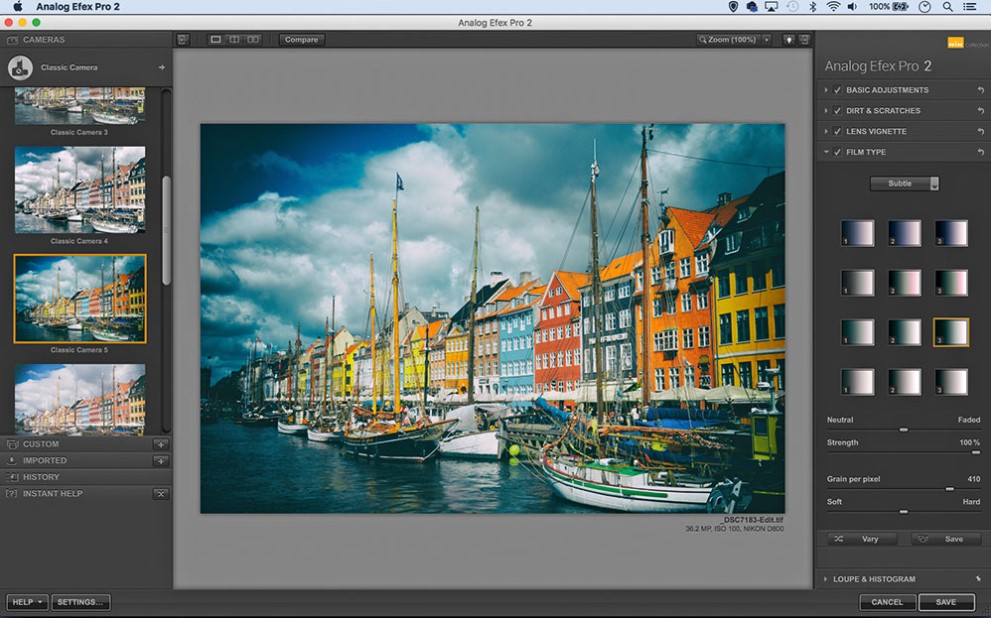
For what reason not attempt Lightroom modules? One of our most loved free modules is the Google Nik gathering that incorporates Analog Efex Pro and Silver Efex Pro. Another pearl is LRtimelapse, which gives you a chance to make progressive tonal changes in accordance with an all-crude arrangement of photographs – basic when influencing day-to-night or night-to-day to timelapses.
Mobile is a distinct advantage
17 Improved Mobile devices
On the off chance that you've not utilized Lightroom Mobile some time recently, at that point this is the ideal opportunity to give it a go. The most recent updates incorporate another Selective Brush that gives you a chance to paint tonal changes also to the Adjustment Brush in Lightroom Desktop. Alongside updates to the honing apparatuses, it's a genuine distinct advantage.
Transform your Adjustment brush into an exact apparatus
18 Precision painting
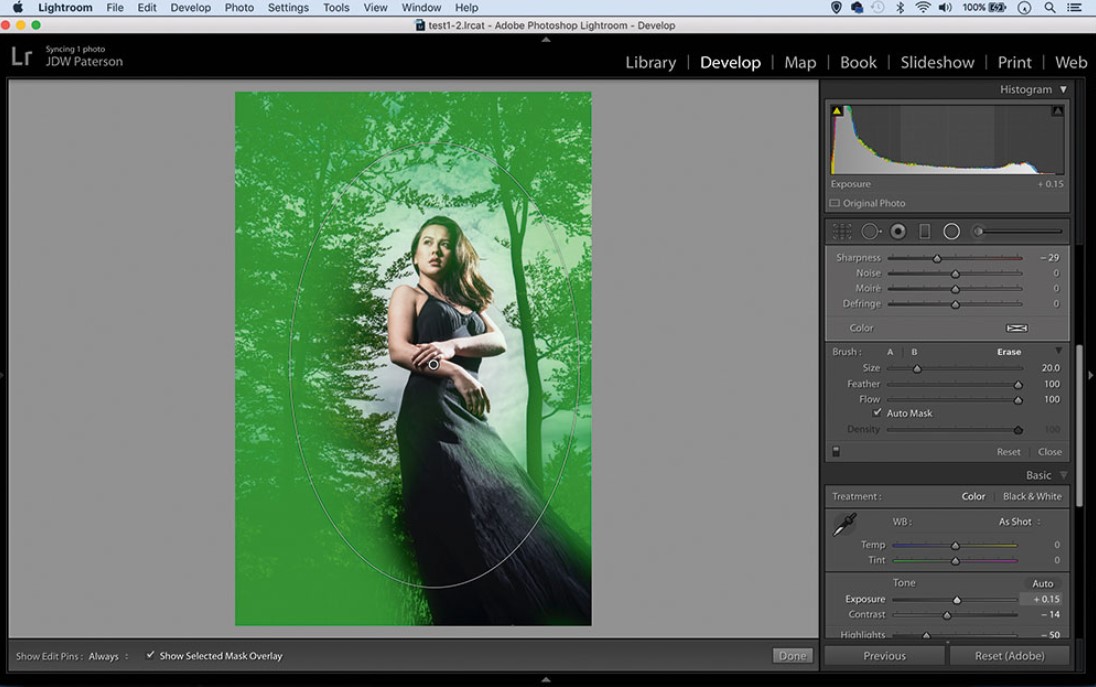
This underused setting changes your Adjustment Brush into a capable, exact particular apparatus by searching out edge points of interest as you paint. Turn it on and off in the Brush settings, or with A. Auto-veil is likewise accessible in the Graduated Filter and Radial Filter's Brush alternatives, so you can eradicate some portion of a change with exactness.
19 Spray-paint catchphrases
The little-utilized yet exceptionally helpful shower can instrument is accessible in the Library Module's framework see (G). It gives you 'a chance to splash' settings, presets or catchphrases over a framework of photographs. The device sits beneath the framework. Basically get it, utilize the settings adjacent to pick metadata, at that point begin splashing.
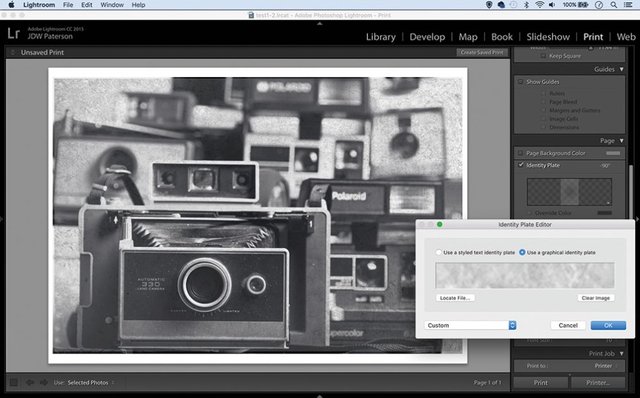
The Print Module gives you a chance to put a 'Character Plate' over a picture. It's fundamentally intended to give you a chance to include a brand name or logo, however you can drop any PNG (a document sort that permits straightforwardness) over your picture, so you can include surfaces and fringes as though layering them in Photoshop.
@mdsaimonuddin

nice post bro upvote please. thank you...
I don't have light room (yet) and I just viewed more than 14 minutes of this video. Great work.
I don't have a light room. next i will try make a light room. please upvote me.
Good post
I am having no fortunes utilizing the alteration brush with either the mouse or designs tablet. I can't choose Erase either by tapping on it or with alt/choice. On the off chance that I float over it, it seems chose, yet the minute I move the mouse it deselects. Rather than evacuating the impact, painting makes the zone darker...but not generally. Once in a while the in addition to in the brush transforms into a short and a circle shows up, which does nothing in spite of the fact that I can move around. I could include more insights about conflicting conduct of this instrument, however I would prefer not to make this post any more drawn out than it is. (I need to like Lightroom, however honestly I despise it. I am substantially more quiet with Photoshop and have never possessed the capacity to work productively in LR.) MacbookPro OS X 10.11.6
Nice post!
The little-utilized yet exceptionally helpful shower can instrument is accessible in the Library Module's framework see (G). It gives you 'a chance to splash' settings, presets or catchphrases over a framework of