Custom Figurines - Female Basketball Player - Part 2
Here is Part 2 of my in depth post on two custom female basketball players. Please see Part 1 here: https://steemit.com/hobby/@bigskycustoms/custom-figurines-female-basketball-player-part-1. Continuing on I will show the final stages of working on the figure, priming, painting, adding the pony tail, and the base.
Finishing Prep
After the work described in Part 1, I did a few additional things before priming. I always add a bit of putty to simulate the female anatomy in the chest area. I will piece it together to make sure things look right, using some brush on primer to make sure parts don't need additional work.
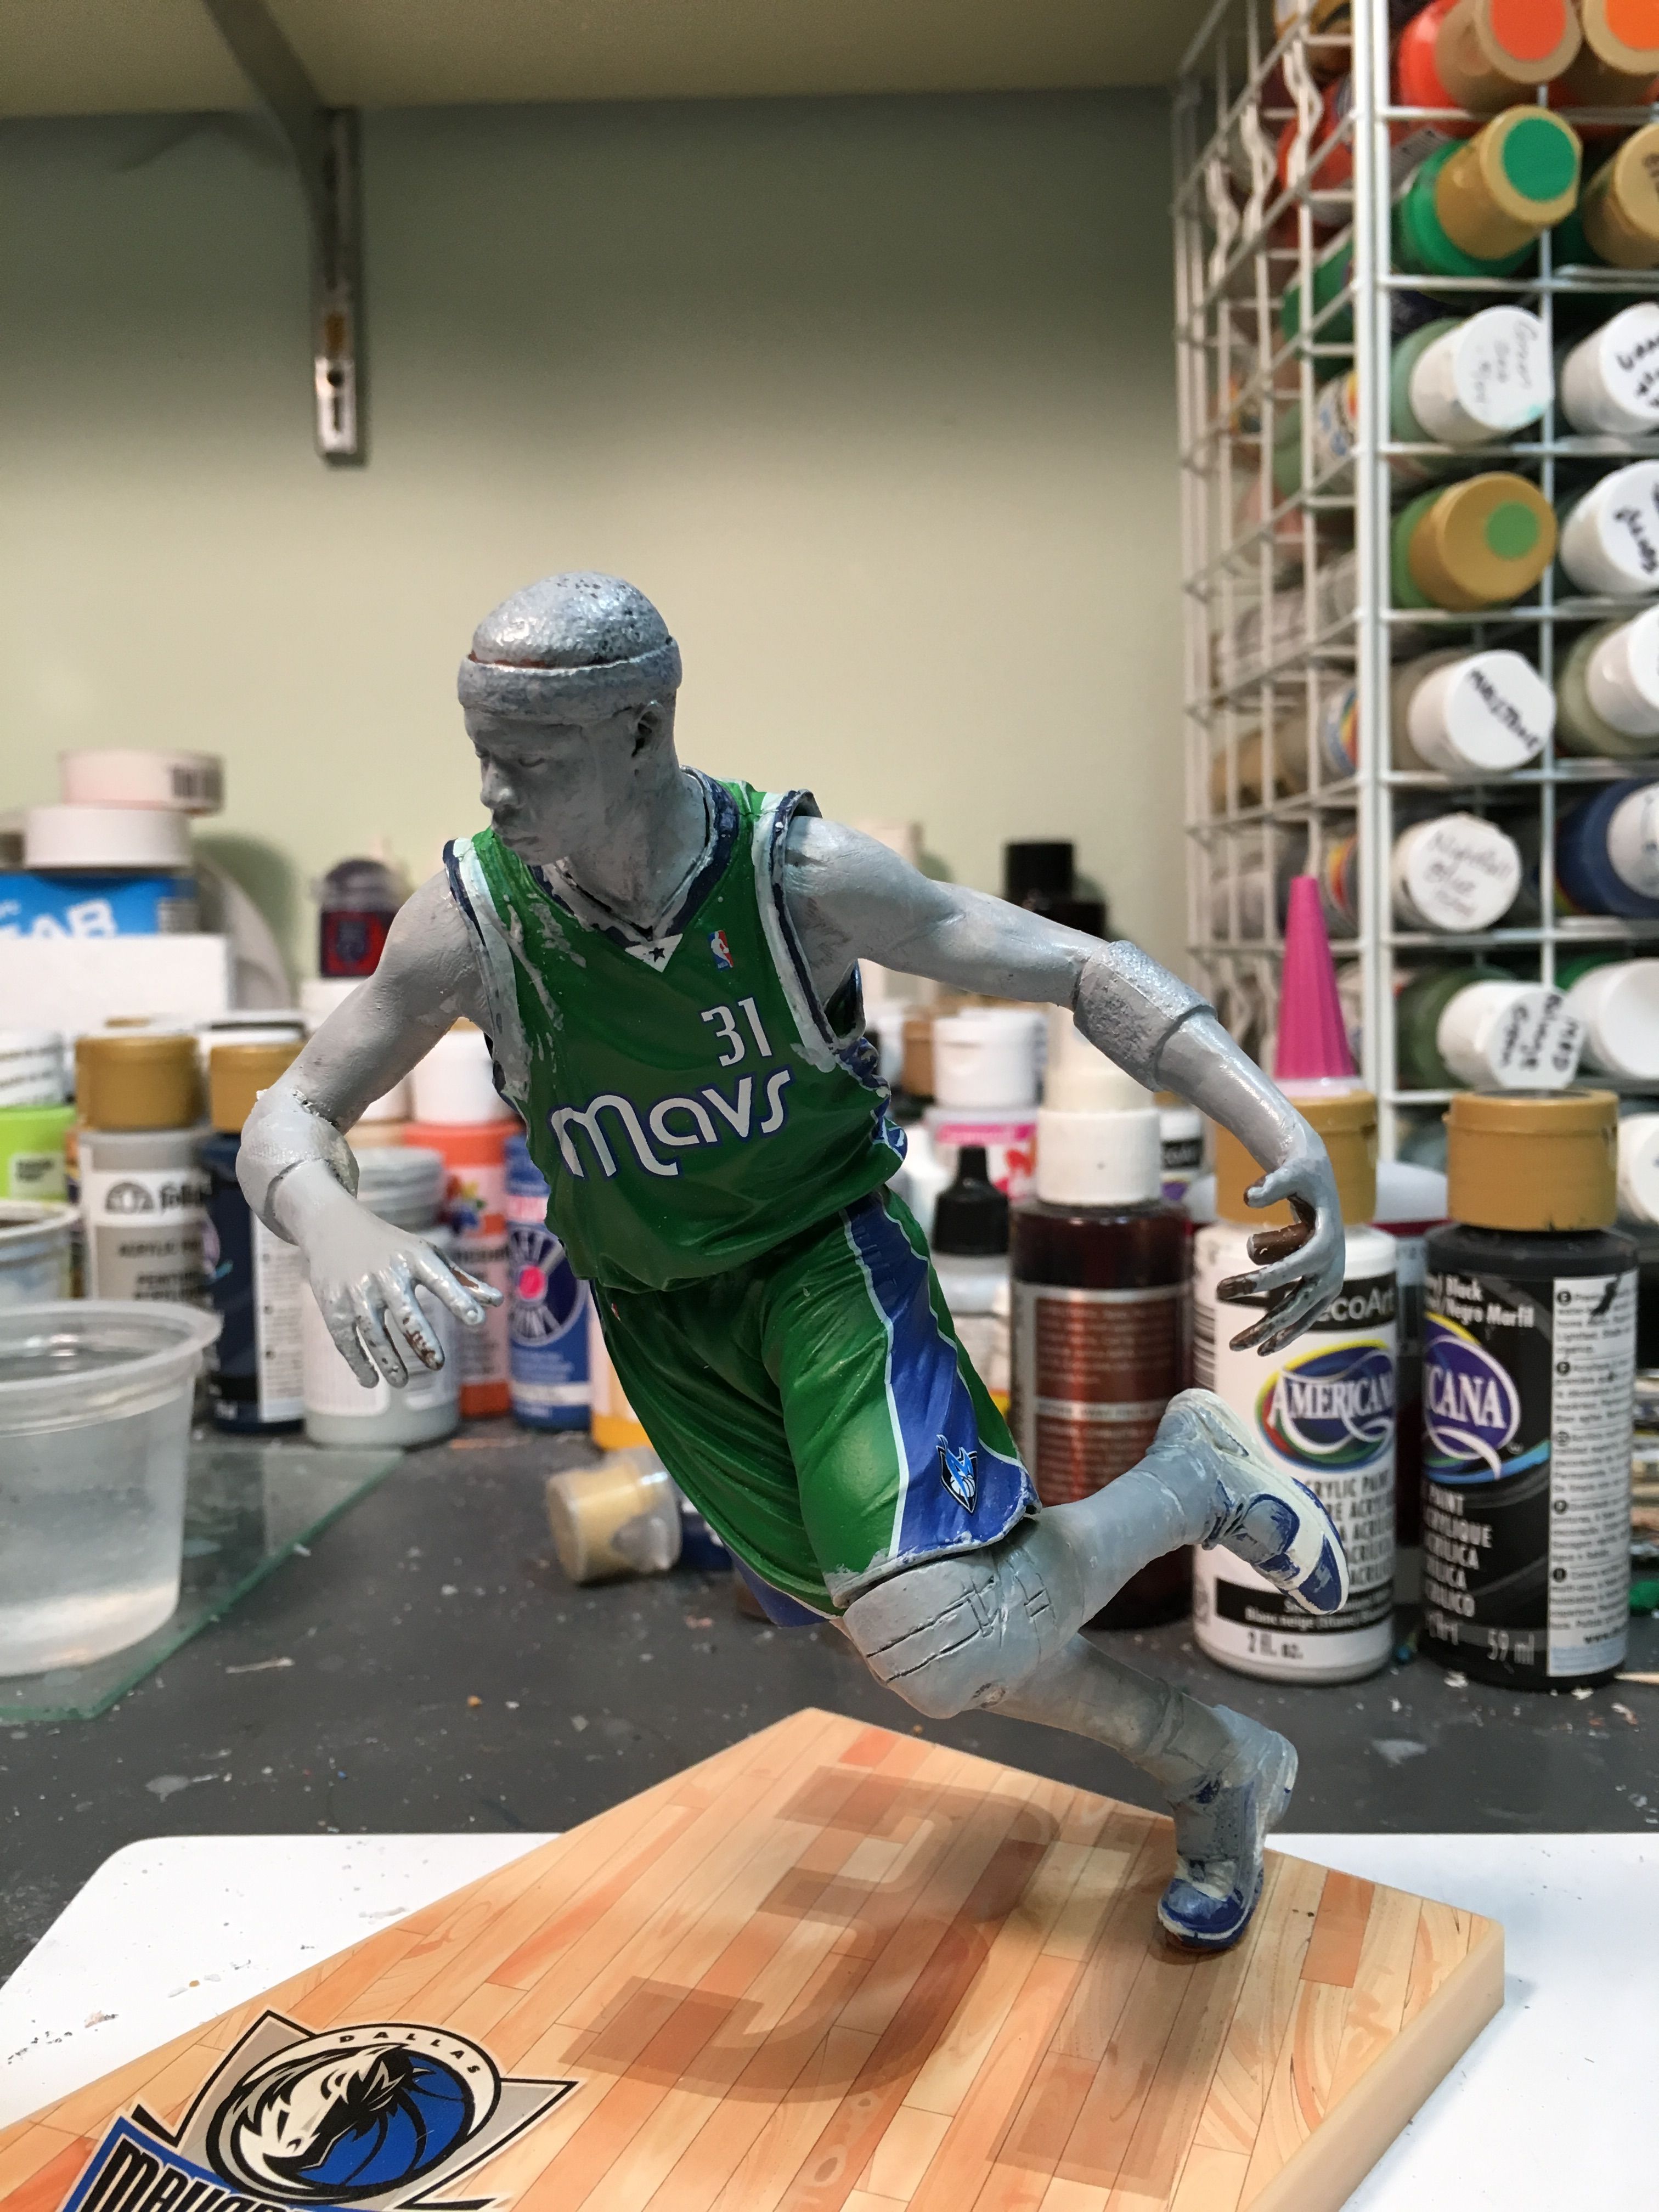
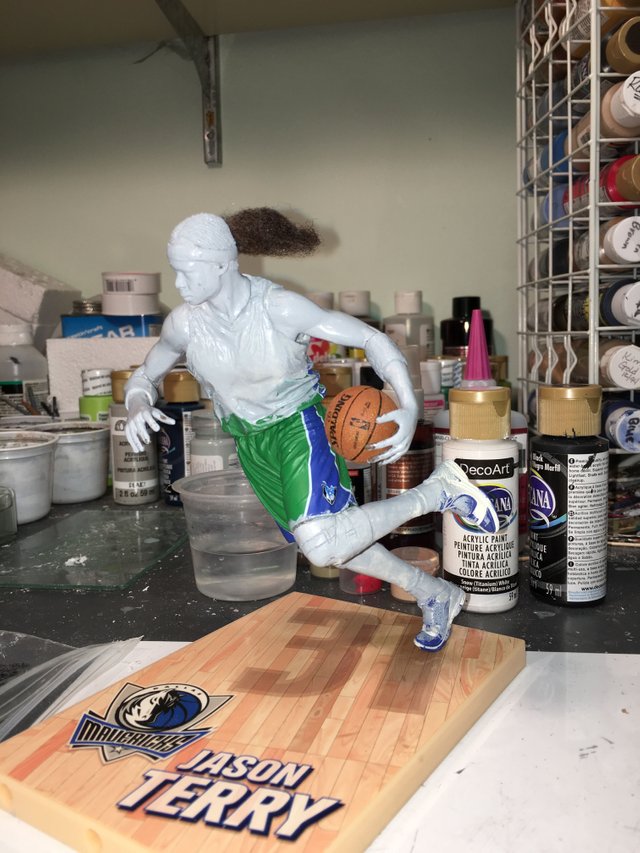
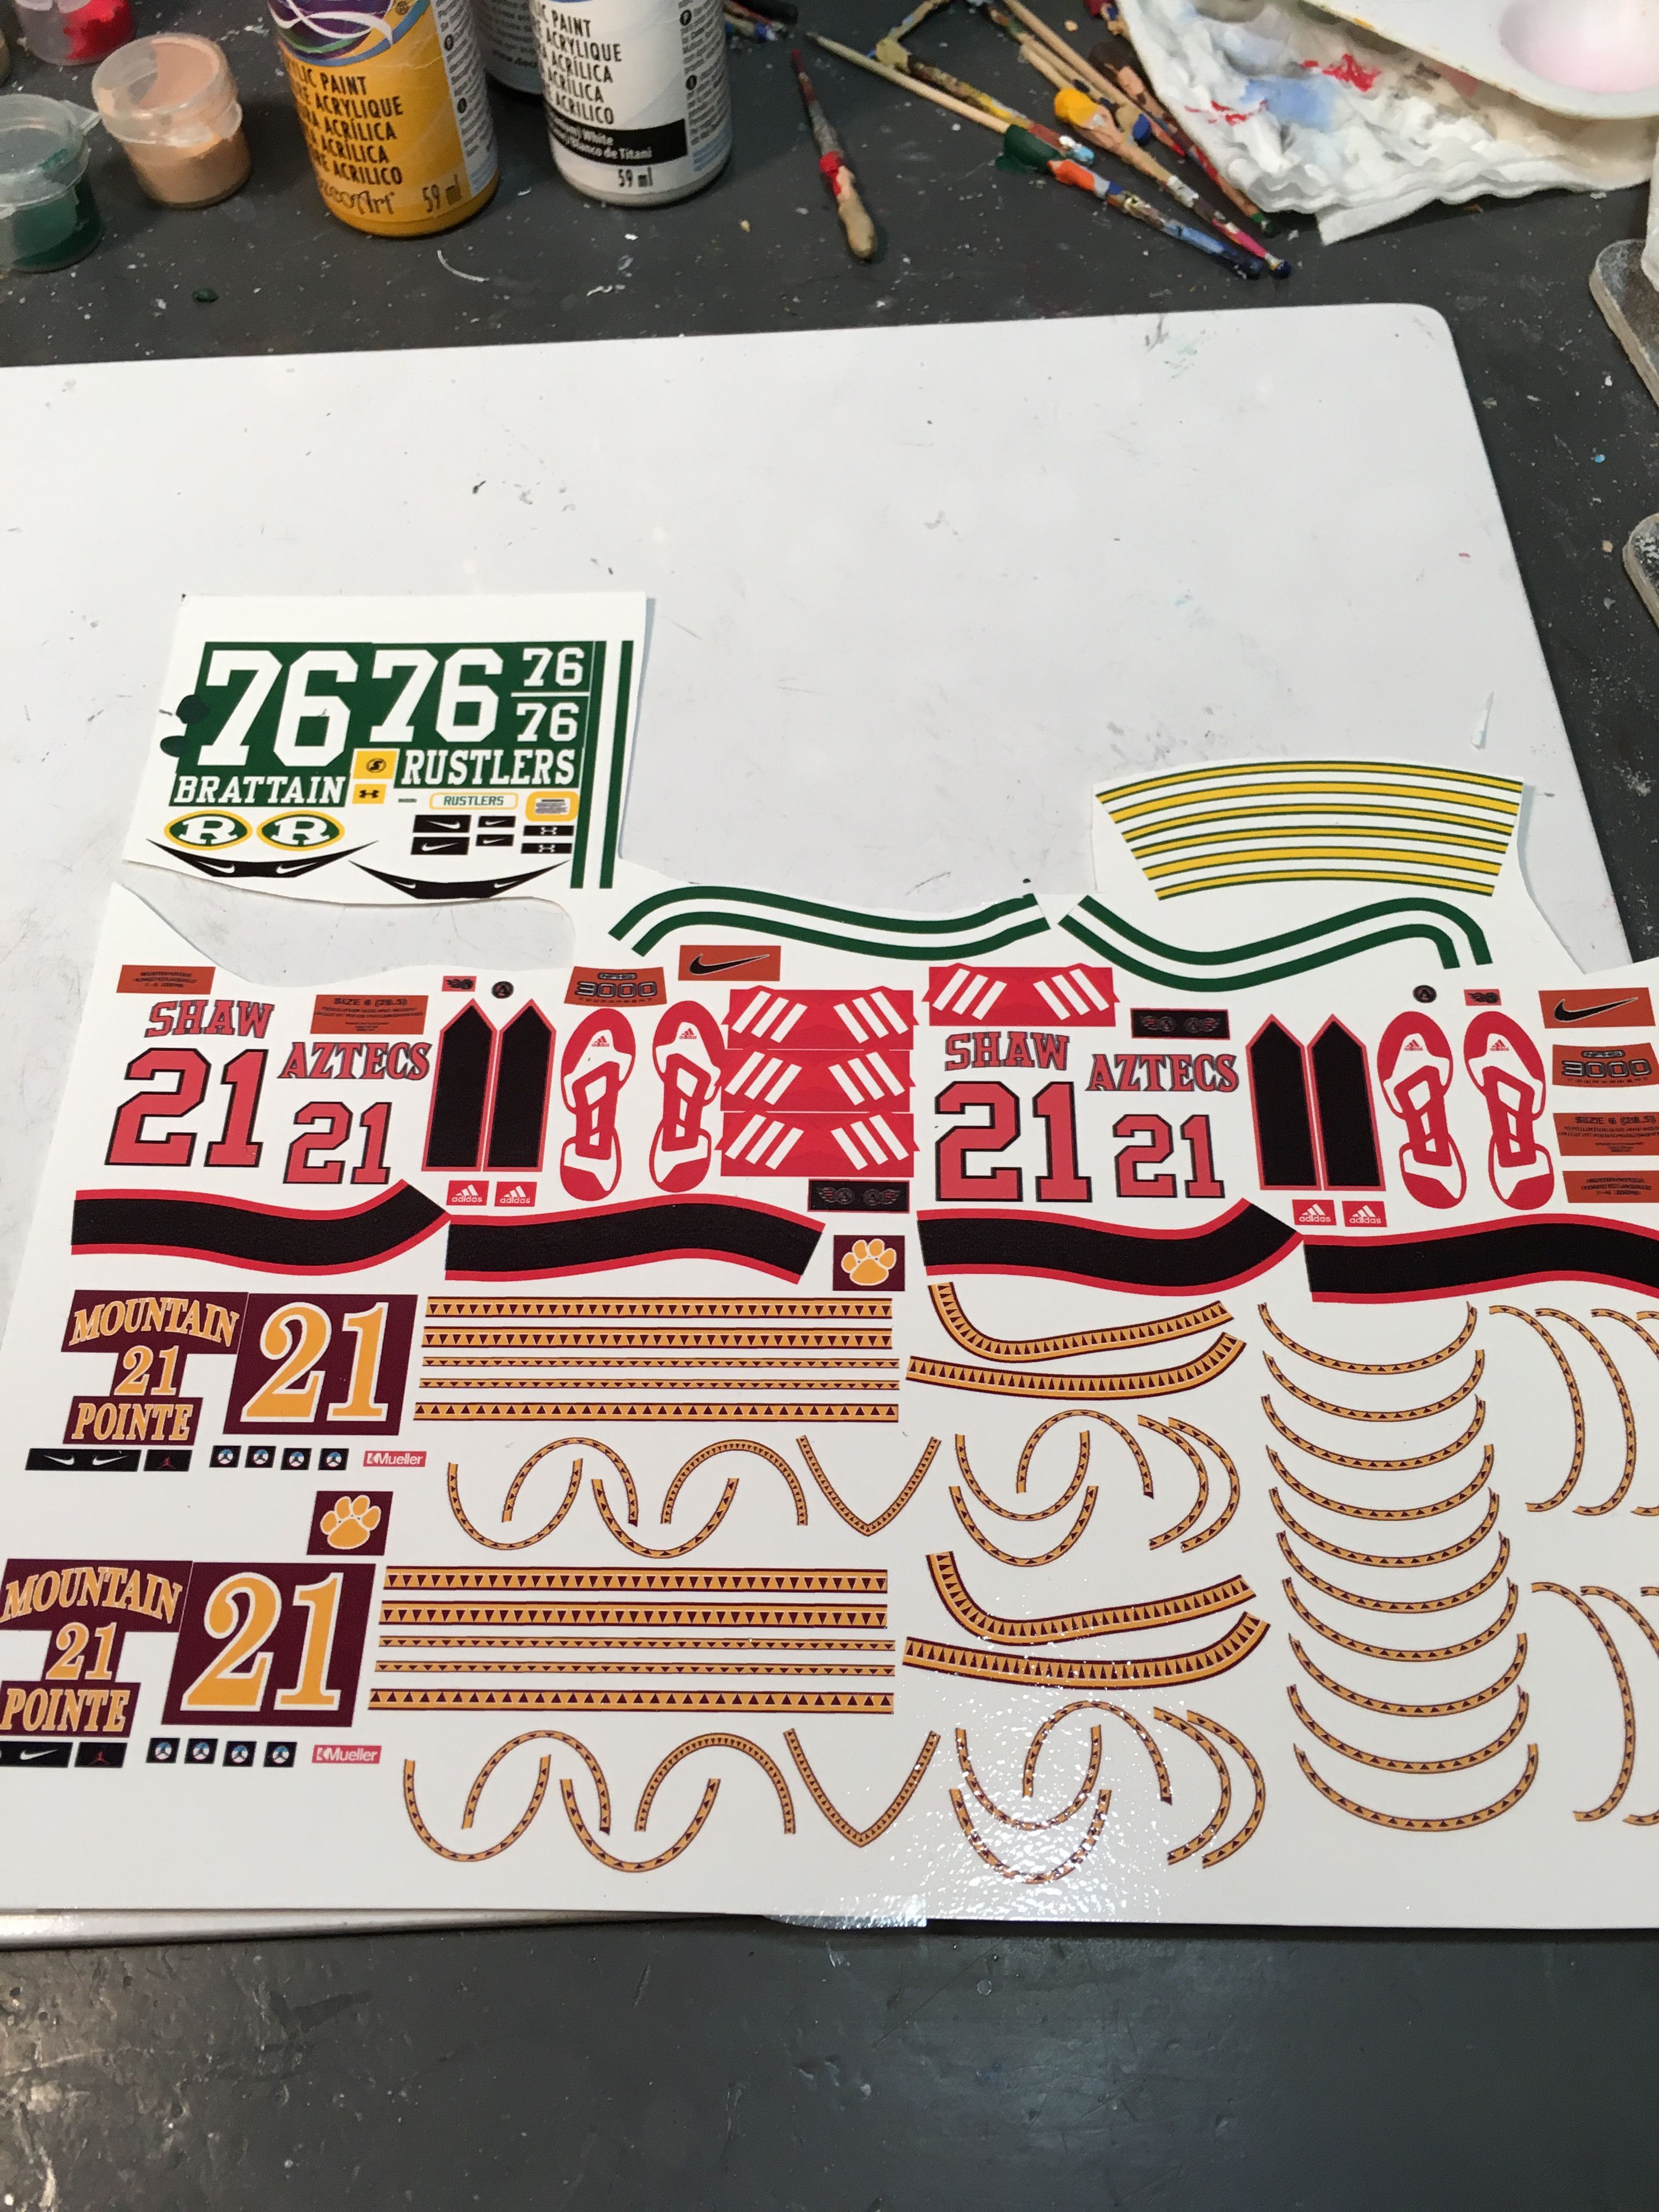
The next stage is to break back down into individual parts and use a spray primer, first coat is gray and then I will use white on parts that the colors may need a bit more pop. Decals are the created, sized and printed using software such as Gimp, Photoshop or Adobe Illustrator. Often I will combine different figures on one sheet to save decal paper. I also did a football player with this set for the two female poses. I almost always print duplicates of every decal incase something happens and the original ones don't work for whatever reason.
The figure is then painted. I use acrylic craft paints (you can see them in a few of the pictures) as they are cheap and dry pretty fast. I often find I have to mix colors to match my decals for touchups. After painting, decals are applied and the figure parts are reattached and clear sealer applied. For both of these poses, I had to still add a pony tail. I was lucky to find a lady who supplied me with some sheeps wool to use for these kind of situations.
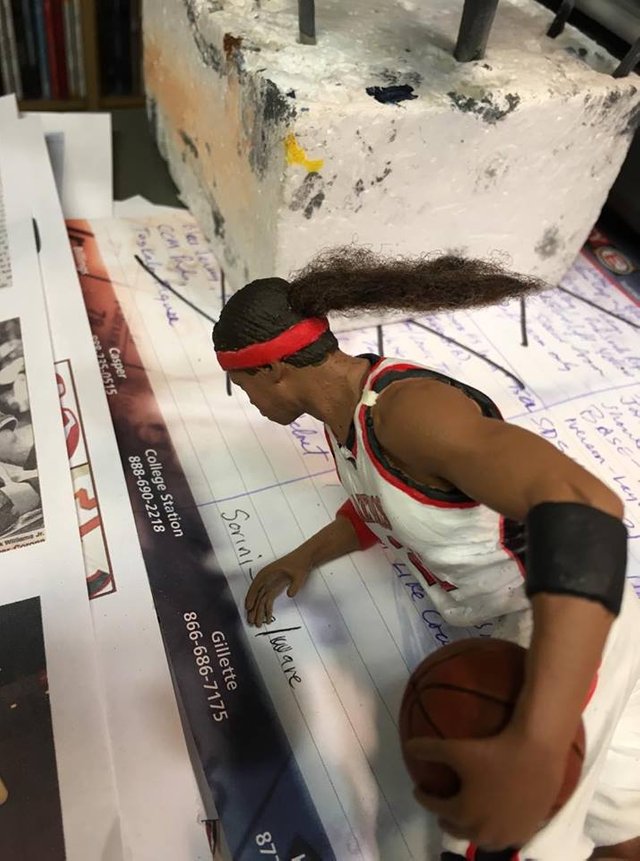
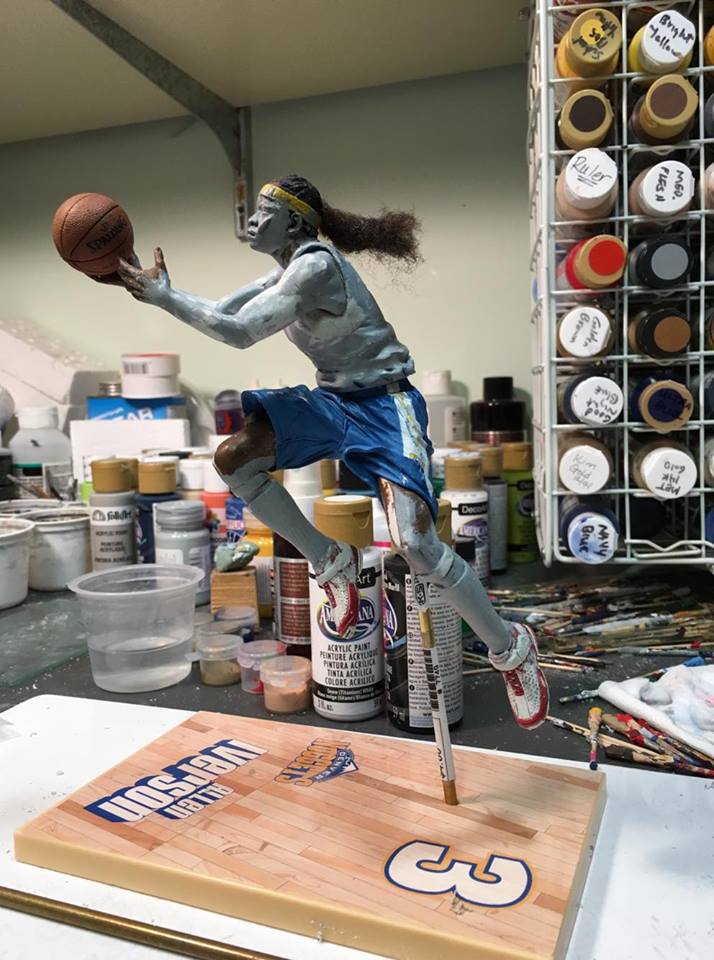
I actually died the wool a darker brown to match her hair color.
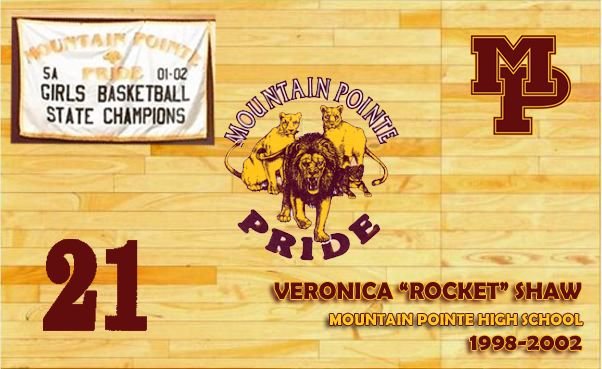
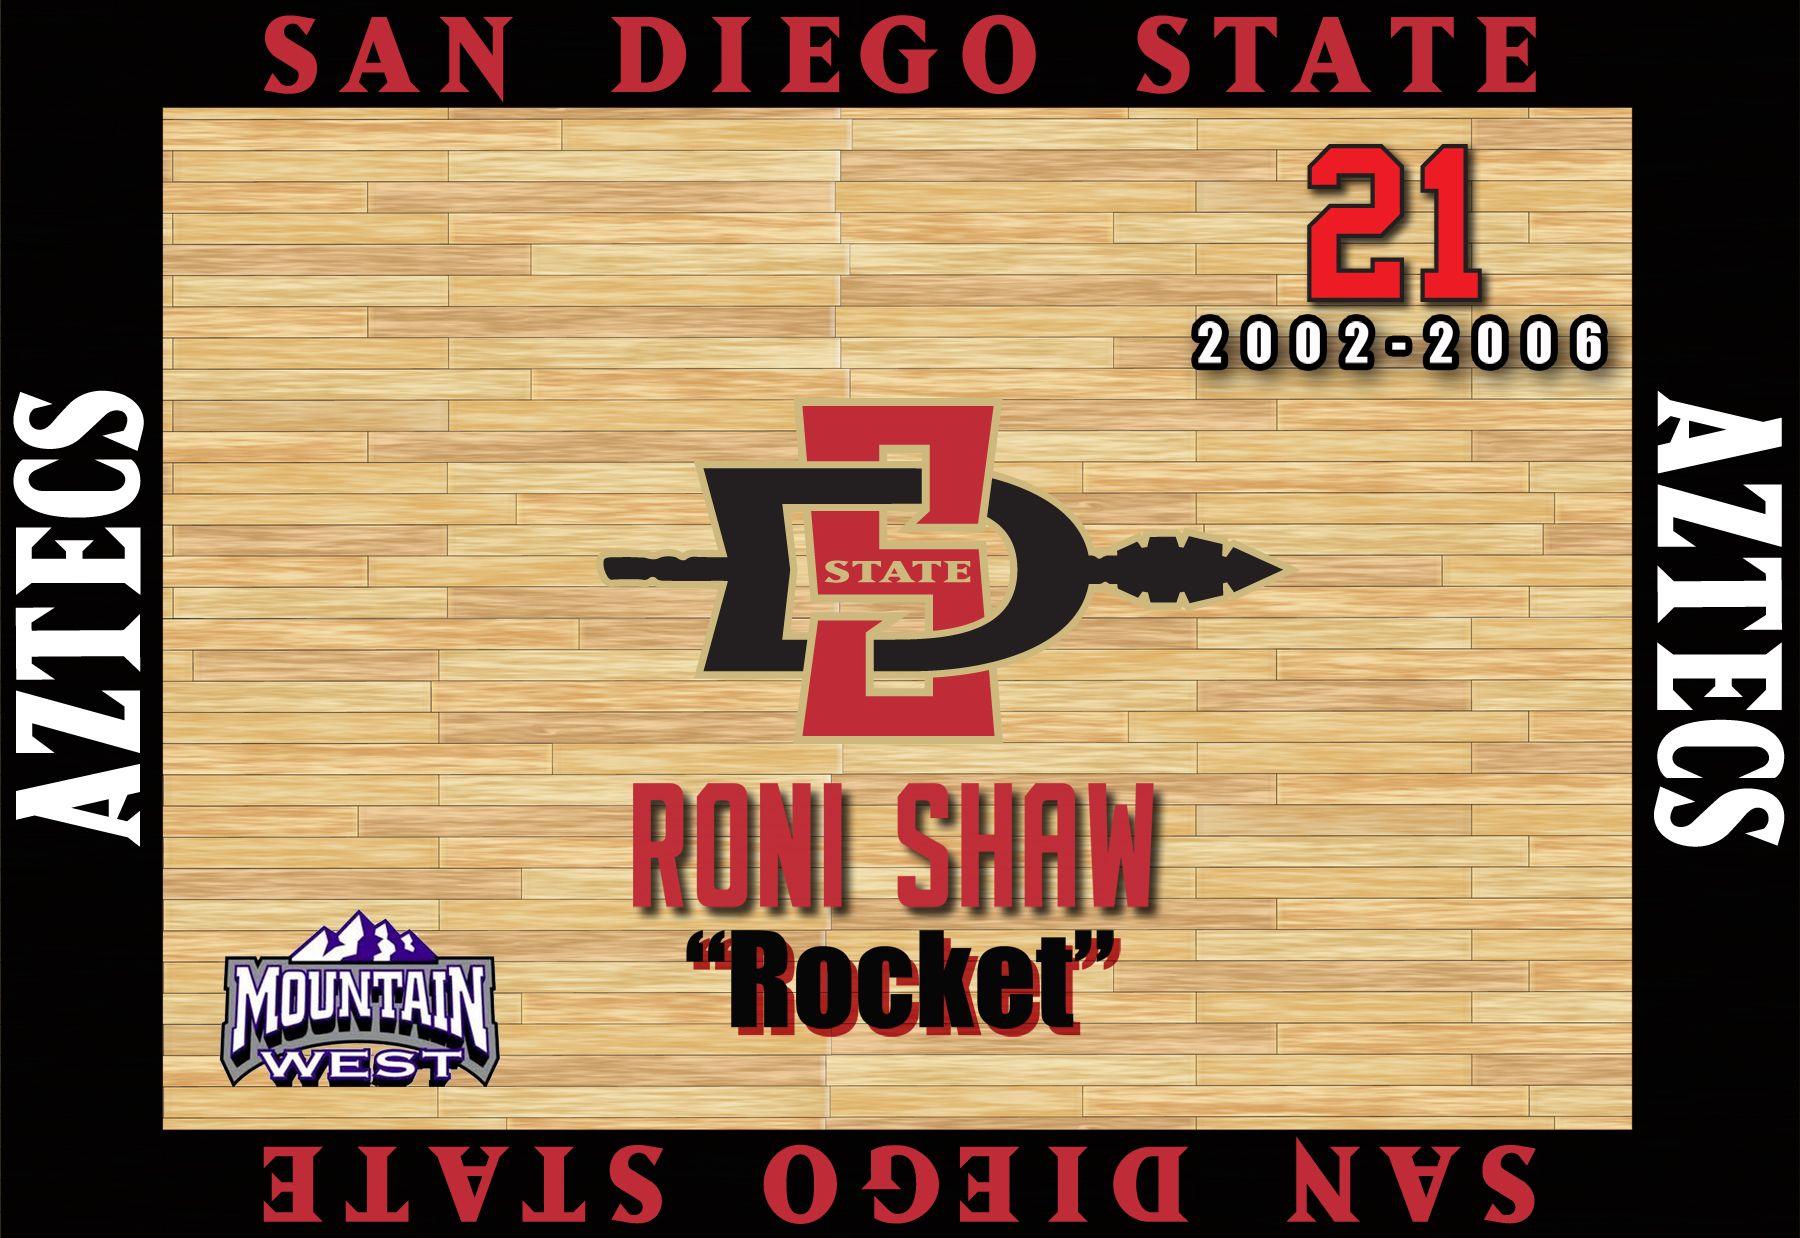
The Bases
Another key part to basketball figures are the bases. The graphics are wide open on these because I print on photo paper and use spray glue to afix to the Mcfarlane base. You can see the bases in several pictures with the original artwork. Those are just paper graphics glued on. Veronica was very specific about what she wanted on the bases so I used Photoshop to create them, as seen below for both figures.
Now the final finished pictures. Well I was going to just do 2 parts but since this one is pretty large also, I will post final pictures in Part 3, so check out Part 3!
very cool @bigskycustoms! I love your work!!!
Congratulations you have been upvoted and resteemed as part of #newbieresteemday's top 10 posts for the day! ...
We invite you to use our tag to connect with more of our members. To learn more: Come Join Us!!! (Newbie Resteem Initiative)
Oh I love the details on the bases! That totally looks like a gym floor!
I have a blank wood gym floor that I use and then add the graphics and words using Photoshop.