Photoshop effects- Hue/Saturtion-Tutorial -3|| #club100
Dear friends,
I come up again with one more photoshop effect using the Hue/saturation tool which is in the Image menu
MENU>IMAGE>ADJUSTMENT>HUE/SATURATIONS. Its shortcut is ctrl+U.

For this effect I have chosen an image from pixabay to usewich is suitable for the effect.
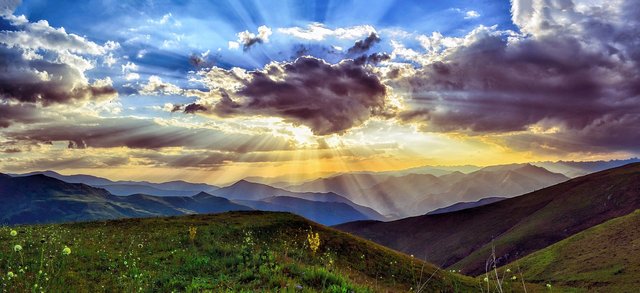
SOURCE
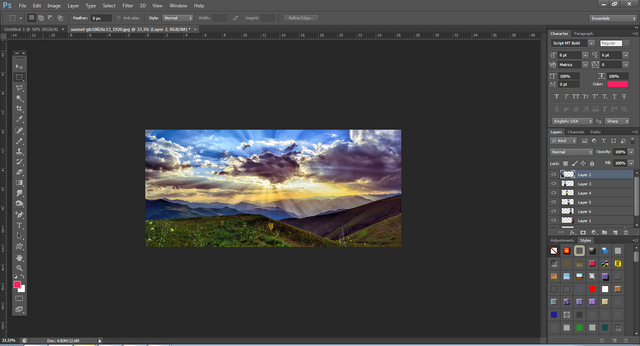
Step 1:
Open the image with Adobe Photoshop, open a new blank file with a size of 8x20inches
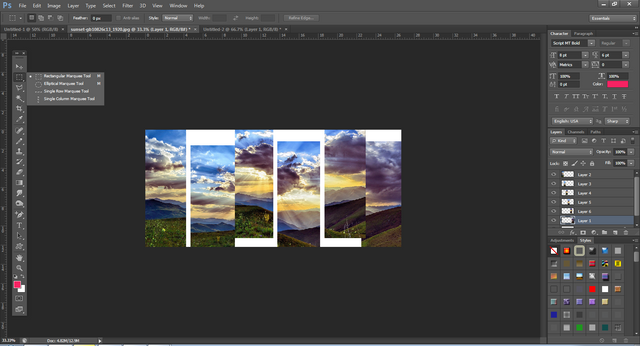
Step 2:
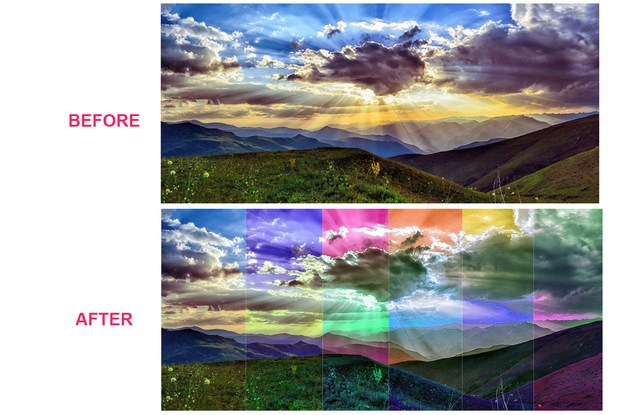
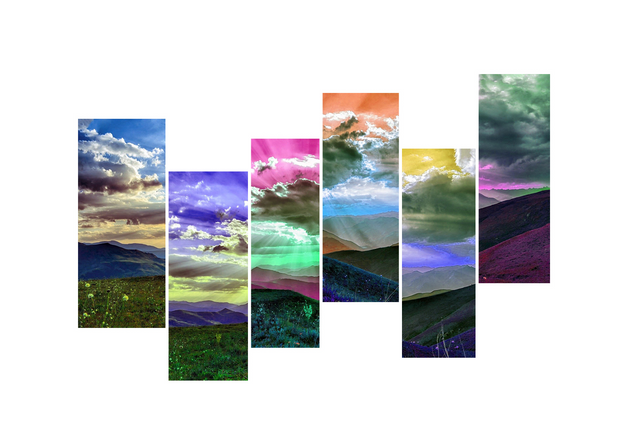
Cut the image with a rectangular marquee tool and make 6 pieces
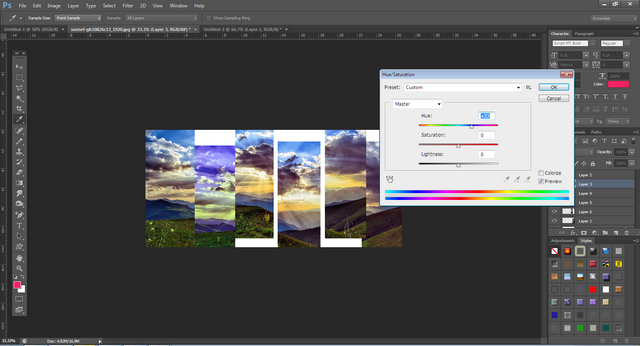
Step 3:
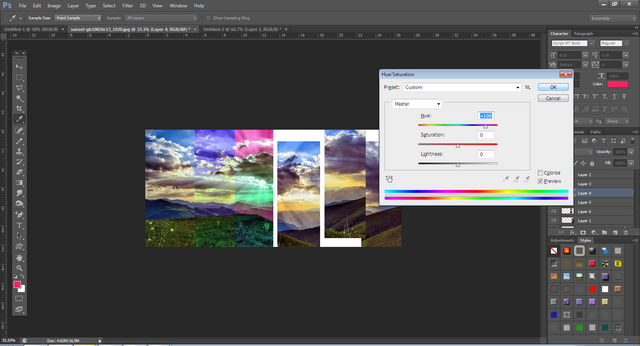
Select one piece of the image and go toMENU>IMAGE>ADJUSTMENT>HUE/SATURATIONS or press Ctrl+u, a ne popup will appear, there may be 3 scroll buttons, use the "Hue" button and drag it to right up to +33 point
Step 4:
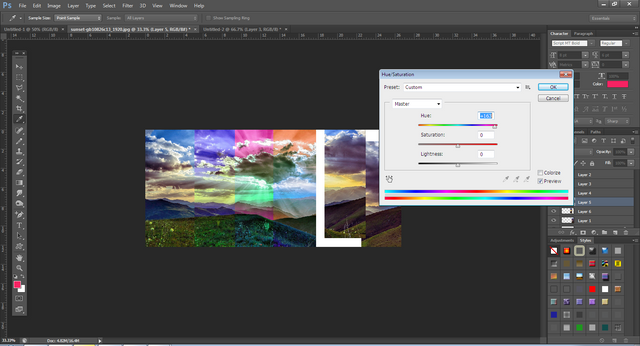
Select the second piece of the image and go to the same tool and use the hue button and drag it to right up to +60 point
Step 3:
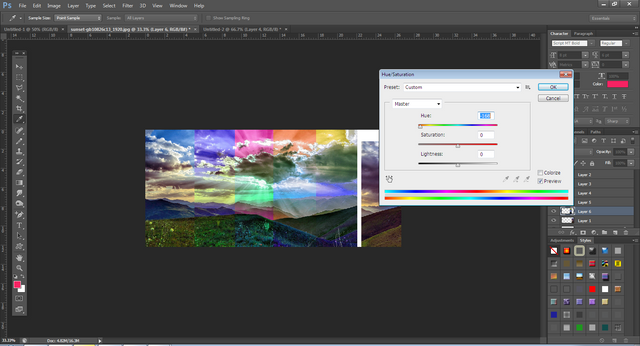
Select the third piece of the image and go to the same tool and use the hue button and drag it to right up to +90 point
Step 4:
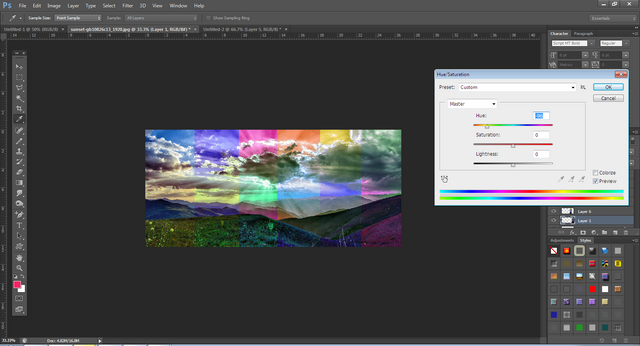
Do the same process with all the pieces of the image
Step 5:
Now join together all the images as one image
Step 6:
Save the file with a different name and jpeg format.
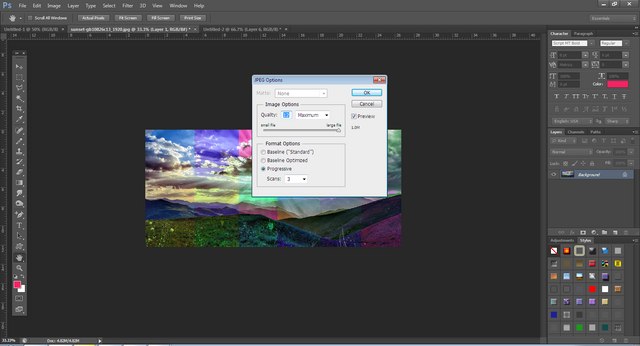
Step 1:
Now you see the colorful effect of the image, also the compare with the old one to see the effect.
You can also try this effect with any Image with these easy steps in adobe photoshop

Congratulations, your nice post has been upvoted by the steem.skillshare curation trail!
please check out this post:
steem.skillshare curation trail post to get infos about our trail
Great effort!
Your post has been curated by 'Arts Curator'. I appreciate your efforts, keep making quality posts and get a chance to win a vote from our Curation team.
Thank you very much @janemorane for recognizing and supporting
Your quality post is more appreciable.
Keep up the good work!