How I make my steemit post| Tools and markdowns which I used for the post complete information

Hi friends
Welcome to my post.
Today I will share the secret behind my attractive post. I will share the complete guide of which tools I used to make the post. I hope this will help you all. As so many users ask in the comment section for the formatting or tools and it's impossible to explain everyone in a single comment so I created this post for everyone. I hope you all like it.

Tools I used for thumbnail creation

Tools for thumbnail creation depend on which type of post I am posting on the steemit platform. If it is the information post than I am using the snappa for the thumbnail creation.
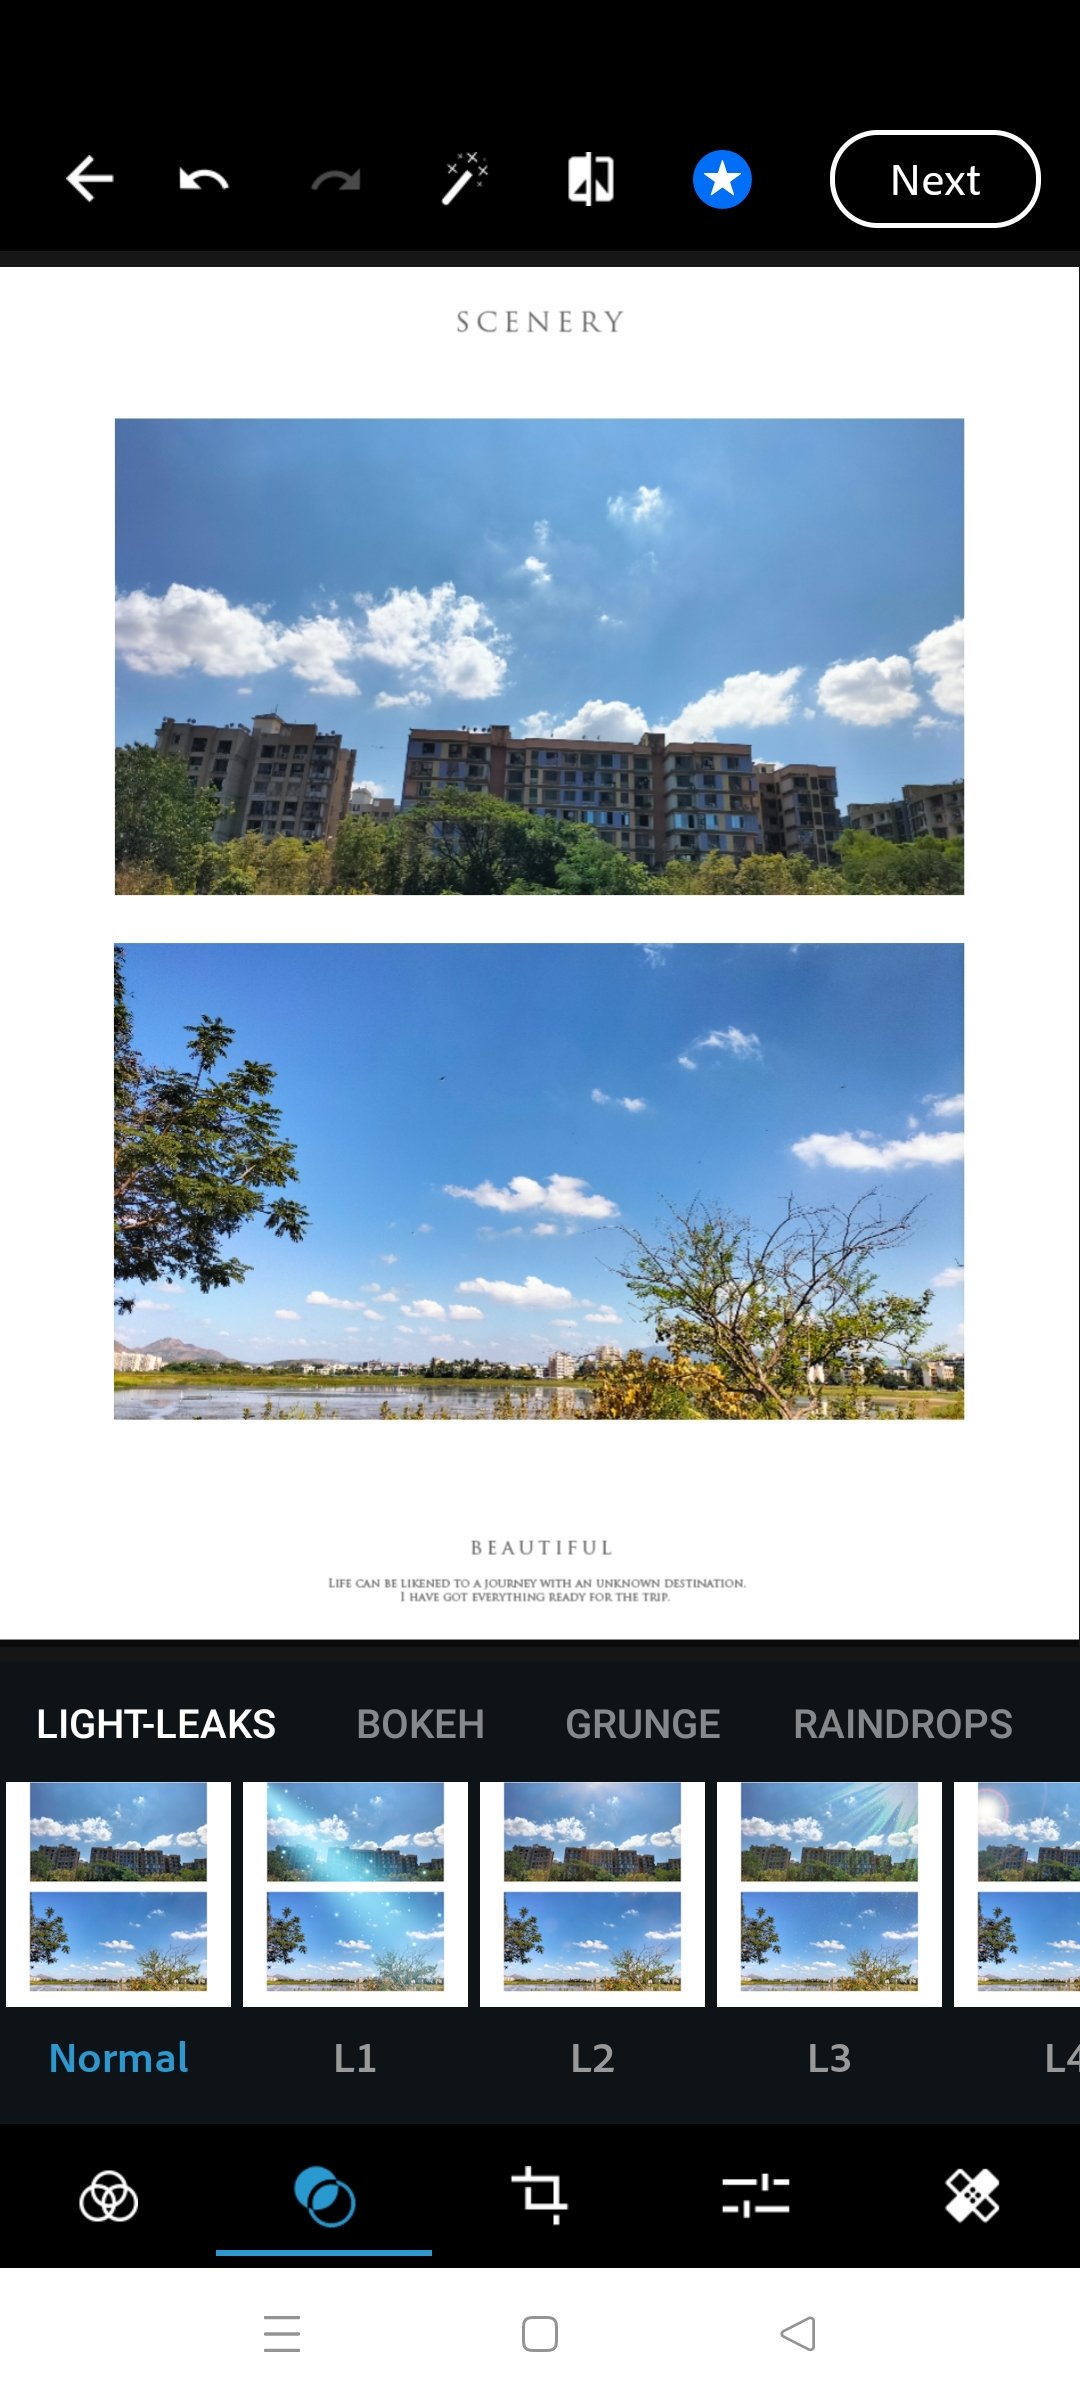
If the post is related to the dairy post or some casual post like travel dairies or the post which has 5-6 Images then I am creating the thumbnail using Oppo's photo app. It gives me lot's of predefined templates for the college picture.

After applying the template I used another editing tool for the picture is adobe photoshop express. In this tool, I removed the text of the templates and type my custom messages using various options like eraser, title, font, and so on.
As you see for the thumbnail creation I am using the above tools and for the creation of the thumbnail almost spend 1 hour and I am doing this work during my break time or whenever I felt bored I work on the thumbnails.
Markdowns which I used for the post
I am using the various markdowns for the post lets begin with all the markdowns.
Headings

for the headings, I used the below code.
### <center> Good Morning</center>
I observed that center headings 3 will look more attractive than any other headings. So I almost use the above code for the headings.
Body

To get the above results I used the below code:-
<div class="pull-left">Image source</div>

<div class="pull-right"> Your text</div>

***
The above code helps me to place the image and text side by side and for the text alignment I used the class <div class"text-justify"> Your text</div>.
All the pictures I am taking are using my phone as I don't have a DSLR camera.
There are all the things I used in my post and for the content, I used my brain which helps me a lot. I hope you all like my post
Do Not forget to upvote my post and please comment it is helpful or not

All the photos included in the post belong to me.
If you want to know me better, here is my achievement 1
Thank you for reading the post and watching my picture
I love what you do very nice
I must say you work hard on every post.
I have learnt a few new markdown styles with your guidance.
Thank you @mayureshpandit
#affable
Thank you so much for investing your time to read my post. I hope it will help you.