Betterlife Grow Your Own – Hatching Duck Eggs with a Homemade Incubator
Hi sTEeMiANs
Hi sTEeMiANs
All steemian friends, there are various activities that we can do to fill our spare time on the sidelines of our daily routine work.
These activities are certainly in accordance with our respective passions and usually these activities are very fun for us to do which are often influenced by our educational background and insight.
"Because I am a veterinarian, I like animals, both farm animals, pets and birds."
"Because I am a veterinarian, I like animals, both farm animals, pets and birds."
Currently I have a collection of Siamese chickens and parakeets as well as a pond of koi fish, red tilapia and guppies
I do this hobby on the sidelines of my busy life at the office to relieve boredom and stress from work.
At this time I will try to share my activities that are still related to the animal world, especially poultry.
"Two month ago I had the idea to hatch eggs using an incubator."
"Two month ago I had the idea to hatch eggs using an incubator."
As we know the process of hatching eggs can be done in two ways :
Natural process:The process of hatching eggs directly carried out by the parent.
Artificial process: The hatching process is carried out by creating an artificial hatching condition that is exactly the same as the conditions experienced in the natural hatching process in this case using an incubator.

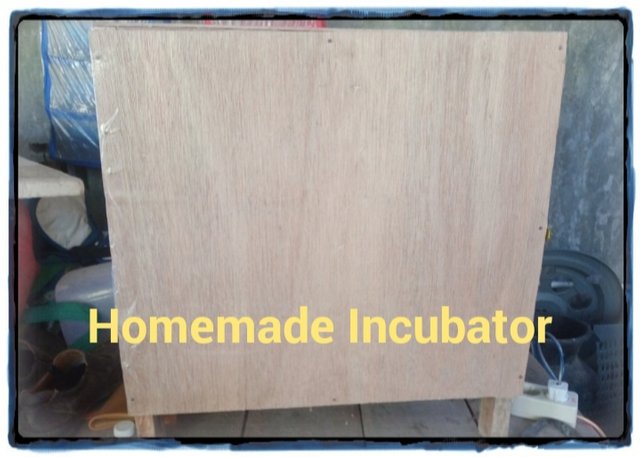
Because the price of the incubator is quite expensive in my area, I took the initiative to make my own incubator using materials that I can easily find, namely plywood.

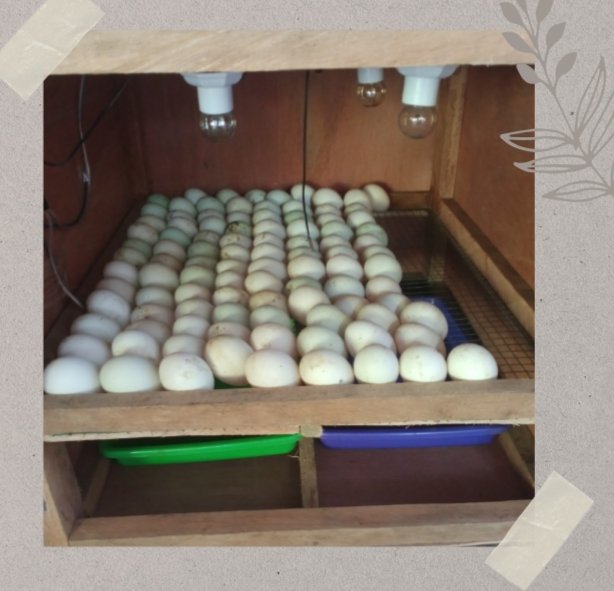
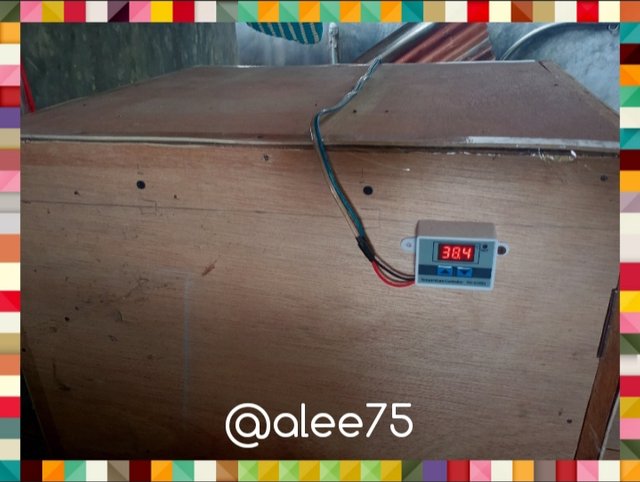
The size of the incubator that I made this time is 80 x 80 meters which consists of 1 egg rack with a capacity of 100 - 120 eggs which is equipped with an automatic temperature controller so that we can adjust the temperature according to hatching needs because each egg has a different temperature for hatching. For example, the chicken eggs, we set the hatching temperature to 36.5 – 38.5 C, while for quail eggs the hatching temperature is 38 – 39 C.
After the hatching machine is ready, I plan to test the incubator that I made and this time I choose duck eggs that I bought from farmers in my village at a fairly cheap price, which is about 2000 IDR while the selling price of DOD (Day Old Duck) the market is around 5000 - 7000 IDR.
The price of DOD in our area is very competitive so that it can be used as an alternative business for the community.

The first step is that I choose a good egg that has the following characteristics:
Medium color, not too white or too blue
The shape is not too round or too oval
Eggs are not more than 4 days old
Eggs in clean condition
Smooth egg shell, not speckled like sand attached to the shell
The second step is to clean the incubator. The water bath is washed clean, then I dip it in a disinfectant solution (pinocid). The outside of the machine is also sprayed with disinfectant.

The third step is to place the eggs flat on the egg rack (may at a 45 degree position with the blunt end on top).
The fourth step is to adjust the thermostat as needed after previously being heated by the incubator. For duck eggs, the temperature is set at 36.5 – 38.5 degrees. Into the incubator I also put a container filled with water which I put under the egg rack to give the eggs an evaporation effect.
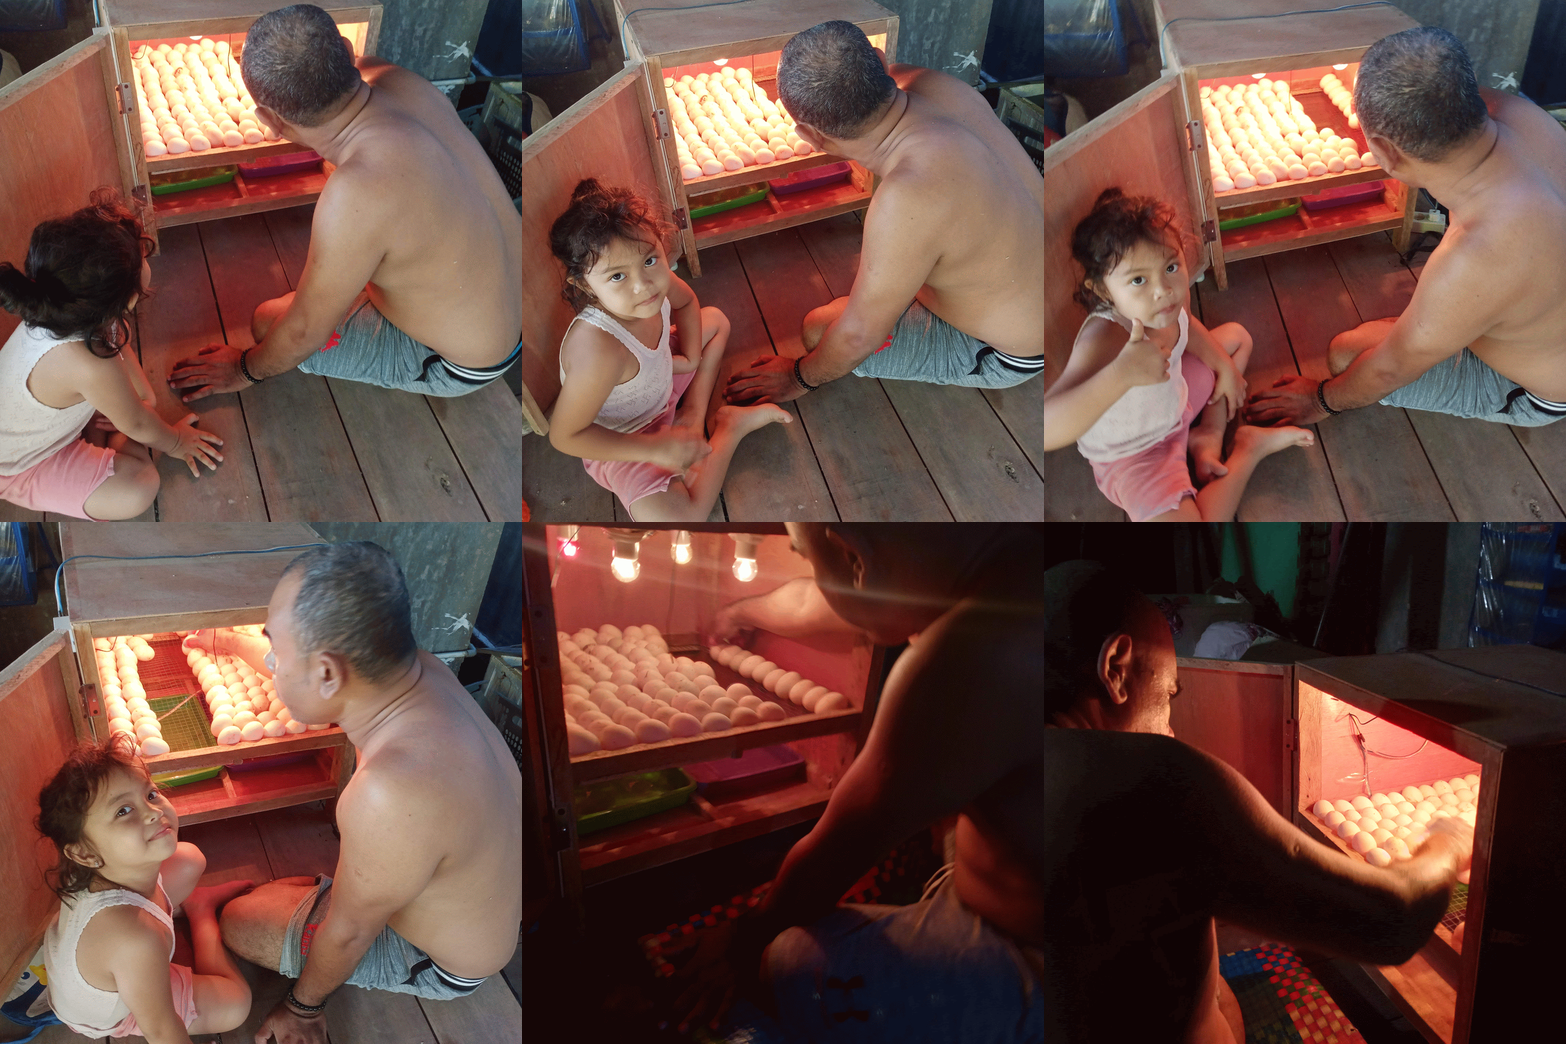
Every day I turn the position of the eggs 3-4 times so that the eggs get even hot steam.
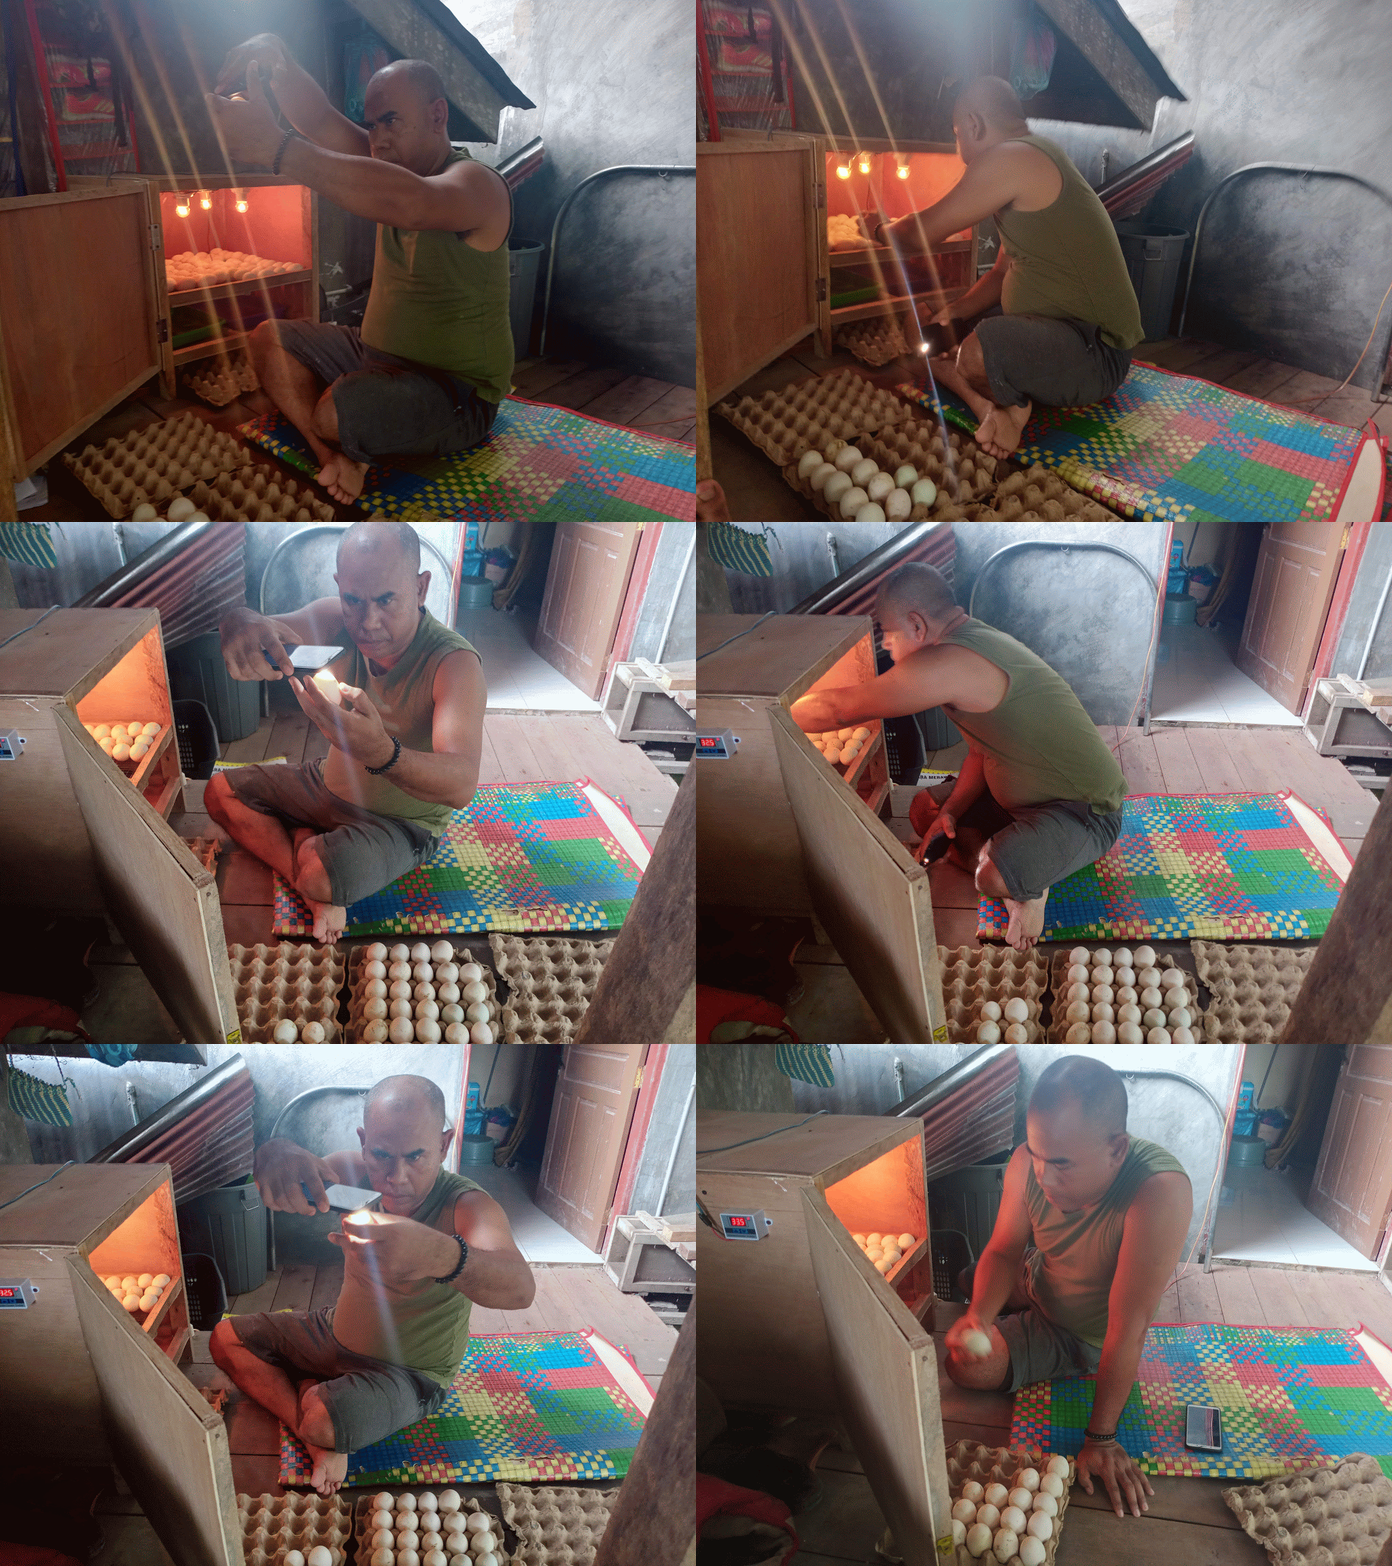
On the sixth day I did egg candling to find out which eggs were fertile and which were not fertile. Living eggs (budding) are characterized by the presence of a moving point with fine branches which is the beginning of the vein, while empty eggs (not budding) are invisible and the eggs look clear and bright.
"Empty eggs are removed from the incubator and can be re-consumed."
"Empty eggs are removed from the incubator and can be re-consumed."
Every day I monitor and reverse the position of the eggs 3-4 times a day and night until the twentieth day.
Since the twentieth day I have also sprayed water using a sprayer to give the effect of evaporating the egg shells to make it easier for them to hatch.
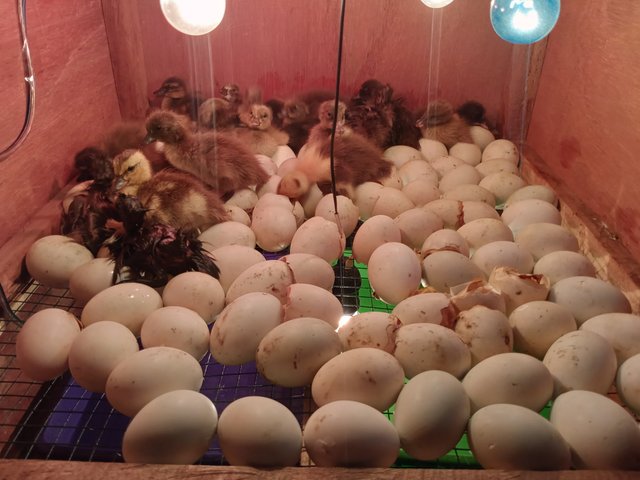
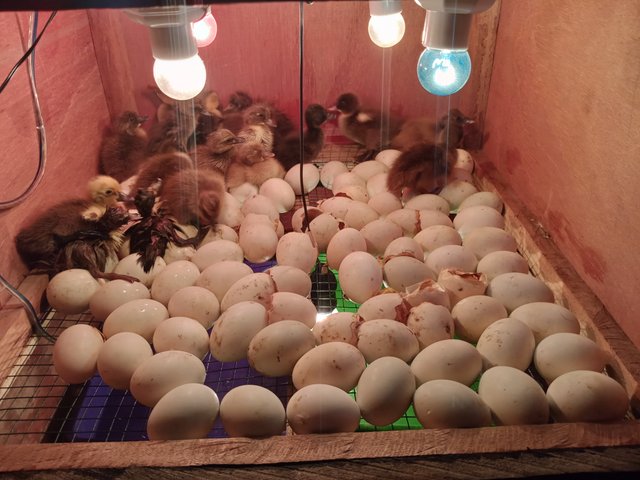
And on day 28 the eggs began to hatch one by one and I let them remain in the incubator for a while. Because it didn't hatch at the same time, I left the DOD in the incubator for some and part of it I moved to the brooding cage that I had prepared.
The eggs have hatched
The eggs have hatched
After all the hatching processes were completed I turned off the electric current to the incubator and cleaned the incubator by washing and spraying disinfectant which was then stored for use in the next hatching process.
That's the process of hatching duck eggs that I did this time and Alhamdulillah, many eggs hatched but there were some that didn't hatch which might be due to human error during hatching and there were also problems with the electricity going out several times.
In my opinion, hatching eggs can be a business opportunity for the community, both on a household, medium and business scale because many people consume duck eggs, especially at parties and other events.
This is also inseparable from the habits of most of our people, especially in rural areas who often raise ducks at home with a number of several tails for consumption, both meat and salted eggs.
That's all I can share, please advice and input all steemians friends.
Thank you........



Postingan ini telah dihargai oleh @steemcurator08 dengan dukungan dari Proyek Kurasi Komunitas Steem.
Ikuti @steemitblog untuk mendapatkan info tentang Steemit dan kontes.
Anroja
🙏
Telur yg tidak menetas bisakah kita rebus tuk dikonsumsi kembali...😂😂
biasanya sebelum 6 hari ditetaskan msh bs dikonsumsi kalo TDK ada bibit didalamnya(saat candling)....meunyo TDK menetas tp pernah ada bibit dan mati bibitnya itu namanya busuk (Kom)....keu ramuan umpan pancing jeut...🤣