# WoX photo challenge .:. Post processing #2
Today I enter for the 1st time WoX 'Post processing' photo challenge. (If you are fond of this subject, and wanna jump on this, you may check more details and rules for the contest here). NB: the photo this post was based on, was taken (obviously) by @bambuka.
Сегодня я в первый раз участвую в конкурсе на тему пост-обработки фотографий, который ведет в сообществе World of Xpilar мой друг @bambuka. Приглашаю присоединиться всех, кому интересна тема обработки изображений. По условиям конкурса, необходимо обработать его фотографию и пояснить, что и зачем было сделано. Так что использованное в данном посте фото сделано @bambuka.

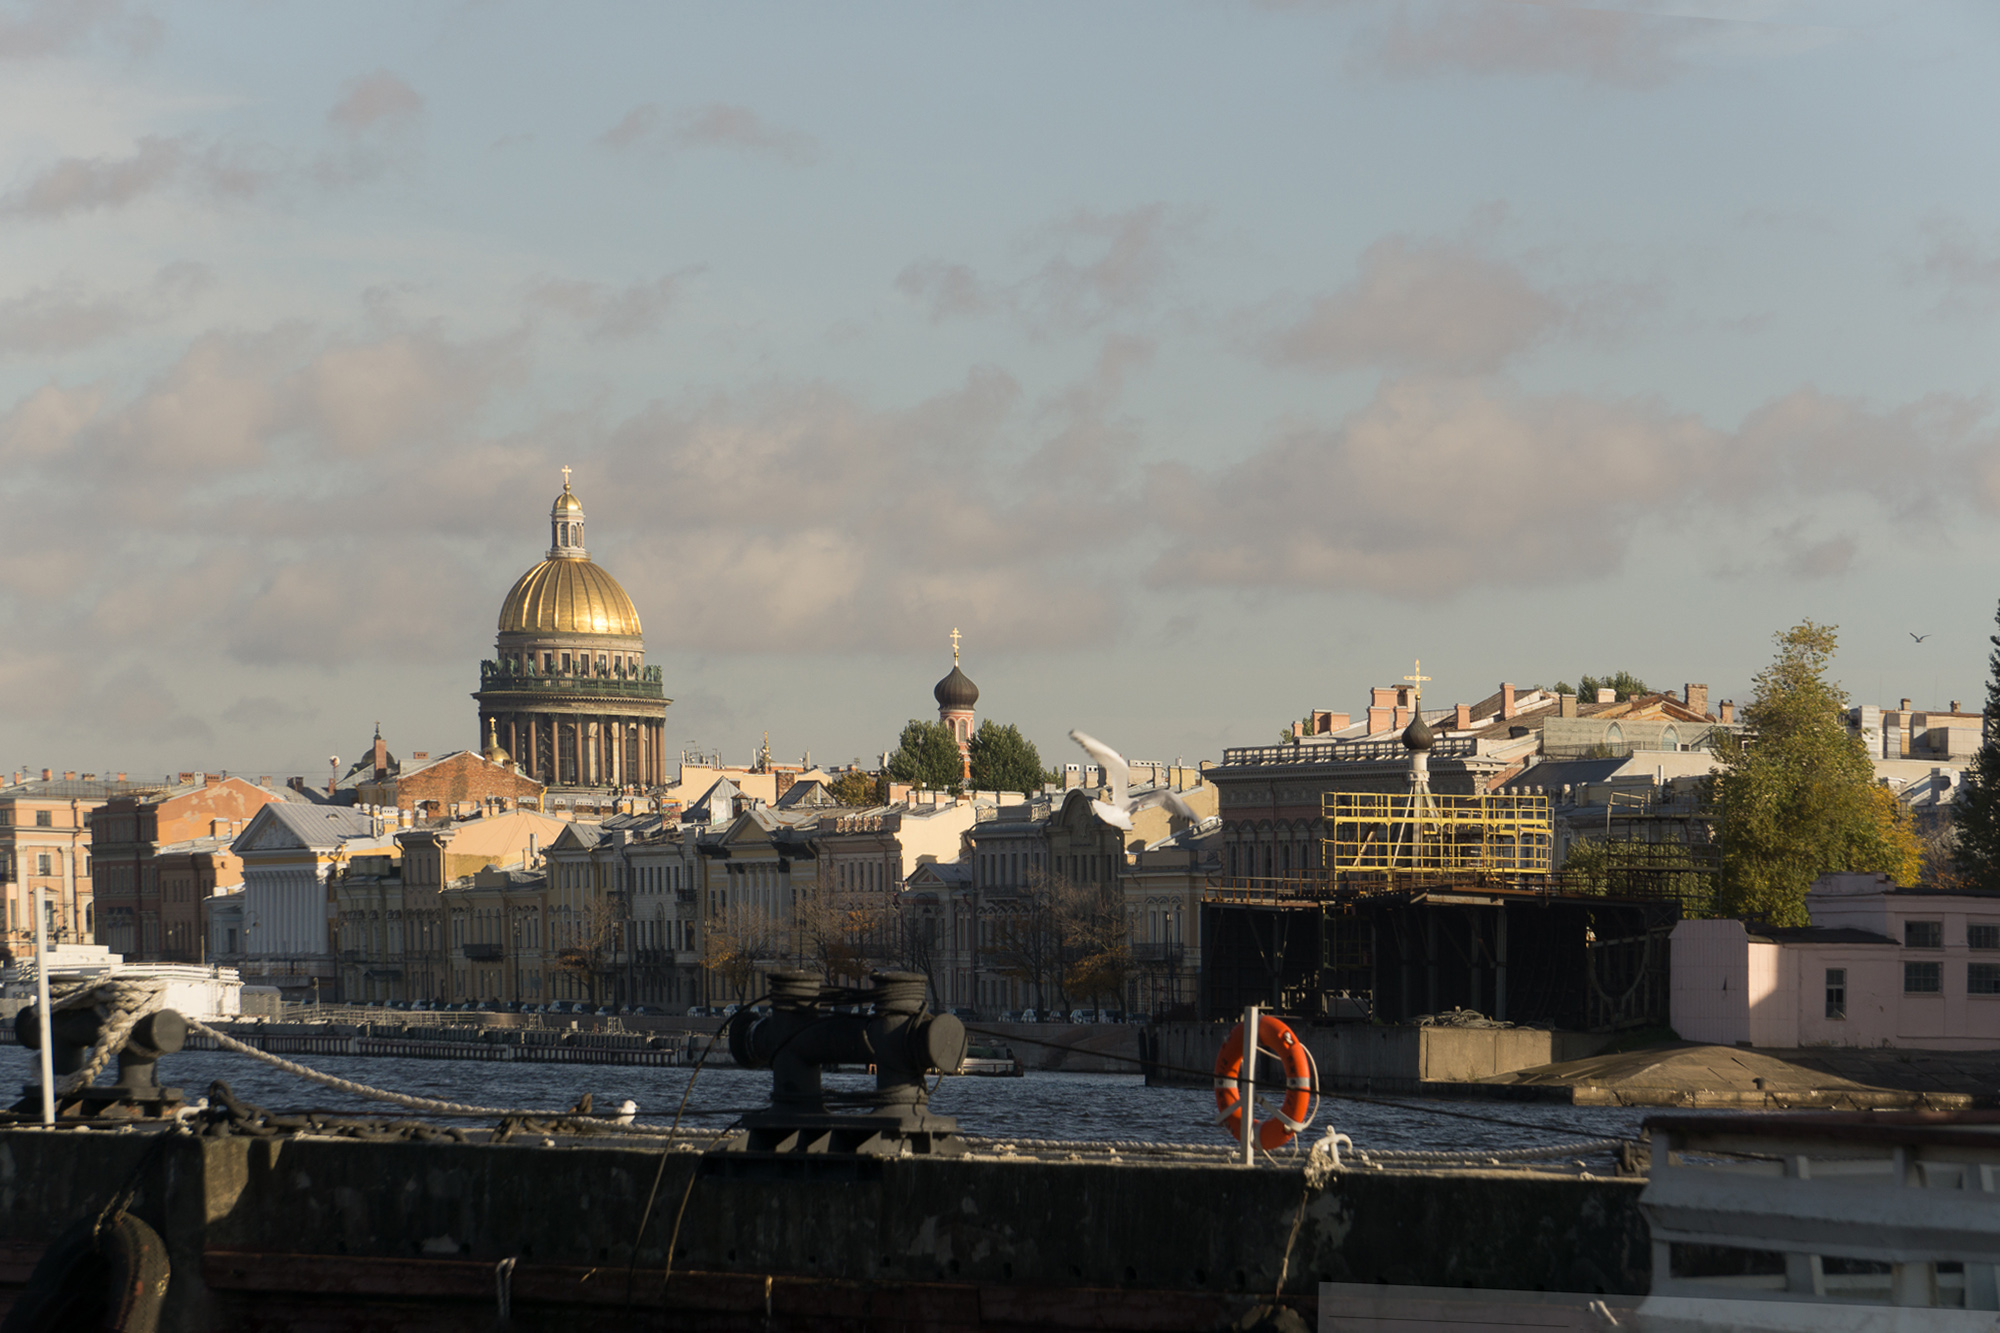
Below is the original jpeg file that was suggested to work with:
NB. In my work I used Photoshop v.22. I also have experience of working with another powerful image-editing processor from Adobe - Lightroom - but I used to perform my digital manipulations with Photoshop, and besides that I am not sure Lightroom is capable of doing all I want. Maybe I am not correct, but anyway -- the best and most efficient tool is the one that you used to, right?
Step 1.
Firstly, I copied original file to the new layer. Every further operation I saved to another separate layer (which helped me to display all the process later, allowed me to compare all the changes made to the original file and helped to make decisions about the further retouching. Also it makes possible to go back and correct errors, when my actions do not lead to improvement, but spoil the image).
So, I corrected the geometry of the file:
Above you can see the result of step 1. The horizon line is normalized. I did slightly more than simple rotation (also had to apply some disproportionate scaling of perspective).
Step 2.
I lightened the shadows, and partly the half-tones, leaving the highlights of the image unchanged. For such an image, taken under contrasting lighting, this is a must.
Image > Adjustments > Shadows/Highlights <- this Photoshop command is also an option; it is less adjustable but can be used for this, to receive some good results in a very fast manner (fraction of a second).
If you prefer reliable manual work, 'Curves' is a perfect tool Photoshop can suggest for this task.
Step 3.
I believe that a good part of the job is done by this point; but still the image is not perfect, some areas of the cityscape have dirty colours. the sky is ok, but the nice historical buildings of St.Petersburg are shady, and thats why the colours are dirty, this makes them look not so cool as possible. So I used the same 'Curves' option to adjust this area of the image (i.e. the middle part, the buildings). Also I used the x-processing action script on this stage.
Step 4.
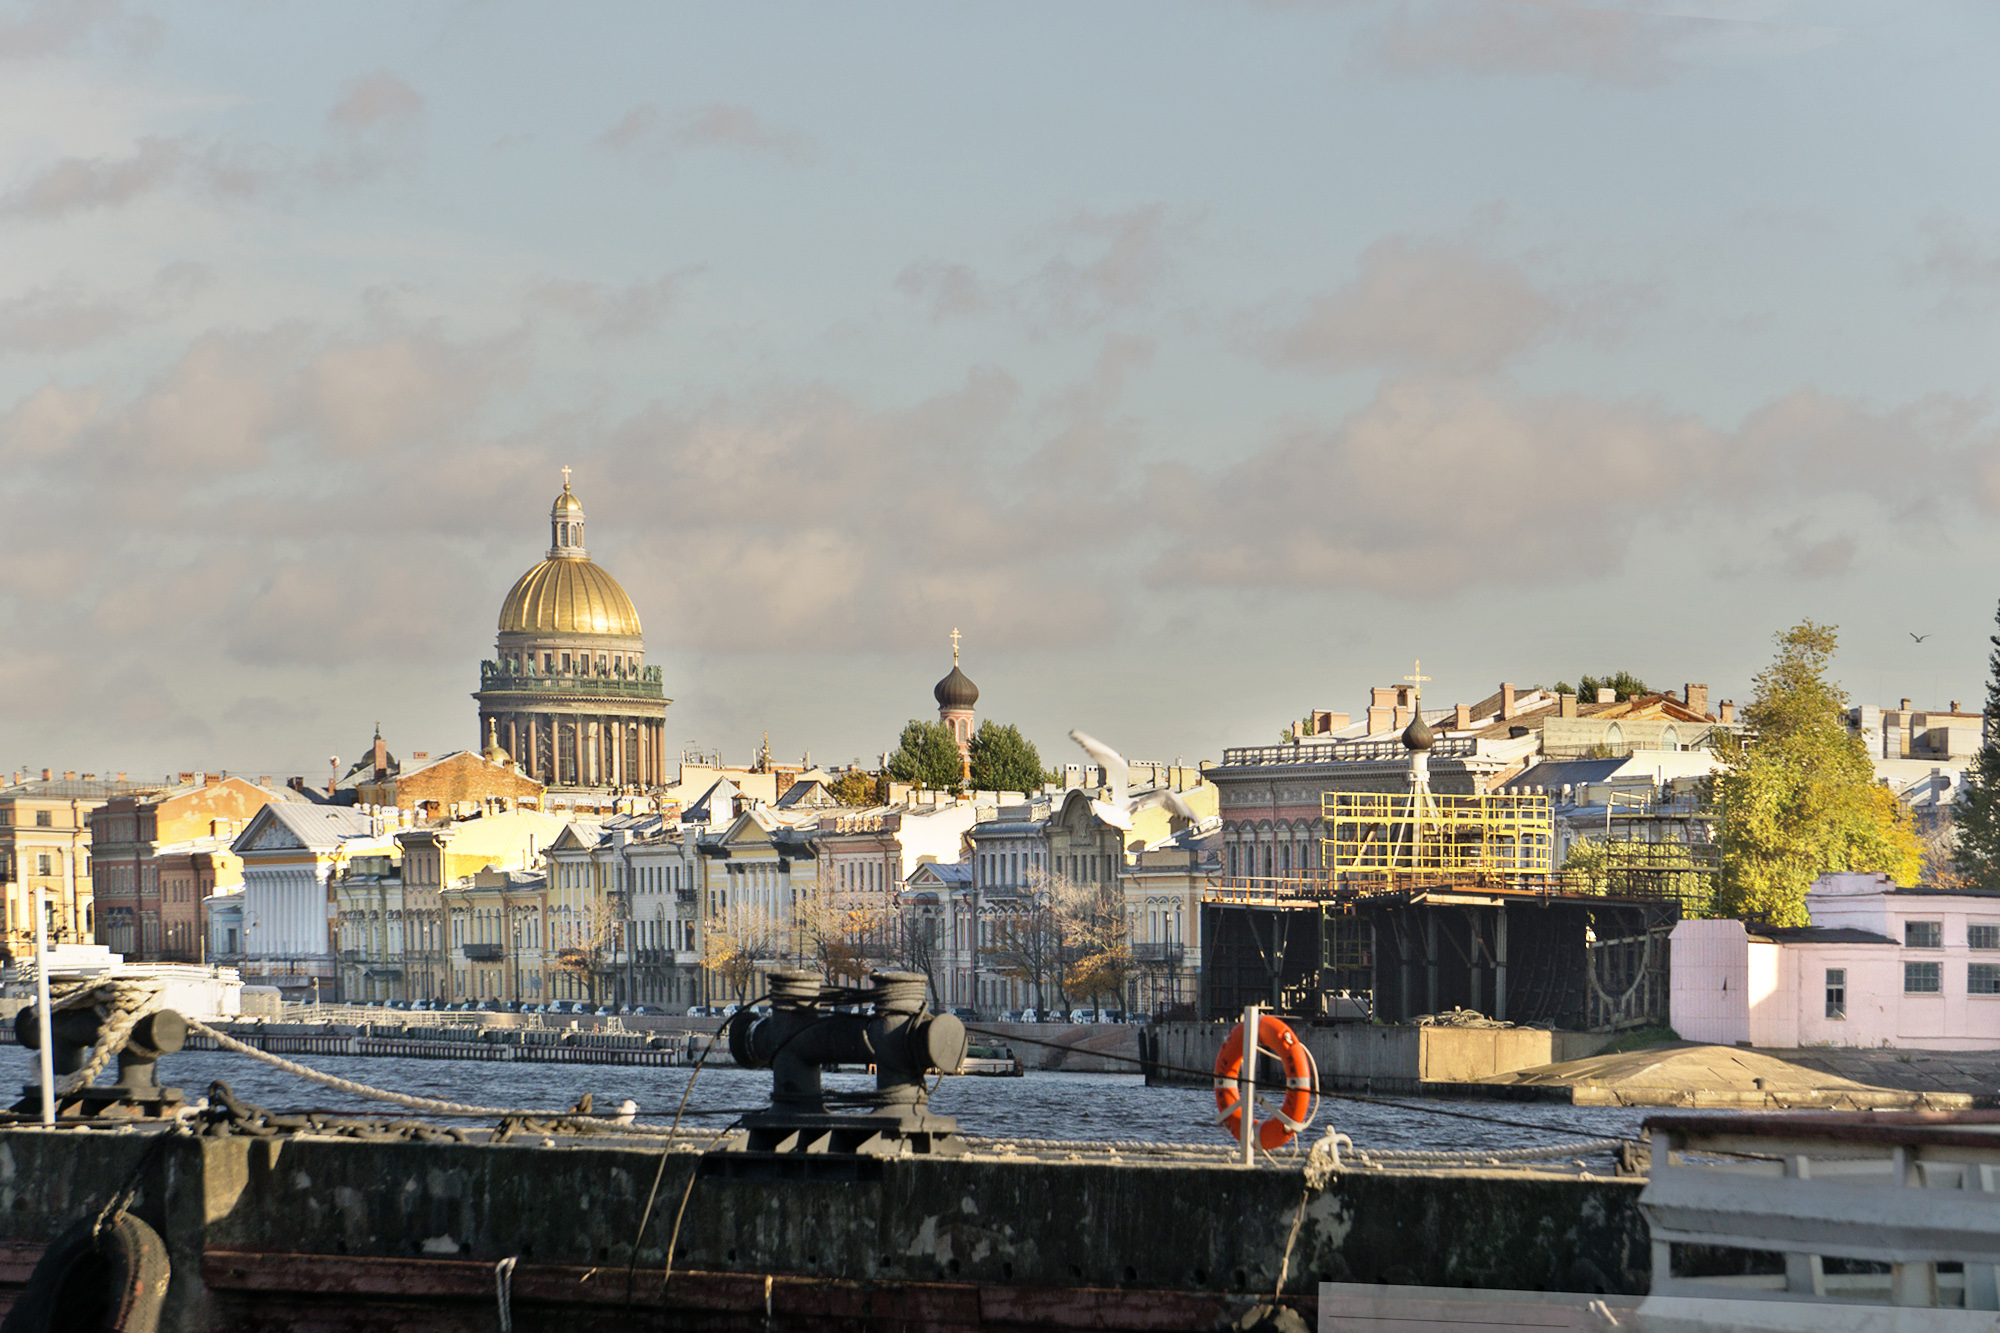
Now I think its time to crop the image a bit, to make its composition better. I cropped a little but on the right (the trees). After evaluating (almost final) result, I think it has a bit of excessive yellow-ish tones in the lights, especially in the sky area, and excessive blue-ish tones in the darks.
I adjusted it with the Photoshop option 'Color balance' which let me operate separately with highlights, shadows, and mid-tones. It is a perfect tool for this kind of light colour-tweaking.
This is the final result that satisfied me, which I provide as my entry to the contest.

And now an extra fun part. A lot of folks are used to Instagram and what it offers in terms of photo editing. They got used to that "editing" is just a stupid (or intellectual) enumeration of different options, presets ("ready recipes" created by other folks) - and evaluation, deciding which one is best for this photo. Of course, its a bullshit. But this is what we have today.
And the real work is a) analyze and evaluation of particular image, b) decision what needs to be done, and c) manually applying the right tools. Photoshop or Lightroom are extremely powerful tools perfect for this.
The most powerful editing tools can be applied to a .raw file - this is "raw" data from the camera's matrix, which has not yet been edited by the "brain of the camera itself". A .jpg file is just some kind of automatically processed version of a photo. If we have a jeep at the input for retouching, then this reduces our possibilities and / arsenal of editing tools.
Многие люди привыкли к инстаграмму и тому, какие возможности он предлагает в плане редактирования фото. A lot of folks that are used to Instagram and the way it let you edit the pics... привыкли к тому, что "ретуширование" или "редактирование" - это просто тупой интеллектуальный перебор разных вариантов, пресетов ( чужих "готовых рецептов" ) - и оценка, принятие решения, какой из них лучше подходит для данного фота. Это, конечно, буллшит. Но это то что мы имеем сегодня.
А настоящая работа - заключается а) в оценке конкретного изображения, б) решении что нужно сделать, и в) в ручном применении нужных инструментов. Фотошоп или Лайтрум это чрезвычайно мощные инструменты, идеально подходящие для этого.
Самые мощные инструменты редактирования можно применить к файлу в формате .raw - это "сырые" данные с матрицы фотоаппарата, которые еще не редактировались "мозгом самой камеры". Файл в формате .jpg - это как раз уже какая-то автоматически обработанная версия фотографии. Если мы имеем на входе для ретуши именно джипег, то это уменьшает наши возможностии / арсенал инструментов для редактирования.
When those who used to editing raw files encounter jpegs, they lose their favorite familiar tools and do not know how to act. So.... I wanted to tell you that Photoshop has a secret option -- edit jpegs as if they were a RAW file! (Of course, this is not 100%, its a limited option, there are objective reasons why this is not possible, but nevertheless...) This feature is located in the 'Filters' menu and is called 'Camera Raw Filter'.
Когда те, кто привык редактировать raw-файлы, сталкиваются с джипегами, они лишаются своих любимых привычных инструментов и не знают как им действовать. Итак.... я хотел рассказать вам, что Фотошоп имеет секретную опцию -- редактировать джипег как будто это файл RAW! (Конечно, это не 100%, существуют объективные причины почему это не возможно, но тем не менее...) Эта фича находится в меню 'Filters' и называется 'Camera raw Filter'.
When you apply this to a JPG file, you are getting to the same RAW files editing interface as you used to (just less tools are present). NB: If you dont see such an option in the Filters menu of your Photoshop - it means your Photoshop is dated, and you need to upgrade it.
RAW editing interface
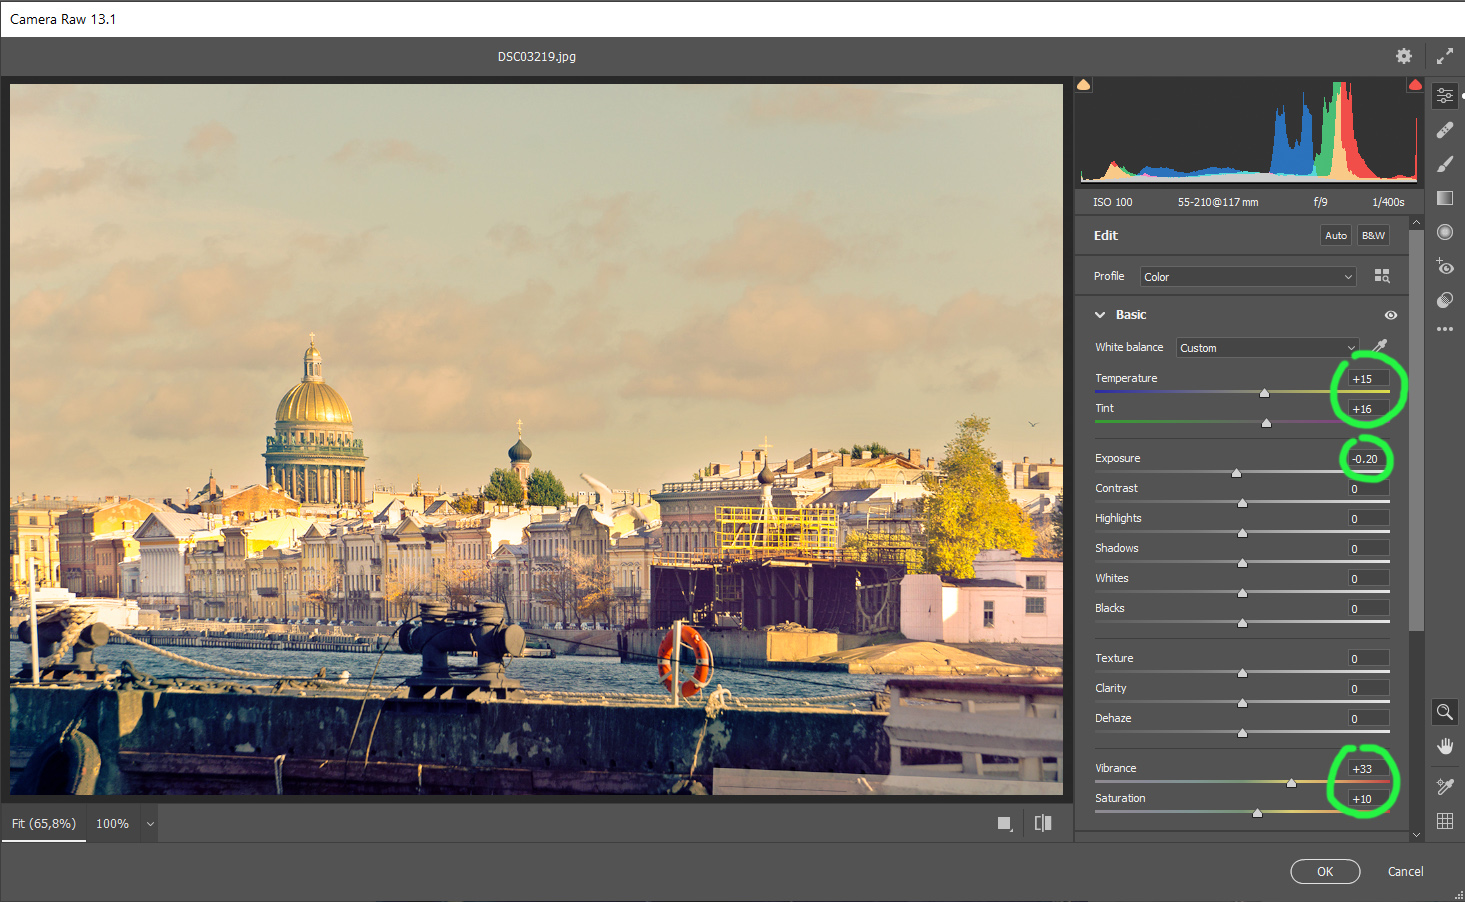
The key features are in the screenshot above: fast way to tweak the Color balance of your photo (hard to impossible to edit it when you have the image as JPEG already). Exposure can be changed too, if you have the image too dark or too light and over-exposed. One of the key features for me that I often use, is 'Vibrance' -- its a way to raise the colours contrasts and, simply speaking, the saturation of the image, when the colours are too dirty or bleak. 'Dehaze' is a fast way to adjust image contrast in an intelligent way.
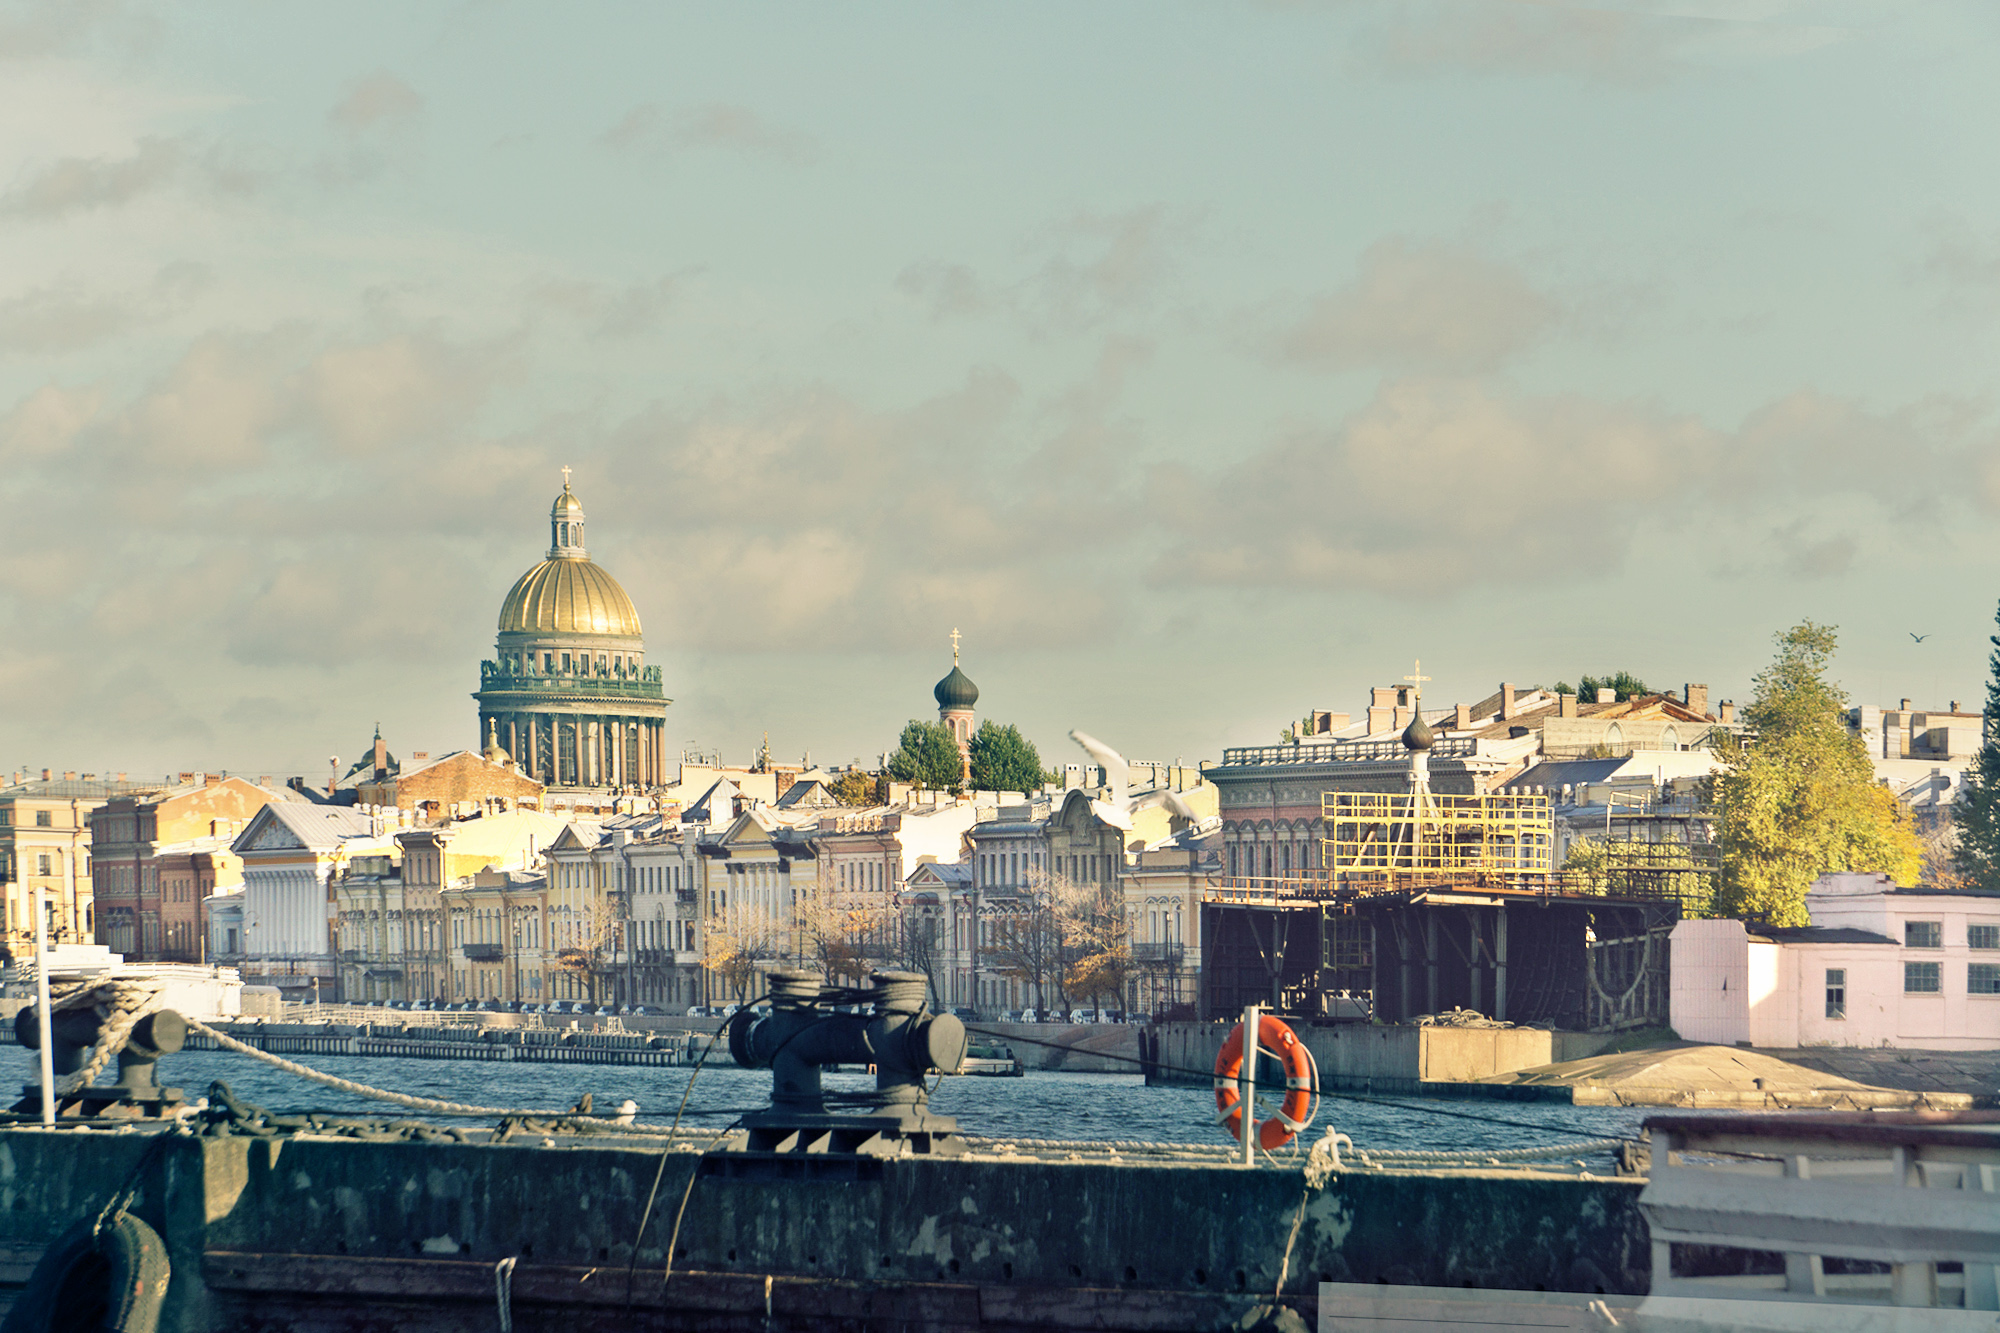
Look at the second screenshot: I got this totally different version of the capture in less than 10 seconds, just using a few sliders. V.1 is a hot afternoon, V.2 is an early morning with freeze in the air and blue-ish shadows. Isnt it cool? Its a great Tools Arsenal worth using, believe me. I.e. means it is worth shooting and saving your photos as .raw files, instead of jpegs (ofc if the further post-processing is intended).
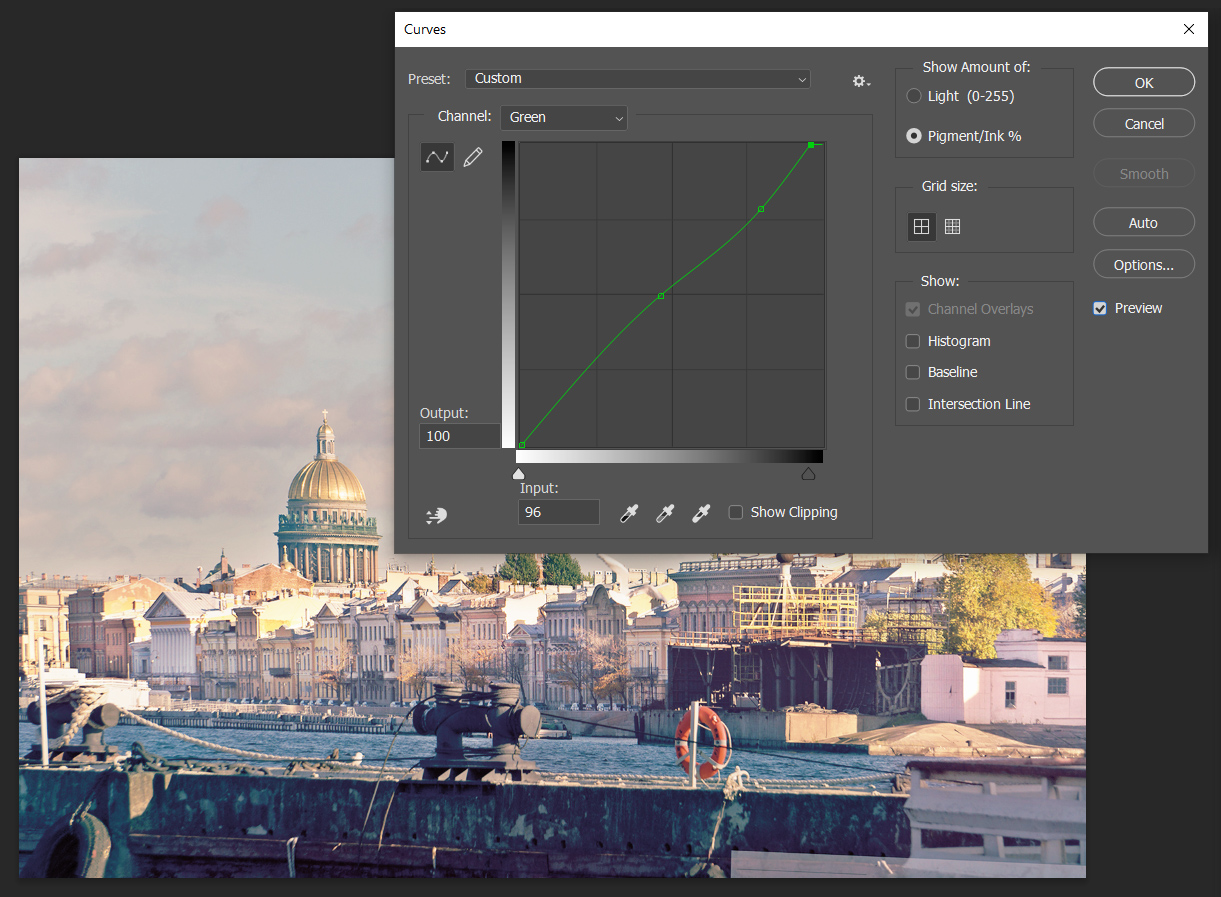
Oh, and this is the Curves Tool -- this is how its implementing looks like. I lifted the Curve of the Green channel of the image, to add more red tones to the image and to suppress the excessive blue-ish tones.
Note, than Photoshop - in same way as Lightroom - has a lot of useful default presets, ready to use. Which ofc doesnt mean you should not create your own! On The screenshot you see the Curves menu presets, and you can see I added and saved some custom ones.
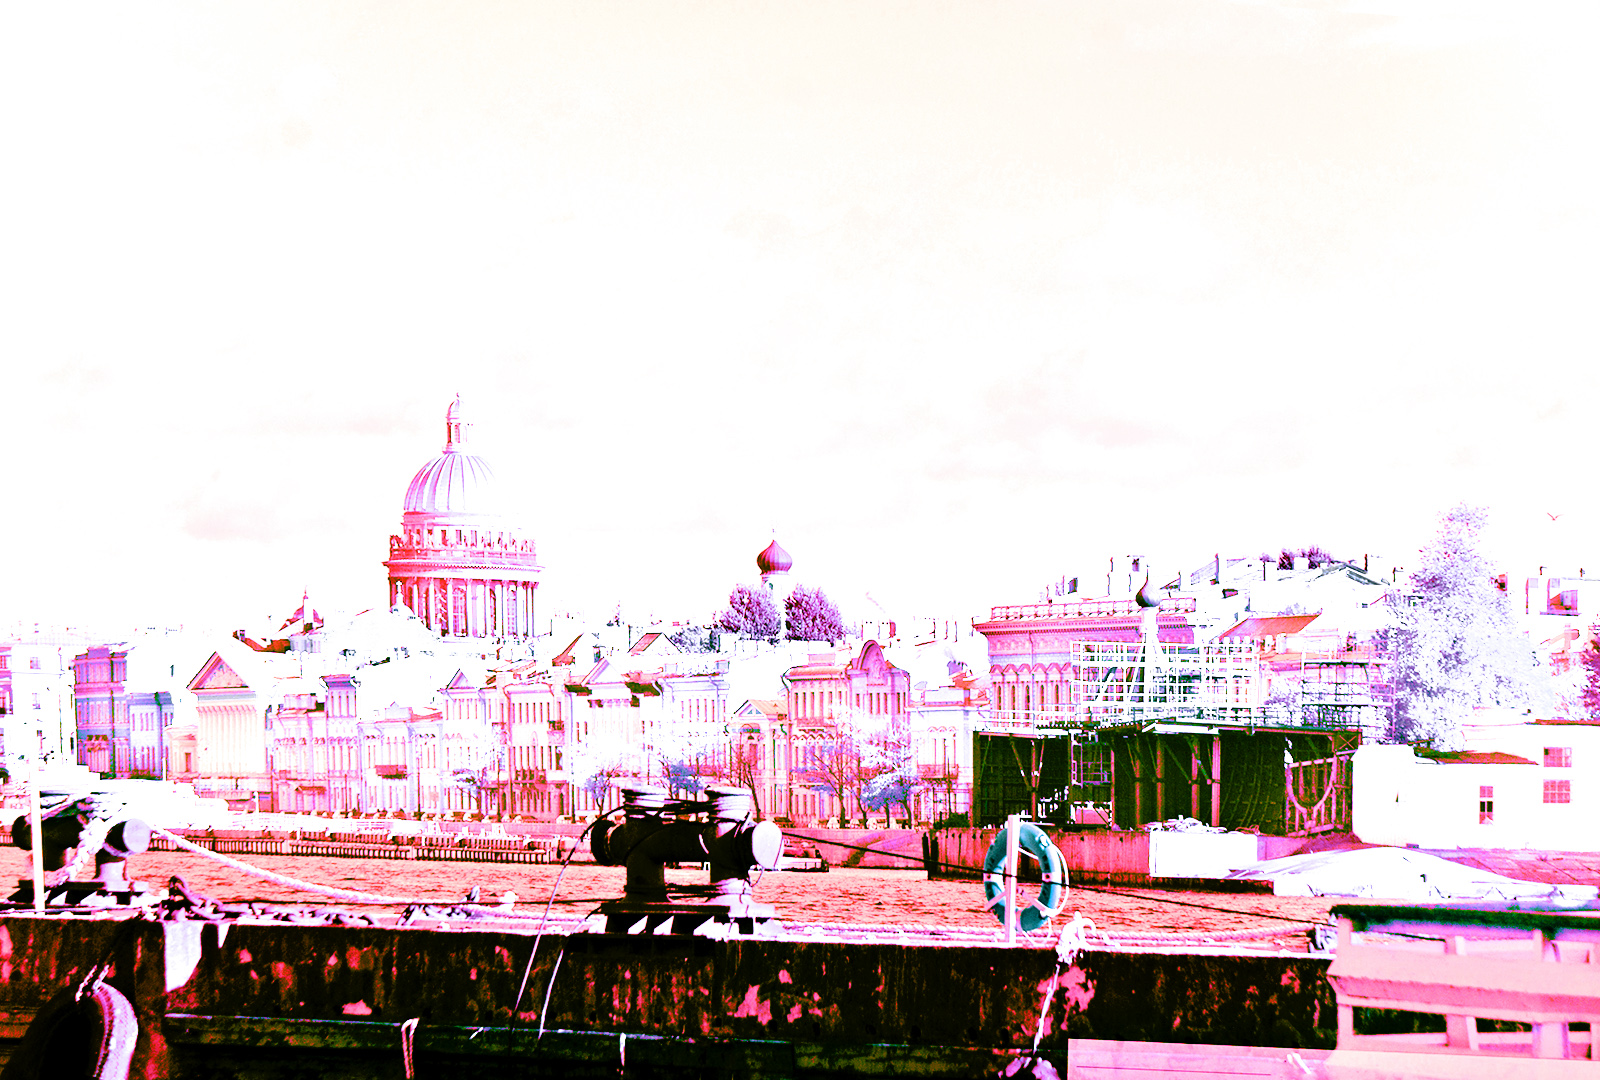
Here are two examples of presets - giving the final image look of a Negative image, or X-Processed image (which means simply the effect of 'wrong film processing').
One cannot embrace the un-embraceable, but I cannot but mention the Layers. Layers mechanizm is a great feature of Photoshop, a key for images digital manipulations. For example, the image below is a mix between two file copies above (a Negative and X-processed ones). I added them as separate layers and mixed using some layers effects, which resulted in such a bizarre image.
Photoshop possibilities are endless! And very often the most important thing with photoshopping images is to know what you want to get, you should aim straight to this certain result in the short-cut way ... without being distracted by trying of hundreds other different options.
Hope this was a helpful guide. This was my entry to 'Post Processing' contest by @bambuka, run in WoX community.
Das ist sehr lehrreich, vielen Dank!
Aber für meine Begriffe ist es ein Schuss mit Kanonen auf Spatzen. Damit meine ich:
Photoshop ist ein sehr mächtiges Werkzeug, es ist vor allem im Profi-Bereich nützlich (Website Editing, Food Photographing, Portrait Developing).
Angewendet auf das Beispiel überzeugt mich dein Ergebnis leider nicht. (Ich bin NICHT der Juror oder Veranstalter, nur ein anderer Teilnehmer, der ein bisschen diskutieren will! ;-) )
Daher werde ich gleich mal einen kleinen Post vorbereiten, der im Detail zeigen soll, was ich meine.
That is very instructive, thank you very much!
But to my mind, it's shooting cannons at sparrows, as we say in Germany. By that I mean:
Photoshop is a very powerful tool, it is especially useful in the professional field (website editing, food photography, portrait developing).
Applied to the example, I'm not convinced by your result. (I am NOT the juror or organiser, just another participant who wants to discuss a bit! ;-) )
So I will prepare a little post to show in detail what I mean.
Получилось мини руководство по постобработке, богатый пост и отличные результаты для конкурса.
В одной из старых версий ФШ у меня не было фильтра Camera RAW, но можно было в главном меню открыть файл Jpeg через опцию !файл" - "открыть как" и выбрать Camera RAW из списка форматов.
Я не имею ничего против Инстаграм (хотя и имею), но ручная обработка делает процесс осмысленным. У тебя есть цель, ты получаешь результат и сравниваешь его с целью. Это путь развития и творчества.
Благодарствую за отличный пост!
ххххххххххххххххххххххххххххххххххххххххххххххххххххххххххххххх
It turned out to be a mini post-processing guide, a rich post and excellent results for the contest.
In one of the old versions of FSH, I did not have a Camera RAW filter, but it was possible to open a Jpeg file in the main menu through the option!file" - "open as" and select Camera RAW from the list of formats.
I have nothing against Instagram (although I do), but manual processing makes the process meaningful. You have a goal, you get a result and compare it with the goal. This is the path of development and creativity.
Thank you for a great post!
Your post is manually rewarded by the
World of Xpilar Community Curation Trail
STEEM AUTO OPERATED AND MAINTAINED BY XPILAR TEAM
https://steemit.com/~witnesses vote xpilar.witness
Thanks a lot, team!
Congratulations, your post has been upvoted by @dsc-r2cornell, which is the curating account for @R2cornell's Discord Community.
P.S.
Что ты имеешь в виду, когда называешь цвета "when the colours are too dirty or bleak."
грязные и темные цвета. способ приподнять насыщенность. не Saturation, но тоже хорошо
то есть, грязные и тёмные означают в твоём варианте недостаточно насыщенные?
грязные и тёмные цвета, означают что они кандидаты на исправление
а насыщенный или нет, это уже увод темы в сторону. нет.
я просто хочу точнее понять, что именно ты имеешь под этим в виду.
То есть ты так для себя маркируешь то, над чем надо работать. Просто русский язык богат на трактовки сказанного :)