SIZ Approved Course | Adobe illustrator tutorials for beginner | Lecture 03 | 20% beneficiary to @siz-official✍️
Hello everyone! 😊
Time is short but Skill is hot! 😉😜
Welcome to 3rd Lecture of adobe illustrator with @abidasharif. Hope you all are enjoying this series of adobe illustrator. So without wasting our precious time let's move on to our today's topic and today we will learn about:
"Scale, Shear, Reshape and Free Transform Tool"
.jpg)
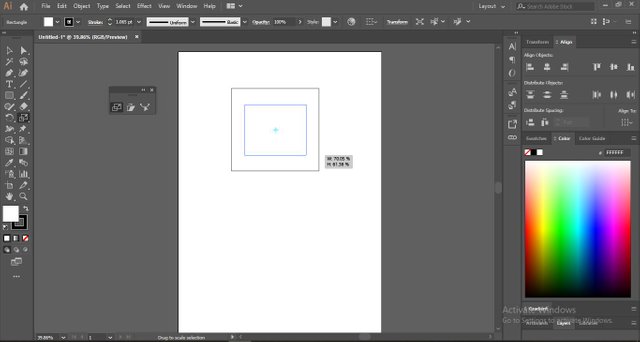
Scale Tool
We can rotate our object using scale tool like Selection tool OR Rotate Tool . Firstly you get a Pivot Point just like a Rotate tool but we won't rotate rather than scale here. Using the Scale tool you will click & drag any object and change this in any strange shape widely but if you will press "Shift" while left click then it will work in a constrained manner or if you will change your pivot point place then it becoming drag in this direction and generate a copy as well by pressing shift + Alt with a left-click like that👇
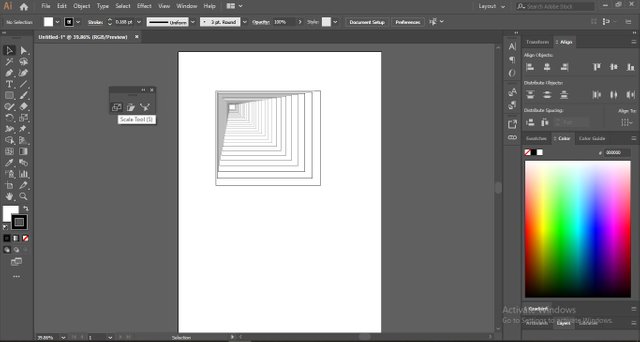
You can use this scale tool with multiple objects. I made a copy of the square shape and select all the upper anchor points of these boxes and made them small using the scale tool.
Shear Tool
For example, draw multiple Objects Now I want this whole object to be slanted all together I mean a little bit of sheared shape in this case we will use the shear tool by selecting all the objects and drag from the right side.

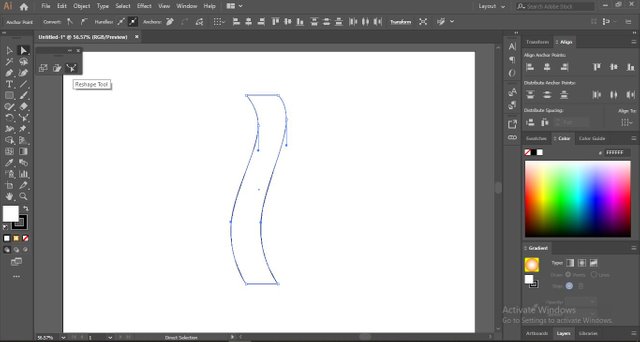
Reshape Tool
Reshape Tool will help you to reduce some steps. Make a rectangular shape and select any path by the direct selection tool then select reshape tool and drag it, see it automatically adding an anchor point as well as curve also.
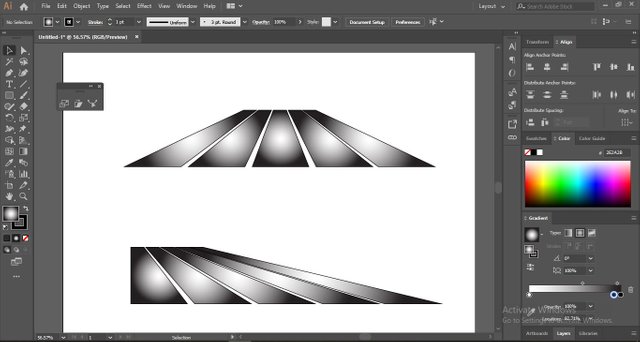
Transform Tool
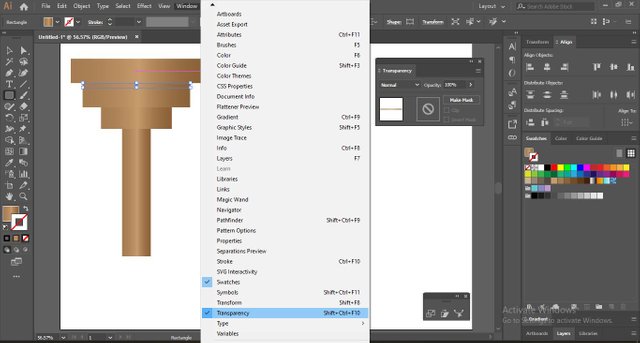
Lets make an amazing Pillar design by using these tool and transform tool as well. Make a rectangle shape and fill it with gradient color and after that make more rectangles above it, i want to add some shadow below the rectangles that's why make a small rectangular shape below the rectangle then open your transparency panel from the above window tab and change its mode to multiply and you can down its opacity as well so it will look like little darker then make more copies for further rectangles.
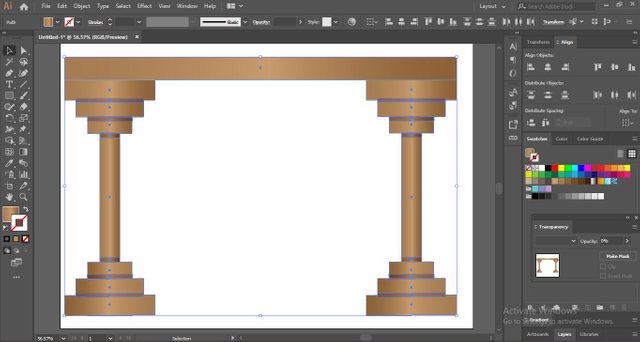
Make a copy of piller and place it at the right side of the artboard and make one more rectangle shape above the piller.
Using scale tooll make more copies of the pillar that they are overlapping on each other then select all and i did send to back with Ctrl + Shift + [ but use shift+ click and then send to back seperately and thats done.👍
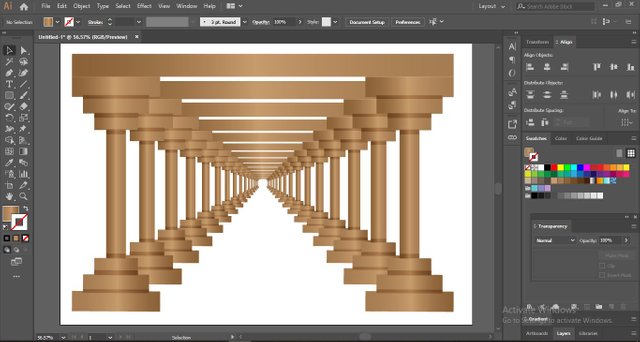
You can set its background as well if you want, but i think its look awsome 👌 😎. I hope this tool will be helpful for you, now you can use them creatively.
So i am going to end my post, you have to design more interesting things using this tool to enhance your expertise in this software.
Best Of Luck and See you soon!👍🤗 😍

Good one Post dear friend you make a very good lecture post for beginners. Thanks dear friend for sharing a good information with us my best wishes for you thanks.
@vvarishayy
#sizcomments
https://steemit.com/hive-181430/@siz-official/siz-commenting-contest-round-3-let-s-encourage-others-by-apreciating-their-work
Thank you very much for sharing your quality content in detail on the SIZ Community. -We gave 40% support to this post from the siz official account. Congratulations ! Keep producing content in the SIZ Community . :)
You can delegate your SP to @siz-official and take benefit of our Delegation Rewards Offer of receiving up to 200% Curation Rewards
You can check our Steem Investment Plan and Receive 5% Profit Monthly
thank you for sharing this information. good job keep it up
Thanks for your appreciation
Hii dear friend you are doing a great work on this wonderful platform. I really like your post.
I will invite you on this SIZ wonderful contest please take part in this SIZ wonderful contest.
https://steemit.com/hive-181430/@siz-official/2nijft-siz-contest-or-tell-us-about-your-favorite-mobile-app-or-booming-support
Regards, Mazhar freed