SIZ Approved Course | Adobe illustrator tutorials for beginner | Lecture 02 | 20% beneficiary to @siz-official✍️
Hello, steemits Fellow! 🖐
So let's get started!😎
Rotate Tool
Method 1:
- Open a blank document and draw any shape then select "Selection Tool" from the left pane and select an object, you have seen the rotation symbol at the bottom of the object, click and move using the rotation symbol.
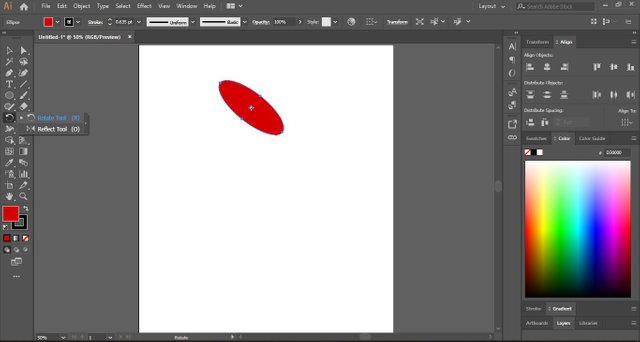
Method 2:
- Select "Rotate Tool" from the left pane and click on the object, you will see the pivot point on the center of the object, click and drag this pivot symbol below the center of the object, after putting this point press Alt and Shift button at the same time while dragging and its automatically rotate the object at 45 degrees of distance, release the mouse button, then press Ctrl + D to create more copies of object. See how it look 👇

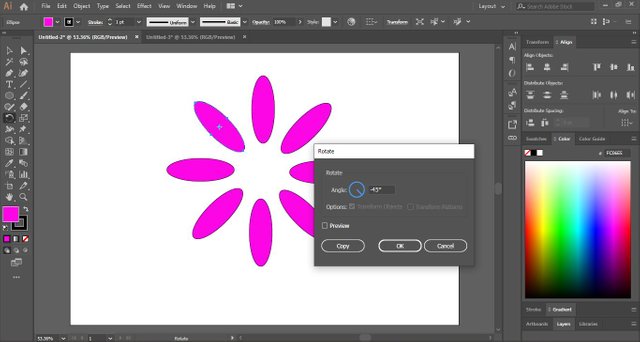
Note:
If you want to set the degrees of distance in the object then you have to click on the object and press Alt with a click on the center of the object, it will show you a rotate dialogue box, then you will select the degrees in the box.
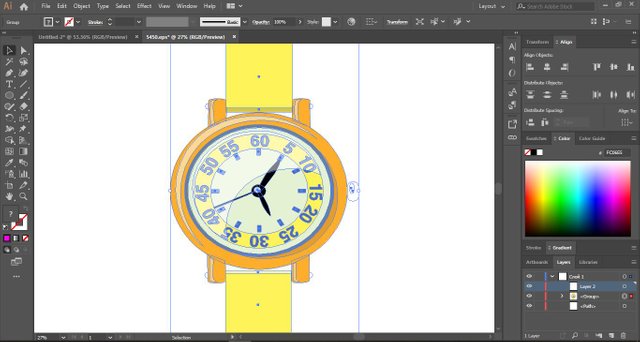
So I hope, rotate tool is clear to you, Now I will make an interesting thing in which I will use this tool, and this is a wristwatch😍
Using the rotate tool, type and rotate the numbers of hours in the watch 👇
Strokes
Now I will guide you about strokes.
What is Stroke?😯
A stroke is an outline of the object.
I hope you understand. So let's see how can we use strokes greatly?🤗
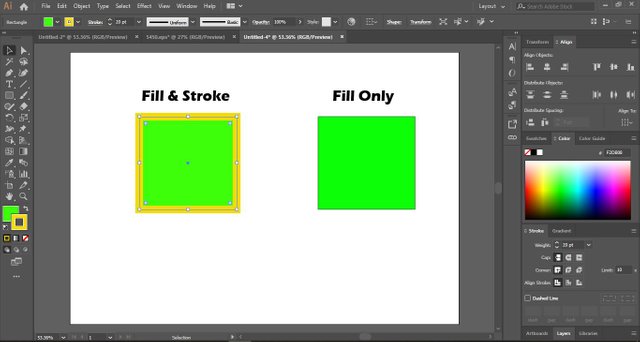
- Create 2 boxes of fill color and fill with stroke, and note down the difference. Select fill color from the bottom of the left pane and fill stroke color as well.
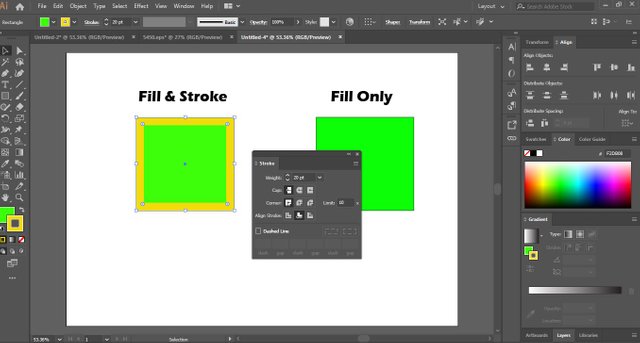
- Change the pattern of the stroke or outline, If you click on the stroke name from the top bar or from the right pane, you will see the panel of the properties of the strokes.
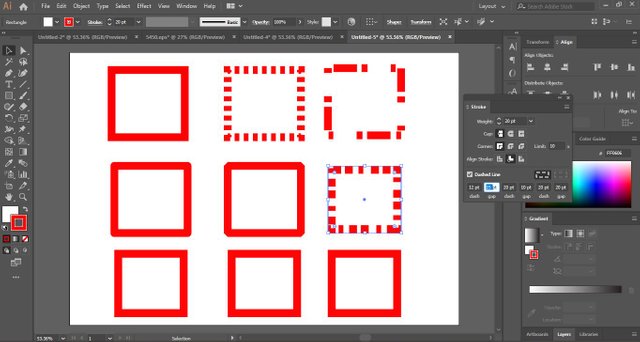
So let's create some boxes because of the different properties of the strokes, Look👇 these are looking different from each other.
Select every pattern to apply on different boxes and notice the difference. Select dashed line as well.
So I hope you all have understood all these things related to strokes and rotate tools. Sooooo..... I hope you will practice it and explore it more.👍
I will upload the next lecture very soon inshallah and in the next lecture, we will learn about more interesting tools and make more amazing things.😍
Don't miss the next tutorial, we will meet soon!🤝 👍😉
Take Care Bye Bye! 😃🖐

Take Care Bye Bye! 😃🖐
Good one lecture post dear friend. You make a very good post. Thanks for sharing a good information with us.
My best wishes for you.
Thank you very much for sharing your quality content in detail on the SIZ Community. -We gave 40% support to this post from the siz official account. Congratulations ! Keep producing content in the SIZ Community . :)
You can delegate your SP to @siz-official and take benefit of our Delegation Rewards Offer of receiving up to 200% Curation Rewards
You can check our Steem Investment Plan and Receive 5% Profit Monthly
Very usefull lecture and well explained in detail. Thanks for sharing the use of these tools with us.
Keep it up😊
Nice Post
you have made a great tutorial sister.