SIZ Approved Course | Adobe illustrator tutorials for beginner | Lecture 01 | Use of PEN and SHAPE BUILDER TOOL ✍️
Assalam U Alaikum Everyone! 🙂
Welcome to my first tutorial of "Adobe Illustrator for beginner course" Here you can learn about some tools of Illustrator through which you can easily design your graphics. Use of Pen and Shape builder tool is a very important and helpful tool to design or trace anything you want, in short, the Pen tool is always very useful in your mostly graphics, so if you learn and practice this tool you will able to design on this graphic software.
So what are you waiting for let's start? 😜
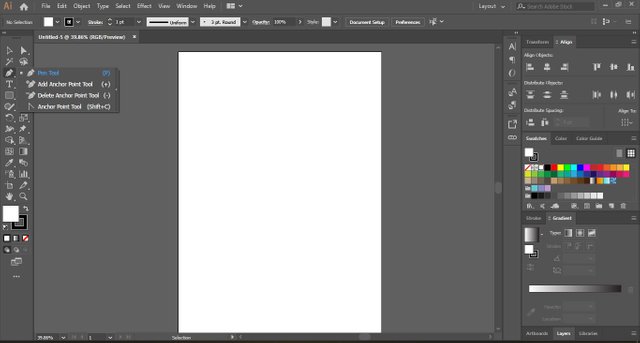
Illustrator Interface
- First you have to open your illustrator and select your page size and orientation select a Pen tool from the left side of the tool pane which looks like a Pen as well.
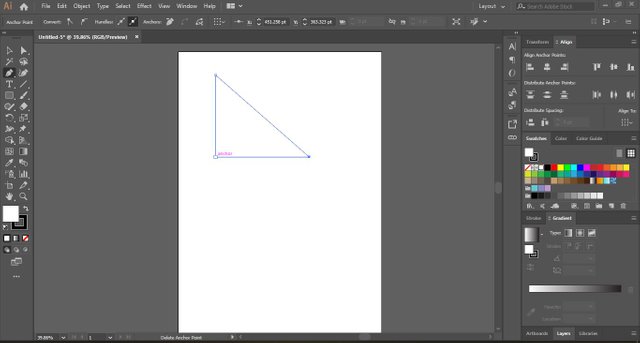
USE OF PEN TOOL
- Draw anything by simply click on the artboard to connects the dots and the drawing would be made then for closing the Path click on the first or the last point and it becomes a shape.
CURVE SHAPE
- If you want to make the shape of a curve, then you have to hold the mouse and drag. Click and come to below, doing with shift for straight line and click anywhere but didn't release your mouse button, drag and move your mouse while pressing your button on the opposite side. Now if you don't want to draw further then Press Esc .

SYMMETRICAL SHAPE
- If you want to make Symmetrical shapes then make it half and create a copy, follow the above curve shapes steps then draw a half shape and generate a copy of that part, and put it into the opposite side of your shape like that:
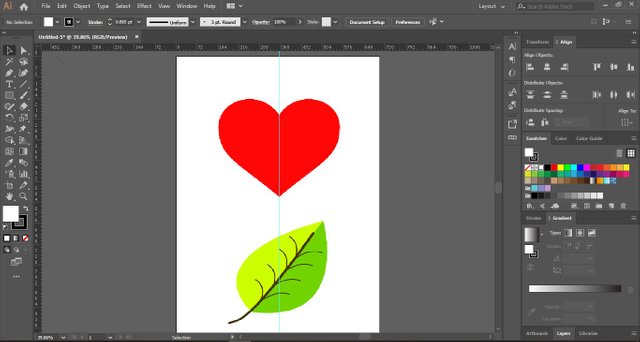
IMAGE TRACING
Let's see how to trace with the Pen tool:
- First you need to pick the image that we'll trace on, now you can trace your image easily by using the Pen tool. First, make a symmetrical Part of the image.
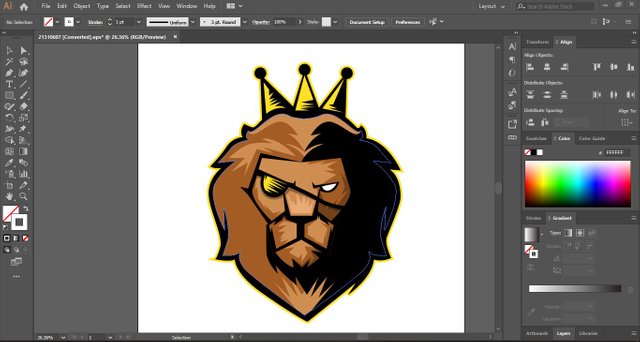
- Now trace the inner part of the image face, when you need to fill your object by picking a color from another object, then select that and click on the object to pick the color with "Eyedropper" Tool. If you made an extra part of your object and fill it with color then You can remove your extra area with "shape builder" tool. For example, you have 2 objects, select both objects then with the shape builder tool, simply drag on them and it'll become a single Path. But if you want to cut a Part then drag it while pressing Alt, this portion will be cut. like that:

Then complete your tracing by continuing these steps again using the Pen tool and shape builder tool. You can use strokes from the left pane for the outline color of your tracing and make it more attractive.

So, this is my first tutorial, hope so that today's tutorial help and guides you a lot. I have tried my best to make it easy for you
Keep Learning with me!😍
In the upcoming post, you will learn more about this software.

@tipu curate
Upvoted 👌 (Mana: 0/5) Get profit votes with @tipU :)
Wow amazing dear friend you make a very good lecture post.
And i am very happy to see your post because your post is very well detailed and very informative post for everyone.
And i am got a lpt of information from your lecture.
Thanks for making a good lecture.
My best wishes for you.
Remember me in your prayers.
Regards, Faran
You need to set 20% beneficiary rewards to @siz-official from your next posts if you want to receive booming votes.
Wao you have great talent. And your explanation method is also good. Keep it up