Achievement 4 by @Lawrence03 || Task : Applying Markdown Styles
Hello guys, I'm very excited in rounding up my Achievement 1 - 3 post so far and now i am about taking up my next Achievement which is my achievement 4 task i will be talking about the application of markdown styles used in the steemit world. You all find it interesting.
Steemit has realize ways of training it's new members on how to blog which this lesson began from my;
Achievement 1 which talks about personal introduction
Achievement 2 which talks steemit keys and basic security
Achievement 3 which talks about plagiarism
And also achievement 4 which talks about markdown styles in which you are about reading.
Markdown is a lightweight markup language for creating formatted text using a plain-text editor. ... Markdown is widely used in blogging, instant messaging, online forums, collaborative software, documentation pages, and readme files.
📌
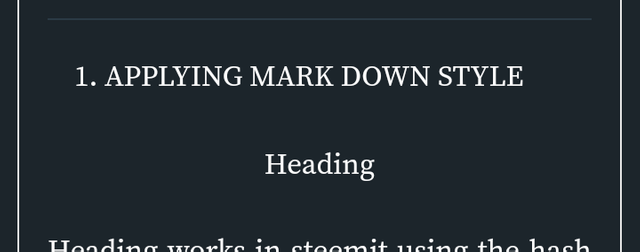
Heading works in steemit using the hash symbol (#). When you add up the (#) in front of a text then click on the space Ba , the various size would indicate . be aware, the more (#) you add up at the beginning of a text determines the size you will get. For example,
INPUT:
Output:
##Type
###Type
####Type
📌
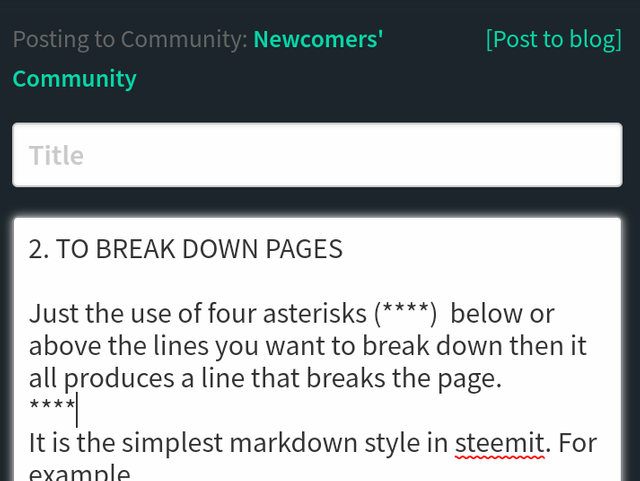
Just the use of four asterisks (****) below or above the lines you want to break down then it all produces a line that breaks the page.
It is the simplest markdown style in steemit. For example,
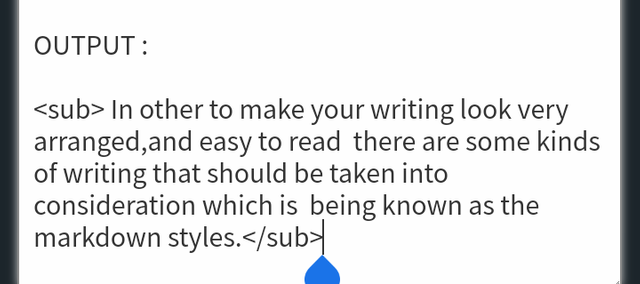
INPUT :
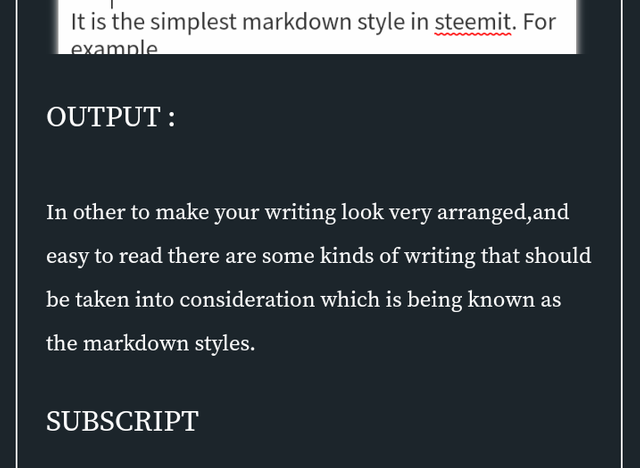
OUTPUT :
In other to make your writing look very arranged,and easy to read there are some kinds of writing that should be taken into consideration which is being known as the markdown styles.
📌
To write subscript, firstly make use of < then put down sub close it with > write your choice of text in subscript, then use < / write sub and close with >.
Example,
INPUTE
OUTPUT :
📌
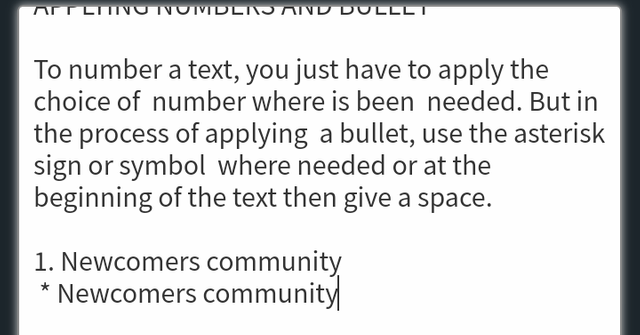
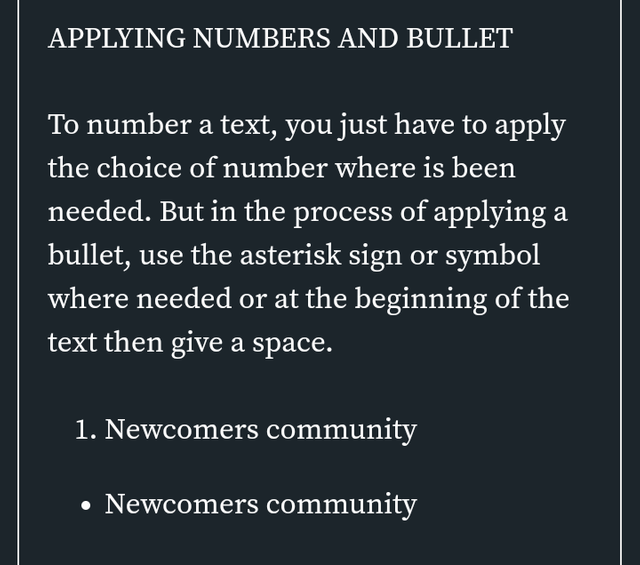
To number a text, you just have to apply the choice of number where is been needed. But in the process of applying a bullet, use the asterisk sign or symbol where needed or at the beginning of the text then give a space
INPUT :
OUTPUT :
📌
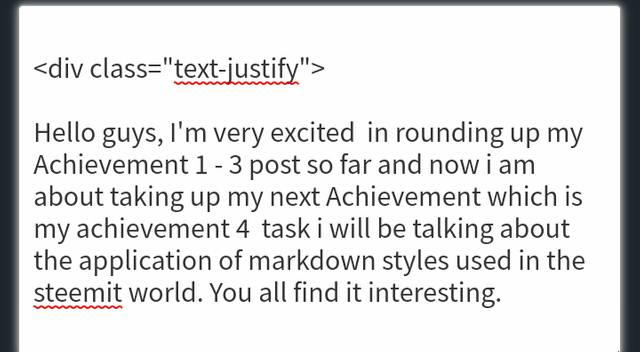
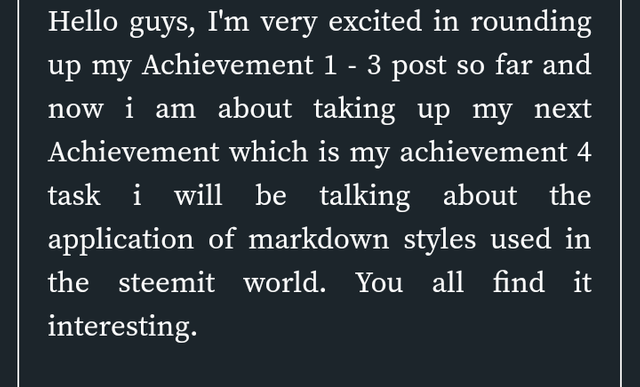
When you trying to justify a text it simply means to make it look well arranged from starting to the end, make use < and then write div give space and write class then add up = "text-justify" and end with> which will be at the starting of your write up and after your write up, you close with </ write div and close with> which ends your write up. For example,
INPUT :
OUTPUT :
📌
After your writing if you want to add your image, all you have to do is click the place you wish to put the image, then click on selecting them.
It will take you to your gallery, make your choice of image click on it and upload.
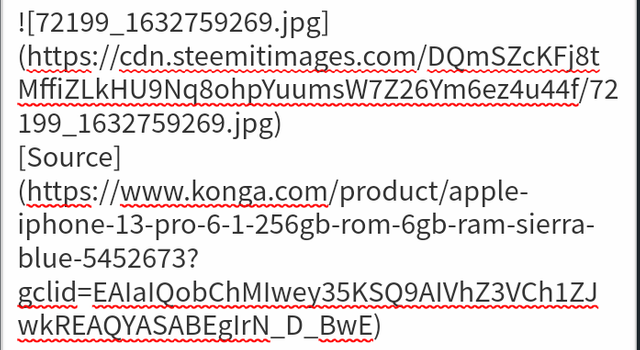
If the image isn't yours, repeat the above procedure, then below the image use (and write image source and close with ), then use ( paste the link where you got the image from and close with). For example,
INPUT :
OUTPUT :

Source
📌
In Bolding your work : input two asterisks, then write your choice of word and putting two asterisks at the end ( ** ........ ** ).
why in italics: put in one asterisks, then write your choice of word and ending it with one asterisk ( * ........ * ).
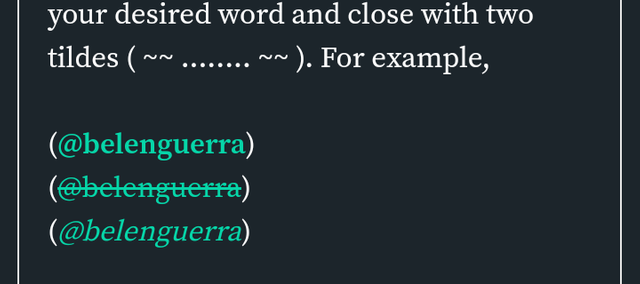
▪Strike : put in use two tildes, then write your desired word and close with two tildes ( ~~ ........ ~~ ). For example,
INPUT :
OUTPUT :
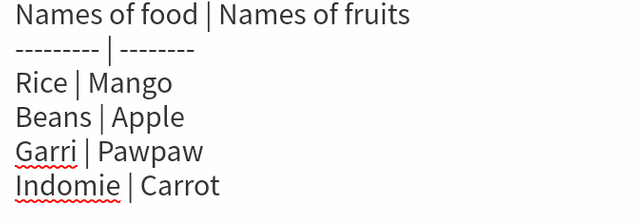
In fixing a table, firstly you have to put down a sub heading at the first column, then use | and then put down what you wish to write at the second column.
Under it, use ---------- | ----------, if you write on the first column, use | before writing on the second column. Example
INPUT:
Output:
| Names of food | Names of fruits |
|---|---|
| Rice | Mango |
| Beans | Apple |
| Garri | Pawpaw |
| Indomie | Carrot |
📌
To centralize, you'll use < then put in center and close with>, then write your choice of word and then use < / write center and close with >. For example,
< centre > NEWCOMERS < /centre >
INPUT :
OUTPUT :
📌
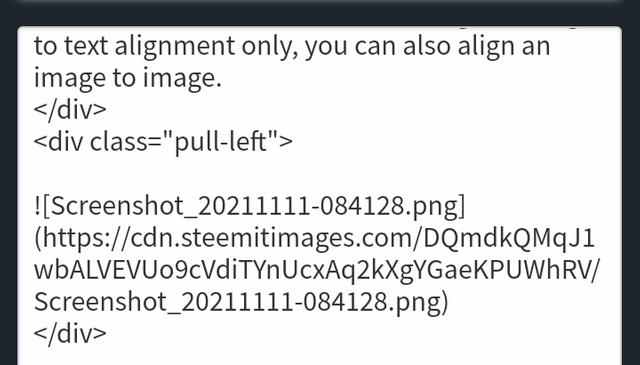
First, use < write div, class then use =, ", write pull-right" then close with > then write the text you wish to write, and close with <, /, write div and >.
Repeat the process above but this time use pull-left not pull right. For instance,
INPUT :
OUTPUT :
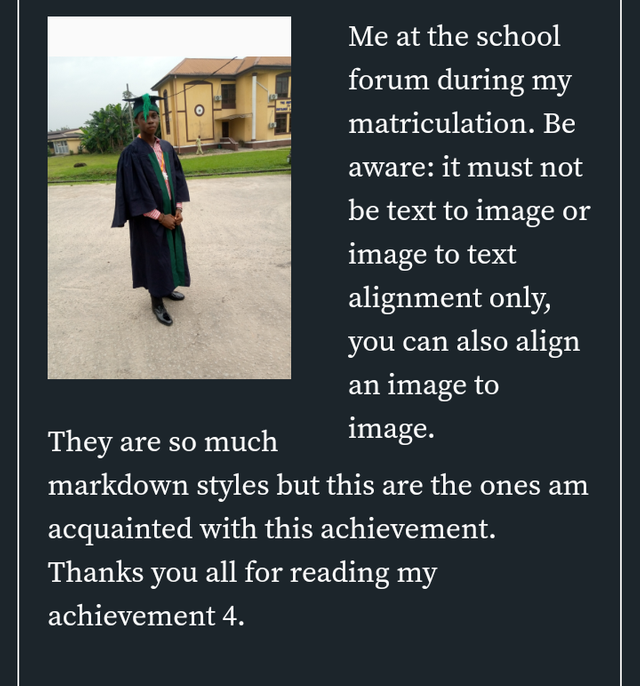
They are so much markdown styles but this are the ones am acquainted with this achievement. Thanks you all for reading my achievement 4.
Regards to:




This is a good job. I hope you get it verified soon.
Hi, @lawrence03,
Your post has been supported by @bright-obias from the Steem Greeter Team.
Hi @lawrence03
Congratulations, your achievement 4 is verified.
You can advance and complete Achievement 5
Remember to use the #Achievement5 and #(your country) tags and post from Newcomers' Community.
I invite you to join the Steemit Crypto Academy Read here to know more
I invite you to follow @steemitblog so that you are aware of the latest updates.
Rate 3