SEC20/WK6: Graphic Design Hands - On practical 3
This week I am not delighted but a bit sad because it is the last week of this course. The Graphic Design. I hope there is much more to learn, and I deem you also eager to teach us. I am pretty sure you will get the chance if you apply again in SEC21. I am starting this by thanking him.
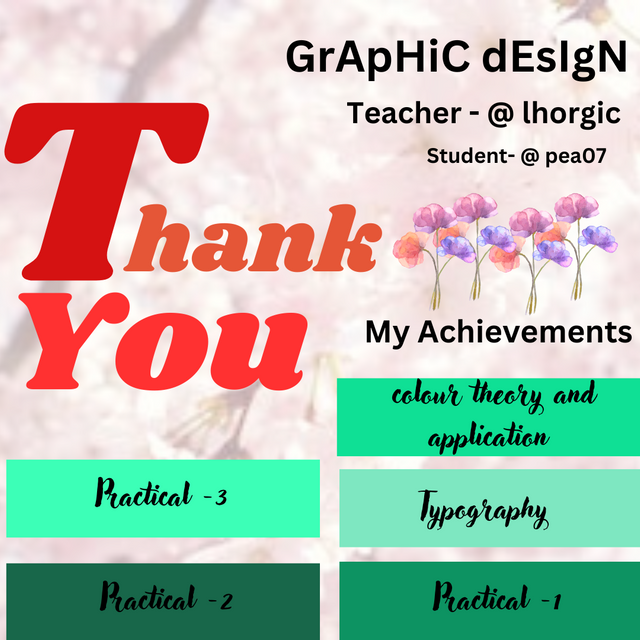
Step- I
 |  |  |
|---|
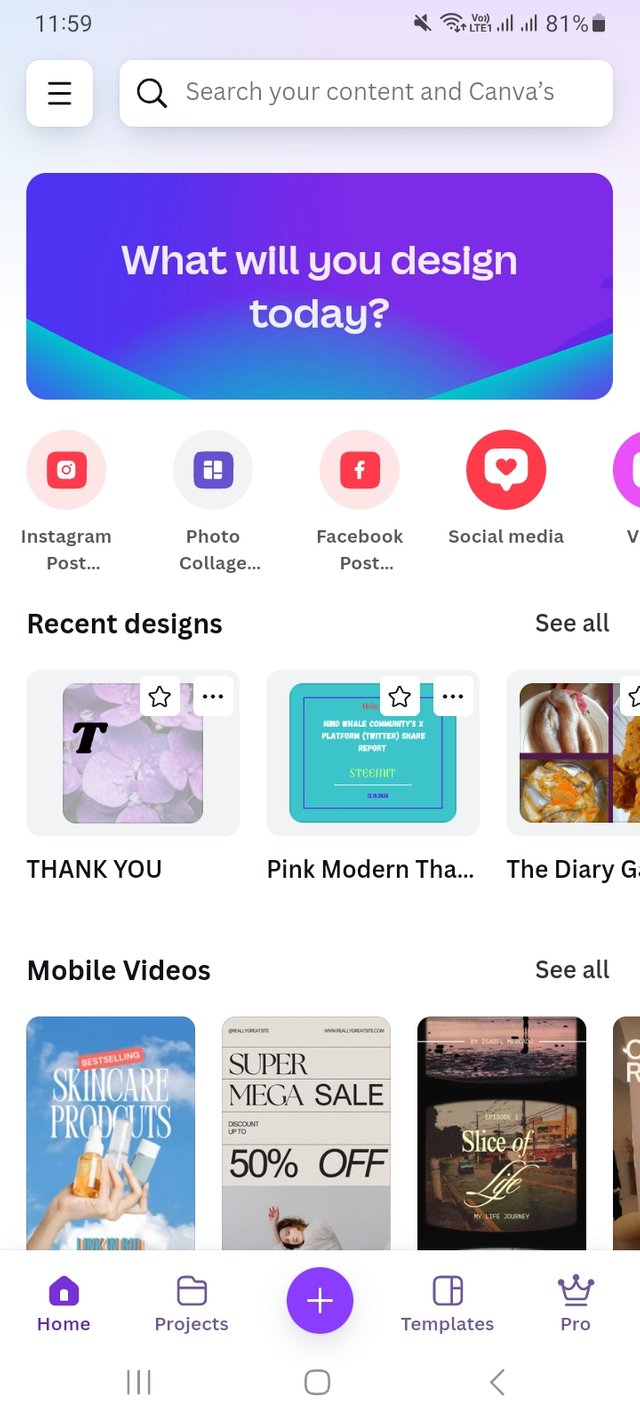
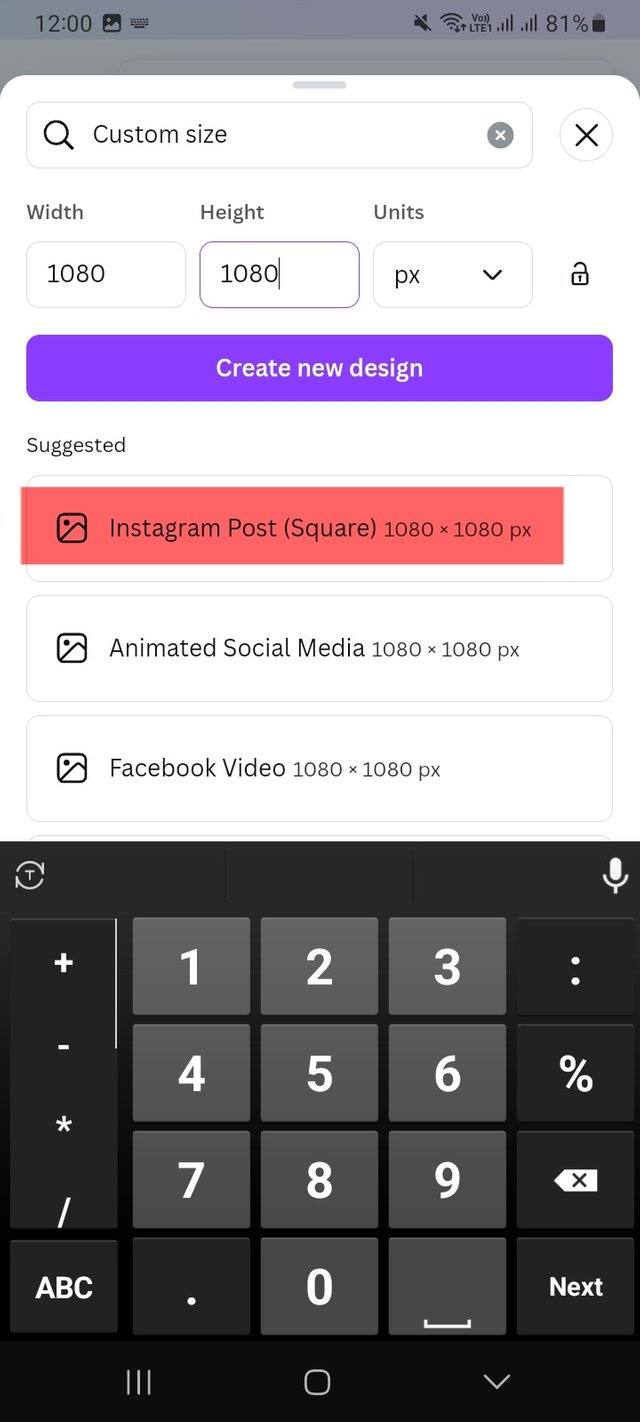
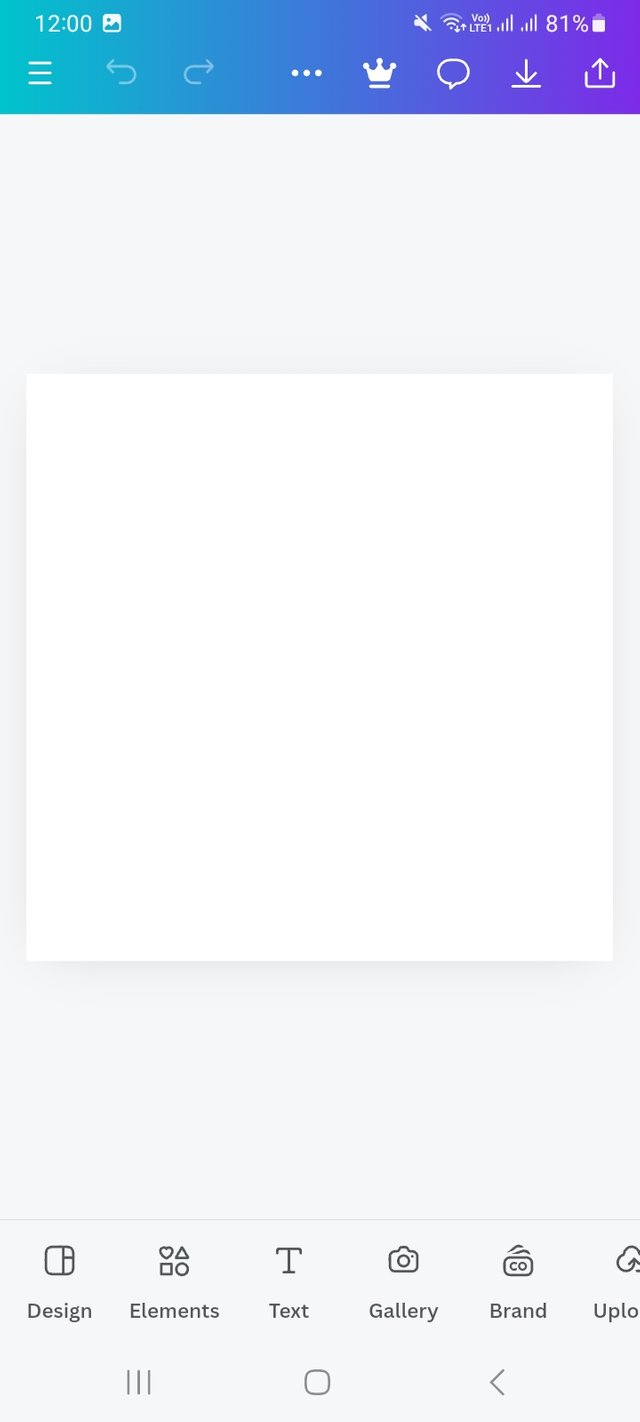
First, I log in to my Canva app. Then, I select a customised design bar. I write my desired dimensions of the design are 1080 px X 1080 px. Which is an Instagram post square measurement. This is the very basic step of creating any graphic design.
Step- II
 |  |  |
|---|
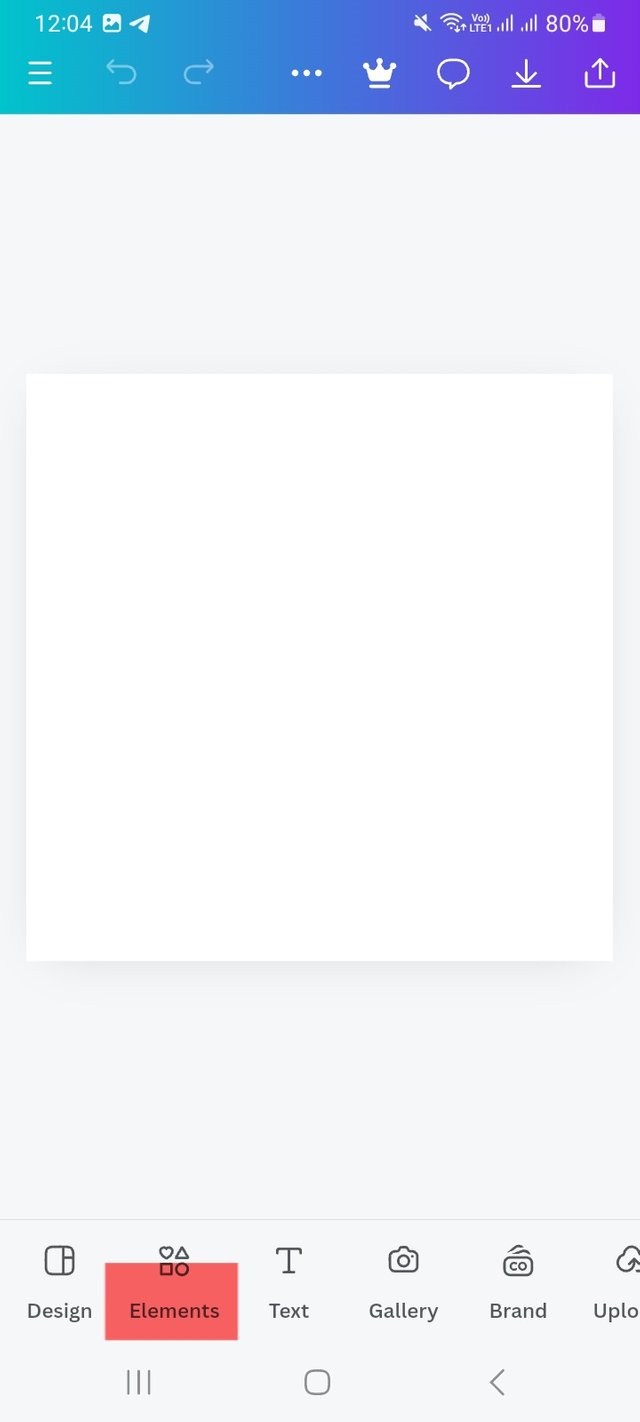
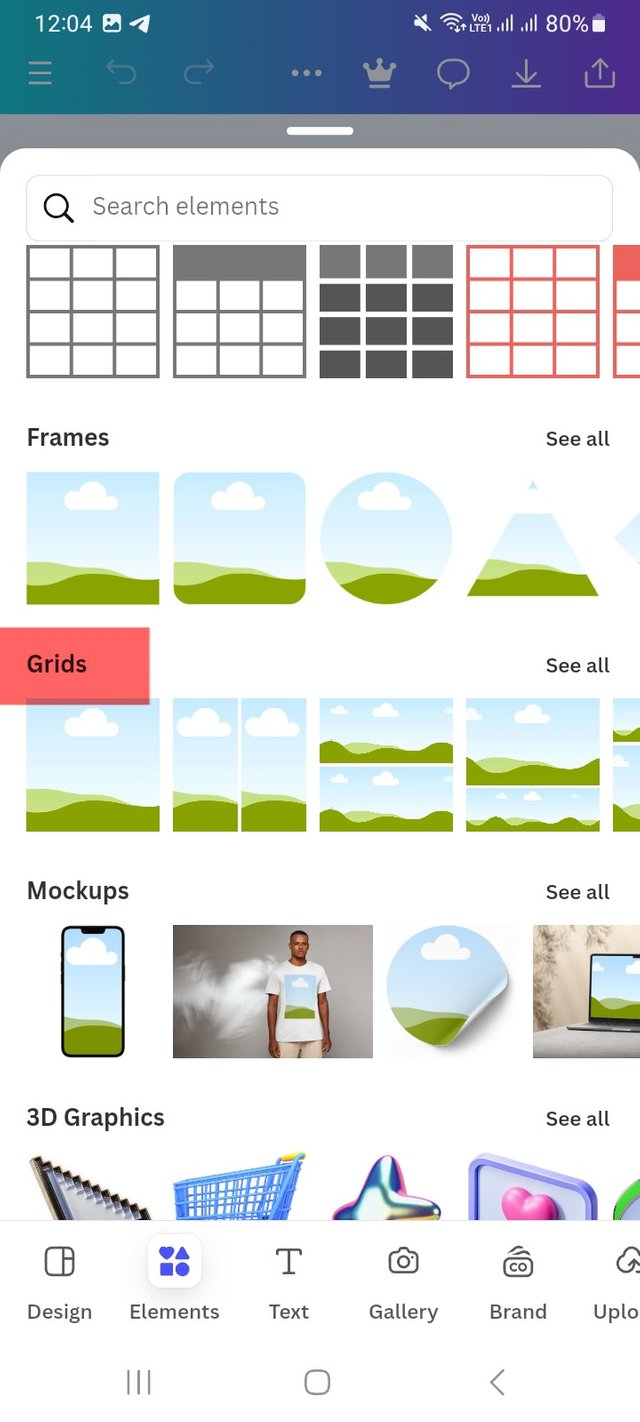
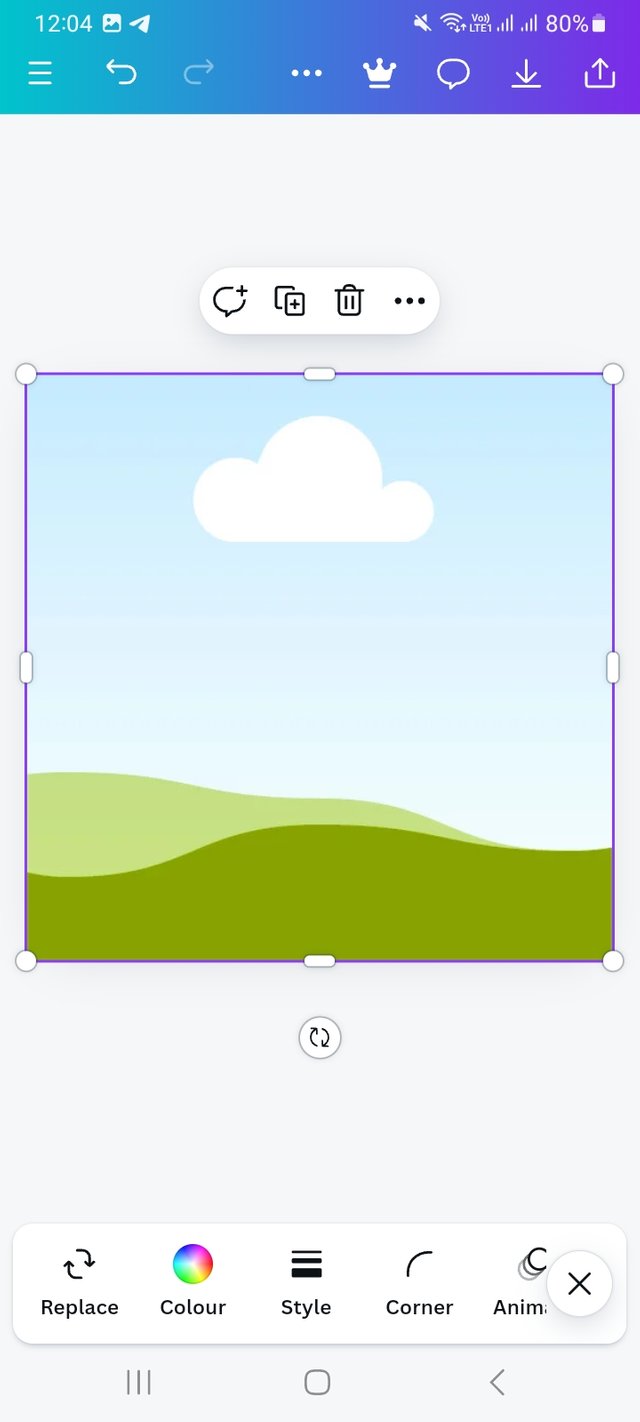
Then I click on the elements option from there. I select a grid there and set the grid. Here is a huge option to select your wanted grid.
Step- III
 |  |  |
|---|
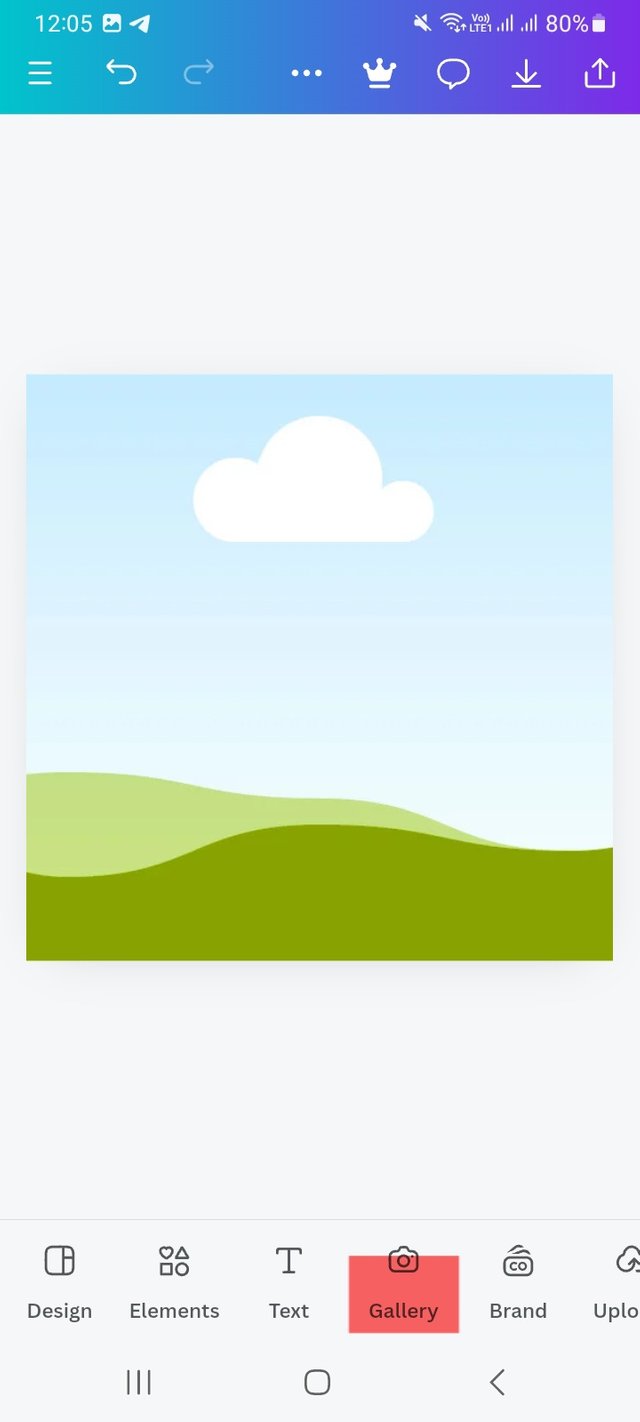
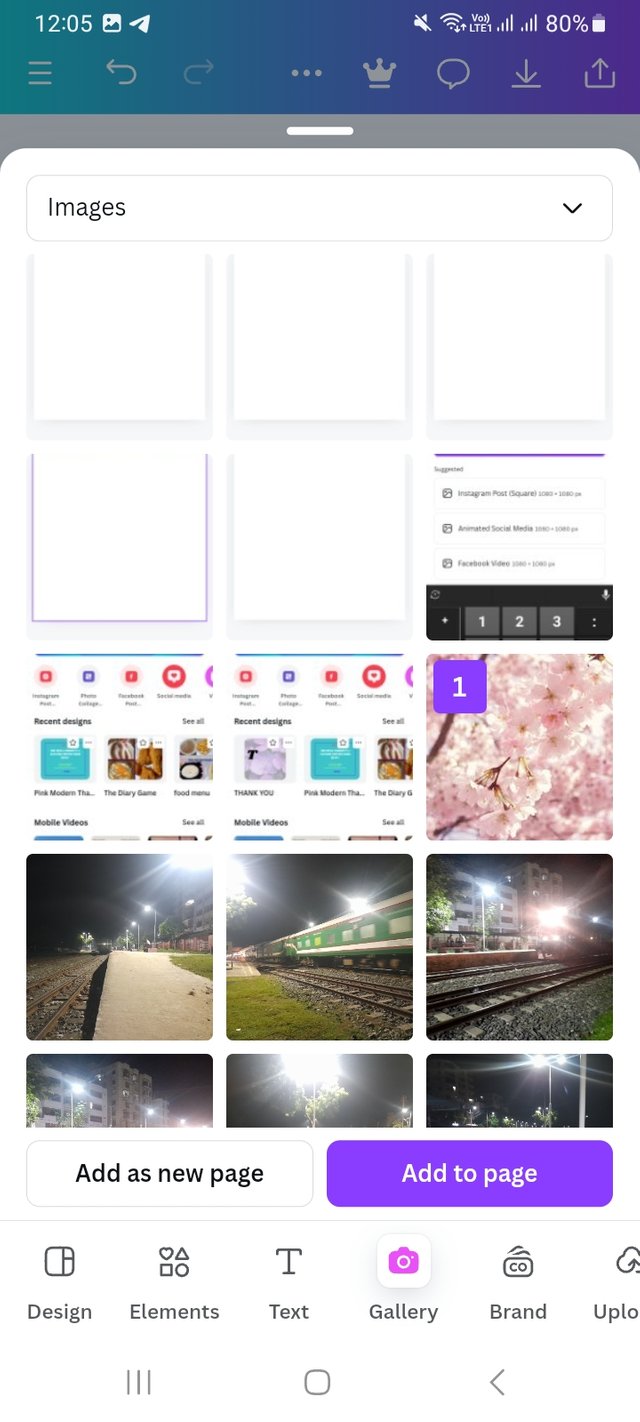
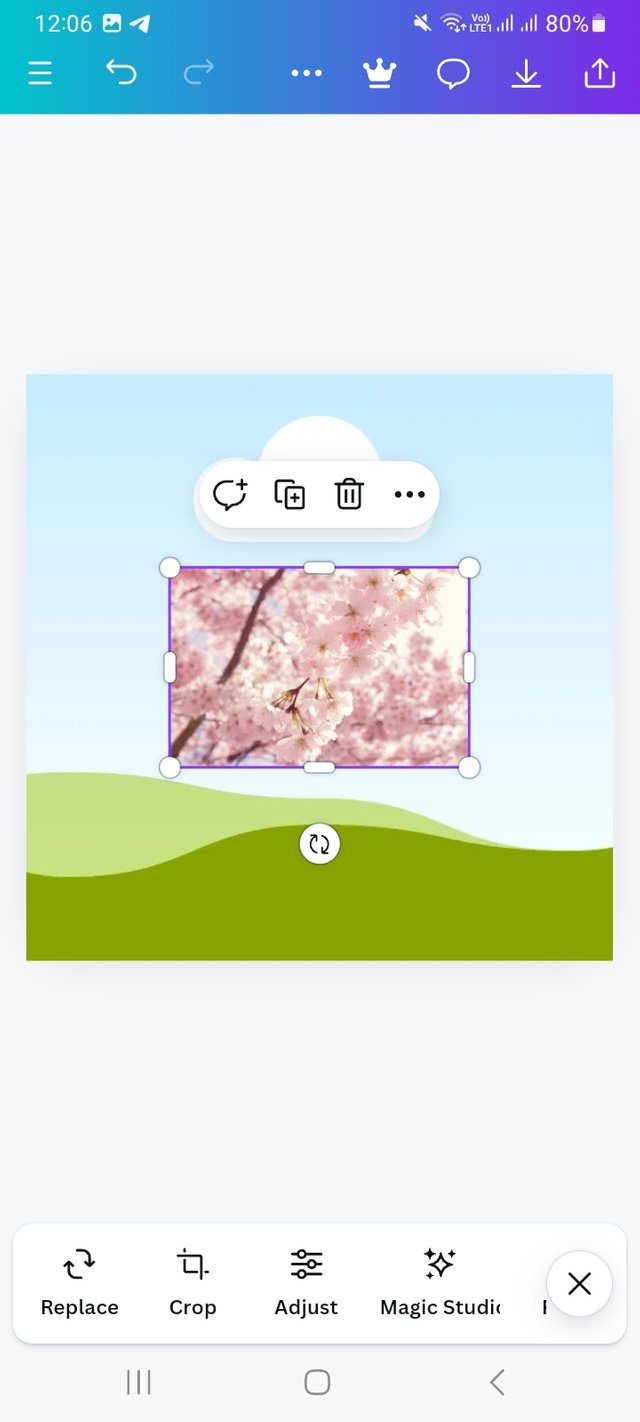
Then, I click on the gallery option from there. I saved some copyrighted pictures from copyright-free sources. I selected this picture from there and added it to my design.
Step- IV
 |  |  |
|---|
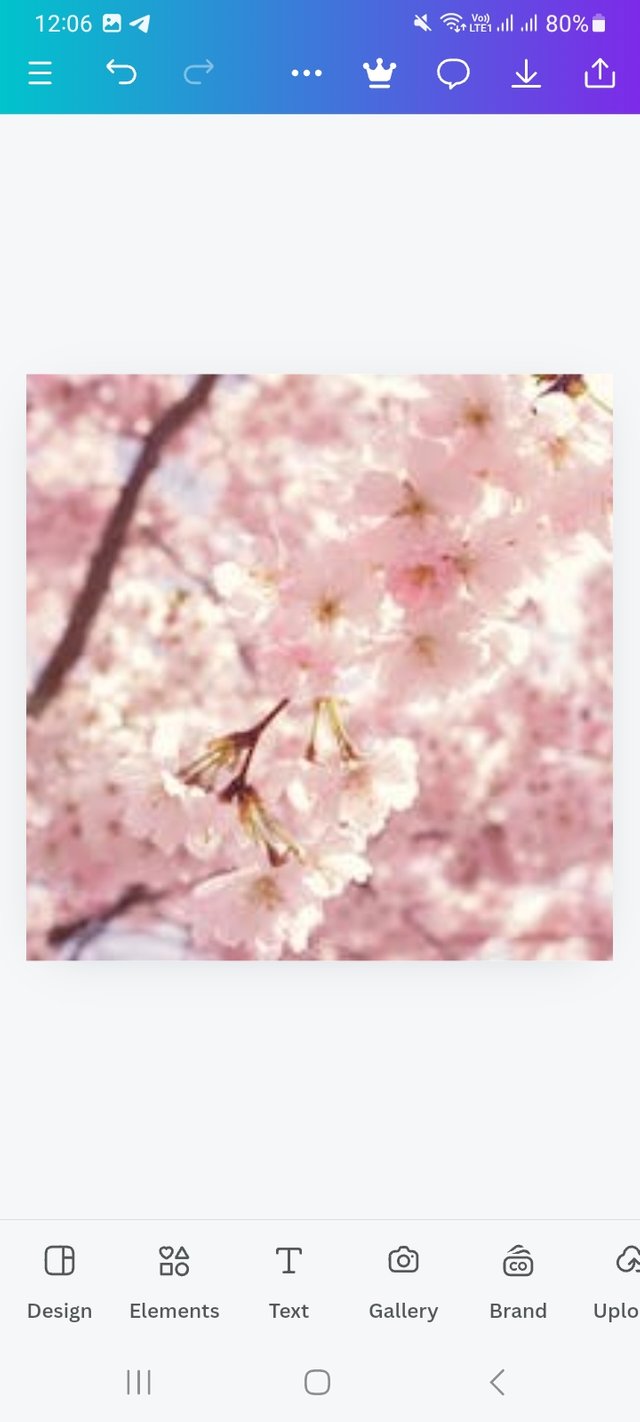
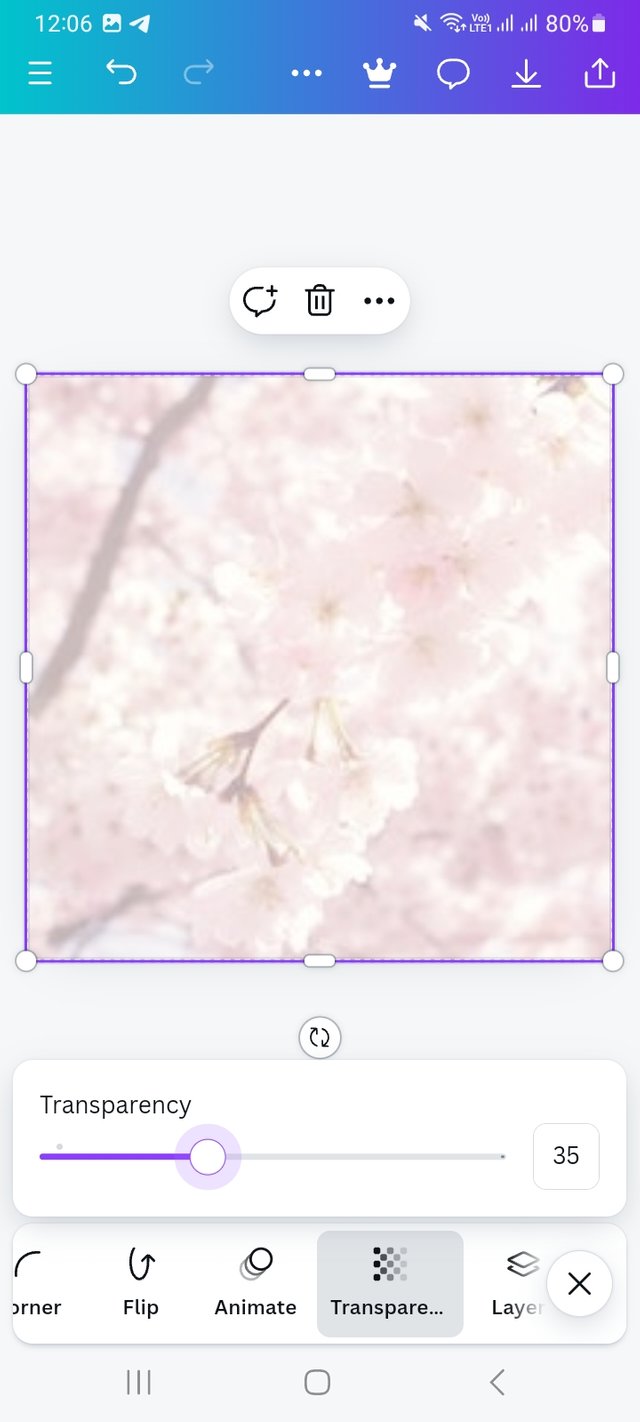
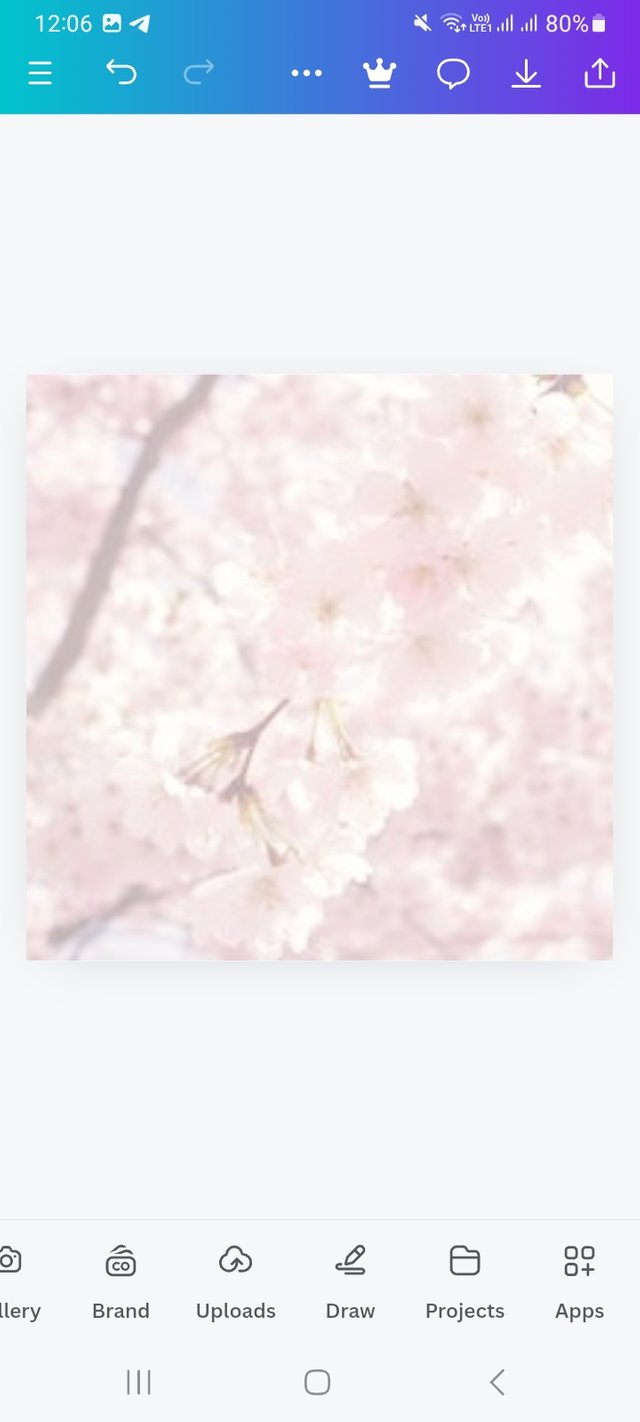
I then drag the image to fit the dimensions of my design. Then go to the Transparency option. There I set Transparency to 35. There I also set this picture as a background picture. For this, I click on the more option, which is next to the Nudge. Then I click on "set image as background" I am done with this.
Step- V
 |  |  |
|---|
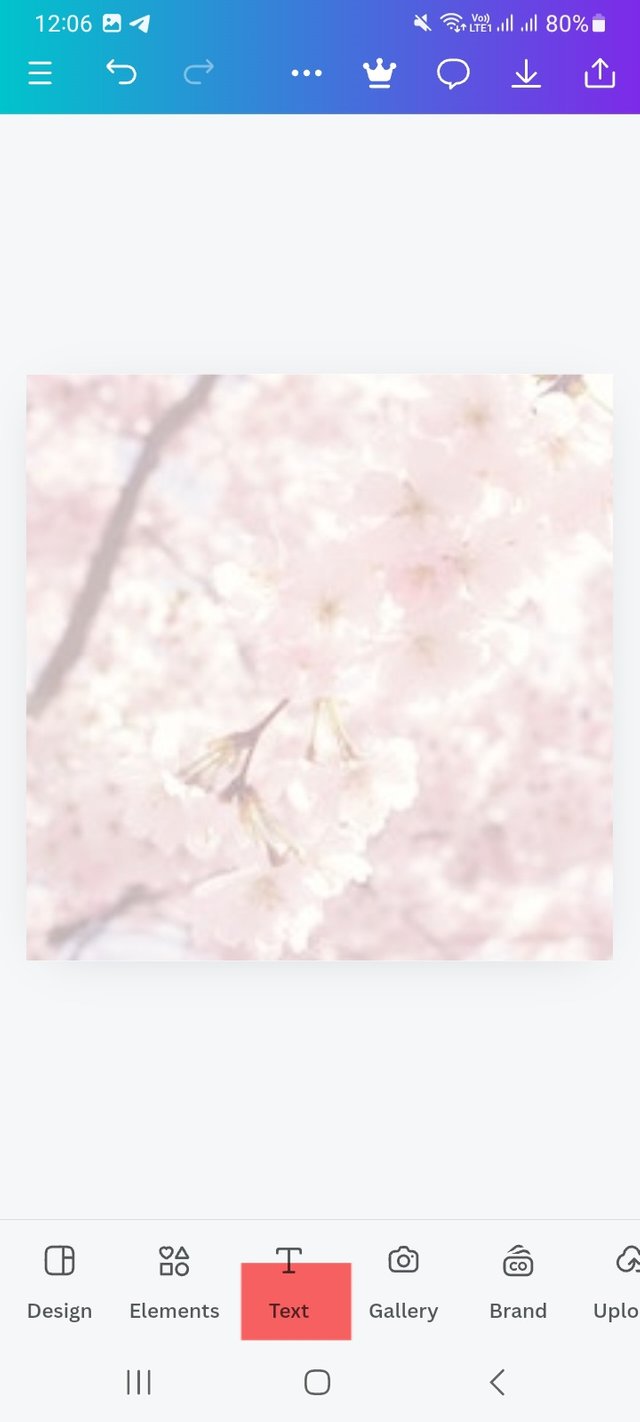
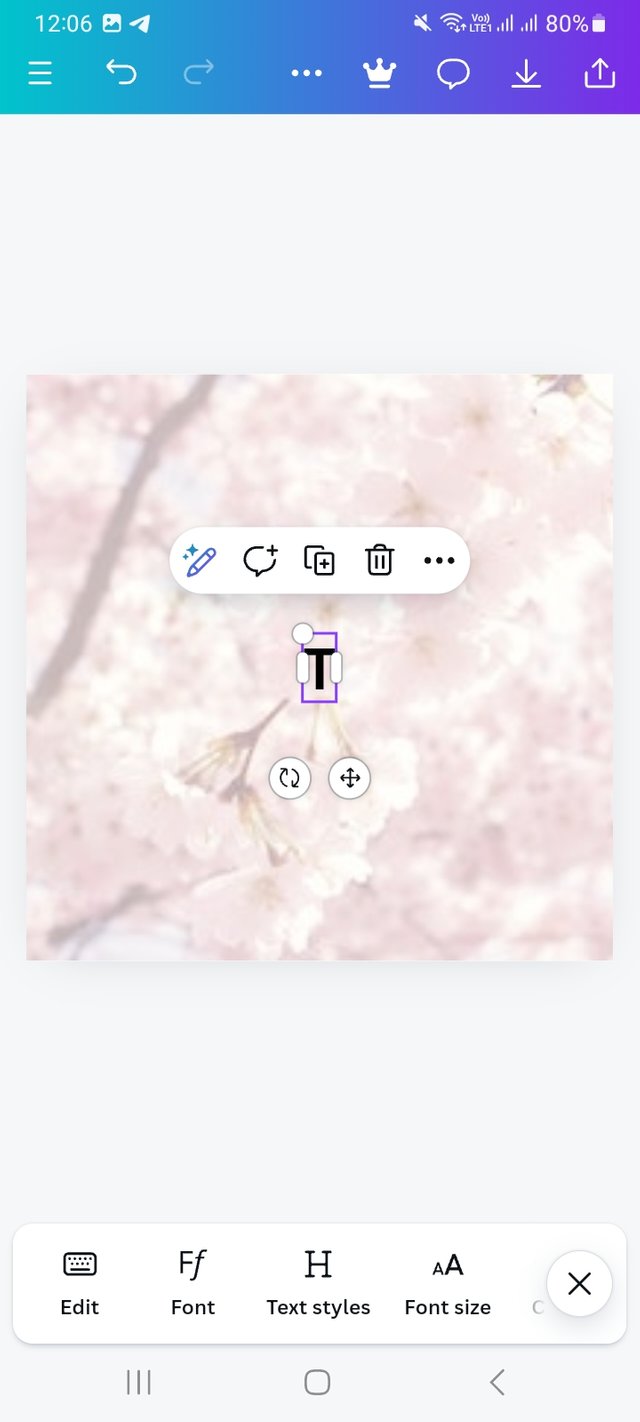
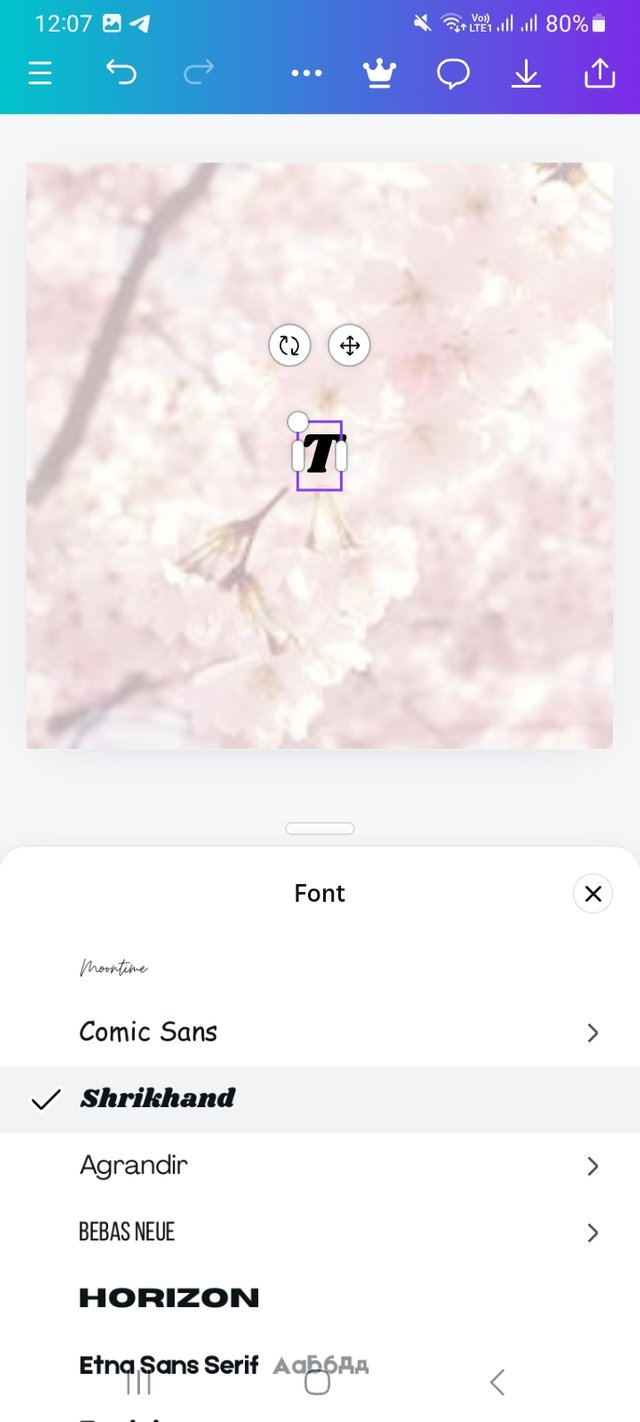
Background work is done. Then I select the Text option. I choose a text box and capital T. Then I select typefront. Here I used Shrikhan front.
Step- VI
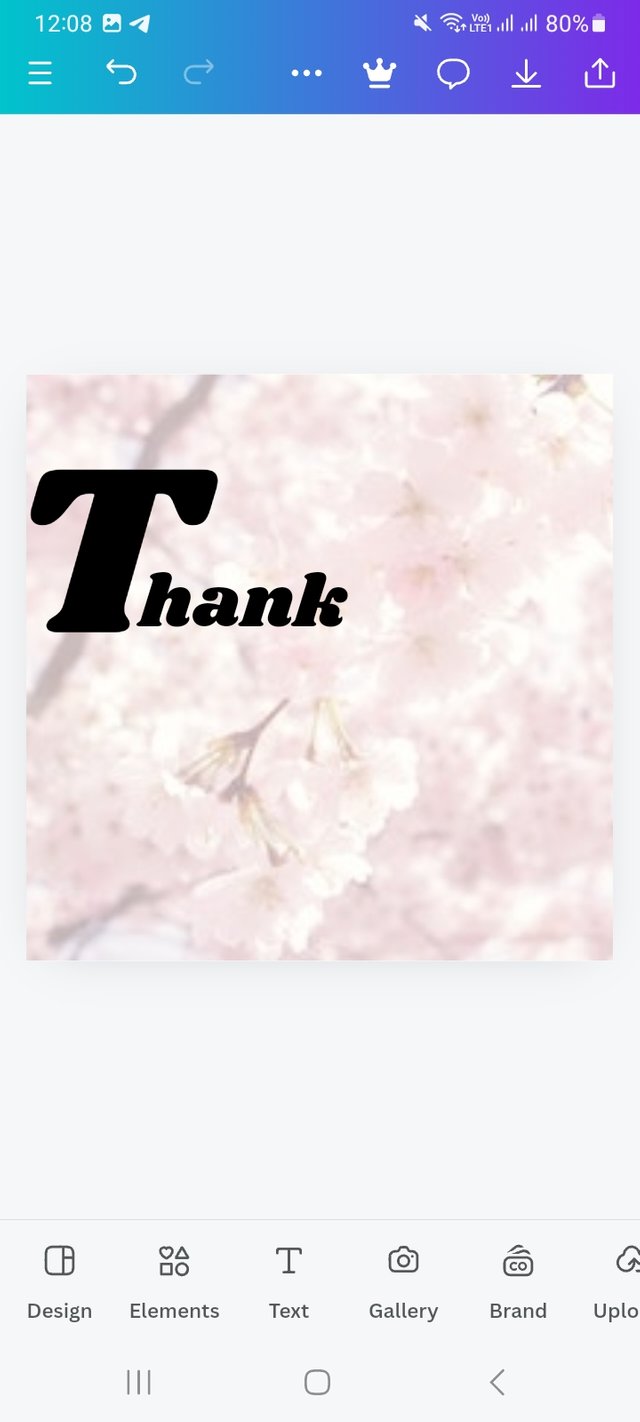 |  |  |
|---|
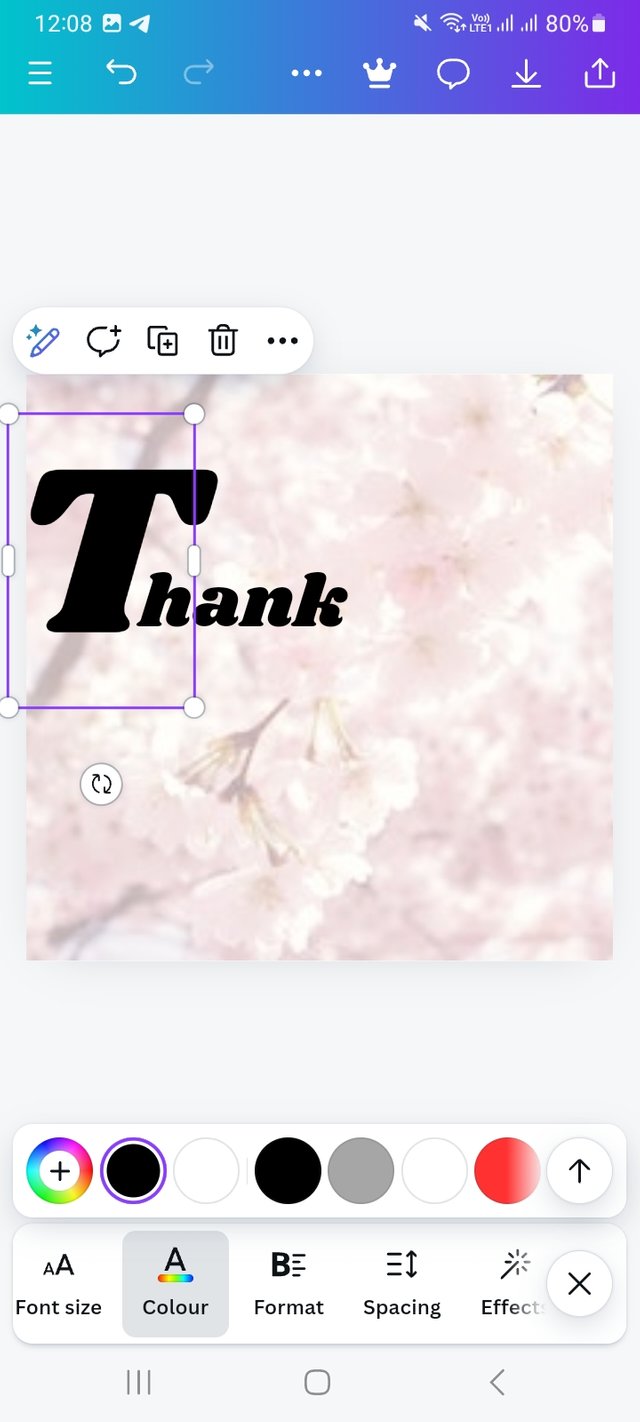
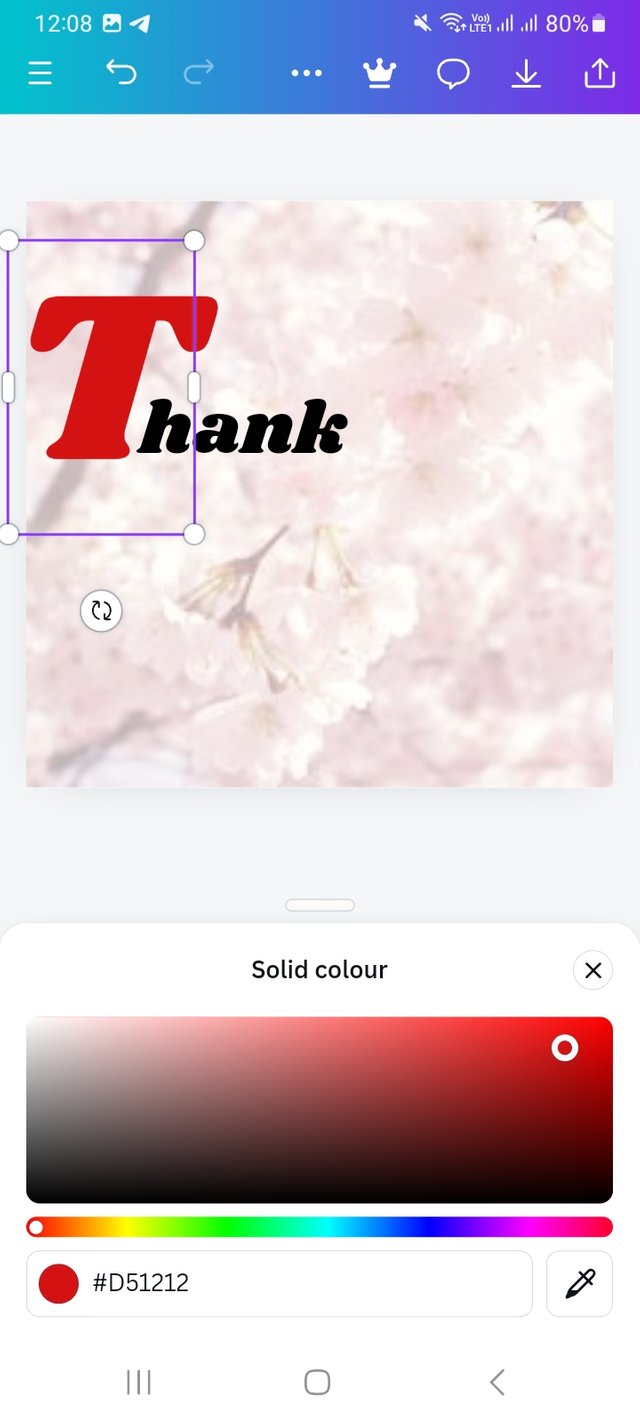
After that, I complete the Thank you text and go for colour selection. Here, I used #D51212 colour hex, as you can see.
Step- VII
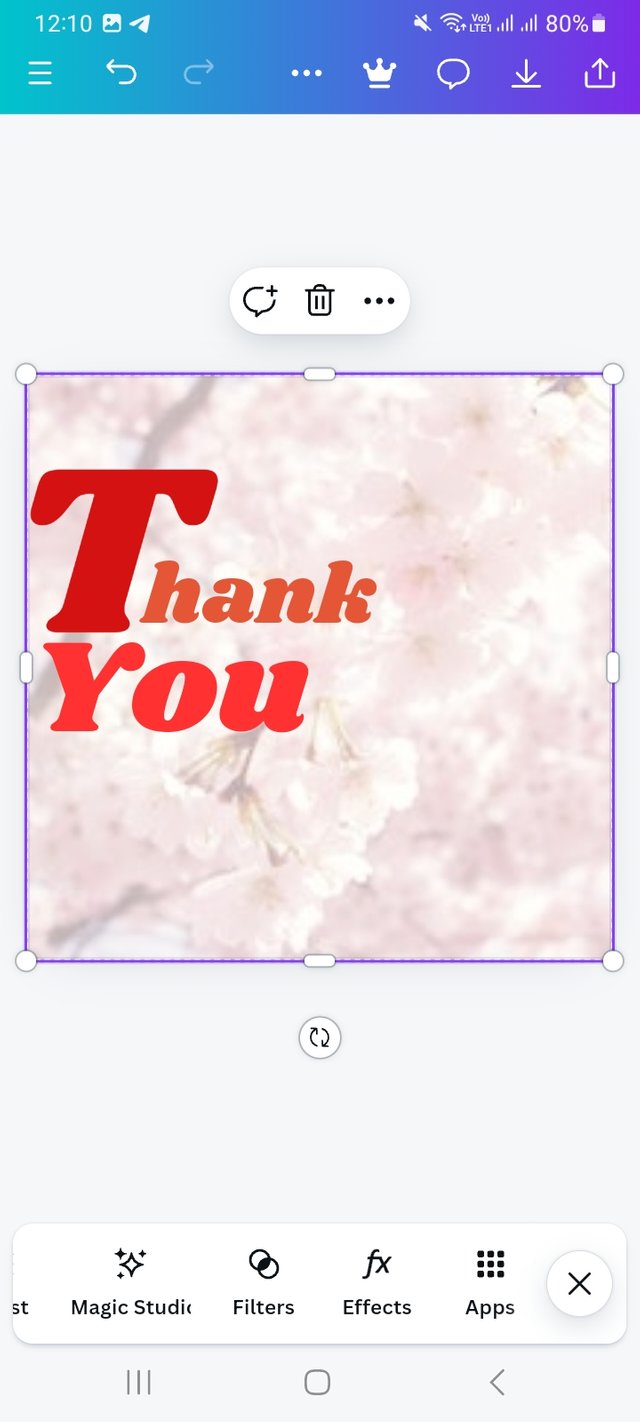
following the same process of Step -V, I select the Text option and select a box. There I write "You". Then, I select the front of my text with the front option. Here I used Shrikhand. After that, I go for colour selection. Here, I used #FF3131 colour hex, which is a complementary colour of red.
Step- VIII
 |  |
|---|
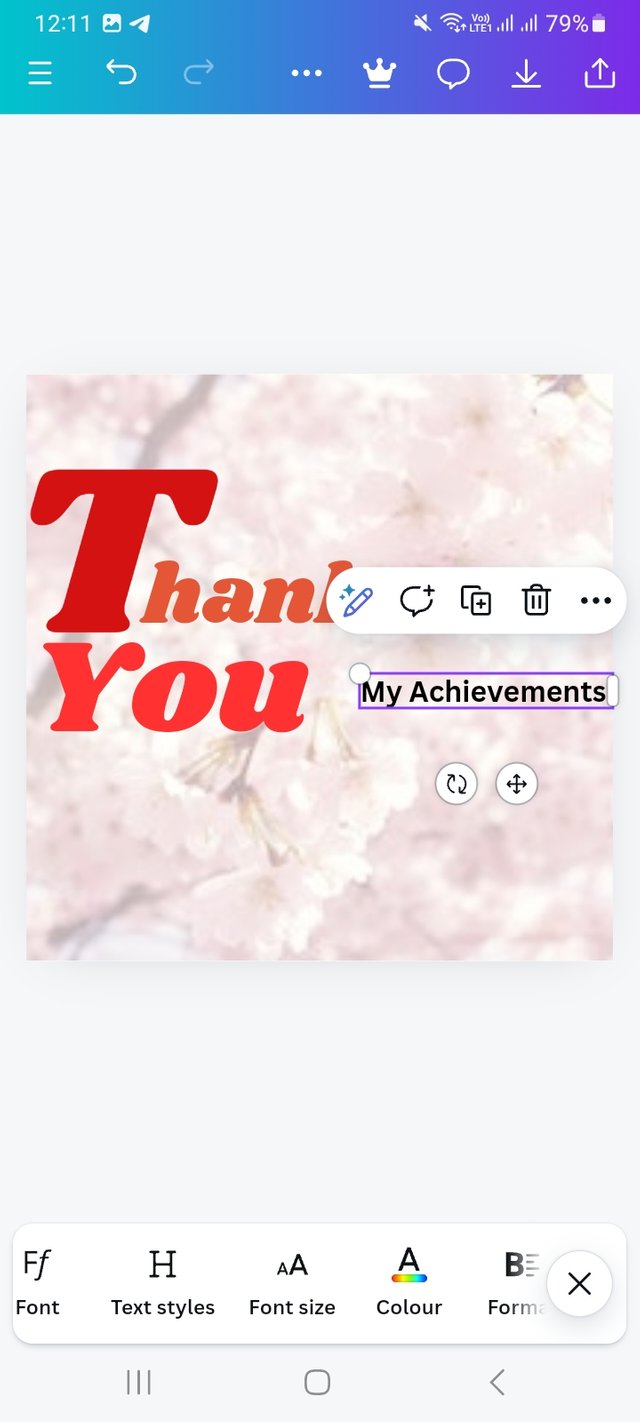
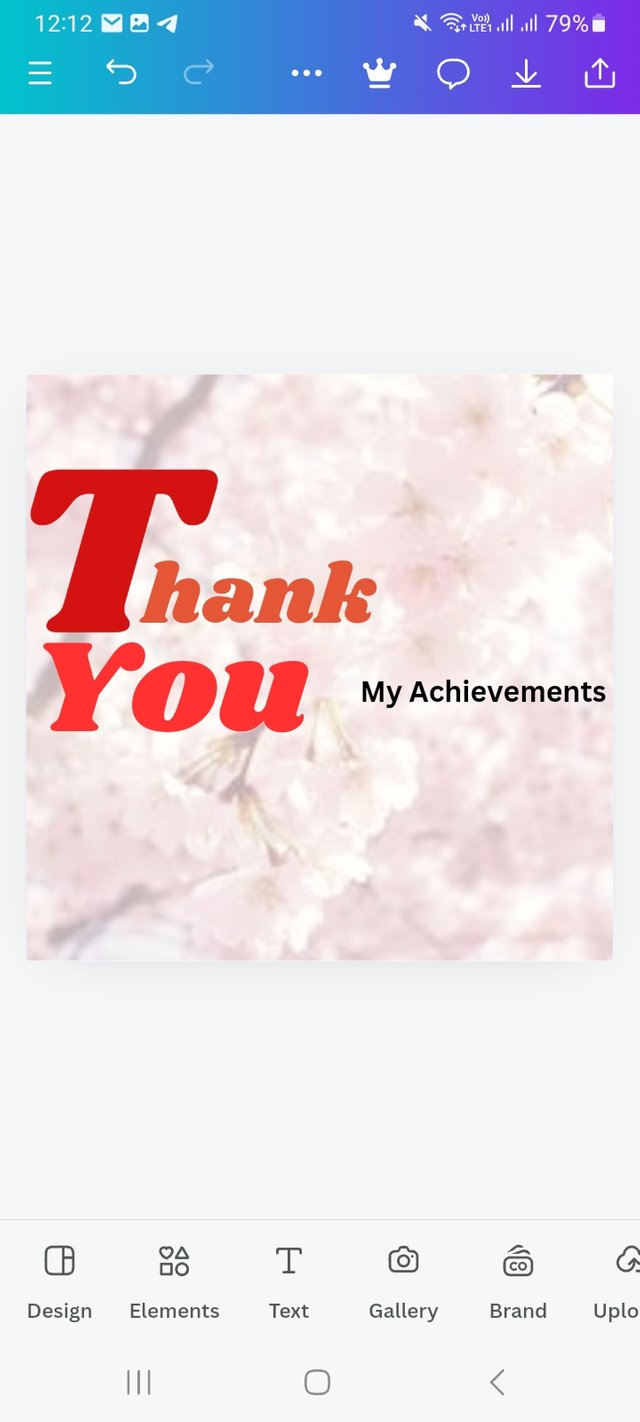
Then I select another text box and write my achievement because in this photo I want to show What I have learnt and achieved from this course. In class 3, I have come to know about how important typography is to communicate with viewers.
Step- IX
 |  |  |
|---|
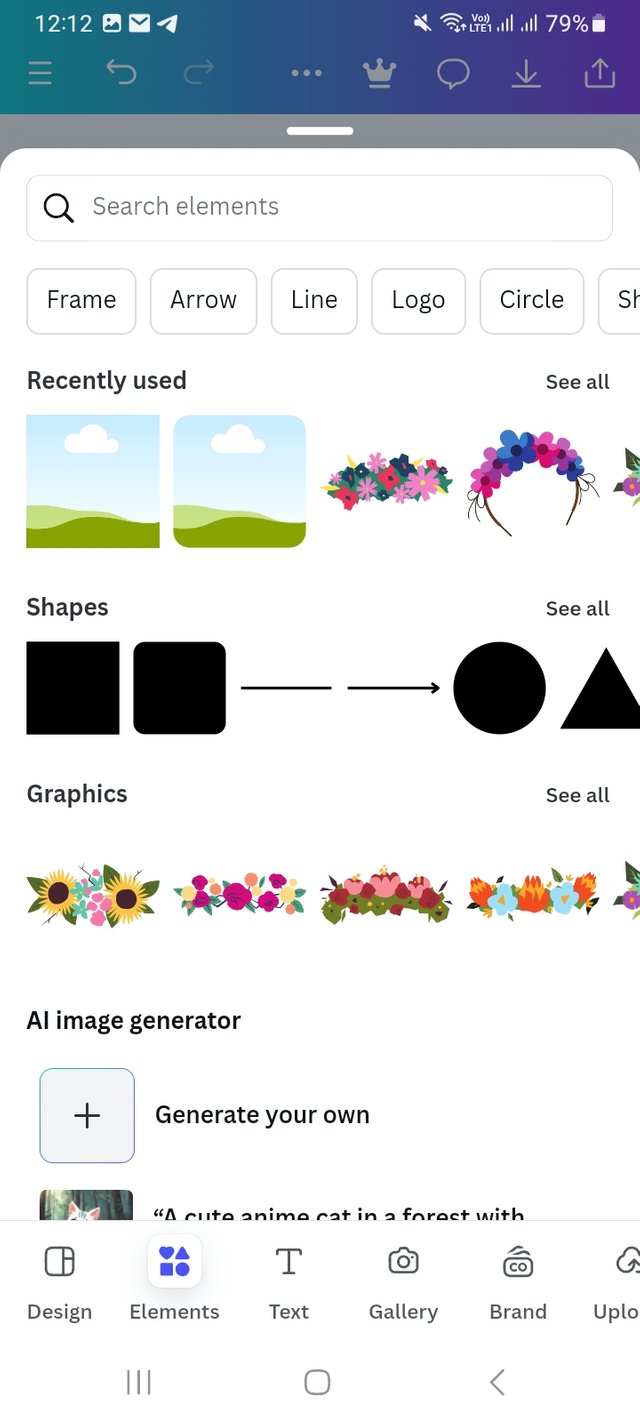
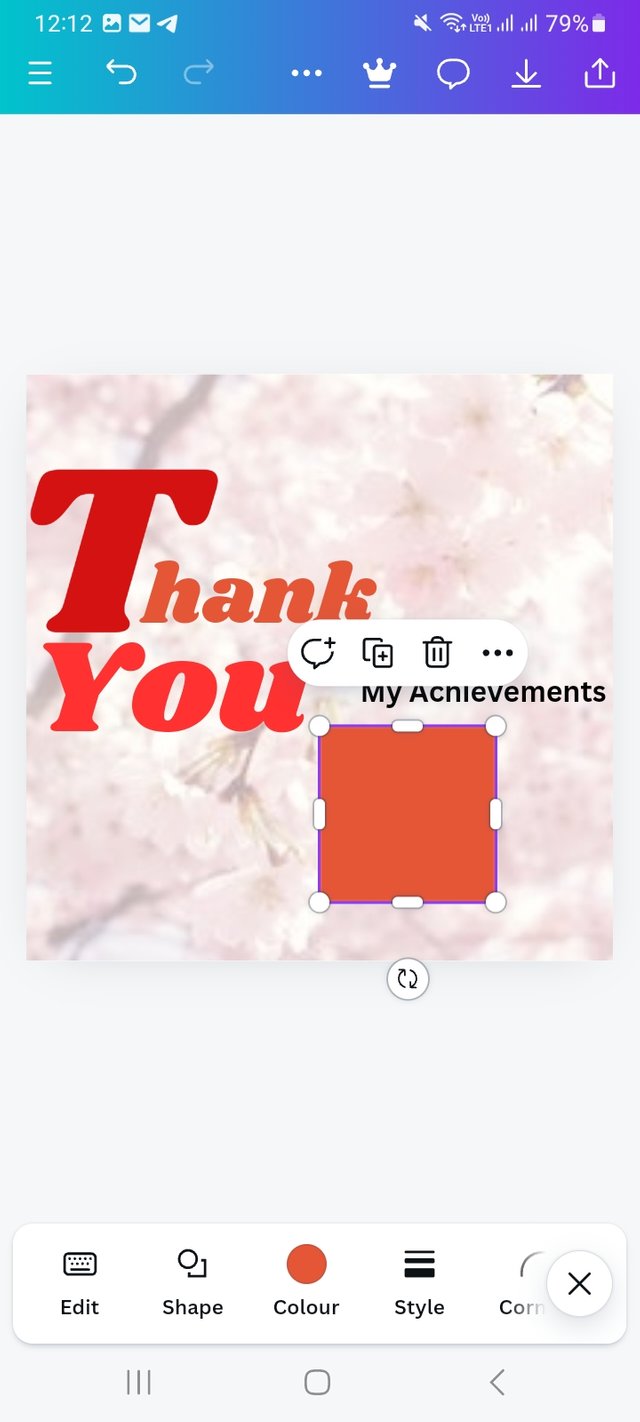
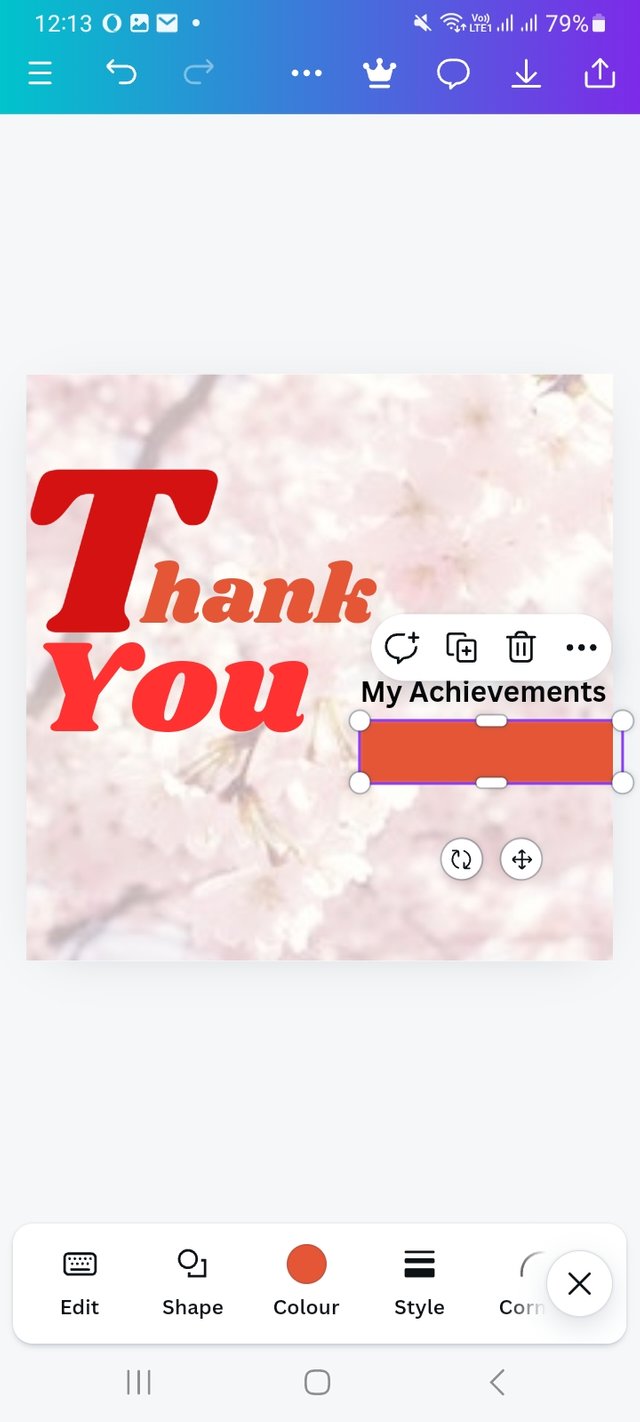
Then I select again elements and select a square shape and add it to my design. Then make it my desirable position.
Step- X
 |  |  |
|---|
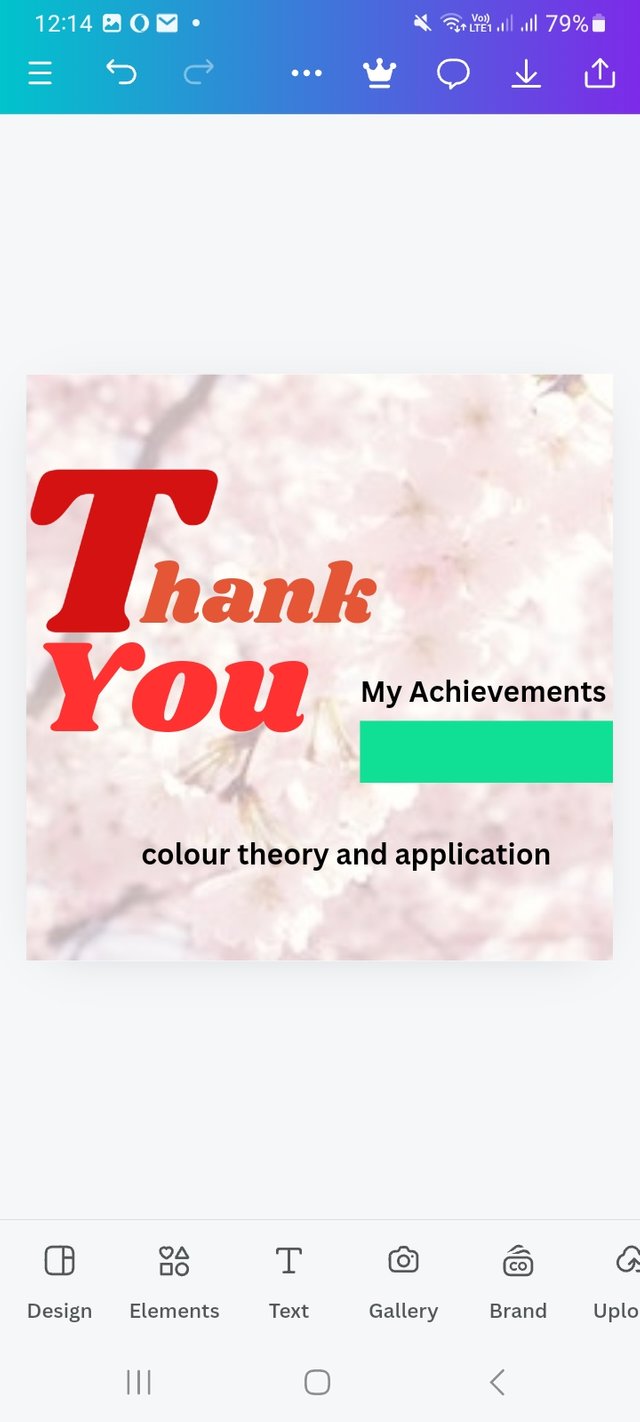
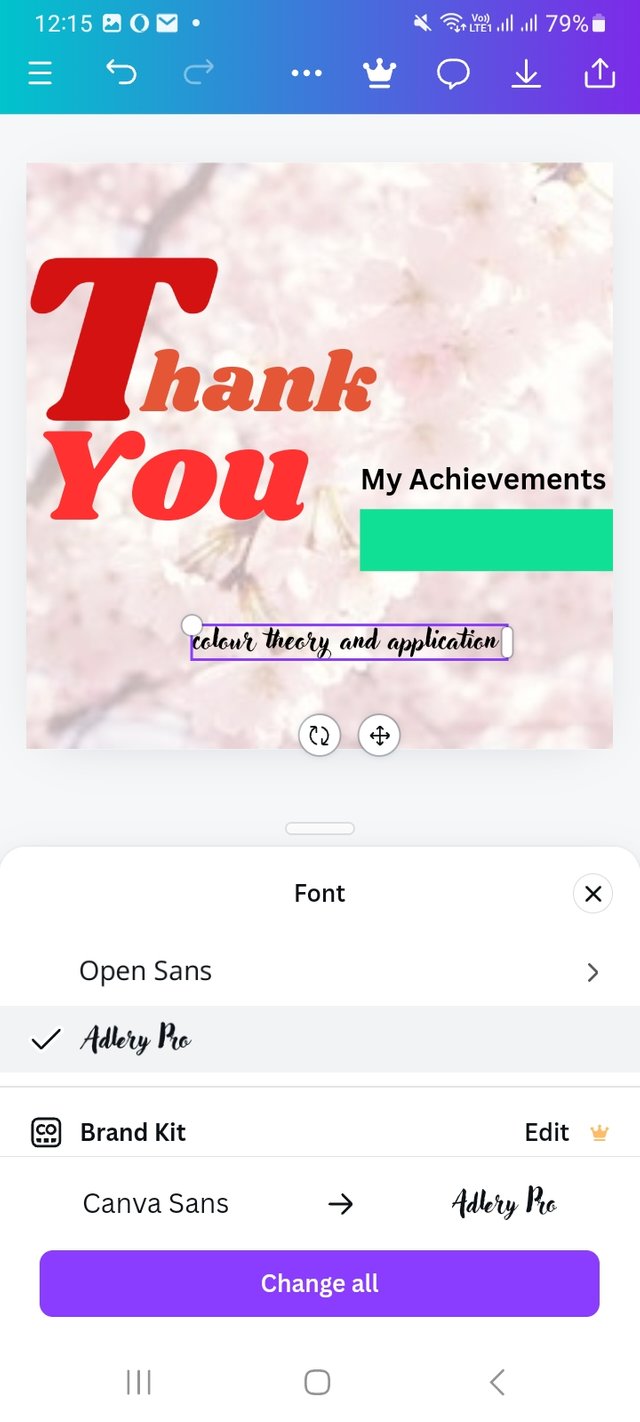
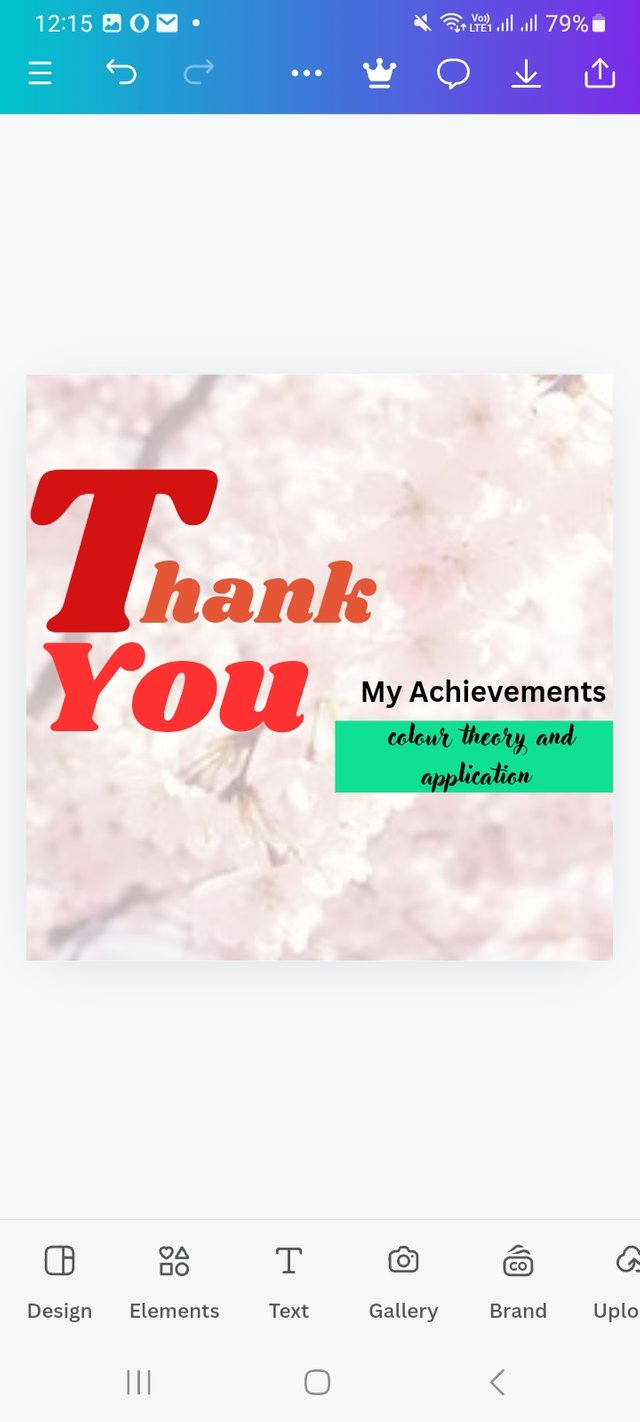
Then, I select a colour from the colour hex and a box where I will write about my first class topic. I wrote about colour theory and its application. Then I changed the front and set the Adhar pro front.
Step- XI
 |  |  |
|---|
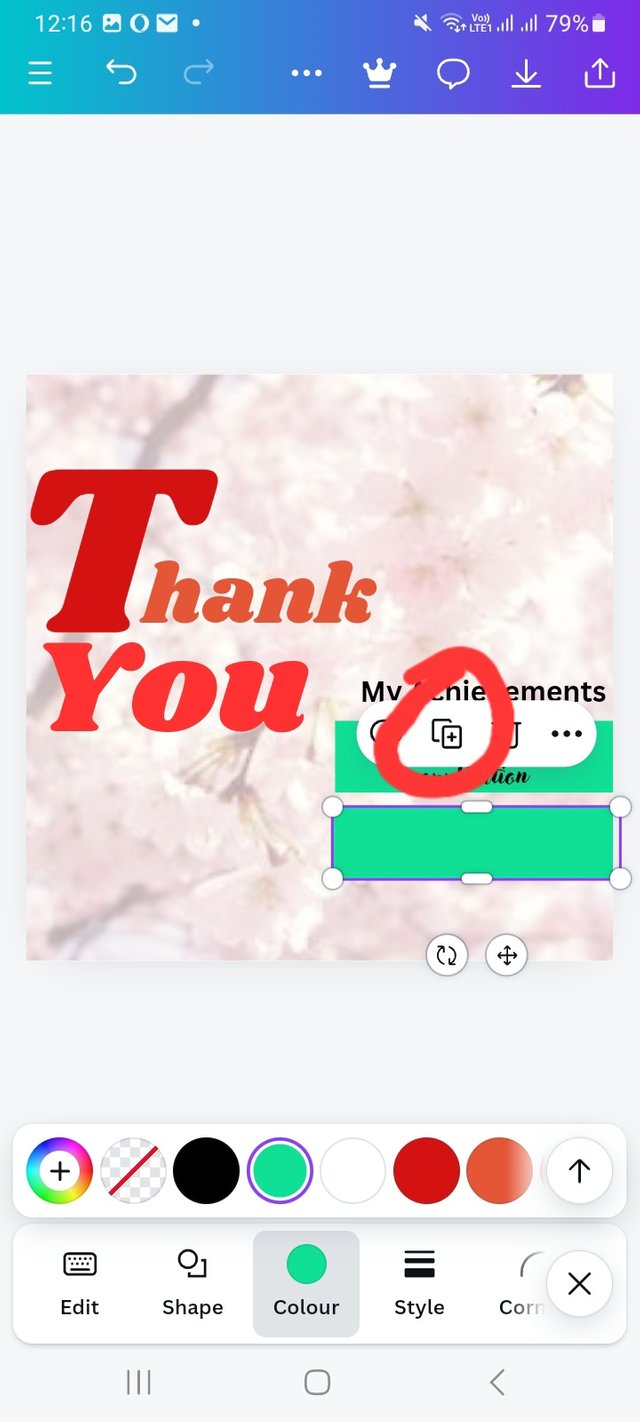
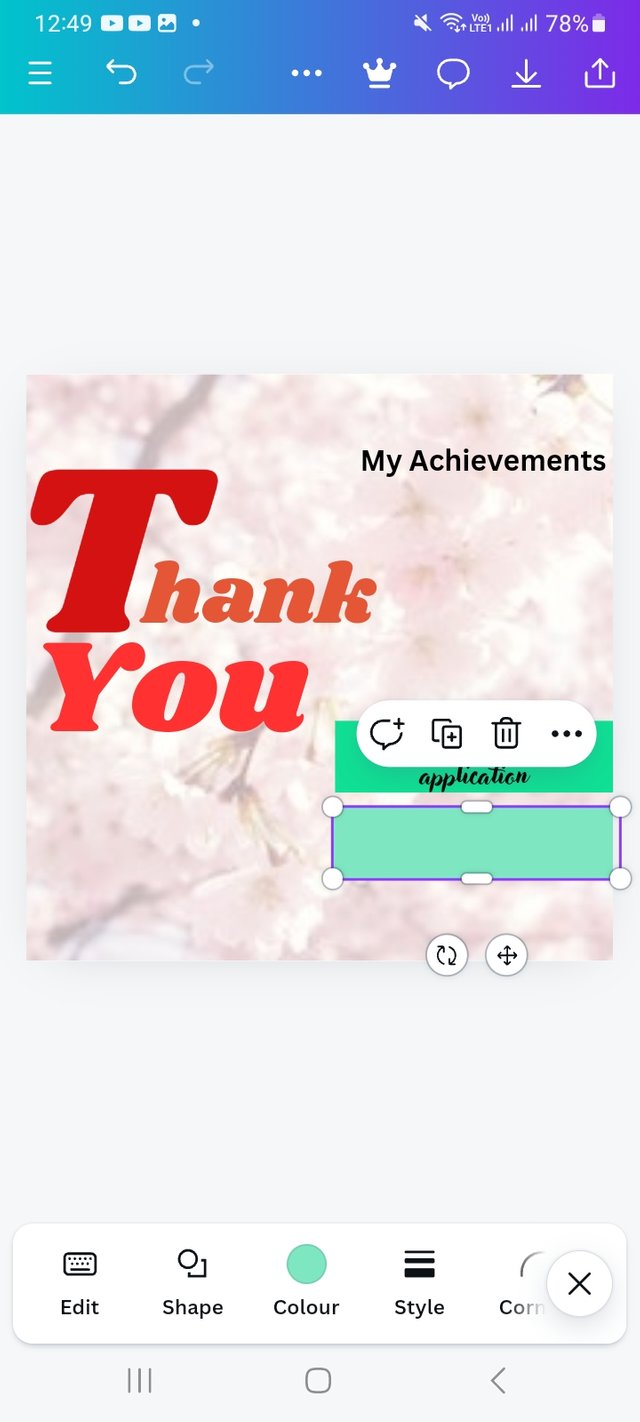
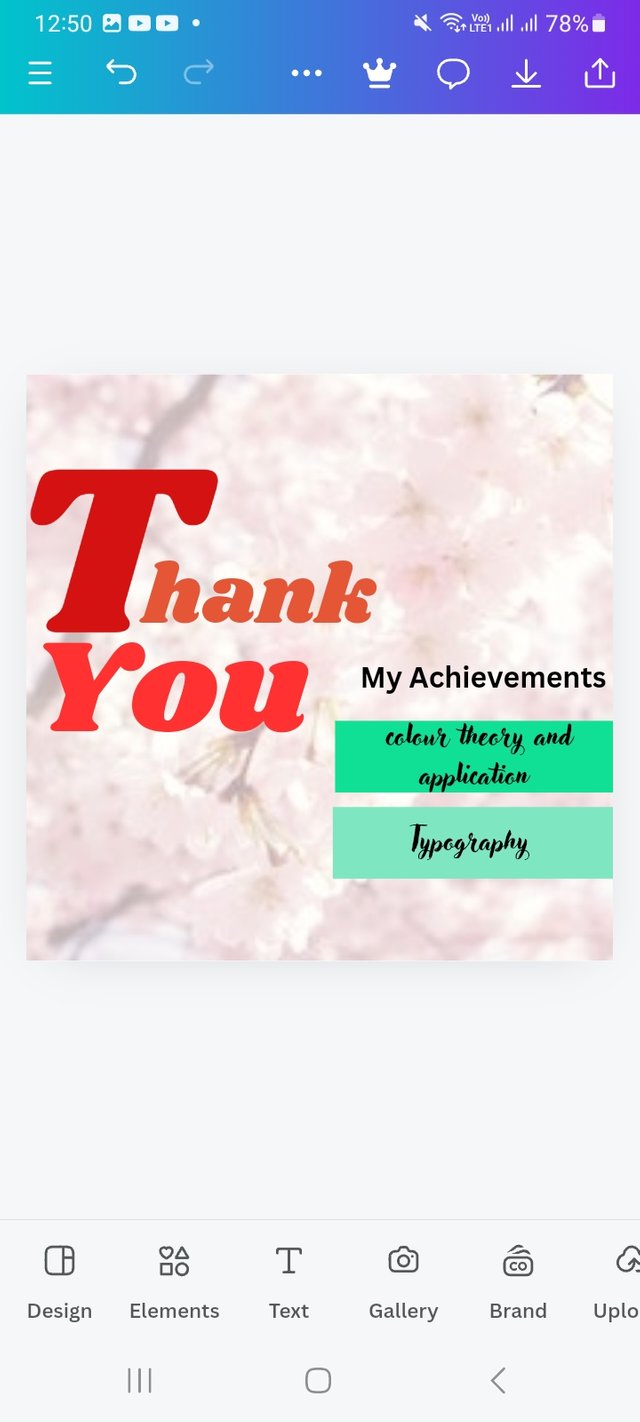
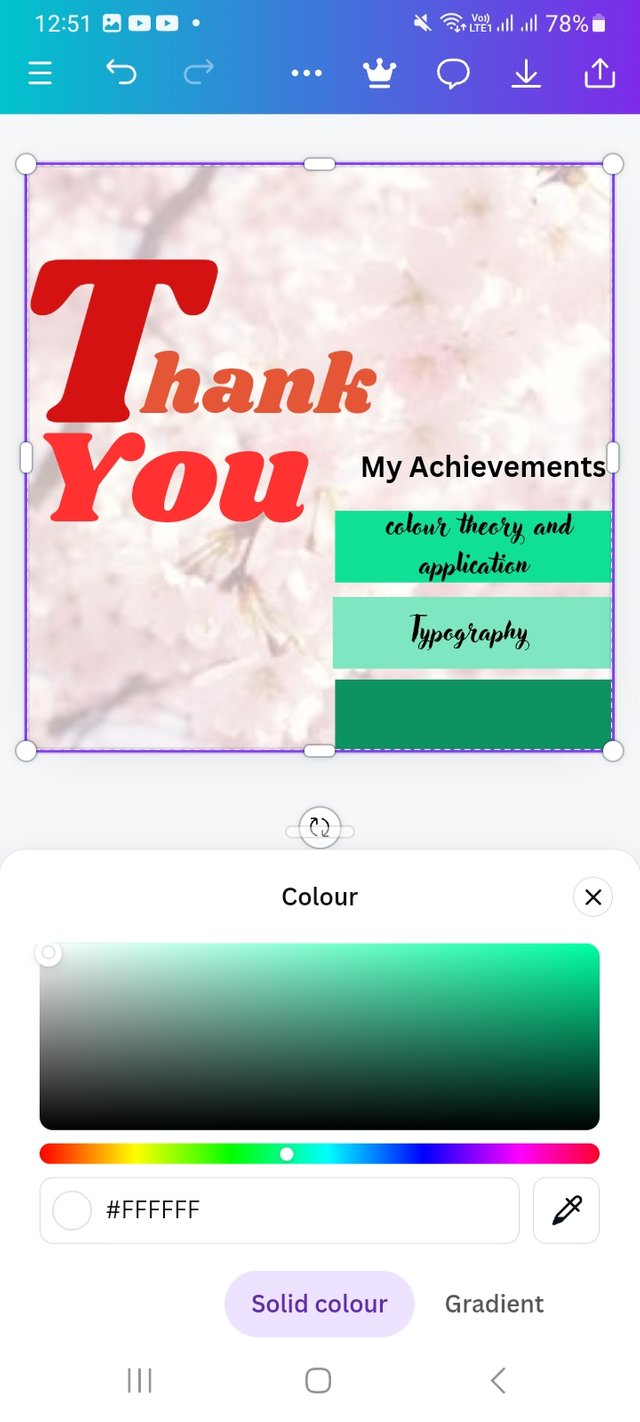
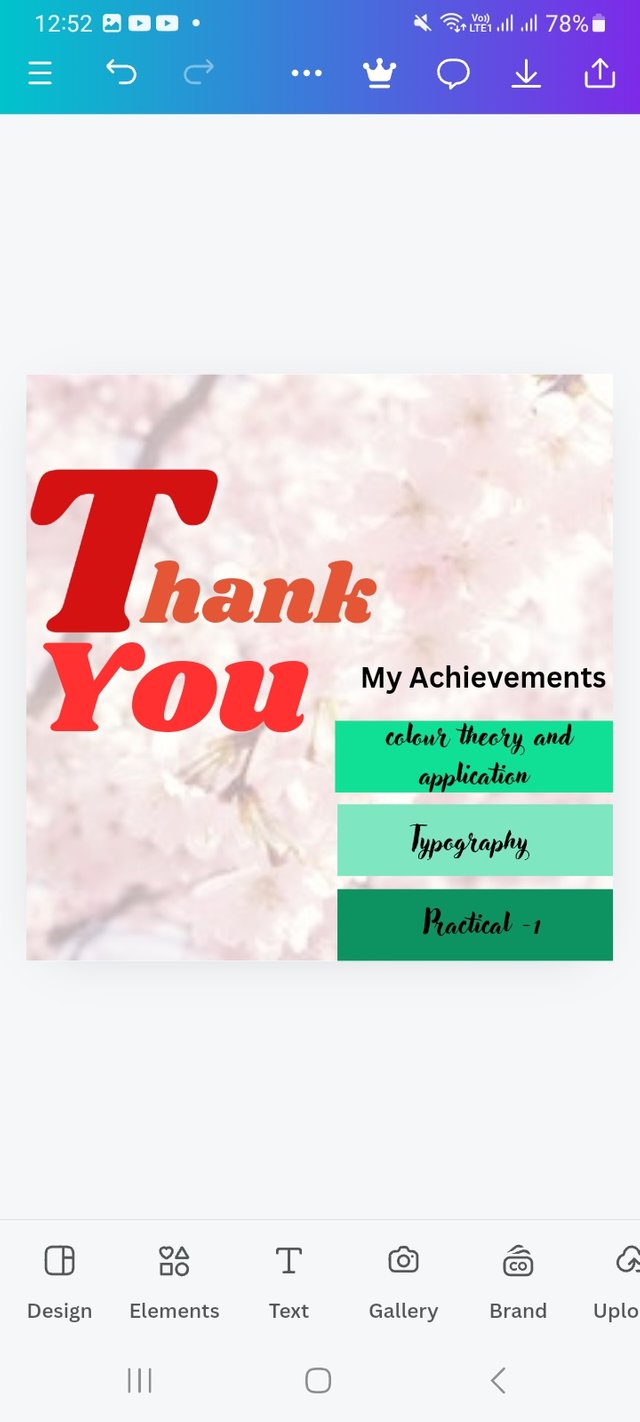
I click on the first shape and copy the shape from there, and following the same process, I write Typography. Here I only change the colour.
Step- XII
 |  |  |
|---|
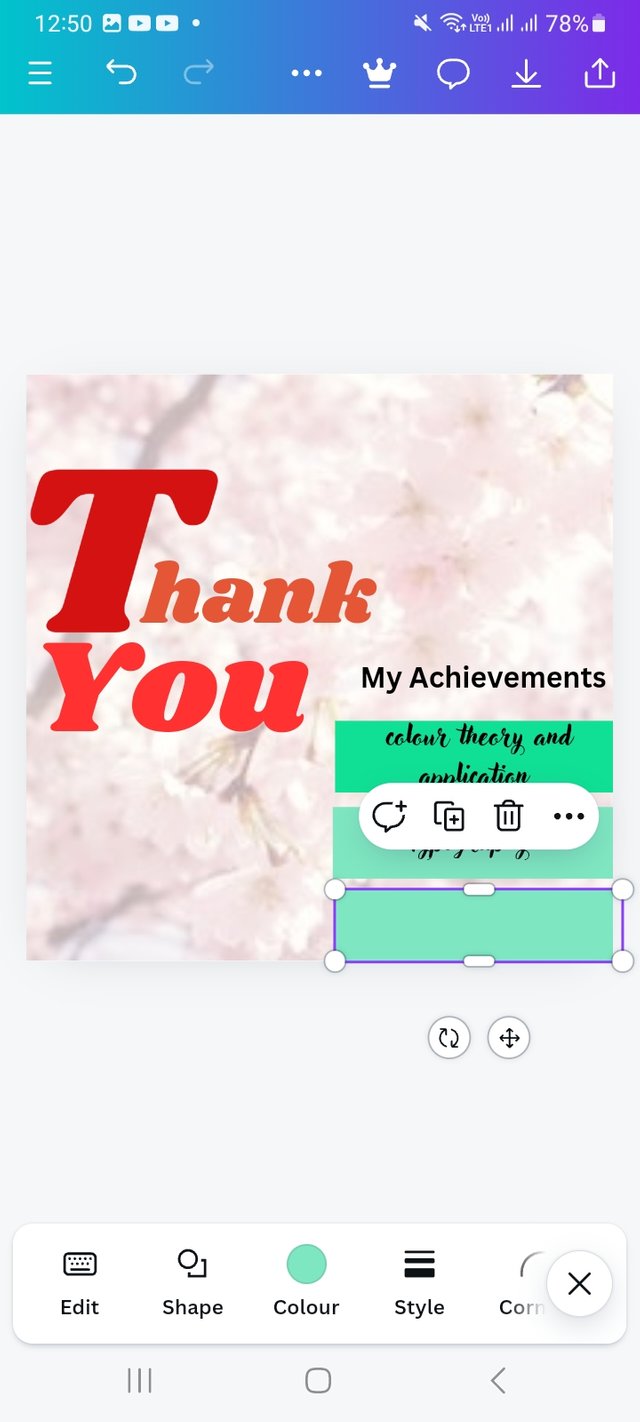
Then, following the same process, I write particle-1. Here I only change the colour.
Step- XIII
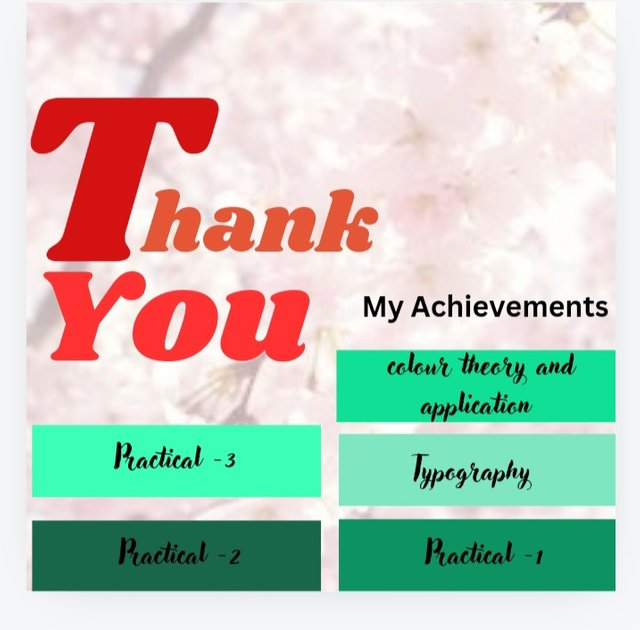
Again, following the same process, I write particle -2. Here I only change the colour. Then again, following the same process, I write particle-3. Here I only changed the colour and done
Step- XIV
 |  |  |
|---|
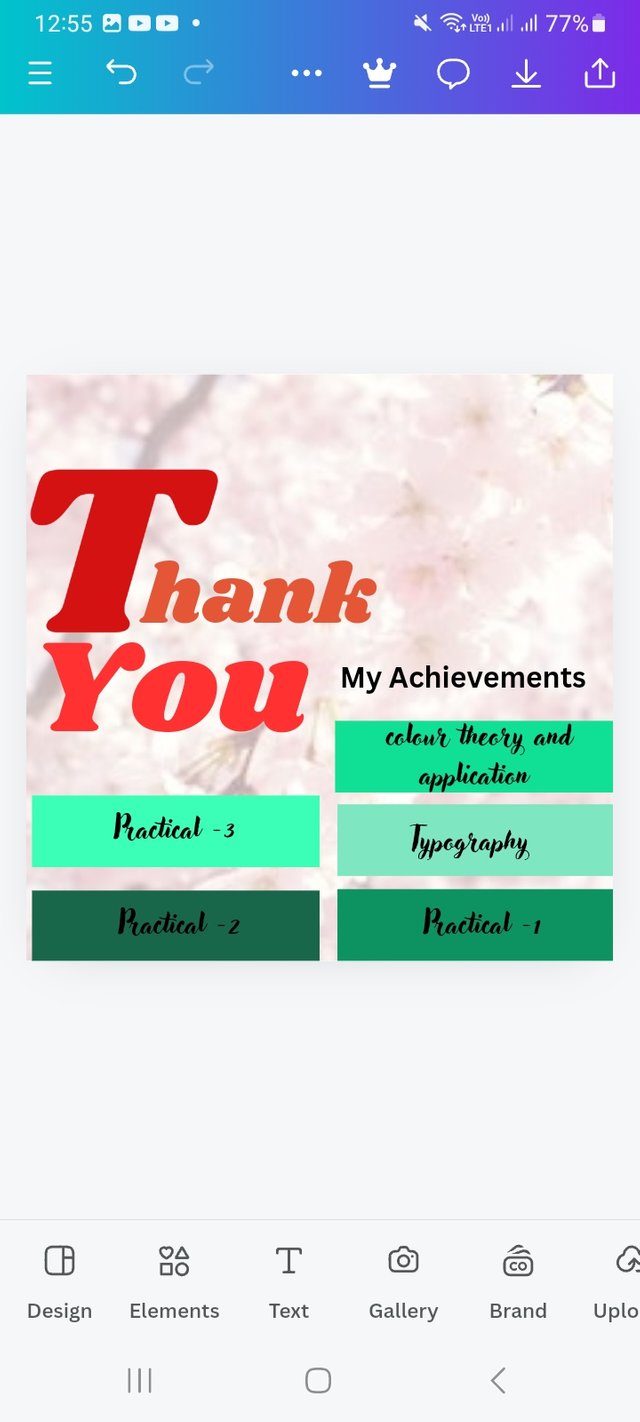
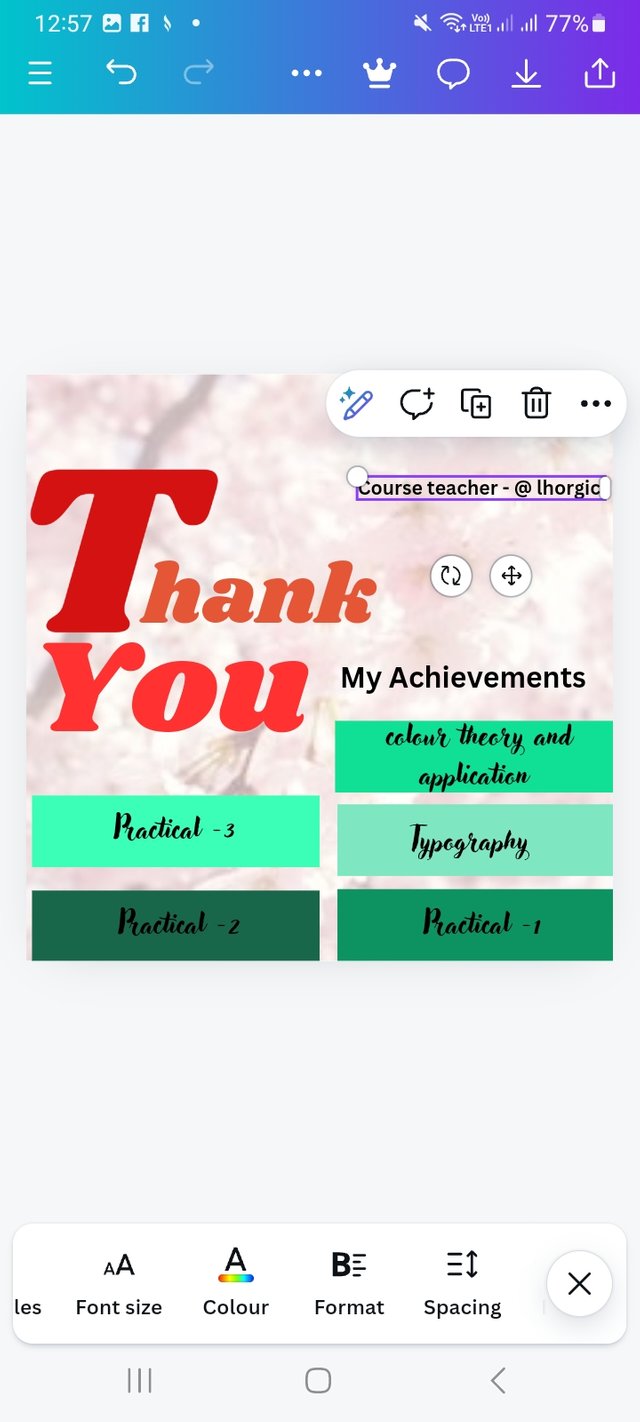
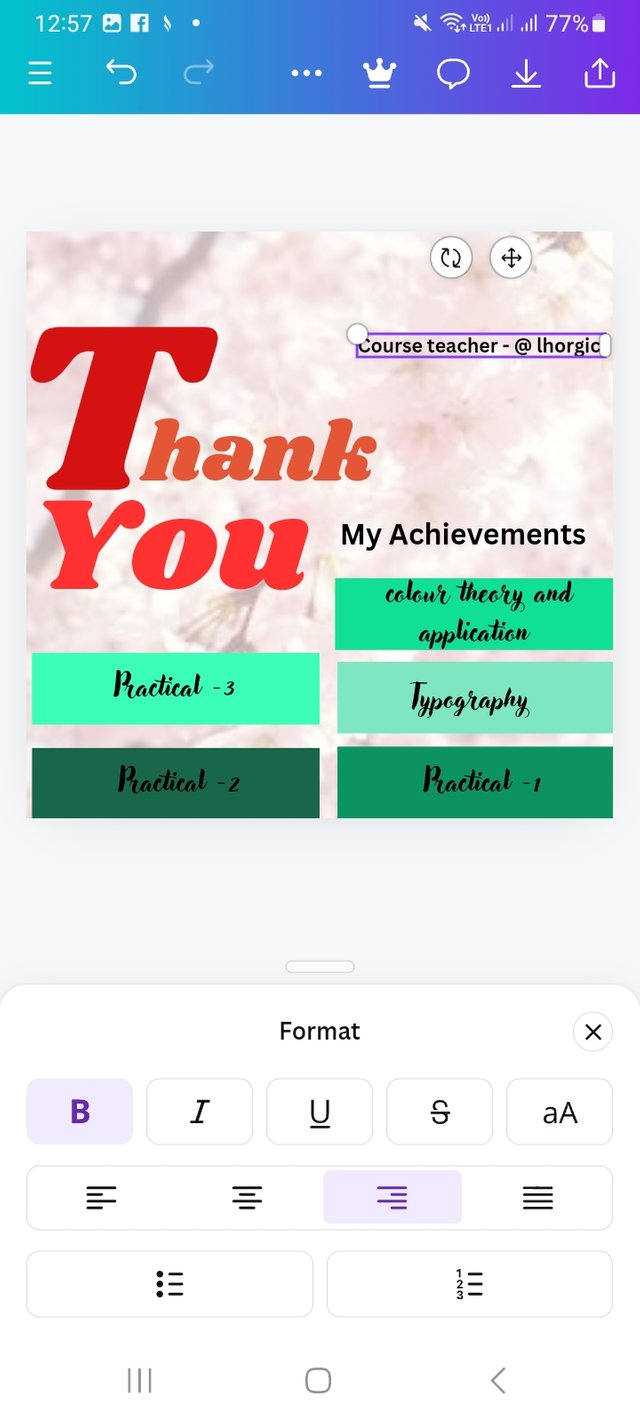
I click on the text and write the course teacher's name. Then click on Formate and change the default position. I set left to right.
Step- XV
 |  |  |
|---|
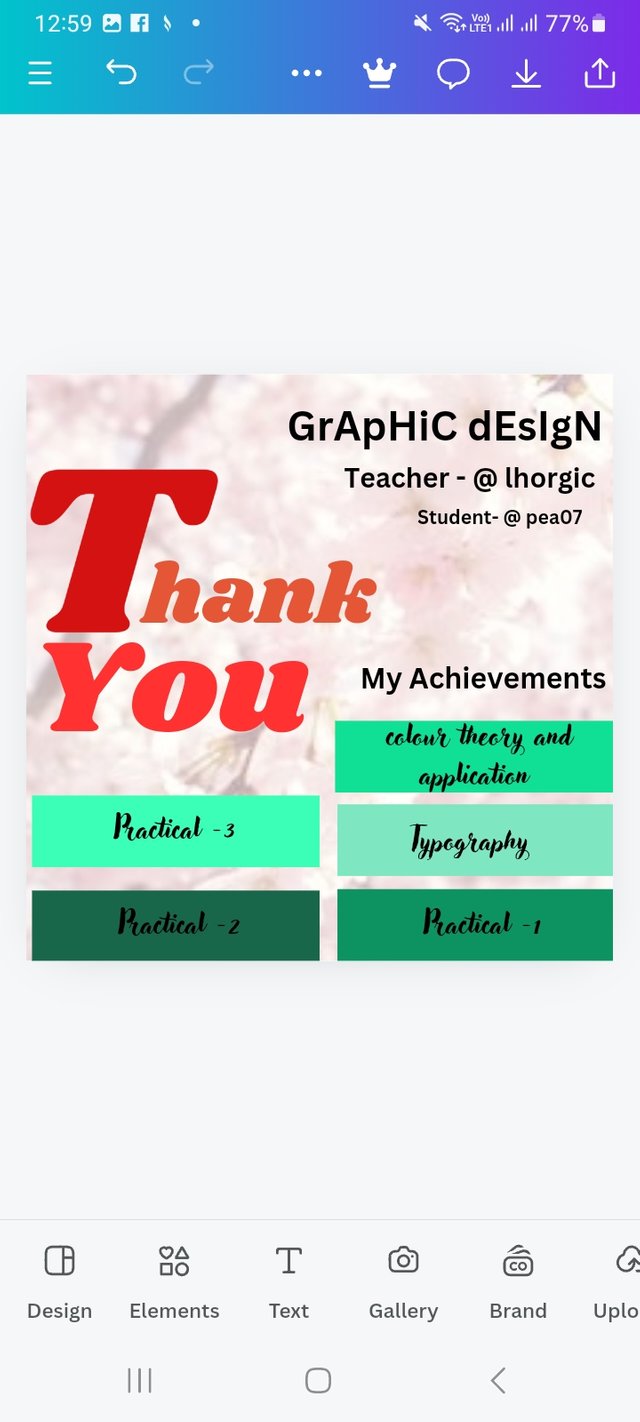
Here I write the course title and student's user name. Set it top left side of the design.
Step- XVI
 |  |  |
|---|
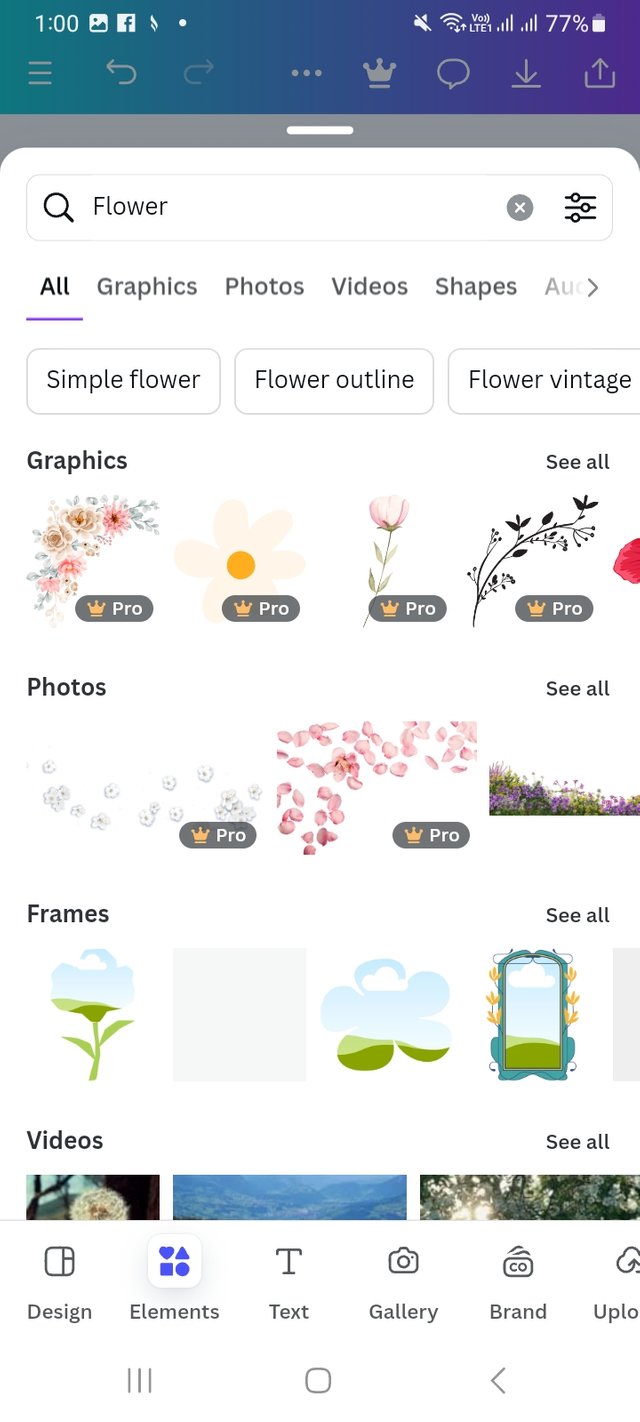
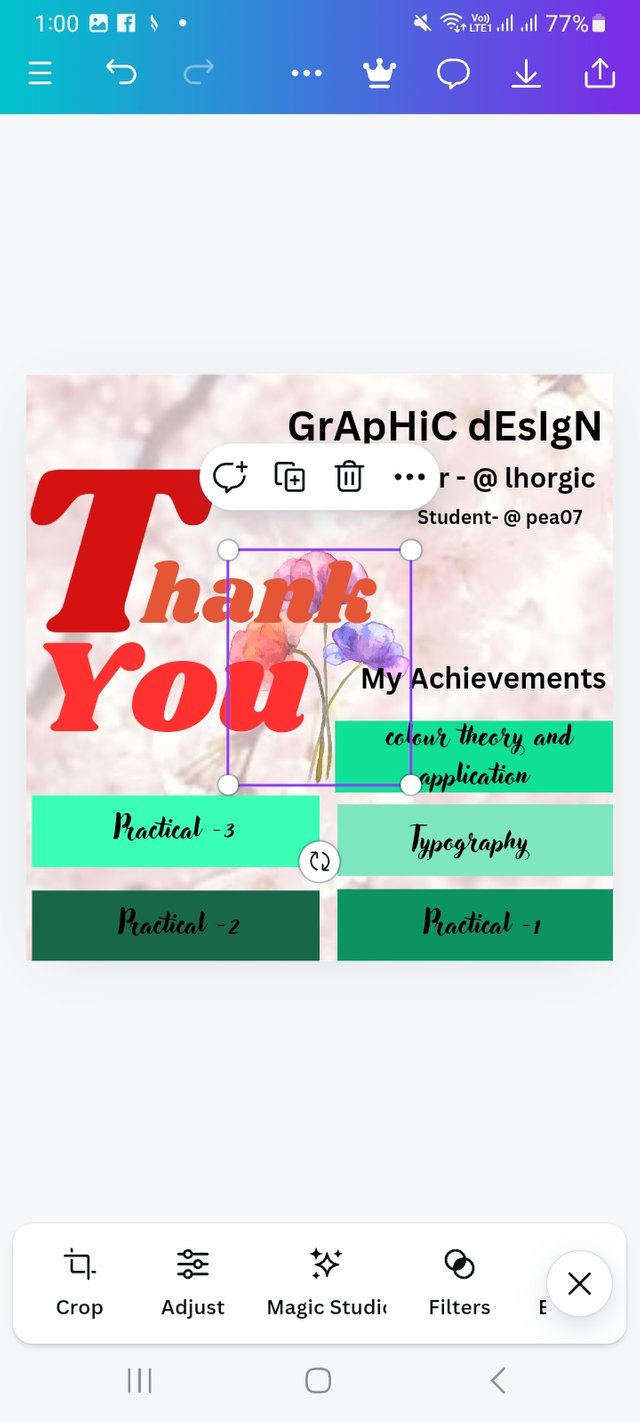
Finally, I click on the elements option again and search for a flower. I choose a flower and place it on my design and it is ready.
The Principles I Habe Engaged In This Design.
- Design Size & Dimension- Here I have used a square size. I always planned the dimensions of my design in the beginning so that it would be easy to start. Here I used this 1080 X 1080 px dimension so that my desired messages get enough space in my design and attract attention.
Typography: The typography I have chosen here reflects my personal likes. In this design, the front I used usually Doesn't use that, but today, this design is special, so I chose these typefaces.
Color Contrast: To be very honest, I used here only complementary colours, and indeed, it is a colourful design.
Emphasis: The size and boldness of the text emphasize the word "Thank you". I have emphasized two words here Thank and You to focus a message to the viewer. The most important element of my design is the Thank you message to the teacher and #Steemit blog so I emphasize these.
Alignment - I have aligned all the elements in this design well. Texts are on the right side, and learnings are on the left side.
I am inviting my friends @max-pro @solymann and @mdkamran99 to have a look at this lesson. I deem this will help you all.
Hello @pea07 thank you for participating in this week's lesson. We have assessed your entry and we present the result of our assessment below.
Feedback:
Let me start by commending you for the effort put into this work. You have shown how much you understand this subject matter. Weldone.
Thanks for talking about the principles you engaged in making this design and how you engaged them.In all, you did beautifully well and I must commend your effort. I hope you keep up with the energy level dear student.
Regards
@lhorgic❤️
A lot of art can be done through Canva, using Canva Pro makes graphics designs more easy and beautiful, your graphics design is very beautiful, and you describe each step very well, thank you very much, this is beautiful. For sharing the post with us.
Upvoted! Thank you for supporting witness @jswit.
Upvoted. Thank You for sending some of your rewards to @null. It will make Steem stronger.
Hi, @pea07
On behalf of the ᴀʀᴛ & ᴀʀᴛɪꜱᴛꜱ community team
Welcome to this space of creativity, promotion of art and generation of learning.
It would be very interesting to know about you and your relationship with the art world. Tell us if you dedicate yourself to it as a hobby or full time.
Show us some of your creations.
What topics would you like us to start covering?
Finally, remember that you are already part of this family, and we look forward to meeting you.
Would you like to make a post to introduce yourself to the Community?
ᴀʀᴛ & ᴀʀᴛɪꜱᴛꜱ
Art & Artists Rule/s