Club75 Lets Write - a 7 day writing Challenge// how I turn my weavon to wig by @mesola
INTRODUCTION
Making a wig for everyday use can be a difficult because is time-consuming task, so it usually a difficult tasks to the professionals. If you are interested in making a wig for yourself, therefore, you can do it if you have the right tools and you are a patience type. Here are the steps i did mine.
HOW TO MAKE A SIMPLE WIG WITH YOUR WEAVON. Measuring your Head
The first step I took was to measure around the head at the hairline.i use a cloth tape measure to measure along the hairline and since my hair was plated I use my son head to have my measurements. When using the tape measurement make sure you extend from the base of your hairline at your neck to the top of your hairline at the forehead. You use tape measurements to wrap just above the ears on either side of your head.
be caution, don't pull the tape measure. You should let it lie flat against flattened hair, but it shouldn't be taut.Then measure down the center top of your head. Then Place the end of a cloth tape measure at the center of your forehead, you have to match the end of the tape measure to the beginning of your natural hairline. Then drape the tape measure over the crown of your head and down to the middle of the nape, this should be where you natural hairline ends.
Please note you don't have to pull the tape measure. Let it lie flat against flattened hair without being taut.
- You make sure you measure from one ear to the other. Then bring the end of the cloth tape measure to the uppermost point at which your ear connects to the rest of your head. Drape the tape measure over the crown of your head and back down to the same position of the other ear.
Then let the tape measure to rest on both ears along the point at which eyeglasses or sunglasses would sit.
Once more, make sure that the tape measure should lie flat against flattened hair but should not be pulled tight.
this is the second stage which is Forming the Wig Foundation
In this stage you have to transfer your measurements to a wig block.
- You can make a rough sketch of the perimeter of your head based on the measurements you took. Then use your cloth tape measure to measure out the same distances for the perimeter of your head, measure the crown of your head, then measure the distance between your ears.
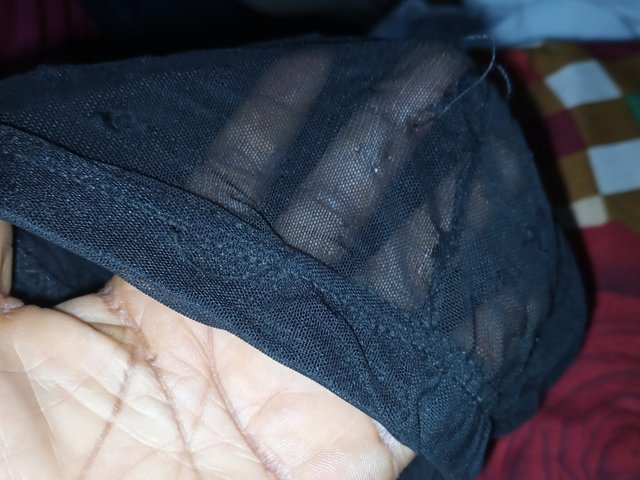
Moreover, you can buy a cotton lace cap or other fine net cap that you will like and it should fit your head and place that over the wig block. Though It will not be a custom fit, but this method will be easier than trying to form and apply strips of cotton lace
At this point you Line cotton ribbon along the perimeter of your wig outline, hammer this ribbon onto the wig block using small nails gently.
If you are using a Styrofoam head instead of a wooden wig block, you can use sewing pins or safety pins instead of nails to attach the ribbons.
Be sure that the ribbons are as flat as possible on the wig block.
The applying wet cotton lace. Moisturize strips of cotton lace by quickly spritzing them with water from a spray bottle. Drape the strips of cotton lace over the wig block and stitch them to the ribbon evenly.
Just note that the strips of cotton lace must be at least as long as the measurement you took for the crown of your head, though they can be a little longer at this point. Use as some strips as possible, you can go for larger pieces rather than many smaller ones.
Pin the lace in position before sewing it onto the ribbon.
You can find cotton lace in different colors, but don't go for lace with patterns already embroidered into it.
When you Wet the lace beforehand makes it easier to form and shape.
the third stage is Preparing the Hair
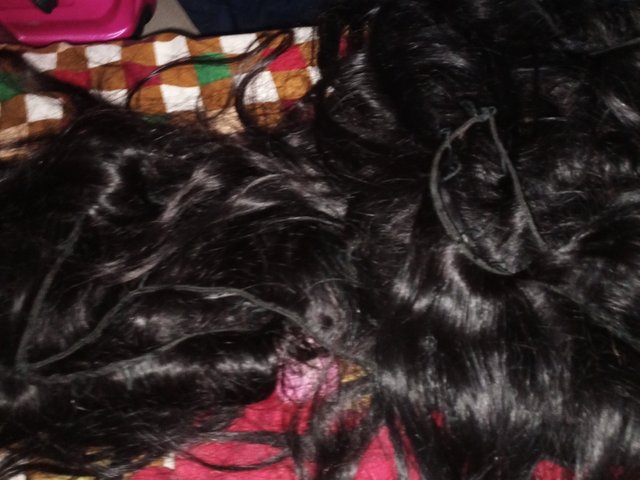
Choose real human hair. I option for human hair Which is double trump Brazilian hair and a 360 frontier hair.
- Why I go for natural hair is because it look more realistic and durable, and can not tangle and it can tolerate heat and other styling products better, and wigs made from real hair must be restyled after washes, the only thing is that the color can fade with light exposure, and the wigs can become damaged more easily if you use synthetic hair.
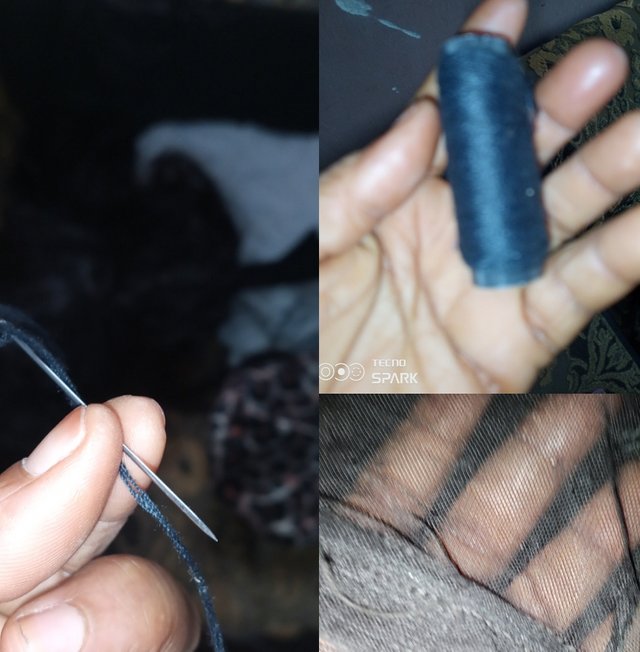
###The material I use was my sewing needle, black thread and my net cab.
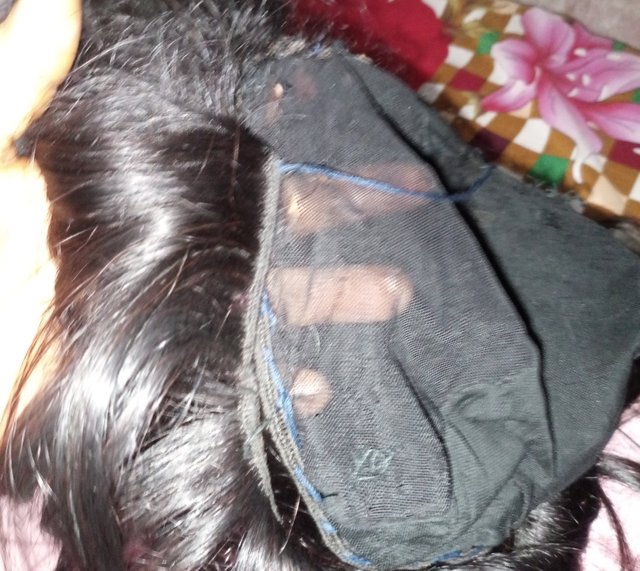
I Pull the hair through in a loop and knot it onto the lace. You will need to single-knot or double-knot sections of hair made from only a few strands onto the individual gaps in the lace foundation using your ventilating net cap.
Then you fold the end of a thin section of hair to form a loop.
- Hook this loop with your ventilating needle and push it through one of the gaps in the lace cap.
Handle the needle so that you can grab the hair at the base of the loop with the hook, the you pull it back through the gap of the lace. At this stage it should give you a new loop of hair that wraps around the edge of the gap.
Knot the strands of hair once or twice onto the cotton edge of the gap so that it will not losen. Making sure that the knot is fully tightened and closed so that the hair stays in place without pulling. You will have to pull the entire length of the section through the knot as you tighten it. Just know that you will use your free hand to hold the other side of the hair taut as you work throughout this entire process.
You have to work from the neck up. You should always start knotting the wig onto the lace from the bottom of your neck. Sew it along the back before moving to the sides. When you have reach the sides, then sew it over the crown of the head.
The hair on the sides should be tied with two knots.
Then the hair on the top of the wig, can be tied on using single knots. This will make the hair from looking too thick.
After everything I use my son head to check if I did it well.
Conclusion
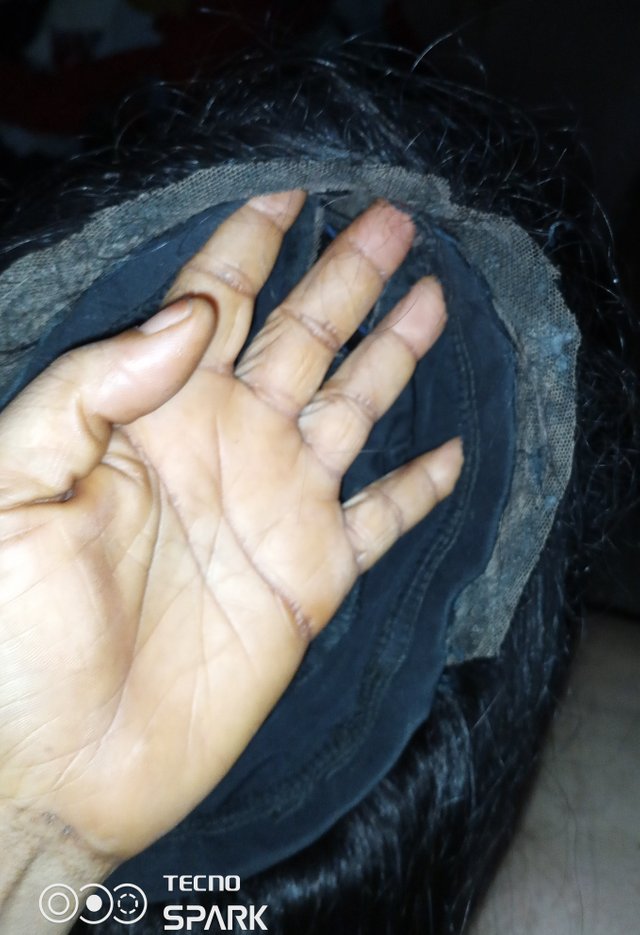
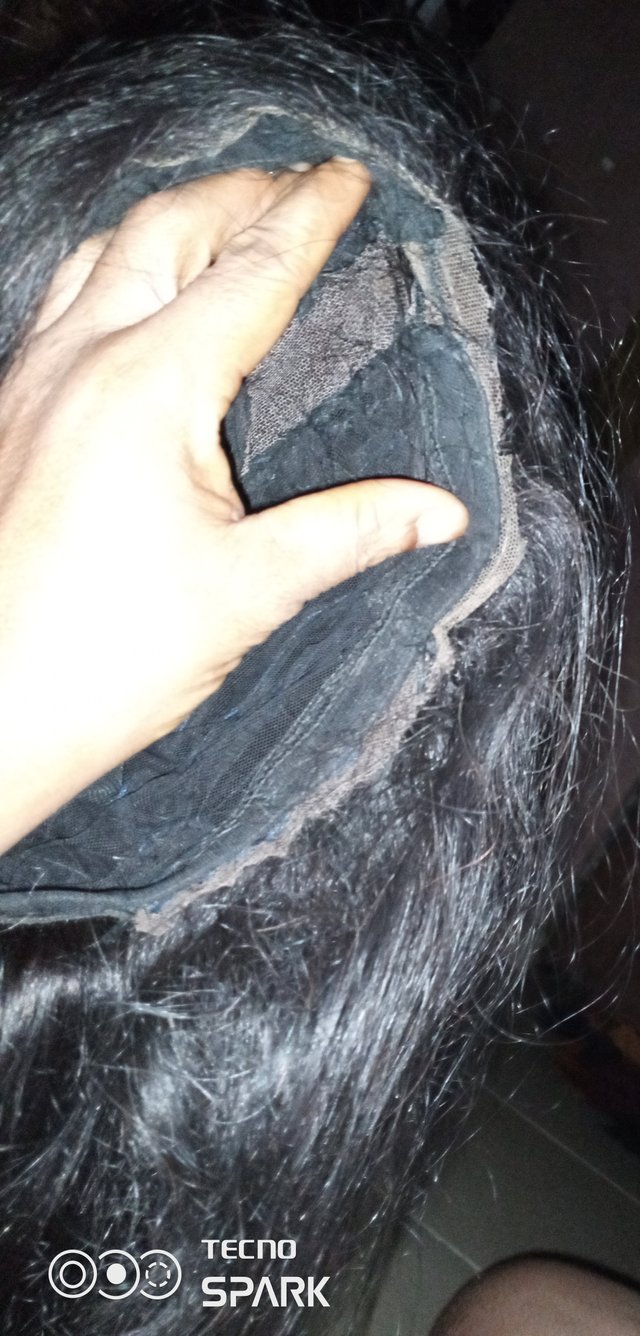
I was able to make two wigs from my weavon. And at the end of the day I was able to make two wigs for my self. One of it was 360 frontier wig and a normal wig





This is a great one, I have been trying to make one for myself some time ago but along the line I missed some steps ,but through this ur step by steps explanations which will be very helpful to me I think I should fine time and finish it too, thanks for taking time to expanciate.
Please do my dear friend and you will see yourself saving your money from the hands of the saloonist
Nice work @mesola. The fact that you can actually help yourself out in this way is very commendable. Keep doing more and thanks for teaching us. I love the details
I hope you have learnt how you can make your wig your self without spending money
Impressive effort @mesola. The reason I love this is because you can save the money that you would have used to buy a new wig. Besides, you can still monetize this skill. The wig actually look great. I was wondering if you have been into saloon business before. How did you learn this skill please? @mesola
I have never owned a saloon before but been a good learner m, I use my head when ever I am in the salon to make my hair and see what they are doing and at the same time learning.so I decided to put into practice.
Kudos to you ma, I have tried doing it some time ago i ended up spoiling the weavon. Since then na salon i dey go do my own
Women and handicrafts...they can never be separated. You did a very neat and wonderful job. Well done @mesola
Thank you dear
You are welcome
You are of many parts @mesola very well done.
That's mesola for you
Bless you sis 😀😀😀
You're really creative @mesola
Thanks for taking us through on this.
I like wigs though as it saves women a lot during emergency occasion.
Thanks for sharing.
You are correct my friend, when you have a wig you can never be wanting
This sure does sound stressful but you have outlined easy to follow steps that I am sure I can do it if I follow through. Thanks for sharing.
What a beautiful wig you have here @mesola, I love the color of the wig and I have learn simple way to make wig
Thank you very much my boss, I appreciate your time