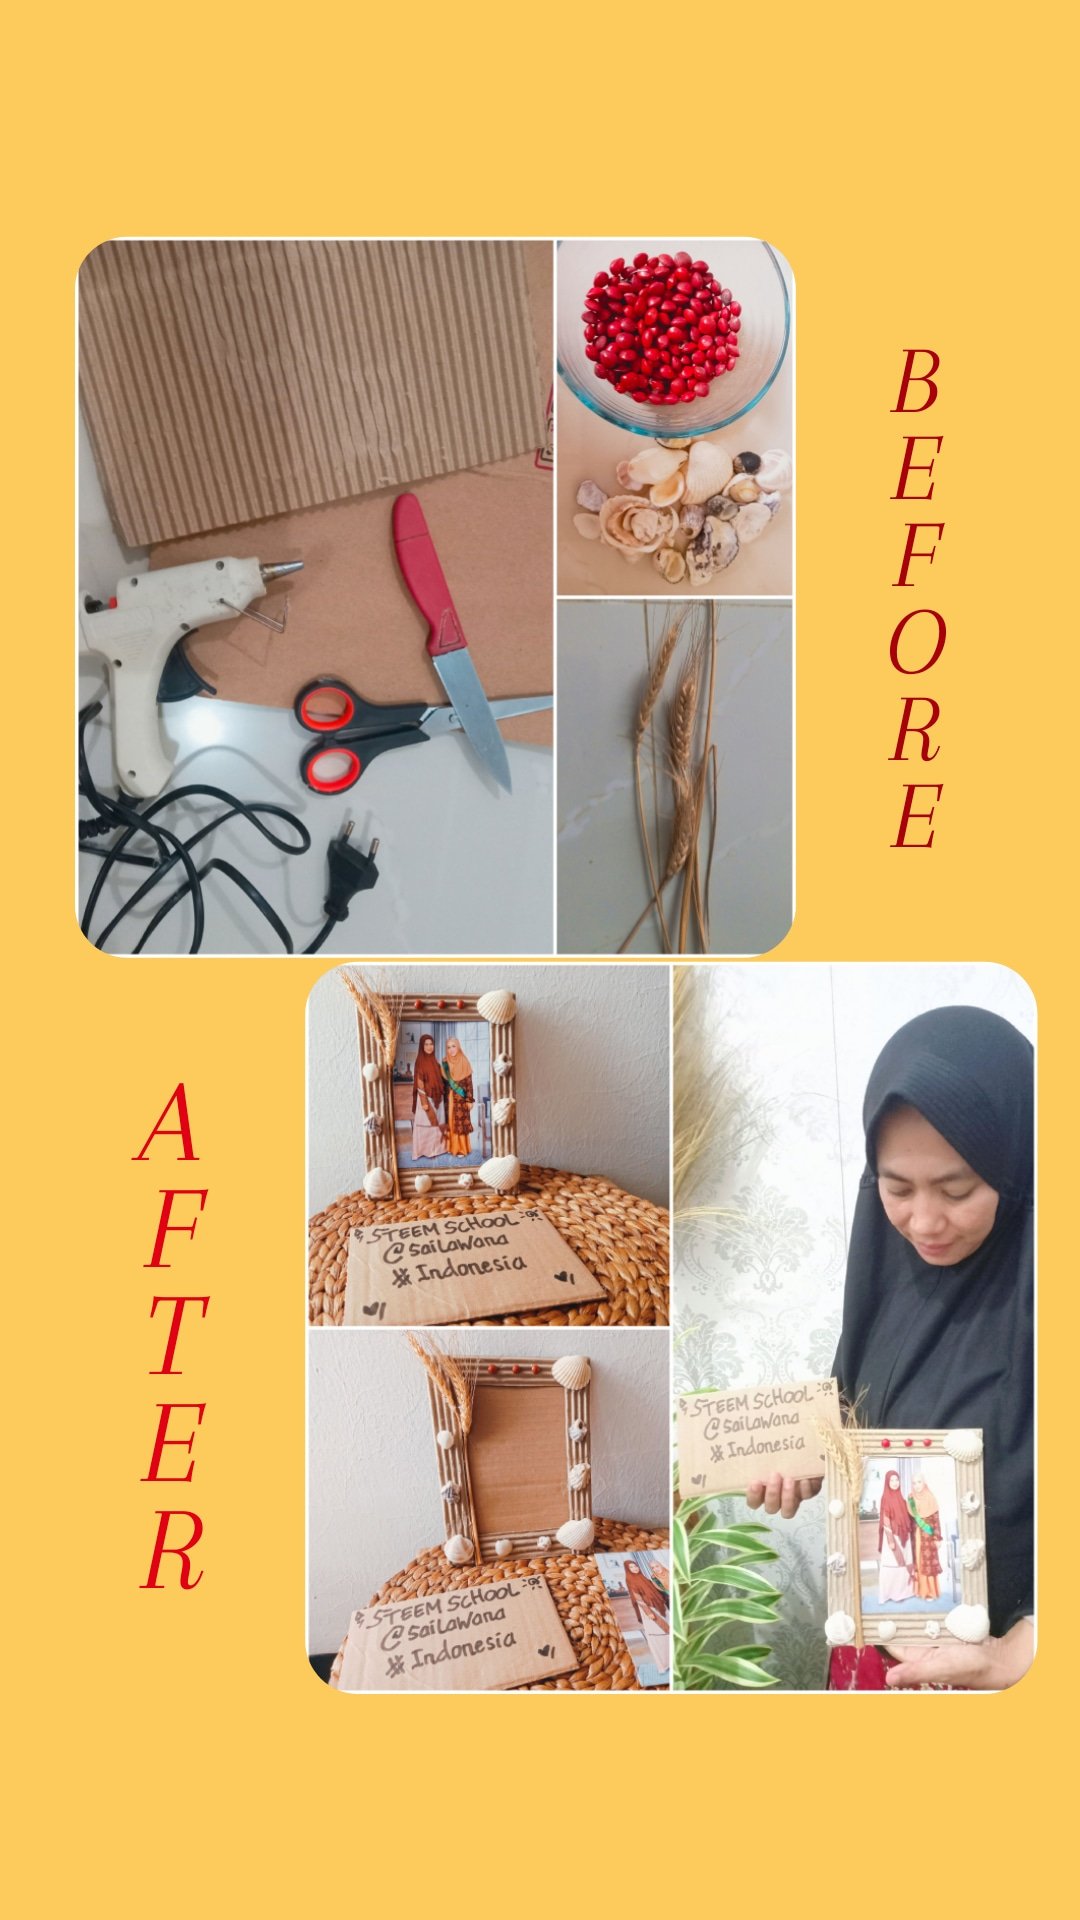
BEFORE & AFTER CONTEST || " Creations of Making Photo Frames From Used Cardboard "

Before - after process making photo frame
Hi Steemian's
How was today's activity? I hope that everything goes smoothly and we are still excited about pursuing dreams for a better life.
Well, today I'm back to participate in the before-after contest hosted by my best friend @enveng. A challenging contest because it requires us to have creativity in reprocessing materials that are no longer used into useful and valuable objects.
In this opportunity, I will show you my simple creation in processing used cardboard waste into a product, namely a photo frame.
As for the materials and tools that I use, namely
*Scissors, knifes, rulers, pens
*Glue and tools
*Used cardboard
*Saga seeds
*Dried wheat flowers
*Clamshell

cardboard, scissors, knife, glue
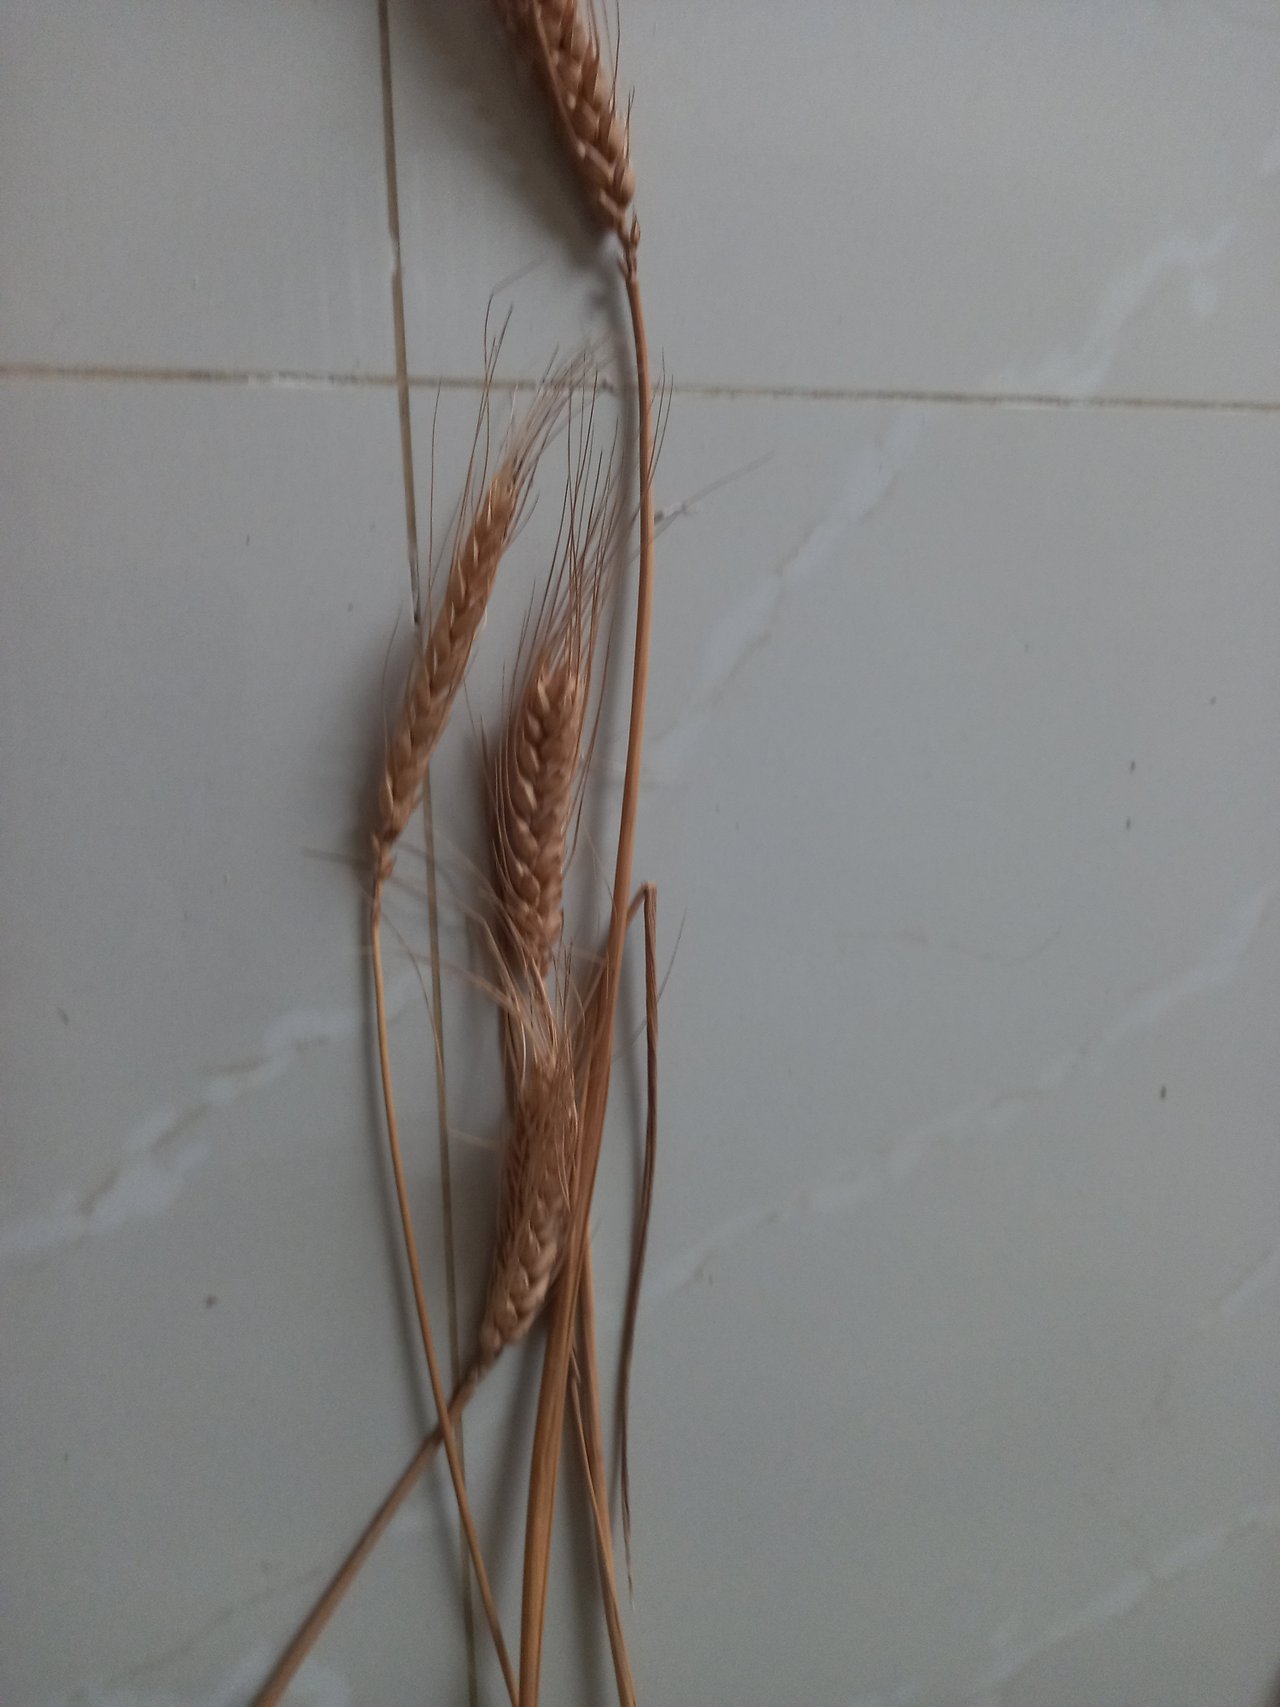
dried wheat flower

saga seeds and shells as decoration
Making process
*step.1
Cartons that are no longer used are removed and the parts that are still fit for use are taken. Then remove the top layer of cardboard using a knife, so that what appears is the second layer of cardboard. This layer seems jagged. This section will be used later as a photo frame
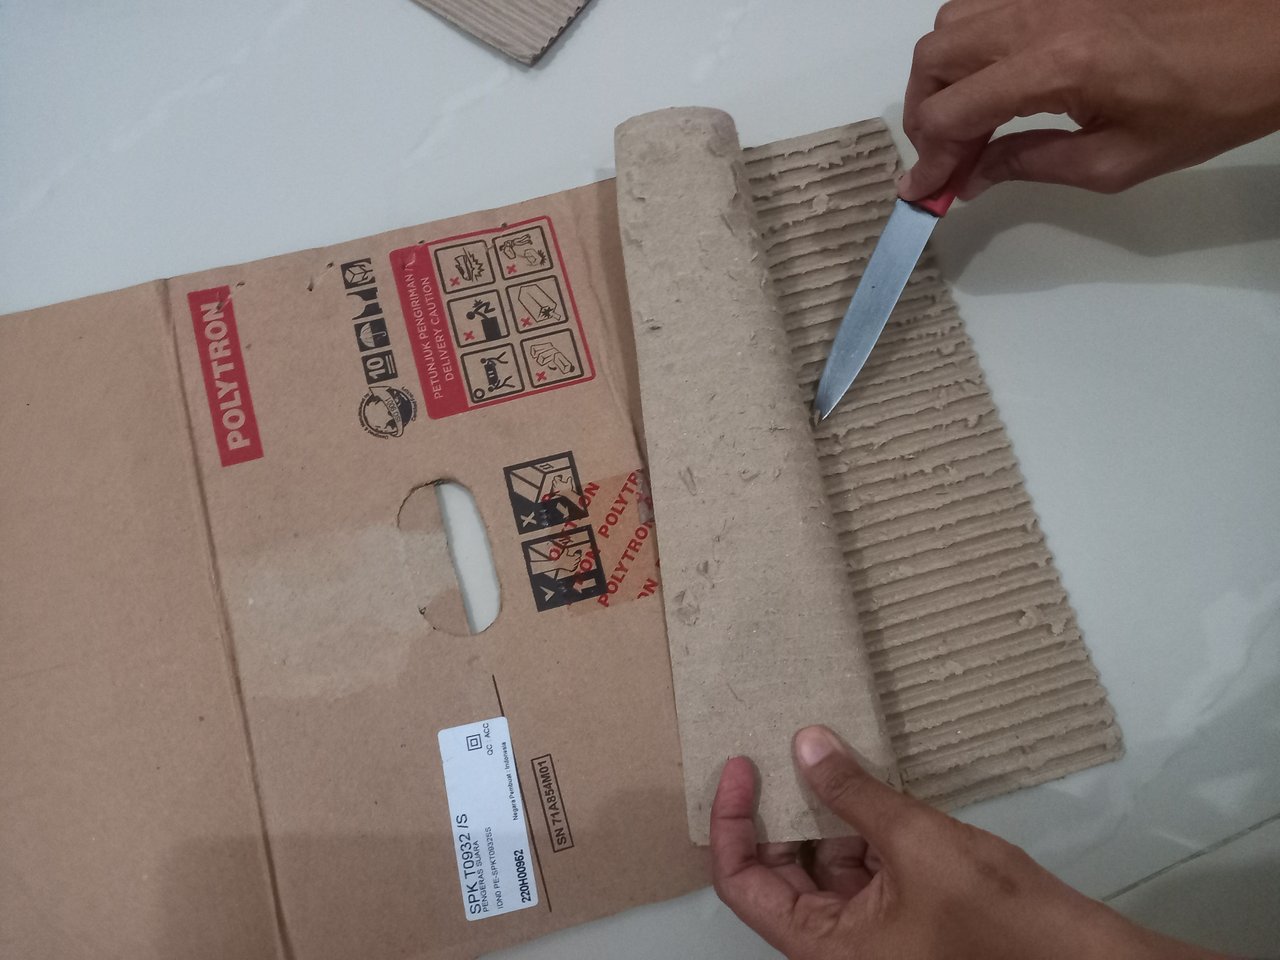
*the process of removing the top layers from the cardboard
Step.2
Cut out the cardboard, according to the size of the photo that will be attached to the frame later. This cardboard functions as a place to attach photos. then the jagged part of the cardboard was also measured and cut as well. This jagged part will be used as a fringe edge les. Then stick it using glue to form a frame.

cardboard cutting process

after a cardboard is cut

the jagged part of the cardboard as the edge of the frame

sticking process

The finished photo frame is pasted
Step.3
After the photo frame is finished, now is the time to add decorations to the edges of the frame, to make it look more beautiful and aesthetically pleasing. The garnishes used are dried oats, clam shells and saga seeds. Paste and lay out on these frames. The photo frame is finally finished and ready to use.
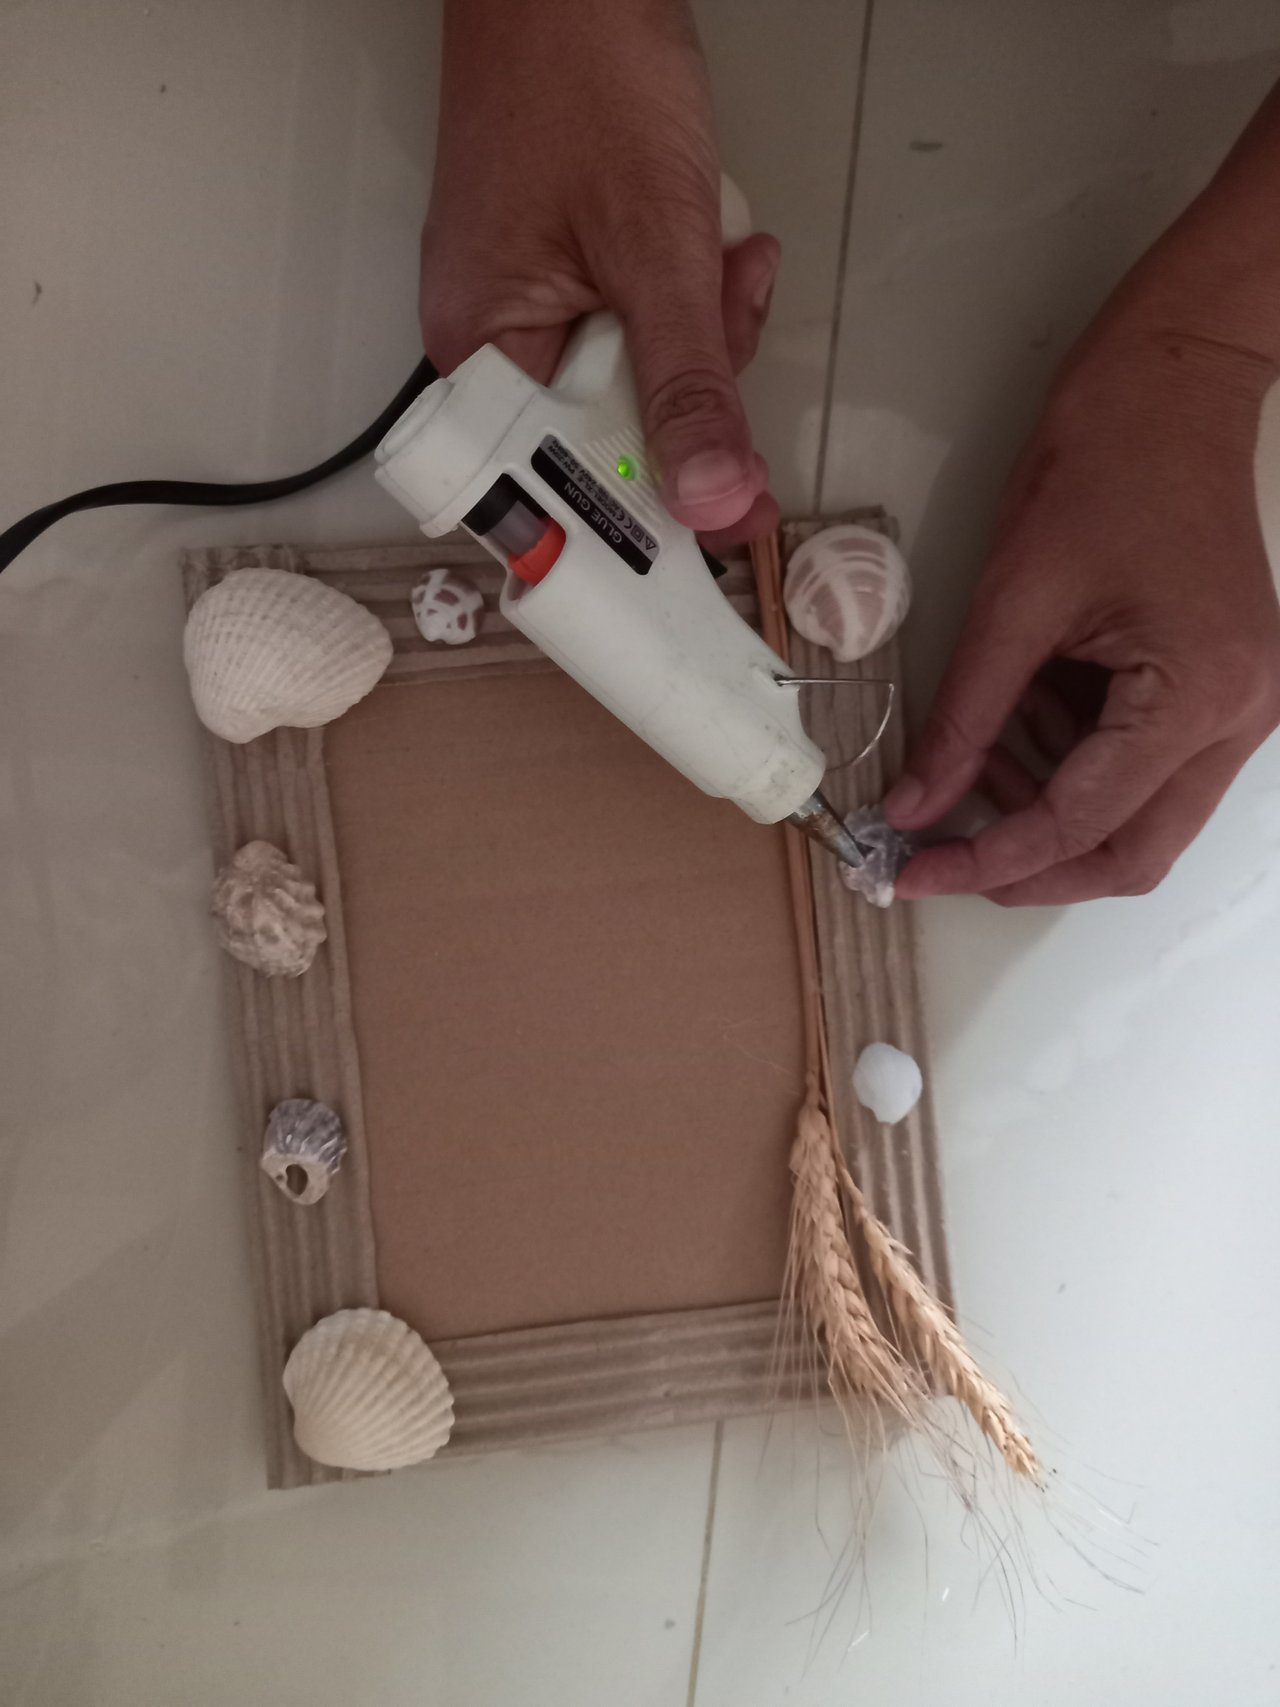
the process of gluing seashells and dried flowers

the process of sticking saga seeds
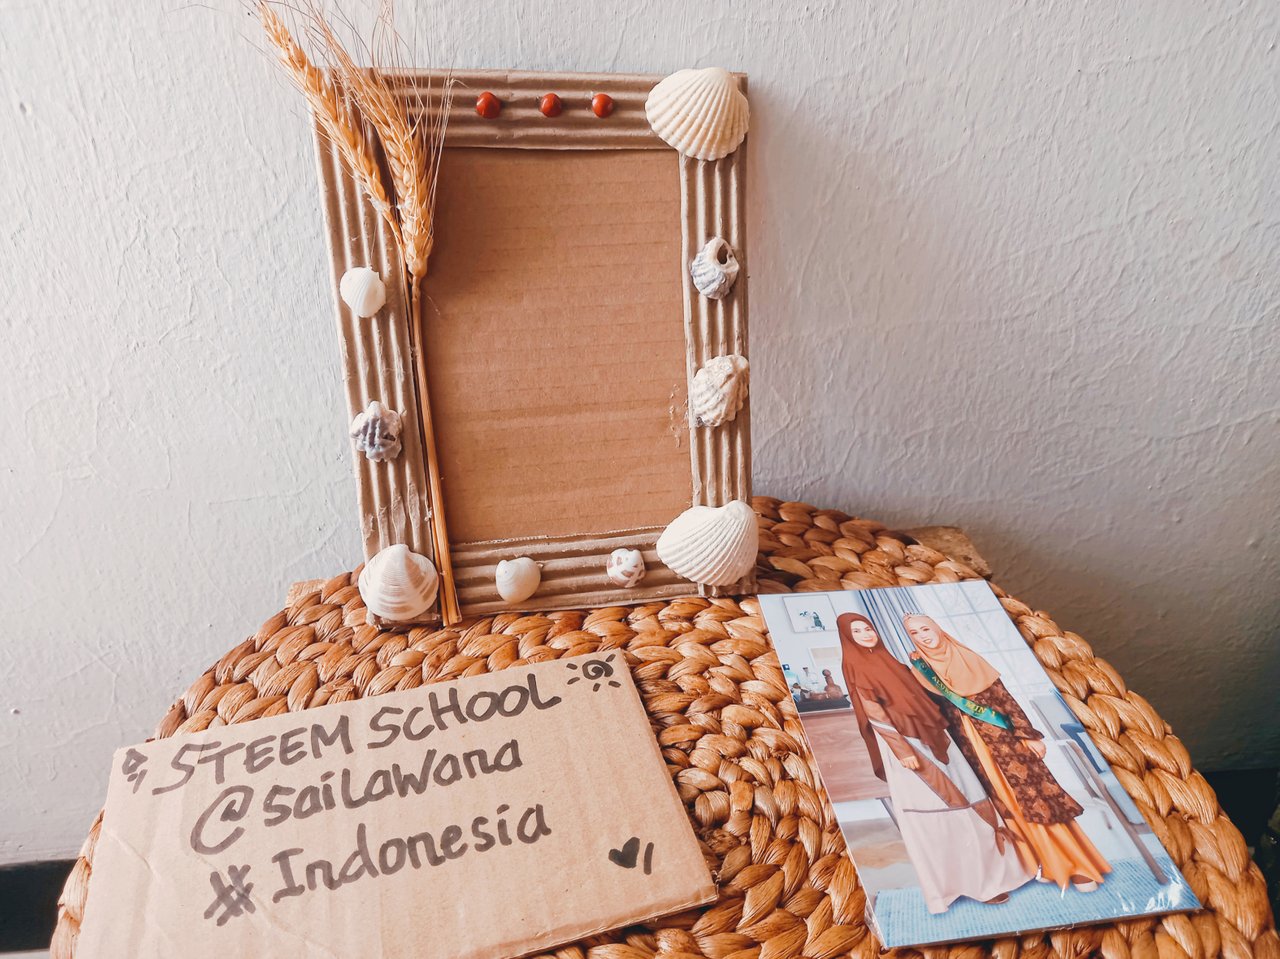
simple photo frame finished

the process of attaching a photo to the frame

the frame and the photo are ready on display

simple creations by my own hands
before-after
All photos displayed are original, mine, and I captured them using my personal smartphone.
| Camera Used | Smartphone Samsung A31 |
|---|---|
| Category | photography |
| Photography | Crafty content |
| Location | Lhokseumawe, Aceh |
| Photographer | @sailawana |
This is my own simple creation, in utilizing used materials that are no longer used so that they become products that can be reused. Hopefully we can continue to inspire each other and spread a positive spirit and kindness for those around us.
I want to thank you @enveng as the contest organizer, and also I thank @dobartim @tatjanastan.
At last to all stemian friends, Thank you for reading my post. Have anice day All🤗😘
https://twitter.com/saylawana/status/1395017030621818882?s=19
Hi my friend, this photo frame has an aesthetic appearance. I liked it a lot. I need one, maybe I can make it as looking at your post 🤗
Oh really? You should try it by your self its really easy to made photo frame. Anyway @enveng thanks for your appreciation to me. Its really nice to join again here🤗😘
I'm gonna try it 😊💕
Great🤗🤗