"Weekly Food Contest" - Preparing Empanada Gallega - (Step by step) *** "Concurso de comida semanal"– Preparando Empanada Gallega – (Paso a Paso)
Bienvenidos Queridos Lectores
Welcome Dear Readers
Hola amigos siempre es un gusto estar con ustedes, hoy quiero compartirles una costumbre que adquirimos recientemente en casa y ahora en cuarentena más que nunca. Con el fin de premiar a las niñas, por su buen comportamiento durante la semana, las consentimos los fines de semana. Le preparamos sus comidas favoritas y también probamos recetas nuevas y distintas a las que preparamos comúnmente.
Hello friends, it is always a pleasure to be with you, today I want to share with you a custom that we recently acquired at home and now in quarantine more than ever. In order to reward the girls, for their good behavior during the week, we spoil them on the weekends. We prepare their favorite foods and also try out new and different recipes from the ones we commonly prepare.

No siempre es fácil, porque estamos limitados por los ingredientes que tengamos en casa, pero bueno no las ingeniamos lo mejor que podemos. El sábado pasado probamos hacer una Empanada Gallega y nos quedó muy rica a las niñas les encantó. Pero quiero aclarar, que el Chef es mi esposo, nuestras hijas y yo somos una especie de Sub-Chefs, o su asistentes, jajajaja. Ahora iniciemos con los ingredientes, para luego pasar al paso a paso de la preparación.
It's not always easy, because we are limited by the ingredients we have at home, but we don't make the best of them. Last Saturday we tried to make an “Empanada Gallega” and it was very tasty and the girls loved it. But I want to clarify, that the Chef is my husband, our daughters and I are a kind of Sub-Chefs, or his assistants, hahaha. Now let's start with the ingredients, and then move on to the step-by-step preparation.

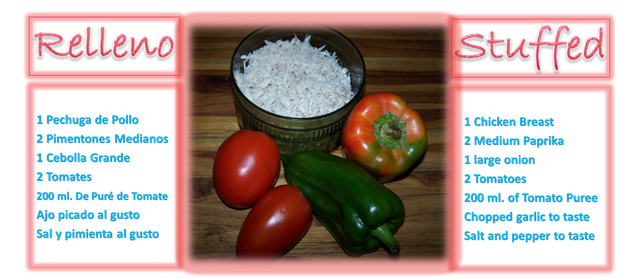
Paso 1: El Relleno
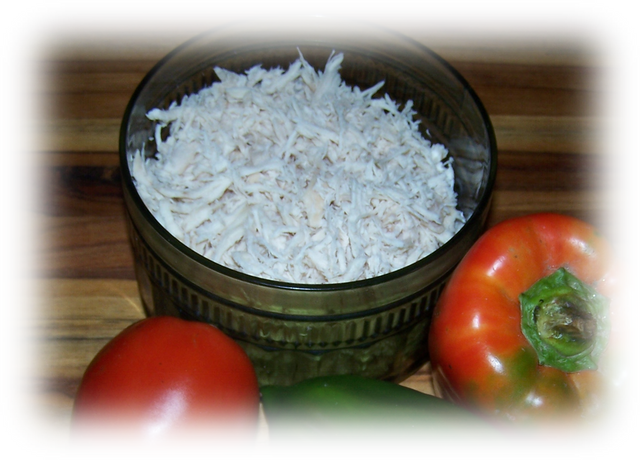
Lo primero que se debe hacer es el relleno, debemos hacerlo con bastante antelación, debido a que antes de usarlo debe estar a temperatura ambiente o frio. El tipo de relleno es el de su preferencia, nosotros usamos un guiso de pollo, pero puede ser de carne, pescado, vegetales, etc. su imaginación es el límite. Con anticipación puse a sancochar la pechuga de pollo, una vez estuvo lista, esperé que se enfriara un poco y la desmenuce y la reserve.
Step 1: The Stuffing
The first thing to do is the filling, we must do it well in advance, because before using it must be at room temperature or cold. The type of filling is your preference, we use a chicken stew, but it can be meat, fish, vegetables, etc. your imagination is the limit. I put the chicken breast to boil in advance, once it was ready, I waited for it to cool down a bit and then I shredded it and set it aside.
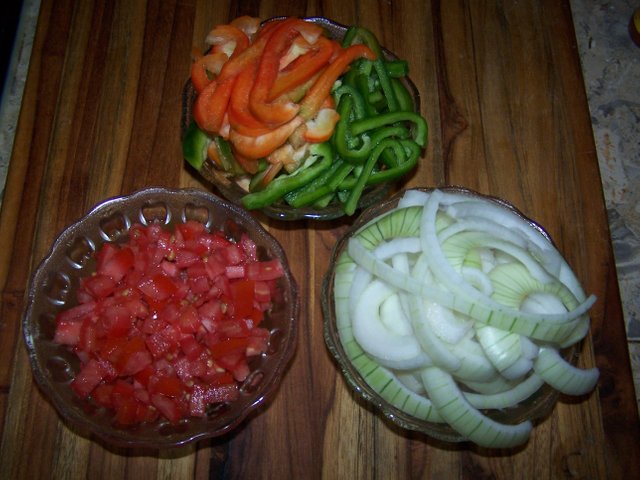
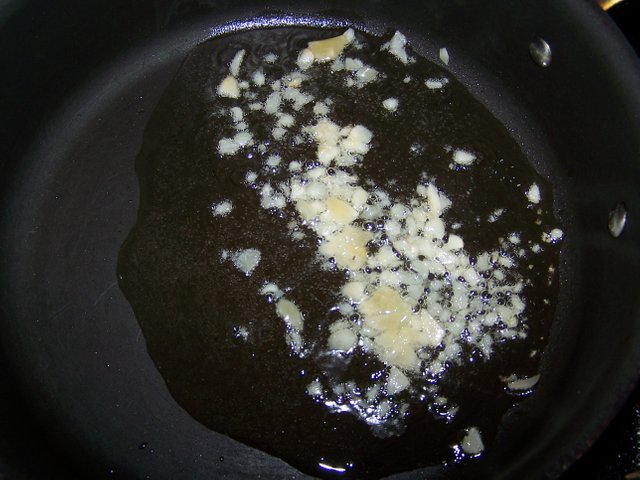
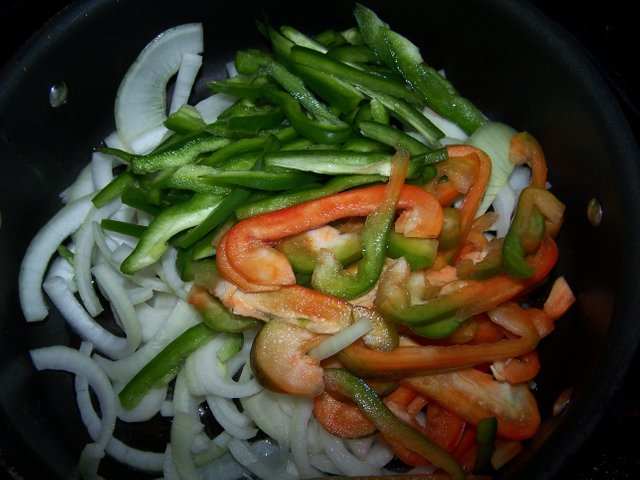
Paso 2:
Iniciamos picando en julianas, los dos pimentones medianos y la cebolla, los tomates los picamos en cuadritos muy pequeños, finalmente trituramos unos granos de ajo. Calentamos una sartén, le agregamos aceite, una vez se calentó un poco incorporamos los ajos picados, pasados unos instantes incluimos la cebolla, los tomates y el pimentón.
Step 2:
We start by chopping the two medium peppers and the onion into julienne, then we chop the tomatoes into very small squares, and finally we crush some garlic grains. Heat a frying pan, add oil, once it is a little hot, add the chopped garlic, after a few moments include the onion, tomatoes and paprika.
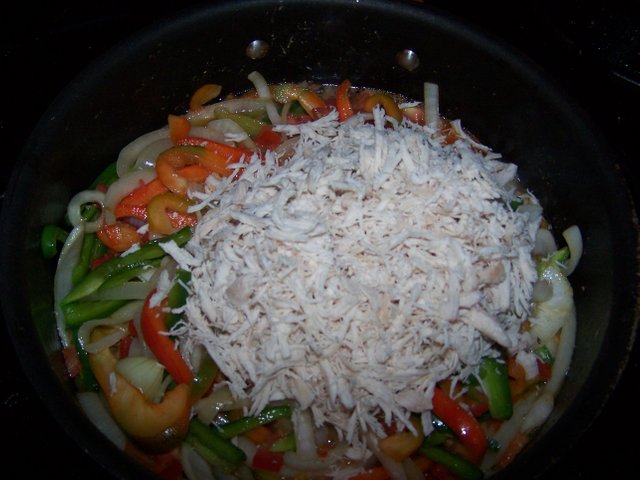
Paso 3:
Sofreímos por unos minutos los aliños, hasta que la cebolla se transparente, en ese momento incorporamos el pollo desmenuzado. Mezclamos bien todo en la sartén, sazonamos a nuestro gusto y esperamos a que los vegetales se ablanden, pero que mantengan un poco de textura, y que se integren los sabores. Ya conformes con el sabor de nuestro pollo guisado, lo retiramos de fuego y reservamos para usarlo una vez se enfríe.
Step 3:
Fry the seasonings for a few minutes until the onion becomes transparent, at which point add the shredded chicken. Mix everything well in the pan, season to taste and wait for the vegetables to soften, but to maintain a little texture, and to integrate the flavors. Once you are satisfied with the taste of our stewed chicken, remove it from the heat and set it aside to use once it has cooled down.

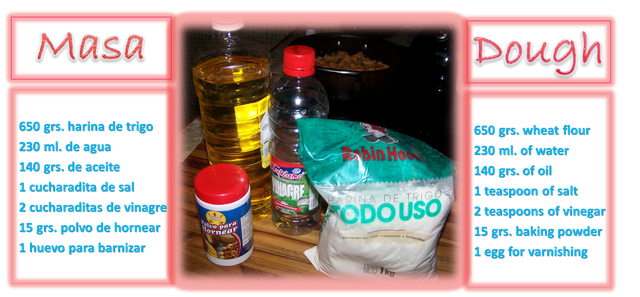
Paso 4: Preparación de la Masa
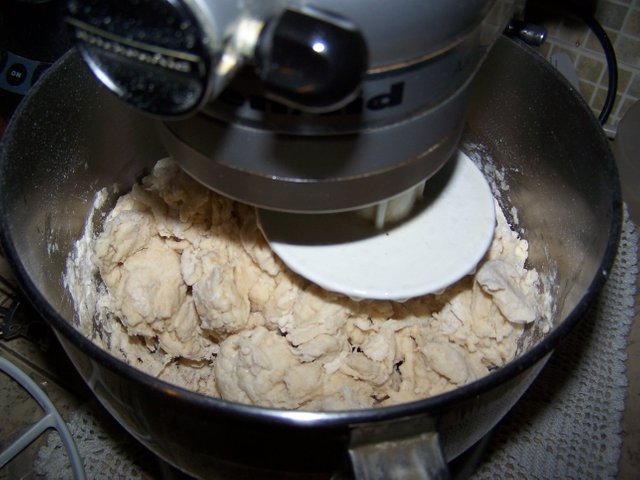
Ya ha pasado un tiempo y nuestro relleno alcanzo la temperatura ambiente, así que, podemos iniciar la preparación de la masa. Integramos en un envase los ingredientes secos, por otro lado mezclamos muy bien los ingredientes húmedos. Para amasar nosotros utilizamos una batidora, pero si no disponen de una puede hacerlo a mano, primero colocamos los ingredientes, seguidamente le vamos agregando poco a poco los líquidos. La idea es amasar hasta obtener una mezcla homogénea y que se despegue fácilmente de los dedos, o sea, que no este pegostoza.
Step 4: Prepare the dough
Some time has passed and our filling has reached room temperature, so we can start preparing the dough. We integrate the dry ingredients in a container, on the other hand we mix very well the wet ingredients. To knead we use a mixer, but if you do not have one you can do it by hand, first we put the ingredients, then we add little by little the liquids. The idea is to knead until you get a homogeneous mixture that comes off easily from the fingers, that is, not this stickiness.
Paso 5:
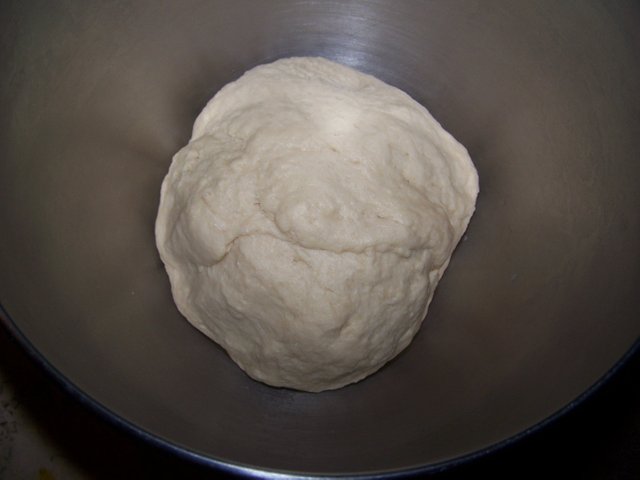
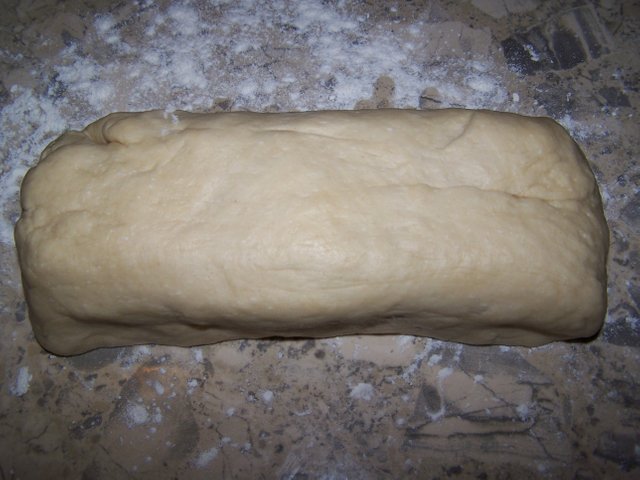
Como esta masa no lleva levadura, sino polvo de hornear, no es necesario dejarla levar, colocamos harina en la mesada para extenderla, pero antes dividimos el total de la masa en dos porciones iguales. Hacemos dos bolitas, estiramos primero una con el rodillo, hasta formar un disco un poco más grande que la bandeja donde la colocaremos.
Step 5:
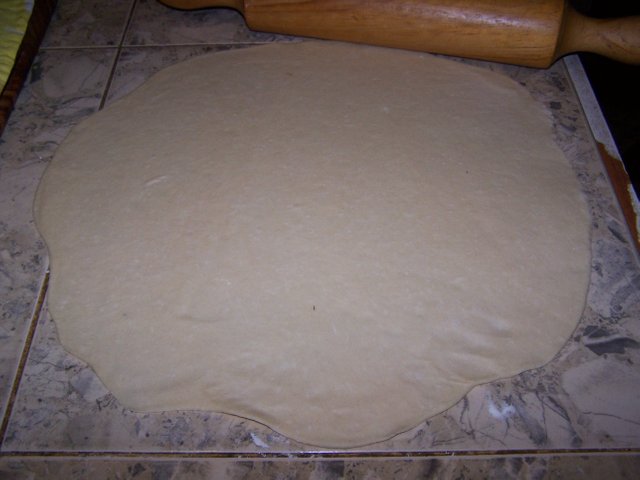
Since this dough does not contain yeast but baking powder, it is not necessary to leave it leavened. We put flour on the counter to spread it, but first we divide the total dough into two equal portions. We make two little balls, first we stretch one with the roller, until we form a disk a little bigger than the tray where we will place it.
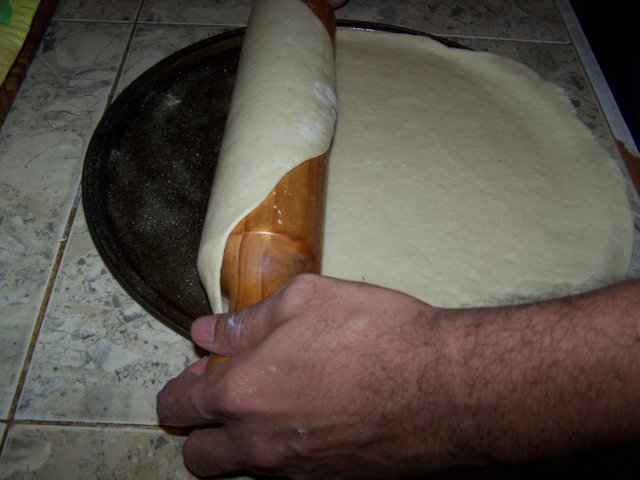
Paso 6:
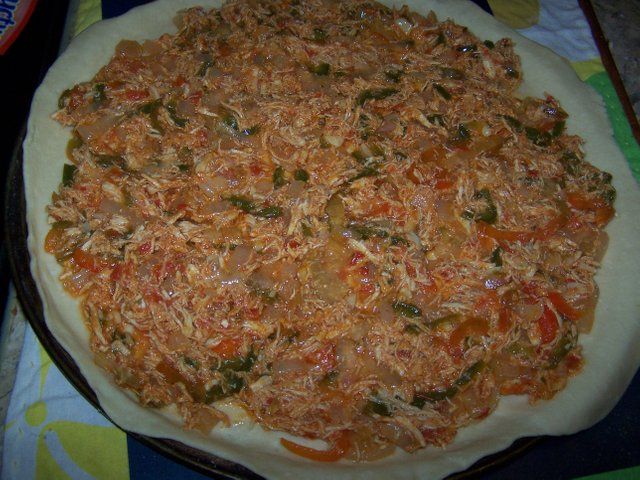
Engrasamos muy bien la bandeja, luego colocamos el disco encima ayudándonos con el rodillo, presionamos un poco para que se ajuste bien a la forma de la bandeja. Llego el momento de agregar el relleno, el cual lo distribuimos sobre la masa, lo más uniforme que podamos.
Step 6:
We grease the tray very well, then we place the disc on top helping us with the roller, we press a little to fit the shape of the tray. The time has come to add the filling, which we distribute over the dough, as evenly as possible.
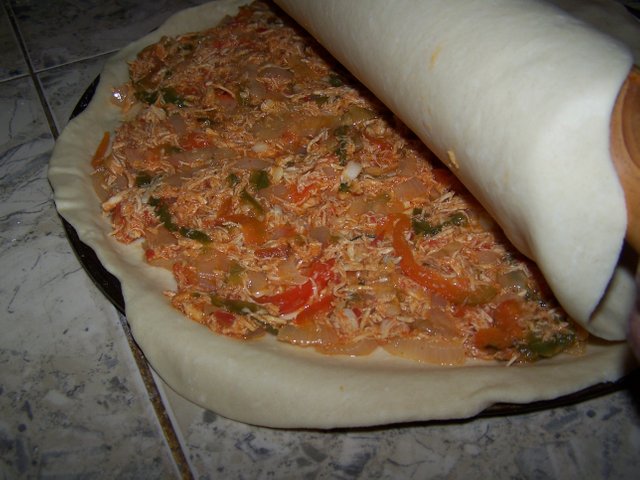
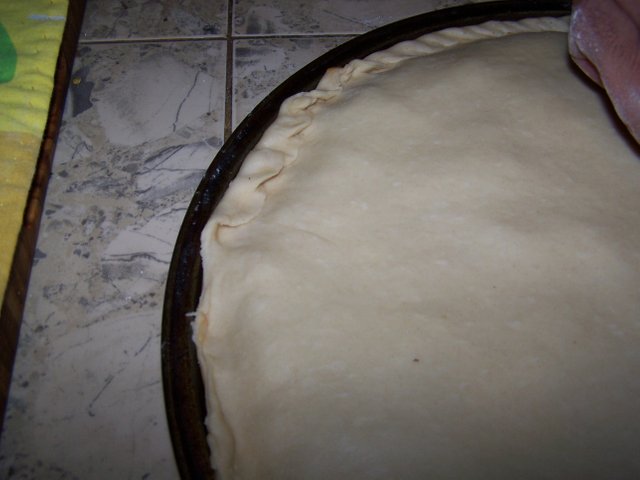
Paso 7:
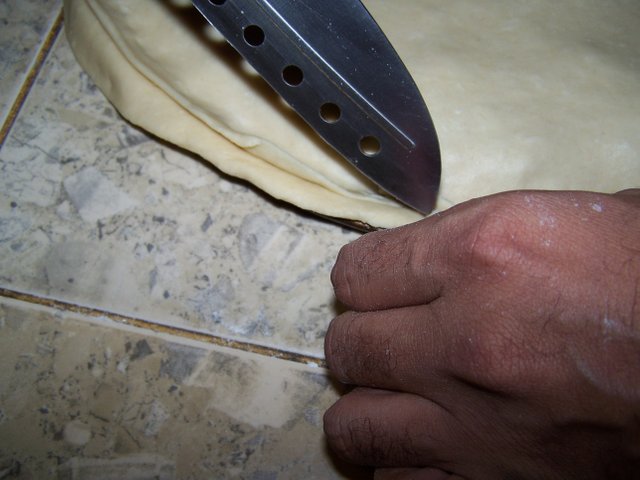
Seguidamente extendemos la otra porción igualmente en forma de disco tratamos que sea un poco más grande. Ahora nuevamente con ayuda del rodillo, colocamos la tapa a la empanada, con un cuchillo cortamos los sobrantes. Luego unimos la orilla de las dos capas y le hacemos un pequeño dobladillo.
Step 7:
Then we extend the other portion equally in the form of a disk and try to make it a little bigger. Now again with the help of the roller, we put the lid on the “empanada”, with a knife we cut the leftovers. Then we join the edge of the two layers and make a small hem.
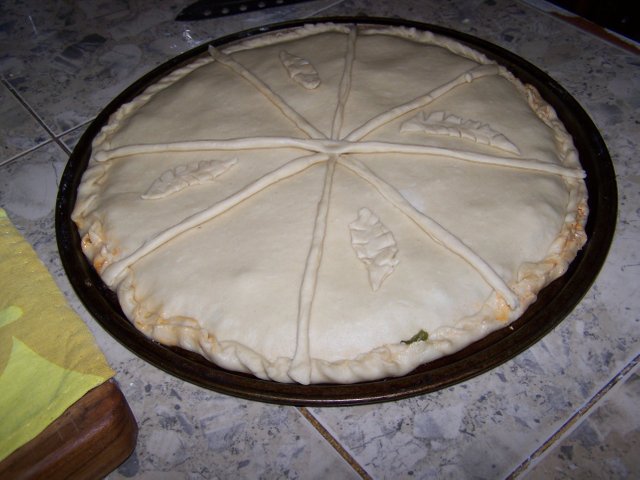
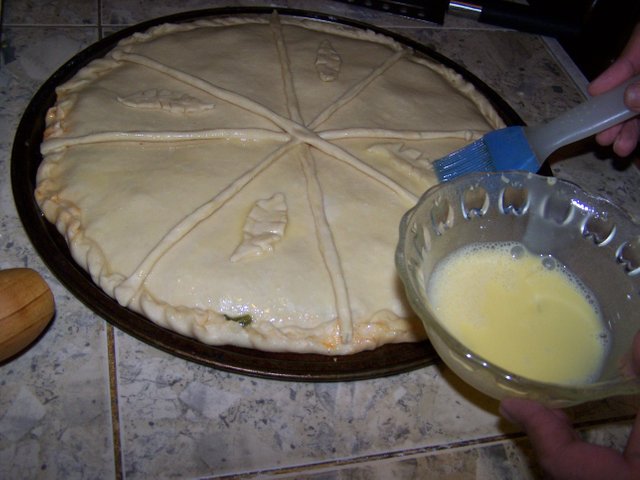
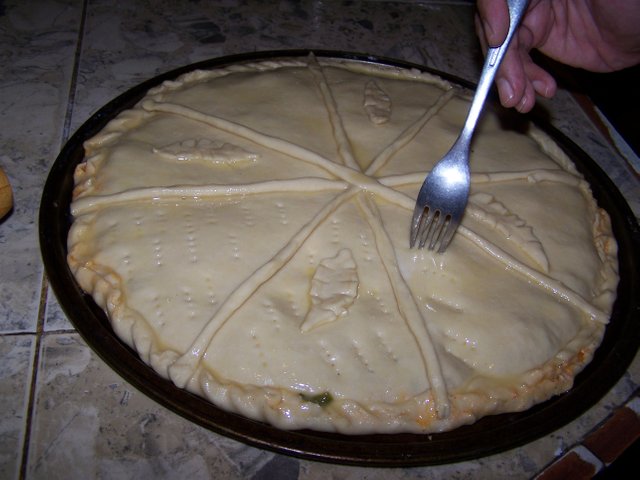
Paso 8:
Con los retazos de masa que cortamos hacemos unos adornitos y los colocamos encima de la empanada. Batimos un huevo y con el barnizamos toda la masa, una vez terminamos de barnizarla, con un tenedor perforamos la tapa, para que puedan escaparse los vapores internos que se generan durante la cocción.
Step 8:
With the pieces of dough that we cut, we make little decorations and place them on top of the “empanada”. Beat an egg and varnish the whole dough. Once it is varnished, pierce the lid with a fork so that the internal vapours generated during cooking can escape.
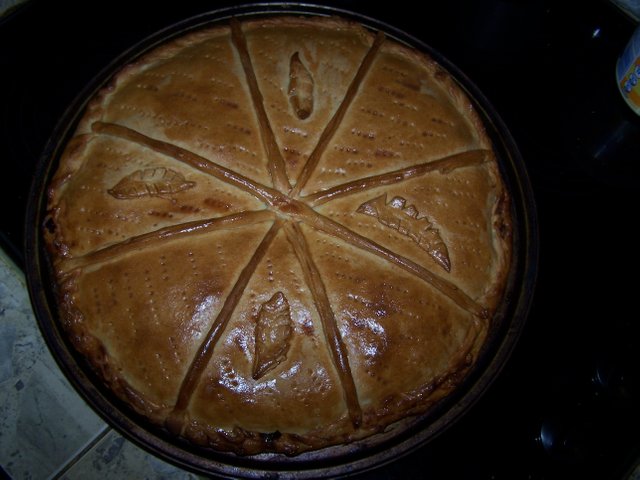
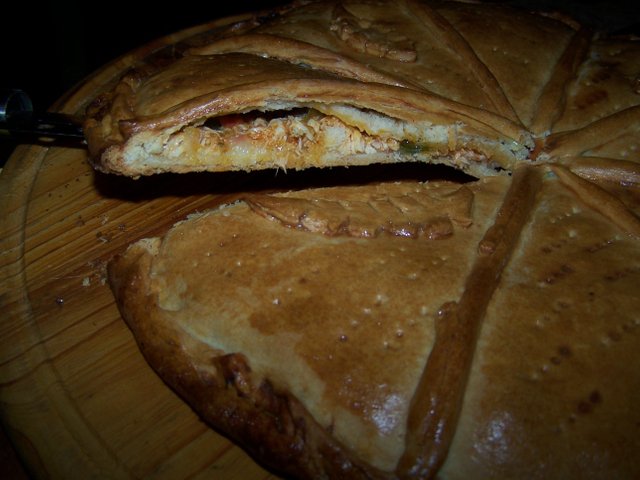
Paso 9:
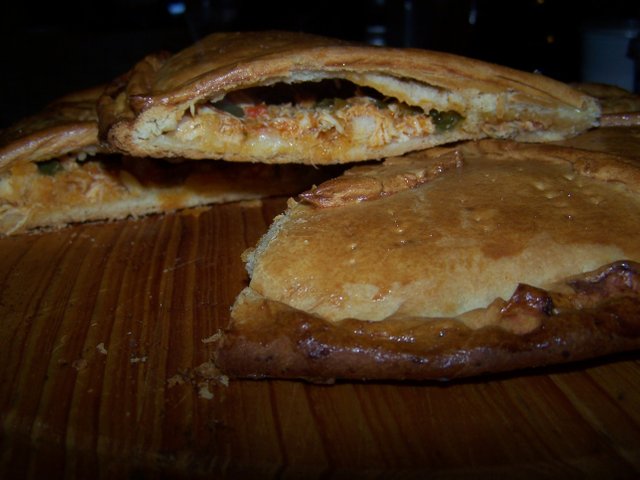
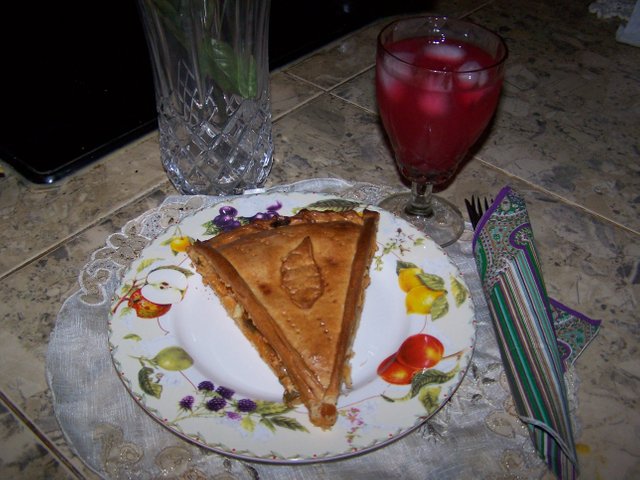
Finalmente metemos nuestra empanada en el horno, que debe estar precalentado a 190 °C, el tiempo de cocción es de 30 minutos aproximadamente. Al ver que toma un color dorado, es hora de sacar nuestra empanada del horno, no la pique inmediatamente después de sacarla del horno. Espere unos 5 minutos, que se enfríe un poco para que se tiemple la masa y no se desarme toda al picarla. Después de eso corte las porciones con un cuchillo de picar pan y estamos listos para disfrutar nuestra rica empanada gallega.
Step 9:
Finally we put our empanada in the oven, which must be preheated to 190 °C, the baking time is approximately 30 minutes. When we see that it takes a golden color, it is time to take our empanada out of the oven, do not bite it immediately after taking it out of the oven. Wait about 5 minutes, let it cool down a bit so that the dough will be warm and not all of it will come apart when you chop it. After that, cut the portions with a bread chopper, and we are ready to enjoy our delicious “empanada gallega”.
Content and photographs of my intellectual property
Technical information
| Camera | Pentax camera * istDL |
|---|---|
| Lens | Pentax 18-55 |
| Lighting | Natural light |
| Locación | Barcelona, Anzoátegui State, Venezuela |
Contenido y fotografías de mi propiedad intelectual
Información Técnica
| Cámara | Cámara Pentax * istDL |
|---|---|
| Lente | Pentax 18-55 |
| Iluminación | Luz Natural |
| Ubicación | Barcelona, Estado Anzoátegui, Venezuela |


Si quieres saber un poco más de mi haz clik en la siguiente imagen

https://twitter.com/FrancyRios75/status/1308516714867458049?s=20
Congratulations, your post has been upvoted by @dsc-r2cornell, which is the curating account for @R2cornell's Discord Community.
Simplemente genial. Una promoción gastronómica que hace que el hashtag #weeklyfoodcontest sea de mayor calidad. Comparé la Empanada Gallega con una pizza hecha con pollo + verduras. Pequeños trozos de pollo, añadiendo verduras, más la consistencia de la masa y la forma del plato + tiempo de cocción son simplemente perfectos. Su participación en el concurso ha sido aprobada con éxito.
Además, puedes ganar votos por -steemcurator01 preparando artículos con el concepto de comida y cocina en la Comunidad SteemitFoods. :)
Could you support the wonderfully prepared Galician Empanada when available? @steemcurator01
Me alegra muchisimo que mi publicación le agradara.
Seguiré su recomendación de publicar en la comunidad SteemitFoods, mis post de cocina, muchas gracias por la orientación. @alikoc07