Help The Kids To Develop Their Creativity... Create Something from nothing: Cardboard Teaching Aid.
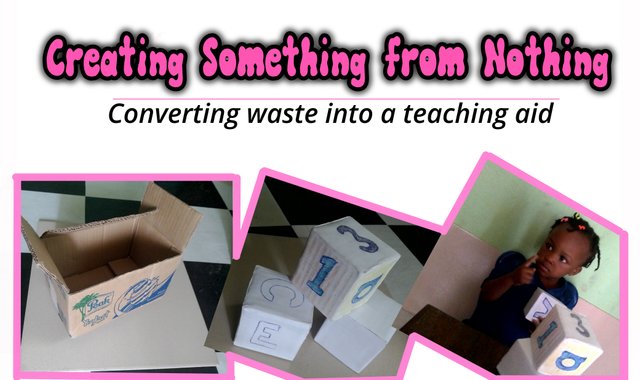 Teaching aids: recycled out of waste.
Making a Visual Aid For Teaching
While helping my daughter with her homework, it became obvious that I needed some Flash Cards to help her identify and remember the lesson. I rescued a yogurt carton which was on its way to the dumpster and gave it an opportunity to be useful once again.
At first I went for the usual Flash Cards but I quickly concluded it will crawl under the chair and all get lost in a short time.
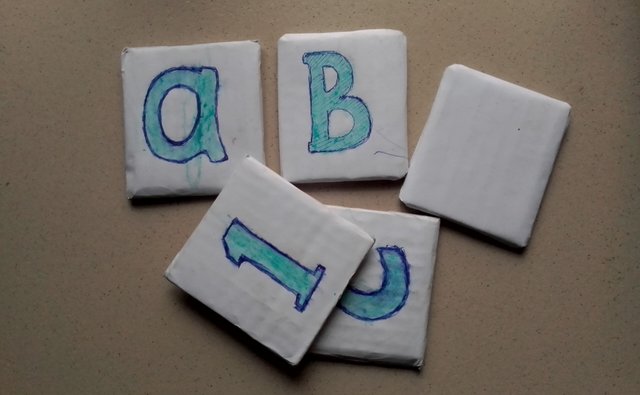
I decided to make it more fun, make a cube that can serve as six flash cards, it can't easily get lost due to its size and can double as both a teaching aid and a toy for my kids.
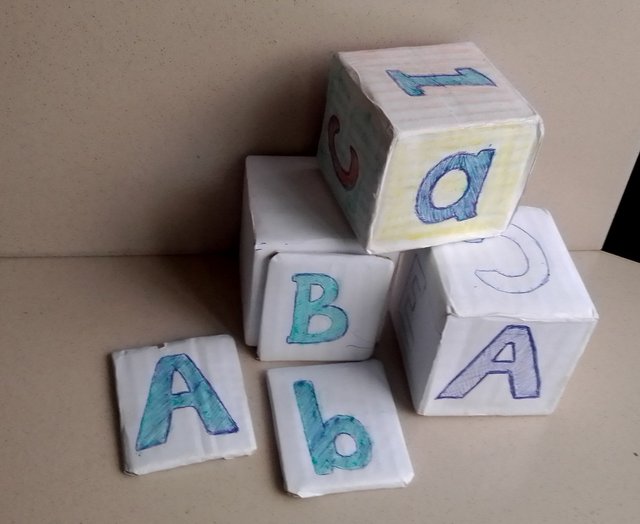
What am i Making?
What I am making is called a Letter Cube and in some cases it is refers to as an Alphabet Cube or alphabet block.
It really helps children recognize the shape of alphabets long before they start learning how to read. You will find a good number of this cubes in pre-grade/nursery schools, though few parents get them for their kids to play with at home.
Needed Materials and tools
Here are a list of materials I used in making my Cubes, the materials will be used as raw materials and in the process, the materials will be converted into the cube
| s/n | Qty | Material |
|---|---|---|
| 1 | 0ne | Strawboard or Carton |
| 2 | Three | A4 papers per Cube |
| 3 | 0ne | small size Glue |
Tools on the other hand will help in the making of the cubes but will not be consumed in the process.
| s/n | Qty | Tools |
|---|---|---|
| 1 | 0ne | pair of Scissors |
| 2 | 0ne | Cutter |
| 3 | 0ne | Small size Brush |
| 4 | 0ne | Pencil and Crayons |
How I made my Cubes
Getting stated by Cutting out the shapes
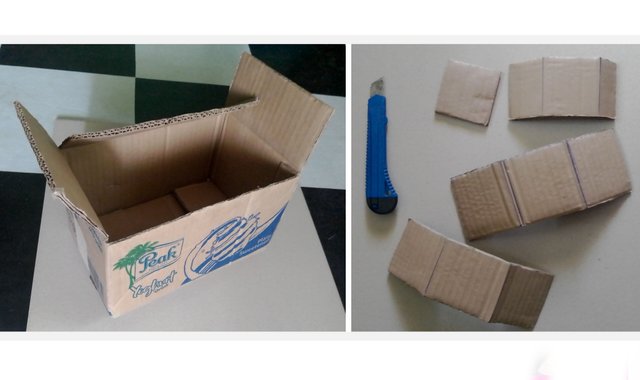
- I got the cardboard/carton and had to cut it open.
- A stencil was used to draw a perfect square
- to make gluing easier, instead of six separate squares, a rectangle made up of three of this squares was cut out. And a second that is slightly smaller was also cut.
- two pice that will help give the cube some rigidity was also cut.
Gluing the cut parts together
With the help of a brush, the paper glue was spreed the over some specific surfaces to hold the various parts together.
- The supporting pice took their position inside the cube to make it ridgit enough to whitdtand some physical pressure.
- Each of the rectangles were folded to produce three sides of the cube.
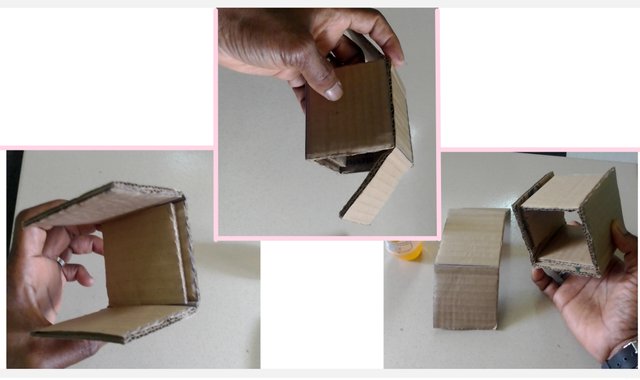
Finishing:
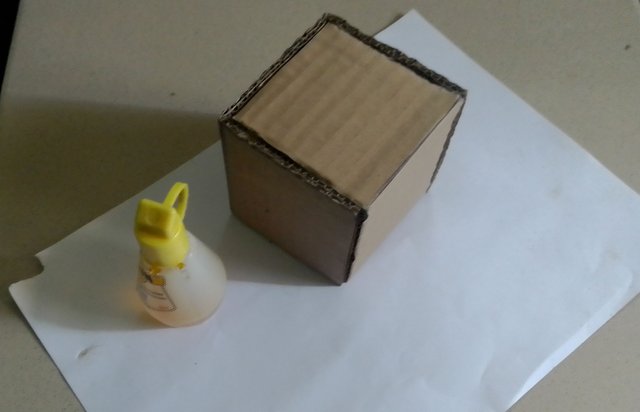
The finishing came in two stages. After gluing the cube, the next step was to overlay the A4 paper on the cube which require more glue.
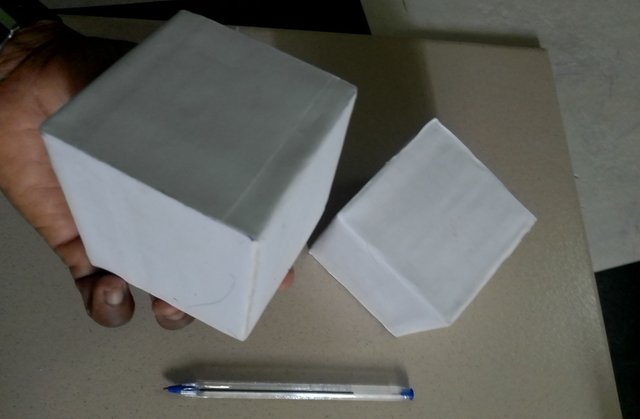
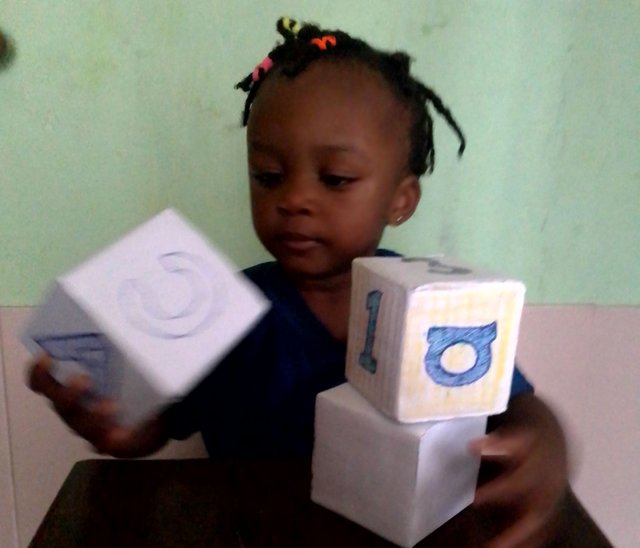
In stage two of finishing, the pencil and crayons are now writing/drawing/painting the alphabet on the cubes
How did you get the idea?
As stated at the onset, this idea was sonsived out if nessesity, the process came from the experience I got spending some time around some carpenters.
How useful is what you have made?
My daughters now have a new toy to play with as they try to stack it. At the same time I have a teaching aid to use when teaching them the alphabets. Like a flash card I simply show the face with the alphabet I want them to see.
It's big enough to see and the need to write on the board is reduced.
An inspiration
Even when they seem useless, it could be recycled. My young girls could see that things can be changed from one form to another. Useful things can be made out of things that look useless.
Thank you @manuelhooks so much for sharing this quality content with us. You have shared with us a visual aid for teaching and I see this can highly be useful for children
POWER UPs| 352.763 STEEM
Something new and different....
Very nice entry from your side...
Good luck for the contest..
Nice cubes bro, i wish you luck in the contest 👍
Thank you. Best of luck to us all
😊😊