"DIY (Do It Yourself) - let's see your creativity in various DIY skills Week32

Materials used in construction
- Carton
- pencil
- Eraser
- Bold marker
- Evostik gum
- Top bond
- Black & white Embossed paper
- Rope
- scissors
- paper cutter
- sandpaper

Stages Of My Construction
Step 1
I drew the body of the guitar on a carton using a pencil and traced it with a bold marker. I then used my paper cutter to cut it. After cutting, I duplicate it so that one will serve as the front and the other one as the back.


Step 2
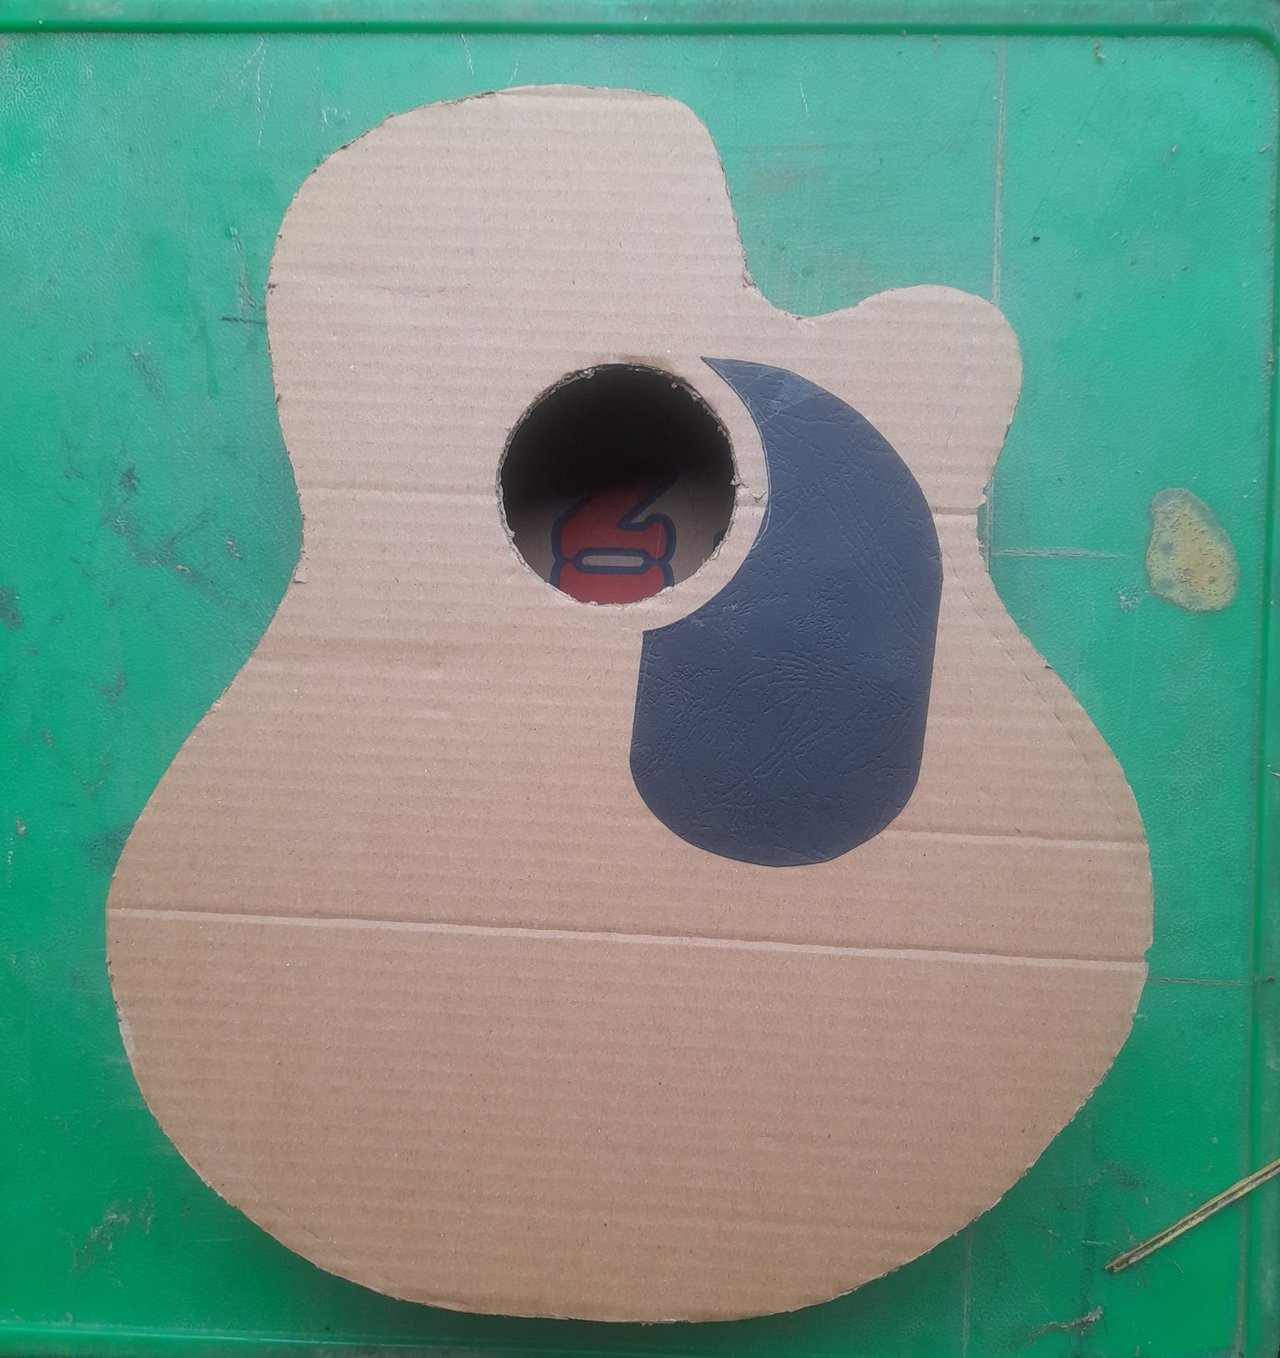
I draw a small circle on the body of the guitar that will serve as the front and I cut it out. This hole enables the guitar to amplify the sound

Step 3
I cut cartons measuring 7cm wide to serve as the width of the guitar. I also pilled one side of the carton to enable it to curve smoothly.

Step 4
I put Evostik gum at the edge of one side of the 7cm wide carton and also at the front body cover of the guitar and glued them together.

Step 5
I again put the Evostik gum at the other edge of the 7cm carton and glued it with the back cover of the guitar

Step 6
I drew a shape on black embossed paper, cut it out and used the Evostik gum to glue it at the front of the guitar
Step 7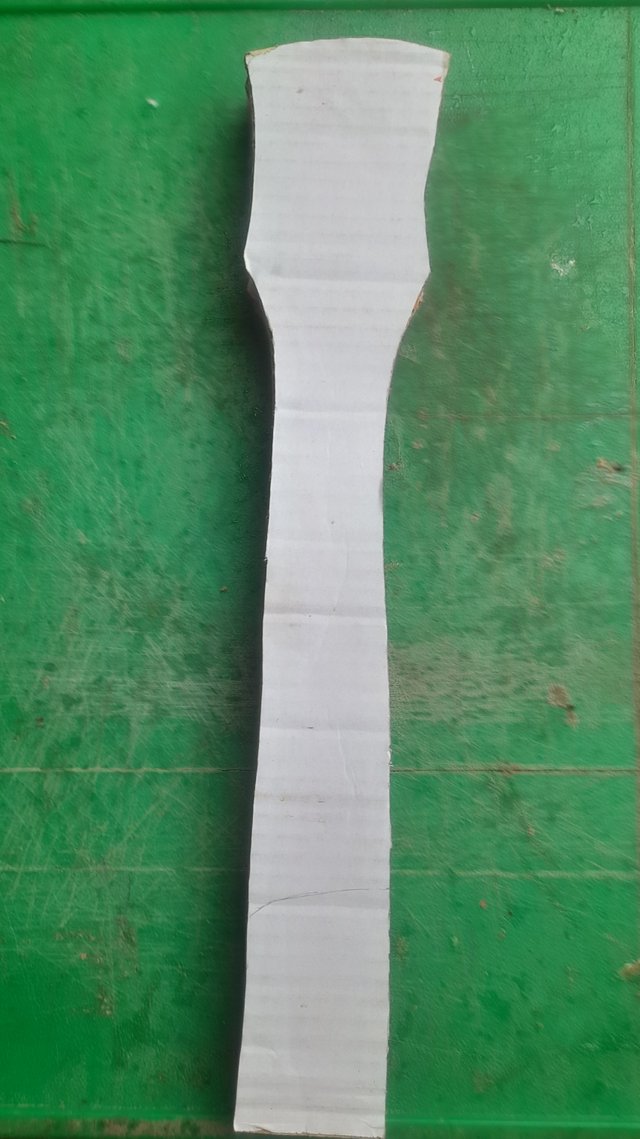
Step 8
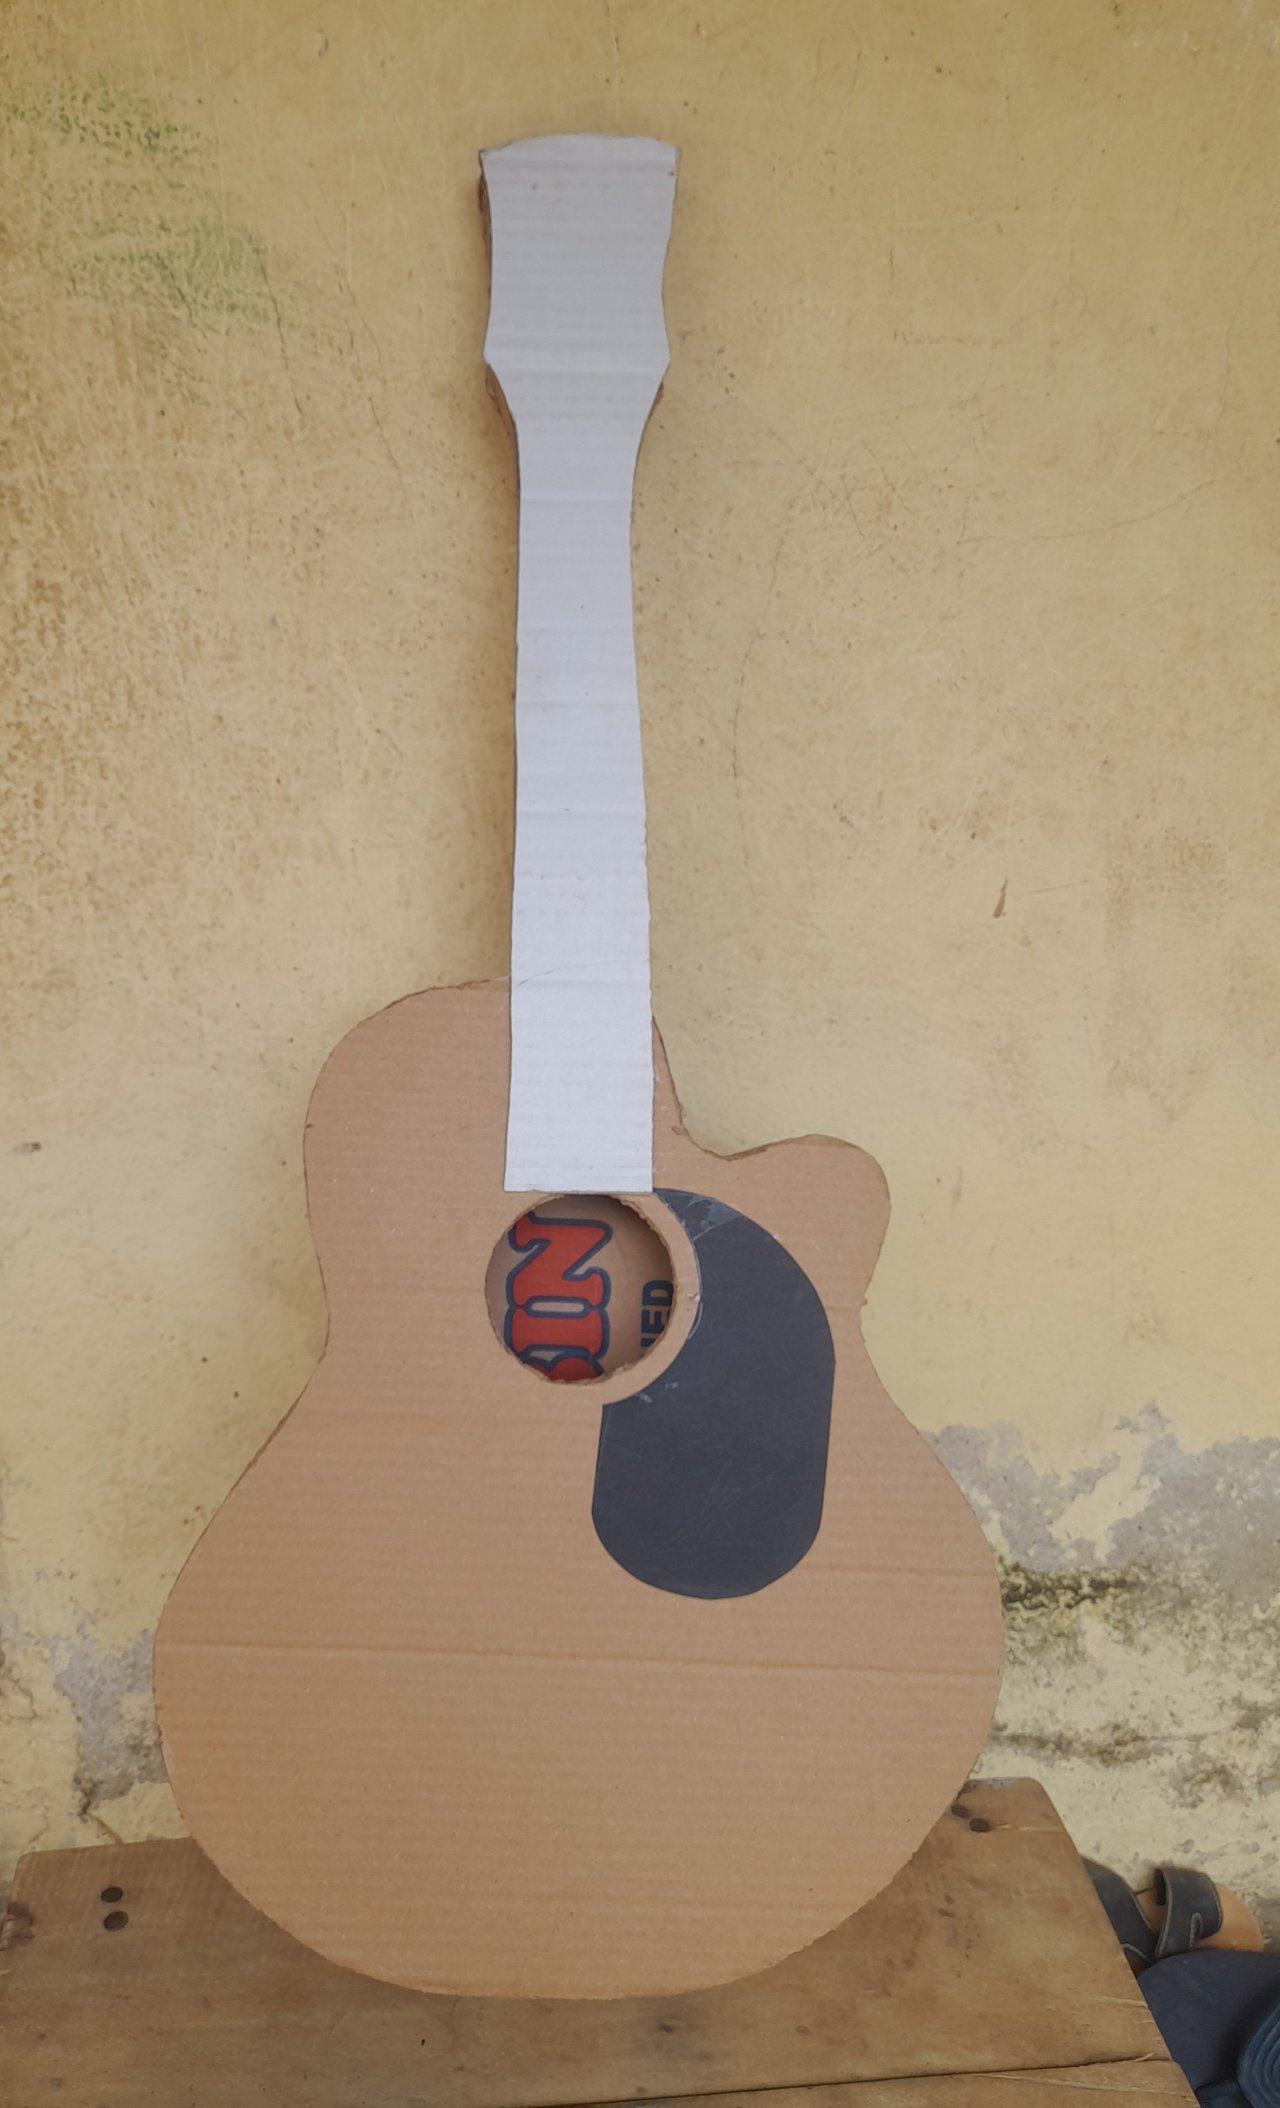
I cut a carton measuring 3cm to serve as the width of the neck of the guitar. I then used the Evostik gum to glue it with the front and back neck of the guitar.

Step 9
Here I connect the neck and body of the guitar. I first used evostik gum and later on, applied a top bond to enable it to glue firmly. At this stage, I stop work till the next day to enable the top bond to dry.

Step 10
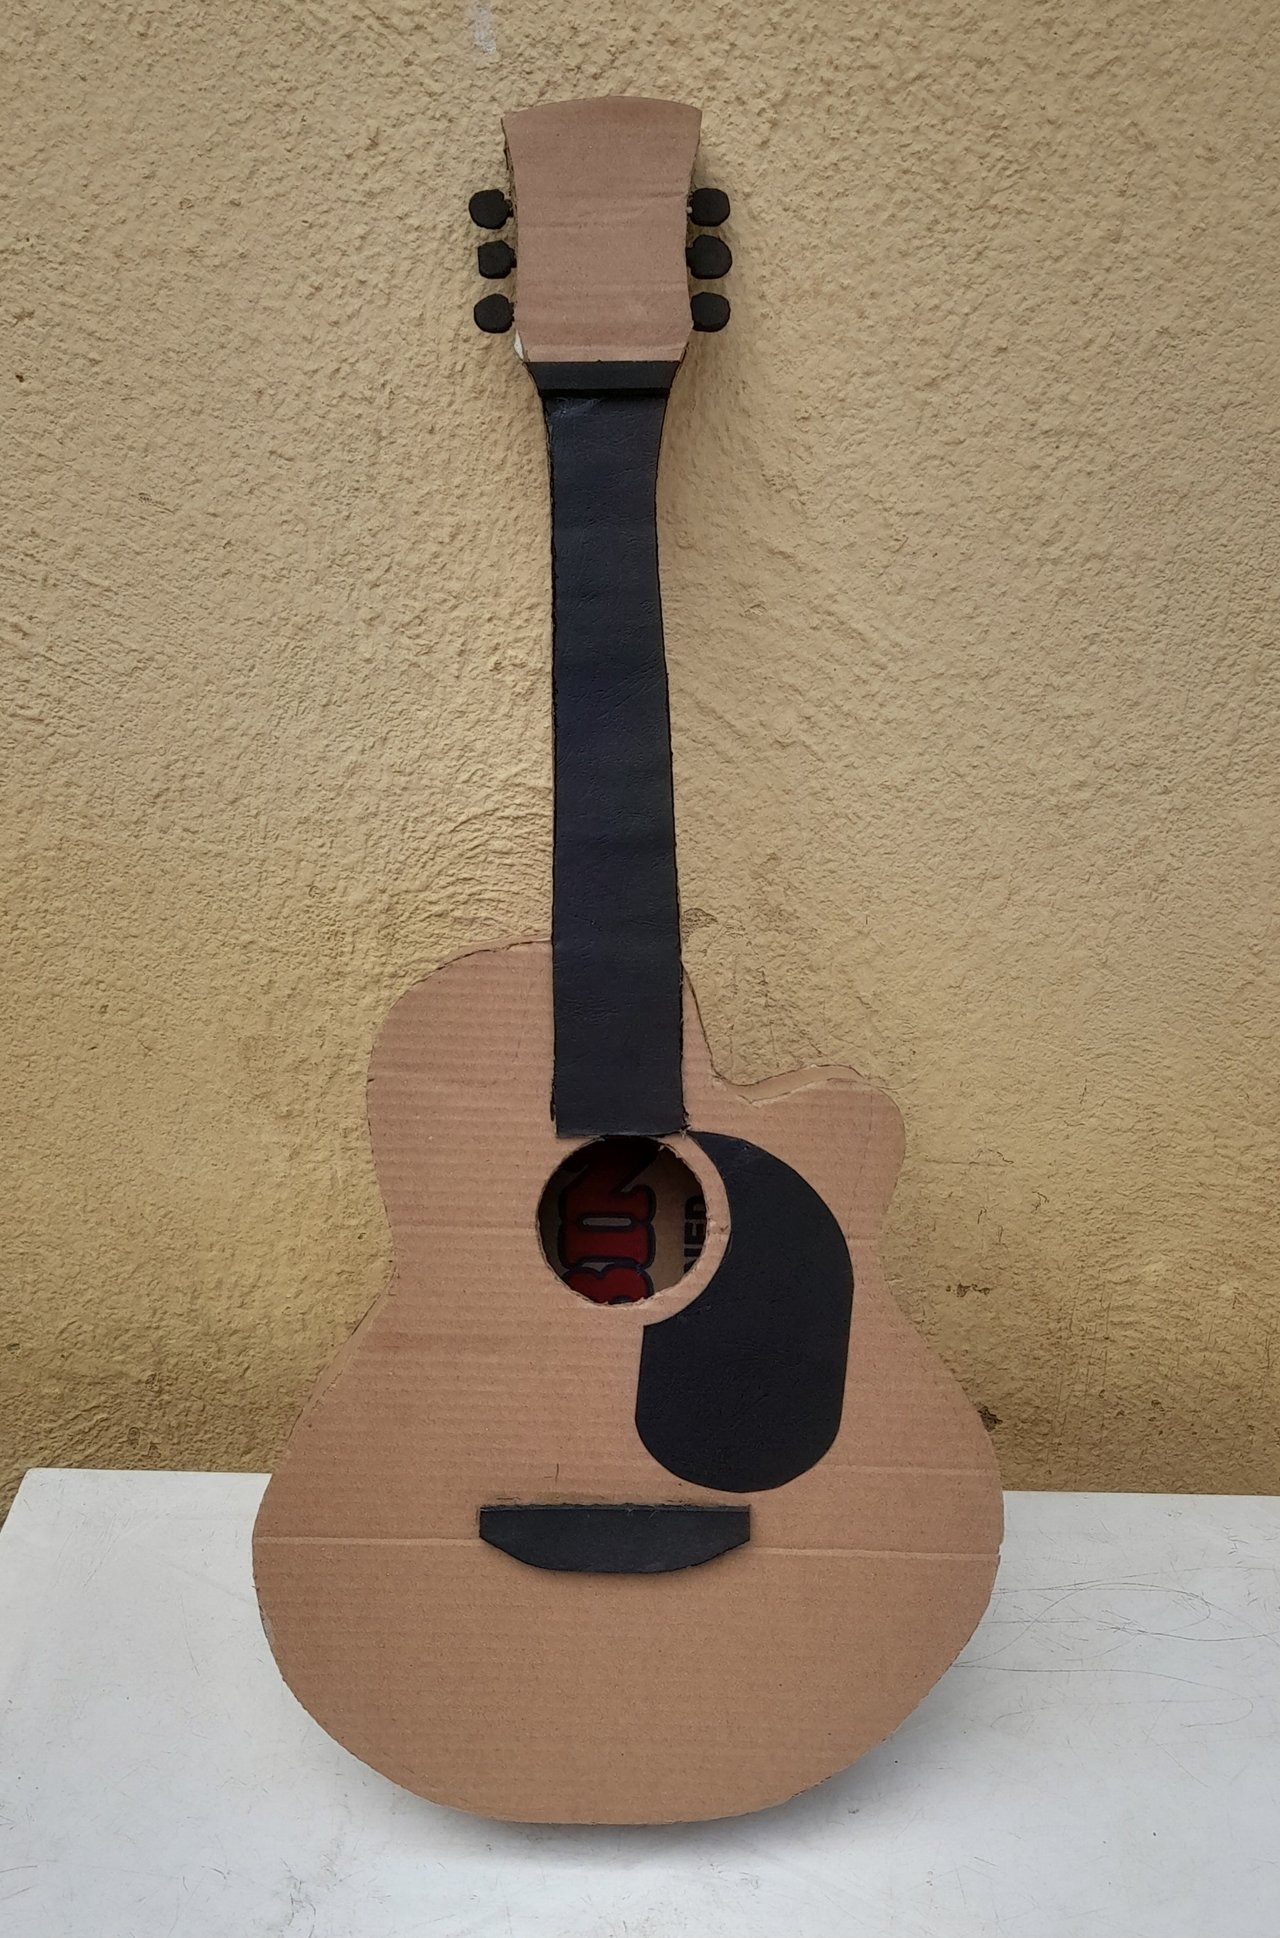
I cut the black embossed paper to cover the front neck of the guitar.

Step 11
I cut a condemned sleeper in two different sizes, brushed it with sandpaper to make it needed and gummed one at the neck and the other at the body of the guitar. They both serve as a base and at the same time elevator of the guitar strings.


Step 12
I cut sleepers and duplicated them into six pieces to serve as the adjusting or tune-setting notes of the guitar strings and gummed them at the top back of the guitar neck.

Step 13
I used my black permanent marker to put a black edge around the guitar's body.

Step 14
I cut sleepers into six pieces and pasted them at the top front of the neck of the guitar to help hold the strings of the guitar.

Step 15
I cut white embossed paper and pasted it at the neck of the guitar to serve as the Fred.

Step 16
Here I connect the six strings of the guitar using rope and also cut a rectangular piece of black embossed paper and gummed it on the body of the guitar to beautify it. I gummed six beads one each from the starting point of every string and also, I gummed some white dots inbetween the freds.

My selfie


Conclusion
This is my guitar construction work with the use of a carton. Thank you for visiting and following me. I invite these friends to also participate:
@shawlin
@ranartblog
@chant
10% support to @steemkidss
X (Twitter) Share
https://x.com/Manasseh3600/status/1819872894987419754?t=MhD6ujRcwnmV8J-6wWl4Ag&s=19
!upvote 15
💯⚜2️⃣0️⃣2️⃣4️⃣ Participate in the "Seven Network" Community2️⃣0️⃣2️⃣4️⃣ ⚜💯.
This post was manually selected to be voted on by "Seven Network Project". (Manual Curation of Steem Seven).
the post has been upvoted successfully! Remaining bandwidth: 155%
Thank you
Your post has been rewarded by the Seven Team.
Support partner witnesses
We are the hope!
Your project looks amazing 🤩 It's impressive to see how you've crafted a guitar from simple materials. I'm sure the Steem community, especially the kids and parents, will love it.
Thank you
Beautiful work!
You are talented.
Thank you
Thank you
Quedó genial, en verdad creí que era de madera, cuando ví la foto inicial, tiene usted mucha creatividad. Éxito y bendiciones.
Saludos
Thank you
Your craft really looks good and you did a neat job, it is beautifully done and am sure kids will love it
Thank you