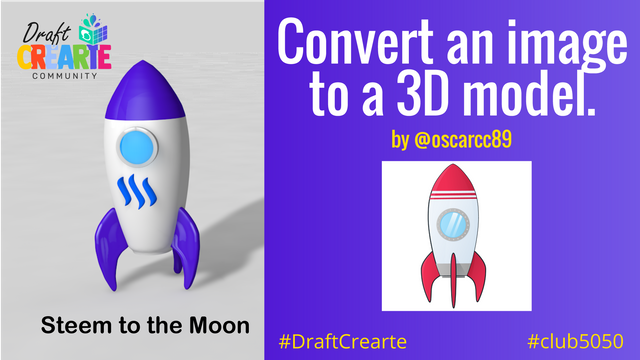
DraftCrearte | [Tutorial] Converting an image to a 3D model using Cinema4D. | Steem to the MOON! 🚀🌕 #club5050
This time I bring you something different and it is what I like to do the most, putting creativity into practice. I will teach you how to make a 3D model from an image, for this we will use the Cinema4d design software.
What is Cinema4d?
It is a 3d modeling, rendering and animation software. It can be used to design cinematographic elements such as special effects. It is also widely used in video games to design characters or objects, among others. This program has a paid license, which you can purchase on its official website. https://www.maxon.net/en/cinema-4d
Why should we learn to create 3D models?
In my opinion, this is a very interesting field as technology evolves and we increasingly enter metaverses or virtual worlds. These metaverses contain items or any 3D element that must be made by a professional or specialist in the field. Right now 3D designers are highly sought after for game development and/or creating NFT's collections. The latter is having an increase in recent years, artists are creating NFT collections and generating a large profit of thousands of dollars with their creativity. Therefore, it is never too late to learn.
Tutorial
I must say that I do not have a great experience using Cinema4D, like any program there are many ways to achieve the same result or even better. Exploring the software tools and looking at some tutorials I was able to get this result.
Now yes, let's start.
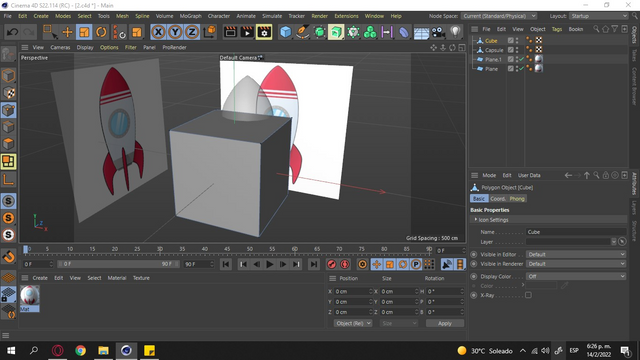
Adding reference images
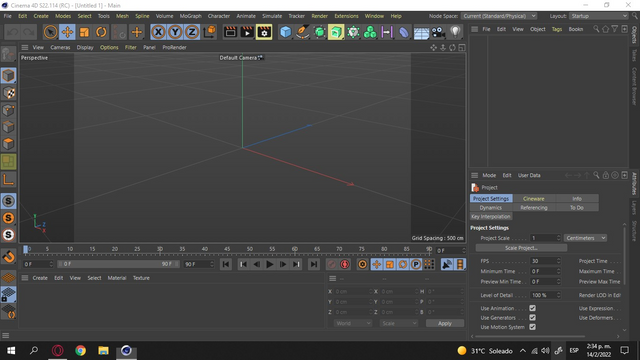
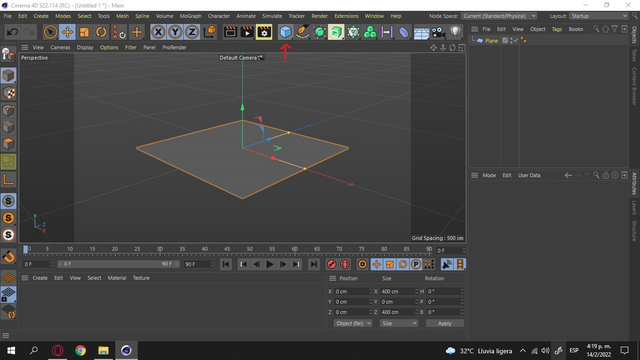
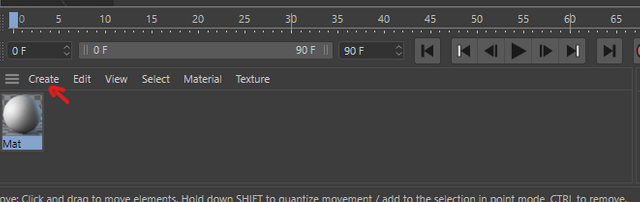
We open the Cinema4d software. Once the program is loaded, we create a plane type object, with the plane tool on the toolbar.
 |  |
|---|
We then create a material by double-clicking on the material box or by clicking Create as shown in the image below.
 |  |
|---|

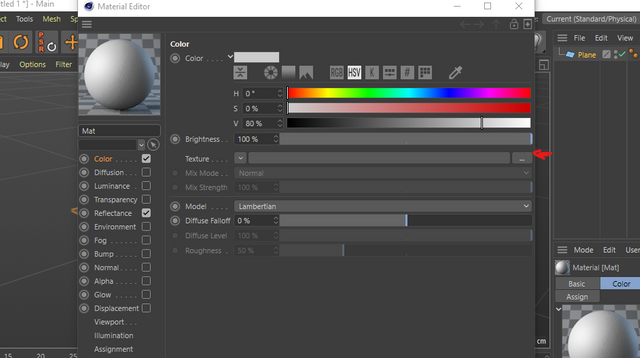
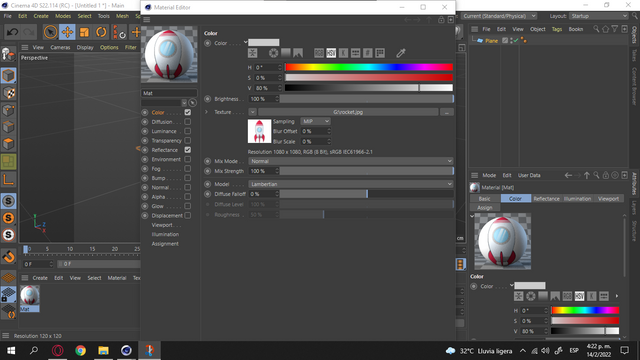
In the Color section, we click on Texture.
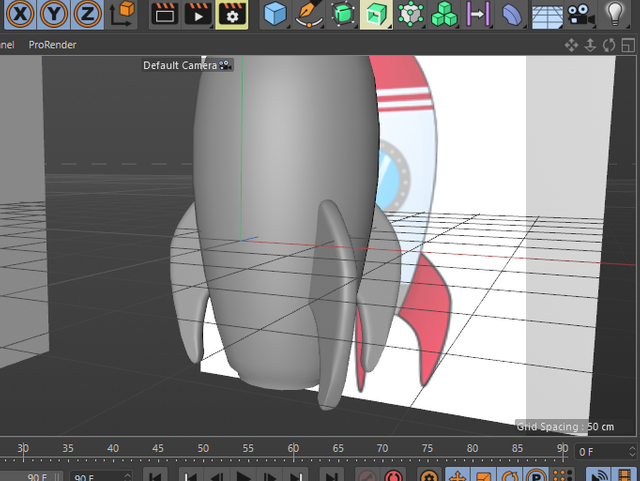
There we load the image that we will have as a reference. in this case I will use this rocket. Source
Then we close the window. We drag the material to the plane.
 |  |
|---|
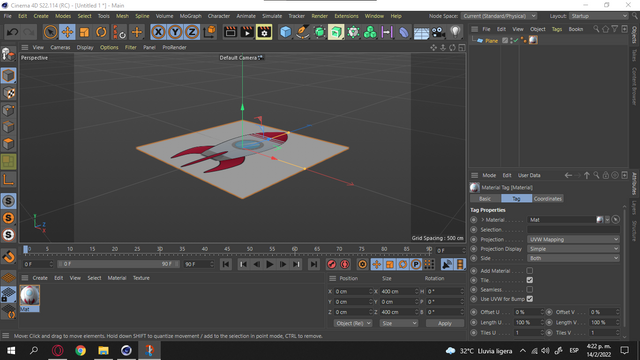
We duplicate the plane by pressing the CTRL key and we drag the object using the axis movement tool.
 | 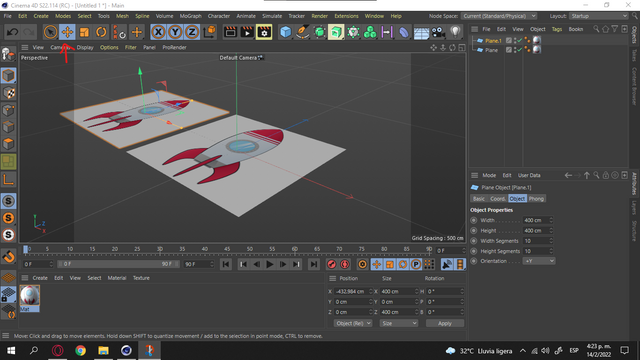 |
|---|
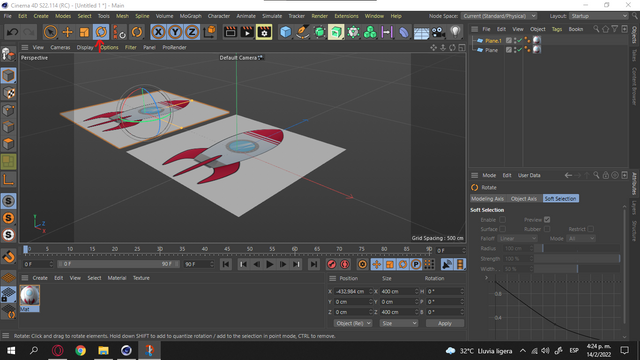
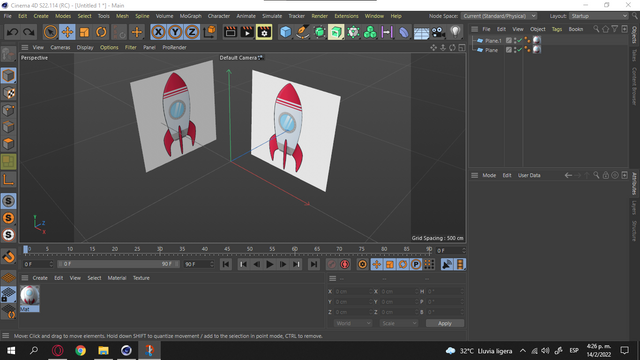
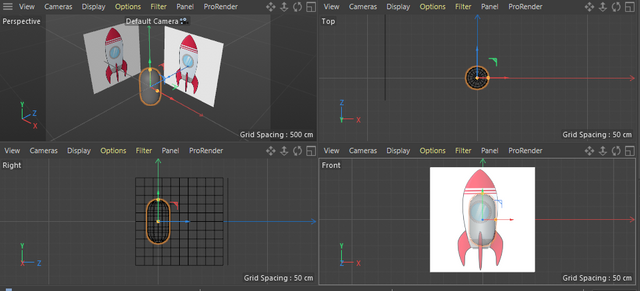
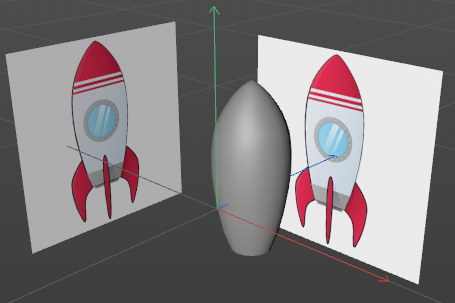
We must locate the planes as it is in the following image. We use the rotation tool and with the two objects selected we rotate the planes 90 degrees. Then we move the background as follows.
 |  |
|---|
Building the rocket
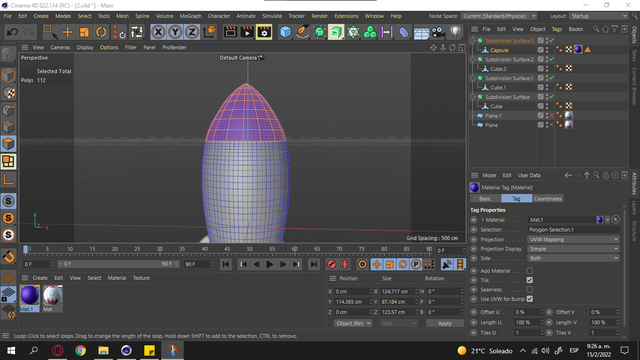
Once we have the reference images positioned correctly, we proceed to start building the rocket. We add a capsule type object. We choose the front view of the camera to work correctly.
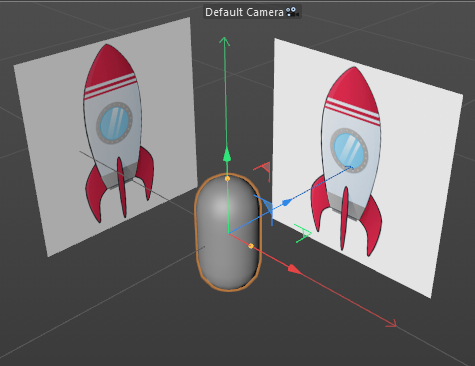 |  |
|---|
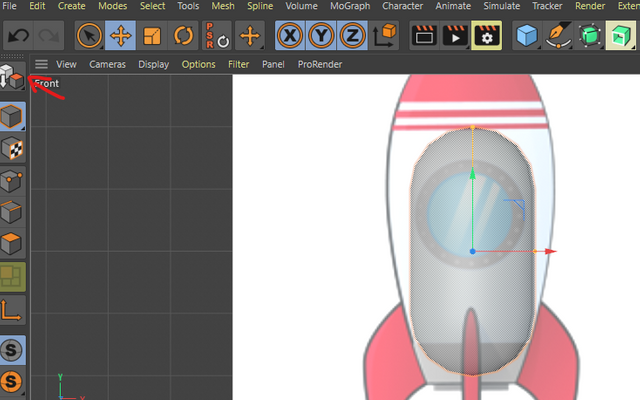
First we make the object editable to move its vertices. Then we activate the X-RAY in the properties of the capsule to make it transparent.
Using the rectangular selection tool, we select the points we want to move. We select and scale the points to obtain a uniform shape until it covers the reference image.
 |  |
|---|---|
 |  |
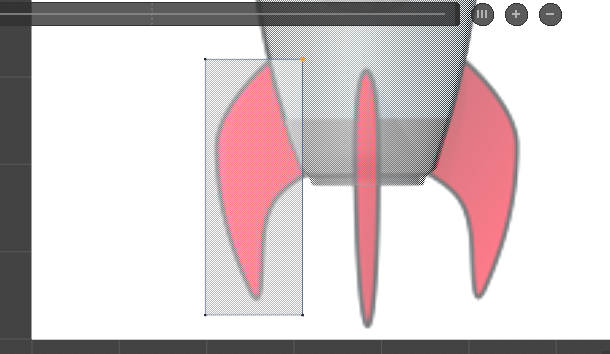
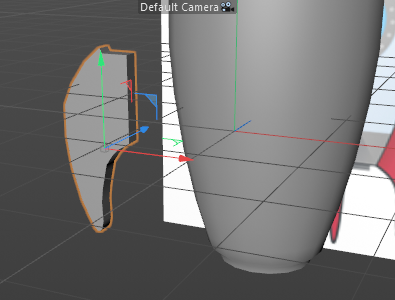
We create a cube to model the wings of the rocket.
 |  |
|---|
In the same way as we model the body of the rocket we make the wings. This time, you will need to add more edges to the cube in order to move the points, use the K+L keys to create edges on the object.
 |  |
|---|
After creating a rocket wing we triple to get all three wings.
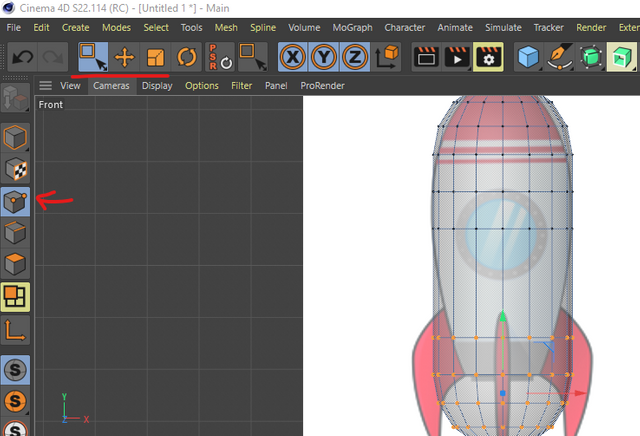
With the rocket selected, we click on Polygons in the side toolbar then activate Loop Selection in the Select section of the top bar.
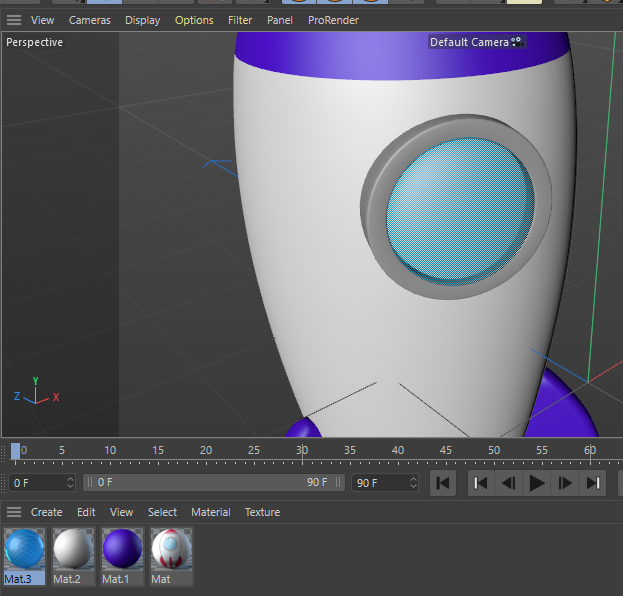
Now we select the areas that we want to color. Once selected we create a material with the color we want and drag the material.
 |  |
|---|
To create the window frame, we create an object of type Tube. We adjust the properties of the object until we have the results we want.
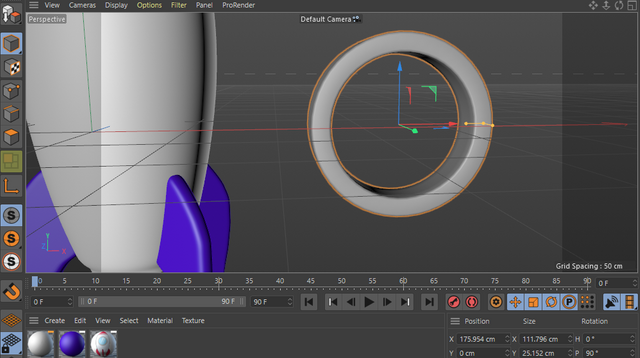 |  |
|---|
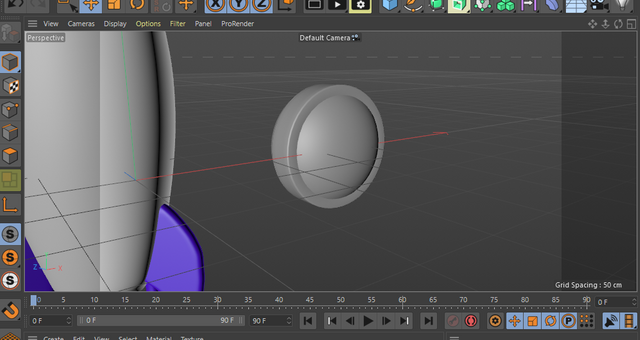
We create a wait object to create the window, we adjust its properties until we have the results we want. Using the scale tool. Then we create a material with the desired color and activate reflection and transparency.
 |  |
|---|
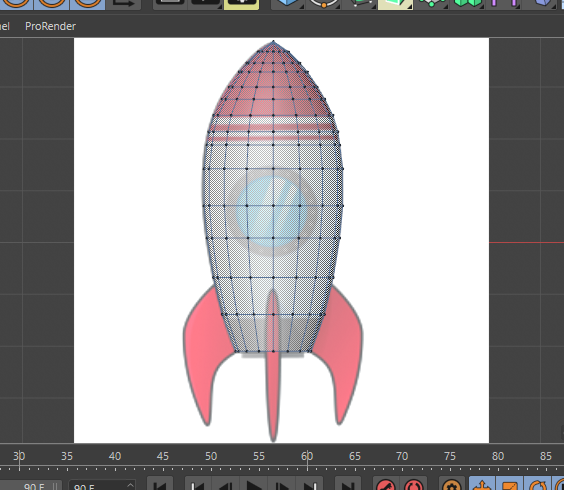
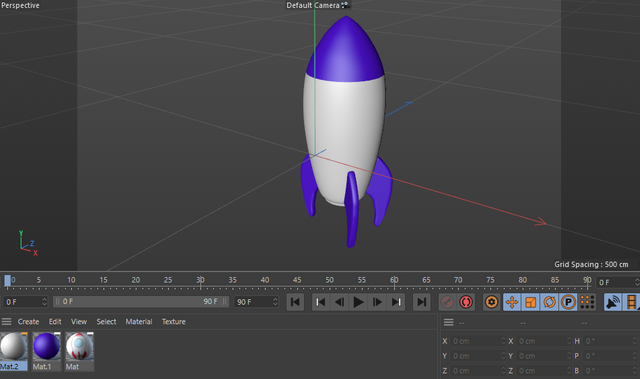
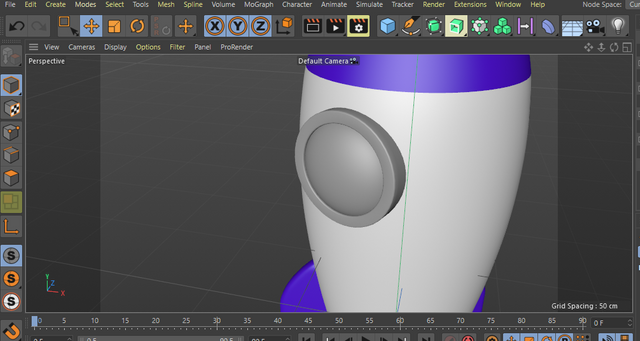
We almost have our rocket ready...
 |  |
|---|
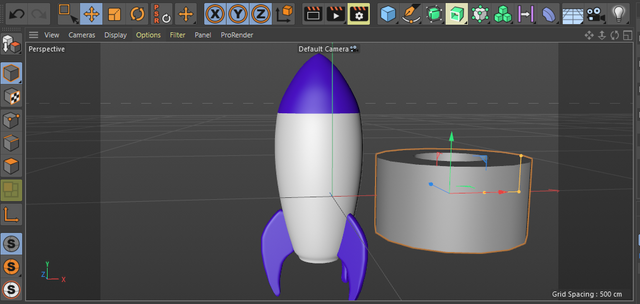
To create the Steem logo, we use a cube. But first we need to create a plane with the texture of the logo as we did before with the rocket. Then we position the plane correctly to model with the cube.
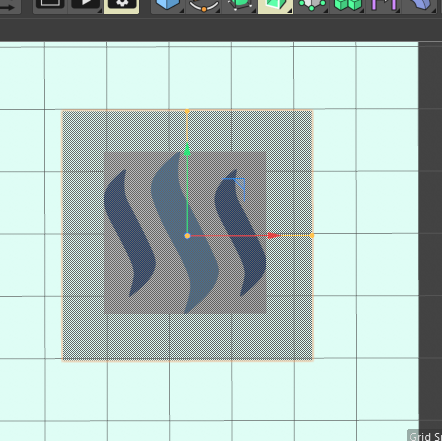 |  |
|---|
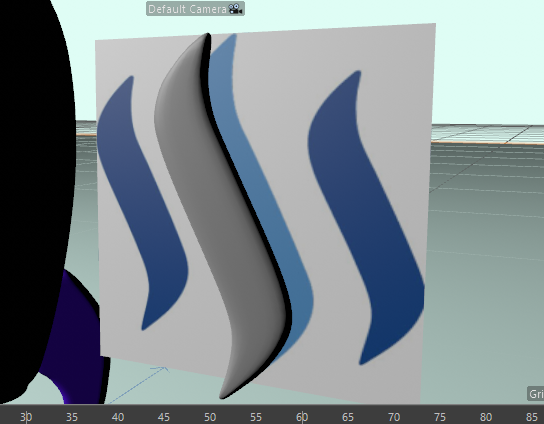
Once one of the items has been modeled, we duplicate it to obtain the complete logo. We adjust its size with the Scale tool. We create a material with the desired color and drag. Then we move the logo to our rocket and place.
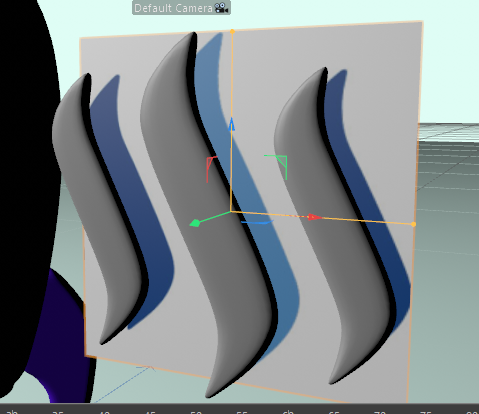 |  |
|---|
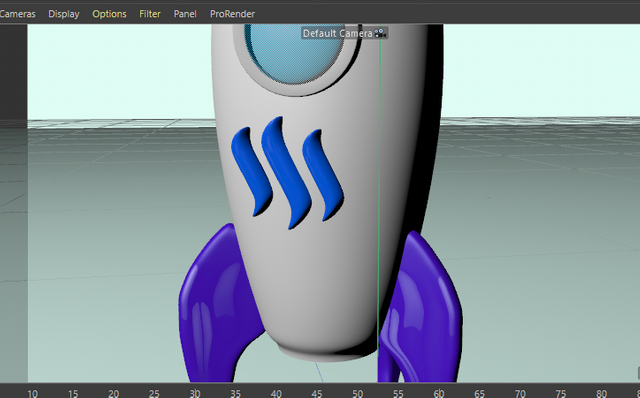
Finally, we create a Sky in the toolbar. We also create a Spot Light and adjust its render properties. We must also create a Floor and Background, add a material with the desired color. I will not dwell on this step because we must gradually adjust its properties until we have a good result.
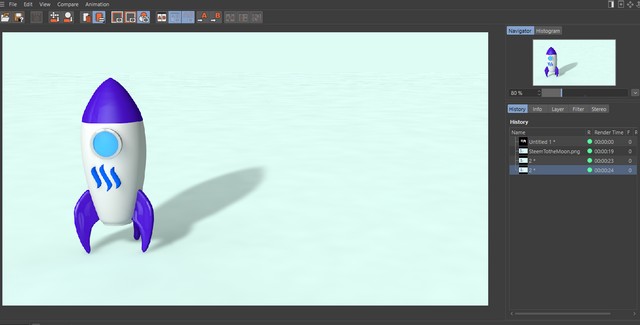
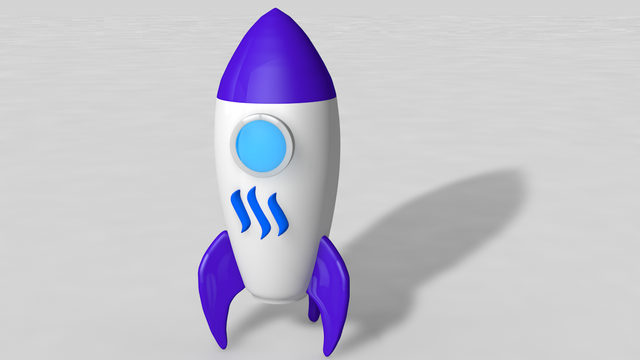
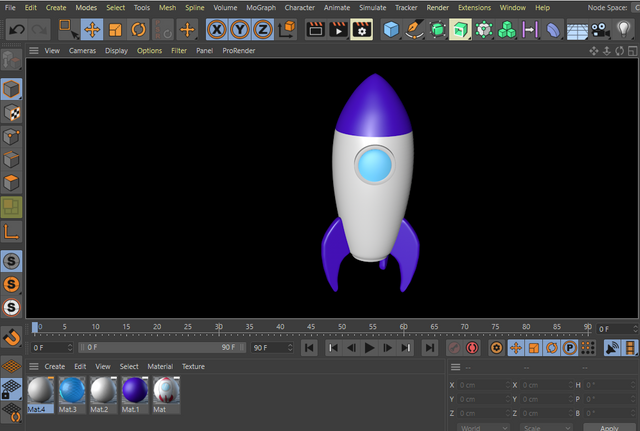
This is how our 3D model of the Steem To The Moon rocket has turned out.
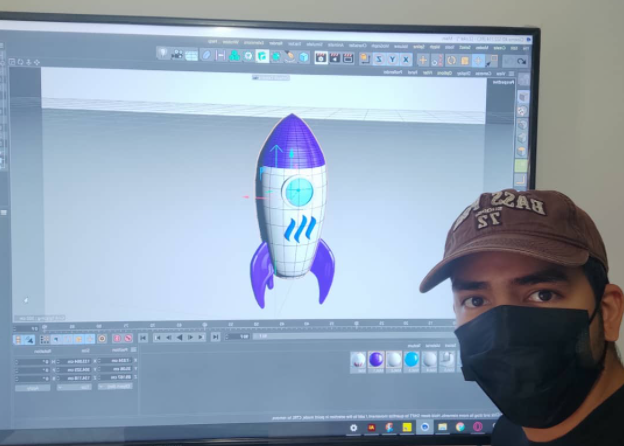
This has been my first 3d model in Cinema4D, and it hasn't turned out too bad. I will continue learning and sharing my models with you.
Until a next post!
Are you new and would like to join the community? Visit the following post for more details.
Links to support our DraftCrearte community via SP.
| 50 SP | 100 SP | 250 SP | 500 SP |
|---|
Social Media:
| Discord | Telegram | |||
|---|---|---|---|---|

This publication was taken as quality content by the "Art Curators Team", and selected by @cindycam to have an upvote with the account @steemcurator04.
Keep sharing exclusive quality posts and you'll be eligible for a vote from our team of curators. Keep up the effort!
Thank you!
Exelente post amigo. Felicidades
Felicidades su publicación ha Sido elegida en el top del día. SIGA CREANDO PARA NUESTRA COMUNIDAD.
Para continuar apoyando sus publicaciones deberá:
Para ser su primer modelo amigo, le quedo bastante bien😍