SEC-S18W5/Share your brilliance- (My Step-by-step Tutorial Teaching on how to cook Nigerian Jollof Rice, Sewing Shirt and Getting Started on Steemit)
I do Welcome you all in the community to "Share My Brilliance"! Today, indeed I'm so glad when the topic was pointing directly to what I've got and willing to share with others. Therefore I'll be sharing with all the two most valuable skills that I do possess: The cooking and sewing. Additionally as well, I'll try to give a basic tutorial about the Steemit too.
- Please Whether you're a newbie here or maybe just looking to like improve your amazing skills in of my field, therefore these step-by-step guides will definitely be simple and easy to follow perfectly.
My Skills in Cooking Nigerian Jollof Rice |
|---|
The Nigerian Jollof Rice is basically one of the most famous food in West Africa and around the World if i must say because it's known now in many other places and it's a popular and delicious dish that's really loved by many. I'll definitely brings to you what's required and how to prepare this meal yourself.
"Therefore my fellow Steemians Here’s how to really make it happen:"
Ingredients Required
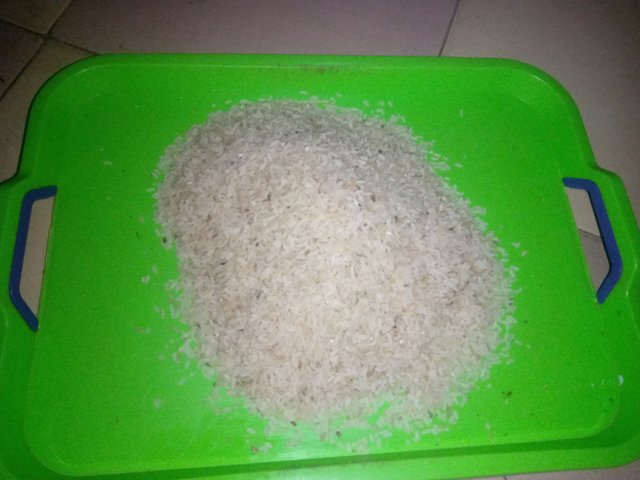
- 3 cups of rice (Let's take this but you can do More)
- 4 large tomatoes
- Some red bell peppers(Either fresh or dried, but Fresh is better)
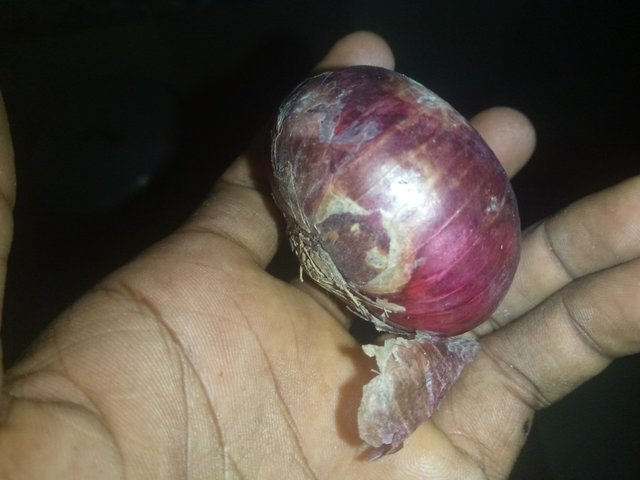
- 1 onion
- 3 tablespoons of a tomato paste
- Get some kilo of chicken or a full chicken
- 3 cups of water (Depends on the strength of your Rice to absorb water)
- 1 teaspoon of thyme
- 1 teaspoon of the curry powder
- 1 bay leaf
- 2 tablespoons of the vegetable oil
- A Salt to taste
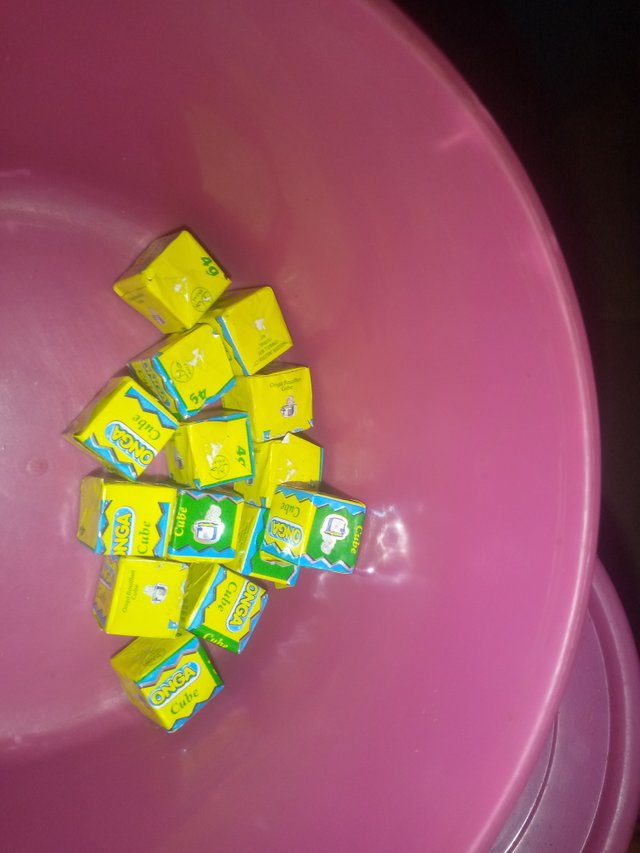
- Seasoning cubes (Maggi or Knorr)
- Optional: chopped Either a carrots, peas, and green beans base on choice
 |  |
|---|---|
 |  |
Some Necessary Equipment
- A Large pot
- A Blender or food processor any is better
- A Stirring spoon
- Knife and the chopping board
Step-by-Step Cooking Instructions |
|---|
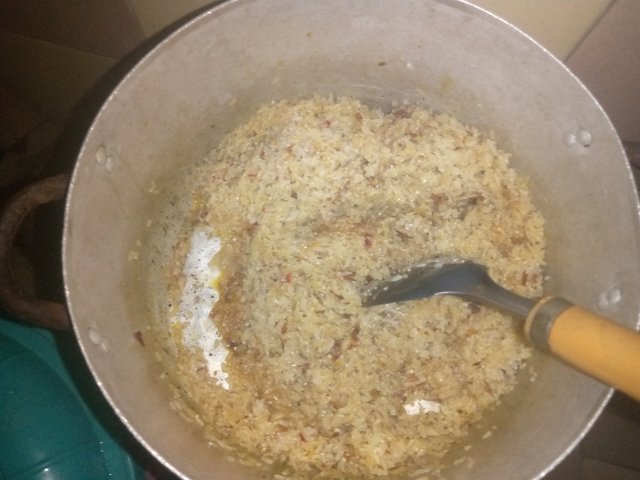
1. Prepare the Ingredients: We Start by parboiling and properly washing the rice so thoroughly well until the water runs pretty clear. Then Set it aside. Chop your the onions, tomatoes, and some of the bell peppers into smaller pieces preferably.
2. Blend the Tomatoes and Peppers: In a blender here, do combine the chopped tomatoes, the bell peppers, and maybe one onion. Blend them together until you have a smooth puree from it.
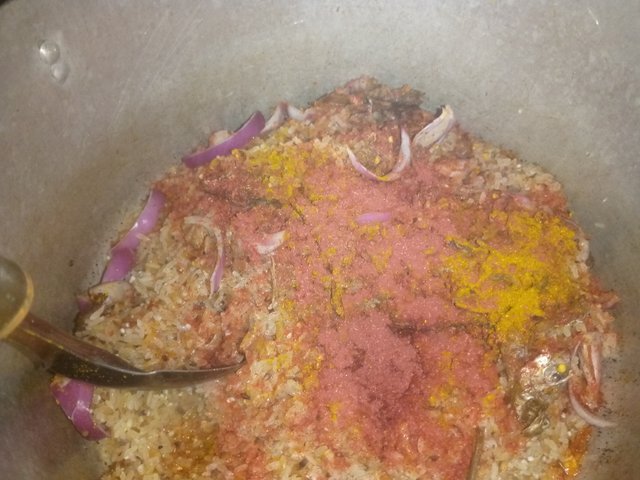
3. Cook the Tomato Sauce: Heat well the pure vegetable oil needed in a large pot perfectly over medium heat. Thereby Add the chopped onions and then fry until they evenly become soft and really translucent. After you Add the tomato paste and also fry for about 5 minutes, well stirring continuously to help prevent burning.
4. Add the Blended Mix: This time you Pour the blended tomato and the pepper mixture into that very pot. Cook them on medium heat for likely about 15-20 minutes until the very mixture reduces I'm size and the oil starts to really separate from the tomato mix.
5. Season the Sauce: Then Add your thyme, the curry powder, white pepper if your Wishes, the bay leaf, and the seasoning cubes. Then Stir well to really combine together. Taste it and add salt if really necessary.
 |  |
|---|
6. Add the Rice: This time we Pour the washed rice gently into the pot. Stir it to mix the rice with all the tomato sauce together.
7. Add Chicken and Water: We have to add the chicken and also water to the pot. Stir well, really making sure that the liquid definitely covers the rice completely.Then Reduce the heat to low or moderate, cover the pot with a lid, and then let it cook.
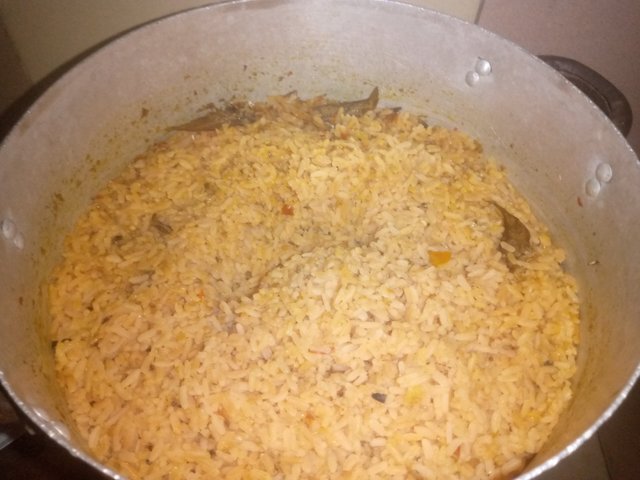
8. Cook Until Done: Allow well the rice to definitely cook for about 20-30 minutes. Check pretty occasionally and then add a little more water if at all it's needed to prevent the rice from really burning. And If you’re willing to add vegetables like the carrots, peas, or green beans in the food, add perfectly them about 10 minutes before the rice is so fully cooked.
 |  |
|---|
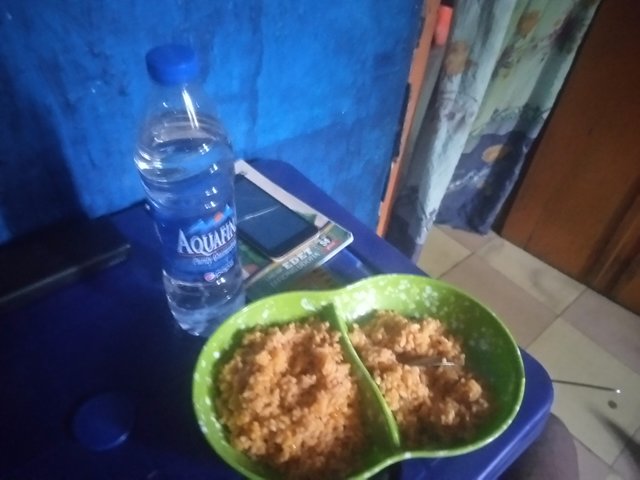
9. Final Touches: Once here the rice is well cooked and definitely all the liquid is being absorbed, fluff it with a nice fork or a spoon. There You have it! Your Nigerian Jollof Rice is ready to be served! I pray 🙏 and hope you get this skill right.
Sewing a Shirt for Guys |
|---|
Sewing is definitely a fantastic skill to have and it's a pride for me because it's give me passion to be creative, most especially for like creating custom clothing, so I'm glad to also share this skill tutorials with you all.
"Here’s basically my pretty perfect step-by-step guide to genuinely sewing a shirt 👕 for guys*.
Materials Required
- A Fabric (cotton or any preferred material)
- A Matching thread to the fabric
- Scissors
- A Measuring tape
- Pins
- Sewing machine
- Iron
- Shirt pattern (This can be purchased or drafted, I do draft mine)
Step-by-Step Sewing Instructions
1. Choose Your Fabric: It's always pleased to Select a fabric that is really comfortable and much suitable for shirts. So Cotton is a great choice for the beginners.
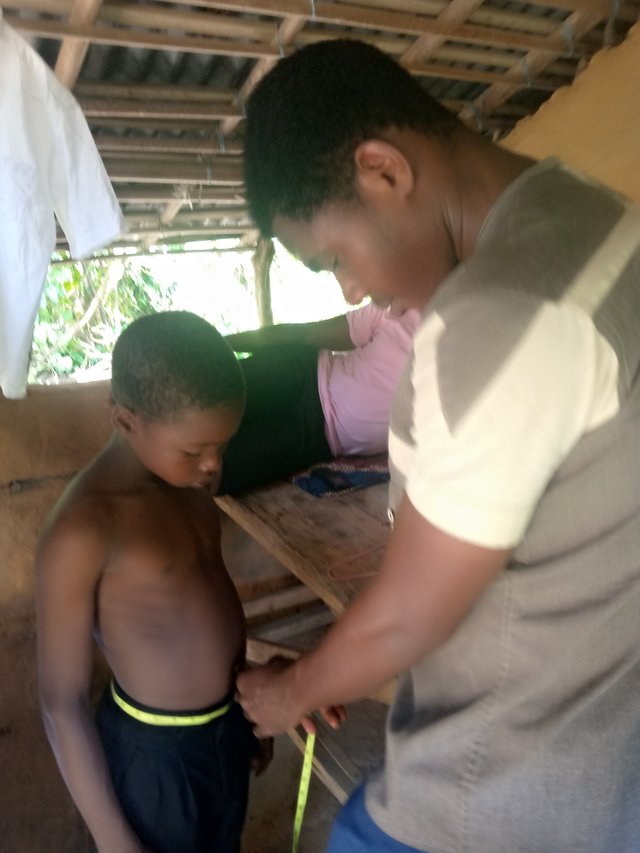
2. Take Measurements:The needs to Measure the "chest, waist, hip, shoulder width, sleeve length, and shirt length." of the subject and Write them down on a plain sheet of paper 📜 for easy access.
3. Prepare the Pattern: If you do have a pattern, then lay it on the fabric properly. please note as a beginner the pattern is very much mandatory because it's a guide for you rather than wanting to draft as we professionals do to avoid damaging your materials. But If not, drafting too is one way of using the measurements taken by the subject. Cut out the dynamic pattern pieces (front, back, sleeves, collar, cuffs).
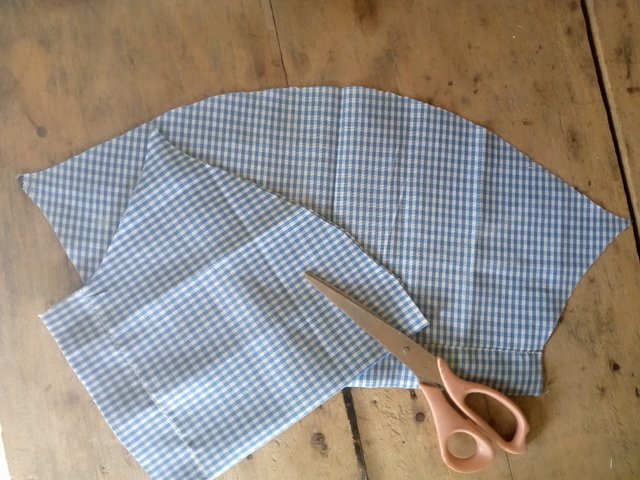
4. Cut the Fabric: Pin all the pattern pieces to the very fabric you wish and cut them out so carefully and with accuracy. Please Ensure you leave a small allowance perfectly around each piece for seams and relieves from errors.
5. Sew the Shoulder Seams: Place here the front and also the back pieces of the shirt properly together with the right sides duly facing each other. Sew the shoulder seams together.
6. Attach the Sleeves: Here we Pin the sleeves to the very armholes basically, well ensuring the right sides are connected together. Then Sew the sleeves in place.
7. Sew the Side Seams: After being done with the sleeves, it's definitely right to join the sides together, so we sew the side of the be shirt and the also the sleeves in a one continuous line from the very bottom of the shirt to the end of the sleeves entirely.
8. Attach the Collar: We Pin the collar pieces perfectly to the neckline after being prepared, with the right sides together and properly. Therefore Sew the collar to the shirt.
9. Add the Cuffs: Fold the well the cuffs in half and then sew the sides. Turn all of the right side out, and then attach them to the ends of the sleeves as well.
10. Hem the Shirt: Also Fold the bottom edge of the pretty shirt up twice and then sew to create a neat hem perfectly.
11. Iron the Shirt: Please Press the seams really flat with an iron for a dynamic professional finish.

12. Final Touches: Add here the buttons and the buttonholes to it, it's easy to visit and embroidery shops for this but if you're perfect then fix it yourself.
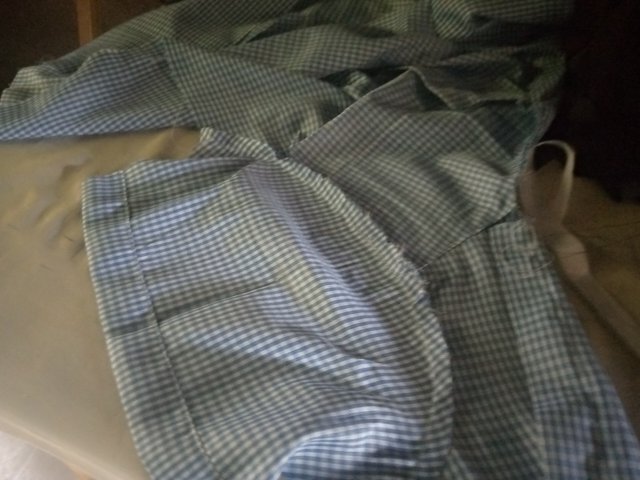
Therefore our custom shirt is now complete! and Ready for Wear!
Steemit Tutorial: Basic Knowledge and Tips |
|---|
Many might be wondering and some might have registered already but still doesn't understand what Steemit is all about, but believe me today I got you covered.
- Steemit is indeed an amazing social media platform where then the users can do earn cryptocurrency for their unique content and quality.
Here’s a little basic guide to help get you started here.

Creating an Account
- Sign Up: Go here to steemit.com and click sign up for an account creation. Please Follow the instructions by putting your username, phone number and email and place order for OTP code and copy and paste your master key where you're ask to help verify your identity properly.

- Complete Your Profile: Add here a profile picture on your profile setting, also a short bio, and too other details to make your profile more attractive.
Posting Content
Create a Post: First join communities and most especially make you Achievement 1 post on the community named: "Newcomers Community" then you can go ahead Click on “post” on different communities of your choice after joining to start creating content. Try to Use a catchy title here and also write engaging content. There You can also add images to really make your content quality and at least 300 words.
Use Tags: Always Add relevant tags which suit to your post to really help others easily find your content. The Tags are indeed like keywords that help well categorize your post.
Earning and Voting
- Earning Rewards: When definitely people(friends, audience) like your post, you do earn some cryptocurrency called STEEM. So it's the more upvotes you get, there too the more you earn.
- Voting Power: You as well can also upvote other people’s posts to show sincerity and support. Your dear vote has value and so can help others earn rewards as well.
Interacting with the Community
Follow Others: Always try to Follow other users whose dear content you enjoy. This really helps you stay updated on their very posts and styles.
Comment and Engage: Always Leave a meaningful and valuable comments on posts to also engage with other users in the community. This do helps build a connections and thereby attract attention to your profile too.

Basic Tips for Success in the platform
1.Be Consistent: Please always Post regularly to really keep your audience so engaged with you.
2. Quality Content: Try Focus on so much creating high-quality content that adds value and uniqueness.
3. Engage with Others: Do Actively participate well in the community by try commenting and do the voting too.
4. Learn and Improve: The platform is not all about earning alone so always Keep a mindset of learning about how Steemit really works and how you can improve your dear content basically and also learn more beyond Steemit.
- "Please all I really sincerely believe With these pleasing basic tips and the tutorials I've been able to bring up, we all here indeed can start our amazing journey on the aspect of cooking, sewing and the Steemit and so make the most really out of all this platform. Happy 😊 Steeming!"
I invite @goodybest, @patjewell and @emmy01 to share their brilliance with us all, we're all ready to Learn while also pointing and sighting corrections as I'm always ready to learn.
Thank you All 😊
Wow you have got great skills ranging from cooking,sewing and teaching about steemit. I can agree with you in all your skills but steemit is the one I can confidently tell you that your practical teaching are real and accurate . This is very useful. I love it keep it up.
Awwwwn 💕
it's such a pleasure ma'am.
I love the Encouragement
Thank you, friend!


I'm @steem.history, who is steem witness.
Thank you for witnessvoting for me.
please click it!
(Go to https://steemit.com/~witnesses and type fbslo at the bottom of the page)
The weight is reduced because of the lack of Voting Power. If you vote for me as a witness, you can get my little vote.
Upvoted. Thank You for sending some of your rewards to @null. It will make Steem stronger.
@basil20
Dear I read your post and it's really nice. It's really nice to know about your skills. I can say that you are a multi-talented person. You have shared your traditional dish with us which is great to know and my mouth is watering as soon as I see it I will definitely try it myself and the way you have explained it step by step. It is very easy for me to make it and also you discussed the stitching with us and you guided us step by step in a very good way, so your skill and your mullet knitting is amazing. It's a pleasure, thank you so much. Best of luck for this contest 👍
@mona01
I'm pleased 🙂 you finds it interesting.
thanks
There is no doubt you are a very talented guy. You are really shining 🌟
Best of lucks
My X link 🖇️
https://twitter.com/EmediongEtok/status/1804350478764954076?t=ilD8DTxZbGewu3ow0NjE2w&s=19
Oh yes! We support ANY quality post and good comment
ANYWHERE and at ANYTIME
Curated by : @patjewell
السلام علیکم پیارے دوست امید کرتا ہوں اپ خیریت سے ہوں گے اور ایک اچھی زندگی بسر کر رہے ہوں گے خداوند کریم سے دعا ہے کہ اپ کو زندگی کے ہر لمحے میں خوش اور پرسکون رکھے اب اپ کی پوسٹ کو دیکھ کر میں کچھ تبصرہ کرنا چاہتا ہوں سب سے پہلے تو بڑی خوشی ہوئی کہ اپ نے ایک سے زیادہ جو اپنے اندر سکلز ہیں اس کو بیان کیا ہے تو میں دیکھ رہا ہوں کہ اپ کو جو رائس جو چاول بنانے اتے ہیں وہ کافی اچھی ترغیب ہے اور ایک مرد کو کم از کم یہ چیزیں انی چاہیے اور اپ نے حق ادا کیا ہے اس کے بعد اپ ایک اچھے ٹیلر بھی ہیں پھر اپ نے سٹیمٹ پہ جو پوسٹ کرنے کے کچھ ترغیب بتائی ہیں وہ بھی کمال ہیں اور مزید میں جانتا ہوں کہ انسان میں بہت سی سکلز ہوتی ہیں اگر وہ ان پہ کام کرنے لگ جائے تو یہ اس کے لیے سنہری مواقع ہوتے ہیں جیتنے کے اور میں پرجوش ہوں کہ اپ اس کنٹیسٹ کو جیتیں گے اور بہت سی دعائیں اپ کے لیے میری پوسٹ پر بھی ائیں کچھ تبصرہ کریں شکریہ
تاکہ میں اپنی پوسٹ کو بہتر بنا سکوں میں نے بھی ایک کتاب کو پڑھنے کے طریقے بیان کیے ہیں اور مجھے امید ہے اپ کو وہ پڑھ کر اچھا لگے گا اپ لازمی میری پوسٹ کو وزٹ کریں اور ایک اچھا سا تبصرہ کریں چاہے وہ تنقید کی شکل میں ہو چاہے وہ نصیحت کی شکل میں بہت شکریہ
Saludos amigo!
Excelente explicación y muy bien detallada para el registro de nuevos usuarios en la plataforma, además de las recomendaciones para realizar un excelente trabajo en Steemit.
Éxitos en el reto.
it's such a pleasure to be here