Step by Step TUTORIAL On How To Create And Animate A Moving Car
Hello steemians.
I want to share with you steps on how you can create 3D Designs and Animations, and we will be designing and Animating a moving car on a road.
I will make each step as easy as possible for you to understand.
The Design and Animation are 100% original and I created them myself, although it took me lots of time to do it.
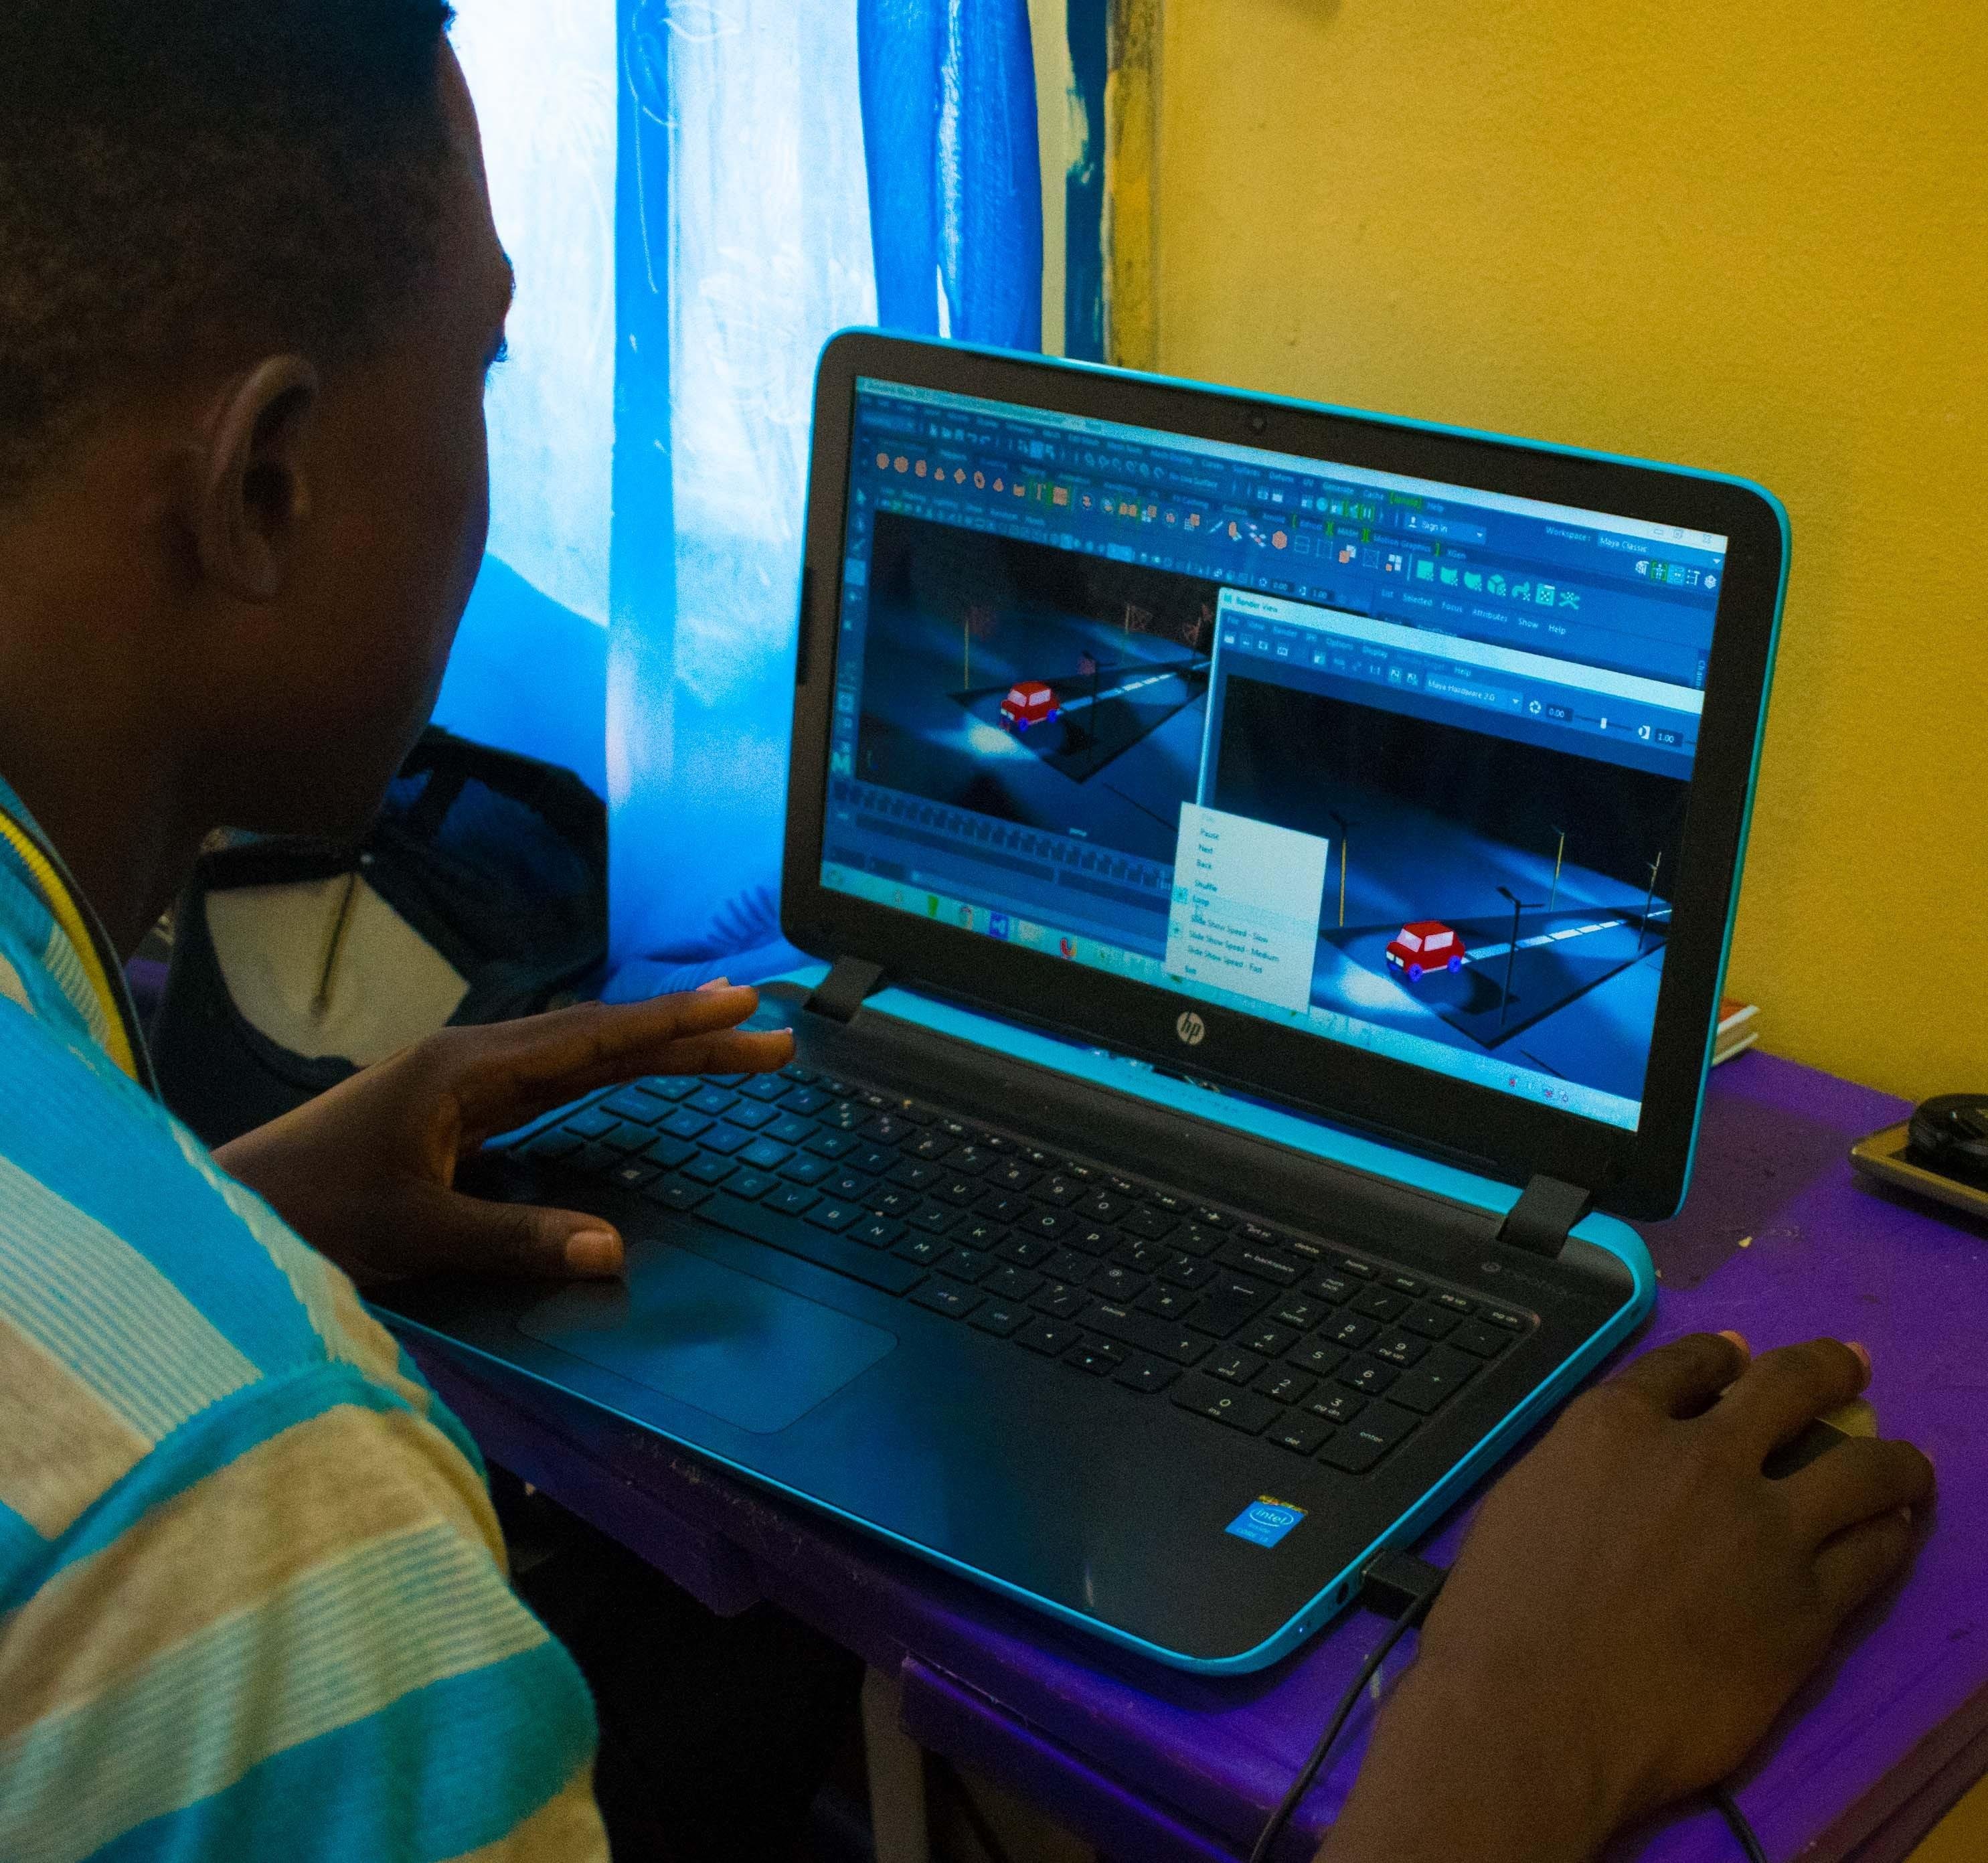
THE FINAL WORK IN ANIMATION
hboi Car ANIMATION:
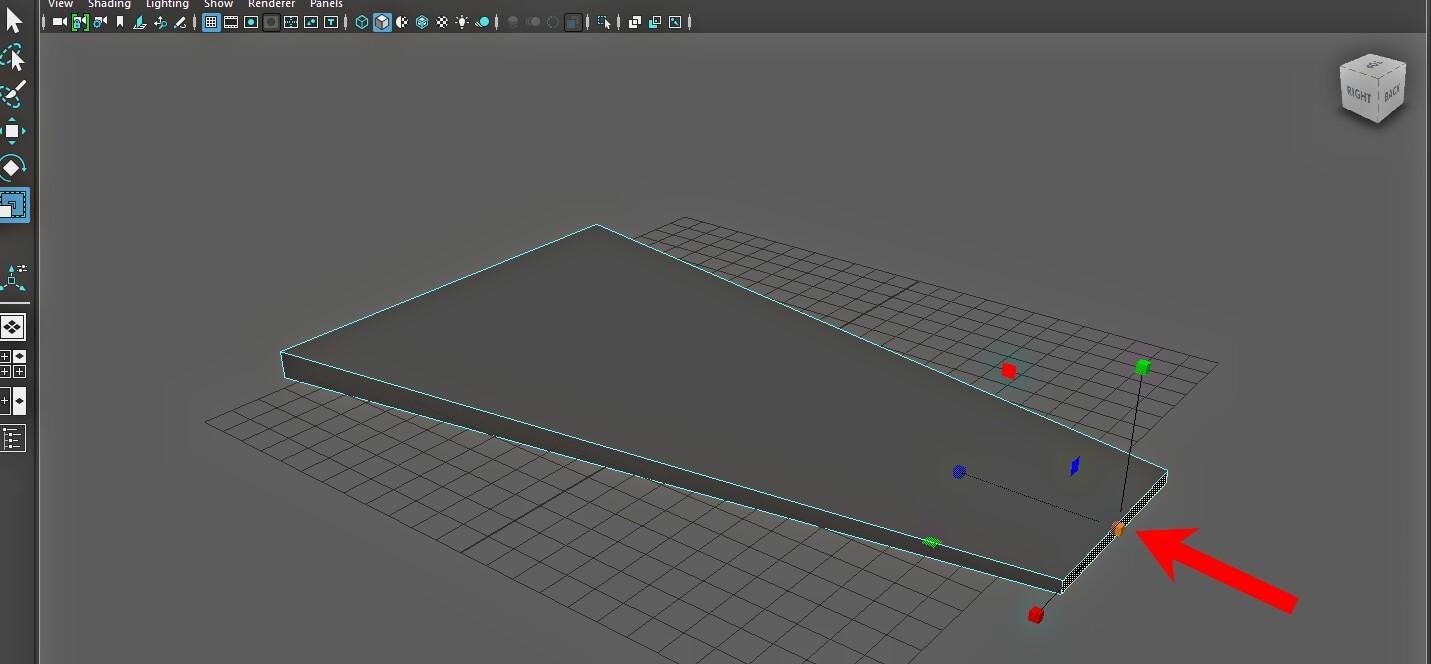
THE FINAL WORK IN DESIGN

I will be using a software called Auto desk Maya 2017, if you do not have it on your computer, you can as well download it or buy it at any computer shop around you.
STEP 1
Open your Autodesk Maya, after which you create a scene using "Ctrl + N".

STEP 2
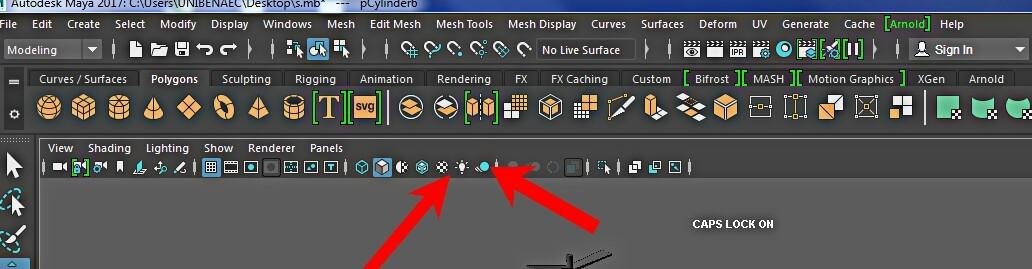
At the top you will see different shapes but if those shapes do not display, all you need is to click on polygons.

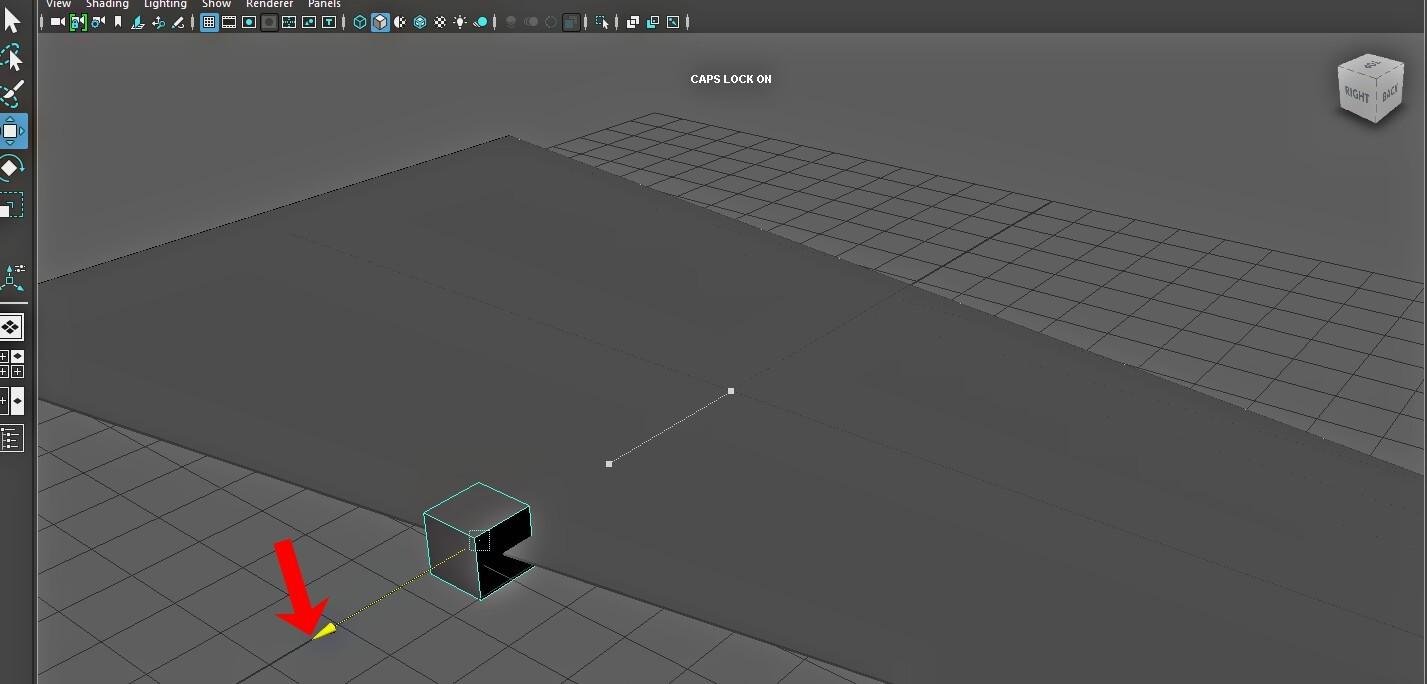
Click on the box shape first to create the road.

STEP 3
Click on the box shape and then press key "R" on your keyboard and this will appear on your box, this is called the SCALE TOOL, which enables you to scale the box to different size.

STEP 4
Hold your right click down and this will appear.

After which you click face and select the side of the box shape

Then select the side of the box and scale it, but this time you click on the middle scale tool, after scaling the side just hold right click again and go to object mode.
Then scale the box to make it flat.

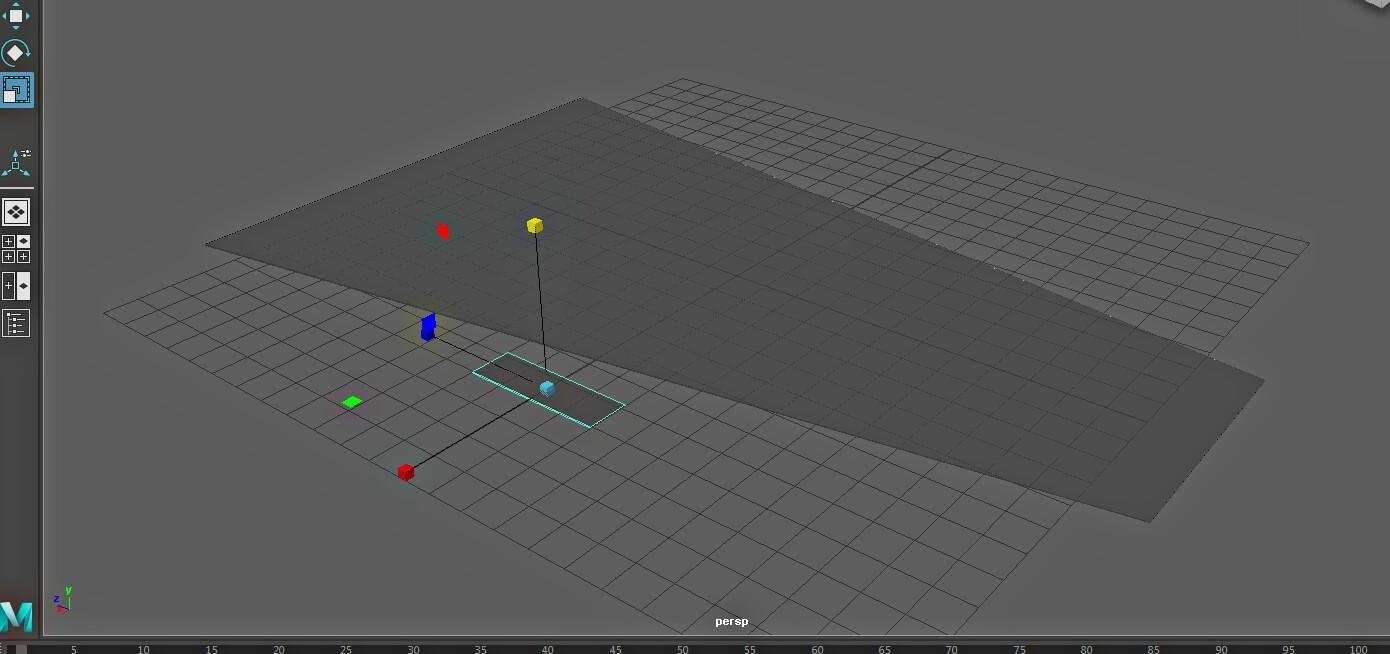
STEP 5
Click on the box again but this time a new box, then press your "W" key to enable you move the box.
Then scale to this size showed below.
Move it back to the road you created before, then press "Shift + D" to duplicate it, after which you move the duplicated box forward a bit.
Then keep on clicking on "Shift + D" , it will repeat the previous function you made and you see something like this.

Note: use "Ctrl + Z" to undo.
STEP 6
To create the street lights.
Click on the cylindrical shape among the polygons,with your MOVE TOOL ( W key), move the cylinder out from that position.

Scale it ( R key) but this time use the middle and the upper scale tool.

Then create another box by clicking also on the box shape among the polygons, move it to where the cylinder is, then scale the box to be this shape showed below.

After which you duplicate "Ctrl + D" and you have two of that.

Move both to the top edge of the cylinder.

Duplicate to get as much street lights you want on your road.

STEP 7
To create the car.
Click on a new box and move it out to one side of the scene.

Click on the Mesh Too to select "insert edge loop" ( this create another edge on the box).

Hold your right click down to select face.

Then use your Extrude to create another box out of that in which you have created already.


Click on the arrow and drag.
Hold down right click again to select vertex and then with your move tool, drag to get this shape.

Next to create the tires of the car, select this shape and move it using the "move tool", to each side of the car.

After which you highlight by holding down "left click" and then move your car to place it on the road.


STEP 8
To add texture to your design.
Click on any design you want texture to be on, hold right click and select to "ASSIGN FAVOURITE MATERIAL" and click on lambert.
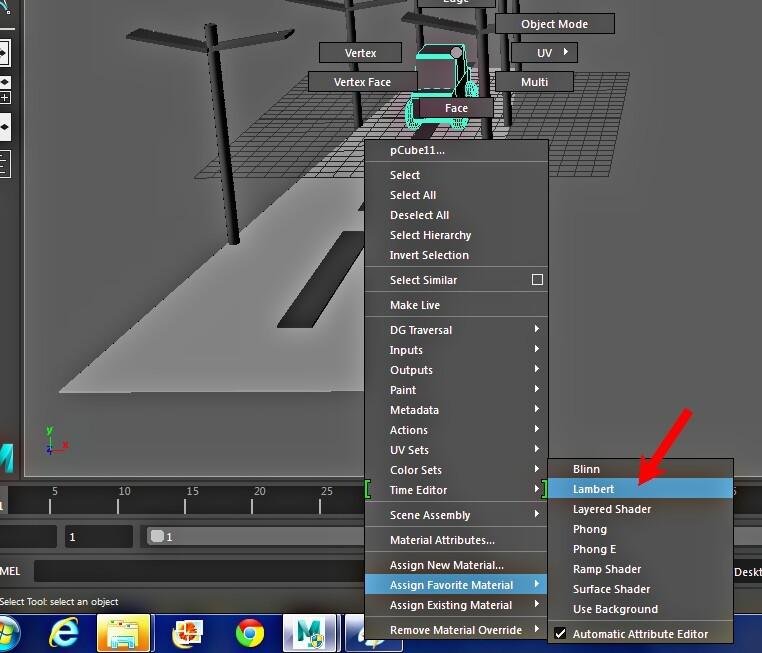
Then on your "Attribute Editor", which is at the side of your screen, select on colour and pick any colour of your choice.

Same process on any material.
STEP 9
To Add light and shadow on your design.
Click on "CREATE" and go to light, after which you select "Spot light and also the "Area light" and the Area light will be use for the head light of the car.

Then click on those showed below.
"Use default material" and "shadow" respectively.
to make it look like night scene.
Then the "Spot light" will appear on your scene after which you move it using your move tool, to the top of your street lights.

You can adjust the "Intensity" and "Cone angle" on your "Attribute Editor" .
STEP 10
To "ANIMATE" your design.
Go to your "Range Slider" below and set your range (which will determine how long you want your Animation to be).

But first you change this From modeling to ANIMATION.

Then highlight your car and select "Combine" by clicking on the "Mesh Tool", which will combine both your car and tires together.
Then move the car backward and press "S" key on your keyboard, it will save all attributes of the car at that point.

Next, move your "TIME SLIDER" to any range you want your car to move to.

And then move your car next, after which you press the "S" key again.
Now click on the play button and you are good to go.
I also made a final video of this Tutorial and it is at the beginning of this post

THANKS FOR READING, RESTEEM AND FEEL FREE TO ASK QUESTIONS
YOU CAN CHECK OUT MY PREVIOUS POST , THE BASICS ON HOW TO USE AUTODESK MAYA 2017 AND THE MOST IMPORTANT TOOLS YOU NEED TO KNOW
https://steemit.com/design/@hboi/step-by-step-series-tutorial-on-how-to-make-3d-design-and-animation-b0ffab4bf8e2
This is absolutely incredible...you have done a perfect work.thanks @hboi
Thanks @mcsamm for passingby.
More incredible works on the way
lets share love.you are followed
i promise you aren't gonna regret for doing that.
I just followed back too😊😊
good to know...i expect to see more great content like these.good work
This is awesome. I will definitely be trying this. Bookmarked!
feel free to ask any question 😊😊 @gentleshaid
sure. I will, if the need arises
no problem bro
very awesome work!
i appreciate your comment .
Thanks and welcome, do more...
Congratulations @hboi! You have completed some achievement on Steemit and have been rewarded with new badge(s) :
Click on any badge to view your own Board of Honor on SteemitBoard.
For more information about SteemitBoard, click here
If you no longer want to receive notifications, reply to this comment with the word
STOPthanks a lot @steemitboard
Thank you! Very powerful explanation.
thanks
Good job, thank you
you're welcome.
thanks also
Really good job @hboi. I love the detailing with images! Thanks for this.
i hope you give it a try,
@omonosa
this is a detailed tutorial, mere looking at it i feel i will be able to do it easily already.. thanks for sharing this. Upvoted.
keep steeming
lol.. no assumption because you CAN, if you follow each steps. @ewouso thanks for passing by
Great work boss
thanks
This post was promoted with @monitorcap traffic bot & STEEM promotion service.
Send MIN. $1 SBD to @monitorcap bot with your link in MEMO field
and recieve upvotes & resteems for your posts. @monitorcap - where 'seen' matters !
thanks @monitorcap