Step By Step Series TUTORIAL On How To Make 3D Design And Animation
Technology advancement has made design and animations look just like reality, keeping us wondering on how it has been made.
I will be using this post in series to give you guides on how you can create a 3D design and animation.
But today, our first lesson will just be on 3D design basics
and after which I will be giving you some home work to practice.
You may want to know the difference between 3D design and 3D animation,
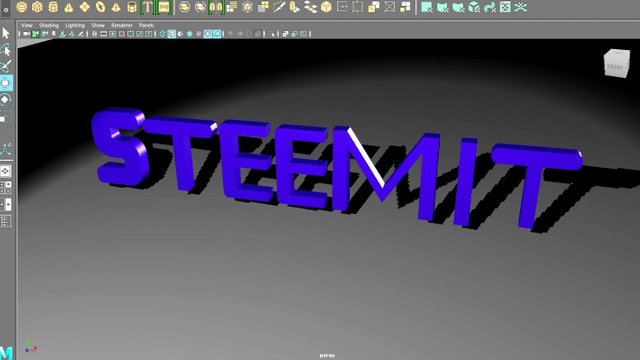
Objects or shape in 3D design means they are created in a way that you can see all sides (3 dimensions),
While 3D animation, is allowing the object or shape to behave on his own.
STEP ONE
First you need to get the software called AUTO DESK MAYA 2017 because that is what I will be using.
STEP TWO
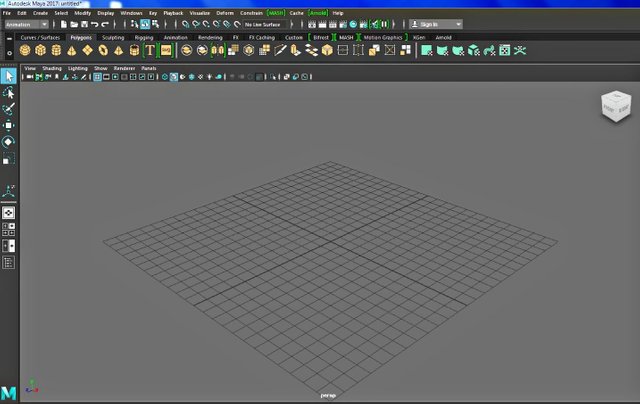
Open the Autodesk, you wait for few seconds after which this will be display on your screen.
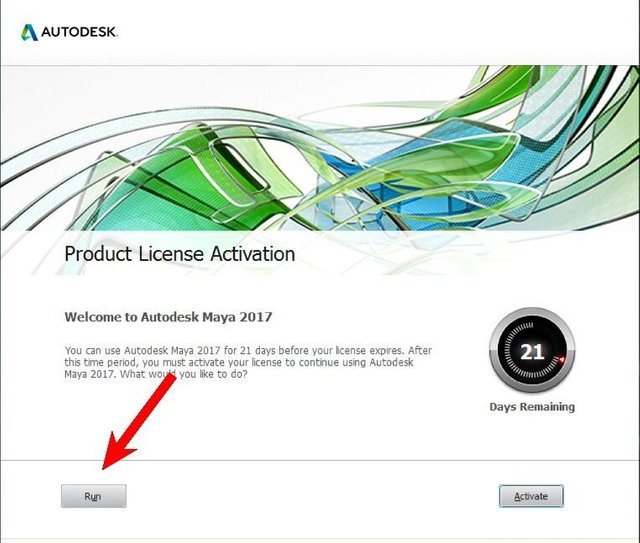
Click on "RUN" and you are good to go.
STEP THREE
Use Ctrl +N to open a new scene.
STEP FOUR
After which you check at the top, you will see the word polygons, click on it and you will see different shapes but if you open your Autodesk and you see these shapes, you do not need to click on it again.
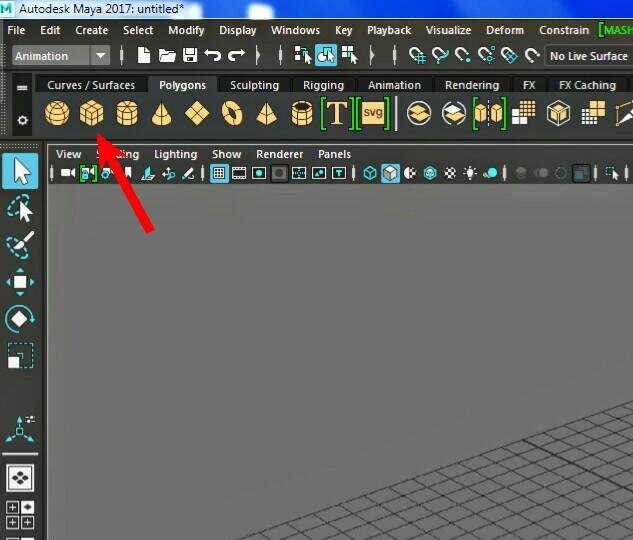
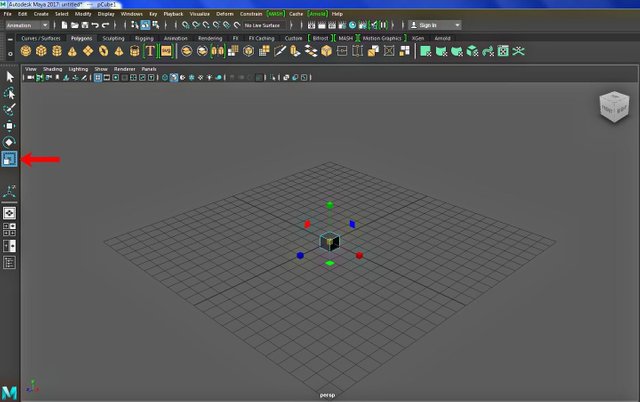
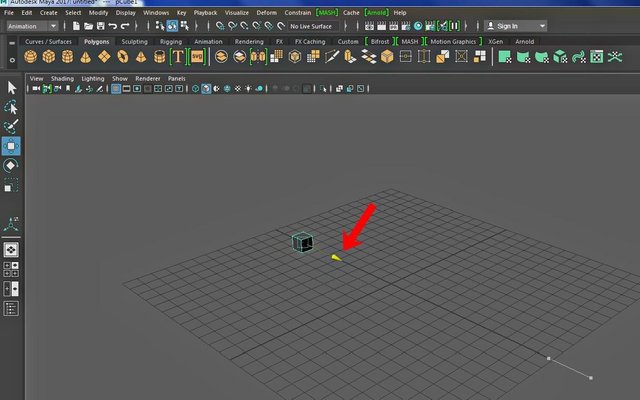
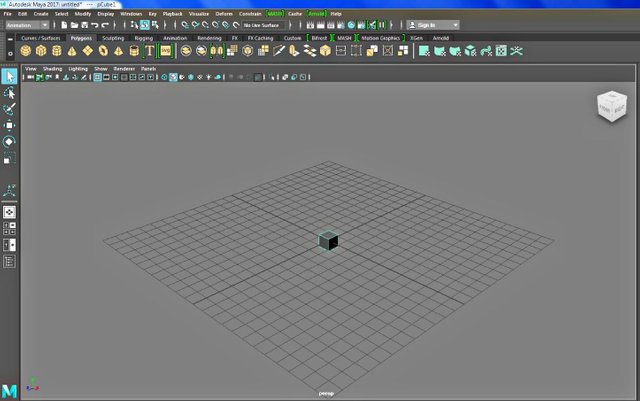
After clicking on any shape, let say you click on a box,
it will appear on your scene like this.
STEP FIVE
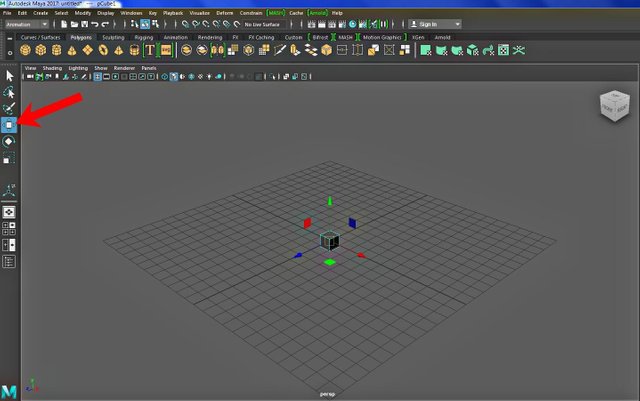
Click on the box and check the side of your screen (still on the Autodesk ),you will see different tools but on day one I will be talking on just four most important tools which are
•Scale Tool
•Rotate Tool
•Move Tool
•Select Tool
STEP SIX
Click on the Scale Tool and let us see what it does.
Next, to Increase the length of the box to the x-axis showed below, just click on that and move your mouse.
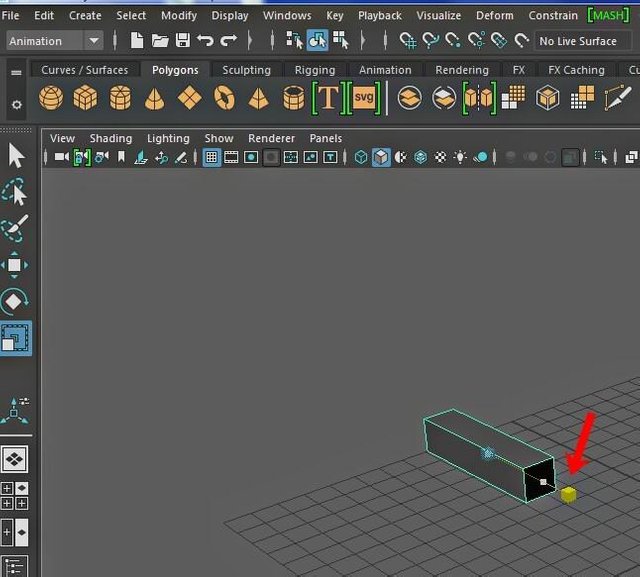
Next, to Increase the length of the box to the y-axis showed below, just click on that and move your mouse also.
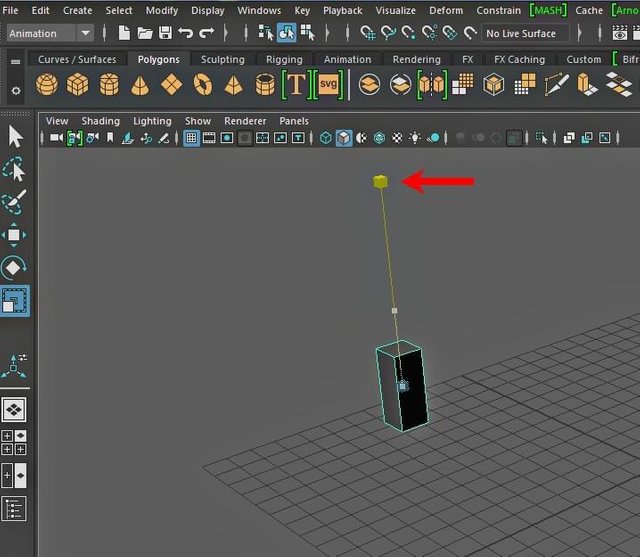
Next, to Increase the length of the box to the z-axis showed below, just click on that and then move your mouse to drag.
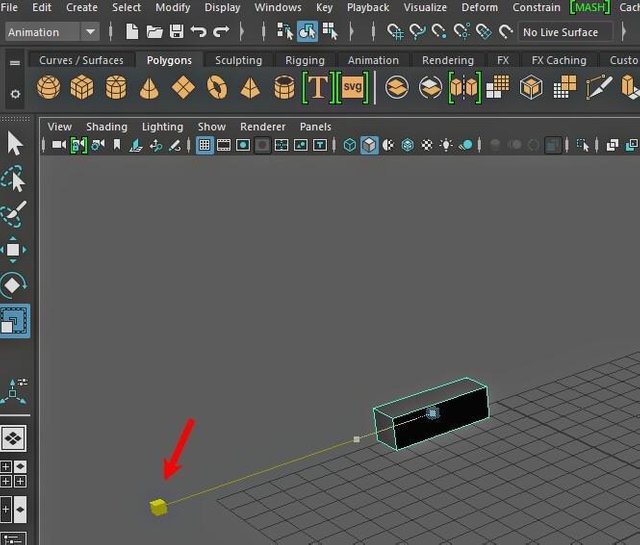
STEP SEVEN
Let us see what the Move Tool does,
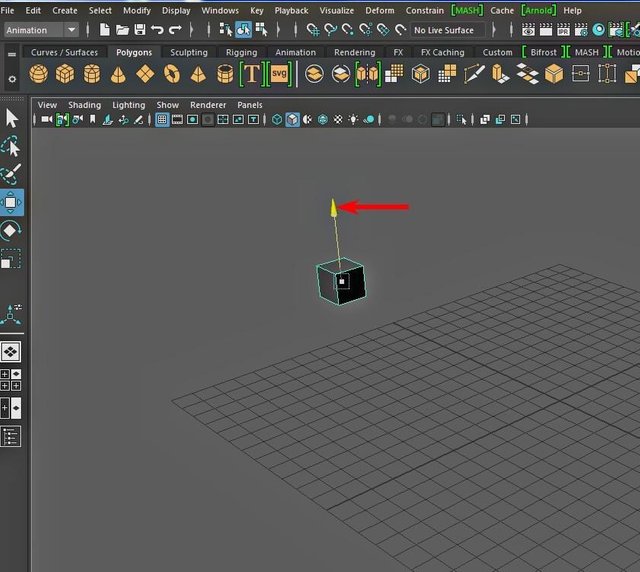
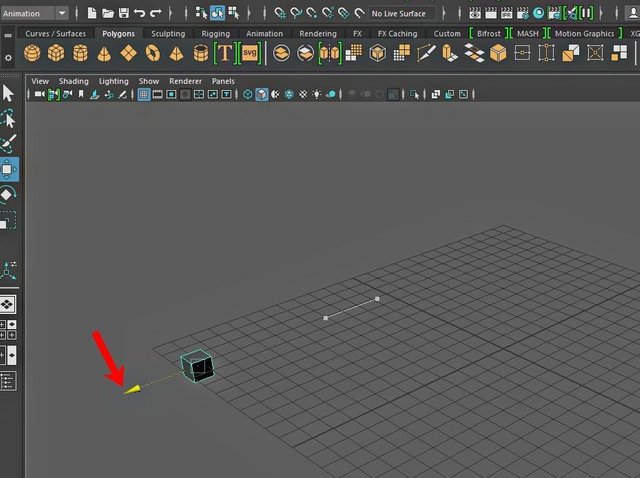
click on that showed below and this will appear on your box.
An arrow pointed in both x-axis, y-axis and z-axis.
The arrow on the x-axis, allows you to move the box to the front and back along the x-axis.
the arrow on the y-axis, allows you to move the box up and down along the y- axis.
The arrow on the z-axis, allows you to move the box to the front and back along the z-axis.
STEP EIGHT
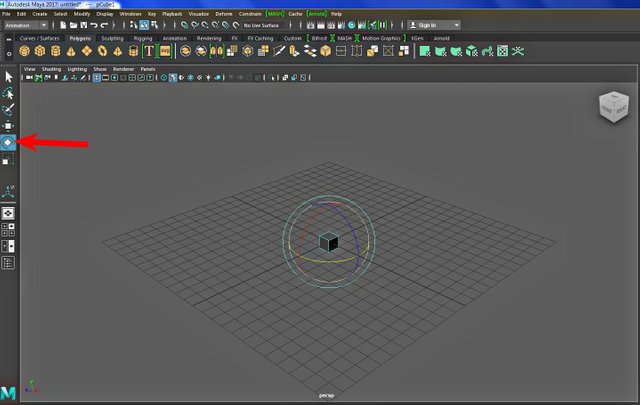
Next is the Rotate Tool , as it implies you can use it to rotate the box in either direction.
But first you need to click on the rotate tool and this will then appear on your box, just click on any of this and you will see were it rotates to.
STEP NINE
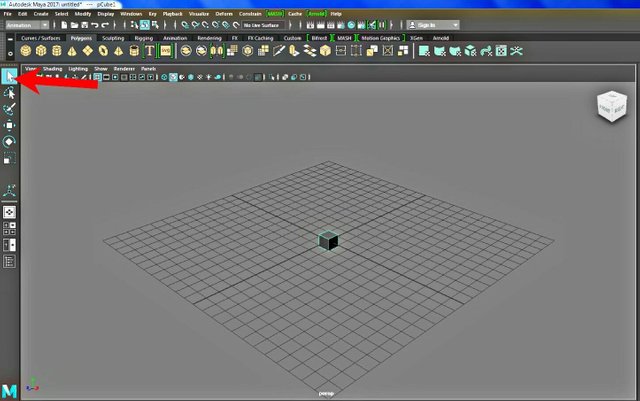
The last tool for today, is the Select Tool which is used for removing any tool selected on the box or any object/shapes as the case may be.
STEP TEN
IMPORTANT KEYS TO KNOW ALSO
Alt + left click : to rotate your scene.
Alt + right click : to zoom in and out your scene.
Left click : to highlight.
Ctrl + Z : to undo.
Ctrl + D : to duplicate.
Ctrl + Y : to get back what you undo.
Space key : to view scene in orthogonal view that is side view, front view and top view.
Key F : to focus object.
Thanks for reading through, follow to stay on the series, you can resteem to enlighten and you can drop contributions and ask questions.
I hope you learnt something today
day 2 loading...
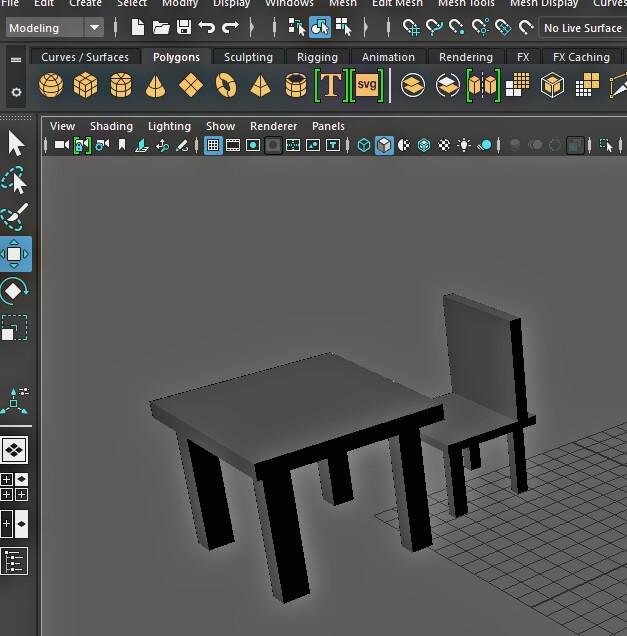
ALL SHAPES AND DESIGN WERE DONE BY ME
