Transformation of a Garden \ Get Off of your Knees!
With the upcoming growing season approaching, it is time to upgrade our last garden. The area we will be working on has been in disarray for the last several years, and big changes are in our plans. With all of the other gardens, boxes have been constructed and raised off of the ground. Our plans are to build some new boxes, and some new benches for the boxes to sit on.
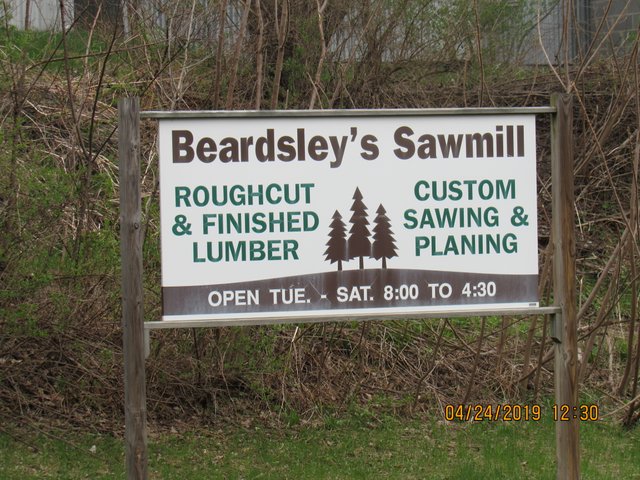
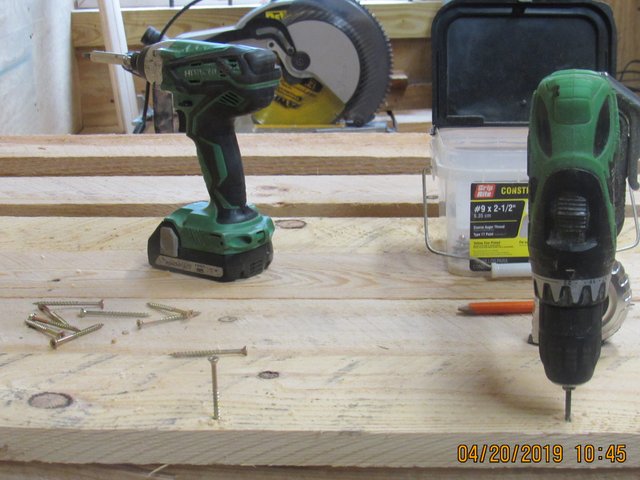
Before construction can begin, I need to get some lumber for the job. No Home Depot or Lowes for me, I will be getting the lumber from my favorite sawmill, Beardsley's Sawmill.
Home with the goods.
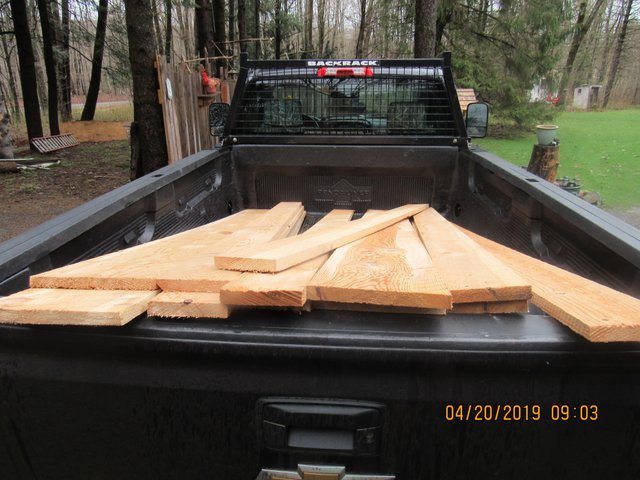
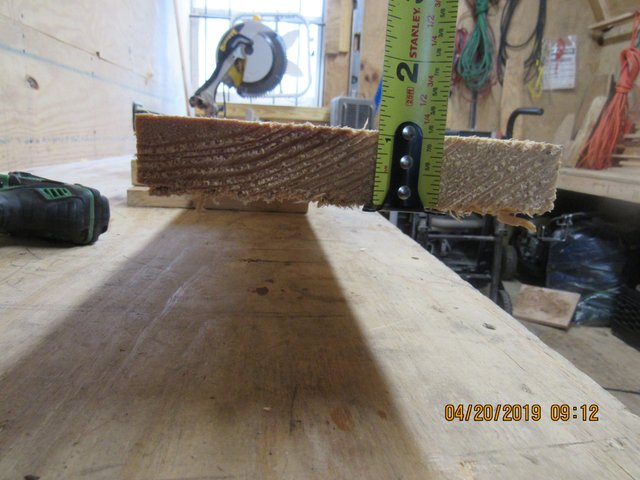
I will be using Eastern Hemlock for both the benches and the boxes. The beauty of building with rough cut lumber is the fact that all dimensional lumber sizes are true sizes. What that means is that a 1 by 6 measures a true 1 inch thick by 6 inches wide. Typically a 1 by 6 would measure 3/4 in. by 5 1/2 in. The cost of rough cut lumber is also much cheaper.
A 1x6x8 goes for $2.40
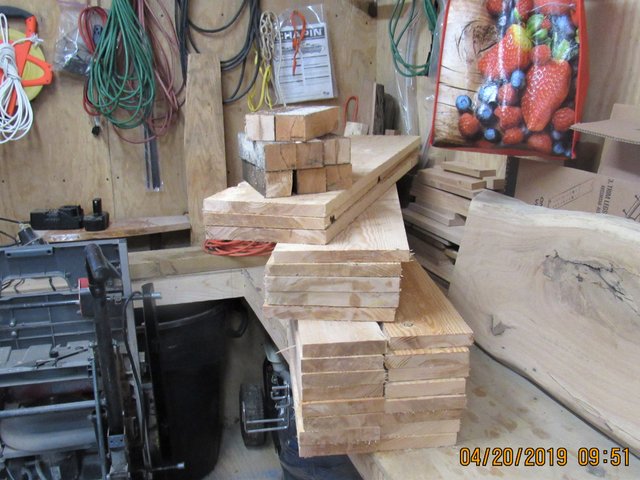
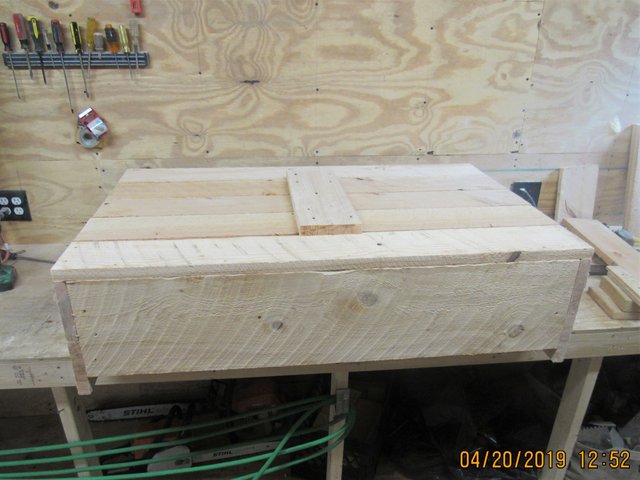
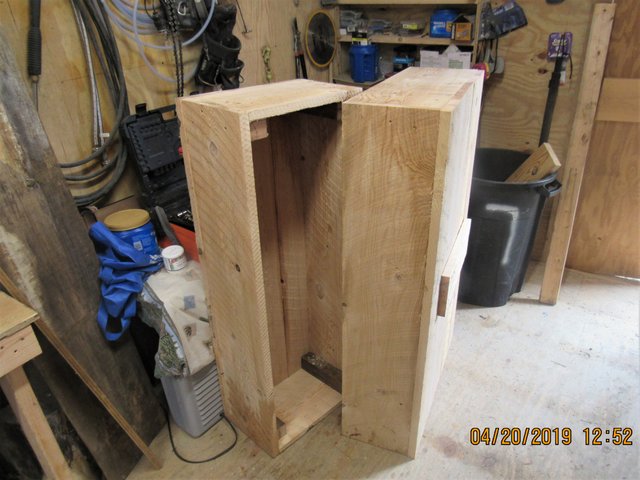
With all of the pieces cut for 3 additional boxes and two benches it's time to put them together.
All screw holes are pre-drilled before installing 2 1/2 in. construction screws. By pre-drilling you will avoid splitting the wood.
With the cross brace installed to help support the bottom of the box, this box is complete.
With the boxes complete, the tools and fasteners needed to construct the tables are organized. These tables must be build to support a lot of weight.
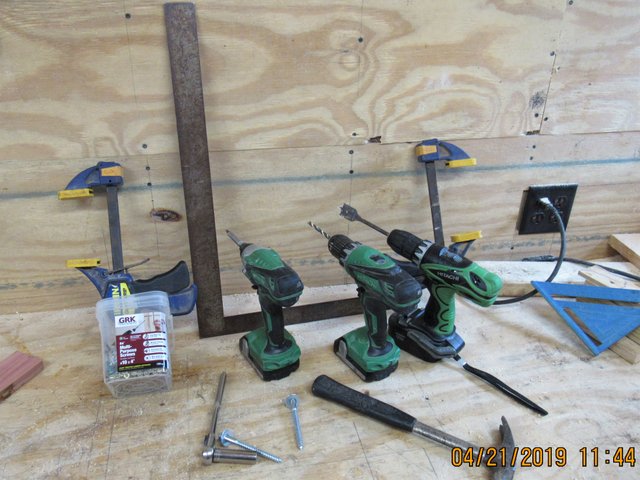
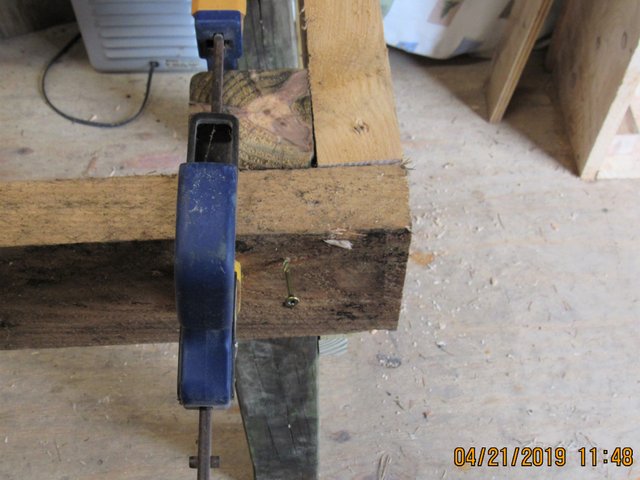
When working alone, these simple clamps provide you with another set of hands.

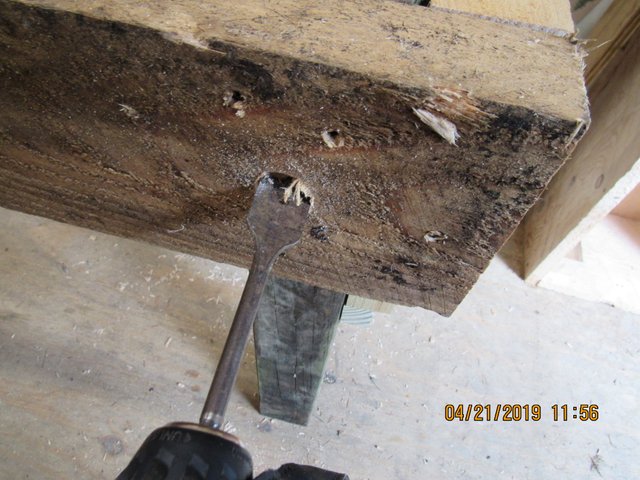
The side rails of the table are fastened with five 4 1/2 in. screws, and 1/2 in by 4 1/2 in. lag bolts.
The lag bolts are counter sunk by drilling a one inch hole in the rail.
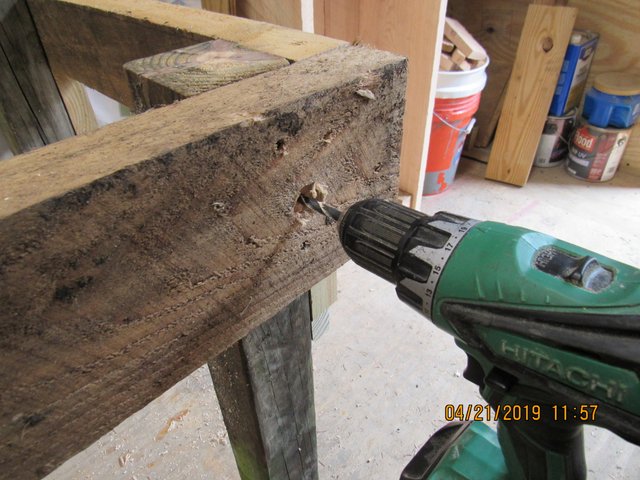
After the counter sink hole is drilled, a 5/16 in. pilot hole is drilled for the lag bolt. Again, the pilot hole is drilled to avoid splitting the rail.
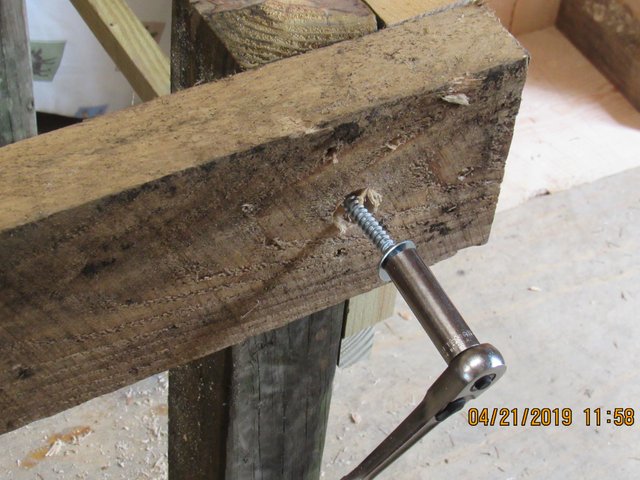
Lets put in the lag bolts.
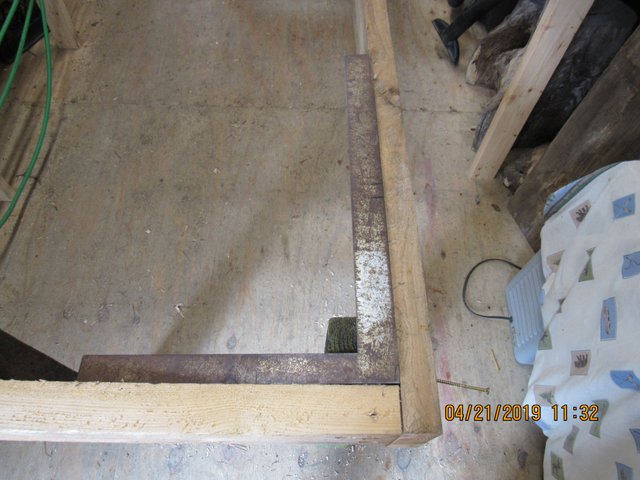
Checking with a framing square to make sure that the corners are at a perfect 90 degrees.
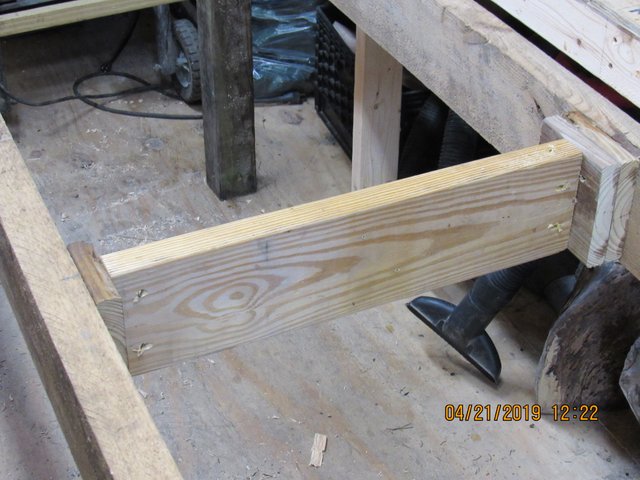
Blocks of wood have been fastened under all supporting members to provide extra strength.
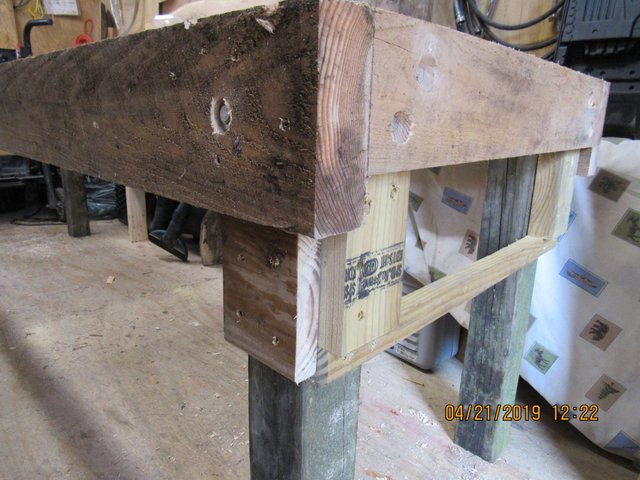
An additional board is installed in the middle of the rails for added strength.
It would have been nice to have had an extra set of hands to get these girls out of the shop.
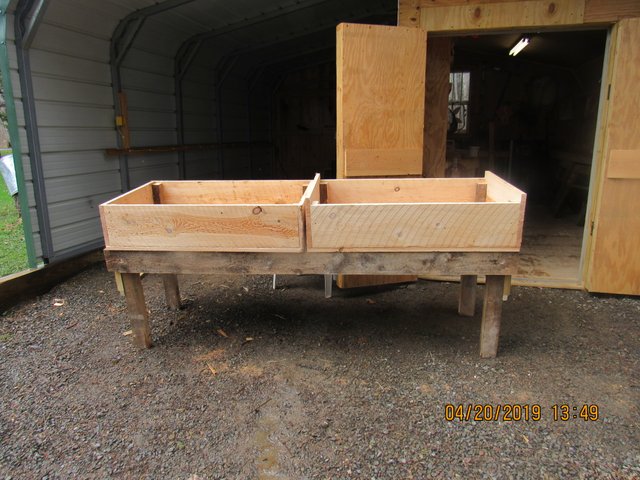
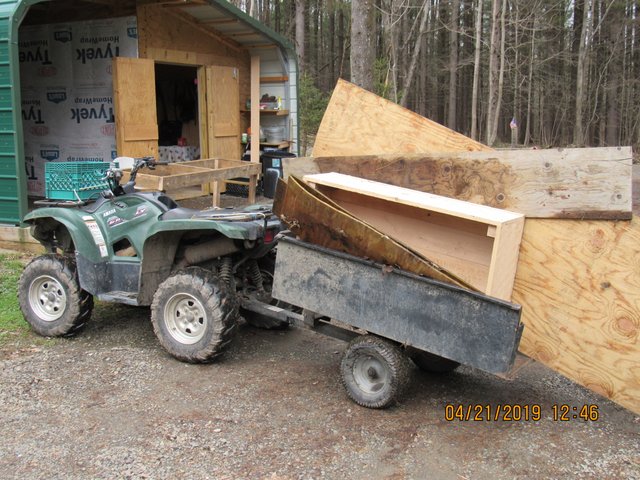
With all of the boxes and tables finished it is time to transport them to the garden.
1st load

2nd load
The plywood in this load is to place over a wet spot where the 4 wheeler needs to travel.
Until the ground dries up, we try to avoid putting tire tracks in the plush garden lawns.
It is simply amazing how grass grows up here. Back in New Jersey, growing grass would require planting, watering, weeding , fertilizing, and a lot of praying, every year. Not like that here in Upstate NY. We just get some hay from my wife's cousin who lives up the street, and throw it around.
Give me a second, I'll take a quick pic to show you what I mean.
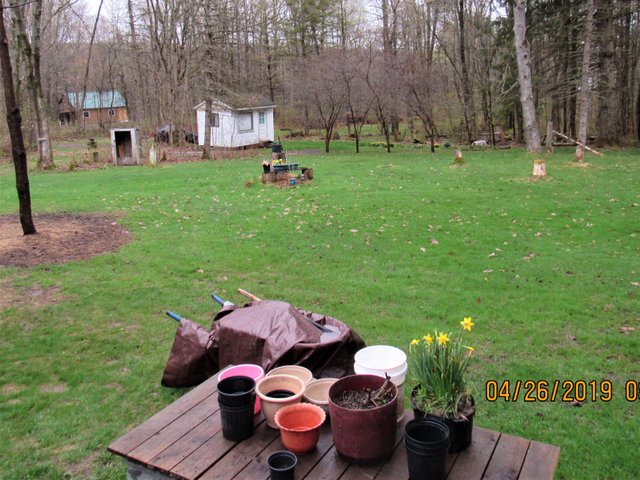
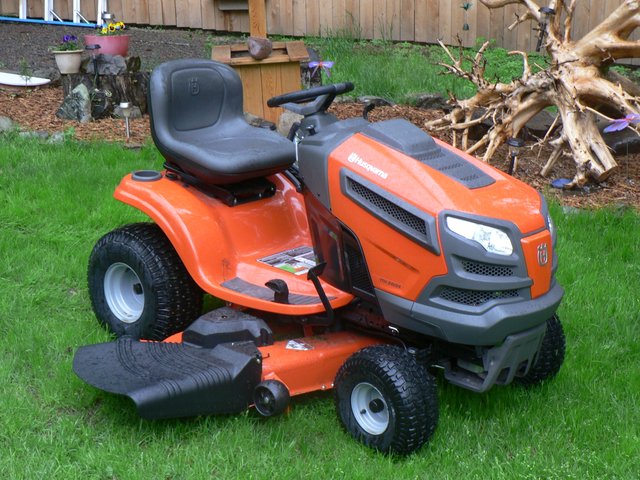
The only maintenance required now is for me to sit my rump on Mr. John Deer and crack open a cold one.
I hope you enjoyed, and possible found this informative.
If you did like, stay tuned as the transformation of our garden progresses.
Good job @thebigsweed
Thank you for sharing your project. I've taken the liberty of sharing it in the Homesteaders - Living Naturally, newsletter.
Posted using Partiko Android
Thank you, it is my pleasure @minismalljolding
I wish I had the skill and the tools to build things like that. Those look awesome!
Thanks for the compliment.
Always appreciated!
Always humbled!
Howdy sir bigsweed! hey great post, love watching someone else work! You mean to get grass to grow you just throw it out and cover it with straw?
And what't the deal with the John Deer line? I got a lawn mower just like that, I put it through hell getting this place looking more like lawns instead of wild woods, it had been sitting for almost 9 years when we got here.
@janton, there is nos need for any seed, as the seed is right in the hay. The old John Deer tractor sitting around for 9 years and you got it running, unbelievable!
Howdy sir bigsweed! Thanks for replying, I know you are super busy up there! so you are planting hay so you just scatter the hay everywhere? I didn't know that's how it was done. Simplifies things!
This post was informative. Your garden box is similar to the one that I made, but I like what you did for your extra support. I'll add some additional boards similar to your design. Thanks for sharing.
@jluvs2fly thanks for such a nice comment. The raised box setups can never be too strong. With the amount of dirt that is placed in them it is better to be a little extra careful.
Always appreciated!
Always humbled!
source
Rewarding Your Original Work
With an Upvote
And
Resteem
If you find posts worthy of a nasty Splatin’ feel free and mention @splatz in your reply to their post. Call me out!!