My project: The WPC Raised Bed! 🍆
Hello Steemians,

I would also like to pass on my instructions and experience in the construction of elevated beds to all non-German-speaking Steemians and hope that this will be of benefit to one or the other.
On the weekend there was a lot to do because I finally realized what my wife had wanted for a long time. The special feature of this good piece is that I use WPC slats which are normally used for the construction of terraces. These laten each 3 meters are available for just under 12 euros at the Hagebaumarkt.
However, you should also decide to use this material first experiment with screws on a small piece because it does not behave like wood.
For example, I predrilled every screw and used the usual screws for WPC decking boards. These are a bit more expensive, but they attract a lot. And another special feature, the ground sockets are not concreted, despite the very soft ground in our garden the raised bed stands as if nailed down.

Basic data, material list and required tools
Measurements of the raised bed
Width: 2m
Depth: 1m
Height: 0.72m
| Quantity | Material |
|---|---|
| 6 | Drive-in ground sleeve »70x70x750mm« |
| 3 | Post glazed 200cm |
| 12 | WPC Decking |
| 10m | Wire mesh 50cm wide (vole protection) |
| 8m | Raised Bed Foil or bubble wrap 1m wide |
| 150-200 pcs. | screws |
Tool:
- Circular saw (stand or hand)
- cordless screwdriver with bits, wood and metal drill
- Angle
- Large and small spirit level
- cord
- Biting pliers
- mitten
- Stapler
- Cutter Knives
- spade
- Measuring tape
Working time:
4-5 hours

Here now my photos to the construction and a small instruction inclusive.
Let's go!
1.) Mark out the surface with the cord and small piece of wood, here work with tape measure and angle.
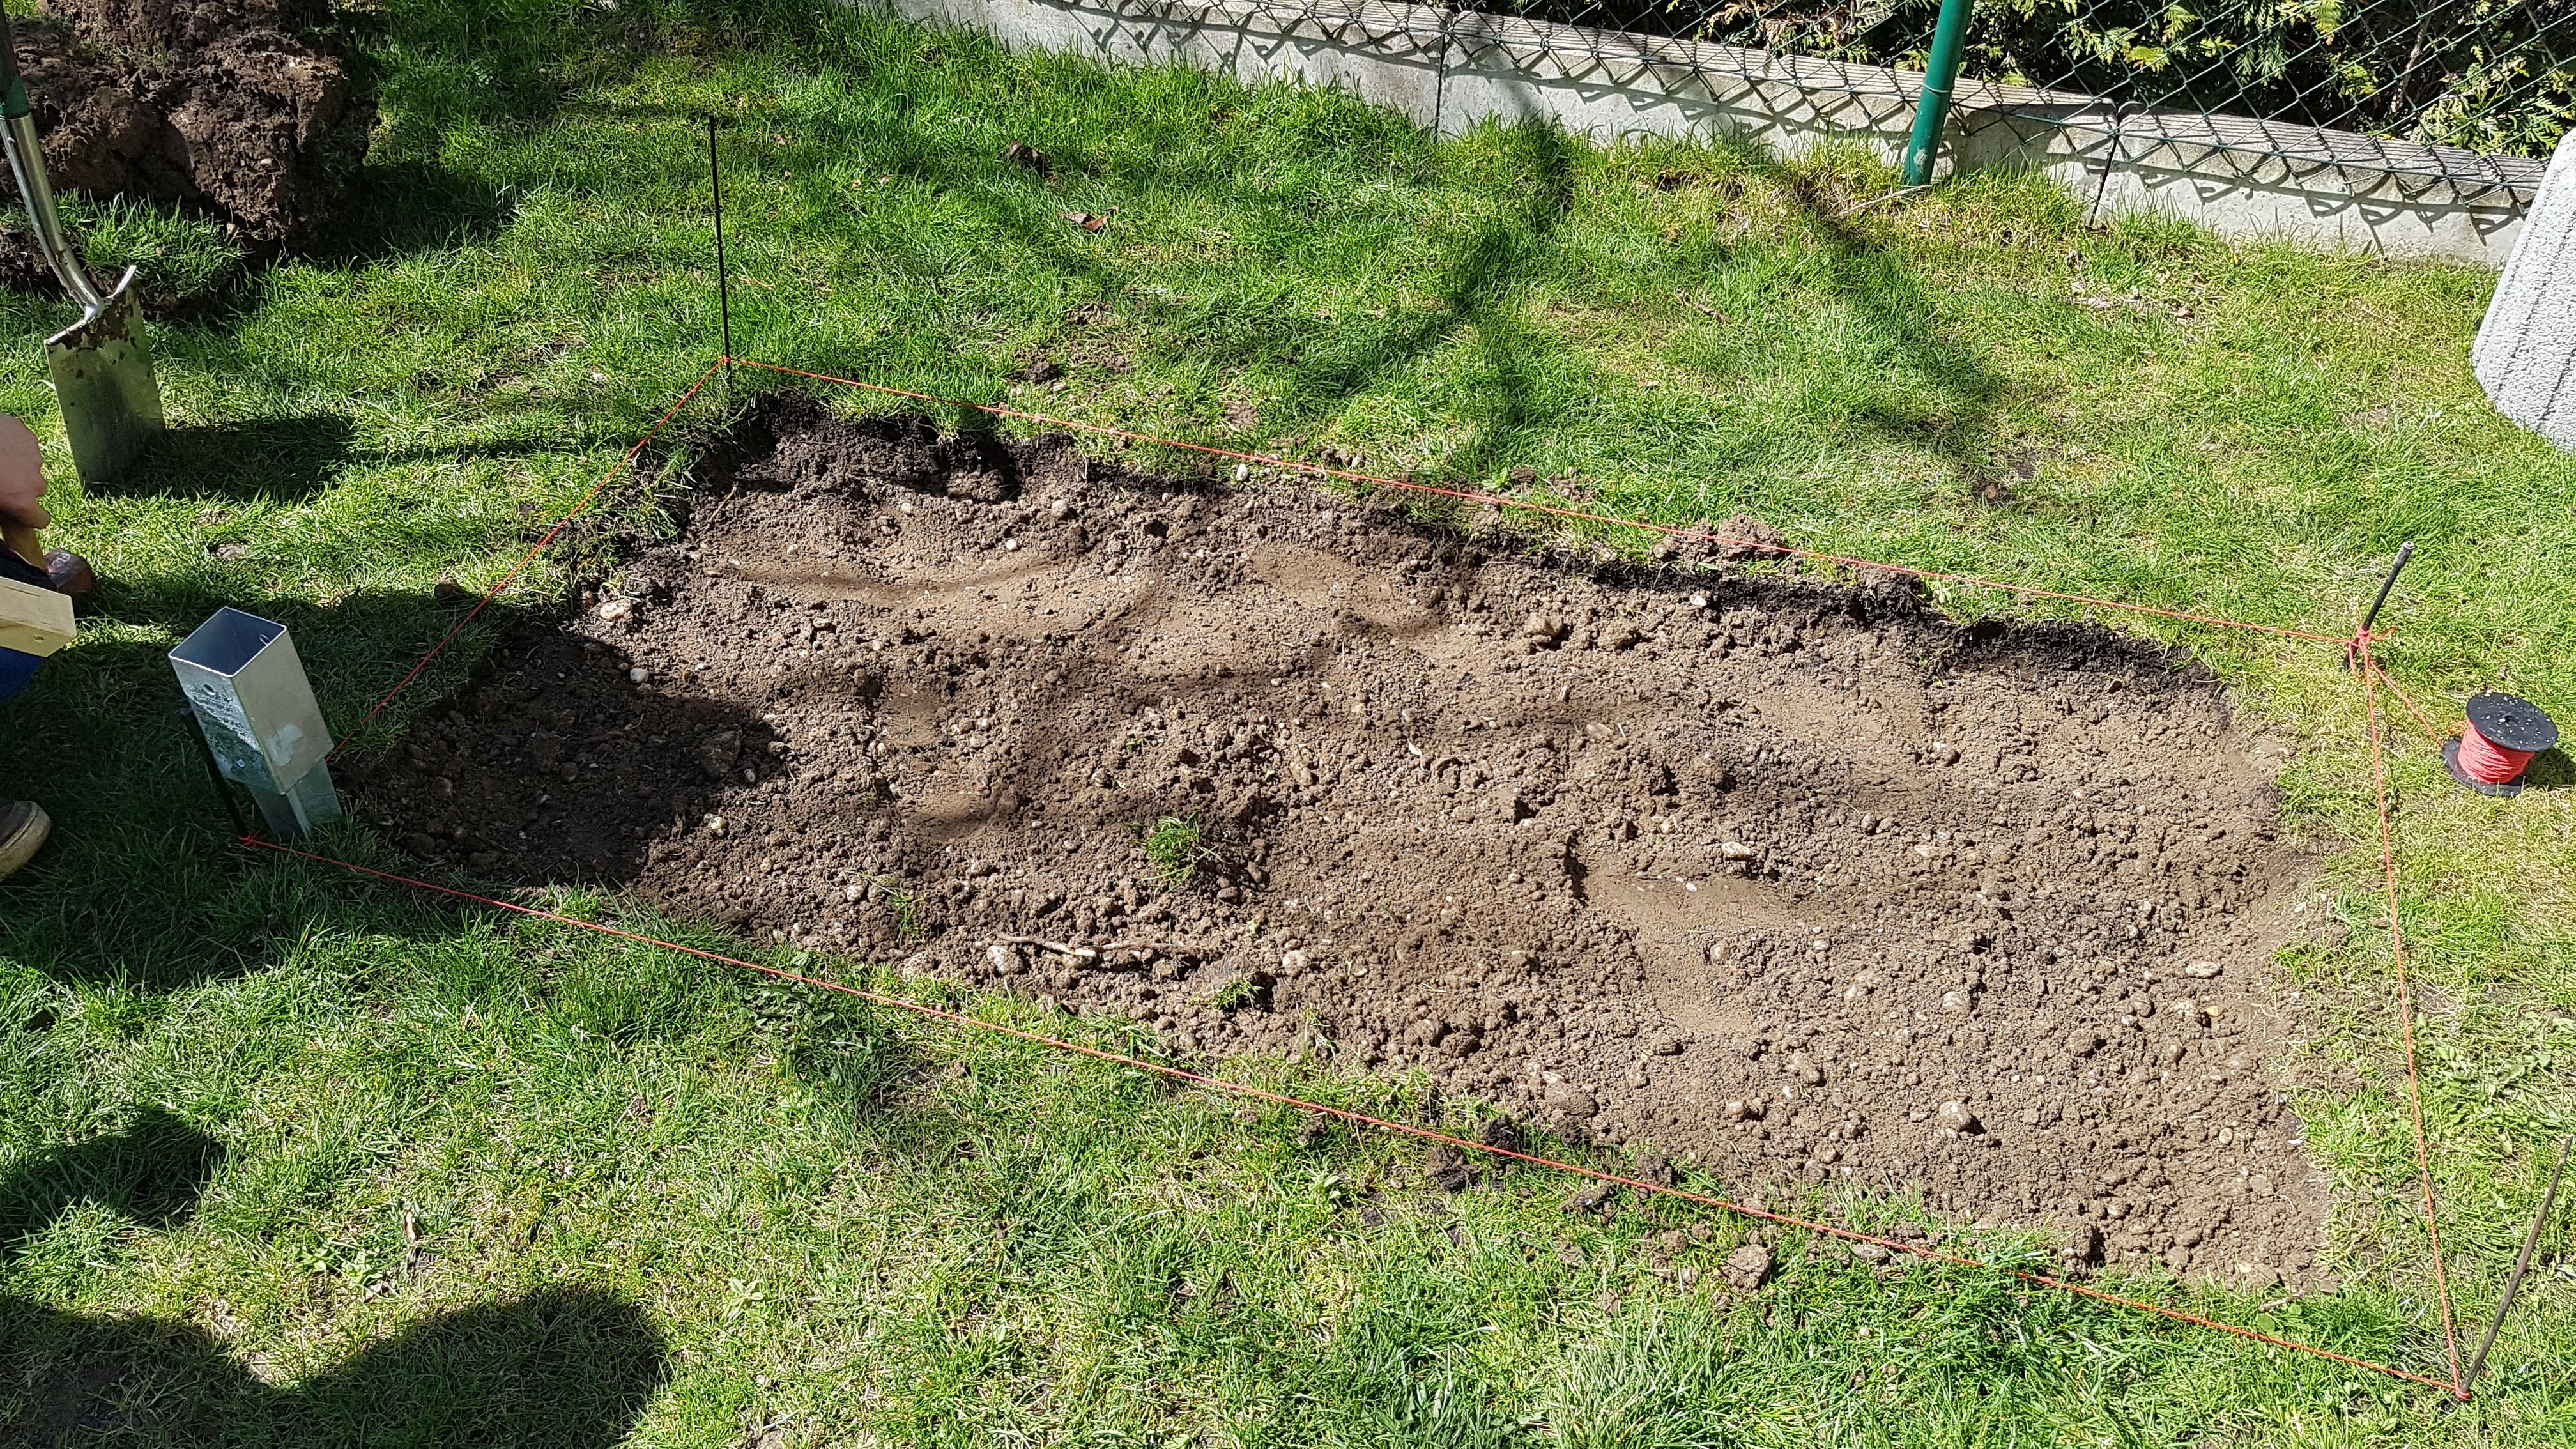
2.) Use the spade to dig up the top soil, which will be needed later for filling.

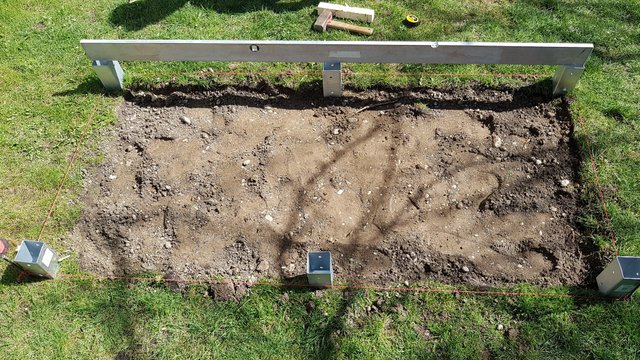
3.) Measure the highest corner and sink the first ground sleeve into the ground up to the lawn edge. Knock the other 5 sleeves into the floor and align them using the first one with the large spirit level and the angle. Accurate work is important here because otherwise it will become more difficult to screw the latencies straight on.

4.) Now cut 72 cm pieces from each of the 3 glazed posts and push them into the shoes and check again with the spirit level whether the height is correct, horizontally align the posts with the first latencies.
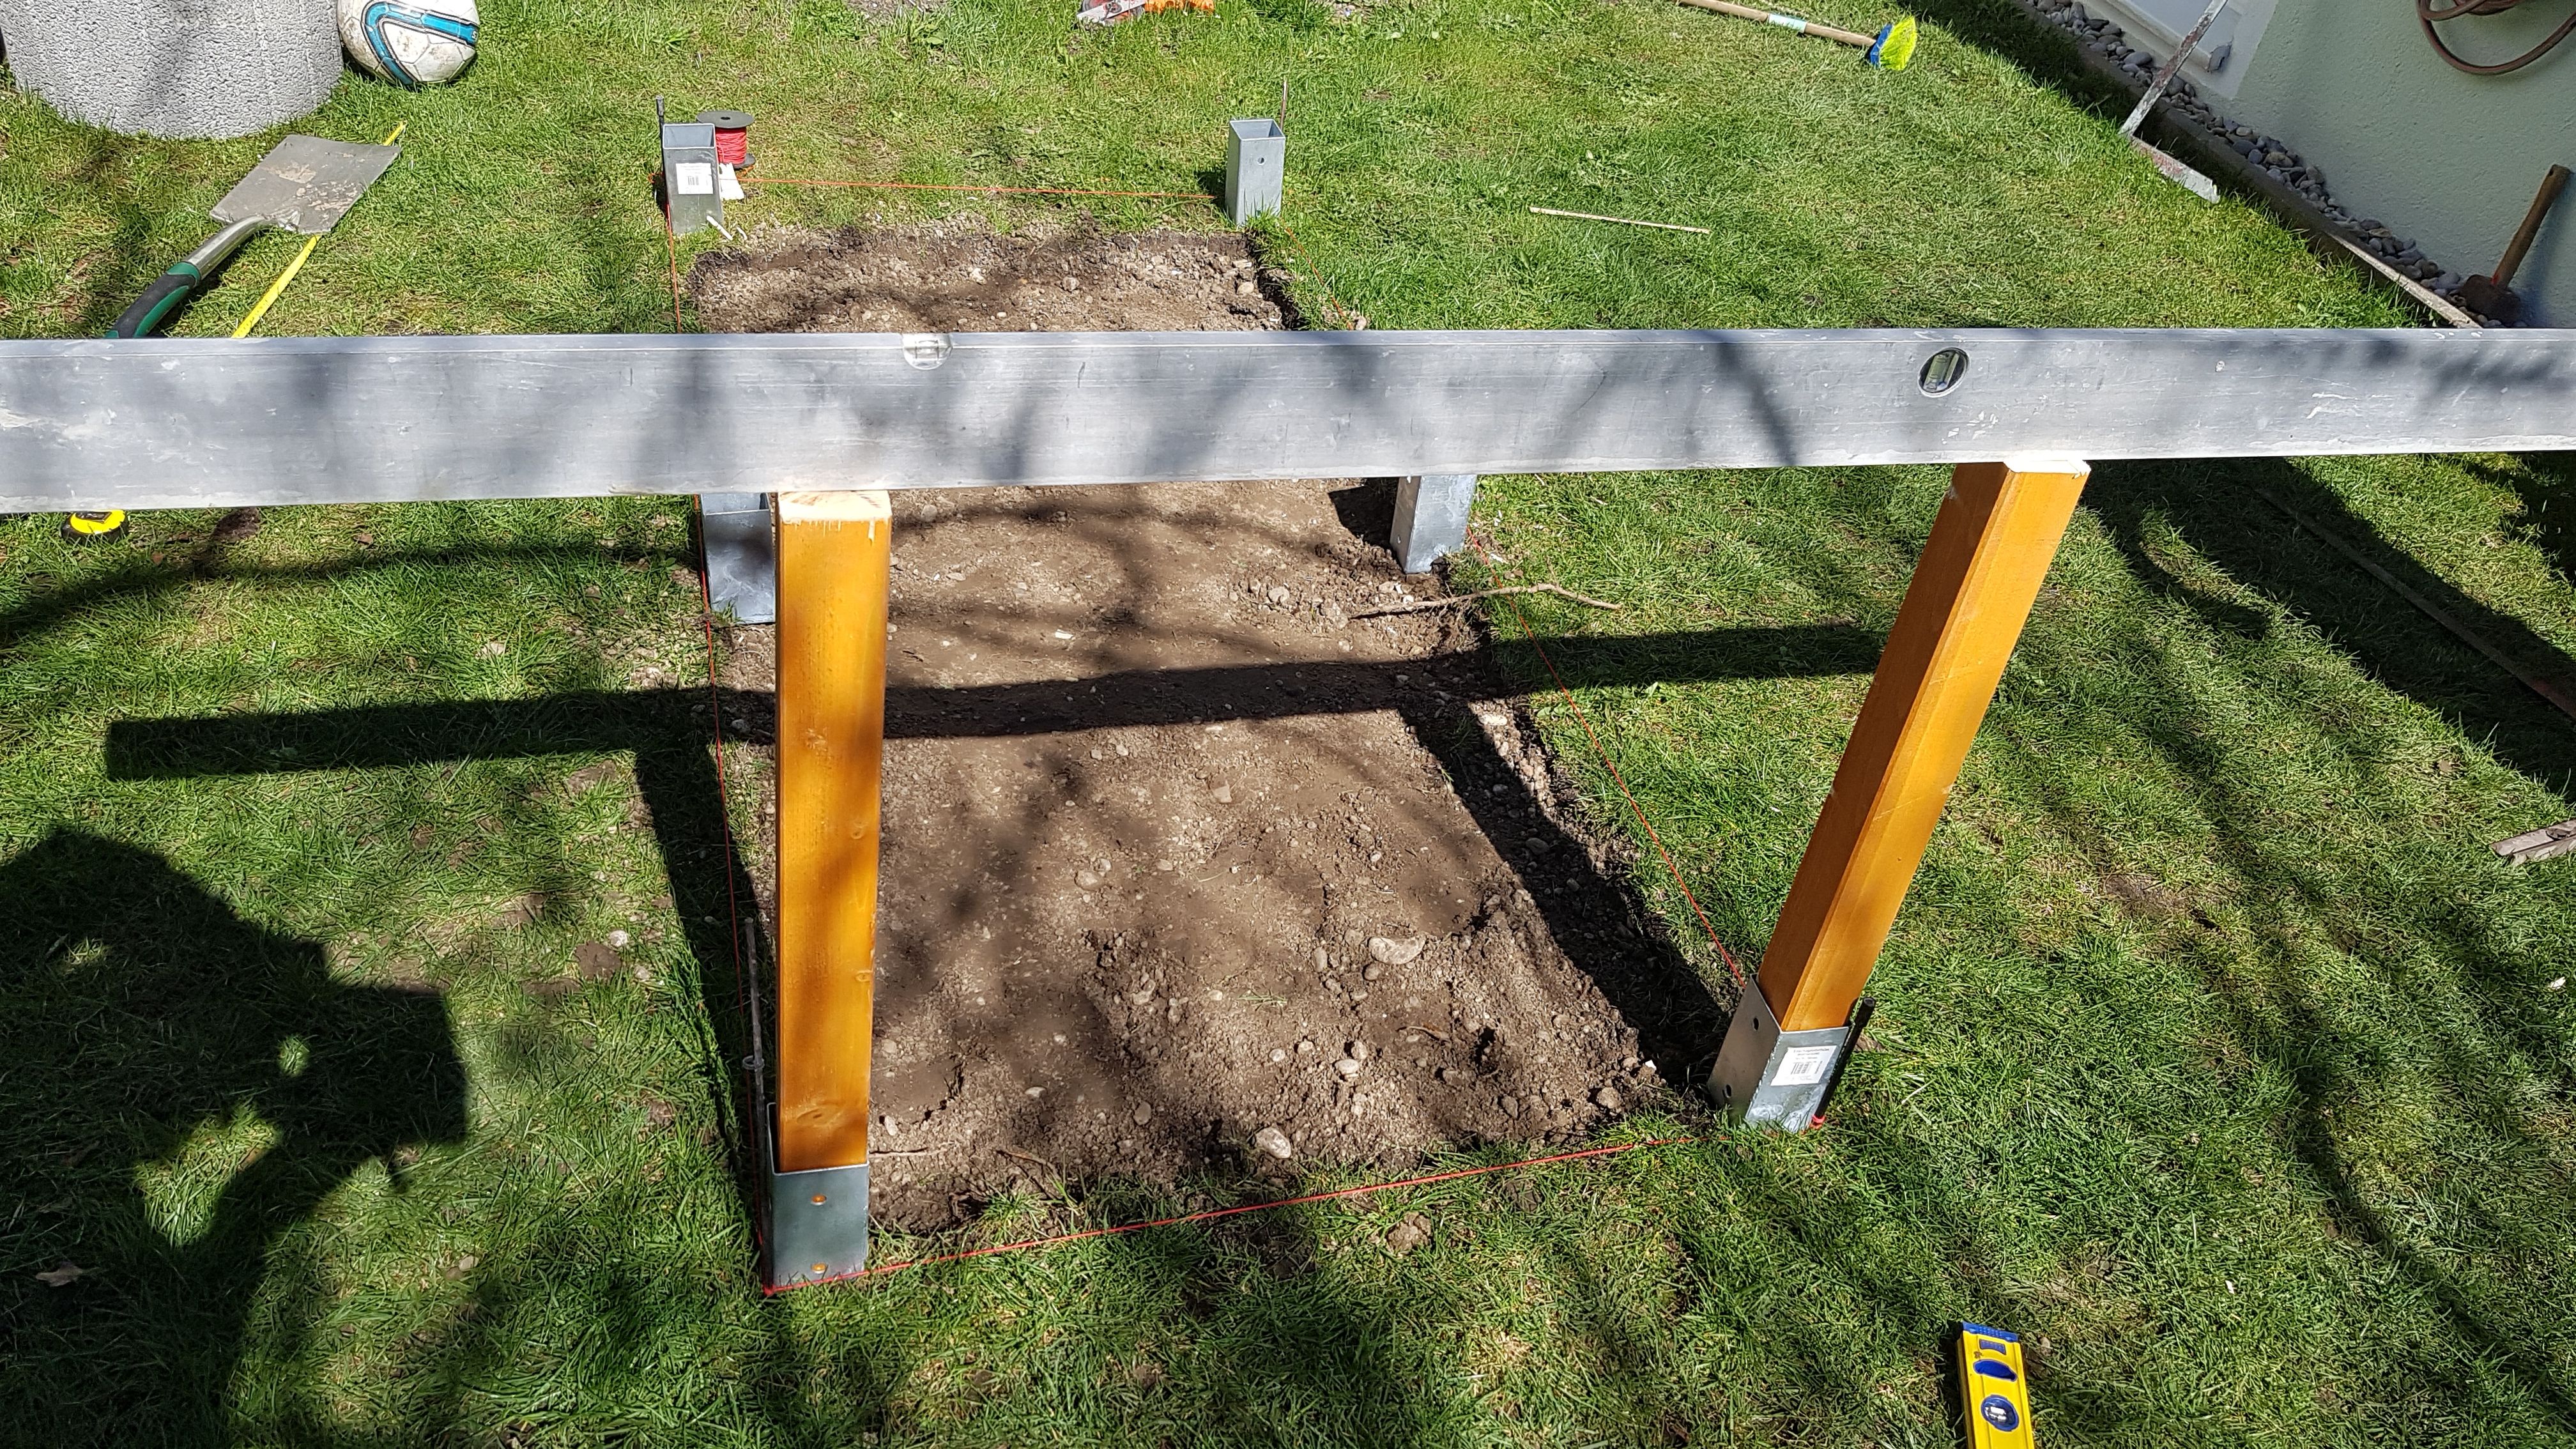
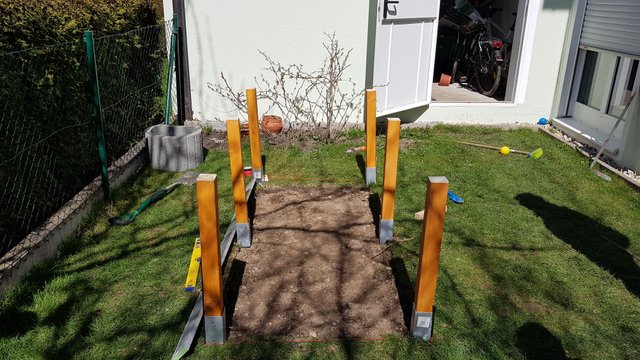
5.) Now cut the WPC laths 2 and 1 meter, these are now attached to the posts one by one. First the 2 meter pieces then the 1 meter. It is to be paid attention to align the posts when fastening, this is best done in pairs, with a small and large spirit level
Attention: Always pre-drill with every screw, otherwise it can happen that the screws distort during fastening.
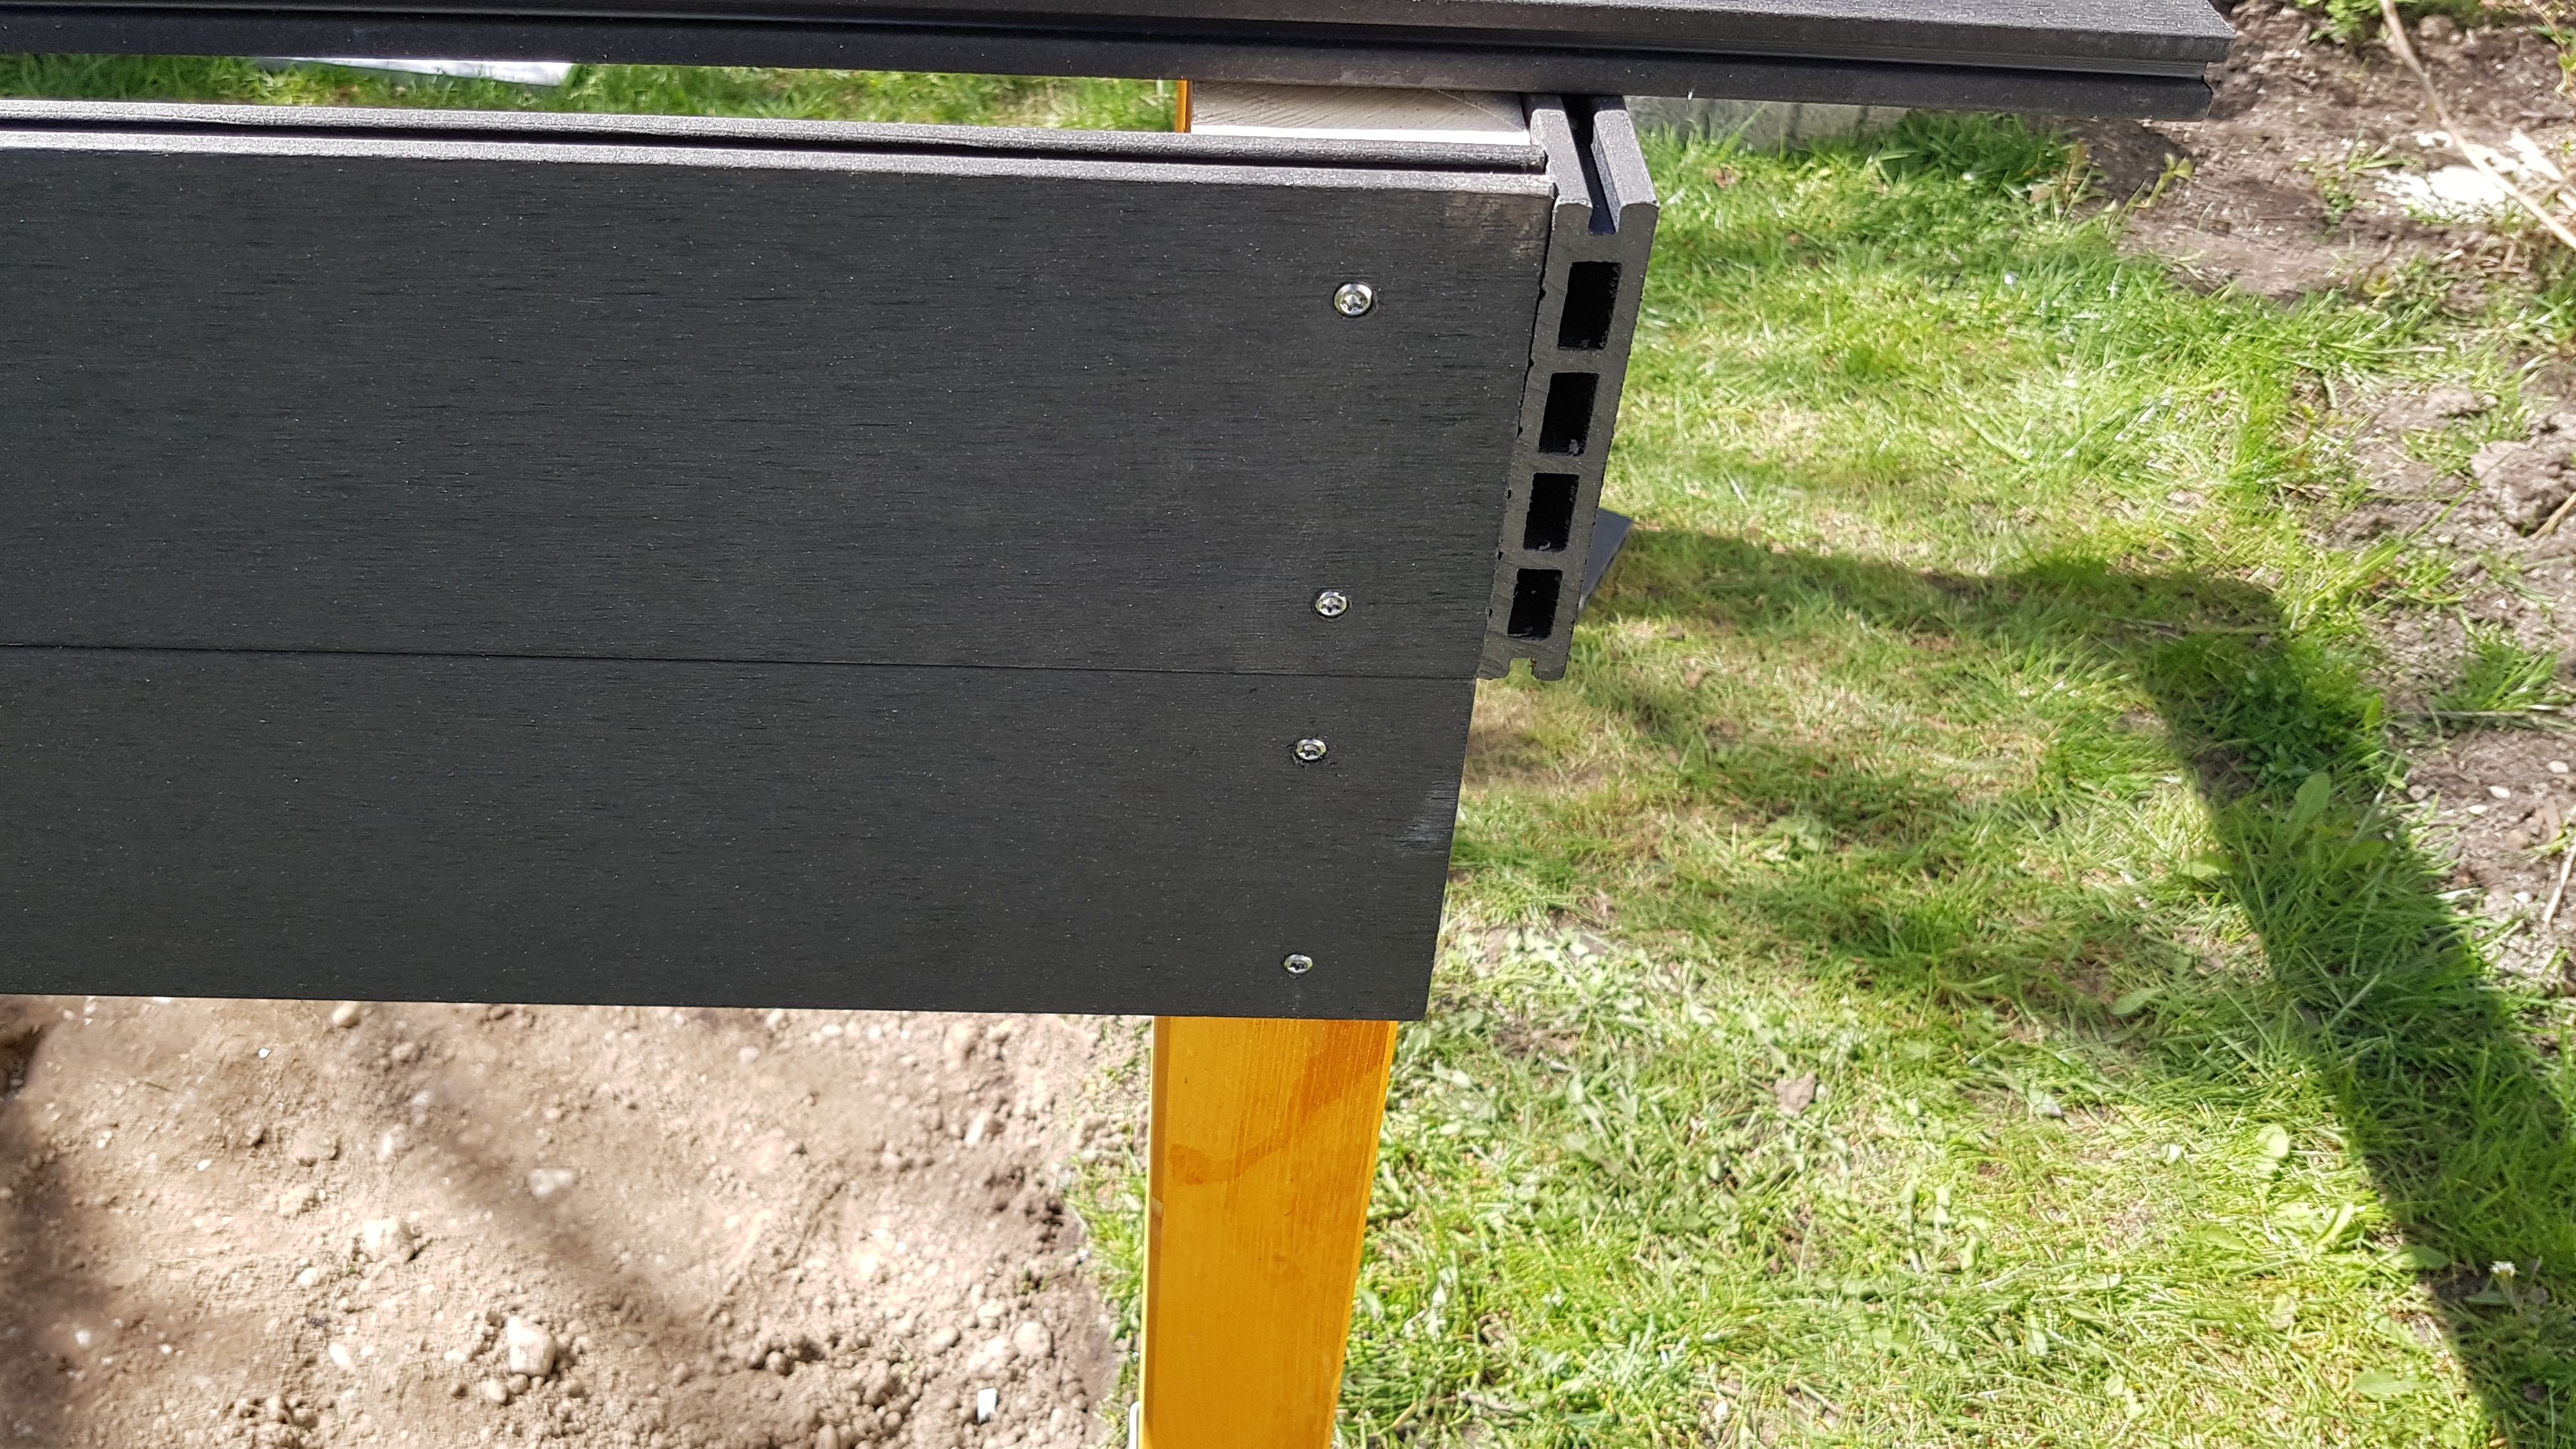
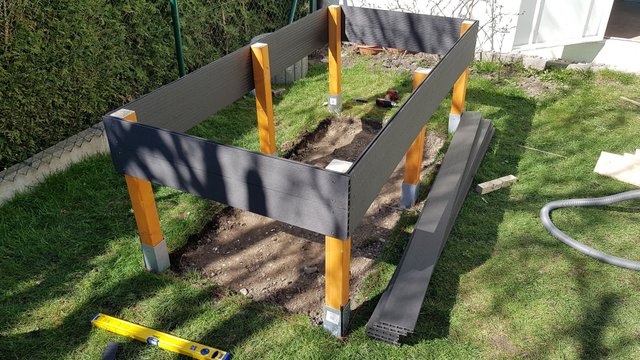
6.) Now apply one batten after the other from top to bottom until you are almost on the ground. In the last row (depending on the inclination of the garden) the metal drill must be predrilled so that the metal shoe is drilled through and the slat connects the metal shoe to the post together.
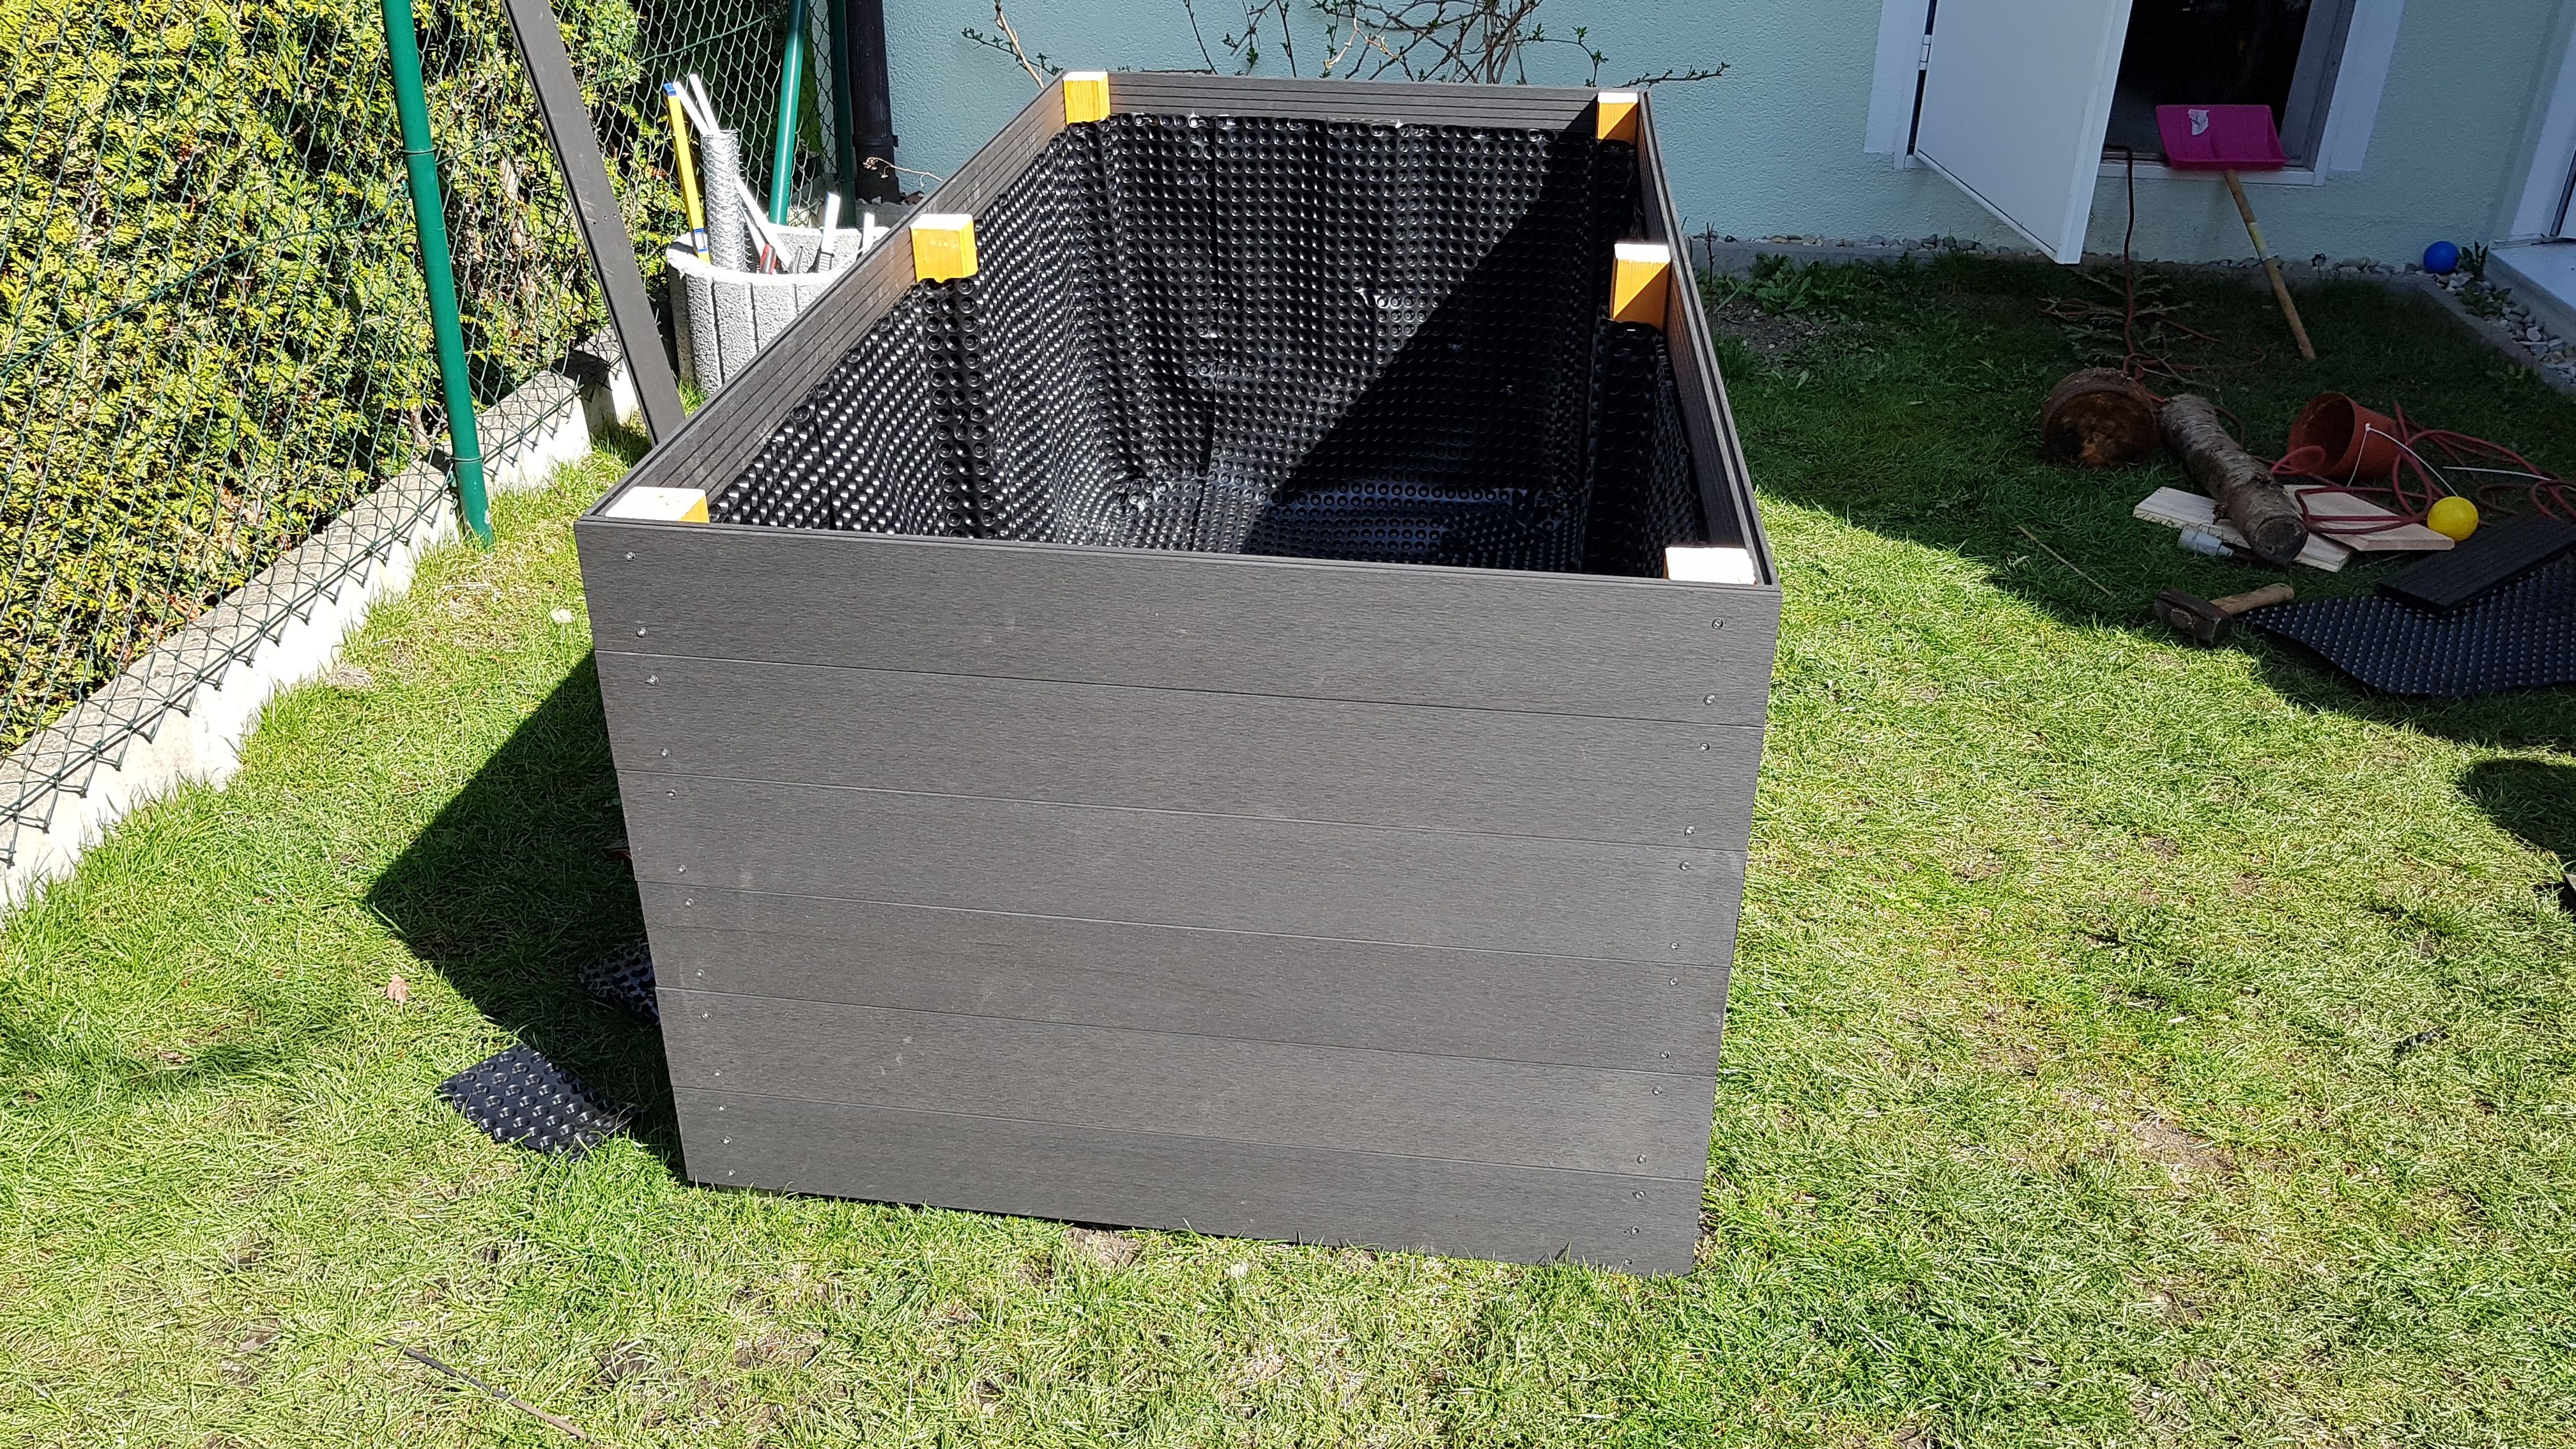
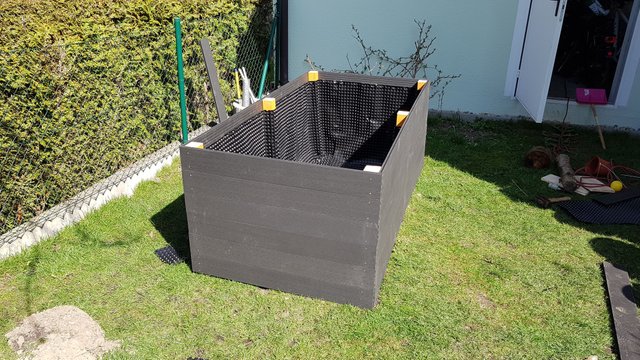
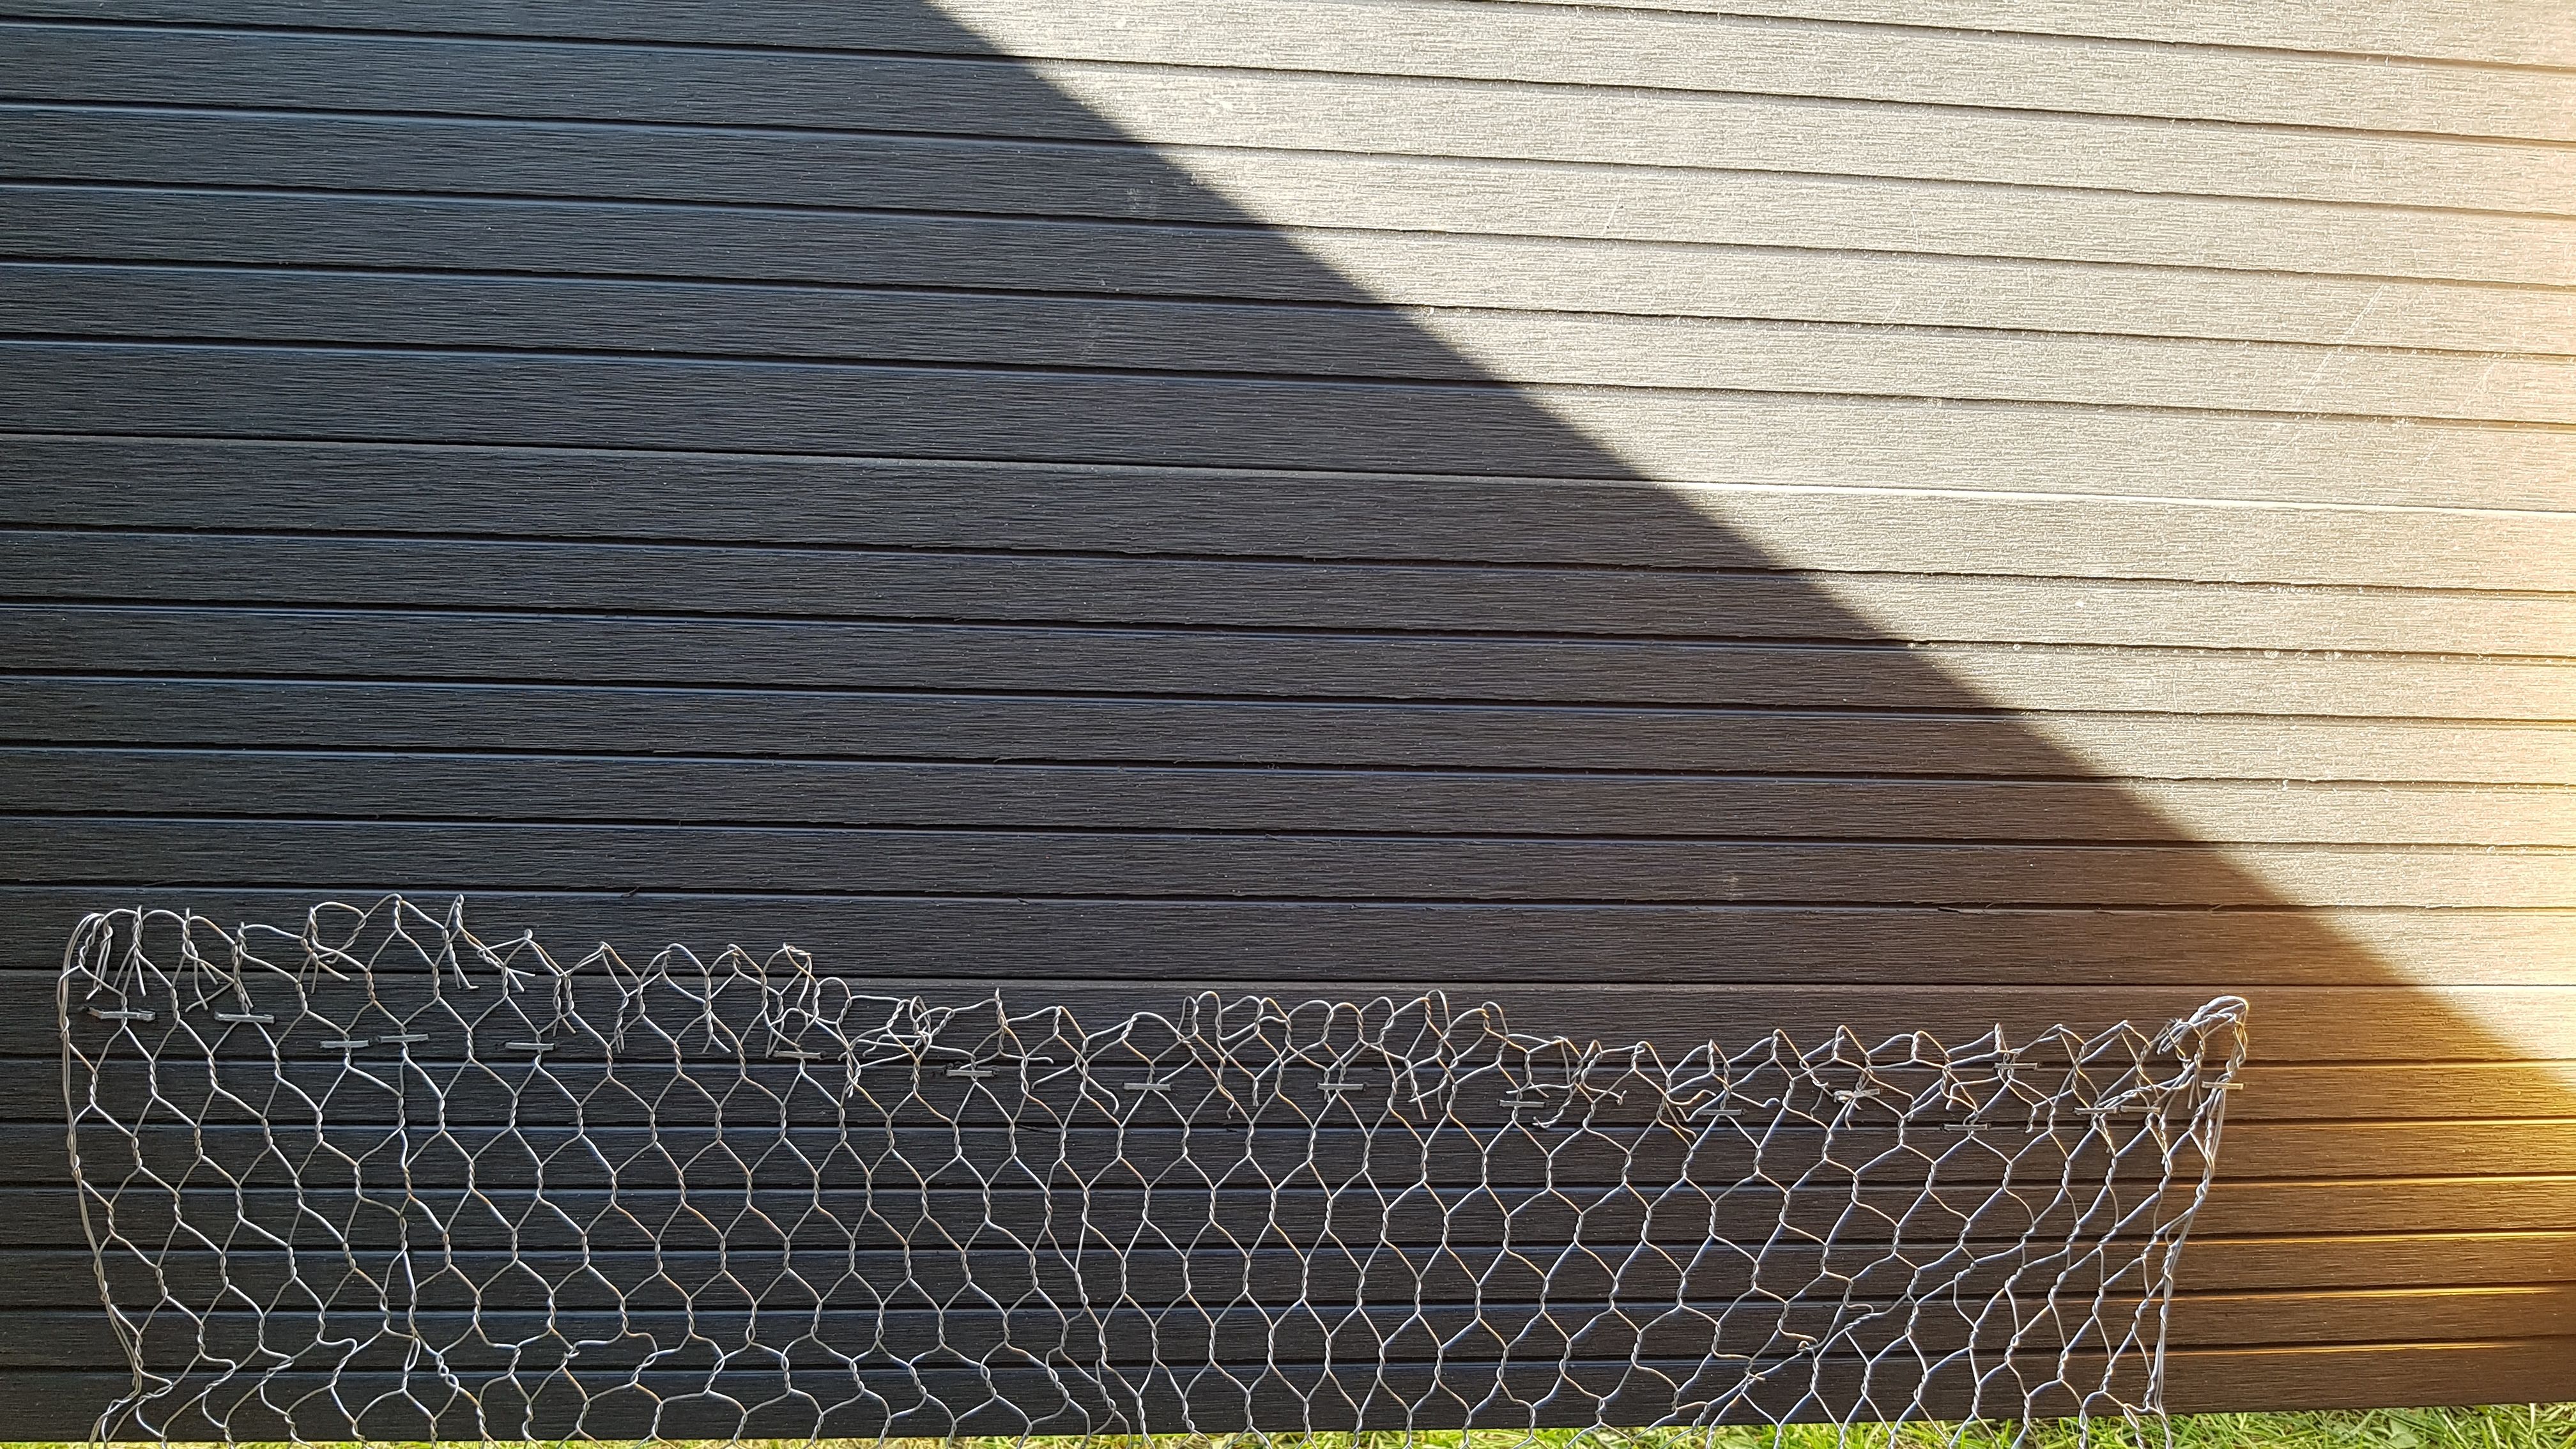
7.) Now tack the middle of the mouse grid and let the two outer grids on the floor overlap with the middle one. So that the entire floor area is protected.
8.) Staple the raised bed foil all around as you can see, cut the corners with the cutter knife so that the foil lies cleanly in the bed.
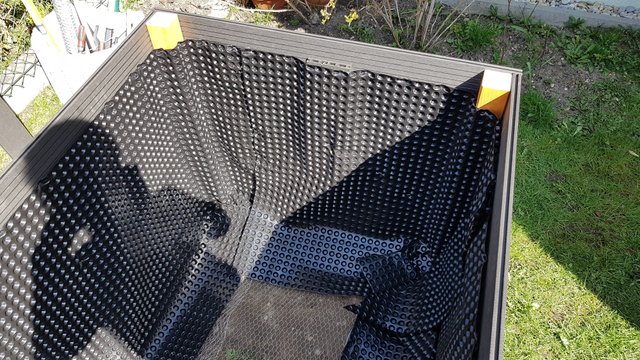
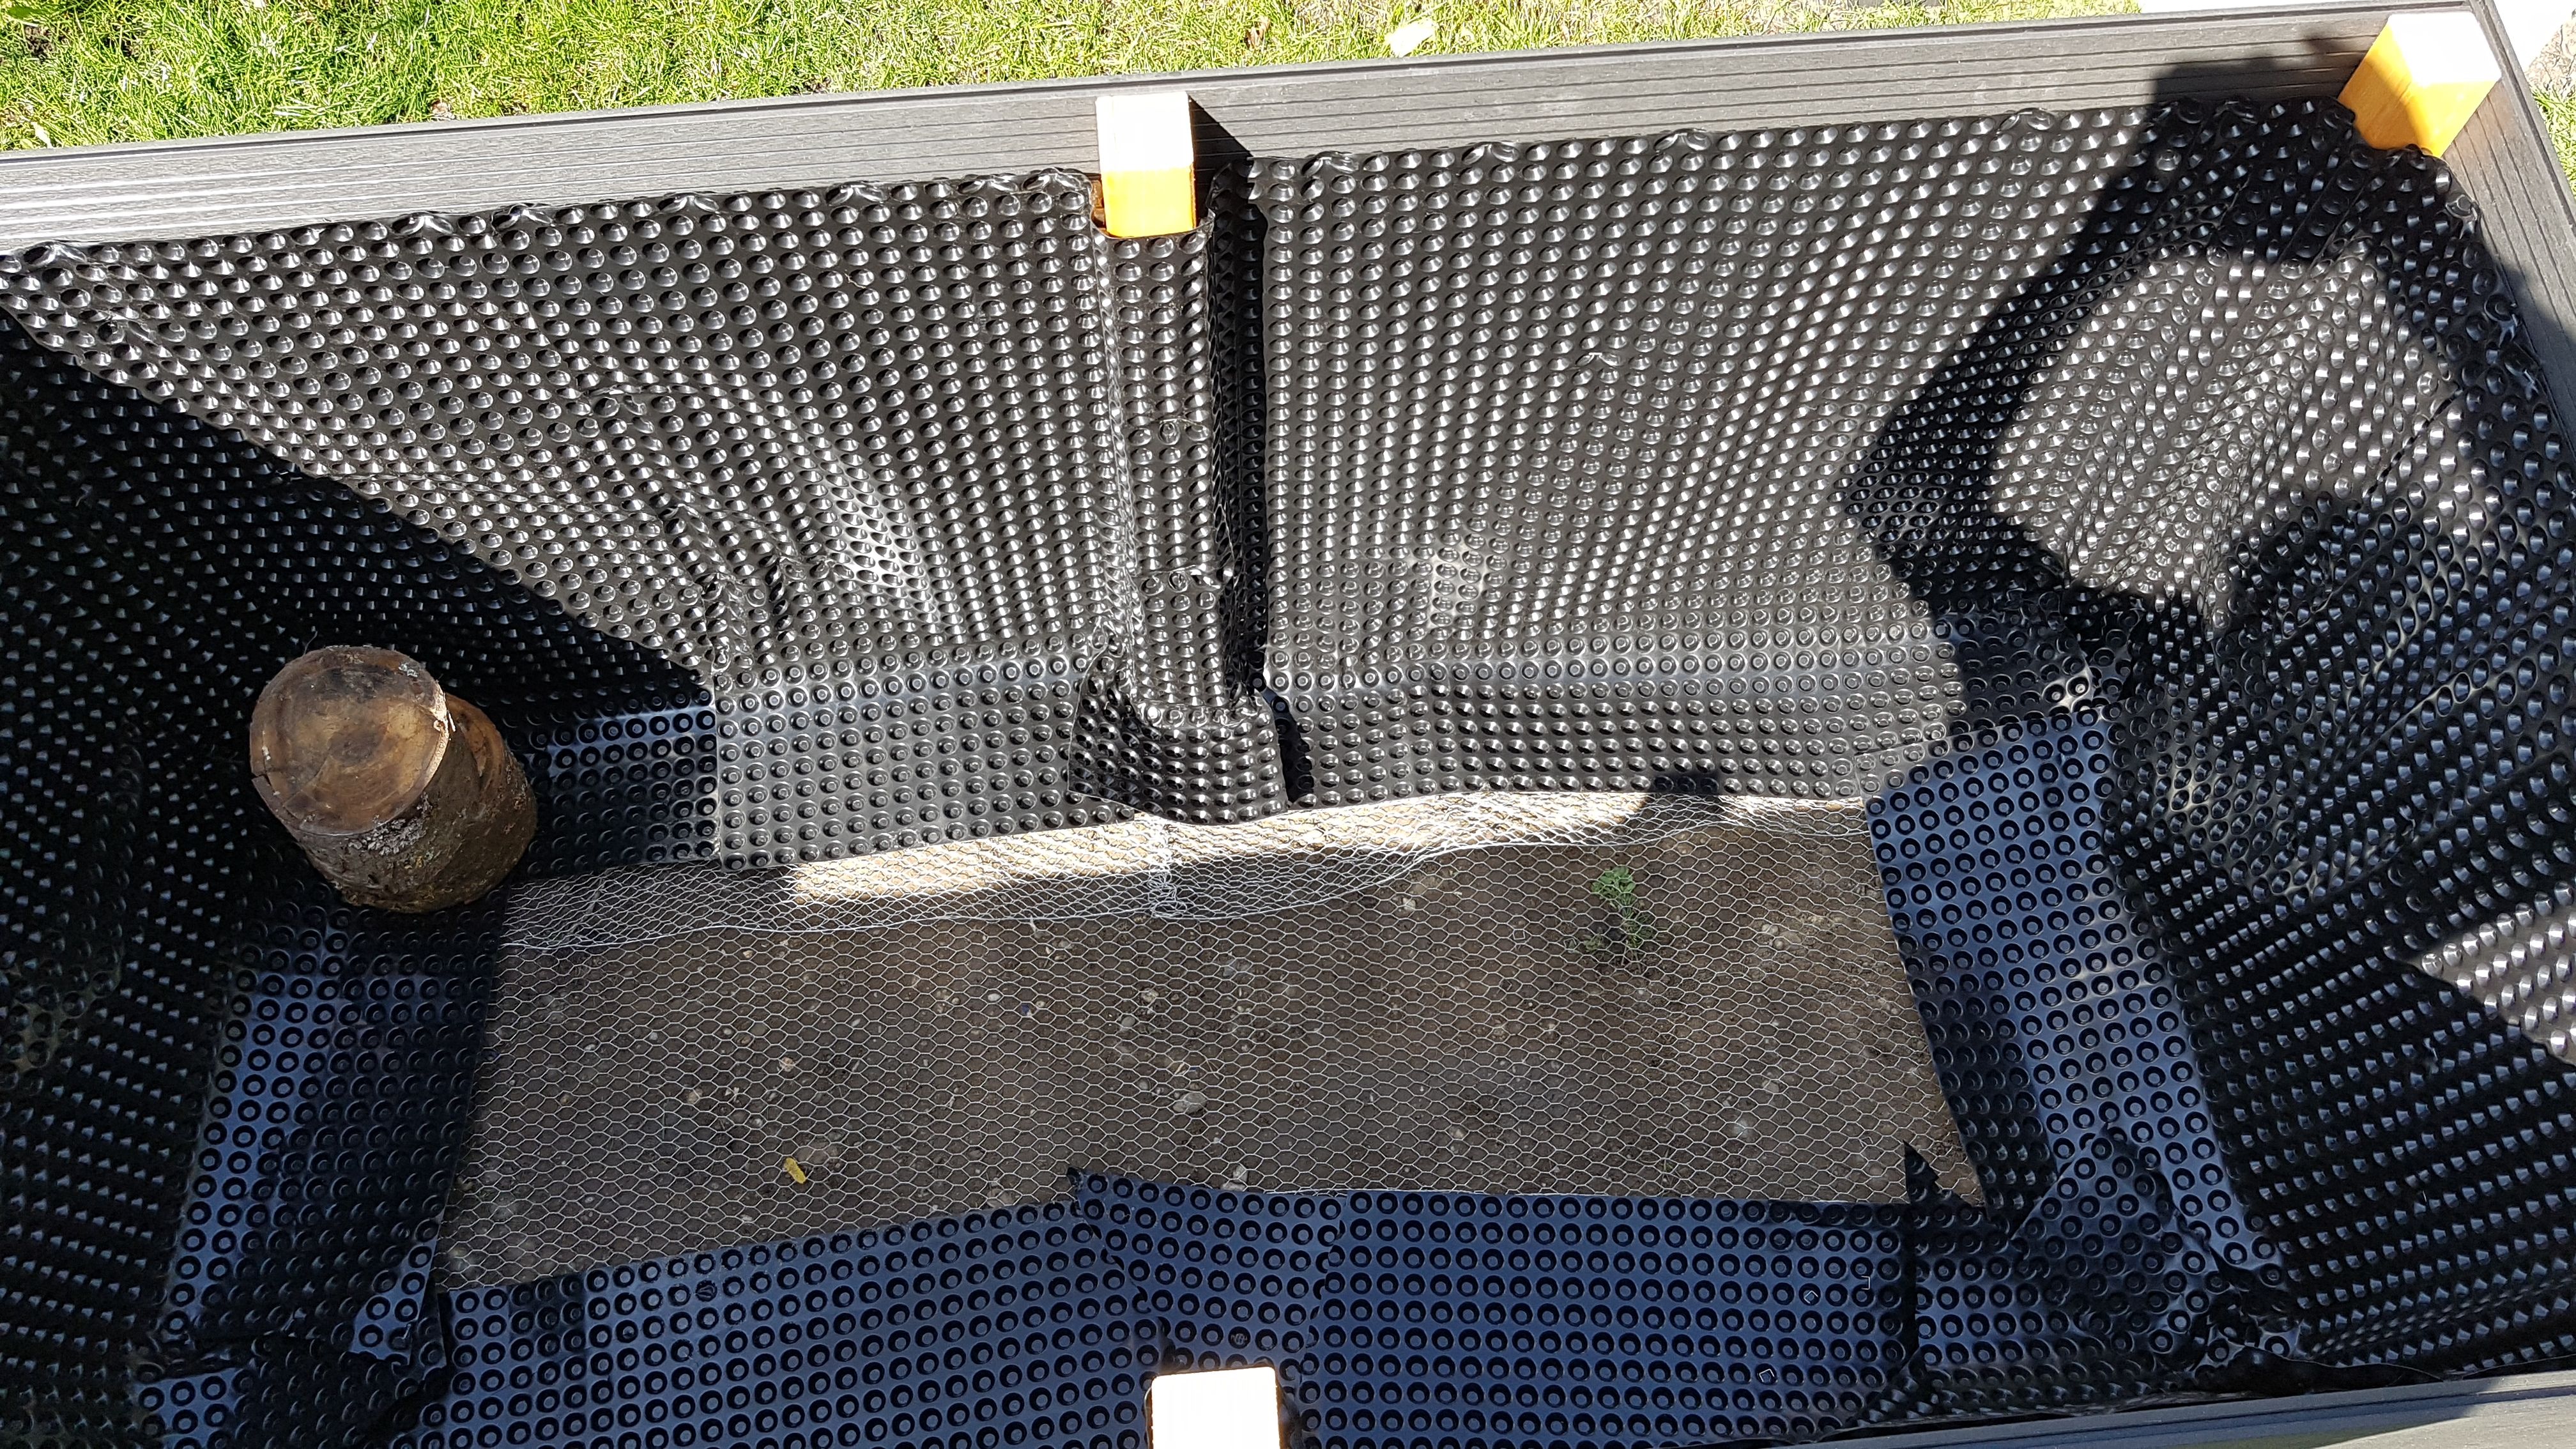
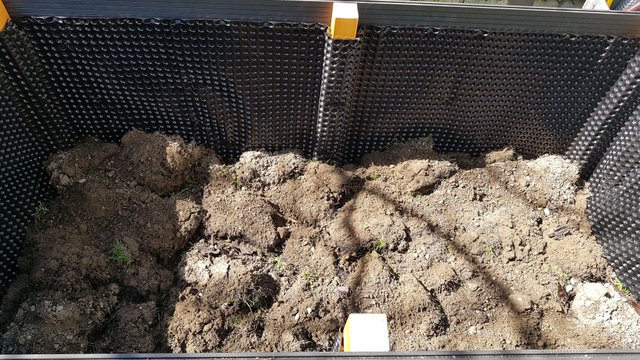
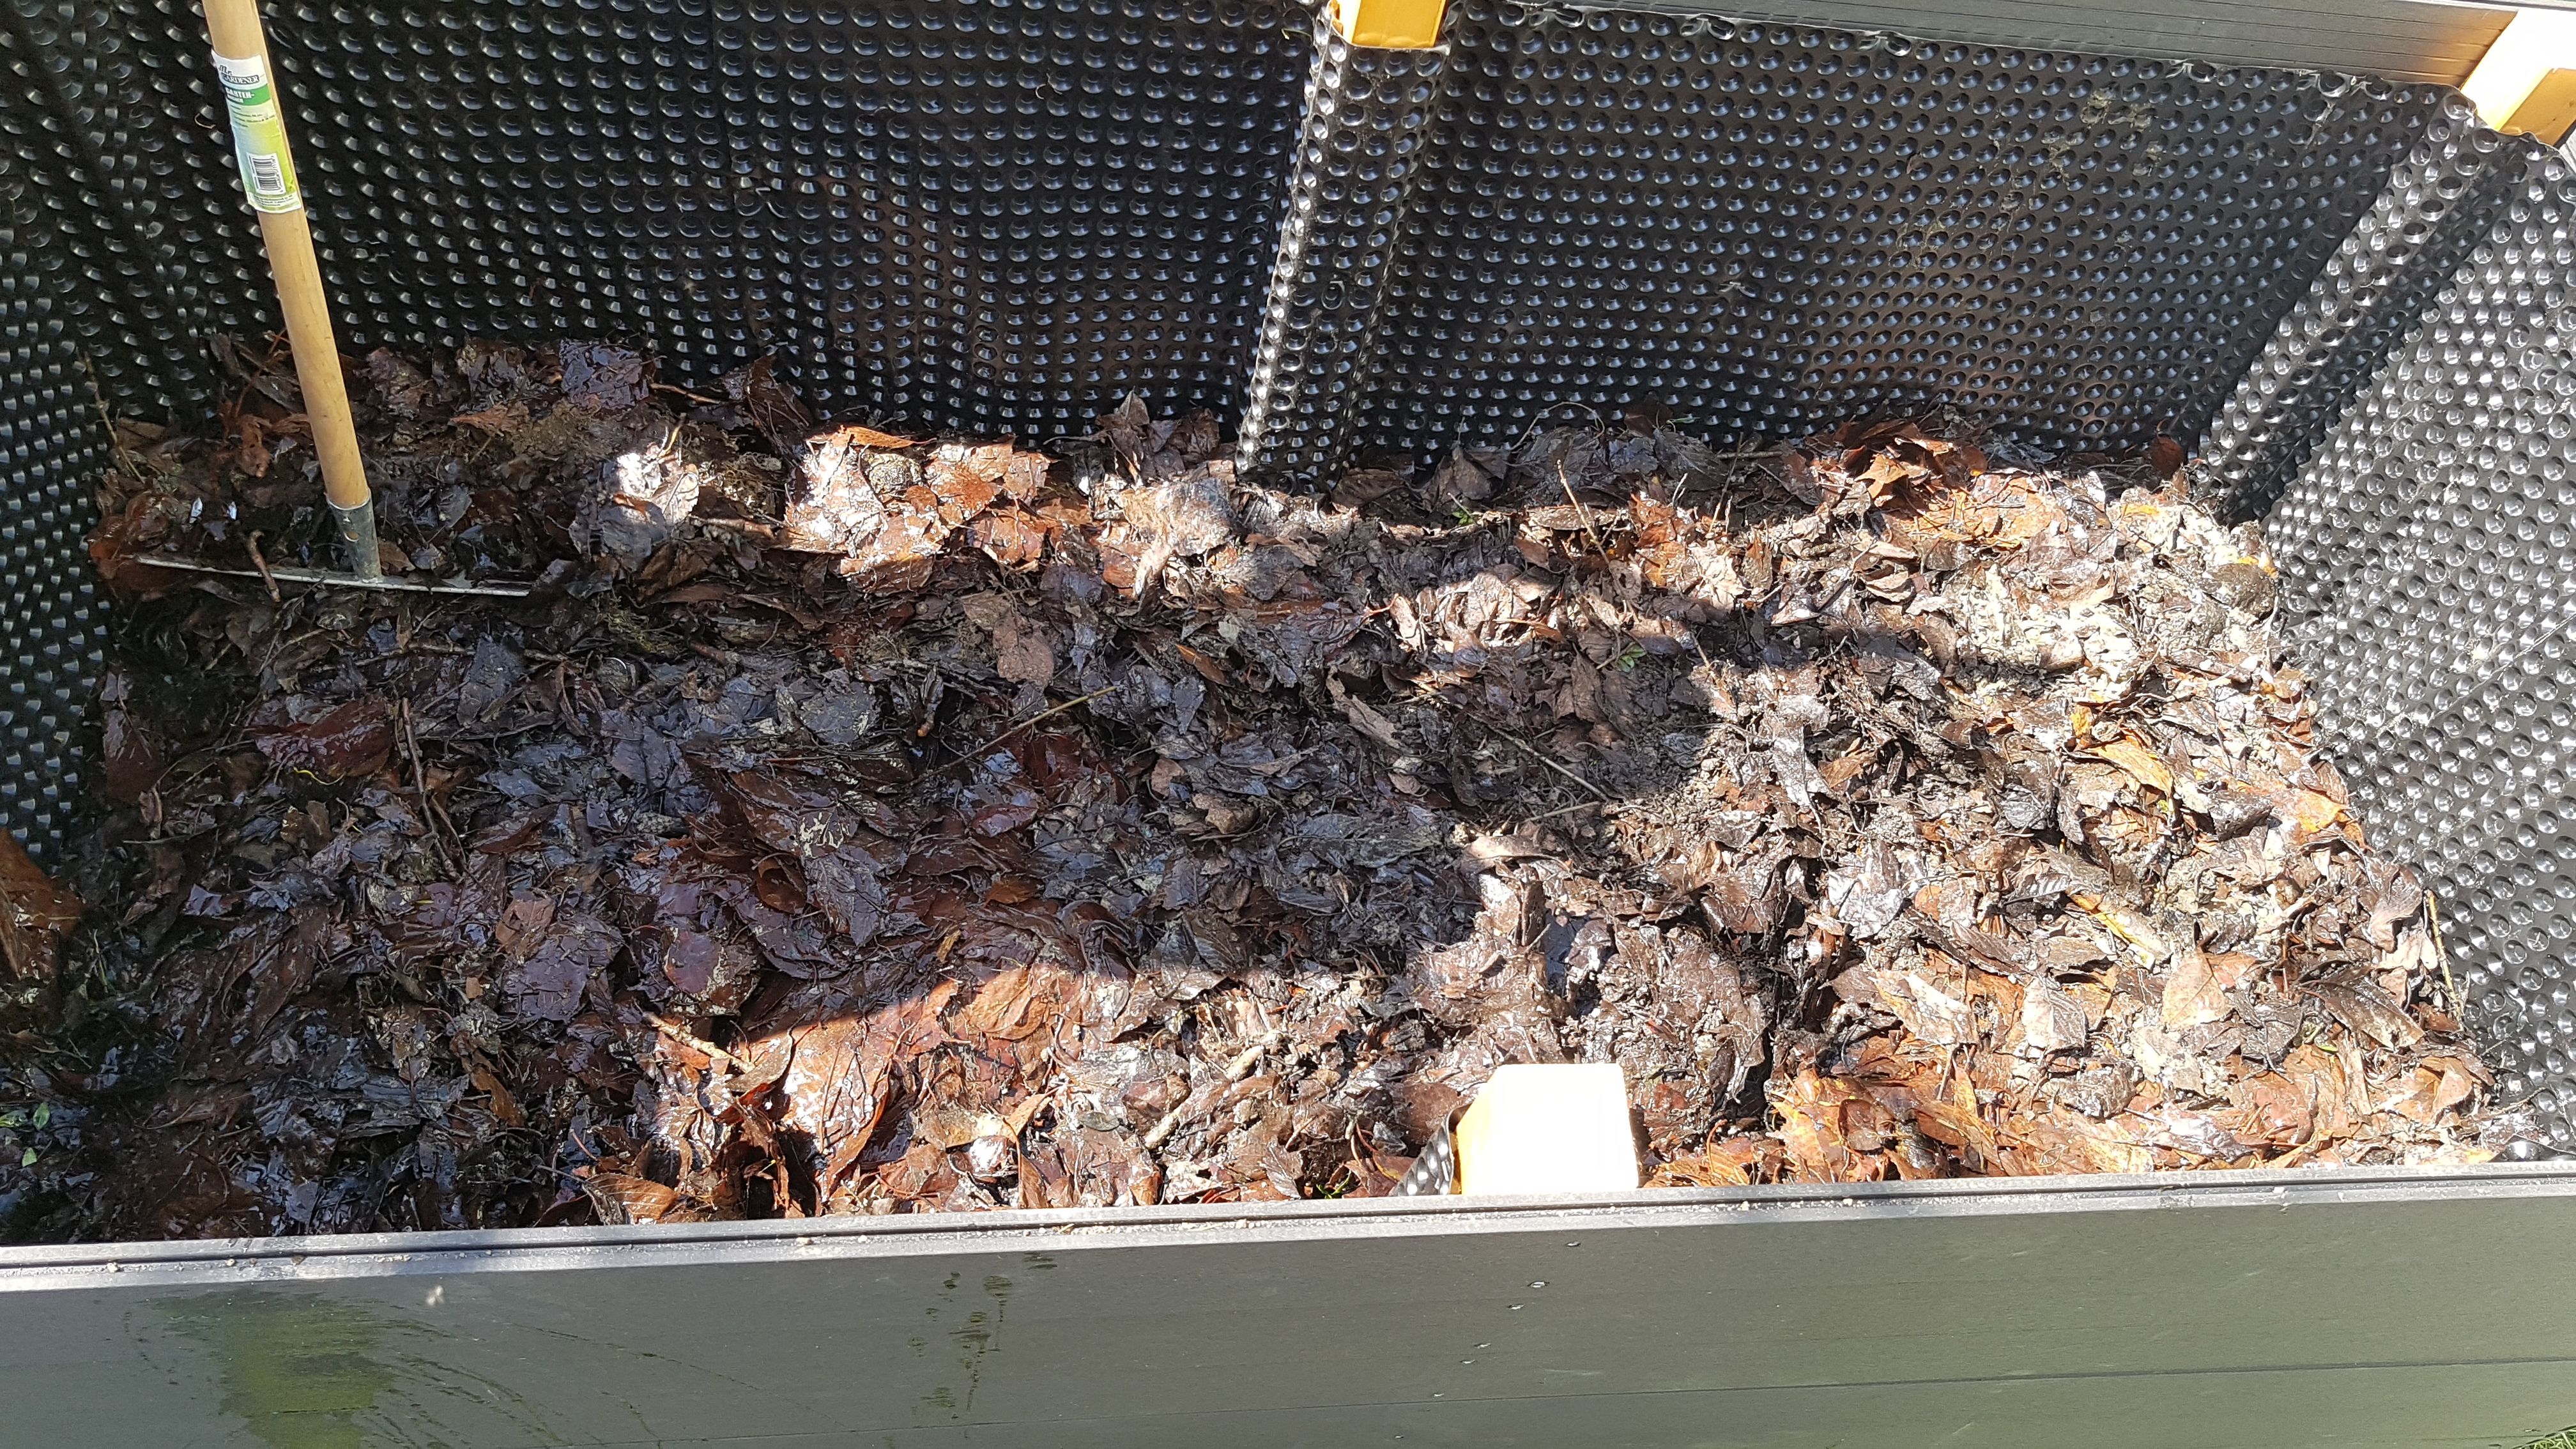
9.) And filling can already begin. At the very bottom, coarse branches and shrubs come in, then the lawn set aside, but upside down so that the grass points downwards. Then we continue with leaves, lots of soil (whatever), compost and finally plants or potting soil in which we work.

Final words:
The raised bed is not quite finished here yet, I would like to put a shelf on top of it but had no more WPC latencies, also the corner angles are missing to optically embellish the bed. Also to consider is that by this production sequence down around the bed a gap can develop, one can cover this with beautiful stones or like we simply pour on a little earth and sow lawn. The total cost for this bed is about 250 Euro. For this price you get if at all a raised bed completely made of wood which must be treated every year to protect it from rotting and even then you have the problem with the high crawling wetness. If you want to make it 100% rotproof you can use WPC beams instead of the wooden version, but then it gets even more expensive. I hope you had fun with my instructions and wish you a lot of fun in the garden!

If you like that, you might also be interested in
Comming soon in english
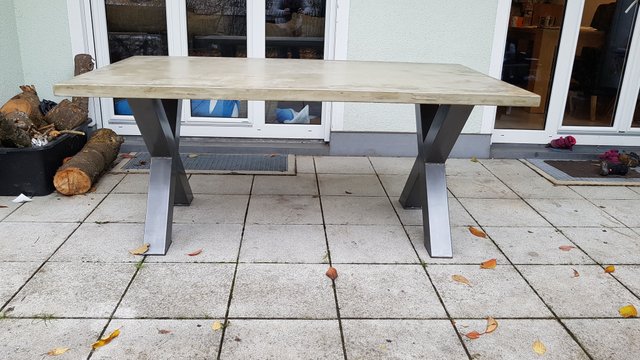
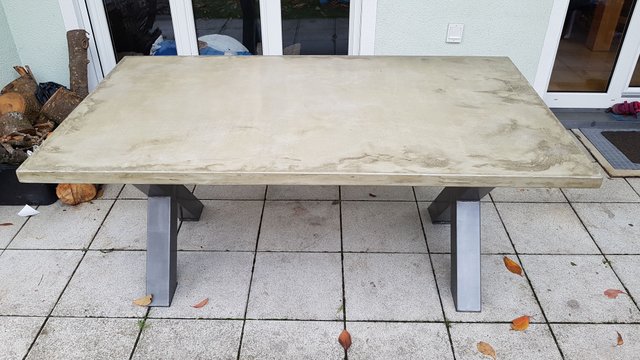
| TEIL1: Findet Ihr Betonmöbel schön? | TEIL2: Findet Ihr Betonmöbel schön? |
|---|---|
 |  |
cya
Markus

CONGRATULATIONS!!
Your post was featured in my weekly Friday DIY Day Curation post!
I am very happy that you like my contribution and you support me, thank you!
I love how this looks and how it came together. It's a beautiful raised bed and I'll bet it will grow great veggies.
Thanks for sharing this with us.
Thank you 😁