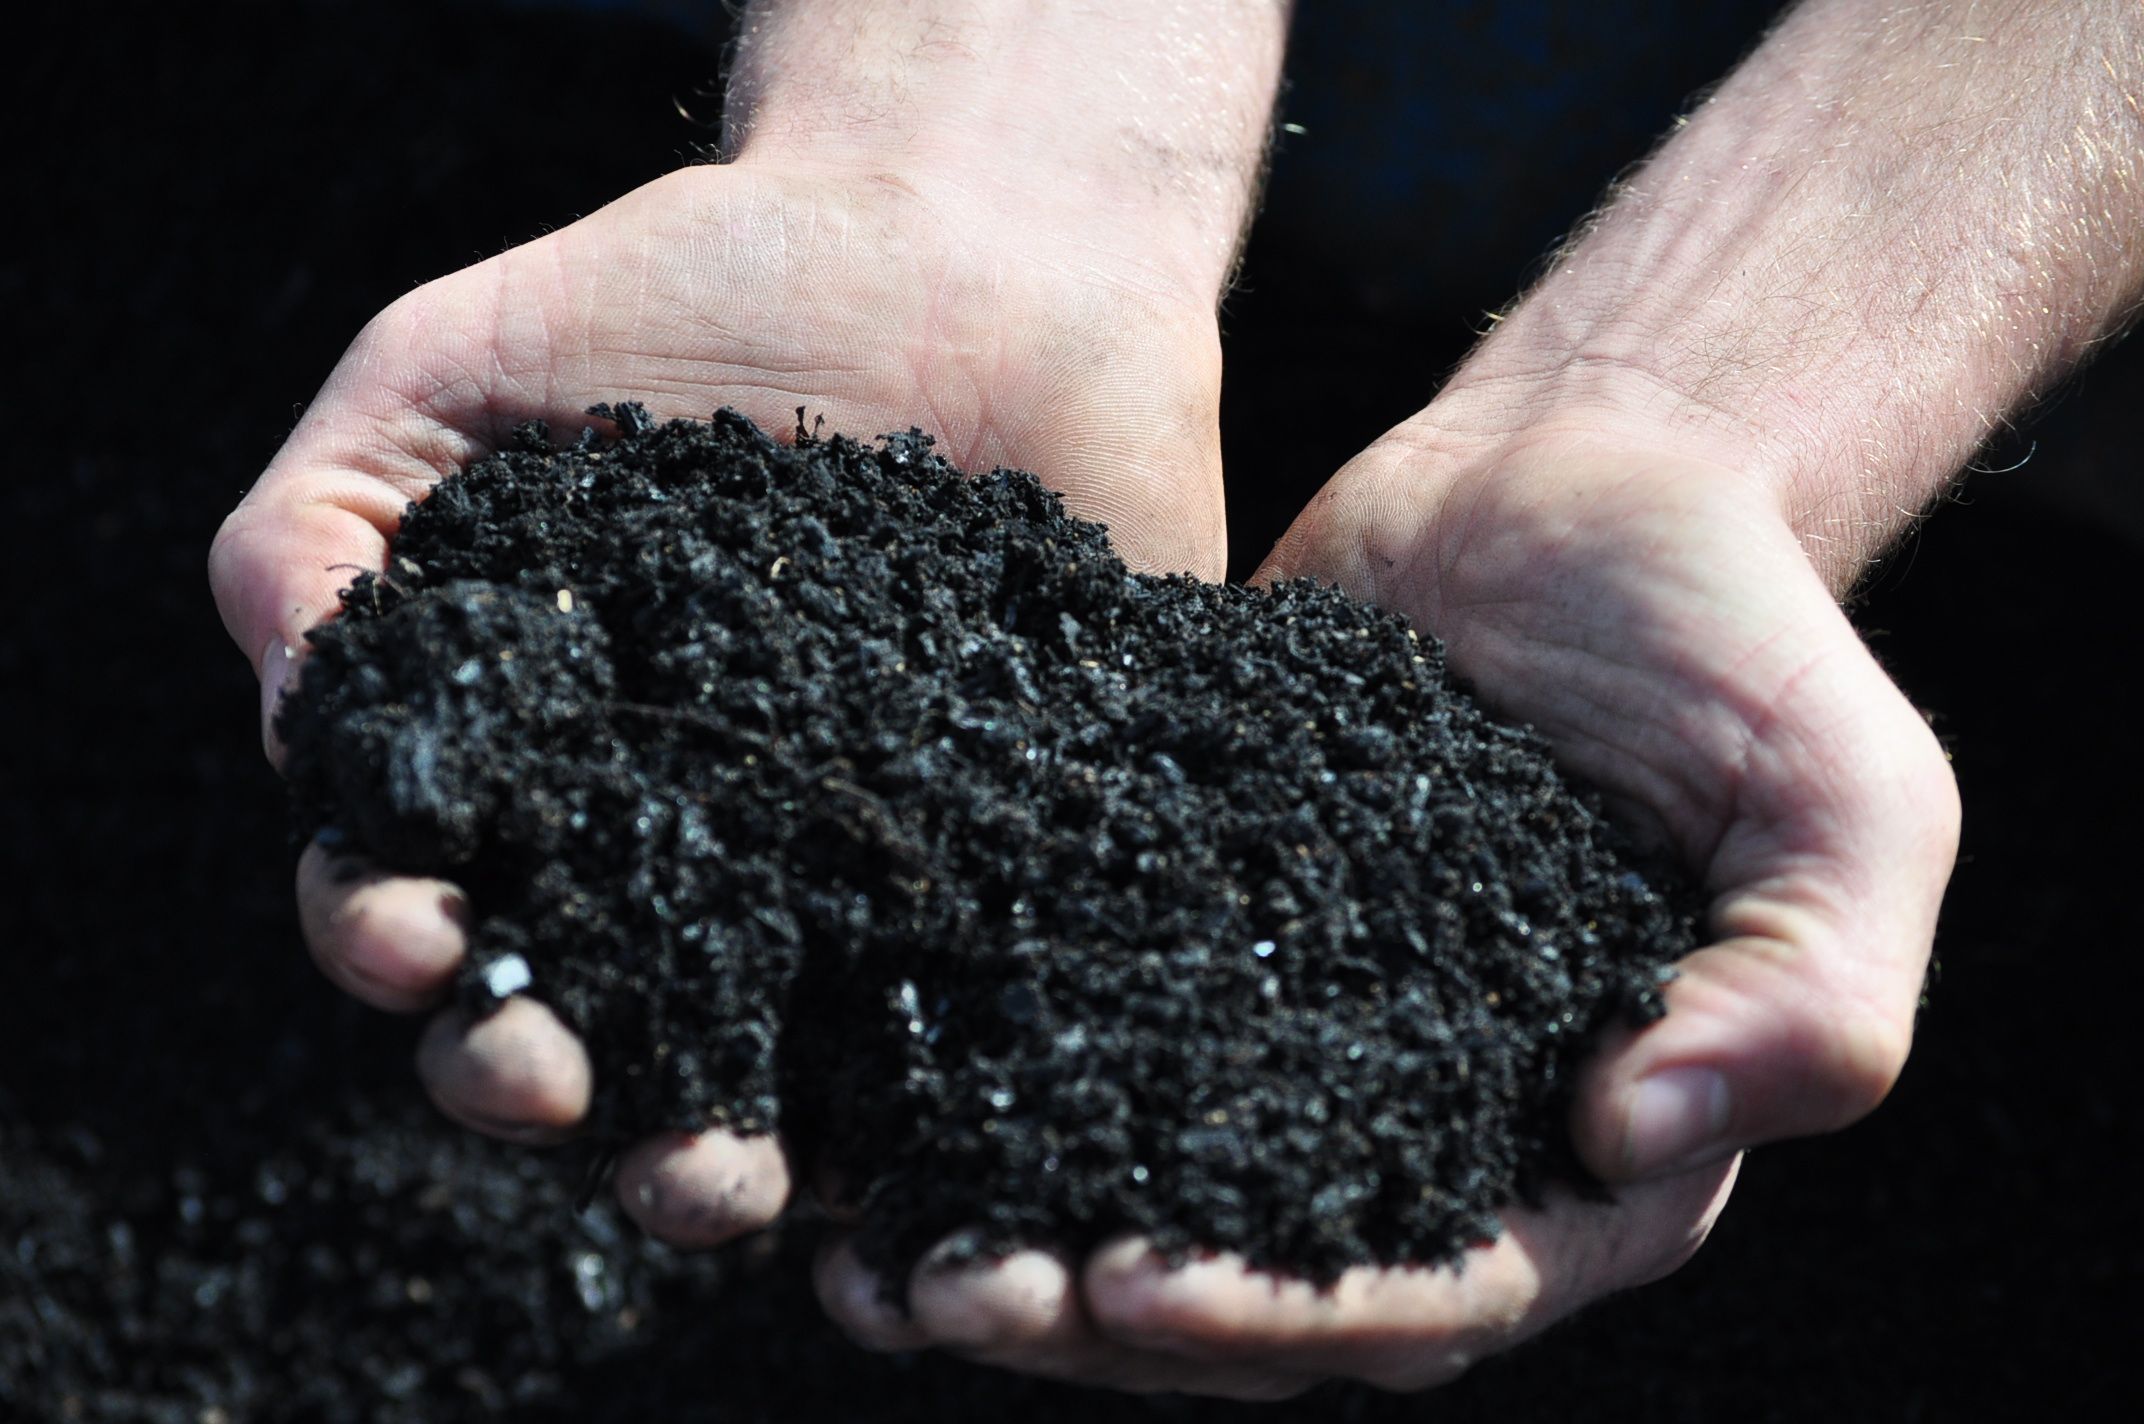
HOW TO Make Biochar | A Must Have Black Gold For Every Garden!

This is the HOW portion of our biochar post. For those just tuning in you may want to check out the first part of this series about WHY biochar is so awesome and how it can benefit the soil.
I will start by saying there are LOTS of ways to make biochar.
We’re here to create a healthier world so let's get started!
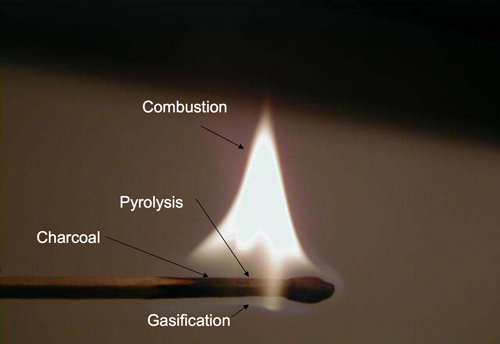
The various methods of creating biochar all have the basics in common- biomass is heated up while oxygen is limited.
This leaves pure carbon behind while burning off oils and gases. In advanced systems in addition to the production of biochar, the gases realeased during combustion can be captured and utilized as a fuel source. This opens up an exciting areas of development in the fields of alternative energy and appropriate technology. By using the gas present in a renewable resource like wood instead of non renewable like fossil fuels read: gasoline, we are evolving our industrial society. Wood gasifiers are a wonderful technology I hope to learn more about and perhaps experiment with, but alas we’re here to talk about biochar.
.jpeg)
The basics of burning
Types of systems
I’ll lay out the basics, from most complex to least complex and dive into more details of the method we implement at Mountain Jewel, our homestead.
Commercial Kilns
The most complex, expensive and least accessible option is a commercial biochar kiln. Professionally engineered and manufactured, these units vary in size, scale and design, but we’ll lump there together for the purposes of explanation. Feedstock (wood, crop debris or other biomass) is added to a sealed compartment where it undergoes controlled pyrolosis (combustion without oxygen). This creates a consistently ash-free biochar, which is especially important as a commercial producer, but not necessarily relevant or even desirable on the home/garden/farm scale.
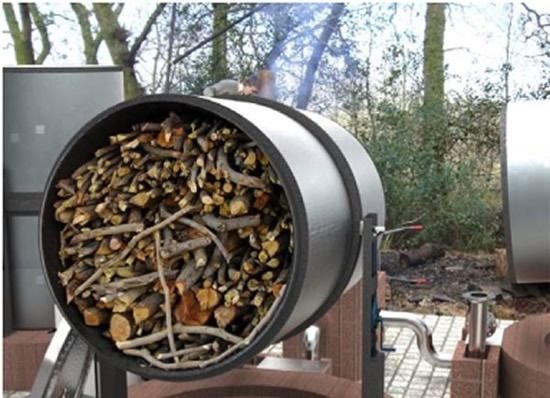
A small commercial kiln
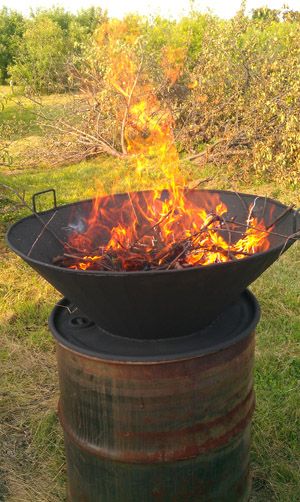
Homemade kilns
There are a variety of options here and since I haven’t built any I won’t go into any detail. There are plenty of ingenious tinkerers out there evolving the craft and culture of biochar production. I am not one of those folks. I'm primarily interested in the best option for producing biochar most efficiently for our situation. Kilns are often made of metal or ceramic bricks. Simple versions may be metal cones or barrels. I've read that those made out of common 55 gallon barrels tend to wear out after 10-20 burns as the metal is not meant to withstand high heat. So be warned.
.jpeg)
A home made cone barrel hybrid
Pit
Dig a hole, fill it with biomass and burn it. Although the process is slightly more complex, this is the core of it. There are different shapes of pits used- some use a conical shape and others use a rectangular trench. The concept is the same no matter the shapes or size: the top of the fire has access to oxygen while the bottom doesn't. As the feedstock burns, the embers fall to the bottom and more biomass is piled on top. This essentially stops combustion at the char stage and doesn't allow the char to turn into ash. Once all feedstock has sufficiently charred, the fire is quenched with water until extinguished.
Open burn method
This is the simplest (and least effective) method of producing char. I say least efficient, because the result isn’t pure char. Because it does a poor job of limiting oxygen, some of the feedstock is combusted fully into ash. This is much less accurate then other methods, but can still produce quality char along with ash (a useful soil ammendment as well) and offers a great way to spend an afternoon. Until recently we have been using this method.
How to make biochar in a pit
We have adopted this method on our homestead because it fits our situation best. We have lots of brush and irregular wood, we don't have an interest in building or buying a kiln (yet) and have to dig several pocket ponds (look into this concept if you're unfamiliar with it!) anyway (in the meantime we'll use them as biochar pits).
Get your muscles moving!
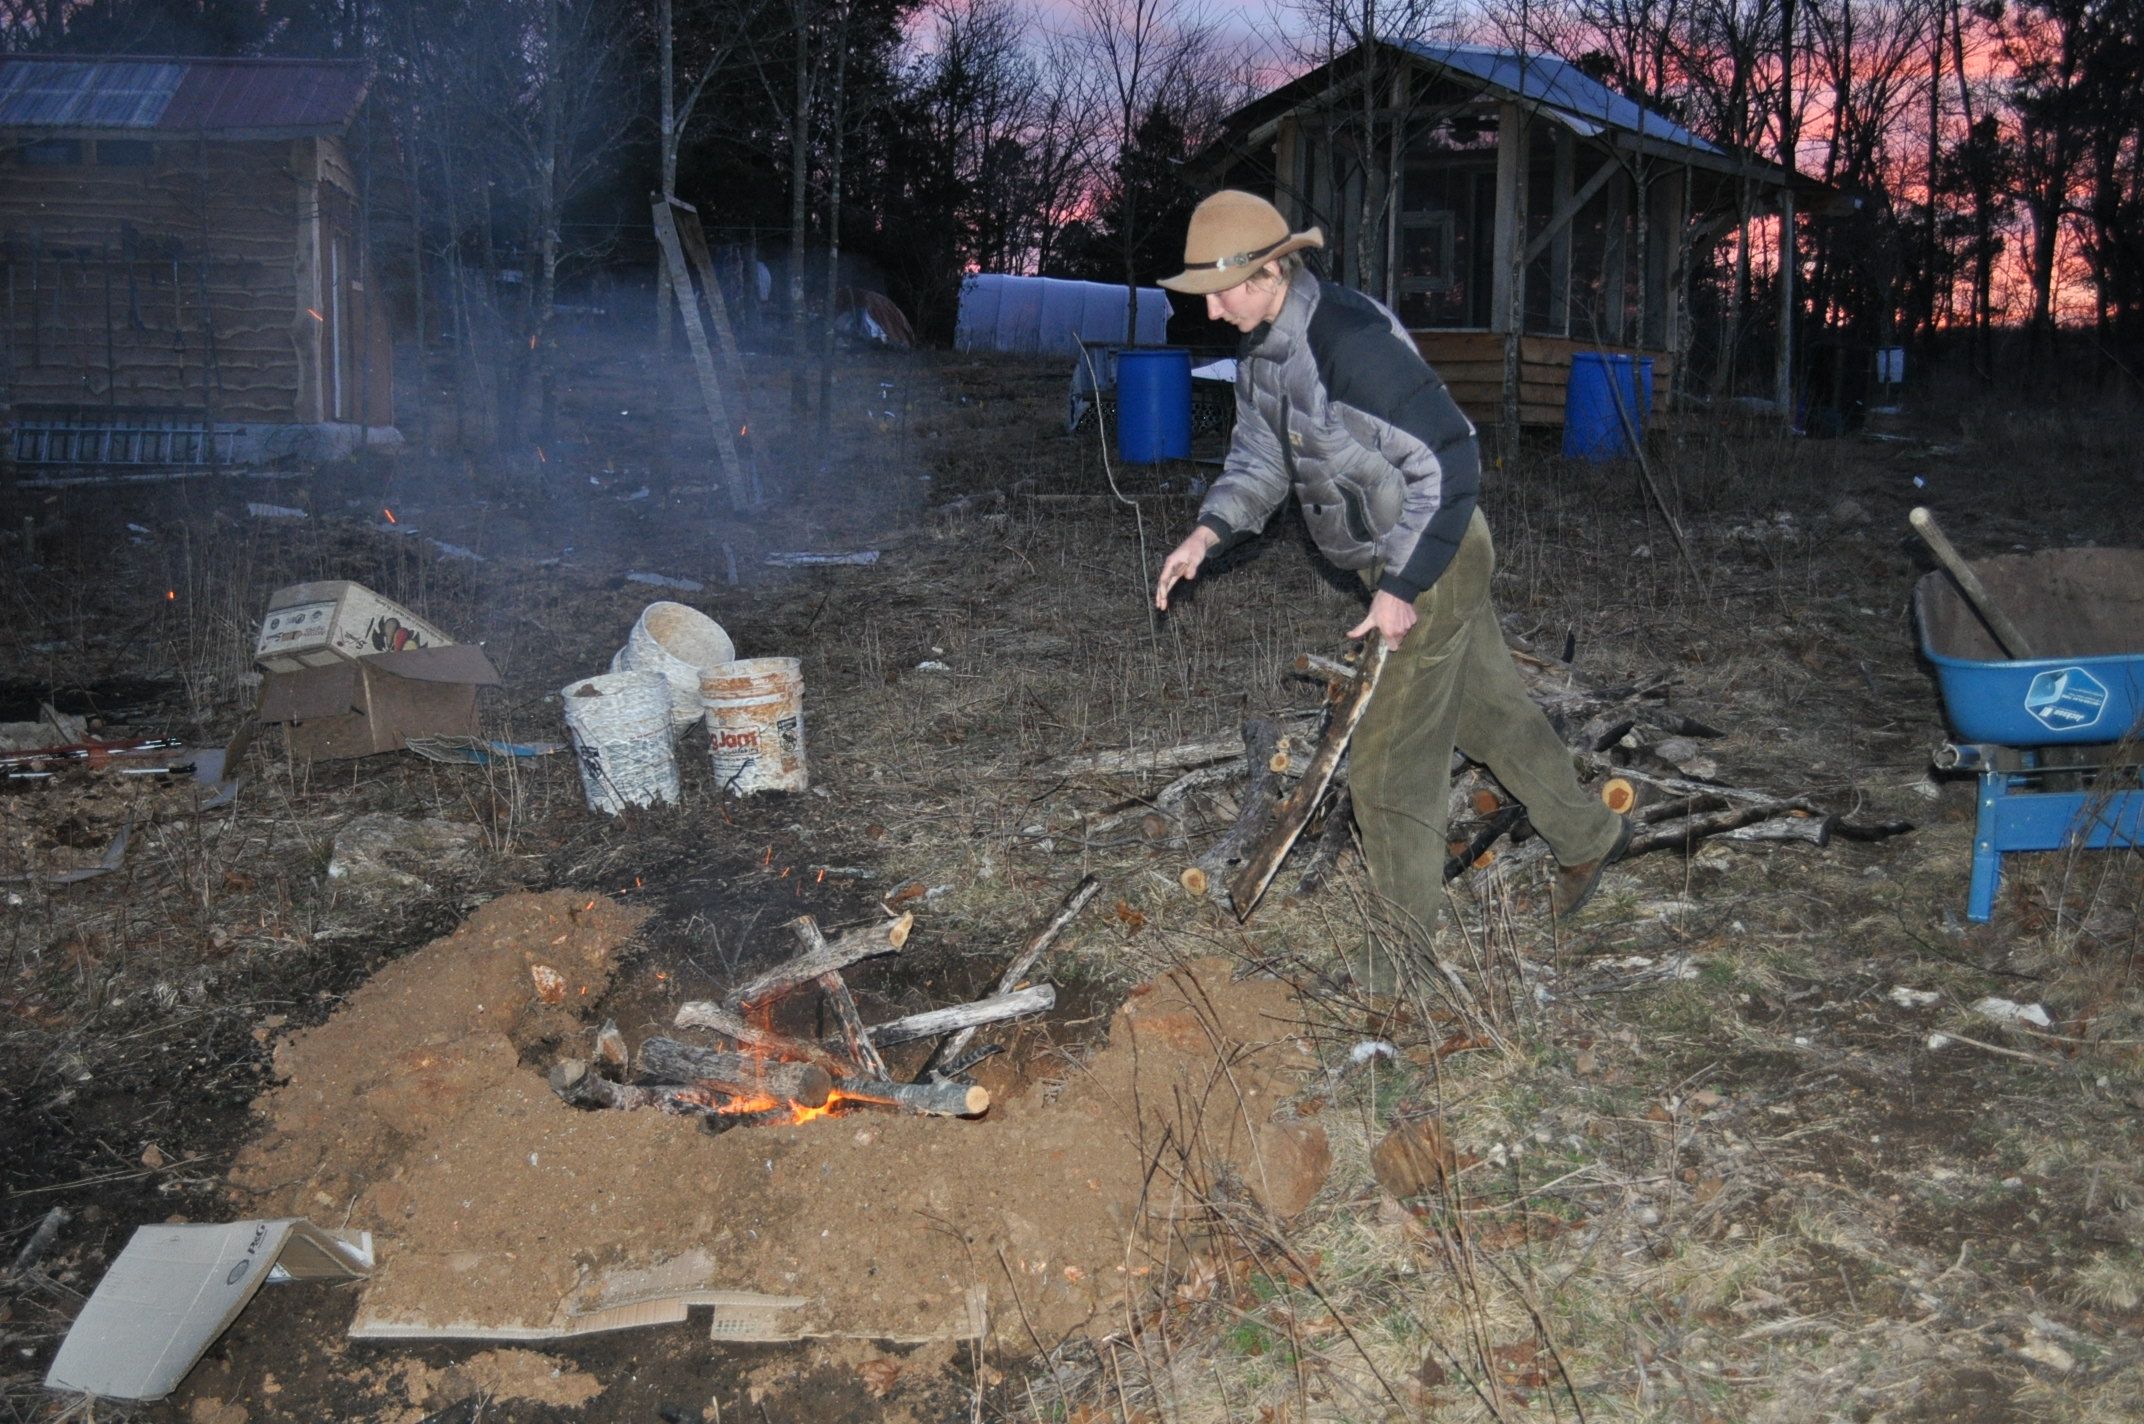
Pick a site and decide what shape and size you're pit will be. This is dependent on what feedstock you have. You can get away with a smaller pit if you're using smaller pieces of wood. Our soil is painfully rocky so we dig with a mattock. Be grateful if a shovel will do the job for you. Excavate the pit and pile up soil and rocks around the edges. Make it as big or small as you'd like. Ours is about 2' deep, 2.5' wide and 5' long.
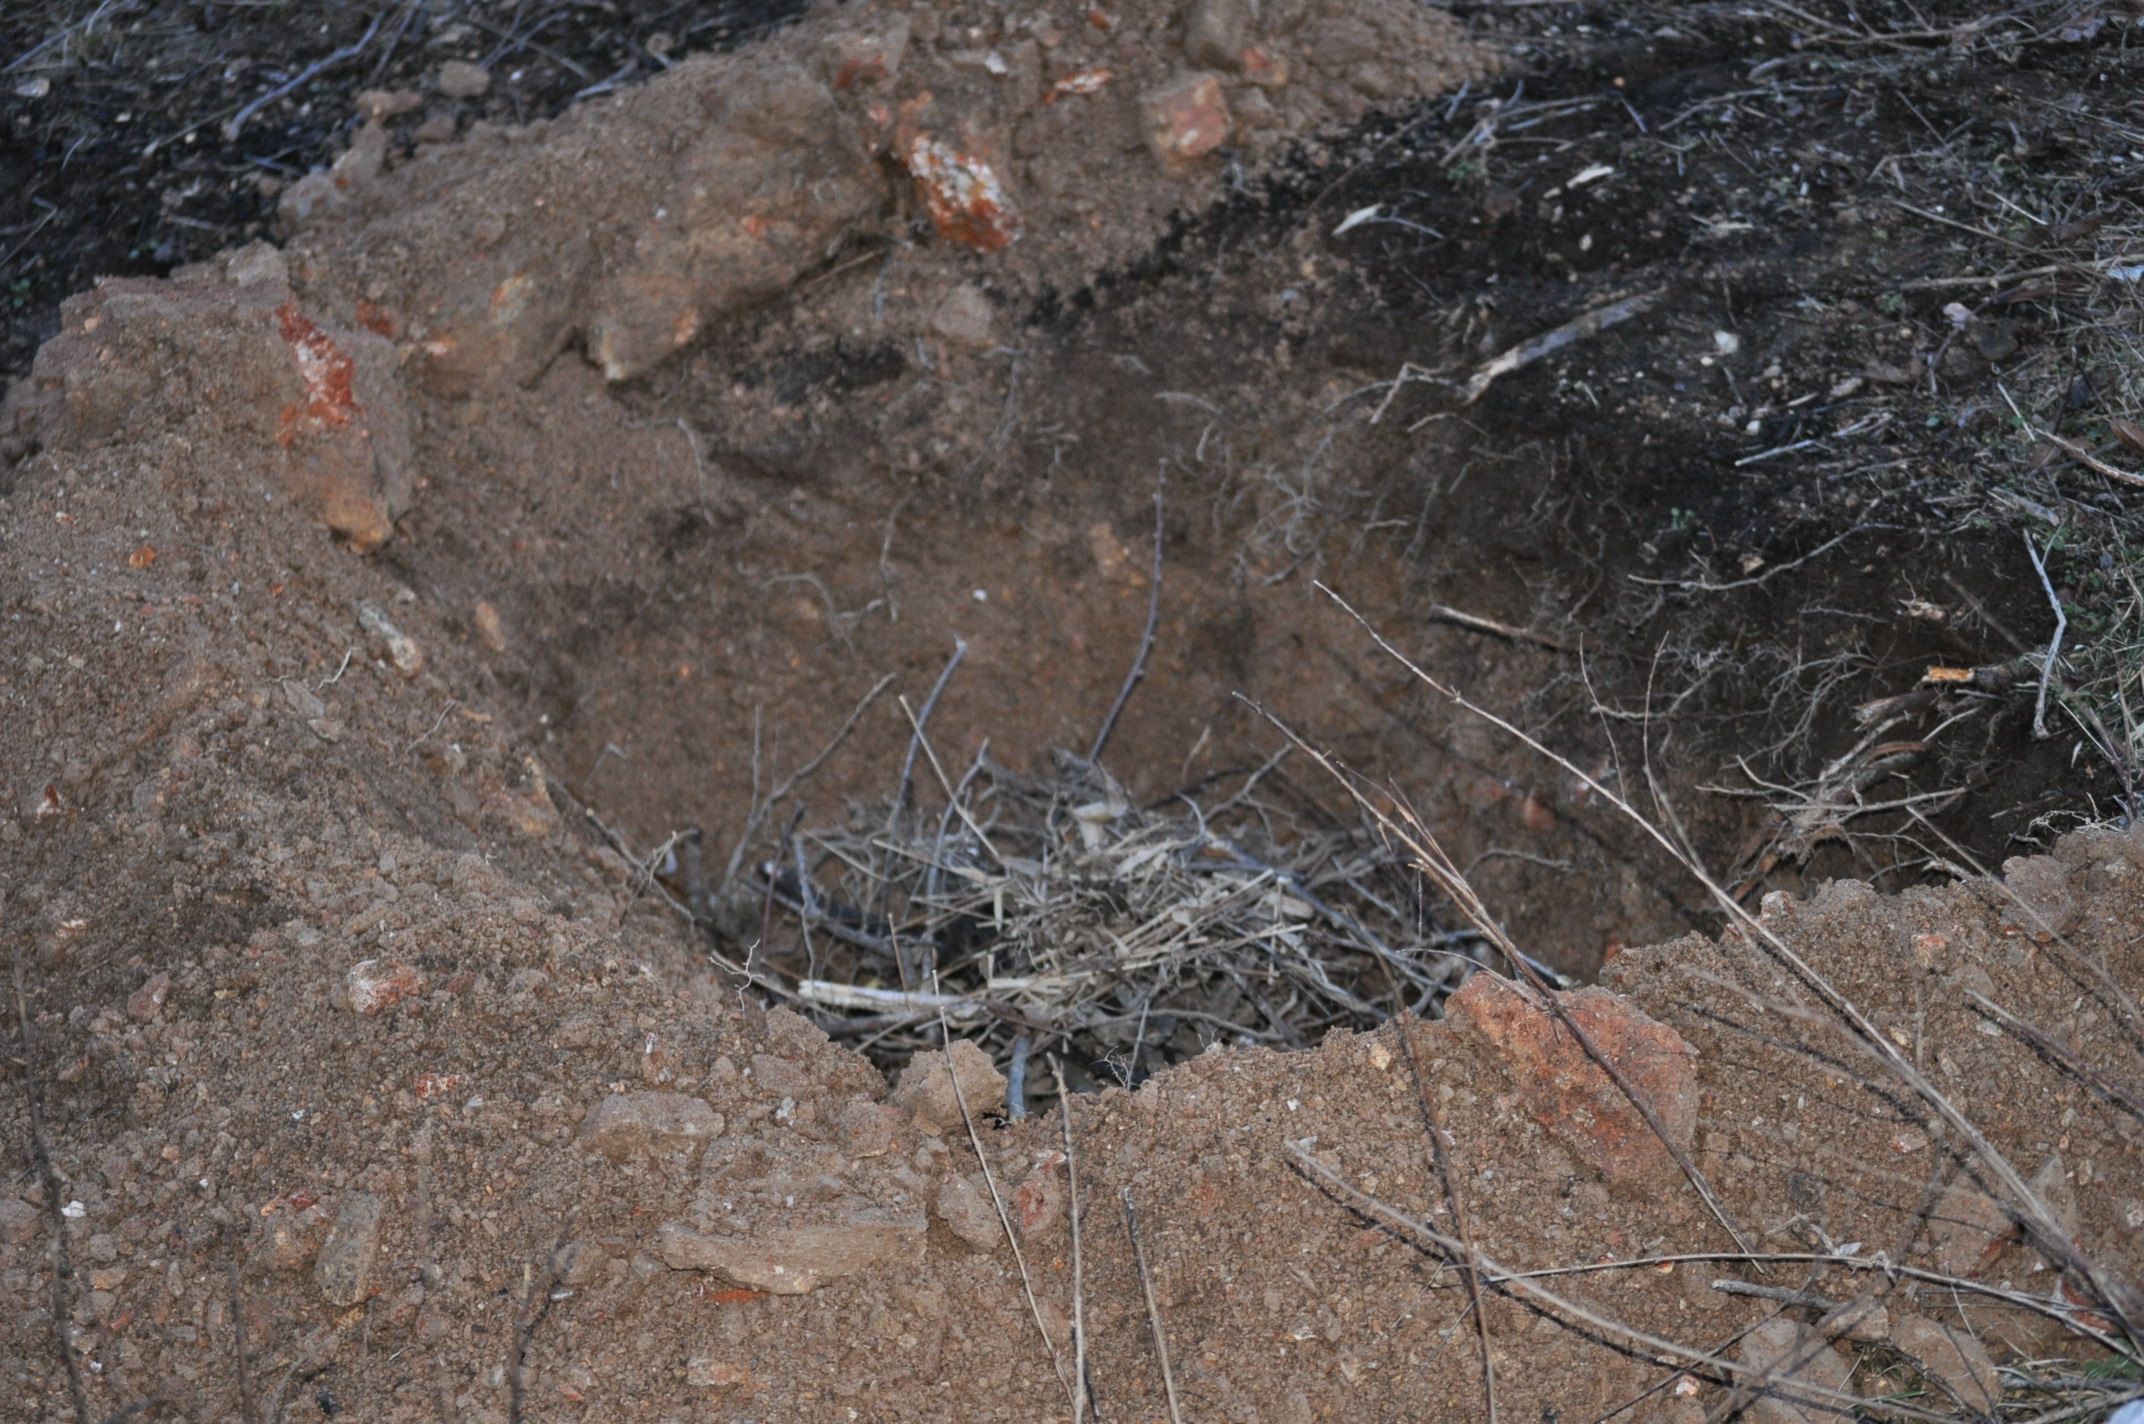
Prepare the site.
The means assembling the tools and ensuring the fire won’t spread beyond the intended area. Rake all flammables toward the middle of fire area, shoot for bare ground around the burn area, even though the pit should fully contain the fire. We use a hay/pitch fork, shovel and rake to manage the feedstock. We also have several 5-gallon buckets of water close at hand.
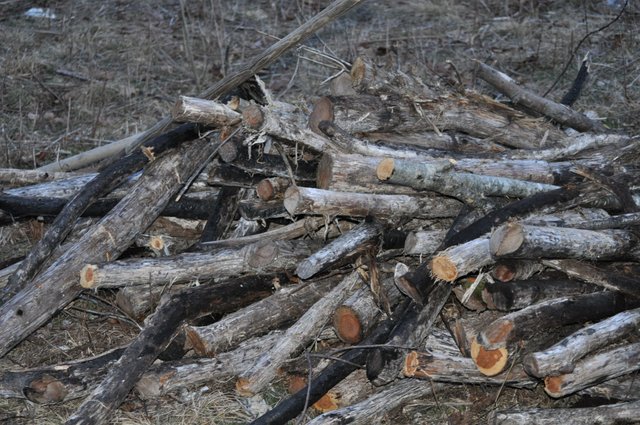
Gather your feedstock near to the burn site.
For us that means preparing all the brush we pull and all the limbs and branches of trees not suitable for firewood. Crooked small diameter cedar doesn't serve as good building material or fire wood so for us it makes the most sense to make char out of it. I like to cut them into manageable pieces of 3-5 feet. Any longer and it’s hard to manage (not to mention you need a bigger pit) and any smaller you’re handling the wood more than is needed. Our pit is sized accordingly. For you this may vary. If you choose to use pallet wood, you can easily remove nails and staples post-combustion with a strong magnet.

(Making char by the light of the moon!)
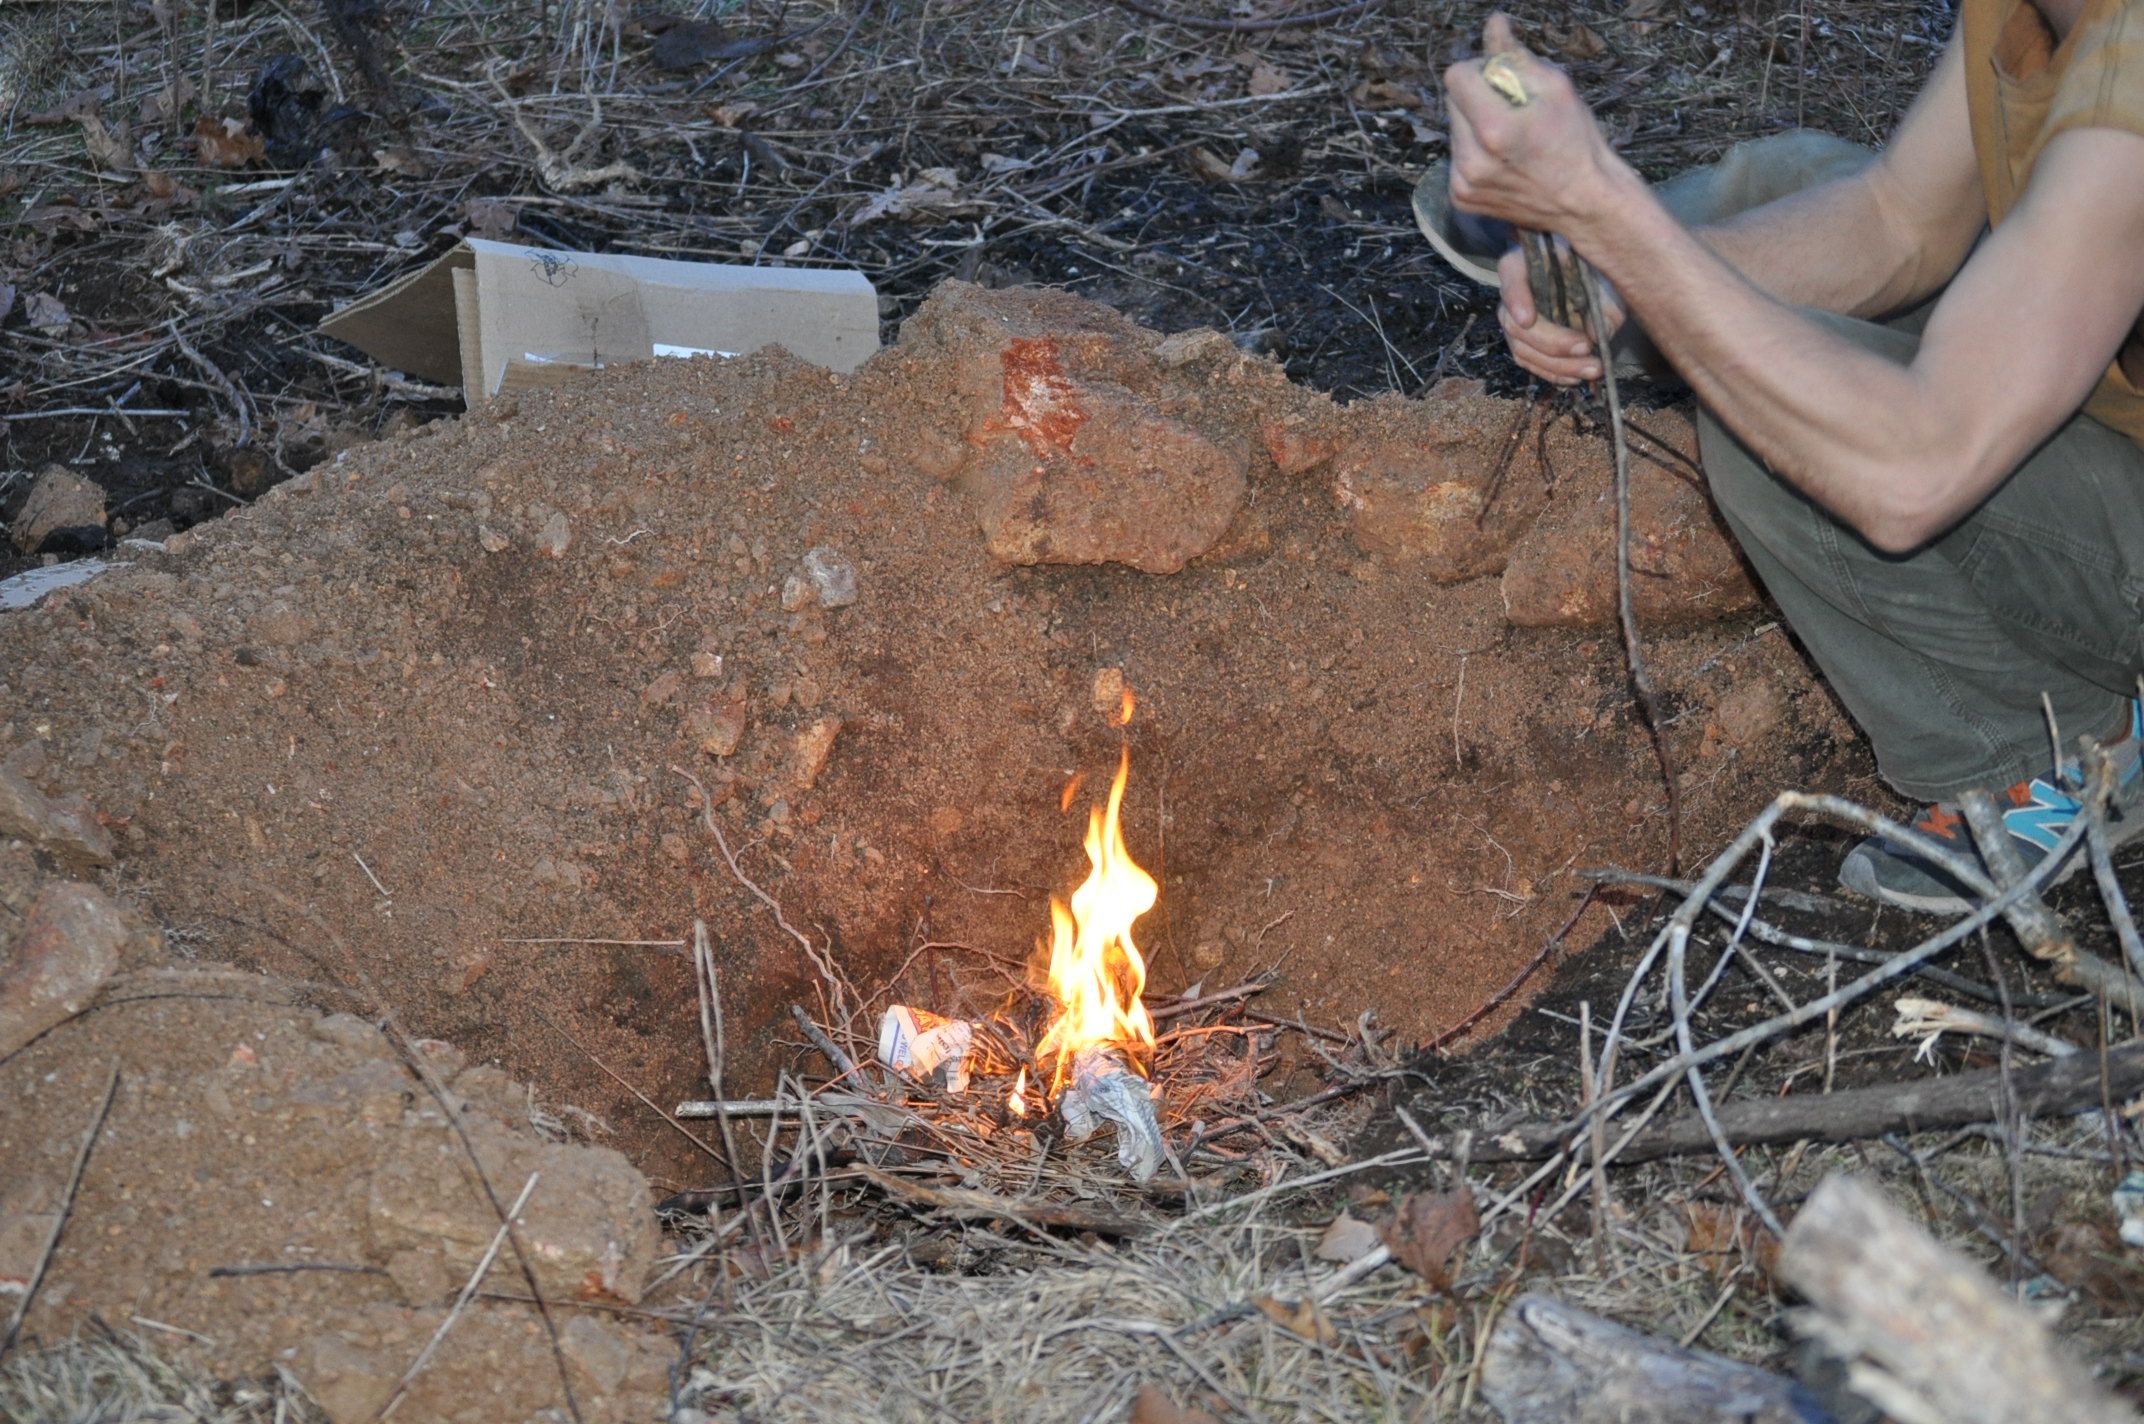
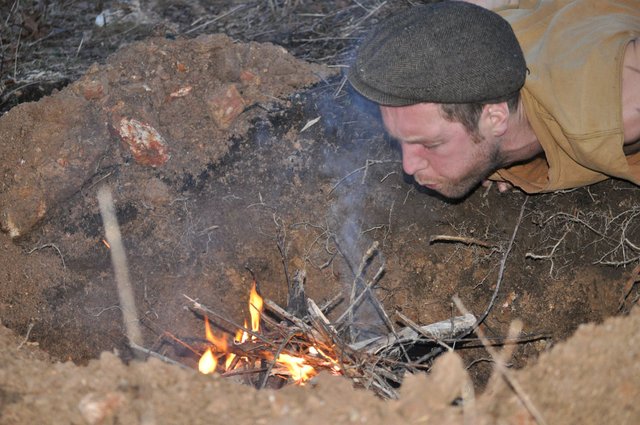
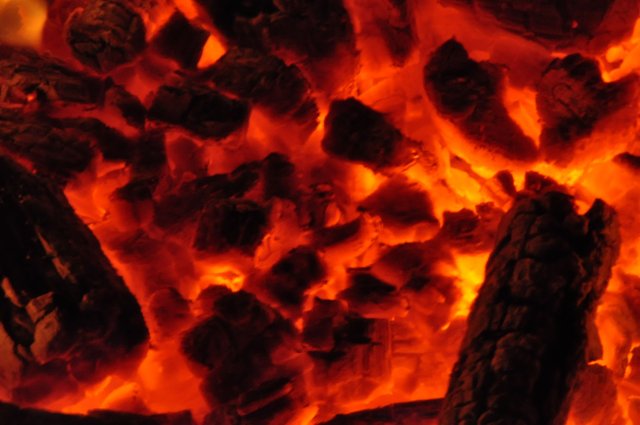
This is the fun part, light it up and burn it hot.
The important thing to note is to start the fire from the top. This creates much less smoke and results in a cleaner and more efficient burn. It is know by the acronym TLUD (top lit up draft). Start with smaller brush and sticks. Once the fire is roaring add the bigger diameter pieces.

Keep adding stock until you’re satisfied or have exhausted your supply.
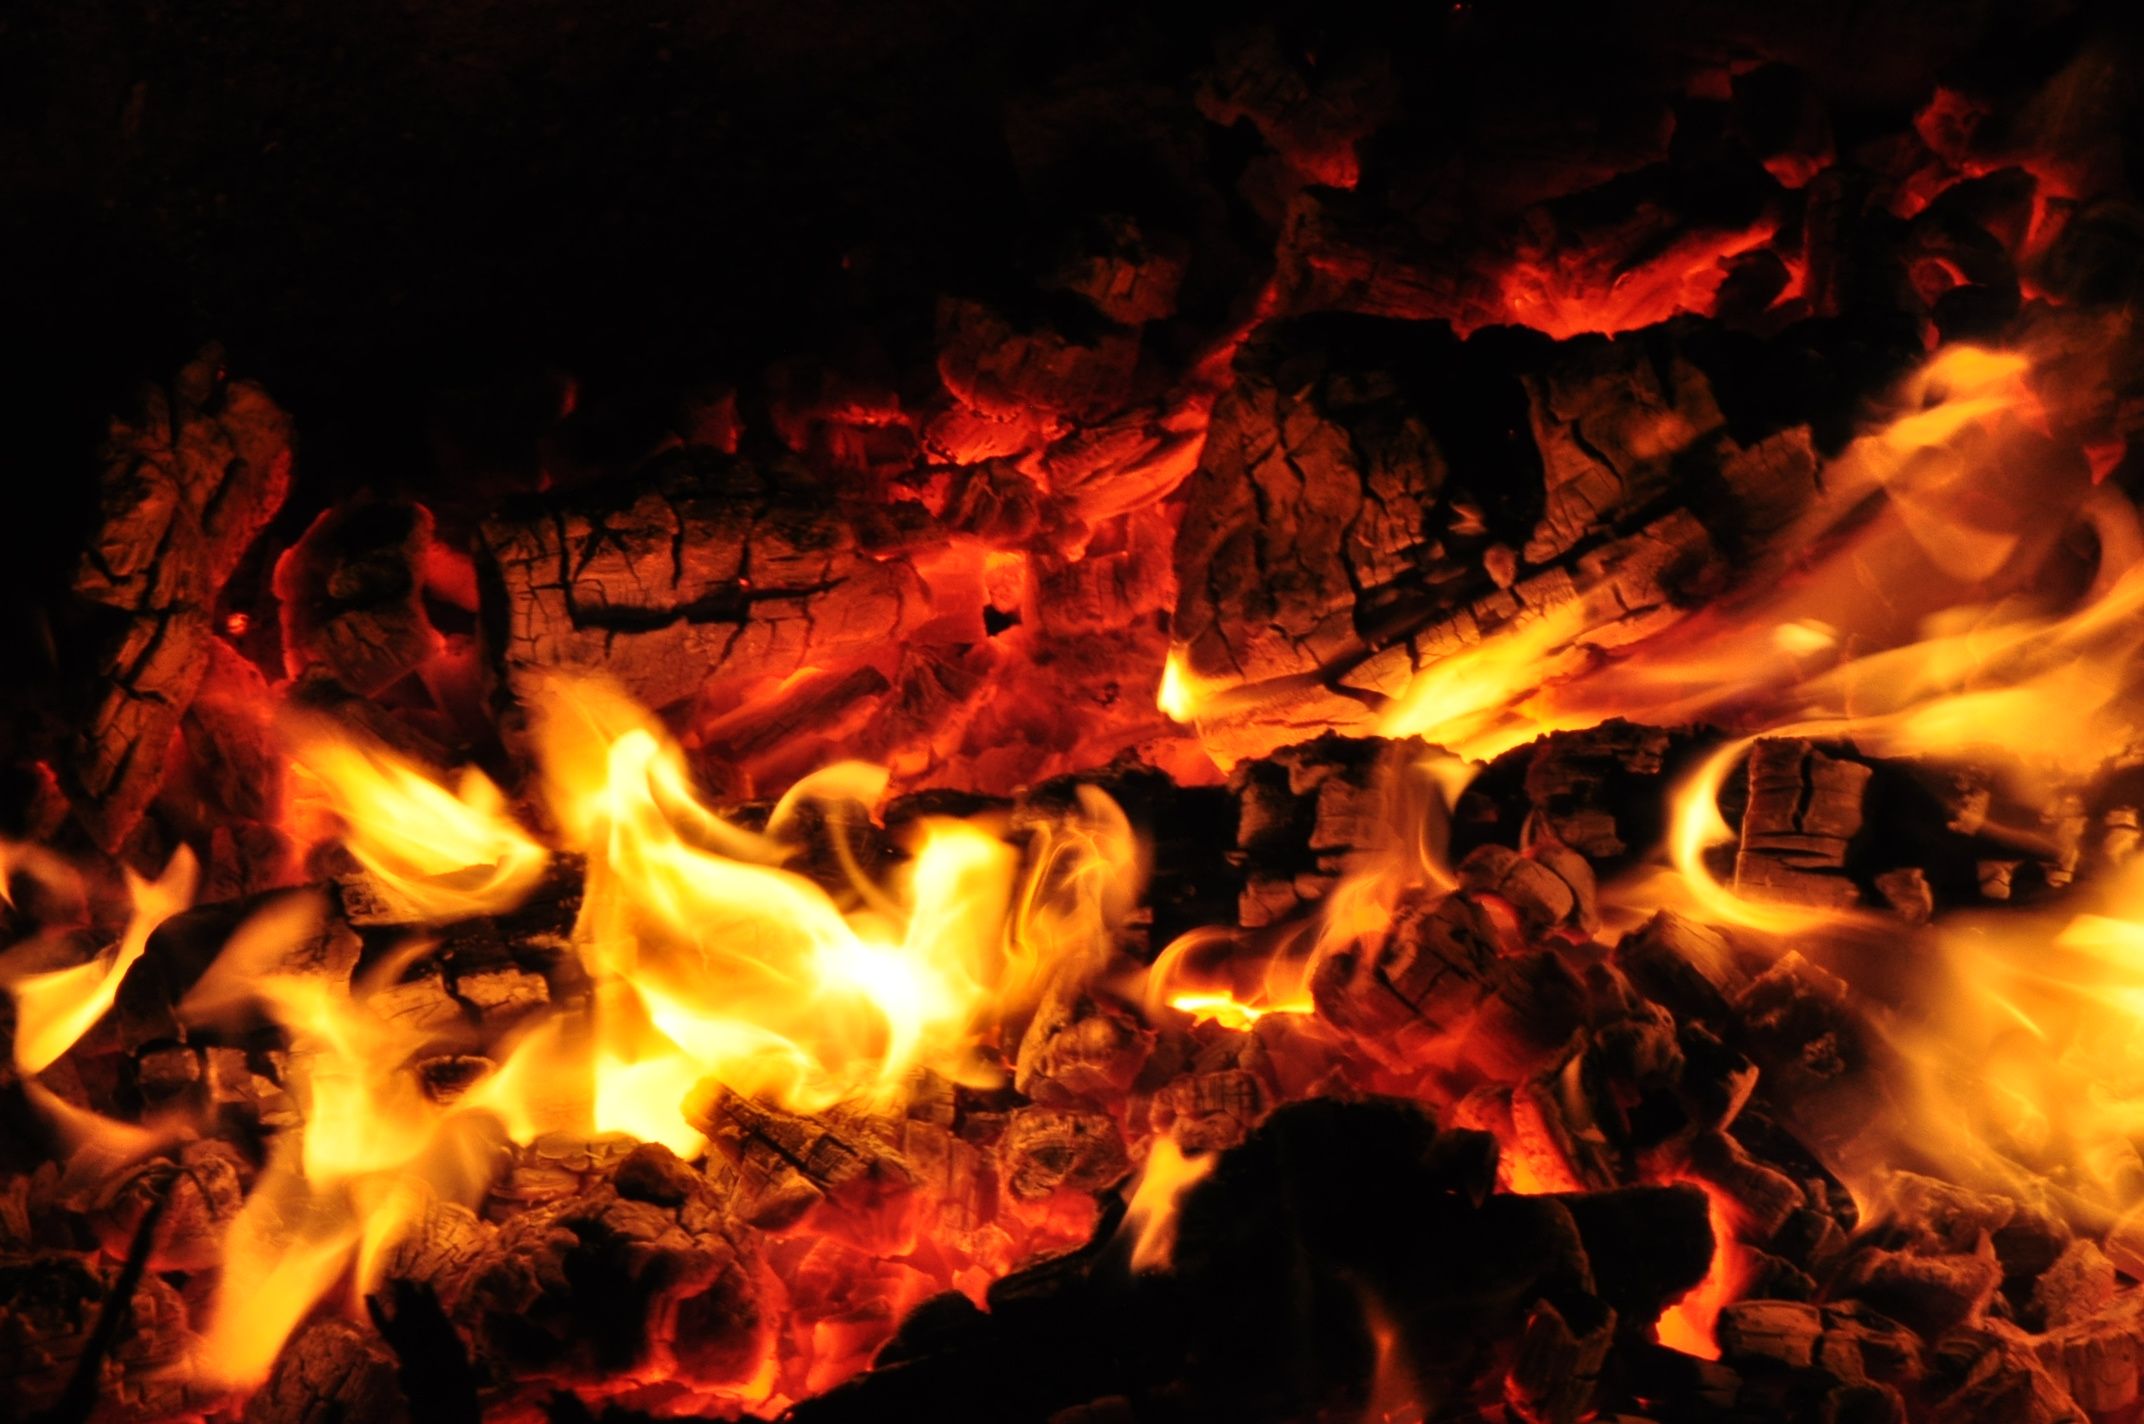
The fire will burn cleanly with little smoke and if it doesn't, try burning drier wood next time. You'll notice the embers of charred wood have accumulated to the bottom of the pit, this is a good thing. The embers do not have enough to oxygen to combust further into ash.
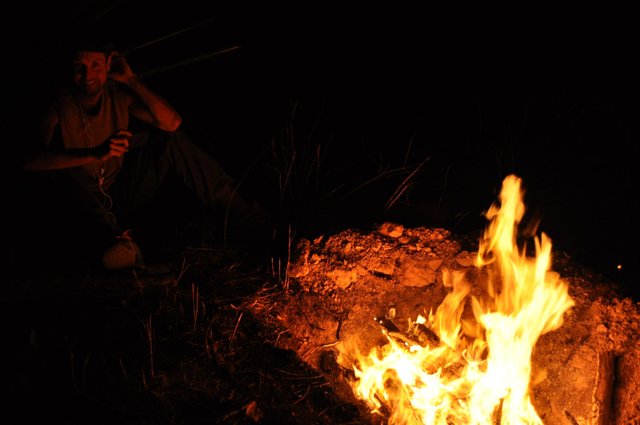
(Steeming by the fire!)
Wet it down.
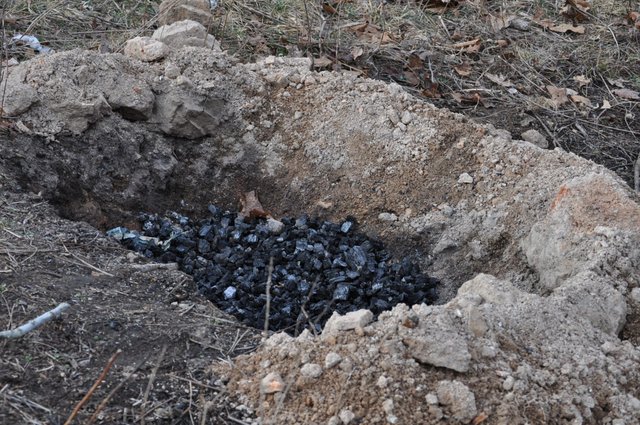
Once the majority of the feedstock is looking charred and you’re noticing a lot of red coals, it’s time to halt combustion with water. As the initial combustion slows (turning biomass to char), there should be the tinkling sound of glass. This is a sure sign that you're doing a good job at making char!
Be careful when pouring water. There will be a lot of steam created so stand back. For this burn it took about 12 gallons of water to fully quench the fire. Once quenched, use a shovel to rake and mix the char ensuring the fire is out. If done completely, you should not see any smoke or steam. You can accomplish quenching by covering embers with soil, but I found water to be easier and more thorough.

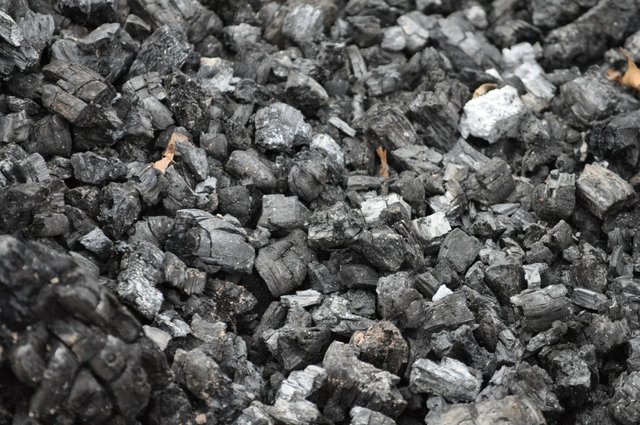
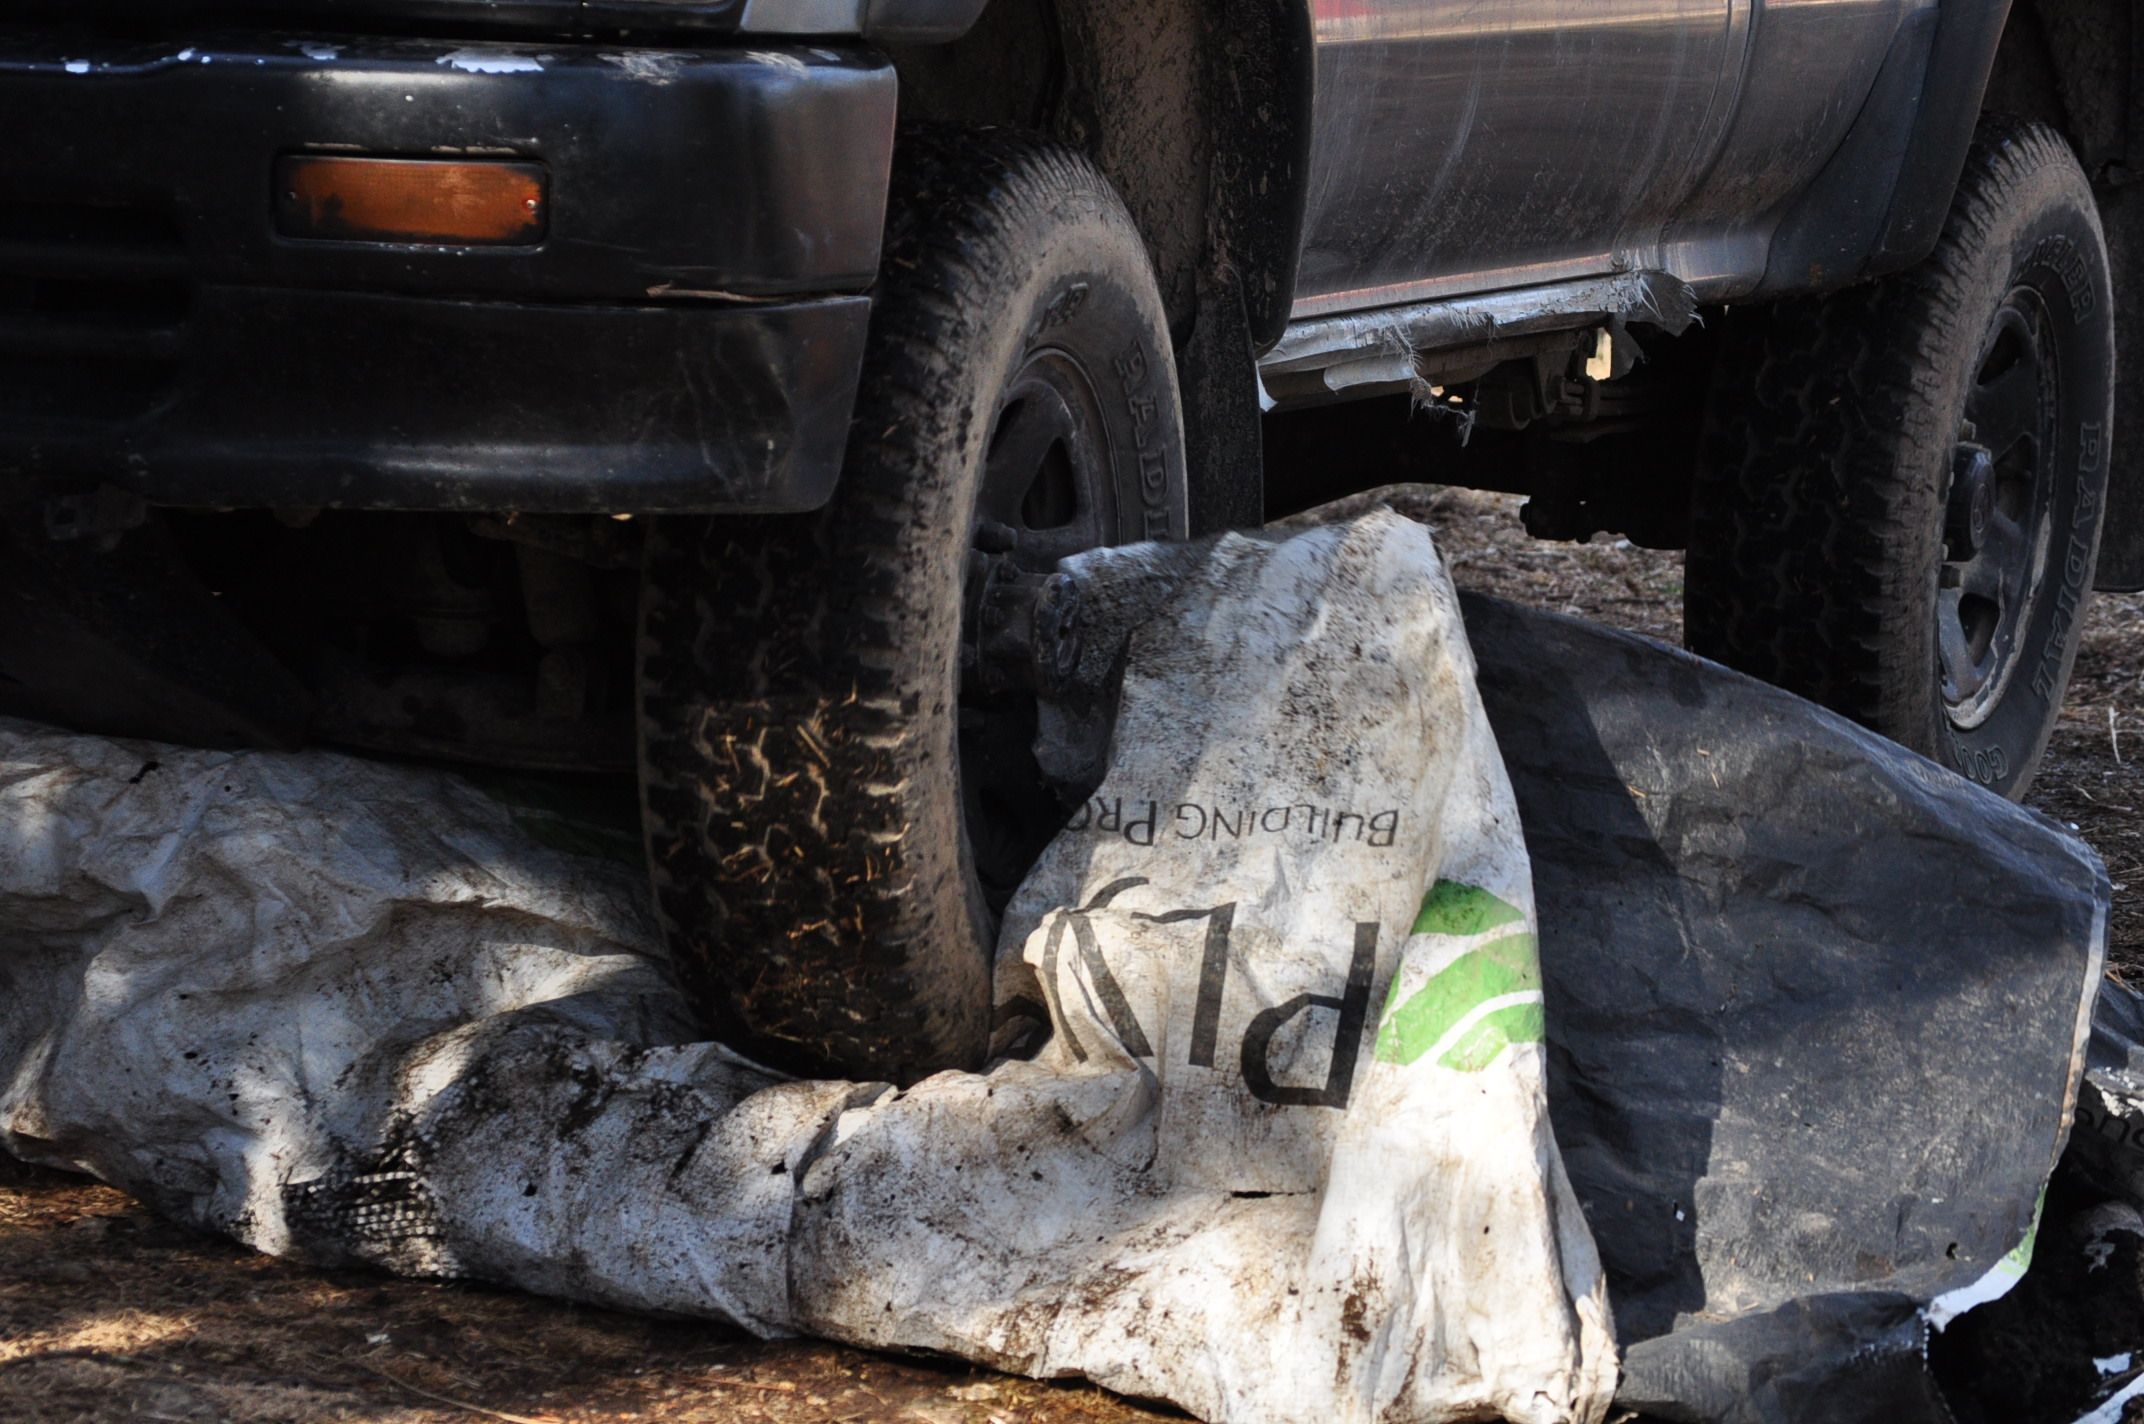
Harvest and crush the char.
I like to shovel it into 5 gallon buckets once completely cooled. I then lay down a lumber wrap (free tarp material from the local lumber yard), dump buckets of char in, and fold it up like a burrito. I then drive over it with the truck. The goal is to break down the bigger piece. The smaller diameter of pieces, the more effective distribution of soil microbes you'll end up with. You could also use a compactor like those used for pounding sand or gravel or even a soil roller. You could also opt to leave it whole, it'll just take a really long time to break down.
Inoculate the char with the 3 Ms, Mineral, Moisture and Microbes.
This is an essential component and the core of why it is an effective soil enhancer. Without the 3 Ms little benefit would be achieved. Dry biochar will initially repel moisture so soaking it before applying it is crucial. The addition of nitrogen is also important. Because biochar is pure carbon, we need to balance out the carbon to nitrogen ratio. For us this means incorporating nitrogen in the form of urea, derived from you guessed it, our pee. We simply pee into a bucket of char, harvesting the NPK our bodies produce.
The scope and potential for urine as fertilizer is beyond this post, but will be discussed in future posts. This not only overcomes the downfalls of high carbon soil amendments, but also harvests urine in an odorless and easy manner. You may also choose to add other mineral fertilizers like glacial rock dust, diatomaceous earth (silica), kelp, lime, etc. The microbial factor could be achieved by adding the char to a compost pile, vermiculture system, soaking it in compost tea (stay tuned for posts on throwing a compost tea party) or adding commercial Innoculate. The important thing is introducing a diverse and thriving microbial community to the biochar and ensuring the microbes have something to eat! This will boost the vitality of your soil food web and will increase resiliency and productivity of any soils.
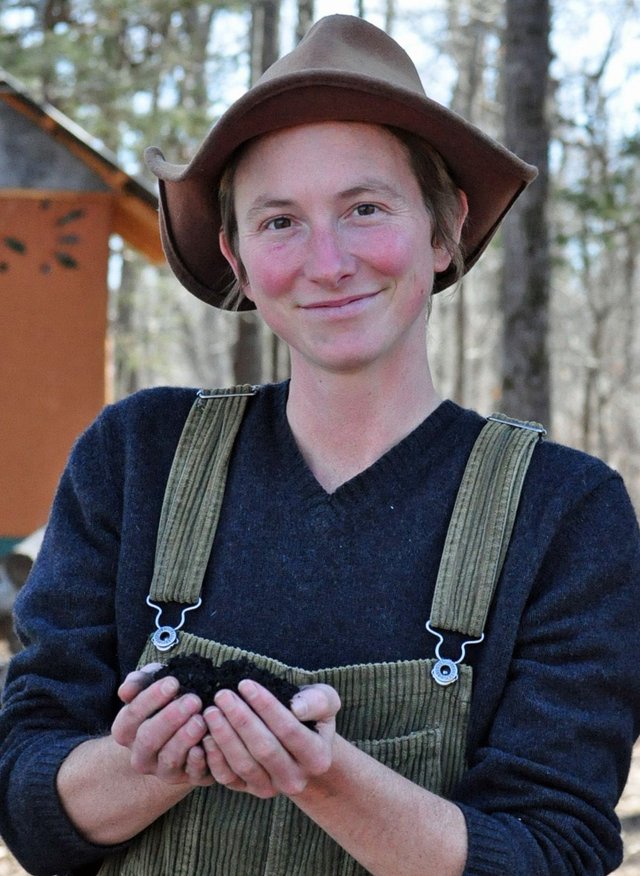
Now you're ready to use your biochar!
It can be added into potting soil mixes, incorporated into soil or even used as mulch (not sure how effective this use is though). Rates of application vary depending on the source, so I will offer no guidance or advice in this regard, and I've yet to gain life experience to back up recommendations.
Thanks for reading! Feel free to ask any questions and share this tutorial!

Well, its about time a fellow Steemian put out a good post on Biochar. I to am a BIG advocate for Biochar. I have plans on a continuous feed machine, which takes a lot of funds to build. I am getting closer every day. Your post says a lot .Its been around for thousands of years. My family is from Europe and they been making Boichar at the farm for over 400 years that I know of. Ill be watching for your posts.
love it! thanks for sharing your passion for biochar! love to hear of your family history and of your plans. Keep going! Good luck :) @mountainjewel
Very cool @basquejohn, are you from the Pyrenees mountains? by your name i wondered. I will also be following you now.
Hello schoonercreek: yes I am I was born in Guernica, Bizcaya My mother and I came over to meet my Dad when was 7 months old.I was Naturalized at Six years old when both of my parents be came American citizens. Proud to be a American. Proud to be Basque. A gardening hobbyist. Central Oregon is a tough place to raise a garden, but doable. Biochar up and Steemon!!!!!
Thank you so much for this, I found it incredibly useful. We are always looking for ways to amend and nourish our soil sustainably. We don't like bringing soil inputs in from outside of the property ... I've resteemed this because it's wonderful information and so I can easily find it again!
The method that you use is perfect for our own situation and we'll be able to start doing this over the summer. Thank you, great post! ! :)
Yay! so glad it's practical for you. That's the entire point!
Yes either and that's where making biochar from brush, even, and then peeing on it (not sure if that's too far out there for you! but it is one of the best ways to activate it)-- can't get much more local than that :)
Thanks for the resteem and happy you've 'bookmarked' it in that way :) Happy char making !
nope, peeing on stuff is not too far out for me, so long as it's organic I am always open to new ideas :) We are surrounded by woods, and there's a lot of clean up that needs to be done so this is incredibly practical. I really did appreciate it - new ideas are so darn exciting!
wow! I just read both posts and learned so much! Fantastic tutorials. Thanks for all the pics! Yes, soil is so important. It's wonderful to see people respect it and help it thrive! :)
thank you so much for your feedback. I'm so happy they were helpful to you! That's why we share :)
wholeheartedly agree <3
This is way cool!
I am about to be crying at how short a day is surrounded by a mountain of usable materials...this is now seriously being considered. Any soil amendments or additions I can get my hands on are welcomed...this Ozark earth has me crawling again!
I'll be walking by the end of the season due to the abundance of new colleagues here. Share those ideas and experiments.
Yay! Glad you loved it and are inspired to create some! We have so much wood, as you say, in the Ozarks, it only makes sense <3 Yes, let's all share our ideas and experiments and learn together <3
That was an amazing article. Nicely done you two. Love the sunset hiding in the one picture. Great way to spend an evening, by the fire and making something your garden will love.
Yes, that sunset was a definite added bonus... and then that moon <3 whew! what a beautiful earth. thank you for your kind words :)
Brilliant, how great it is when you can achieve what you want with fun. I'd let my family dance round the fire while it burns like we're having a burn fire night in camp. Lol
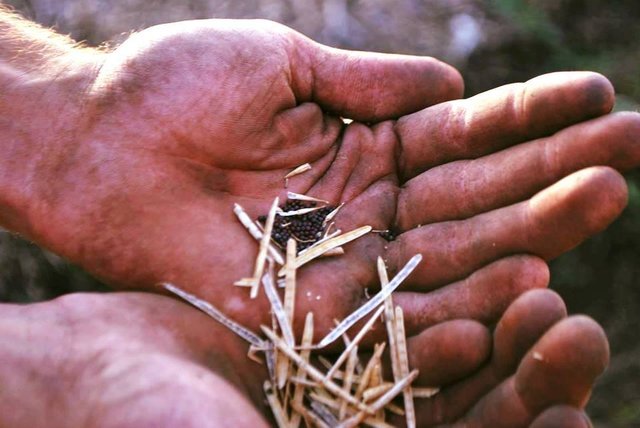
With this I'd achieve fun and a great soil for my crops. This is simply amazing, I ought to give a try on it, I think I've some seeds for the soil. Great work you've got there @mountainjewel.
Utterly fantastic! what a great visual... Good luck with making your own, it's excellent for soil, just make sure to activate it by peeing on it or getting it wet :) Thank you!
Hello @mountainjewel, I know someone who has an outdoor wood furnace . It produces what looks like coal. They have a giant pile of it. They will let me have all I want. I have been trying to figure out what it might be useful for. Would this work for biochar? Resteemed and Thank you.
Yes! How lucky you are :) Good luck
Excellent @mountainjewel
I am an Organic Farmer
Here is part of our History.
beautiful photo <3
Nice post
And the best part is you can roast hot dogs and marshmallows over the fire before you throw water on it! Time for a party, everyone.
Yeah, if you mixed this in with your compost pile you could really get it going.
You mentioned pocket ponds. What are those for?
@mountainjewel
Pocket ponds serve many functions. Then will serve as reservoir to provide water to live stock, grow aquatic plant, provide habitat for water loving wild things and irrigation.
That's cool. So you just dig out pits and wait for the rain to fill them? If you dug a big enough one you could have your own little lake. Put some trout or something in there. :)
Yea , we may line ours due to lack of clay in the soil. And yes to trout, although it may take a while to dig one big enough;)