Planting Radishes in Containers
We harvested our first 3 bowls of radishes at the start of this week. So we had to plant some more. I thought it would be a good idea to make a post about how we plant them. We use a system that doesn't require thinning and has a pretty high yield rate. Here is some pictures and a description:
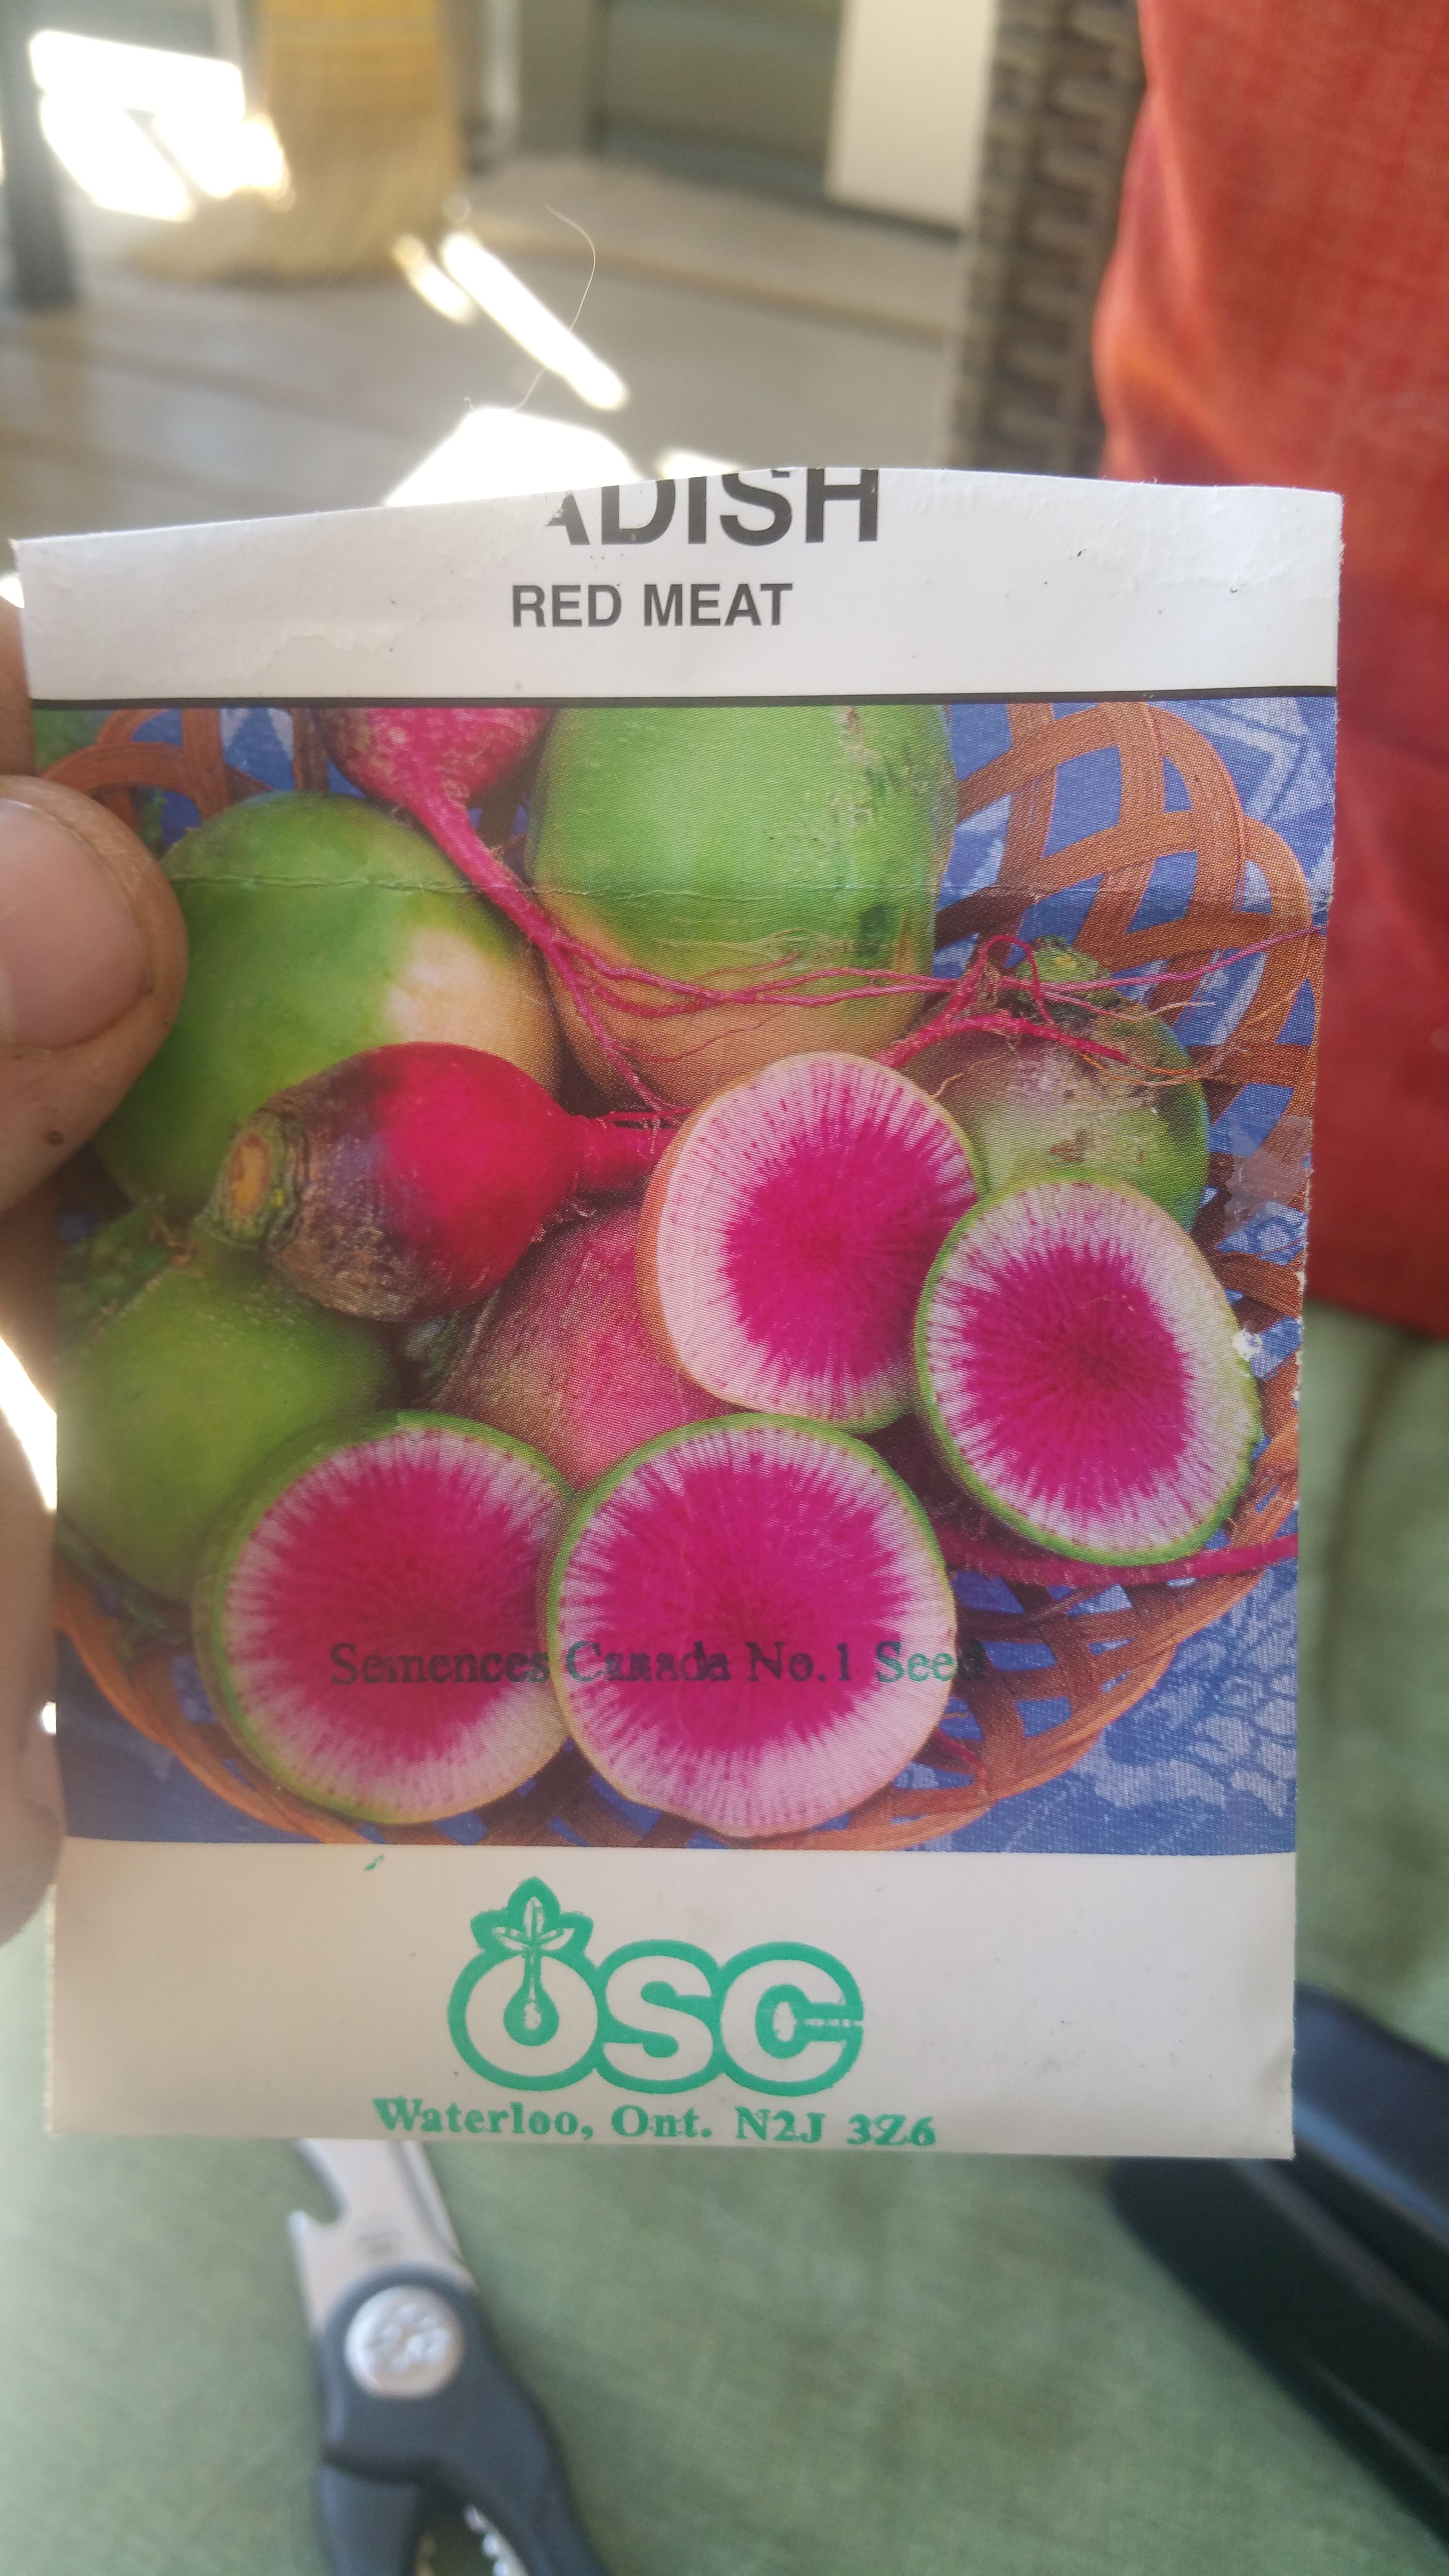
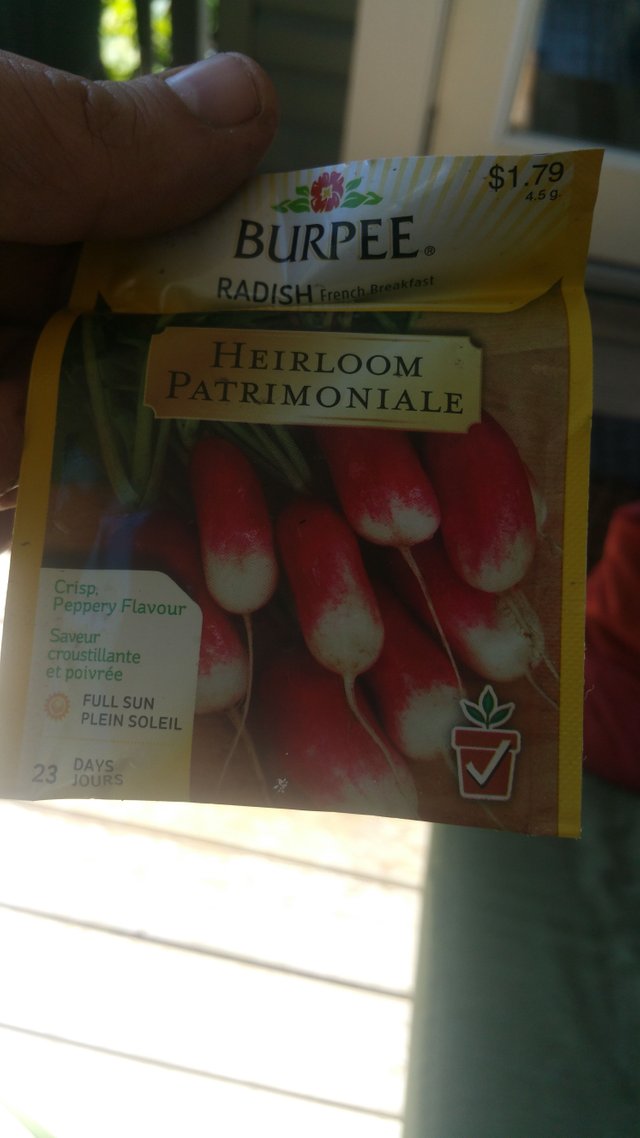
These are 2 kinds of radishes that we grow in the containers. We also do Cherry Bell radishes but we were out of seeds....
Step 1:
Get your container or pot and fill it with dirt. In our case we just removed the previous radishes so we mix in a little compost and soil nutrients to replenish the soil.
Step 2:
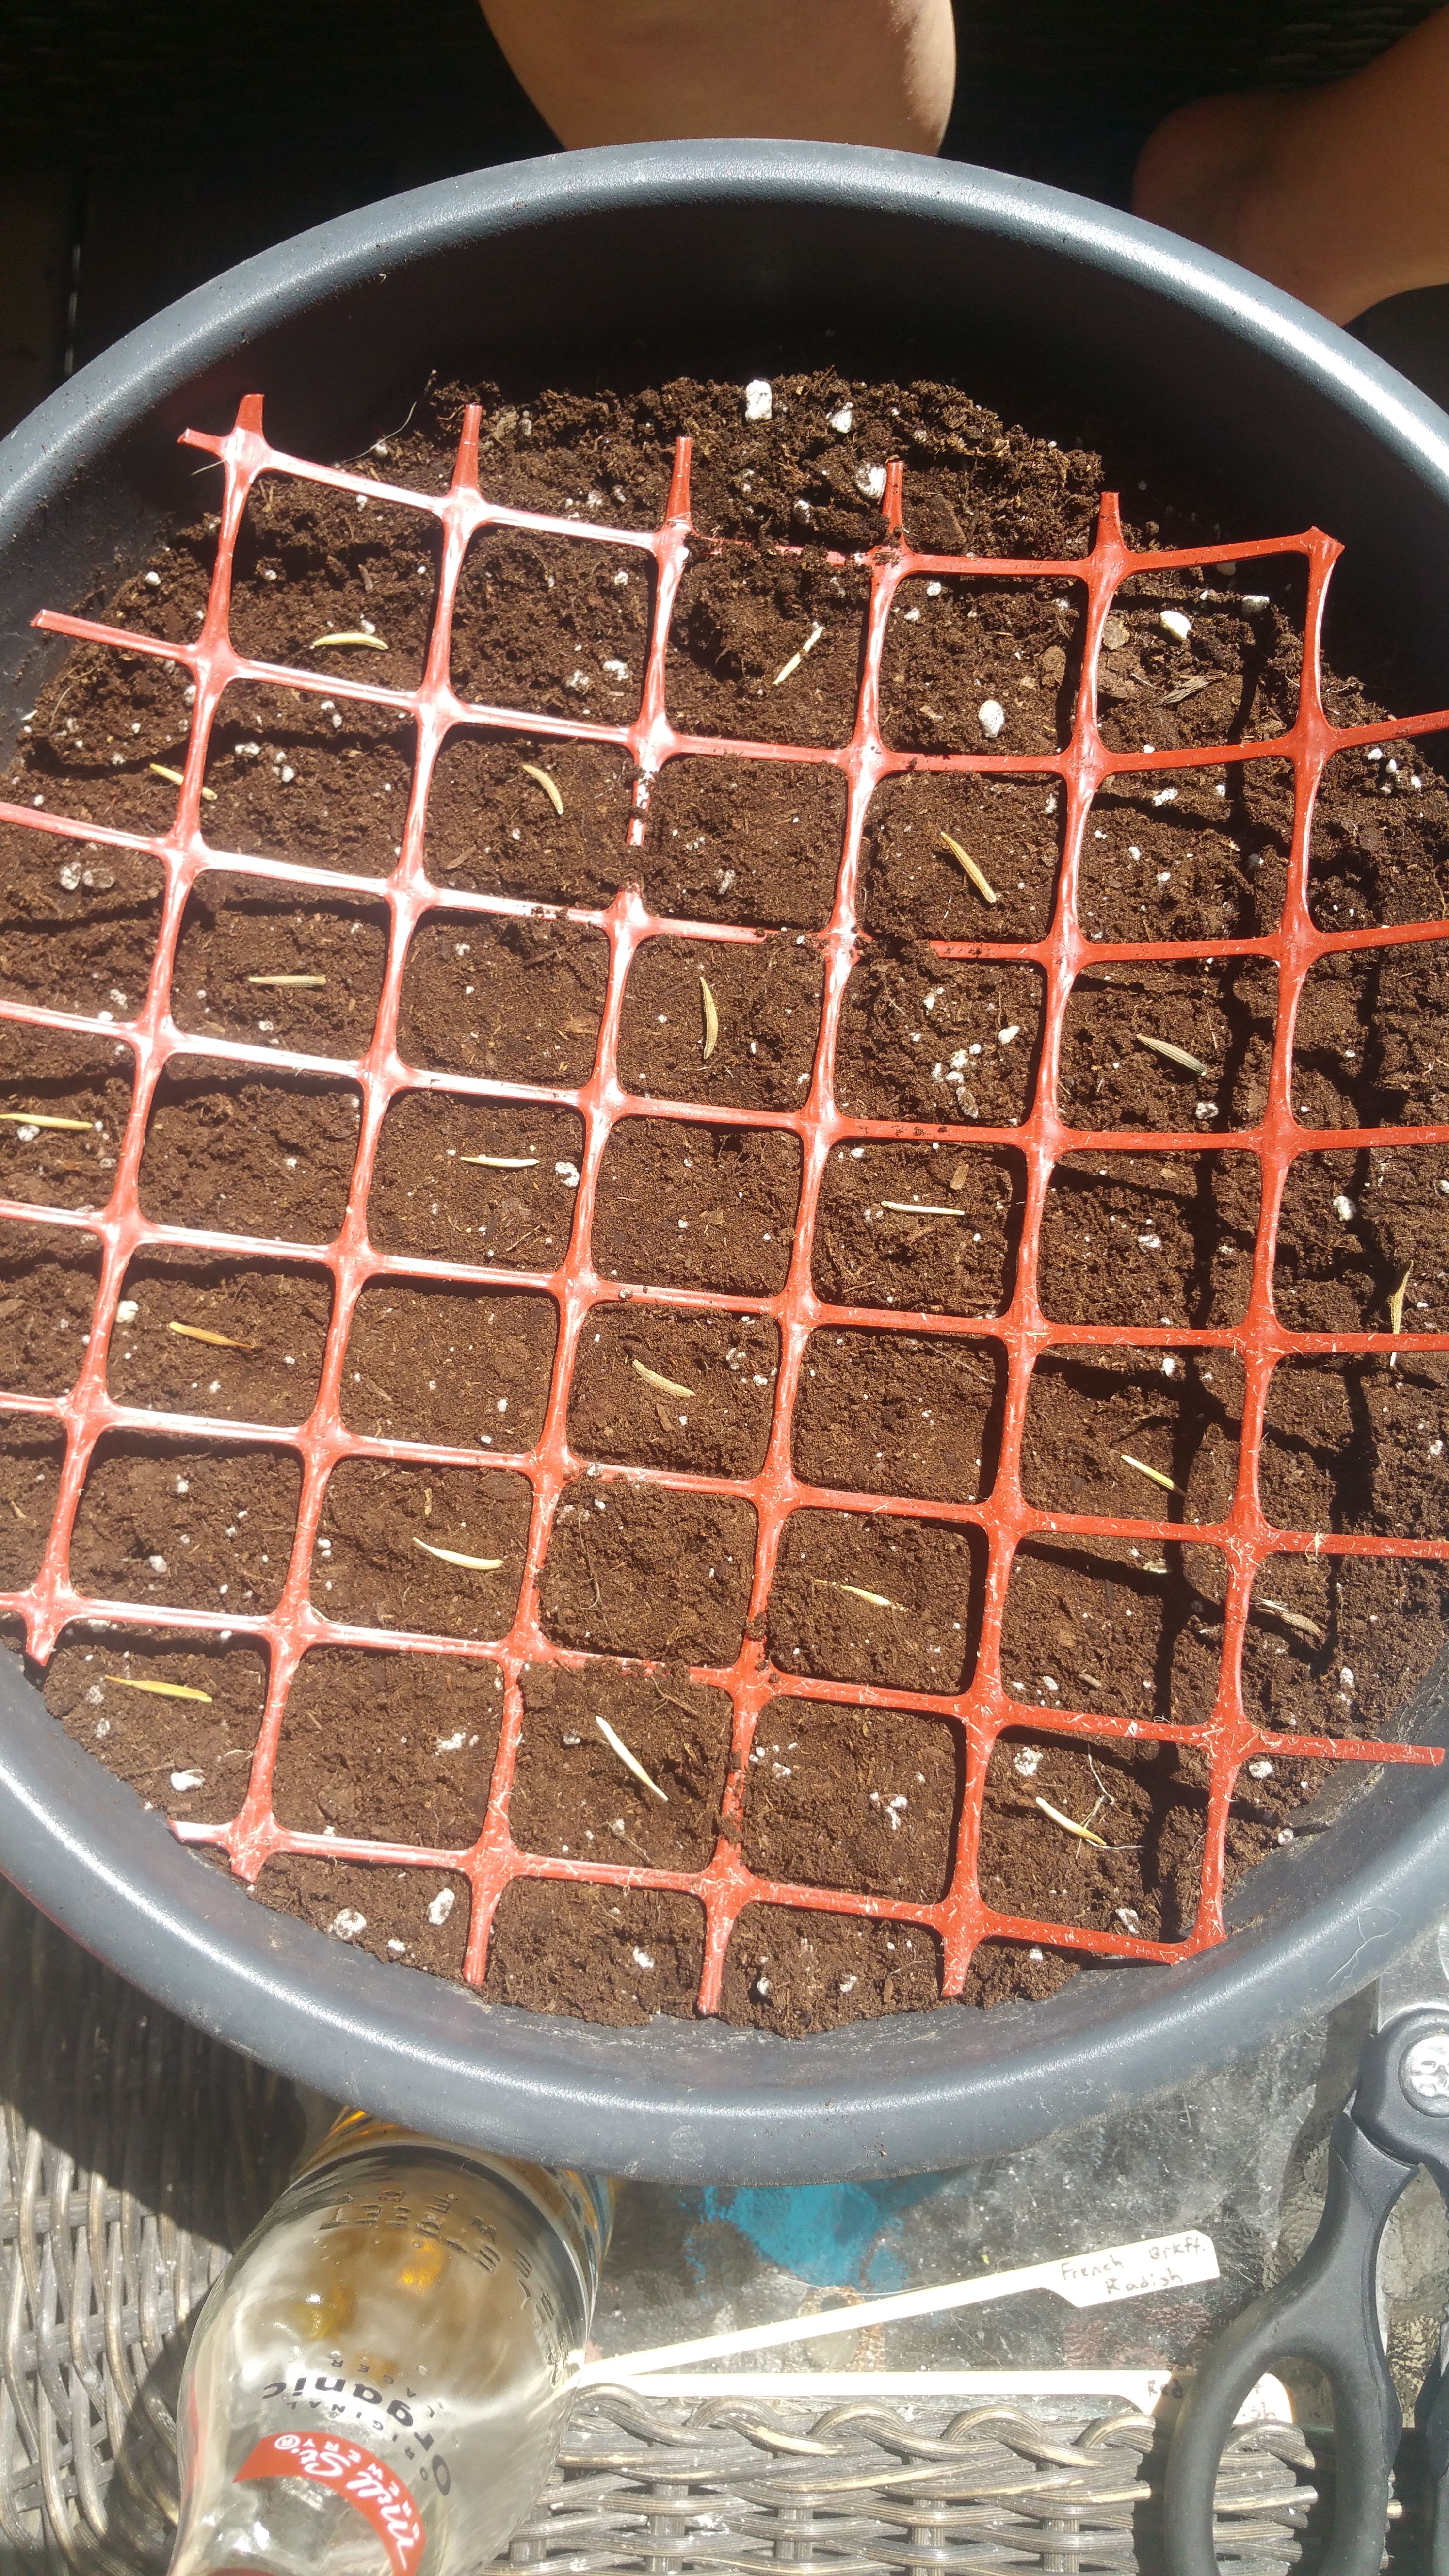
Get something that forms a grid pattern. The picture below shows our template which we cut from a chunk of plastic snow fence. The grid is 1.25" squares on our template, this spacing has worked really good for us.
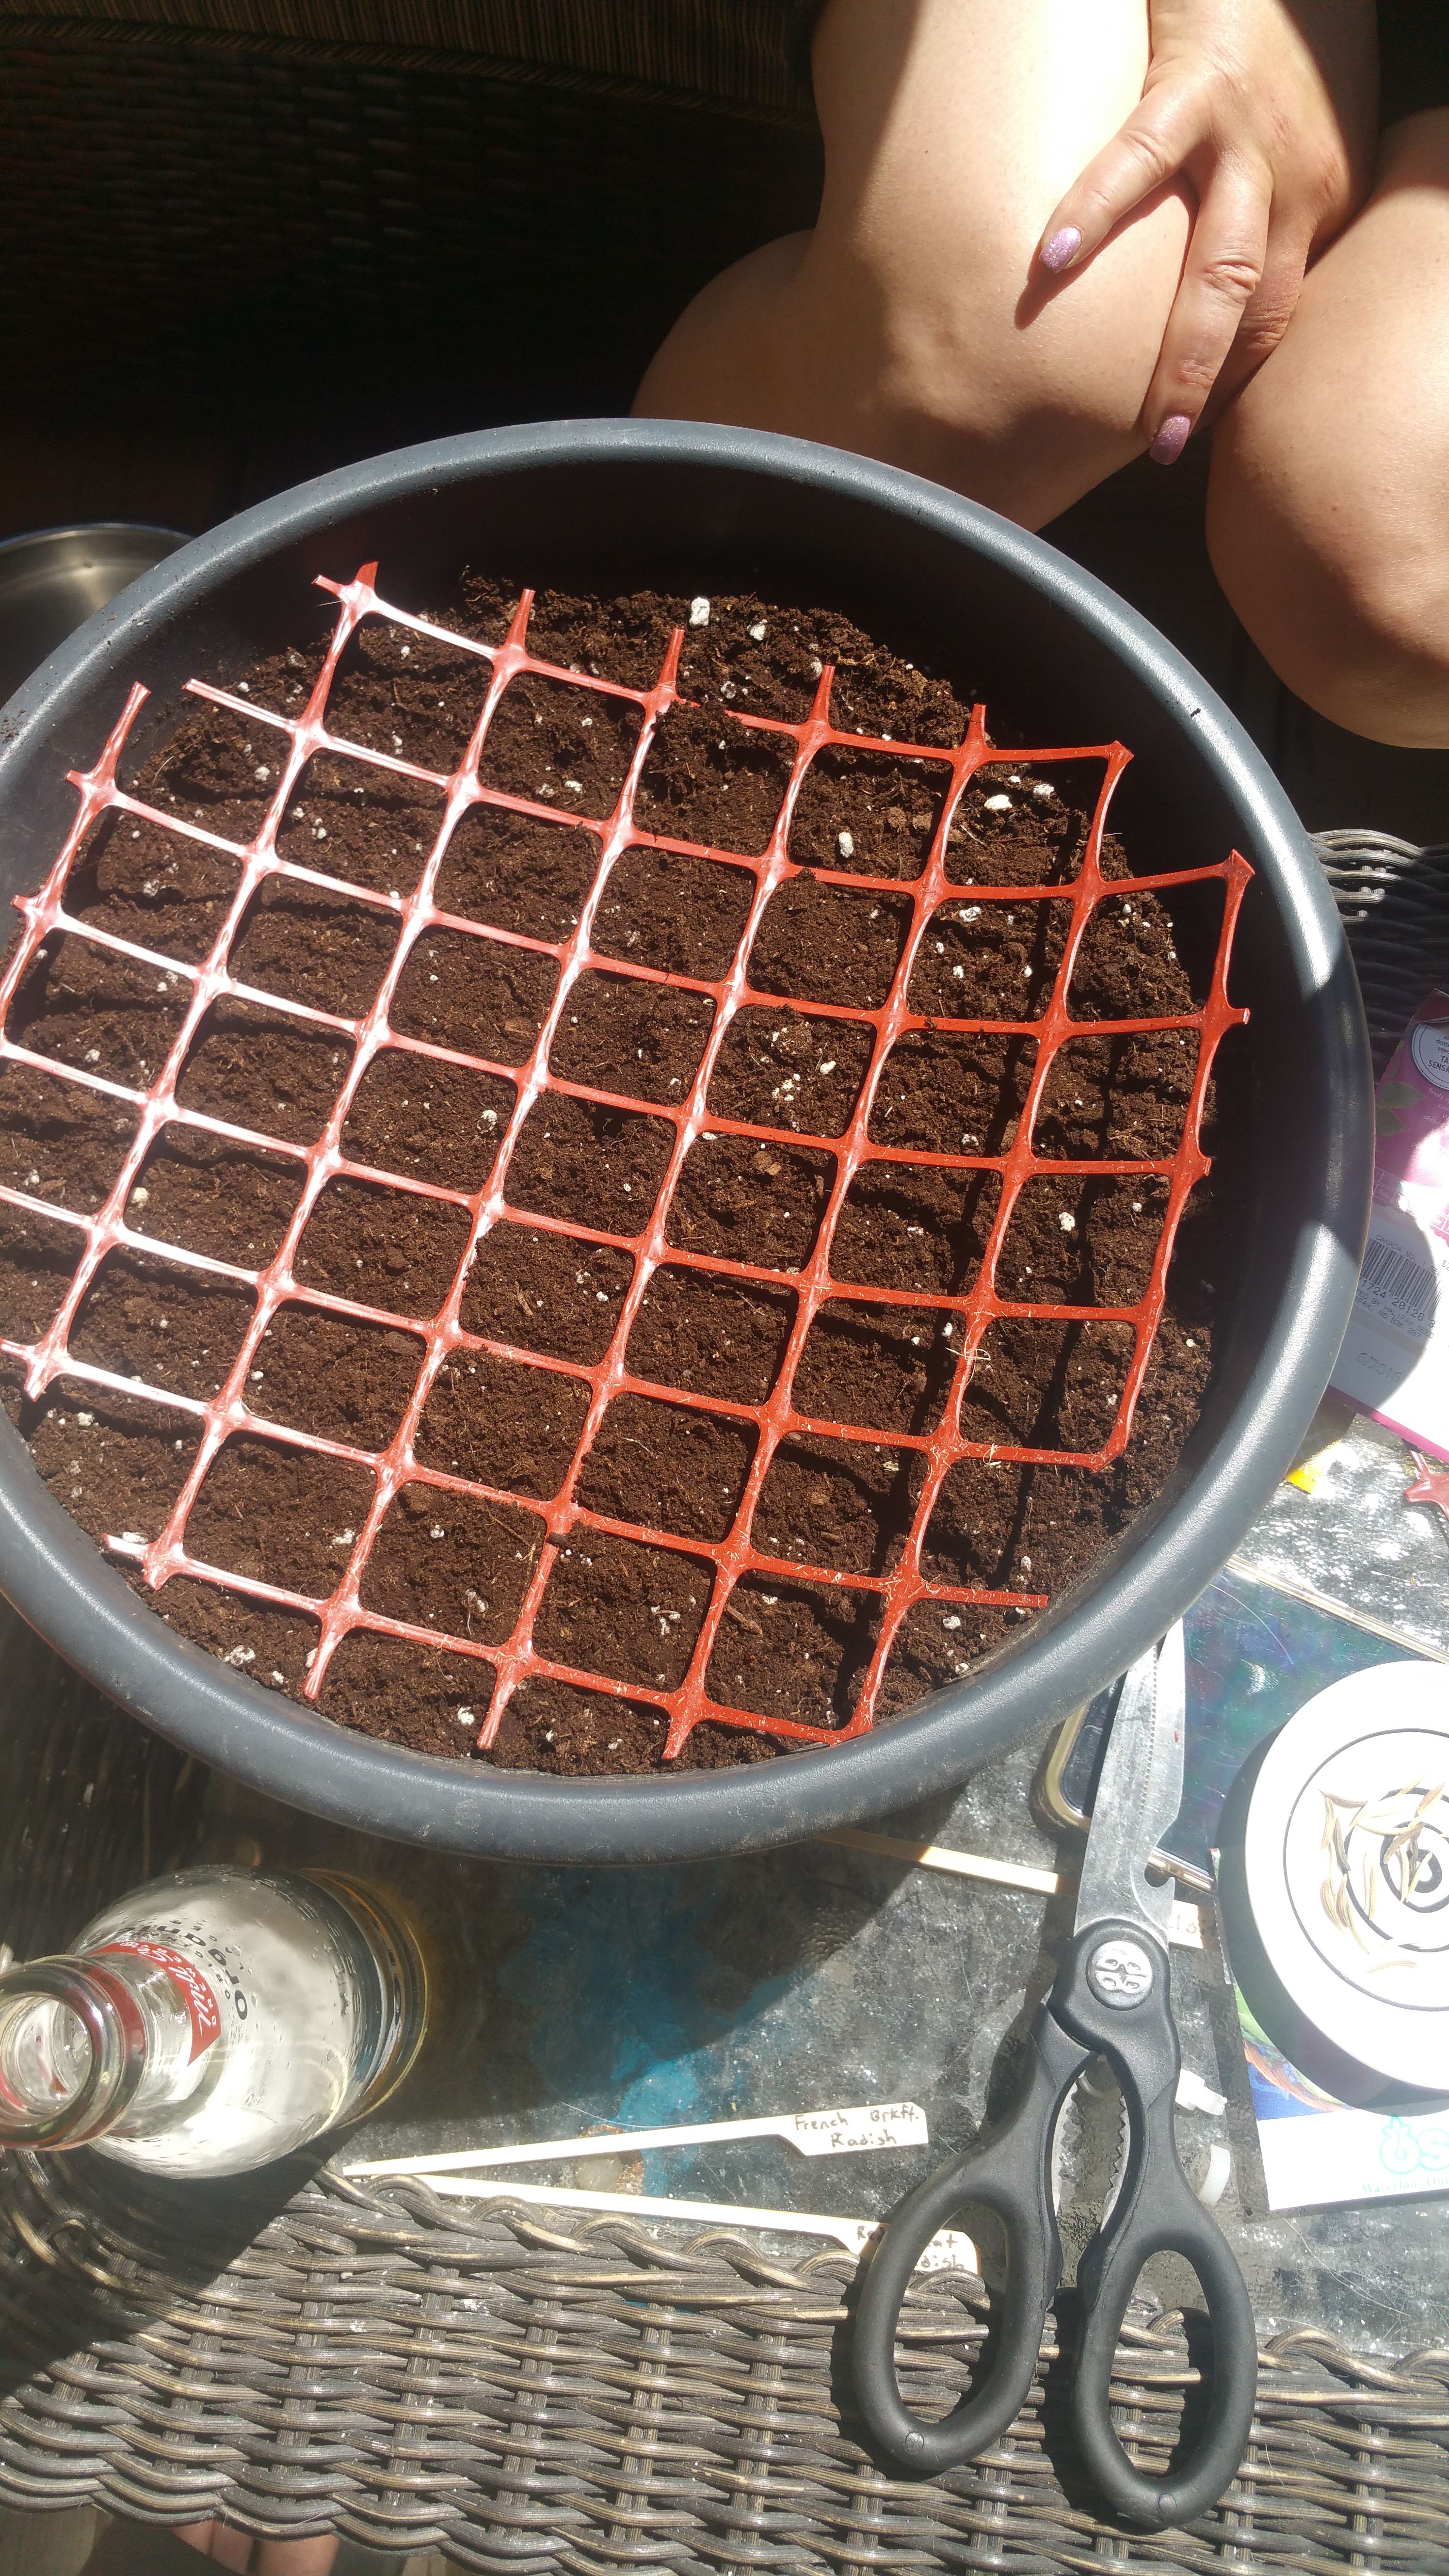
Step 3:
Take your seeds and place them on a small plate or a saucer. Spread them out over the surface of the plate. You are now able to handle 1 seed at a time by wetting the tip of a tooth pick.
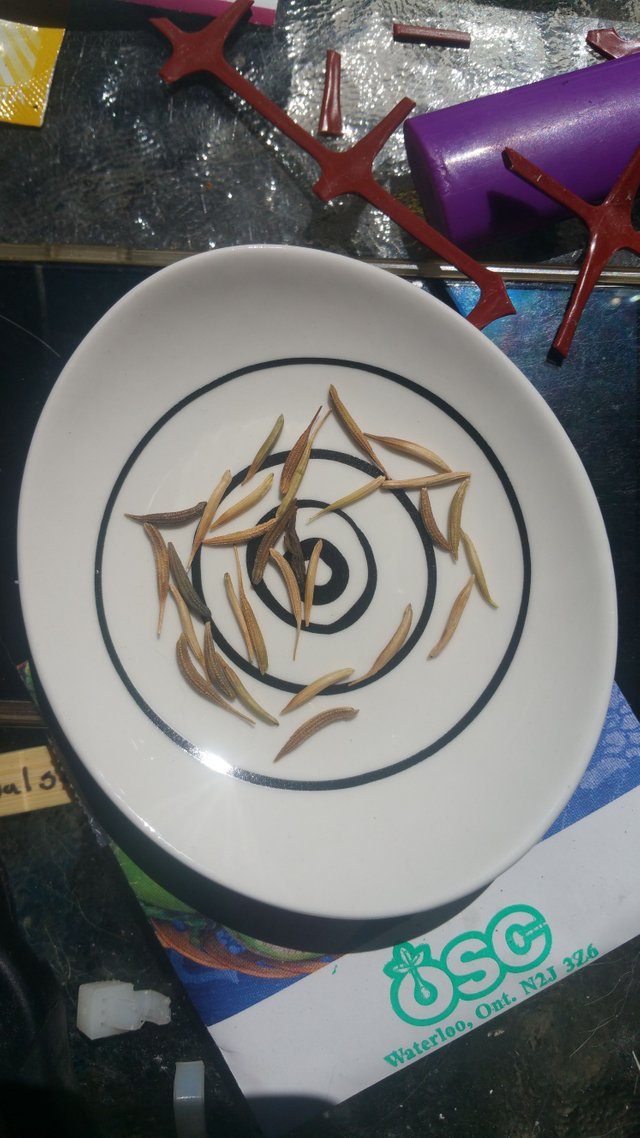
Step 4:
Using the end of a wet toothpick gently touch the seed. The moistness of the toothpick touching the outer shell of the seed makes the seed stick to the toothpick. Handling and placing the seed is much easier than trying to use you fingers to grab 1 tiny little seed. Start placing the seeds in a checker board pattern into the template alternating columns and rows. You don't have to push the seeds in, just lay them on top of the dirt.
Step 5:
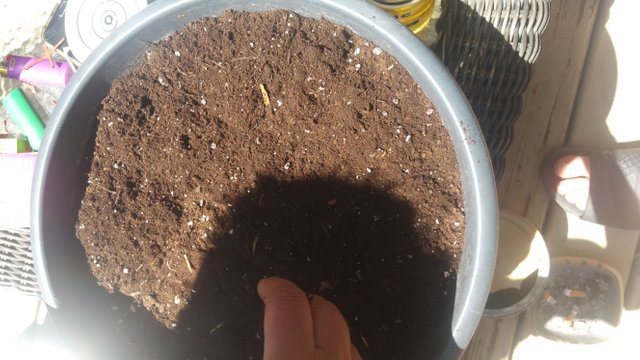
Once all the seeds are placed on the dirt, in the correct spacing, gently lift the template out. Now cover the seed with about a half inch of dirt.
Step 6:
Water the newly planted seeds thoroughly and set your pot in a nice sunny area. The sprouts should pop up in 5-10 days.
Step 7: Relax and finish that beer you saw in all those pictures =).
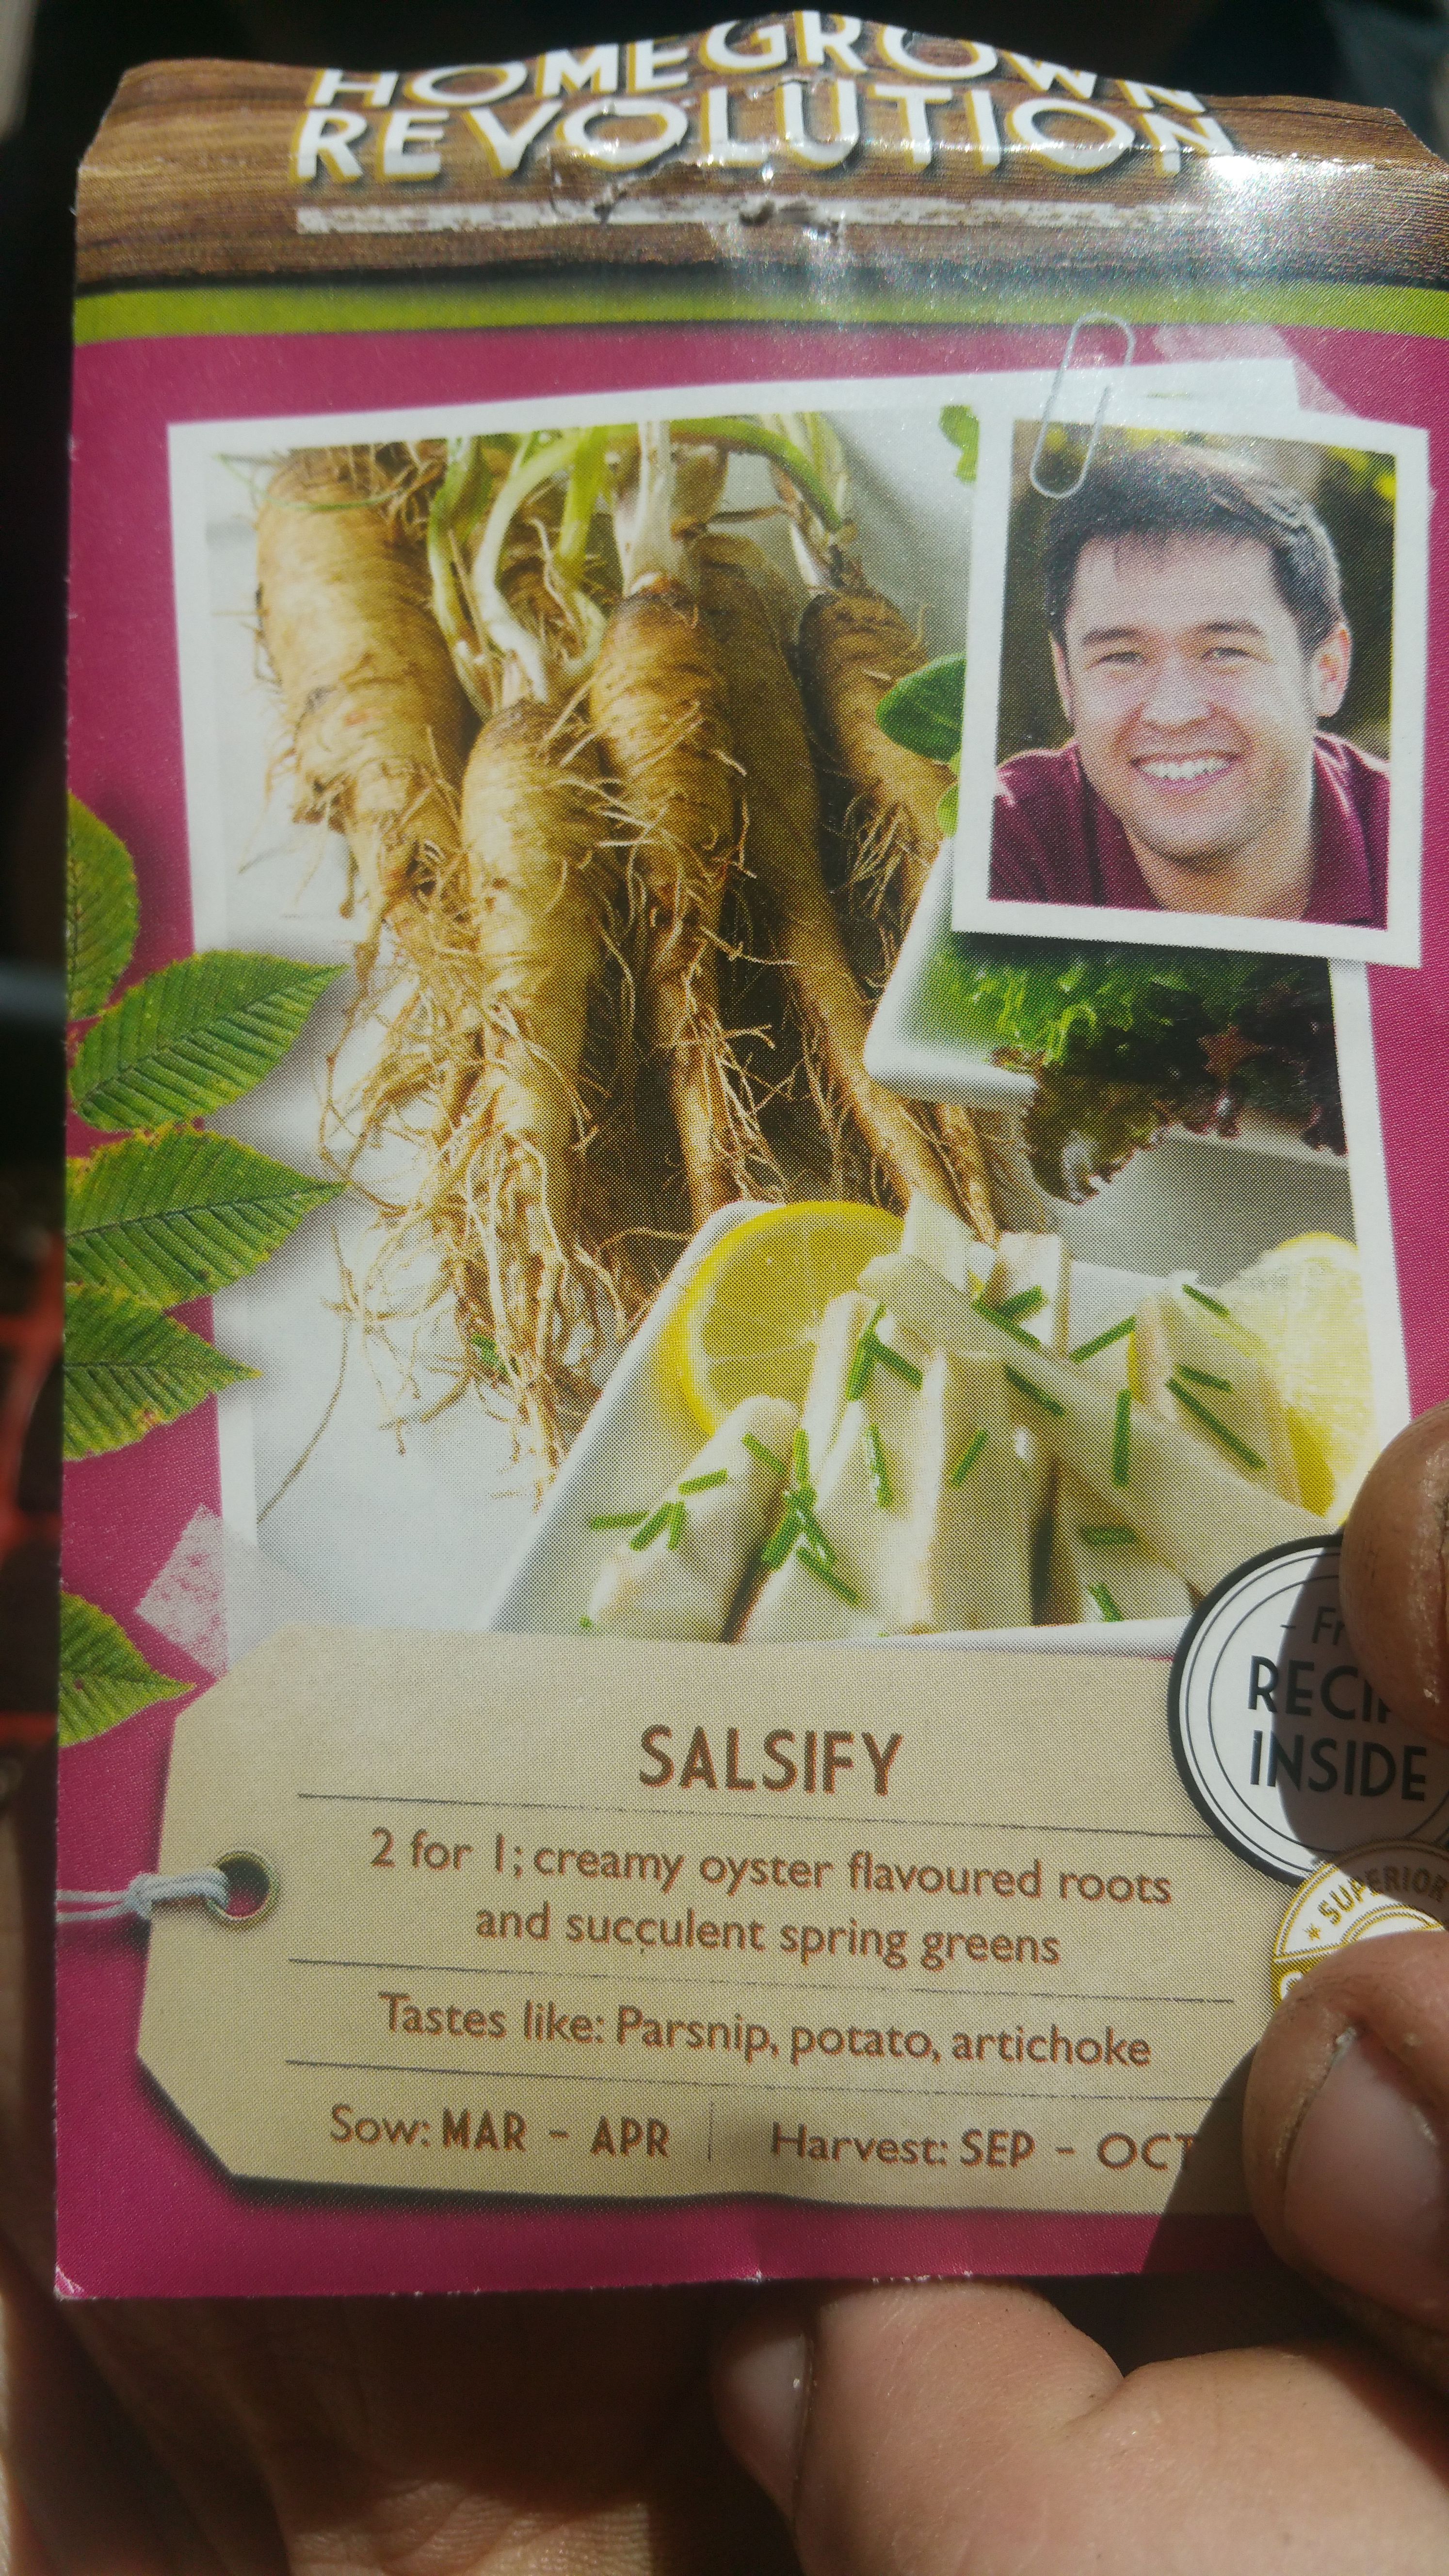
We are also trying a new plant that we picked up at a local seed store. It is called salsify. We planted them in a similar pot using the same grid method. I will keep everyone updated on how that goes...
We use this method for all of the seeds we plant directly into our planters. It works great for carrots, lettuce, beets, kale,etc..... With the carrots you will not need to thin them after, but the lettuce, beets, and kale you have to thin to whatever spacing is recommended on the seed package. At least the thinning is super easy because every plant is easily identifiable and they are spaced out enough so that when you remove one the roots don't pull up 3 or 4 of it's neighbors.
Thanks for taking the time to read this post. If you like what you saw please upvote, follow, and re-steem. I will be putting up more videos and pictures as our growing season continues on.
That's a smart way of doing this. So much easier than drawing lines on the soil and all that.
Never heard of salsify so I'm curious to see your update on it.
I am going to do a post about a full size planter. I picked another one up and am going to put a batch of carrots in it.
This is my first run in with salsify too but my curiosity has been peaked lol. Says they have an oyster flavor..... hmm.
I like the way you detailed how to plant the vegetables. I wish I have a garden now, but hopefully when I do, I hope to start planting my own vegetables myself. For now, I plant only peppers and ginger in small buckets.
Once again thanks for sharing
My whole garden is all in planters and containers too. Check out this update post to see some of the planters we use. =)
https://steemit.com/garden/@jordanmccraw/garden-update-steemit-friend-train
In the big pepper planters we put 10 -12 per and the planter really doesn't take up a ton of space.
Wow wow wow! Your beautiful garden with loads of planters and containers of assorted vegetables is just tempting me to start searching for a property with big garden asap 😄
I hope my garden will look like yours when I finally move into a property with a backyard space. I am following you already so that I can revisit your videos when the time comes.
Once again thanks for sharing.
Very excellent step by step post! I'm loving the idea of using the snow netting for the spacing. That looks super helpful.
Helping people grow food through education like this is of paramount importance. Thanks!