Building a VERY Compact Gaming PC - Part 2 - The Build... Does She Like Her Birthday Present?
The wait is finally over, all the hardware I ordered for @Deeviras 's Birthday arrived this morning, and I got straight to work.

To Read Part 1 click HERE
This is what I ordered for Dee's birthday...
| Part. | Hardware. | Price. |
|---|---|---|
| CPU | AMD Ryzen 3 1300X 3.7Ghz | £125.00 |
| Motherboard | Gigabyte A320M-DS2, AM4, Micro ATX | £72.50 |
| Memory | Corsair Value, 8Gb, 2666Mhz | £105.00 |
| Graphics Card | Gigabyte D5 Nvidia GTX 1050 Ti, 4Gb | £170.00 |
| Power Supply | GameMax GM600, Silver 80+ 600 Watts | £52.99 |
| Cooling | GameMax Iceberg 120, 120mm AiO | £46.99 |
| Misc | GameMax Windforce RGB kit. 2x 120mm RGB Fans 2x 30cm RGB light strips RGB controller and remote. | £30.00 |
| Case | Kolink Satellite Micro ATX Cube Case | £26.99 |
| Storage | N/A (using original HDD) | |
| Total | £629.47 | |
You may notice that I didn't buy a new storage drive. This is for 2 reasons. First, Dee wants to continue using the 1TB HDD she is currently using and secondly, I'm broke, skint, don't have 2 penny's to rub together. Well not until Wednesday anyway when I will be buying a 1TB SSD and doing I direct copy of everything onto the new drive. Leaving the HDD as an extra storage drive.

So lets get started....
First off, I took everything out of the case and routed the I/O cables as low as they would go from the front panel.

The Motherboard was removed from the packaging and placed on top of its box. This is ideal as you can fit the components to the board much easier than if they where in the in the case.

When putting the RAM sticks in, make sure you are placing them in the correct slots. Usually the Slots are numbered 1-2 or 1-4. if you are running two RAM sticks they need to be placed in 1 and 2. if you are only using 1 like me, then it has to go in to the first one. Open the tabs on either side of the slot, line up the notch on the RAM and push down with your thumbs until each side clicks in.
With the CPU it is a little easier. AM4 Sockets are very easy. Lift the silver hinge, and using the little gold arrow on the edge of the CPU, line it up with the arrow on the socket, and the chip will fall into place. Give it a little wiggle to make sure its seated, and then close the hinge.

If you are using a stock cooler, an after market cooler or an AiO Water cooler, the method of placing thermal past is the same. Place a rice grain length of paste in the centre of the chip as pictured. If you use any more, it may spill out onto the MB and cause problems, and it may not be as efficient at removing heat. Use too little and you risk the CPU over heating as it can't transfer the heat quick enough.

Making sure you have the correct brackets fitted to your cooler (Not applicable to Stock Coolers), simply press down as central as you can on top of the CPU while you tighten up the brackets to the motherboard. Always make sure you orientate the cooler appropriately so there are no sharp bends in the hoses, otherwise it may kink and restrict water flow and kill your CPU.

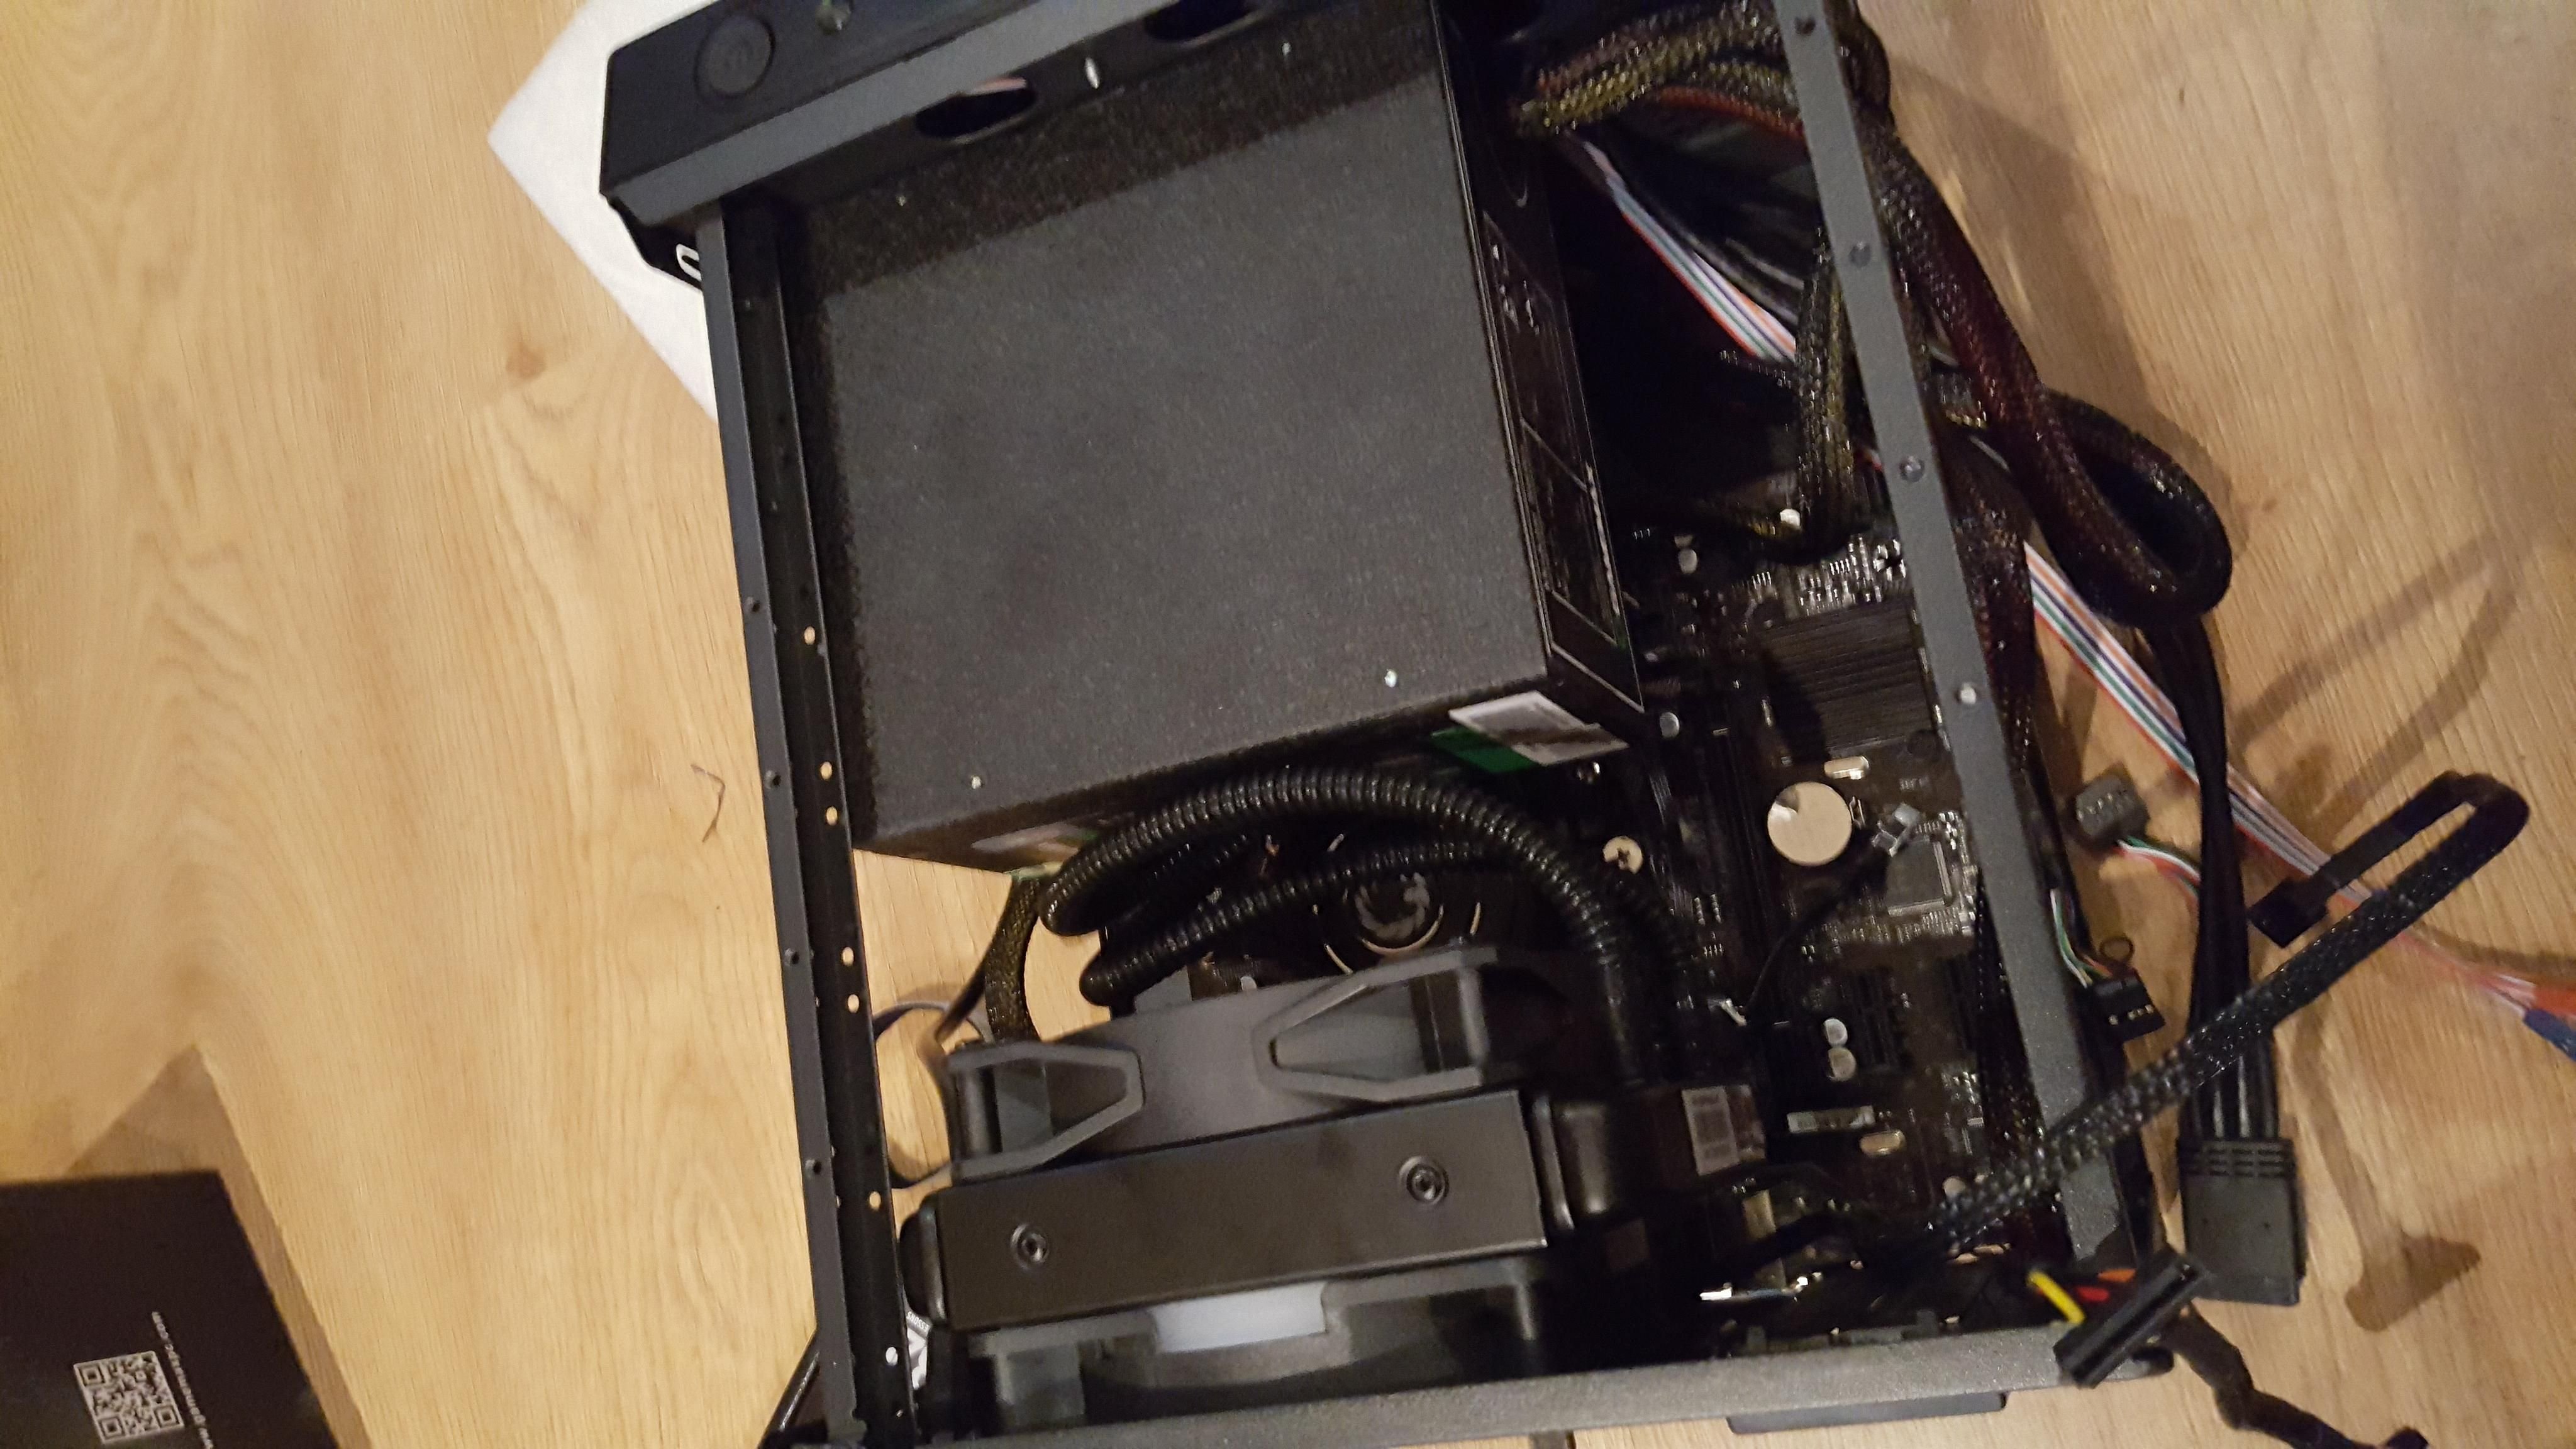
As you can see in this image, I fitted the power supply in the stock rotation. However when putting the motherboard in, I found it obstructs the 24 pin connection. So I had to get creative. Using some slightly larger screws I rotated the PSU 90* so it would take in air from the case and exhaust it out. (see follow up image.)

I removed the PSU so I could fit the board and screw it down. Without fitting the PSU back, I attached the 24pin atx and 8 pin CPU power cables to the motherboard. This is because when fitting the radiator and PSU, access is limited. I then proceeded to attatch the radiator and 2 fans in a push/pull config to draw more air out of the case. Once done, I mounted the PSU in the orientation I spoke about earlier.
After I attached all the front panel I/O cables, I plugged in the graphics card. With this being such a small case, I am glad I got a short GPU. It is a very tight fit in there (That's what she said!)
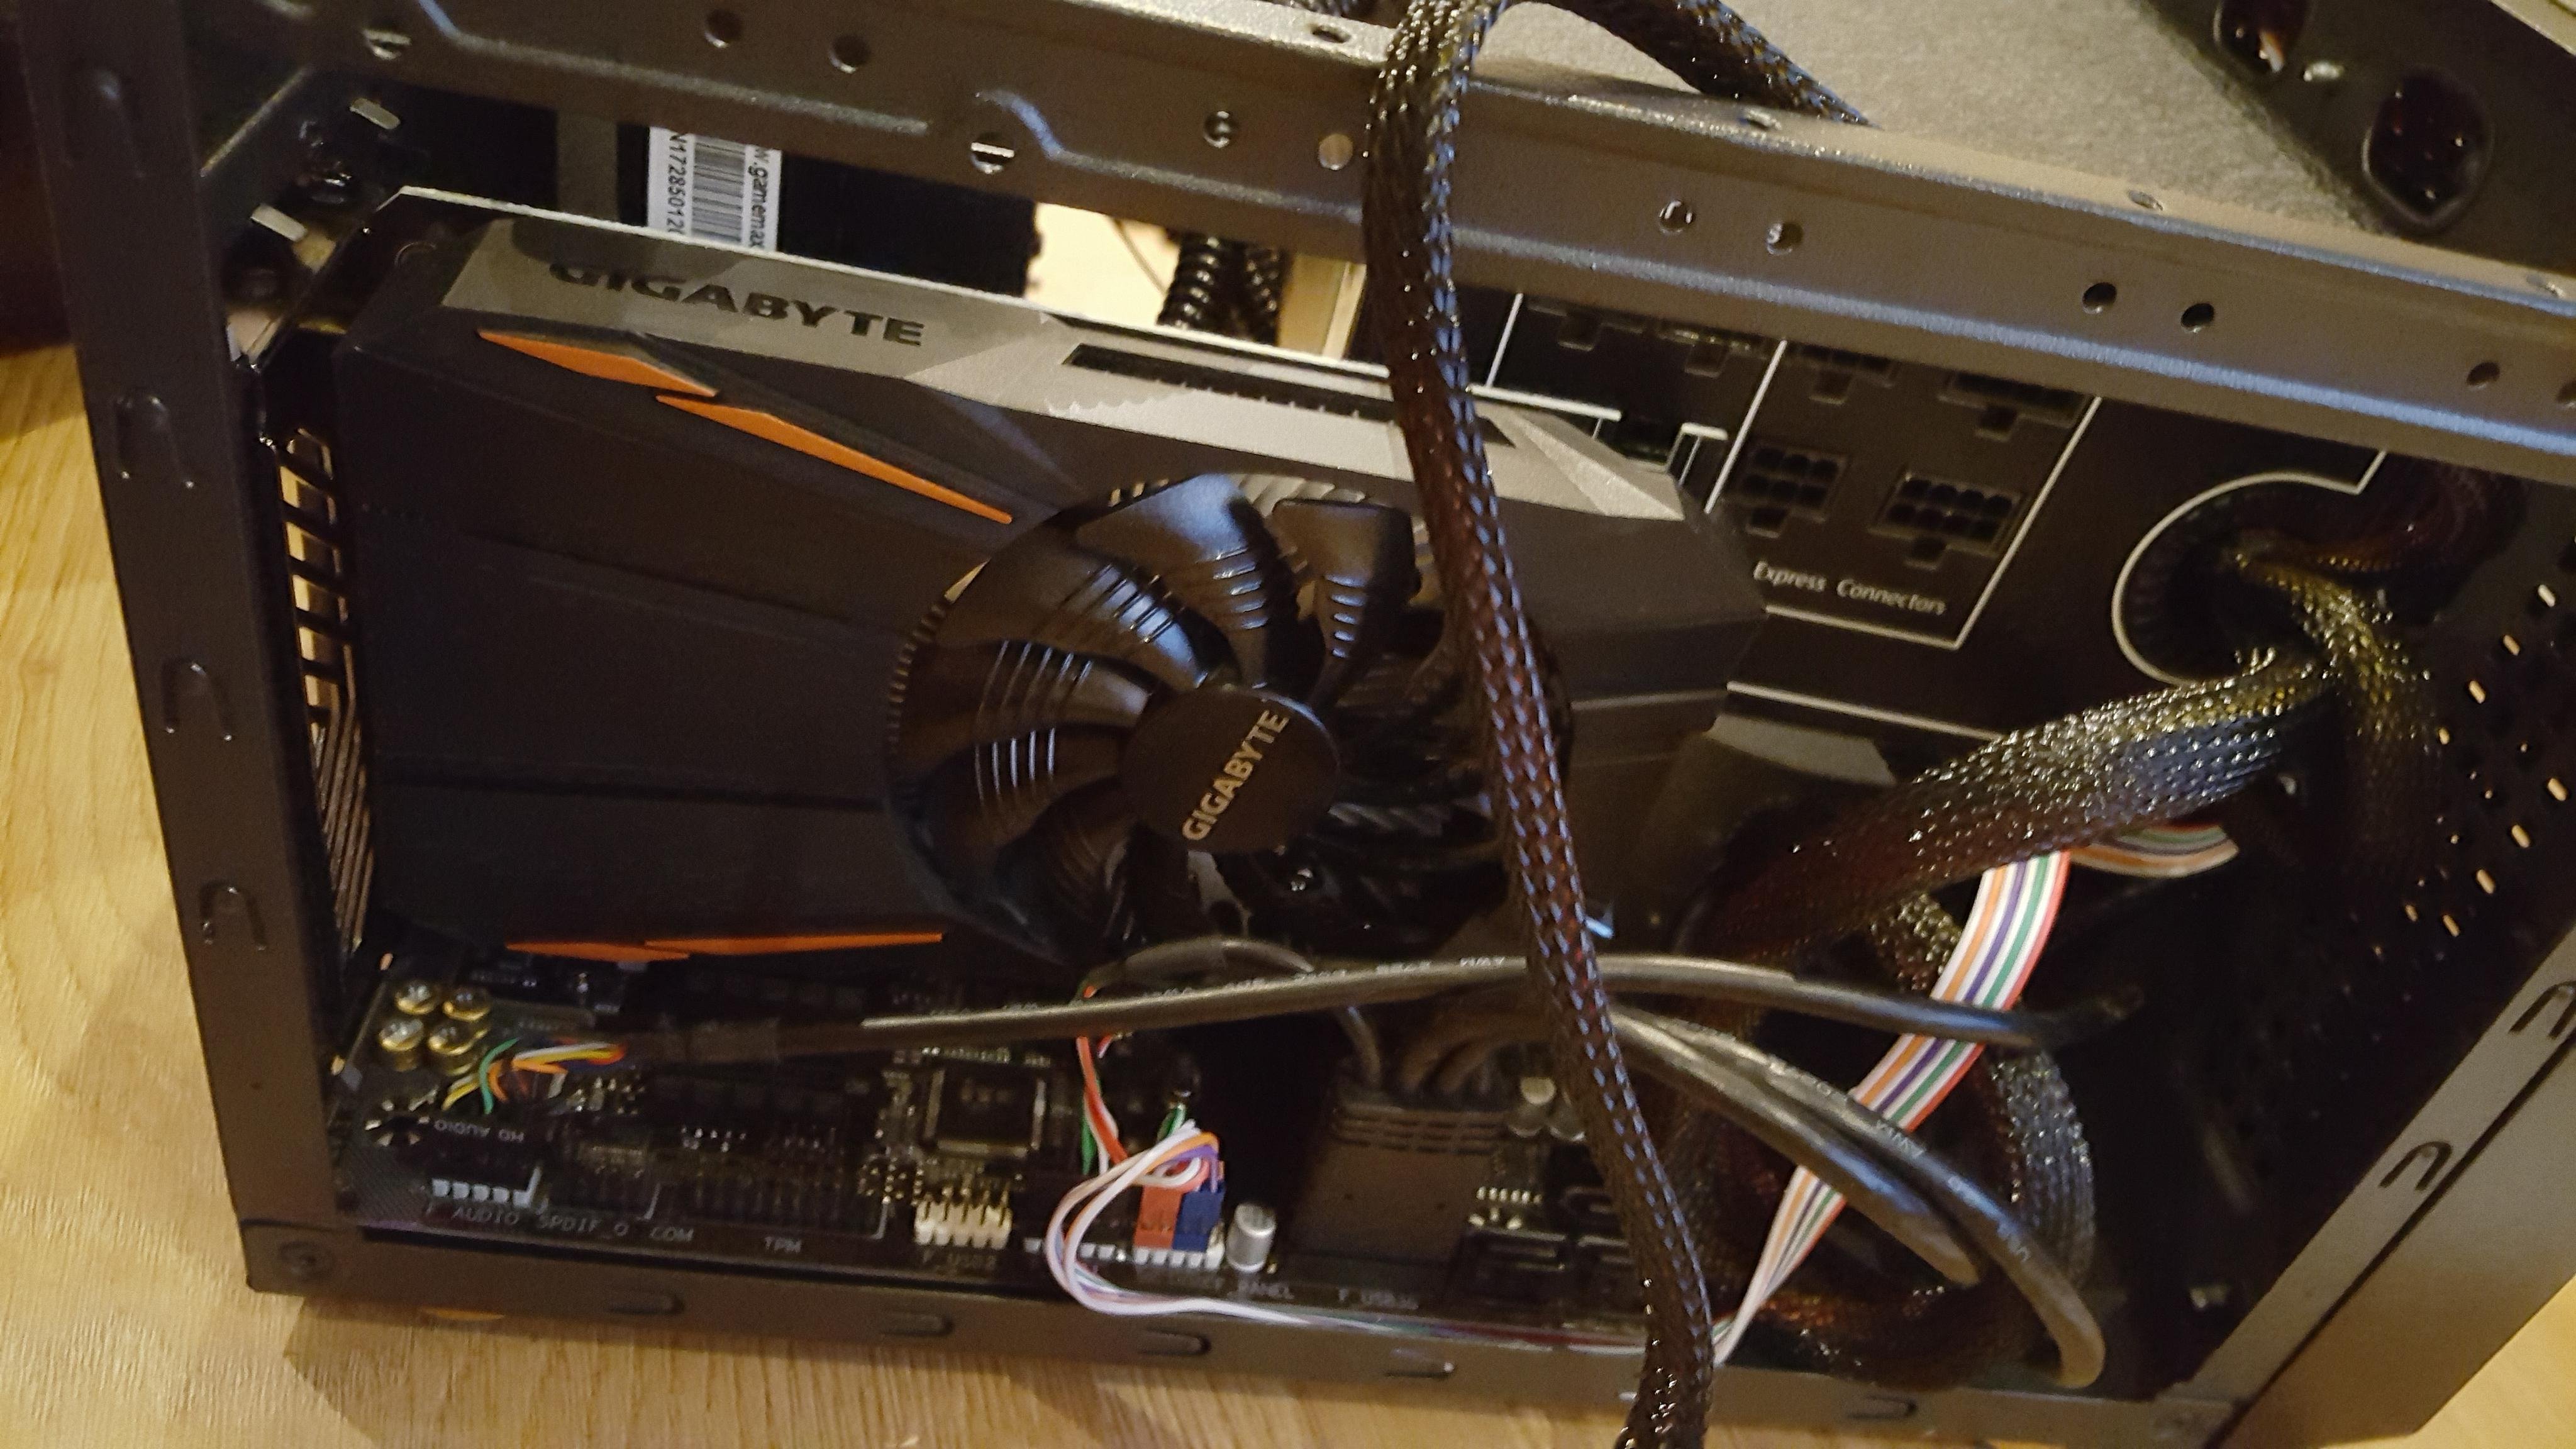
Then it was just a case of plugging the rest of the components in, the HDD, Fans and RGB lighting.
Once done, I placed the cover back on the case and I was done. A little setup required in the Bios, but everything is up and running.


The lack of cable management in the case is a little frustrating, there is an area for the cables to sit, but it is unsightly, so i tied up what i could and make it look presentable if the case is ever opened. this was the only downside to this build as i am very used to clean looking cases. oh well, the final product looks good enough. and Dee is over the moon at the fact there is a remote to change the colours of the case lights.
I will get a few benchmarks soon enough. I will compare the system that @Deeviras had, to the Ryzen build she has now. Should get some interesting numbers from the 4-5 year old system and this up to date one.
Head on over to @Deeviras 's Modelling and Gaming Blog to read up on her experience with the new PC.
Thanks for reading.
Don't Forget to Upvote, ReSteem and Follow for more content like this!

Stu @TechMojo
Join the chat TechMojo Discord Channel
Follow us TechMojo OnG Social Page
Like us TechMojo Facebook Page
Follow us TechMojo Twitter
Awesome little build man, with every new generation you are able to cram more power in smaller form factors. I am still trying to decide wether my next build will be bigger or smaller, the build I have now is not optimal in termso of size/usability. Make shure to give some feedback on the performance !
@originalworks