Call of Duty: WWII Playthrough [Part 3]
Mission 3 – Stronghold
This video was recorded and edited directly on my Playstation 4 with SHAREfactory™. If you’d like to see other games I’ve recently played or rated please visit Rebel Gaming Canada’s BIG GAMES LIST.
Marigny
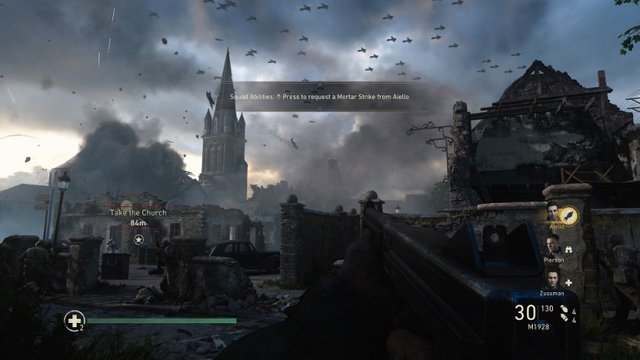
You spend a restless night in the bombed out town of Marigny. No one gets much sleep with the Germans camped only a few blocks away. In the morning Operation Cobra continues and the bombing runs intensify. But the German forces in Marigny are still heavily entrenched and have operational Anti-Aircraft batteries that are proving troublesome. Your squad being the closest is sent into destroy the AA guns and clear an aerial corridor for the Allied Air Force. Sgt. Pierson orders you to make your way to the top of a church tower overlooking the area containing the AA cannons. From there you’ll cover Zussman and Aiello as they move in from the ground and destroy the guns.

The church is only a few blocks away but the German forces control the area and the fighting is intense. Street to street door to door you move up and the gunfire around you never lets up. From every window and corner of every building bullets fly. Your squad pushes into an old hotel that’s nearly completely destroyed from the bombing. The entire second floor is missing and all that remains is the smouldering skeleton of a building. Even still the German’s defend it with a fervor you didn’t expect. As your squad finishes sweeping the building you look out the window and see the church across the street.
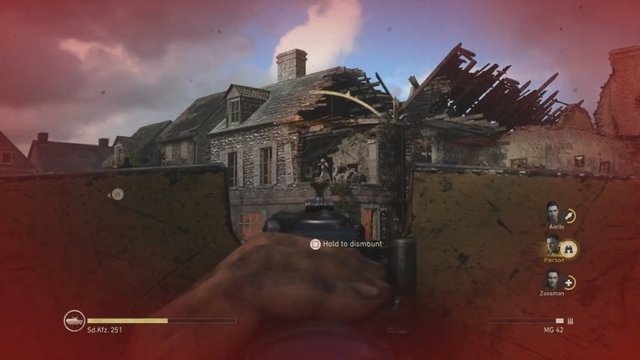
Close Only Counts in Horseshoes
It’s only thirty feet away but might as well be a thousand. You break for the church but an armored personnel truck screams into the area. A German soldier mounts the machine gun turret and opens fire. Luckily you’ve made it to cover on the far side of the street and they haven’t spotted you yet. From your position you sneak up behind the truck and gun down the soldiers as they exit. You jump into the machine gun turret and begin clearing the street for your squad mates. The German’s are exposed and unprepared for the reversal. With the street clear you push into the church.
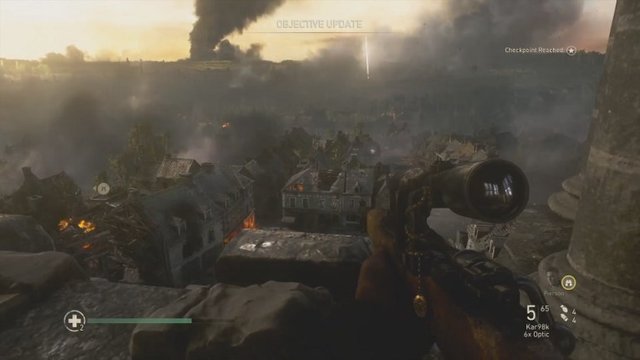
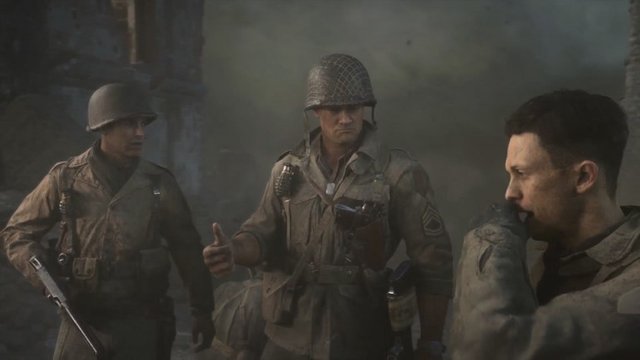
After another firefight you climb the stairs to your overwatch position at the top of the bell tower. Zussman tells you he’s glad it’s going to be you up there covering his ass. It doesn’t take Zussman and Aiello long to get to the first AA cannon. From your position you are able to clear a path for them and keep them safe. With the charges set they push further down the street towards the second and third flak cannons. The detonation of the first cannon draws Germans attention and more enemies converge on the area. Things aren’t looking good but then Lt. Turner shows up and provides Zussman some much needed back up. When the second flak cannon is taken out the German’s redirect their fire to your position.
Damn Fine Soldiering
It doesn’t take long for the German heavy weaponry to disintegrate the bell tower. It starts coming down around you as you flee for safety. You narrowly escape before it crumbles to the ground. Pierson orders you to defend the church position. There’s still one AA gun operational and no one knows if Zussman, Aiello or Turner are alive at this point. All you can do is pray and keep shooting. As you repel wave after wave of the German counter offensive you hear the final AA gun detonate in the distance. Zussman is still out there and he got the job done. With the area clear for Allied Air support you throw out a red smoke and pray the P47’s get to you before the German’s do.
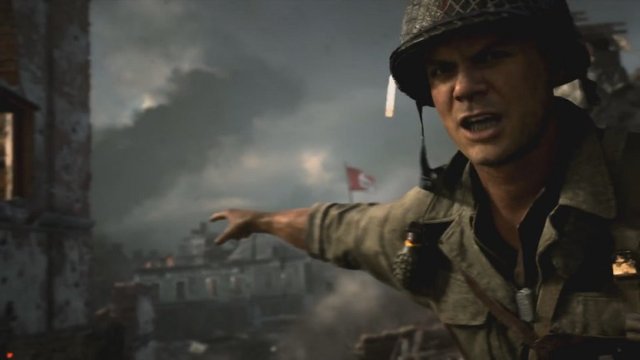
The bodies pile up and Pierson yell’s out P47’s inbound. A series of deafening explosions fill the street and knock you to the ground. You stumble to your feet and see Zussman emerging from the smoke and debris. He smiles and says I got it. Lt. Turner appears next and congratulates your squad for its damn fine soldiering. He turns to Pierson and says I’d say the came through pretty well wouldn’t you Sergent? Maybe you were wrong about them. As Turner walks away Pierson glares at you. He smiles menacingly and says you’ve been holding out on me haven’t you boys. I’ve been way too easy on you. Now we’re going to find out what you’re really made of. You start to worry Pierson is going to end up getting you all killed like he did in Kasserine Pass. But luckily Lt. Turner is still calling the shots.
Missed part 2 of our Call of Duty: WWII Playthrough? Find it HERE!
Stay tuned for part 4 coming soon!
Twitter - https://twitter.com/RebelGaming_CA
Facebook - https://www.facebook.com/RebelGamingCanada
Youtube - Rebel Gaming Youtube
Steemit - https://steemit.com/@johnquake
Webpage - https://www.rebelgamingcanada.com
Patreon - https://www.patreon.com/rebelgamingcanada
@originalworks
Congratulations @johnquake! You have completed some achievement on Steemit and have been rewarded with new badge(s) :
Click on any badge to view your own Board of Honor on SteemitBoard.
For more information about SteemitBoard, click here
If you no longer want to receive notifications, reply to this comment with the word
STOP