Games Workshop Warhammer 40,000 Space Ork Raiders (part 6)
I have been distracted from Warhammer this week, but I have a new idea to share today! I also have some mistakes to share so you don't waste time on the same dead ends.
Previous posts
Part 1: Unboxing
Part 2: Big Mek
Part 3: Flash Git
Part 4: Refinement
Part 5: Green Stuff and a Meganob
Another Nob/Flash Git
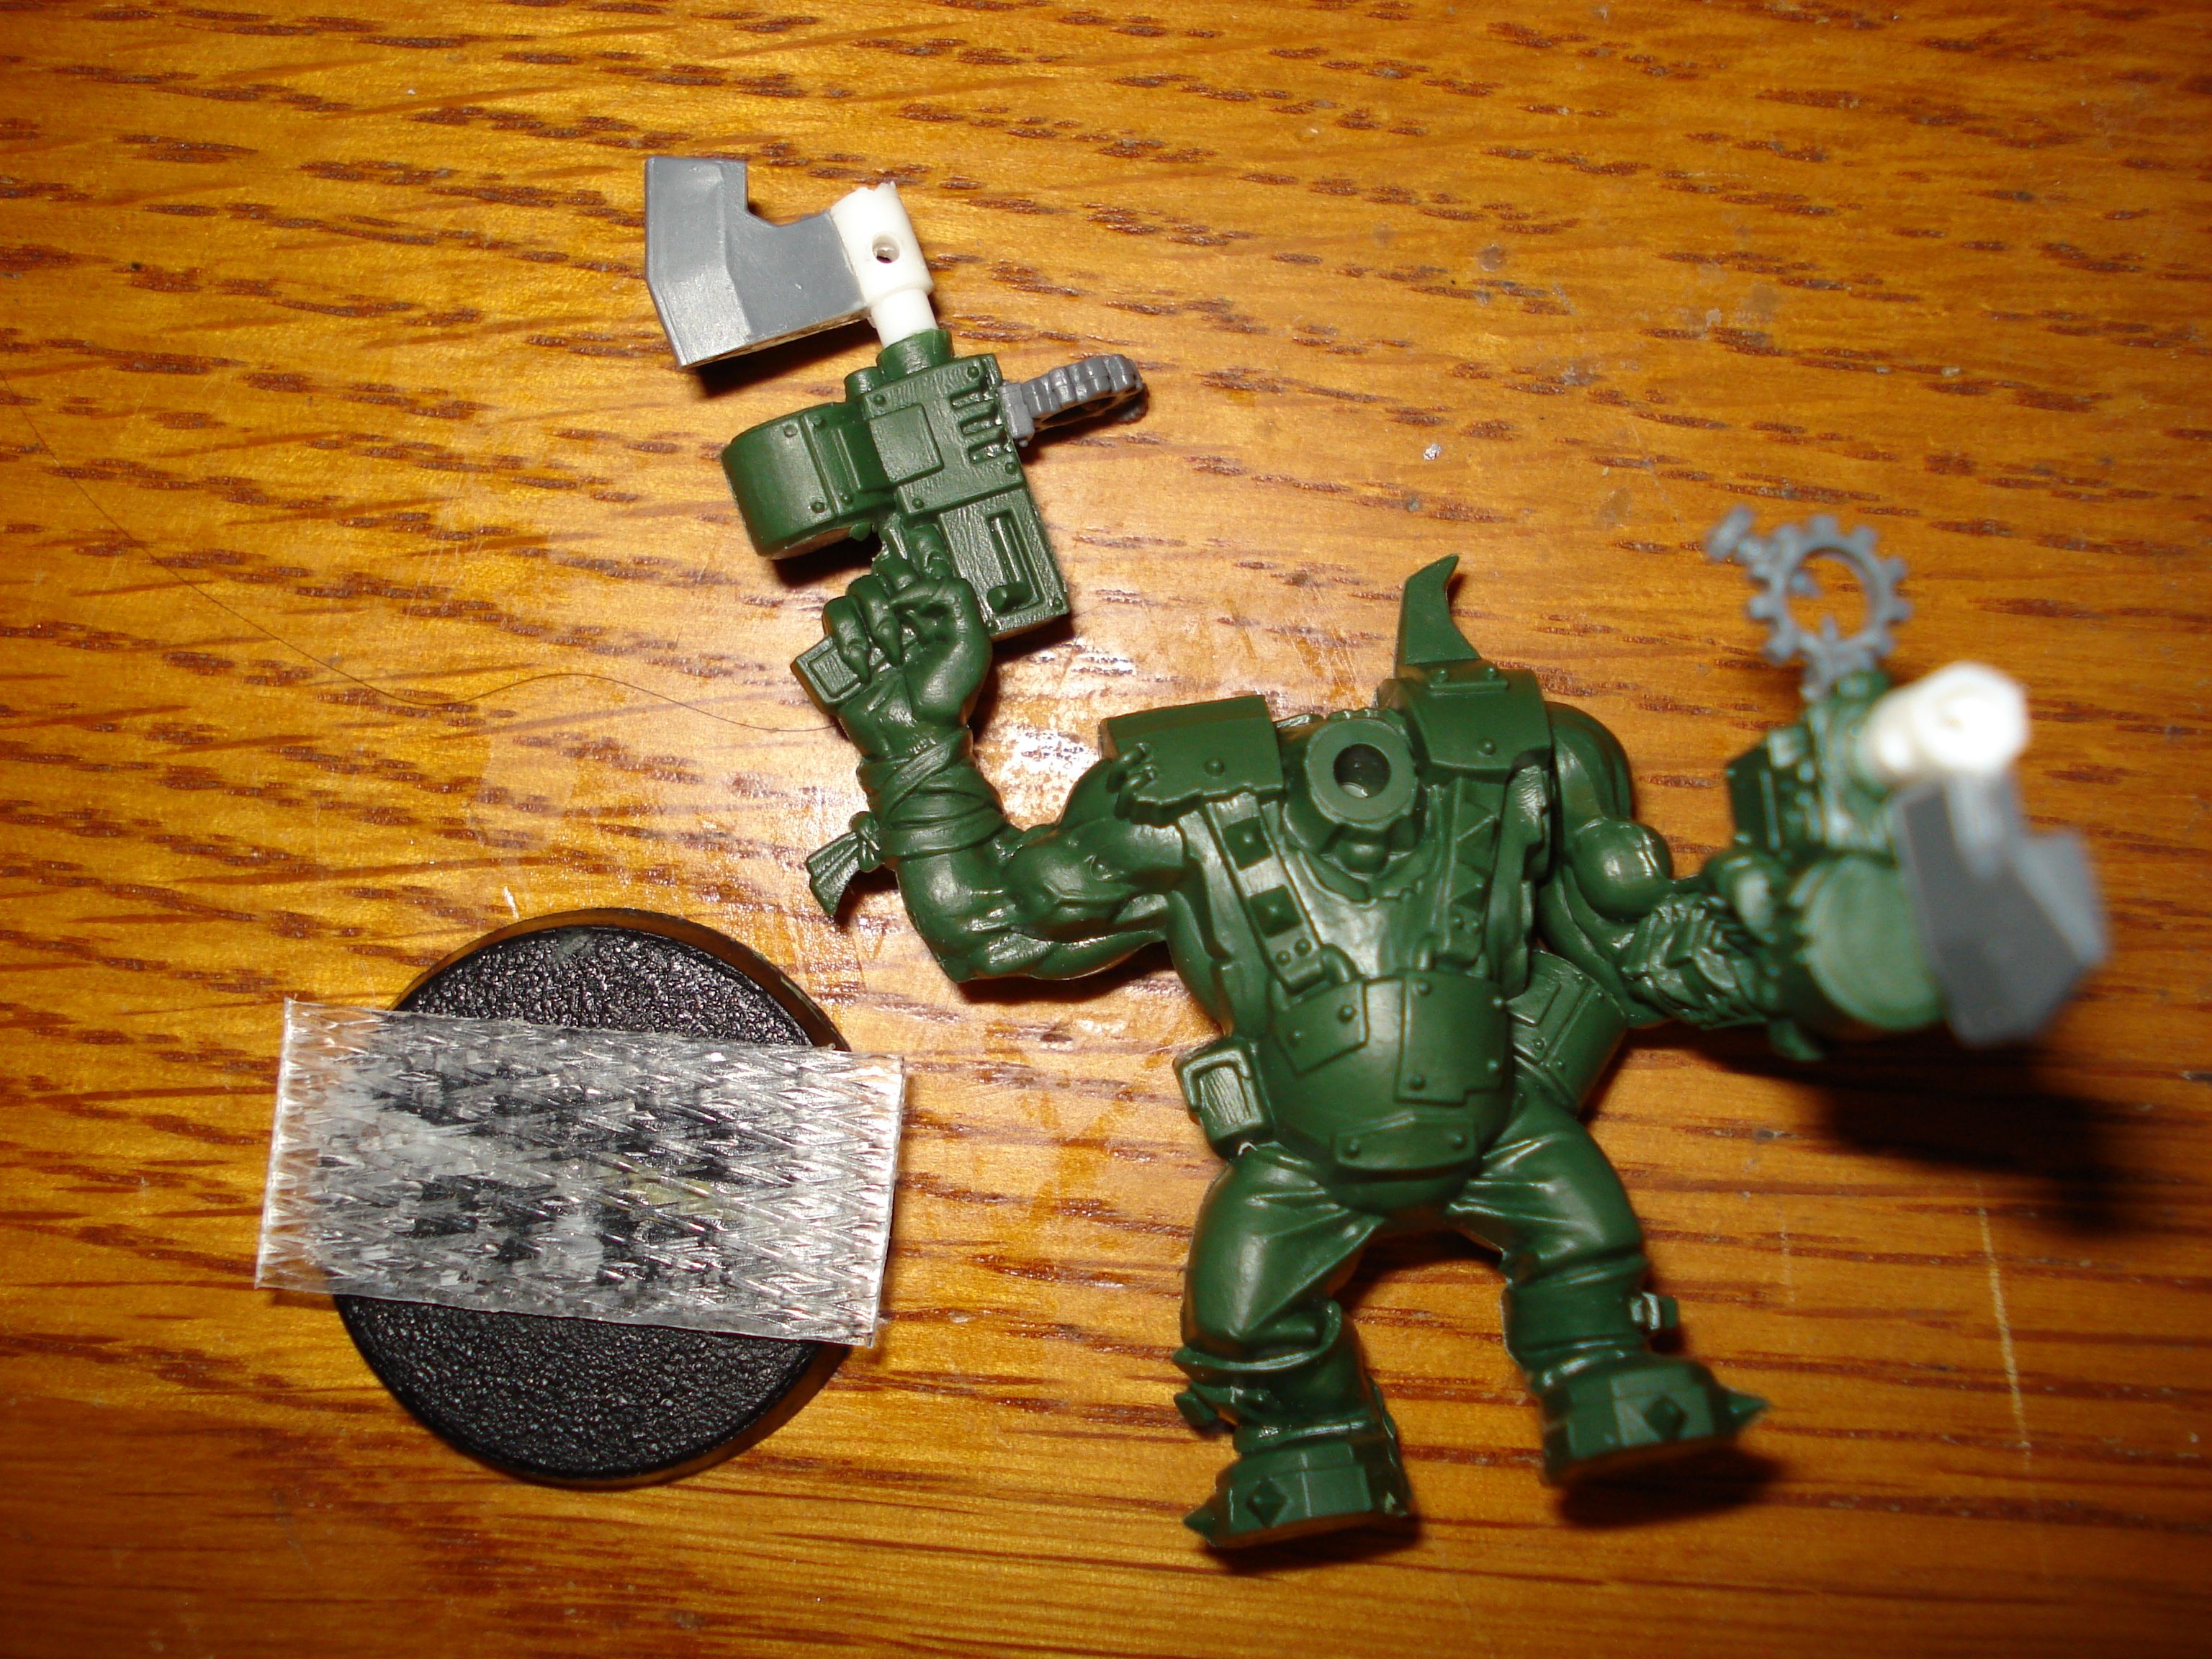
I decided I wanted a Nob with upgraded twin sluggas, so I extended the barrels with styrene tubing and added some axe heads clipped from leftover choppa arms as bayonets
Back when I put together my engine hoist, I saved some of the textured plastic straps that wrapped the boxes. I thought it might make an interesting texture for bases or vehicle models. But the plastic used seems to not have much affinity for super glue. I may try a different glue later, but for now I'll advise against using the stuff without further tests. I later ripped the plastic off with no effort after it had all night to cure.
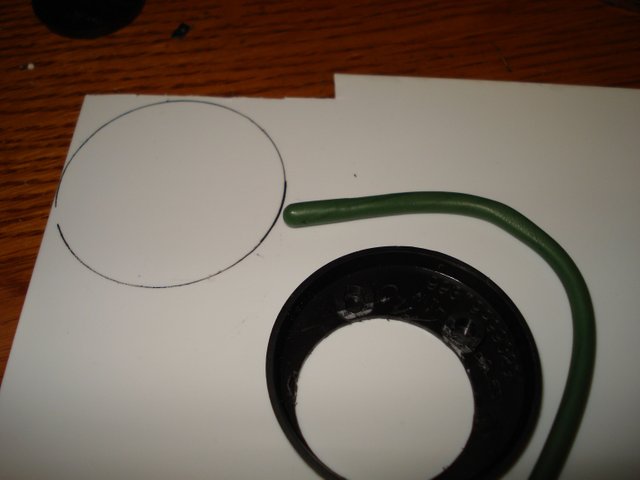
I also experimented again with a second 25mm to 40mm base expansion. I traced around a 25mm base on the underside of a 40mm base, and used the pin vise to drill a series of closely-spaced holes where the 25mm base would fit. I then used clippers to trim between the holes, and wrapped some sandpaper around a dowel rod to make the hole smooth and round.
After that, I mixed another glob of green stuff and formed it into a snake shape to border the hole before adding a plasticard bottom panel. I do suggest using this technique for any similar projects. I have seen some cool bases that use a version of this technique to create puddles or recessed detail work.
This guy will need some extra bitz added for final embellishment, and obviously a head, but this guy has potential to look cool once I am done.
The Meganob
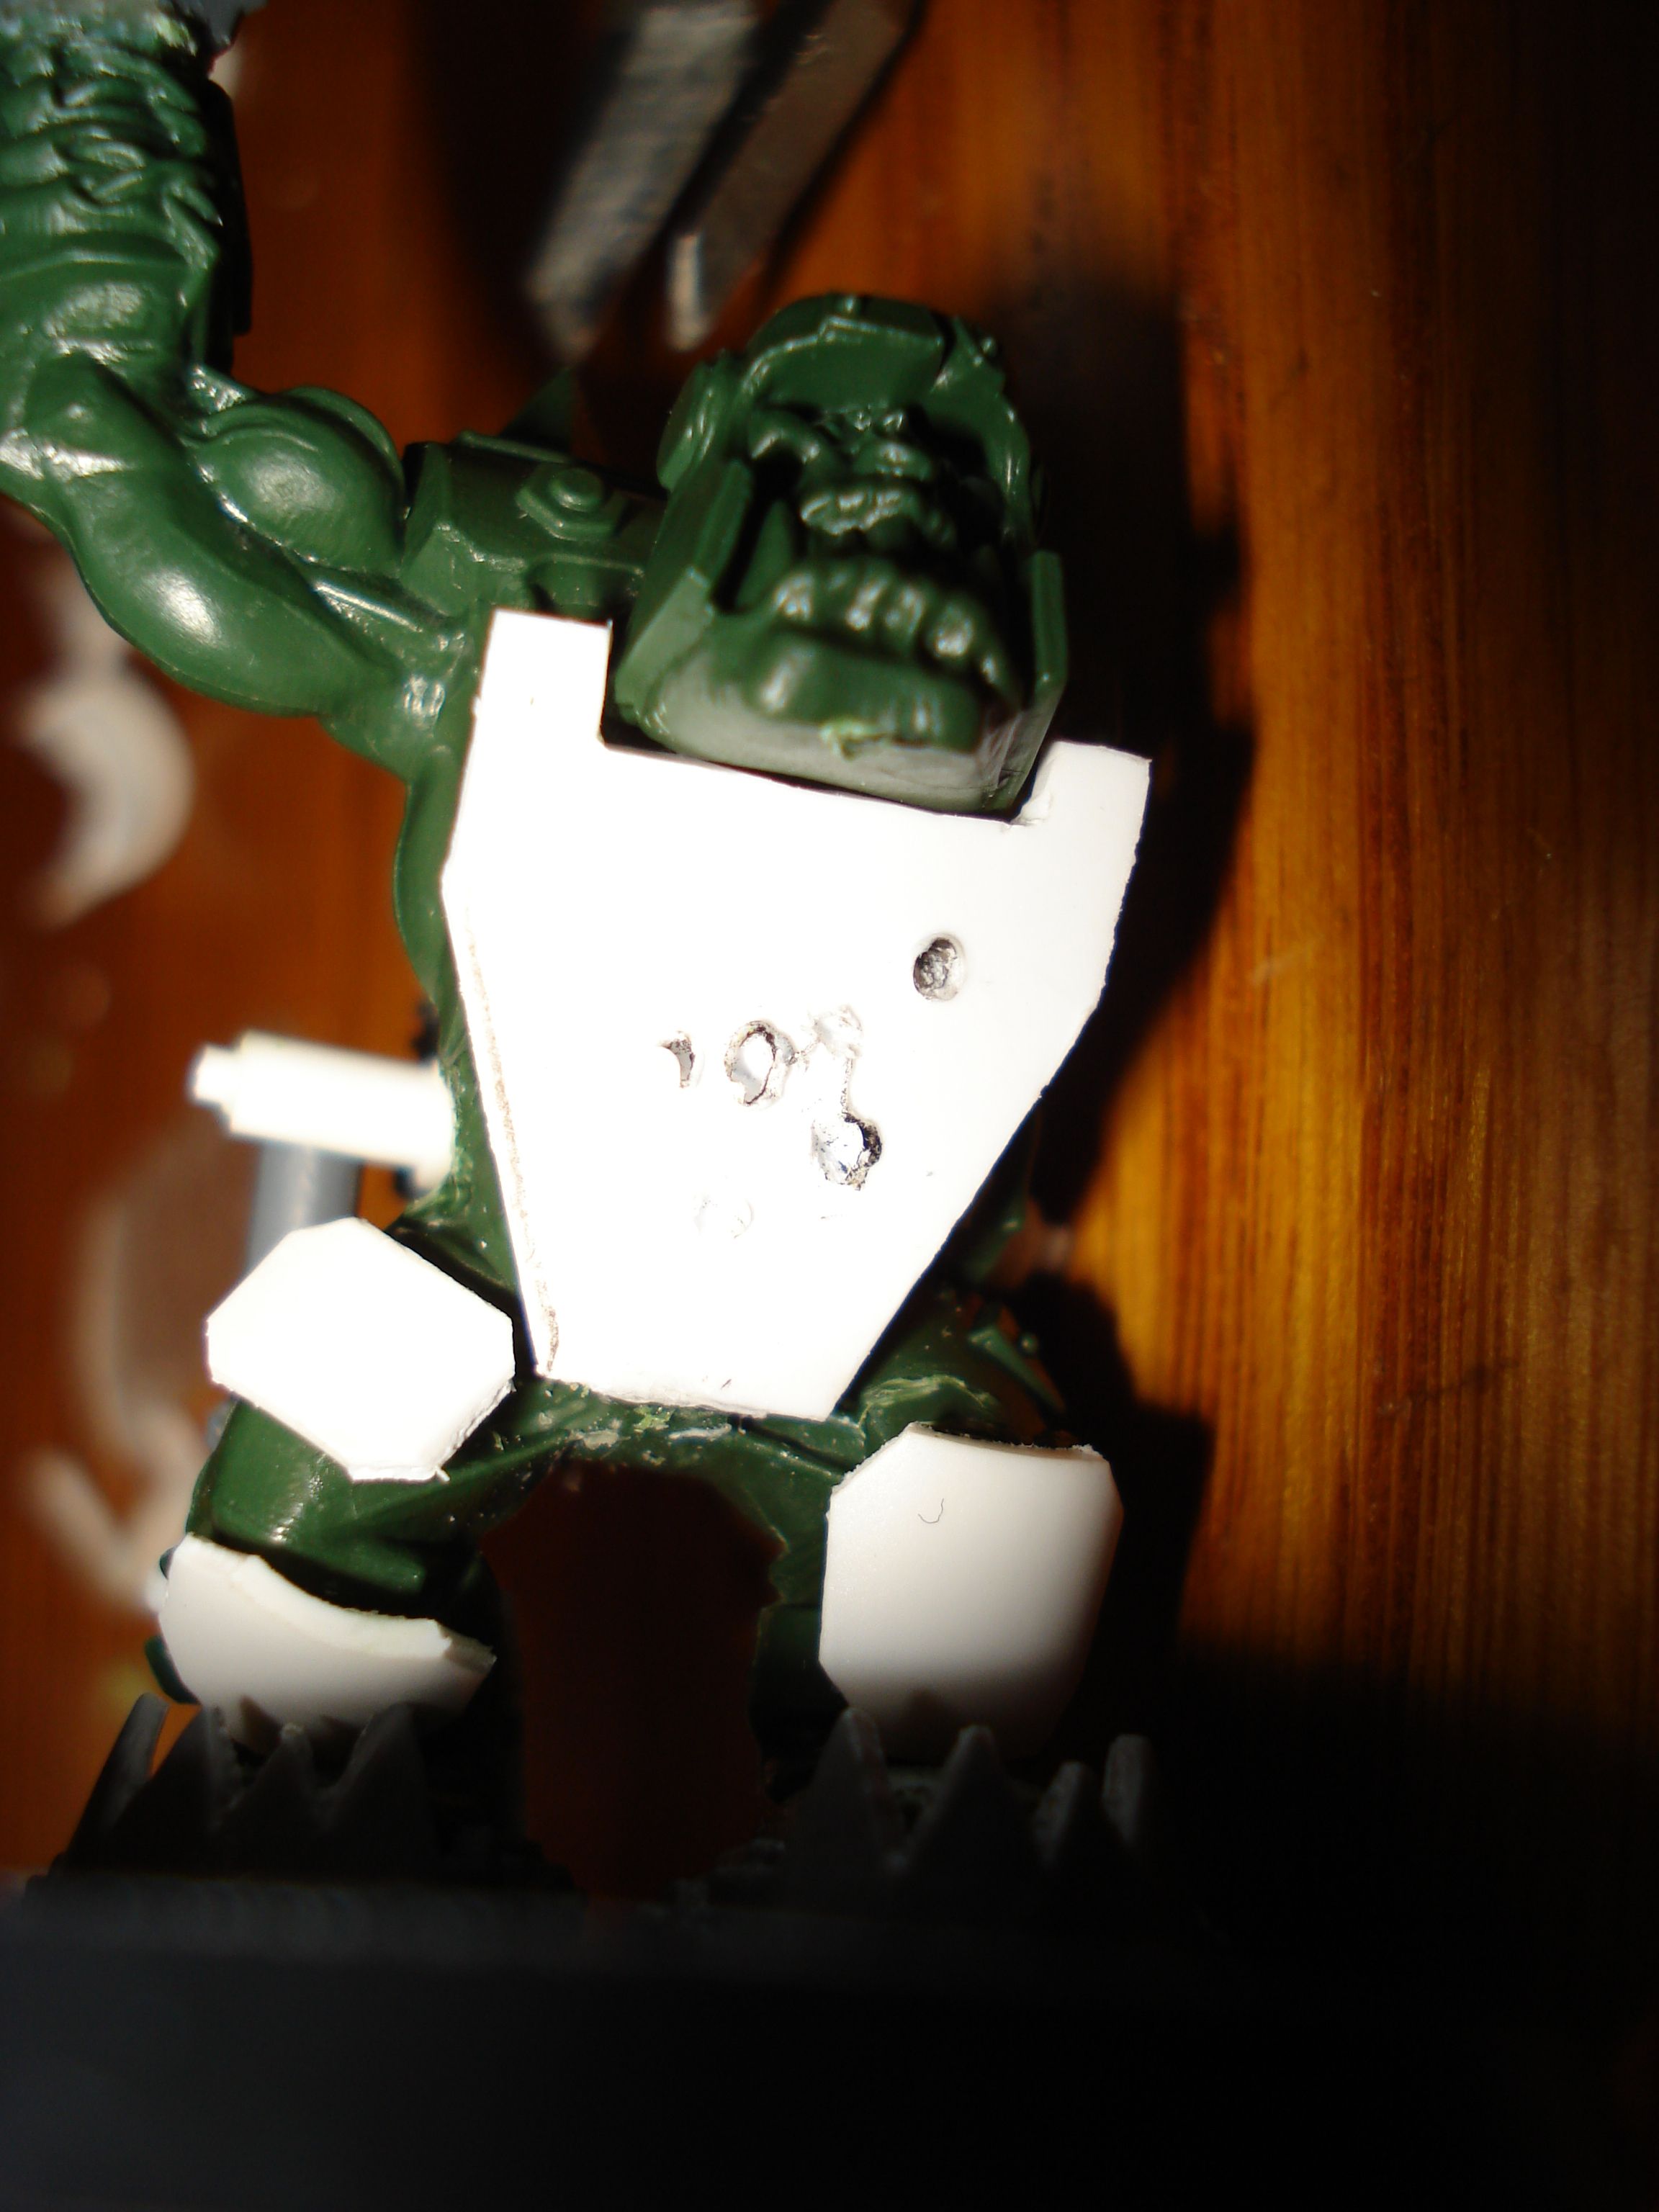
I have started building armor for the Meganob, and I decided to try adding bullet impact craters to the chest piece. A long time ago, I read a model airplane forum post about adding bullet holes to distress a diorama aircraft by heating a paper clip in a lighter flame.
The white reflective plasticard makes photography difficult, but I think this picture at least shows the result of my test. It looks pretty good in person once I trimmed away the trailing strands of plastic the clip dragged along every time I withdrew it from a new bullet hole. And the added holes will hopefully help my creation blend in better with my old-school metal Meganob that has similar battle damage in its design.

If you like this post, please comment, follow, and resteem!
If you like this post, please comment, follow, and resteem!
Looking at your hobby i have to ask. Will you adhere the calling your geekiness?
Well, I have been posting about collectible card games and tabletop miniatures for a long time already...