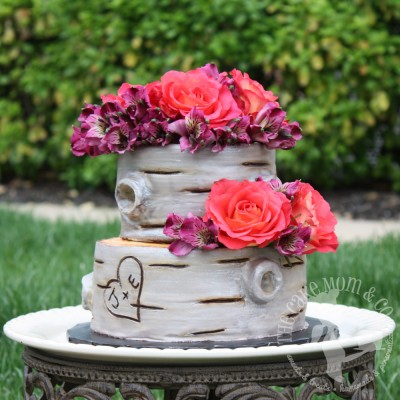
Woodland Birch Tree Cake Tutorial
Recently I had a potential customer message me about a woodland birch tree themed cake for a wedding. She wasn't the first potential customer to make such an inquiry and unfortunately no one ever actually ordered such a cake. I was always let down because this style of cake is so gorgeous and I always wanted to try to make it. Well since it is spring break and my kids are gone, I decided after this customers inquiry to just go ahead and attempt the cake for fun.
I got online and started looking up ways to make this style of cake, but there were no tutorials other than one you have to pay for. I'm really cheap so I kept clicking next on the search pages until I found one sliver of hope on a blog where someone had made a similar cake. The lady told of how she had covered the cake and I was hooked. I love a challenge and not paying for a tutorial and going it alone based solely on a snippet in a comment sounded way more exciting.
I then decided that if this cake turned out halfway decent looking that I would then share what I learned with you! So I hope you enjoy my little tutorial on how I made a woodland birch tree themed cake.
I'll skip the boring parts where you make a huge mess in the kitchen baking and making icing, and then cleaning up the mess.
You will need: cake, buttercream, fondant, royal icing & modeling chocolate.
I made a 3 layer 6 inch and 3 layer 8 inch cake. I like 3 layers because it gives more height. My icings were all made from scratch and this was my first time making and working with modeling chocolate. I don't know why I waited so long!
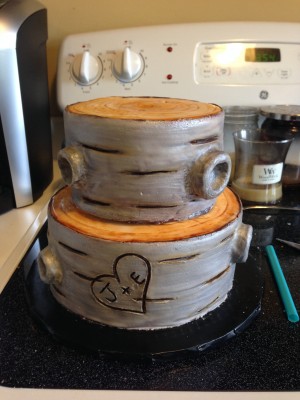
After layering the cakes and covering with buttercream icing, I decided to make the tops fondant. I did make a mistake here by not completely covering the cake. The 6 inch cake ended up having a lumpy area that showed through the modeling chocolate, but the great thing is it was a tree cake so imperfections didn't really matter.
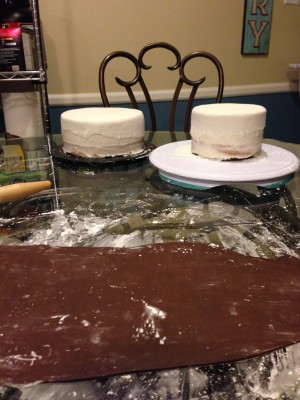
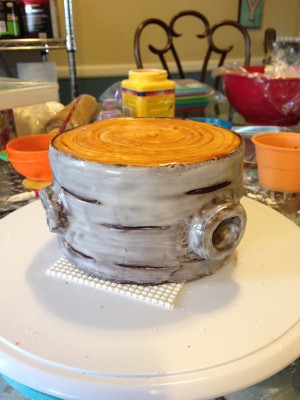
I was nervous to roll out the modeling chocolate but it was extremely easy to work with. You don't have to worry about rushing before it dries out like with fondant. I measured my cakes and wrapped the modeling chocolate around each tier.
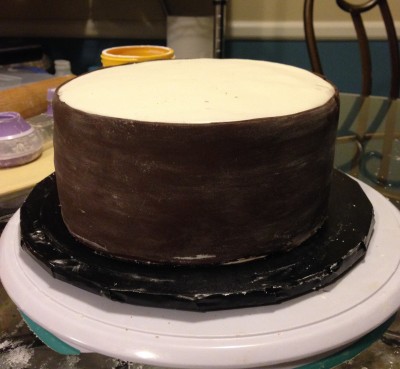
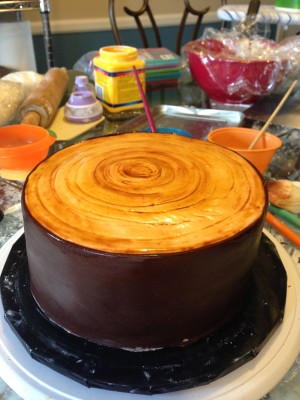
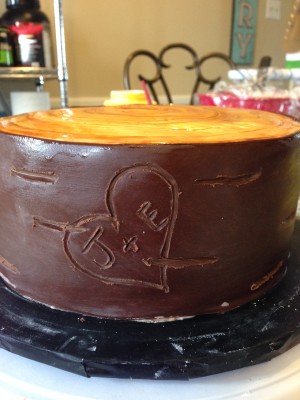
After the modeling chocolate was placed I used the turn table and a fondant tool to make circles on top of the cake like growth rings. I wish I had started with a tan colored food coloring instead of brown. I eventually used vodka to remove a lot of the dark since birch trees are really light inside.
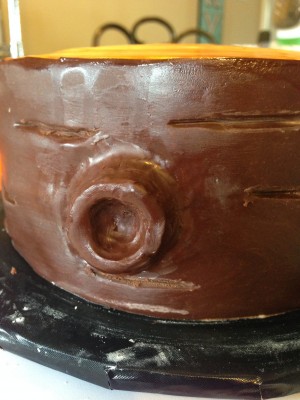
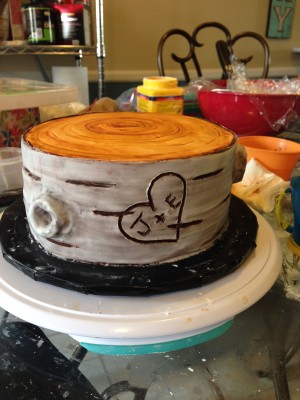
Next I made the lover's heart and grooves that are in the birch tree bark.
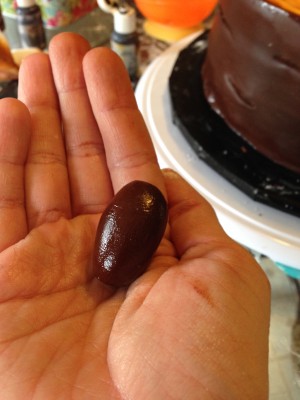
Our tree stumps need to look authentic so I added some knots to give them some character. For the knots you just roll out some modeling chocolate, place it on the cake and use your fondant tool to push and smooth.
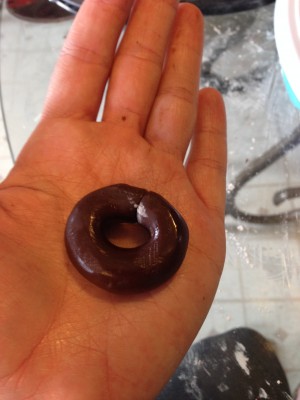
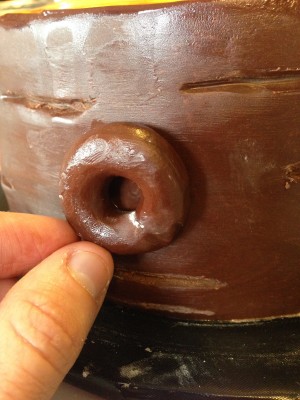
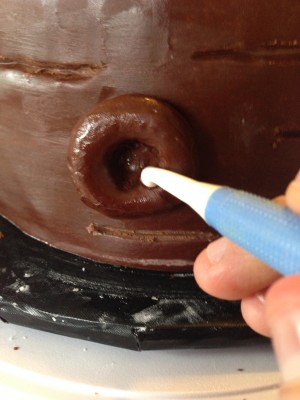
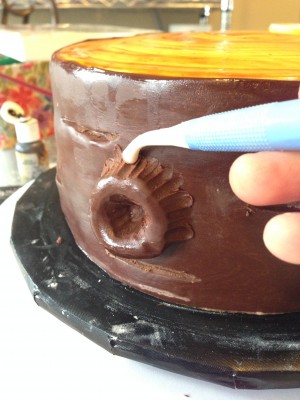
I added 4 knots, 2 to each tier but you could add as many as you want. Next I made royal icing. You don't want your royal icing to be stiff but more of a runny consistency. I then used a larger paint brush to paint the royal icing onto the modeling chocolate like a glaze.
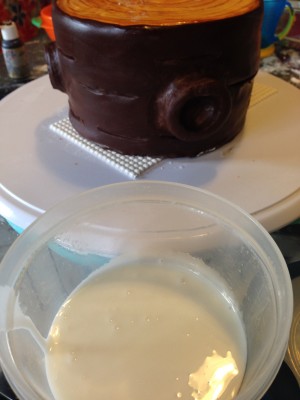
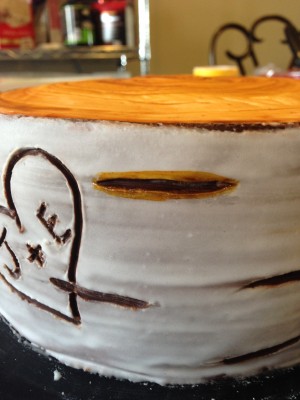
After both tiers were covered I scraped out the icing that was inside the grooves and the heart. You want the dark color of the modeling chocolate to show through.
Next up I wanted to give the cake some depth before adding my luster dust. I used the tan color food coloring to paint around all the grooves, heart, and knots. I tried doing this after the luster dust too but found that painting it on before hand worked better.
I then used a mixture of silver luster dust and a very small amount of vodka to paint the cake again. The tan areas will smear a bit so it's better to do them all at once and use plain vodka to rinse your brush. You do want these areas to blend in well with the silver and not be too harsh.
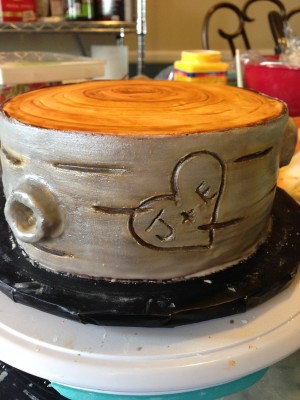
After finishing both tiers I stacked them as normal.
The cake needed some greenery so I added real roses and a pretty purple flower that I can't remember the name of. I then took this pretty cake outside and we had a fabulous photo shoot!
I hope you enjoyed my tutorial and have fun making your own woodland birch tree cake!
Jennifer Lopez
The Cake Mom & Co.
http://www.thecakemom.com
http://www.facebook.com/thecakemom
Originally blogged here: http://thecakemom.com/woodland-birch-tree-cake-tutorial/
Congratulations @thecakemom! You have received a personal award!
Click on the badge to view your own Board of Honor on SteemitBoard.
For more information about this award, click here
If I had seen this back when you originally posted it, I would have upvoted you! Great stuff, I hope to see more.
Thanks! I am going to try to use this more.
Whoa. Now this is incredible, @thecakemom!
Let's get a verification post going to show that you are thecakemom! The community would love your posts! They just need proof that you are who you say you are. :)
Beautiful work, look forward to seeing more of your art!
How do I do that? :)
Congratulations @thecakemom! You have received a personal award!
Click on the badge to view your Board of Honor.
Congratulations @thecakemom! You received a personal award!
You can view your badges on your Steem Board and compare to others on the Steem Ranking
Vote for @Steemitboard as a witness to get one more award and increased upvotes!