Homemade Honeycomb 🐝🐝
So in light of the fact that everyone of us has a sweet craving for something...... Anything....... But sometimes finances just don't allow for buying sweeties...... You use what you have in your home!
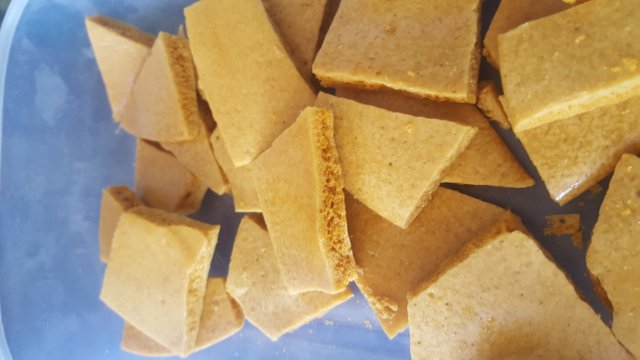
I decided to try my hand at some homemade honeycomb and boy did it turn out great!
So here's how I went about it!
I combined a few recipes after all the recipes I read through including their comments so this is my own concoction from about 4 different recipes combined and my own trial and error.
First I prepared my baking tray with parchment paper (wax paper) and I sprayed it with some Spray and Cook. Admittedly though next time I will rather use a small bread baking tin to make the honeycomb a little thicker (but that is my personal preference)
I also got the baking soda ready and measured out for the very last step of the process...... It's easier and you will see why once you make it 😊
Make sure you use a deep-ish pot as the mixture doubles in size with the last step.
Ingredients
½ cup (100g) sugar4 tablespoons golden syrup or honey1 ½ teaspoons baking soda (AKA bicarb of soda) NOT BAKING POWDER
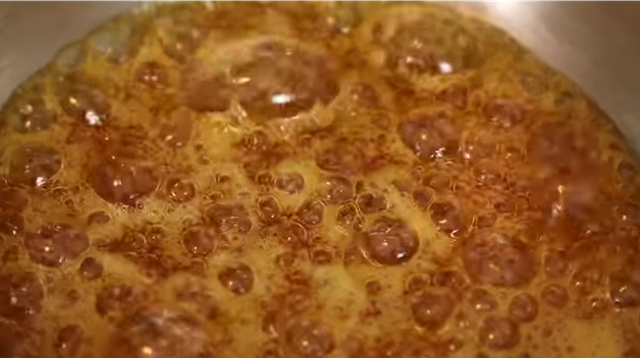
Place the pot on your stove (I used slow heat) with the sugar and golden syrup in it (or honey) and let the mixture first melt, then turn to goo. Ensure that all the sugar is melted. This may take up to 10 minutes...... Try to be patient with this part of the process.
Turn up the heat to medium and let the it simmer for 3 MINUTES, SET A TIMER!!! Take care not to overcook as you could end up burning your mixture.
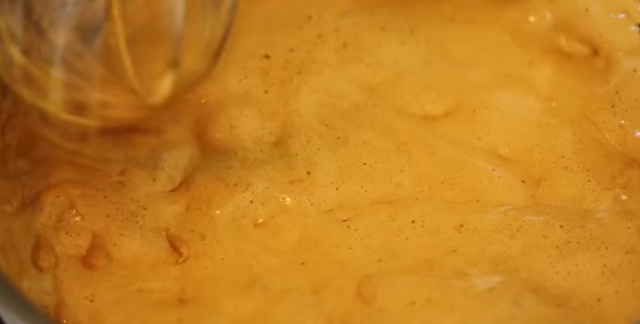
Turn off the heat, and get prepared with your whisk and spatula because the next step happens really fast. Whisk in the bicarbonate of soda/baking soda fast (you will notice that here it bubbles up and will double in size) and watch the syrup turn into a golden poofy cloud.
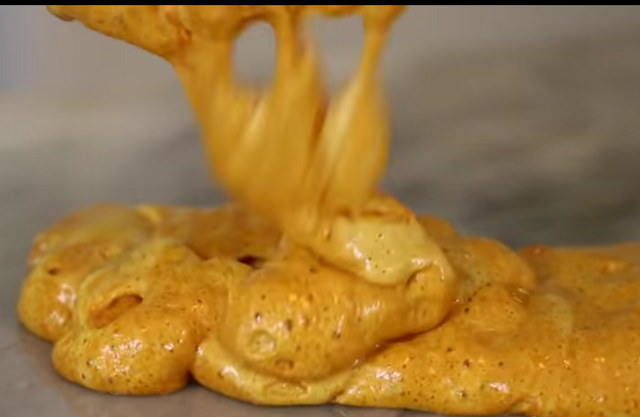
Quickly stop whisking and use your spatula to pour this immediately onto a piece of baking parchment/wax paper (or an oiled marble slab).
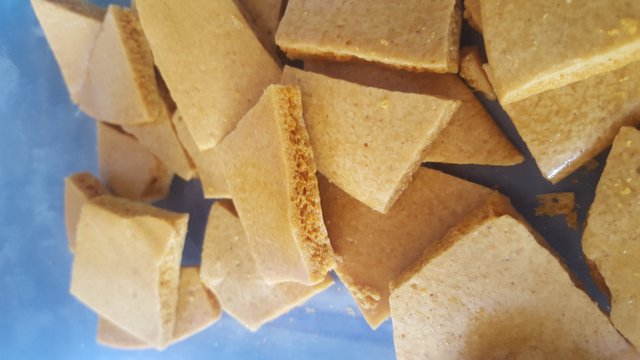
Leave until it is set cold, this will take a minimum of 30 minutes (I left mine for an hour simply because I preferred making sure that it was set) after which you will break it up into desired pieces.
I also crushed some of the pieces and served it with waffles I made at home sprinkled with hot chocolate powder!
Please note that the images are not of great quality because the process goes so quickly with every step completed and it's really difficult to execute the step as well as taking pictures at the same time 😂
Congratulations @chillipip! You have completed the following achievement on the Steem blockchain and have been rewarded with new badge(s) :
You can view your badges on your Steem Board and compare to others on the Steem Ranking
If you no longer want to receive notifications, reply to this comment with the word
STOPTo support your work, I also upvoted your post!
Do not miss the last post from @steemitboard:
Vote for @Steemitboard as a witness to get one more award and increased upvotes!