How to hide and encrypt any file type inside music!
What is DeepSound?
Have you ever wanted to keep some files secret or safe? Well, a great way to do that is to encrypt them and hide them in music files! I do this with a piece of software called DeepSound.
DeepSound is a stenography tool created by Jpinsoft ( www.jpinsoft.net ) and is free, but if you like it you can always donate at ( http://jpinsoft.net/donate.aspx ).
How to:
Step 1: Install the program (Most people can skip to step 2)
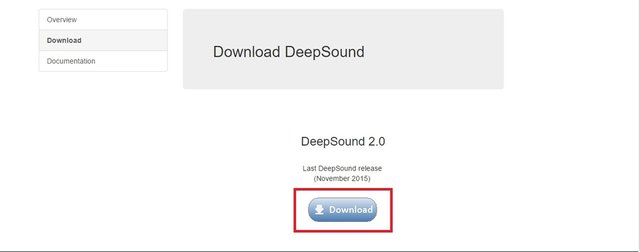
-To Install the program just go to ( http://jpinsoft.net/deepsound/download.aspx ) and click the “download” button in the center of the bottom of the page.
-The only system requirements for this software are
- Windows XP SP3/Vista/7/8/10
- Microsoft .NET Framework 4.0
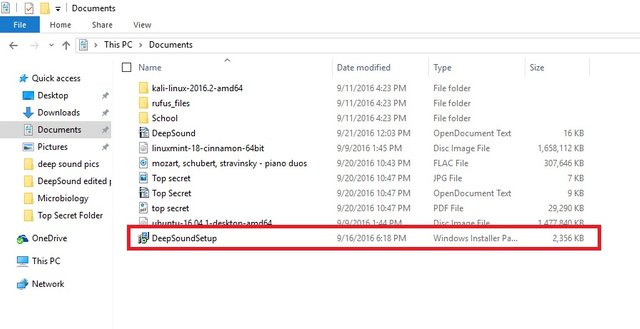
-Open the folder you downloaded the DeepSound installer to and run the program.
-Click “Run” to start the installation
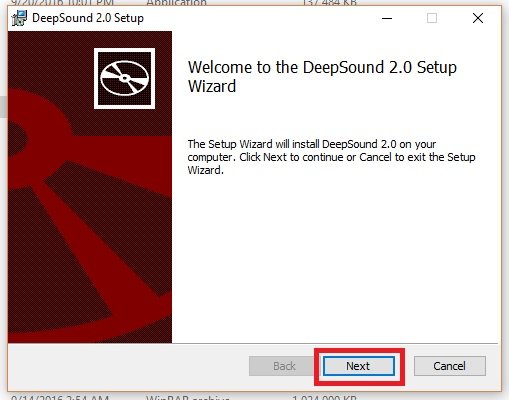
-Click the “Next” button
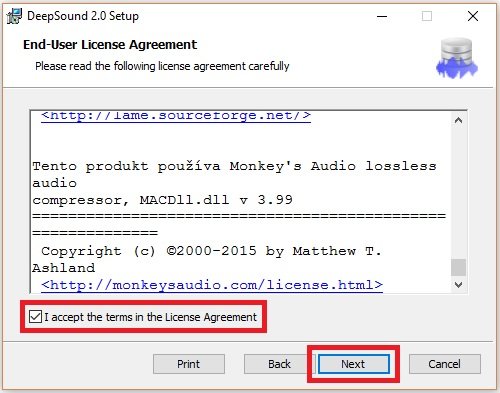
-Read the End User License Agreement, click the “I accept the terms in the License Agreement” box, and then click “Next”
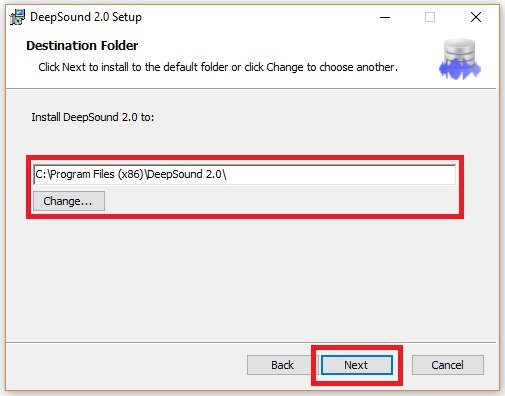
-Choose a path for the installation and click next
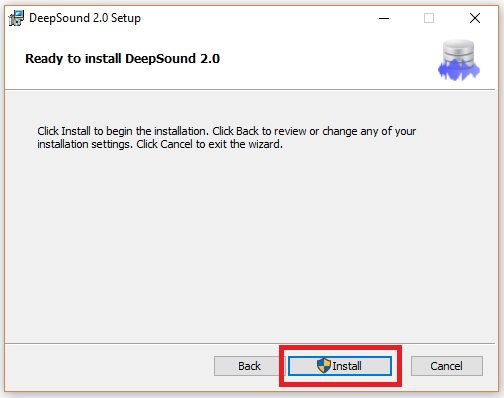
-Click the “Install” button
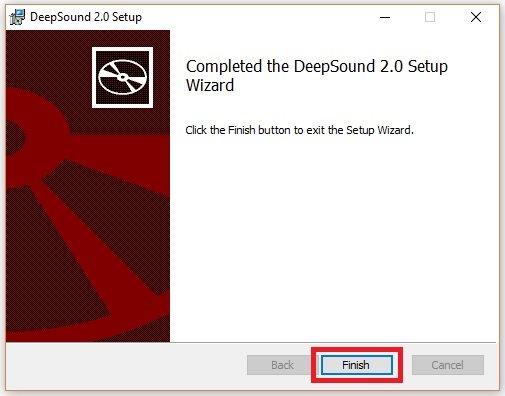
-And then, finally, click “Finish”
Step 2: Hiding the files
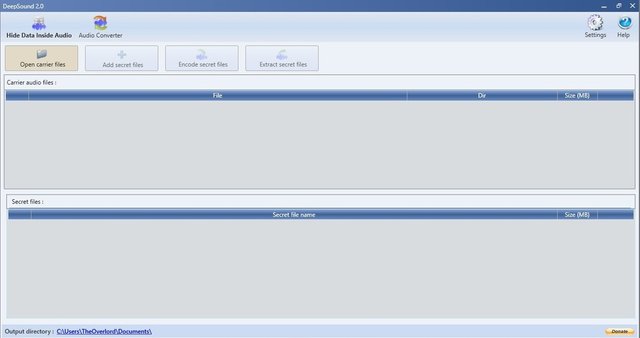
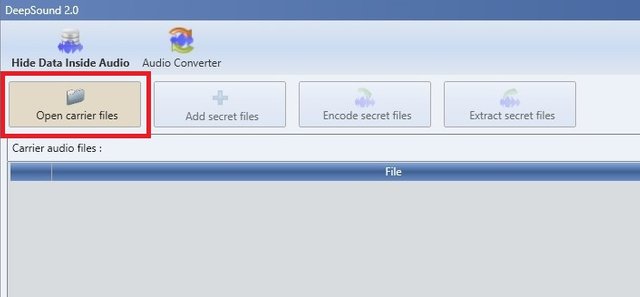
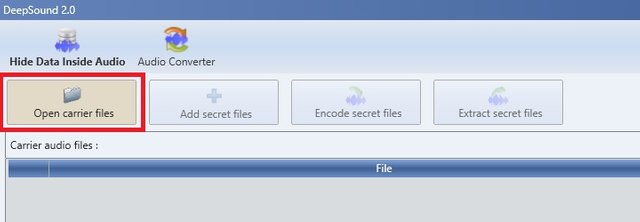
-Run DeepSound and you will get to this screen.
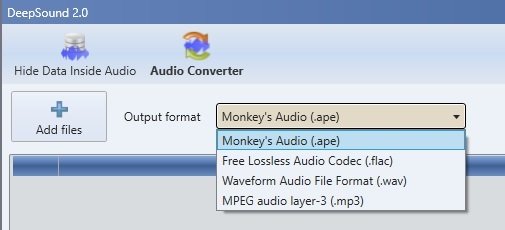
-From here you can either choose music files you have ready to go, or you can choose to use the audio converter which supports; Monkey's Audio (.ape), Free Lossless Audio Codec (.flac), Waveform Audio File Format (.wav), or MPEG audio layer-3 (.mp3).
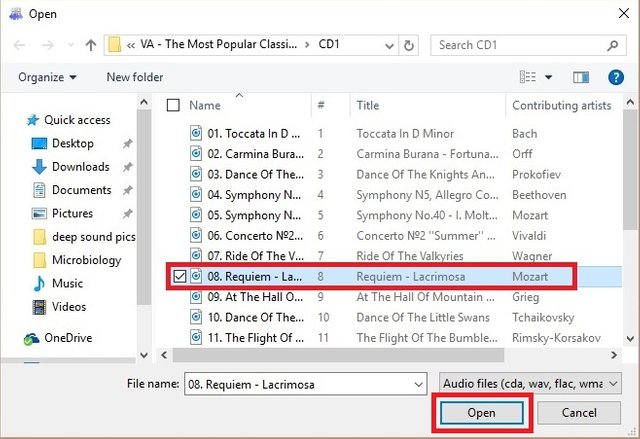
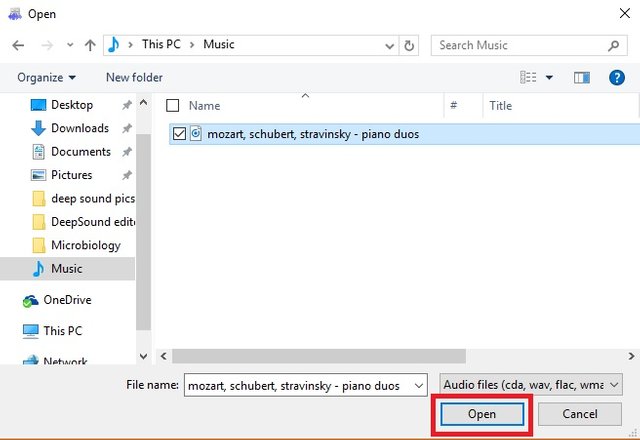
-Once you have the desired audio files, click “Open carrier files” and navigate to the folder with your audio files.
-Select the audio file/files you wish to hide file inside of and click “open”. For this article I will be using audio files I made from a CD that I checked out at my local library.
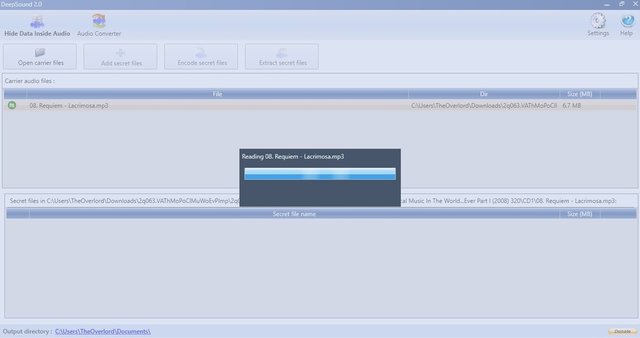
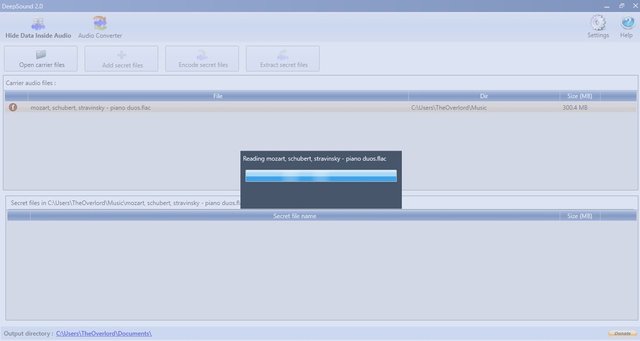
-Let the file/files you selected load
-Once your file/files have been loaded they should show up in the top section of the screen under “Carrier audio files” with a letter to the left of the file/files designating what audio format the file is.
-Now the “Add secret files” button should be clickable. Click it.
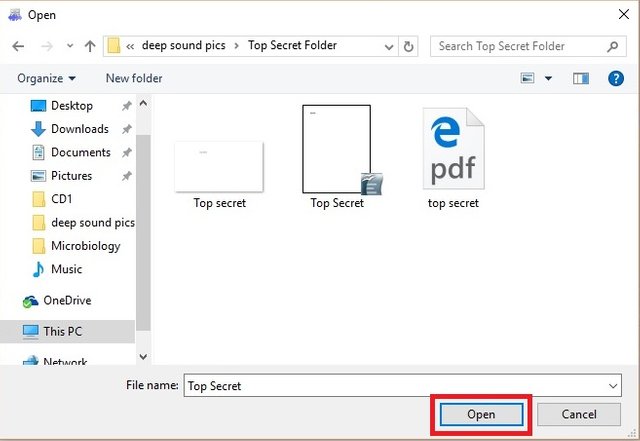
-Navigate to the file/files you wish to hide, select them, and then click “open”.
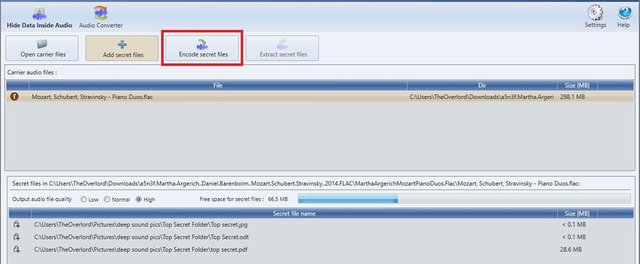
-Once you have opened your selected files you can see them listed in the bottom area of the screen. You can also see how much space you have left in the carrier file.
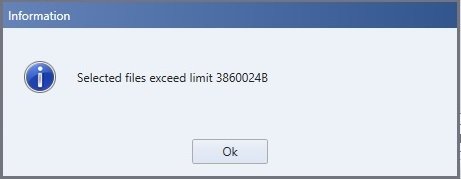
-If the files you have selected are too big for the space you have in the carrier file you will receive this message.
-You can change the quality of the output audio file to either increase or decrease the space available in your carrier file by click “Low”, “Normal”, or “High” next “Output audio file quality”.
-If your file still don't fit within the carrier file you selected, then you should use a file format that is larger. For instance, I wanted to insert a .pdf file that was larger than the amount of space afforded to me from the “high quality” MPEG audio layer-3 (.mp3) carrier file I picked so I switched to a “high quality” Free Lossless Audio Codec (.flac) carrier file. This took me from only having 3.7mb of space to having 95.2mb. This allowed me to put more files into the carrier file so that I could insert that .pdf file.
-After you have selected all of the files you wish to encode click the “Encode secret files” button.
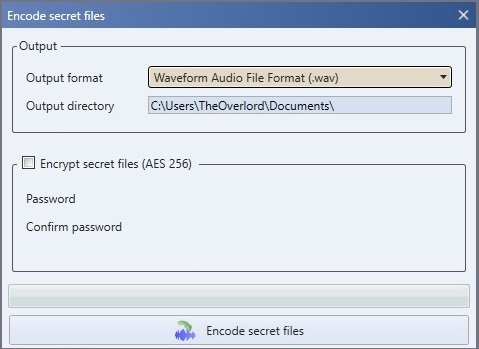
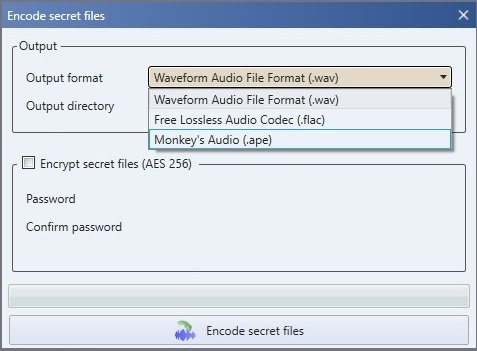
-This will bring up the encoding menu that gives you a couple of options.
-The first options pull down a drop menu that let's you choose the output audio file type depending on what file type you chose as your carrier file. If you choose “Free Lossless Audio Codec (.flac)” then you can choose to output “Waveform Audio File Format (.wav), Free Lossless Audio Codec (.flac), and “Monkey's Audio (.ape).
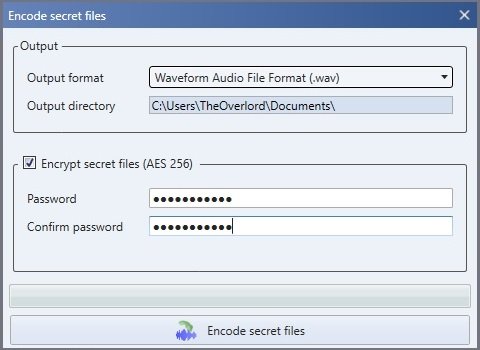
-You can encrypt the encoded files using AES 256 by clicking the white box and assigning a password.
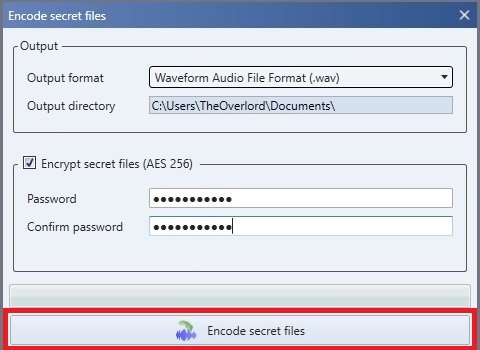
-Once you have chosen your options and set a password you can click “Encode secret files”.
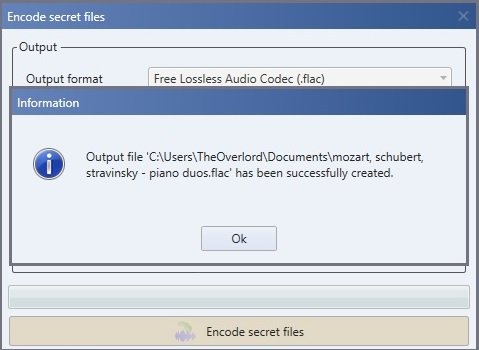
-The time it takes to encode depends on the carrier file you chose, and the options you selected. Once it is finished you will see this.
Step 3: Recovering your files
-When you are ready to recover your files, open deep sound and click “Open carrier files”
-Navigate to the folder you have set as your output directory. In this case, it is the Free Lossless Audio Codec (.flac) file I placed my chosen files into.
-Select the audio file you wish to remove the hidden files from and click “Open”
-Allow the files to load
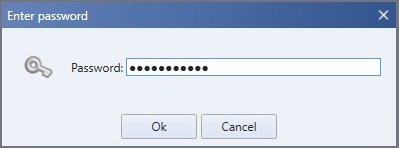
-After the file is loaded you will need to put in the password you set previously if you chose to use encryption.
-Now that the password was input you will see the hidden files in the bottom half of the screen
-To pull the files out click the “Extract secret files” button
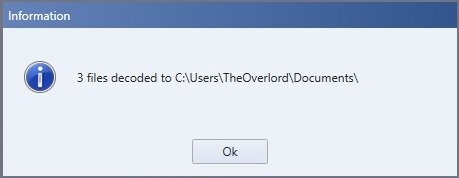
-Finally, all of the files will be extracted and the file destination is shown.
Conclusion
Privacy is a basic human need, and DeepSound is a powerful tool to help facilitate that need by keeping all of your secret files hidden from prying eyes. Whether it is used to hide files for safe long term storage or just to keep sensitive materials secure while traveling, this is a great option.







Congratulations @sumtuusdeus! You have received a personal award!
Click on the badge to view your own Board of Honor on SteemitBoard.
For more information about this award, click here
Congratulations @sumtuusdeus! You received a personal award!
You can view your badges on your Steem Board and compare to others on the Steem Ranking
Vote for @Steemitboard as a witness to get one more award and increased upvotes!
Excellent