Let's Fix It #3: iPhone 5s Screen Replacement
Welcome back Steemians!
It has been a few days since I've had the time to write a decent post, but today I have another repair I'd like to teach you. In the last issue of "Let's Fix It", I showed you how to replace the battery in an iPhone 5s. You can check that out HERE.
Today we will be replacing an iPhone 5s Screen. On a scale of 1 to 10 for difficulty, I give this repair a 2. It is probably the easiest screen repair I have done in the past 9 years. Alright, let's jump right in and fix this shit!
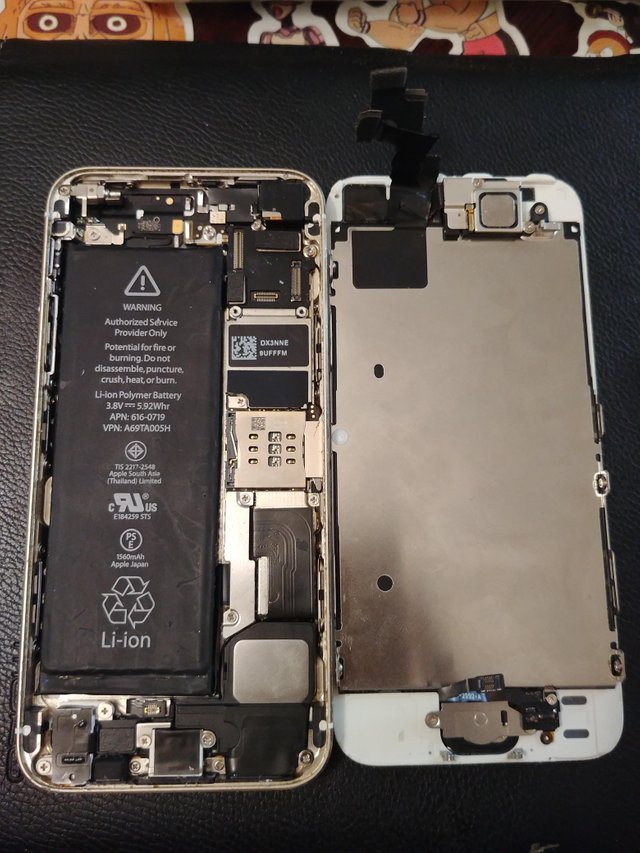
Here it the phone and tools we will be working with today
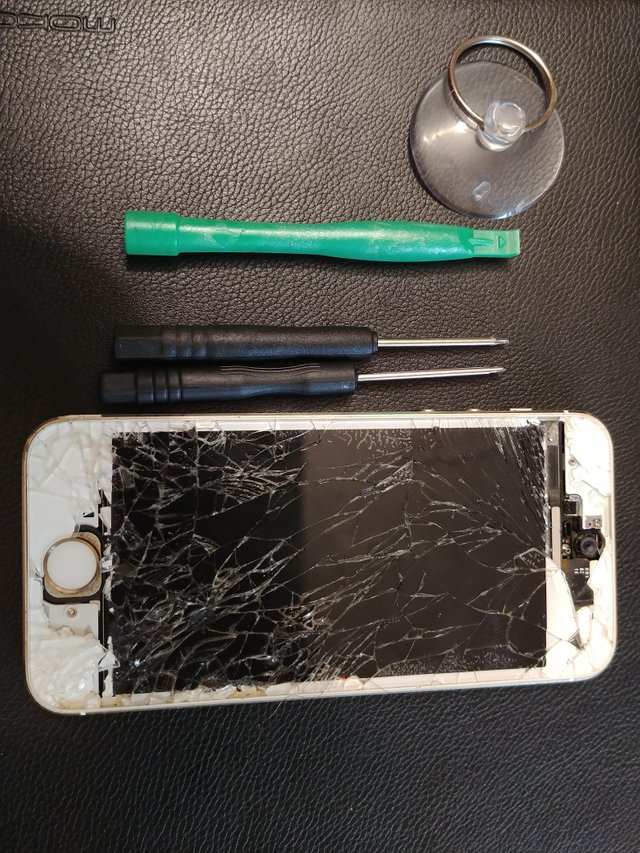
Tools needed: Philips head and torx screwdrivers. You'll also need a pry tool and optionally a suction cup for screen removal. These tools usually come with the replacement parts you order.
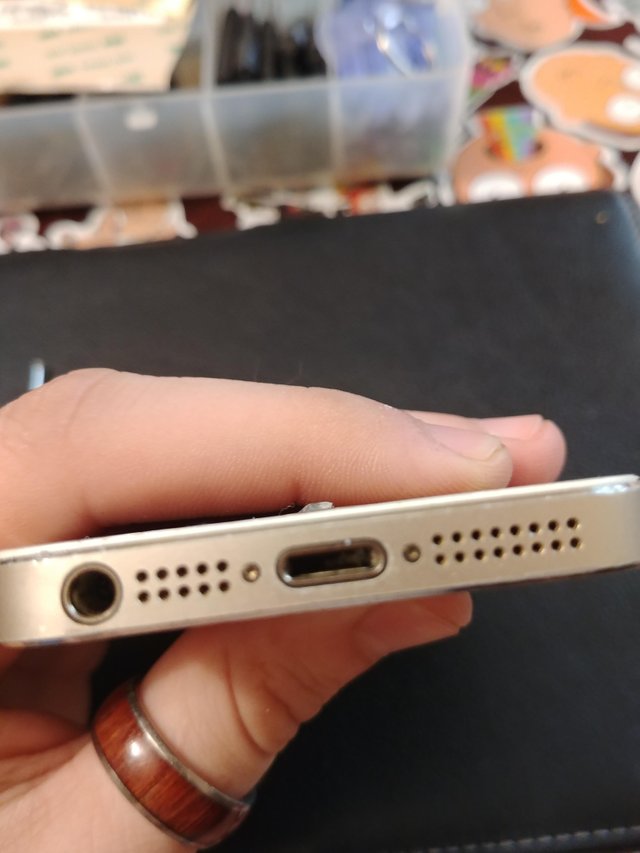
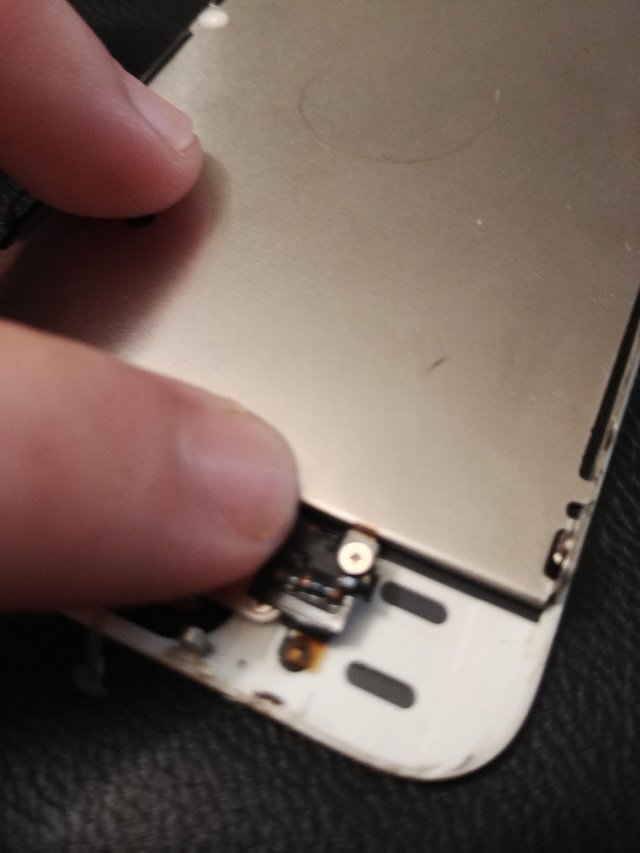
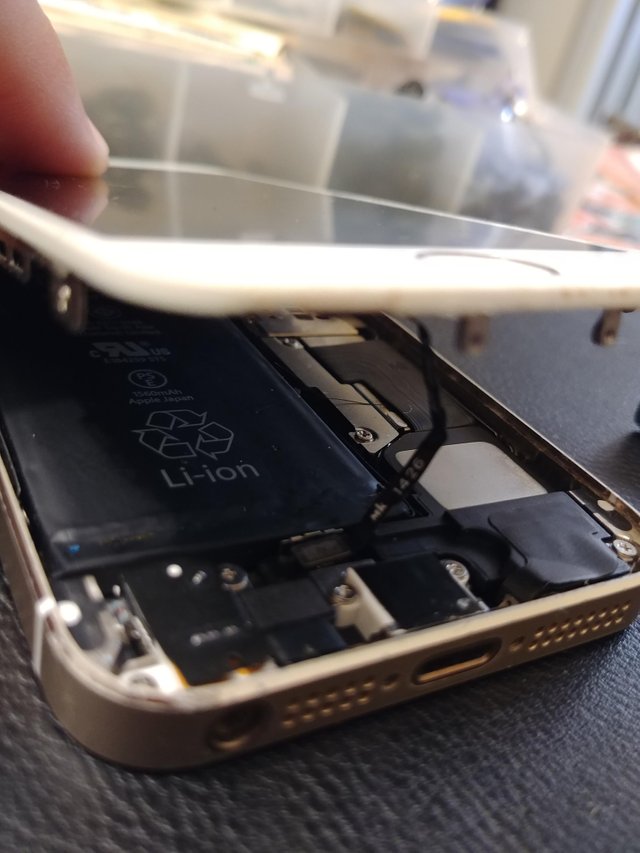
First, we'll use the torx screwdriver to remove the 2 screws at the bottom of the phone. As you can see here, the suction cup won't really work with this much damage. I used a flat head screwdriver and pry tool to remove the display.
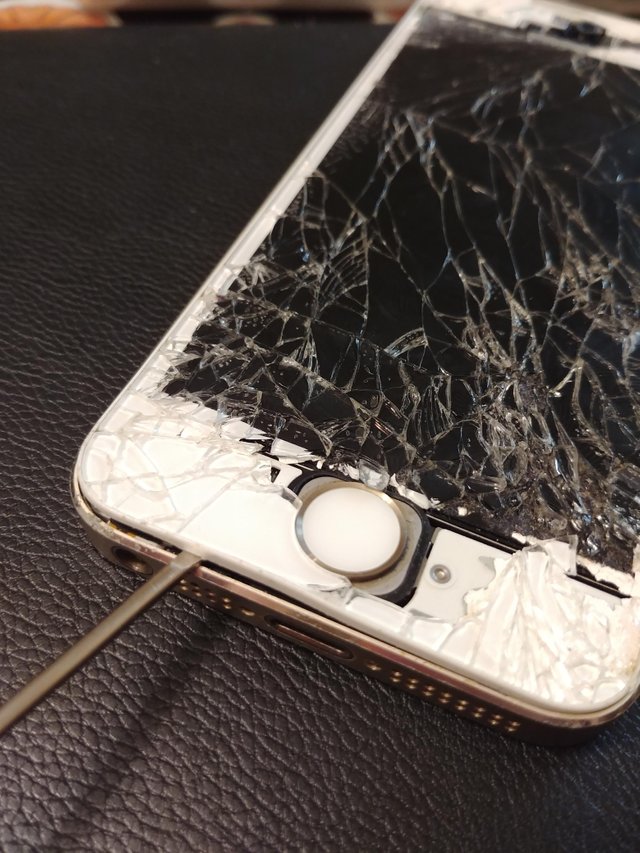
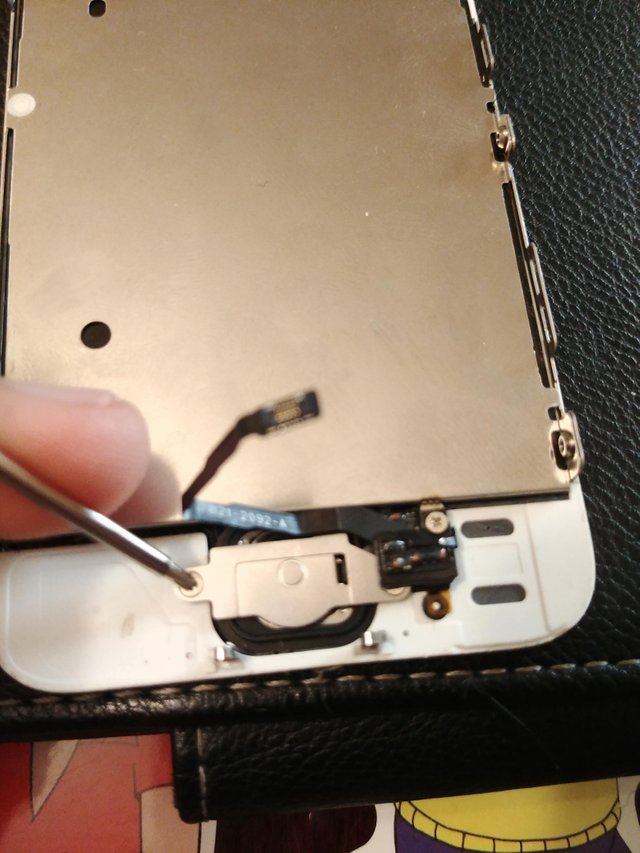
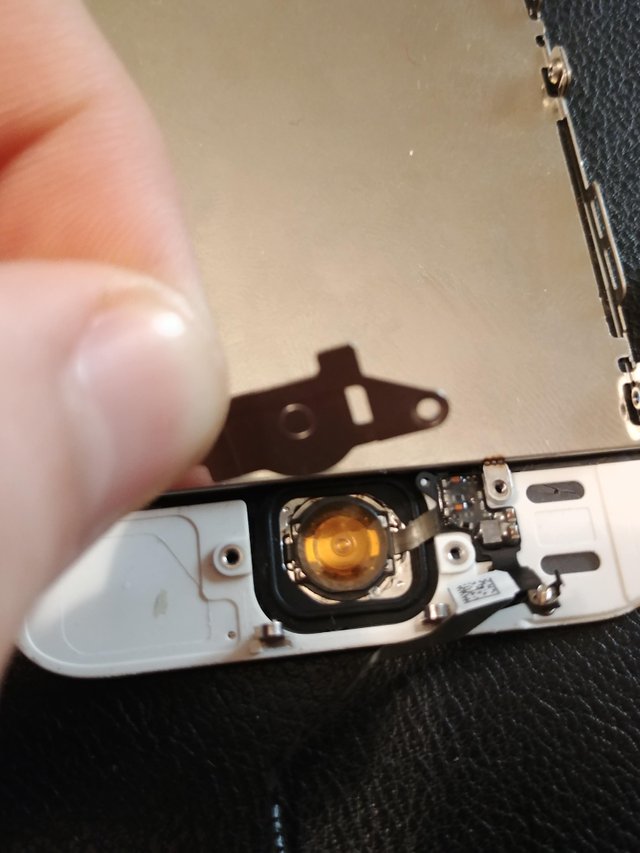
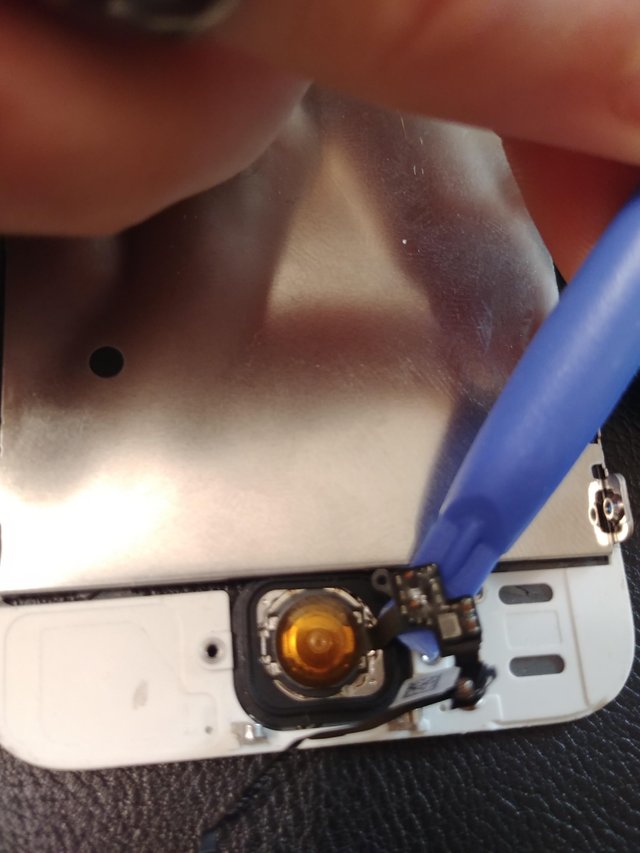
After slowly prying up the display, you'll notice there is a flex cable for the home button attached at the bottom of the device. Careful use a pry tool to disconnect the flex cable.
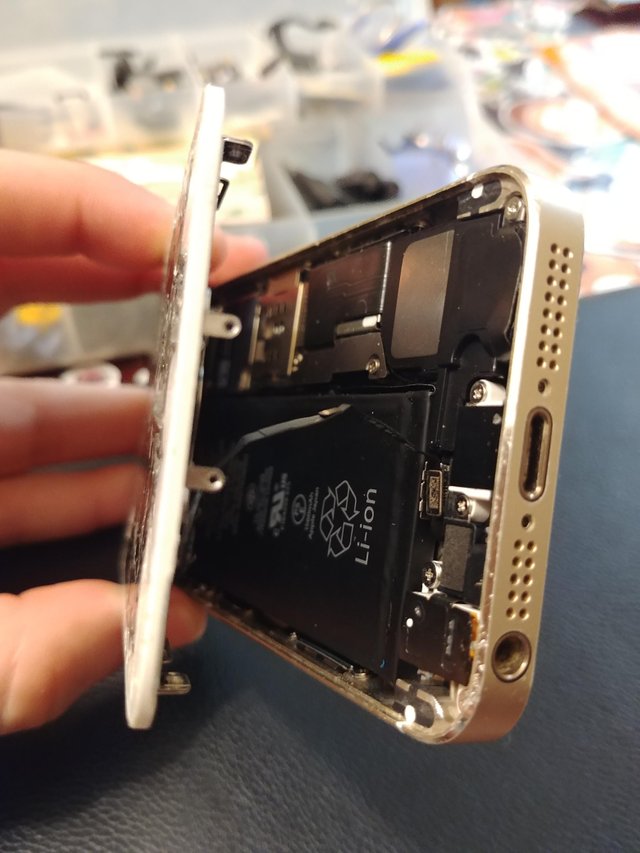
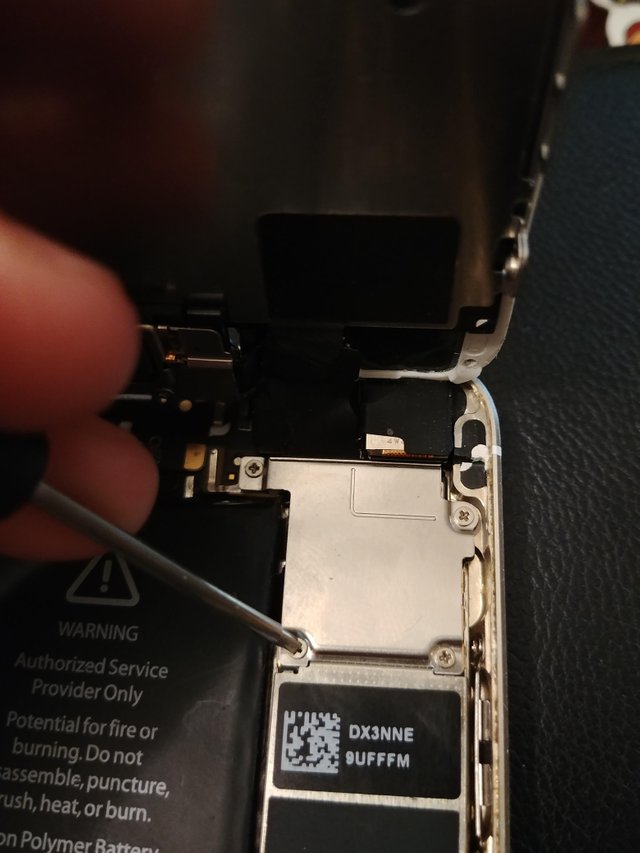
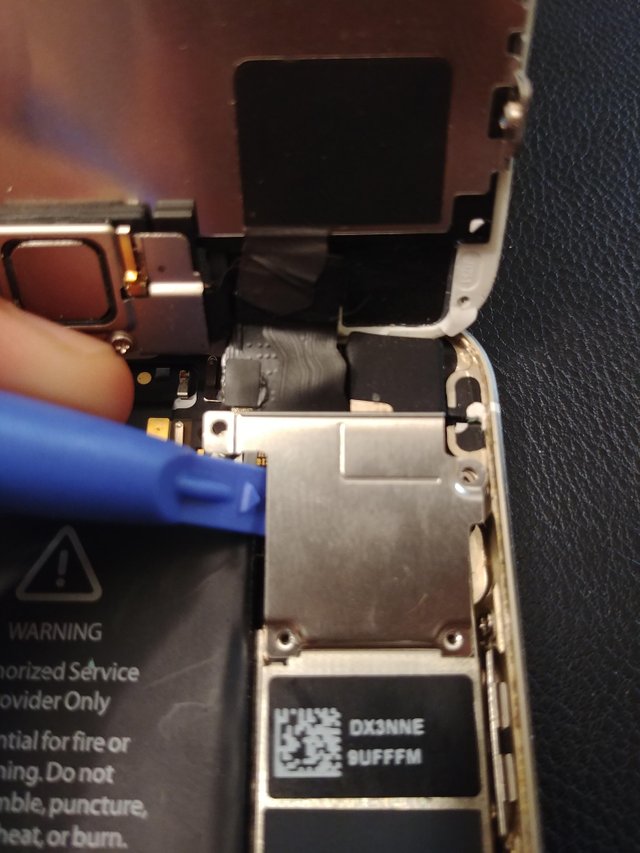
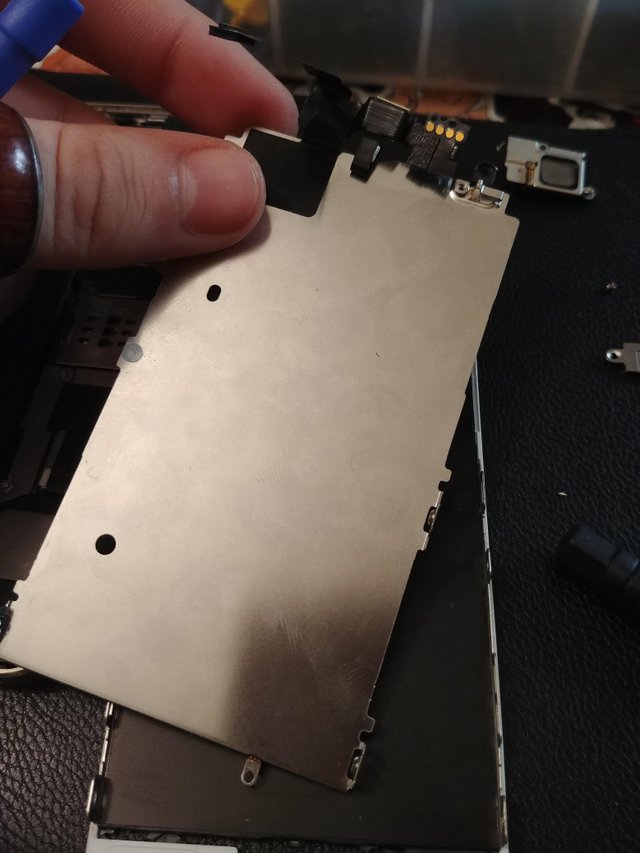
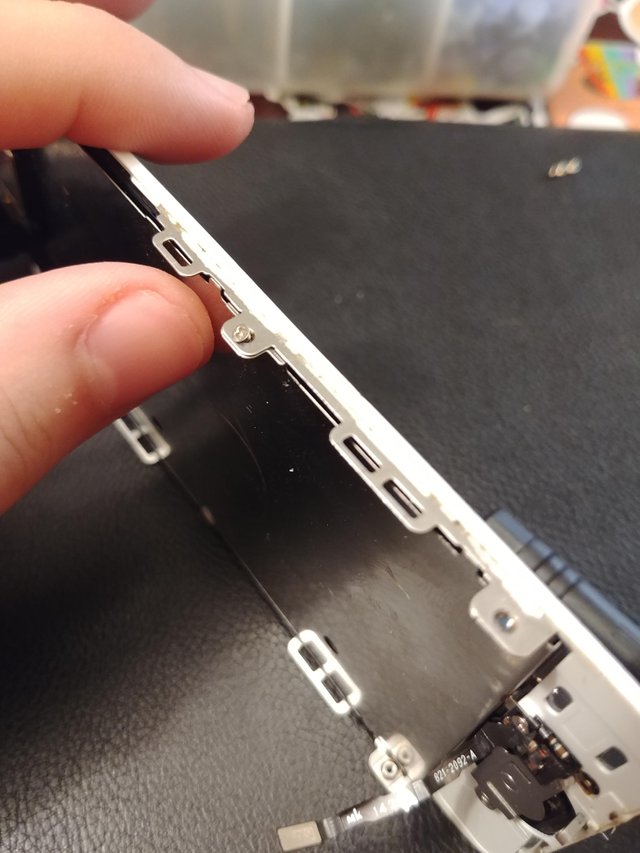
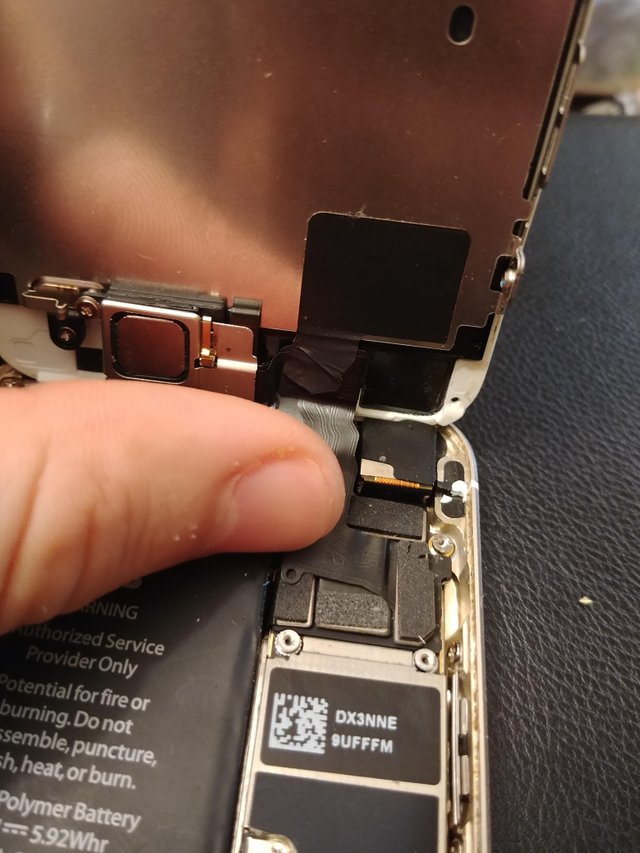
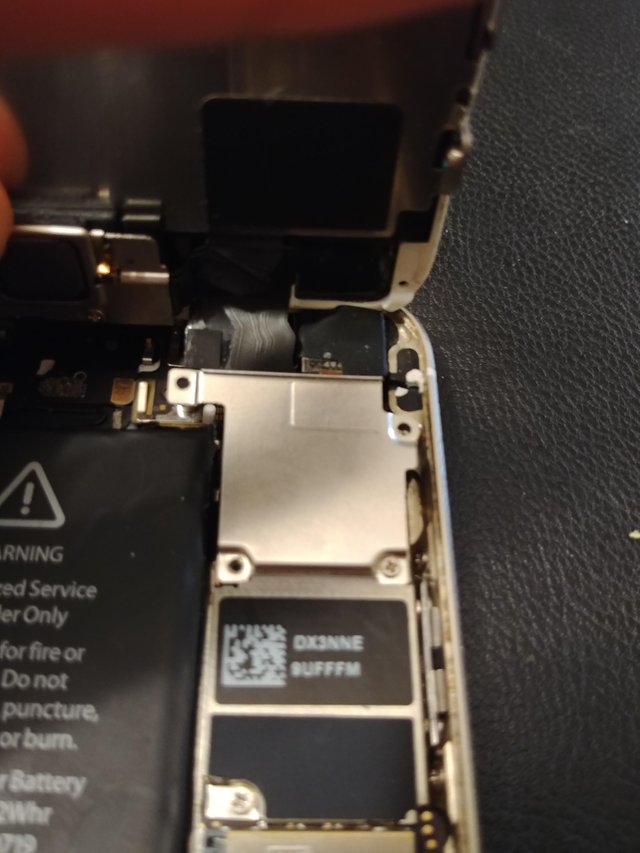
Lift the display up toward the top of the device like you're opening a notepad. Remove the 4 screws pictured and use a pry tool to lift the metal plate holding down the display cables. Next, use a pry tool to disconnect the 3 flex cables attached to the display.
With the device set aside, we'll remove the 2 screws from each side of the display assembly.
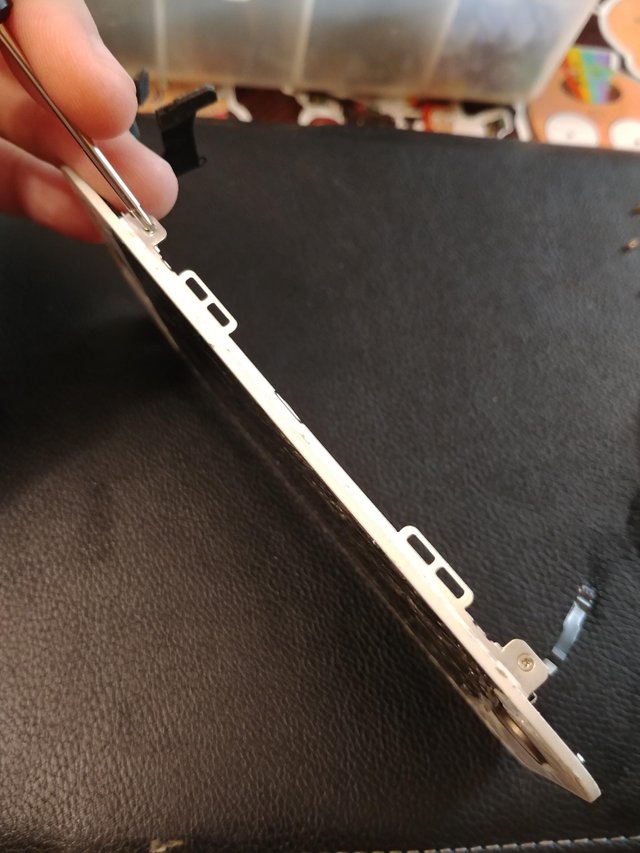
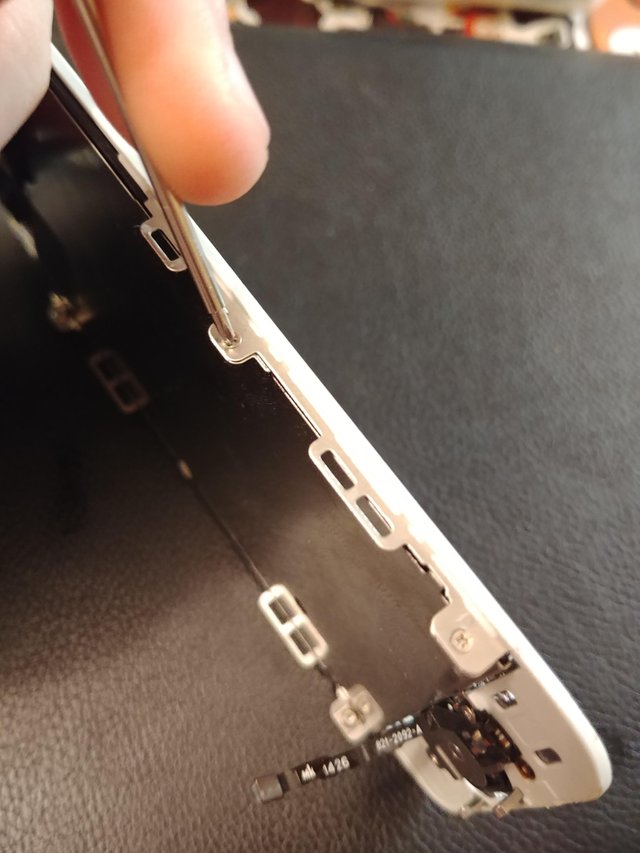
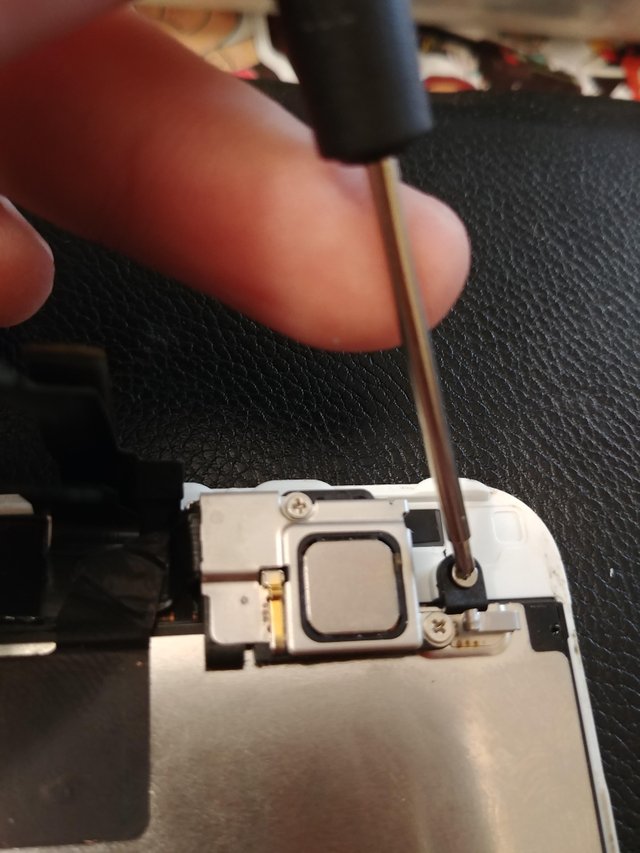
Next, we'll remove the 3 screws at the top and 2 screws at the bottom of the display.
Removing the 2 at the bottom will reveal a third screw. We need to remove that one as well.
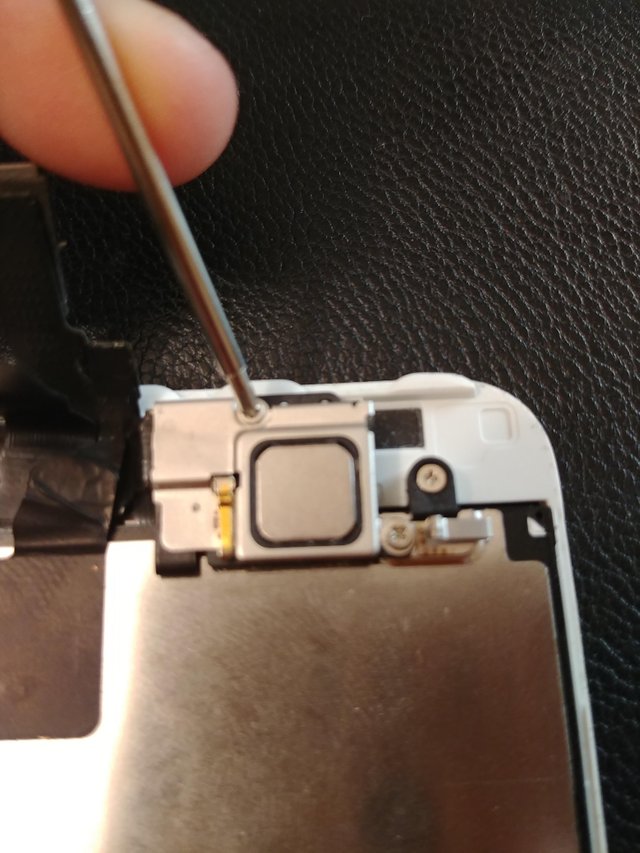
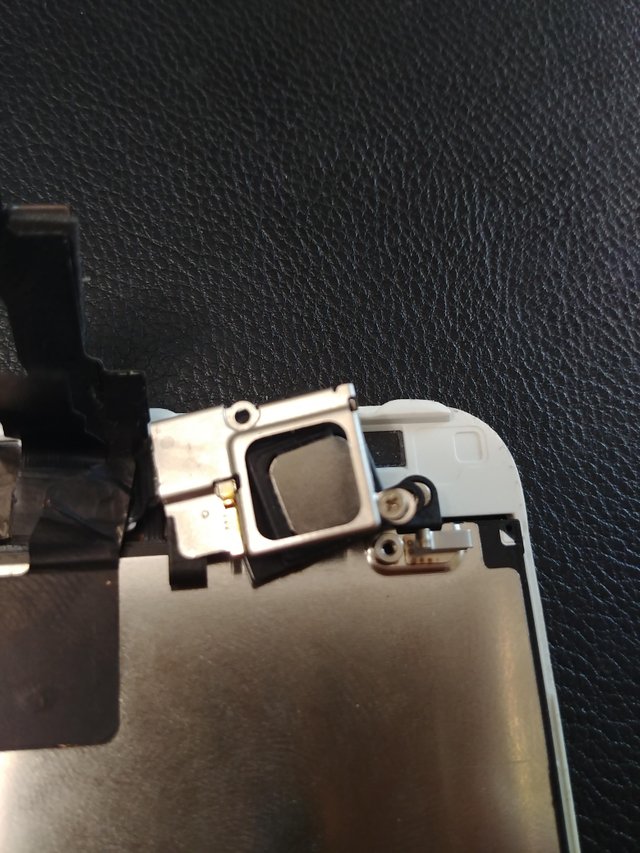
With all the screws removed, we can use a pry tool to remove the metal cage around the front camera and earpiece at the top of the display.
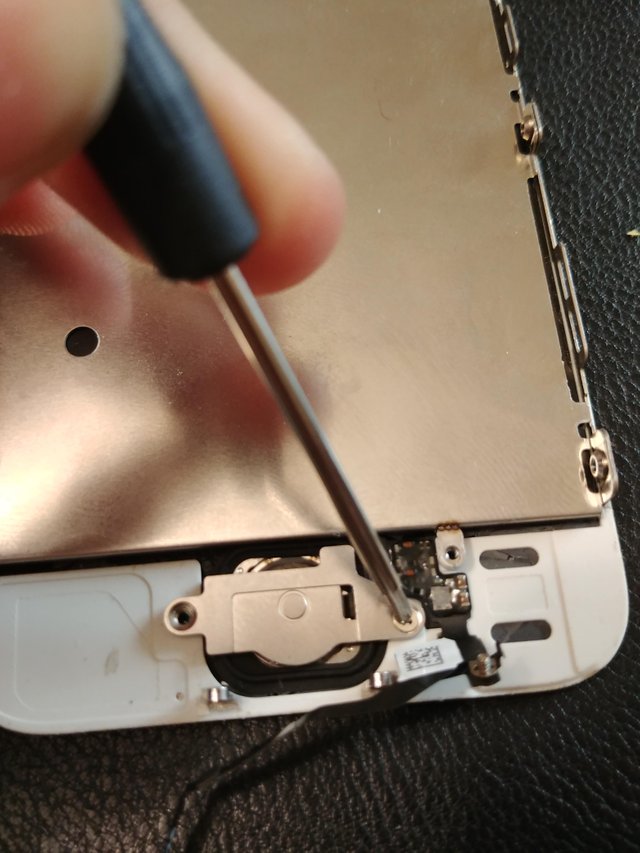
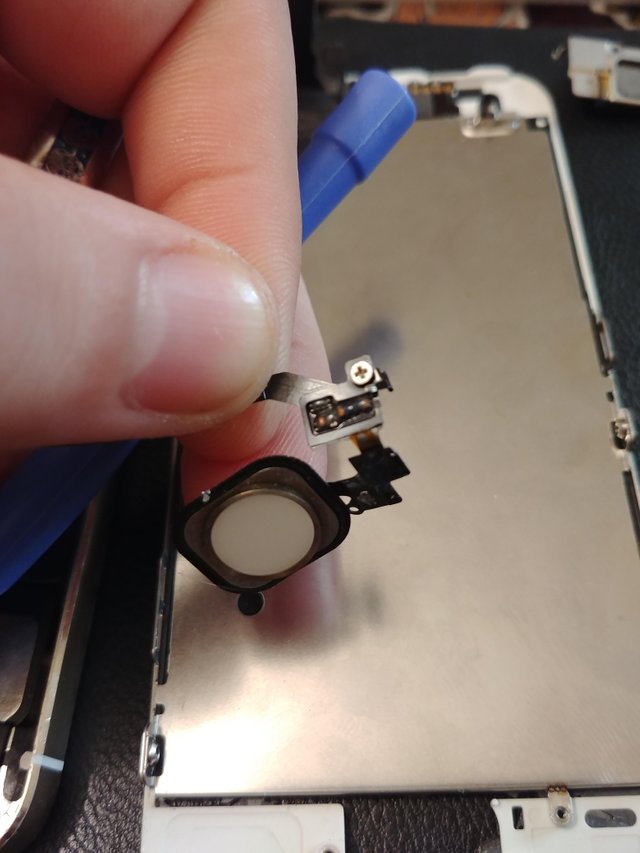
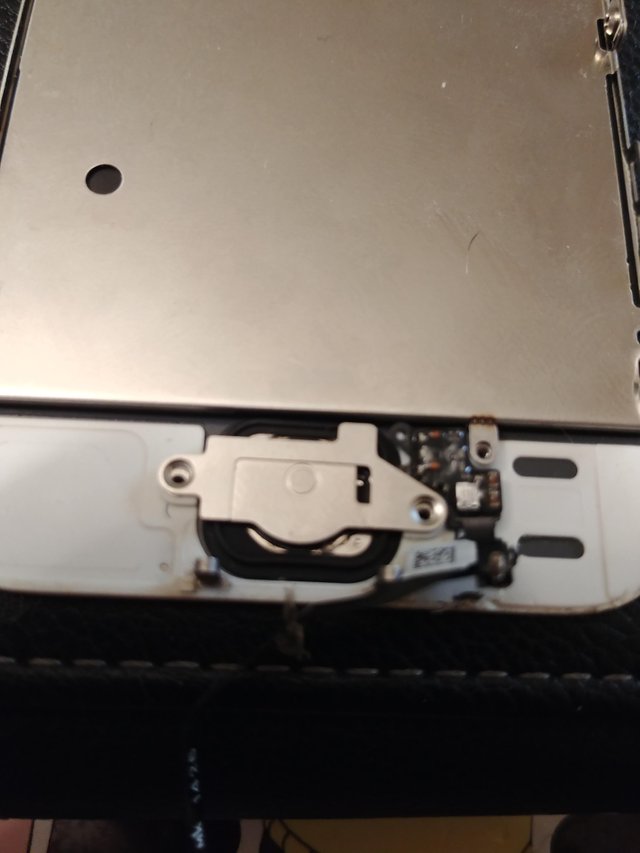
We can also remove the metal plate that holds down the home button at the bottom of the display. Then use a pry tool to remove the flex cable and home button.
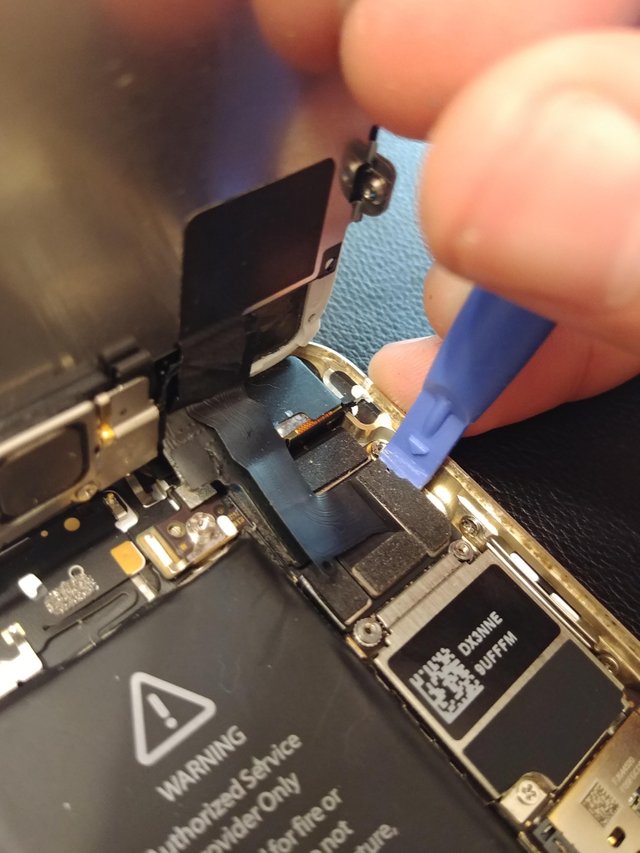
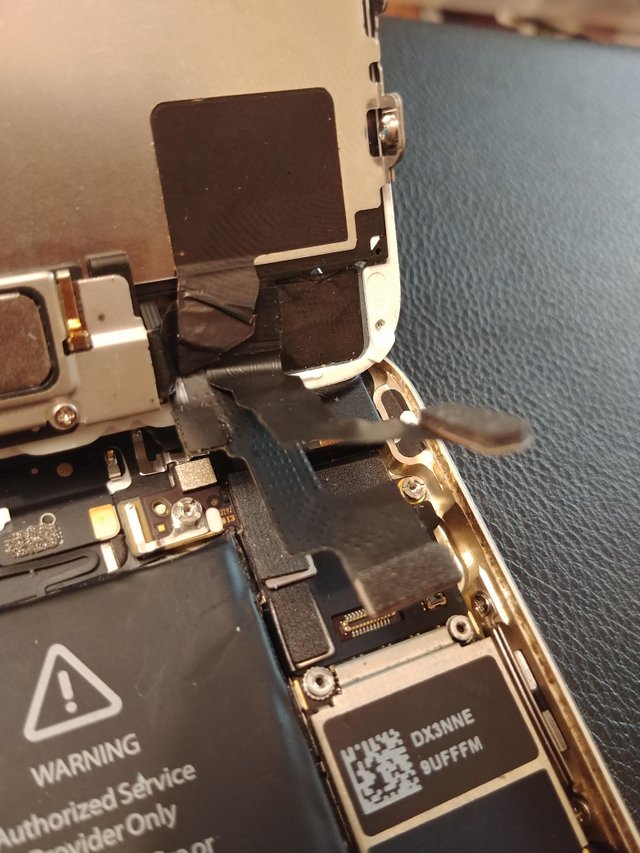
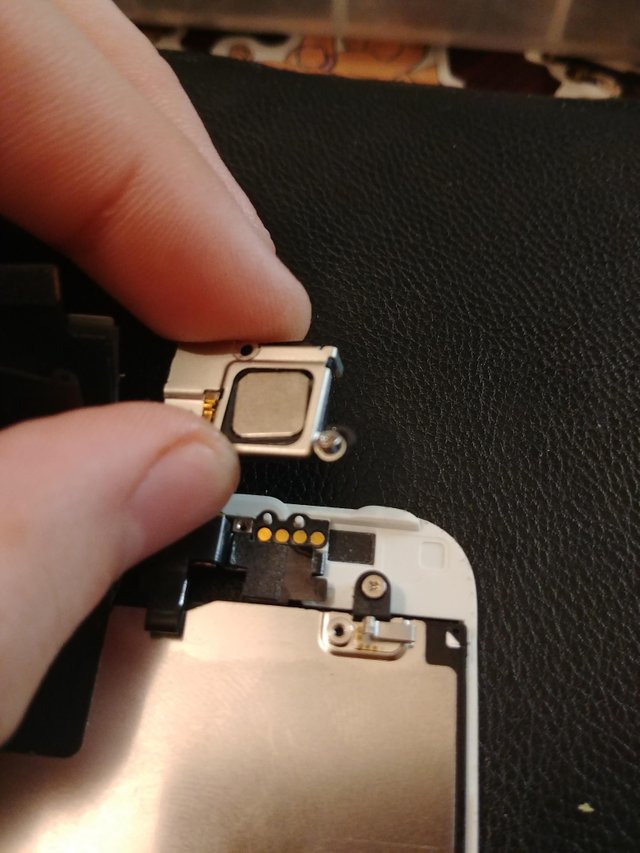
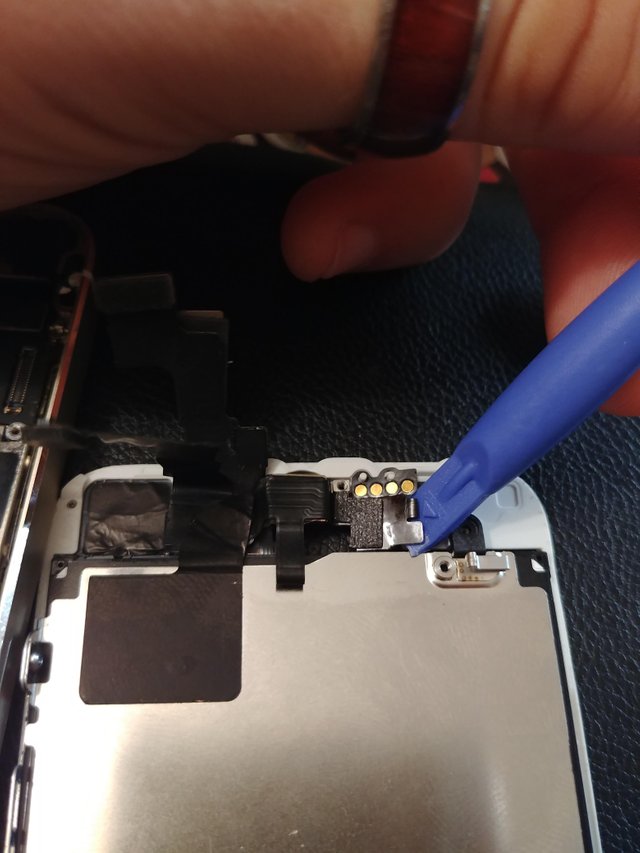
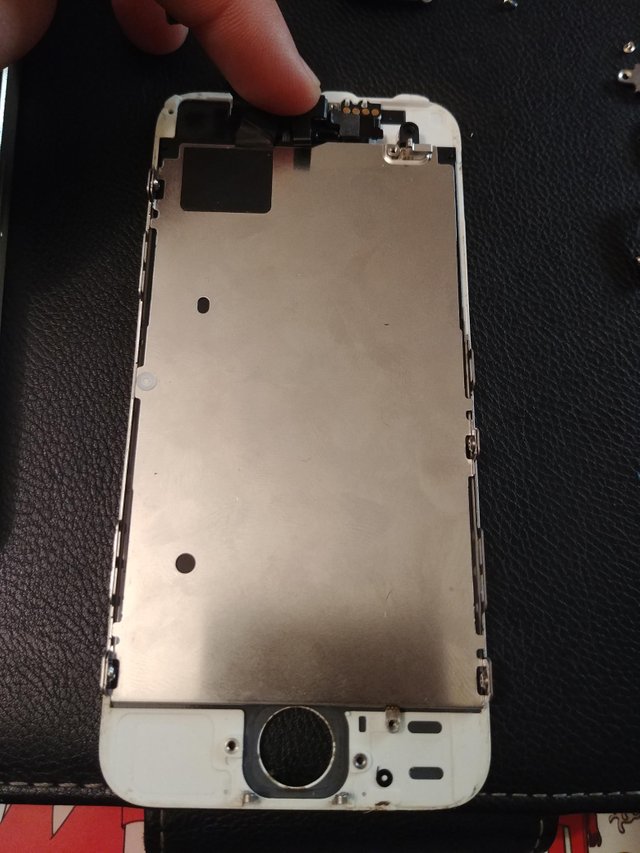
Next we'll use a pry tool to remove the front camera and proximity sensor. This will free the metal plate that covers the back of the display.
Now we're ready to reassemble the device!
Place the metal plate onto the new display and place the ear piece assembly back at the top of the display. Use your Philips head screwdriver to put the 3 screws back in at the top.
We can now insert the home button at the bottom and place the metal plate on top. Then we can put the screws back in here as well.
Next, we'll put the 2 screws back into both sides of the display assembly and reconnect the 3 flex cables at the top of the device.
Once we have the flex cables connected for the display, we can replace the metal plate back here and put the 4 screws back in. This will hold the flex connectors in place.
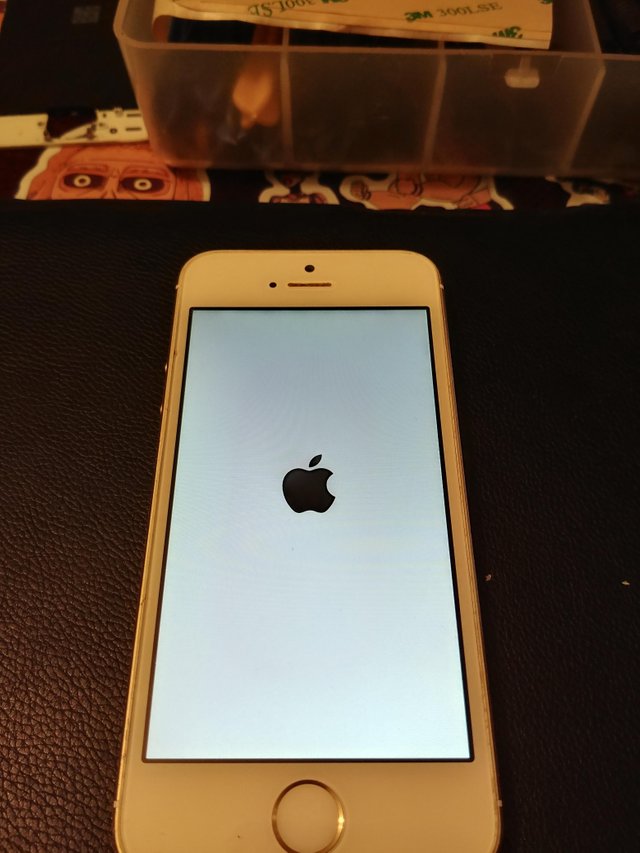
The final 2 steps are reconnecting the home button flex cable at the bottom of the device, and seating the display. Reinsert the 2 screws at the bottom using the torx screwdriver. Now we can power the device on and reap the rewards of our DIY repair!
Congratulations! You can now replace your iPhone 5s screen!
Thanks again for taking the time to read. As always, feel free to share this post and if you found it helpful please drop a comment blew. That's all for this issue of "Let's Fix It", so I'll see you guys in the next one.
Peace.
-Phillip
P. S. - I created a logo and would love to hear what you guys think. It's nothing special, so don't hate. Here it is.

You did a really great job here , teaching people how to repair their iPhone screens. And the detailed images and steps that you have mentioned can help any person replace their screens even if they do not know anything about repairing.
Thank you! I'm hoping this and future posts will help people to repair their own devices rather than taking them to some repair shop they can't trust.
Congratulations! This post has been upvoted from the communal account, @minnowsupport, by l337m45732 from the Minnow Support Project. It's a witness project run by aggroed, ausbitbank, teamsteem, theprophet0, and someguy123. The goal is to help Steemit grow by supporting Minnows and creating a social network. Please find us in the Peace, Abundance, and Liberty Network (PALnet) Discord Channel. It's a completely public and open space to all members of the Steemit community who voluntarily choose to be there.
If you like what we're doing please upvote this comment so we can continue to build the community account that's supporting all members.
Oh thats cool post . I wish fix cellphones and computers inside ,but i just programming lol. Hey check out my posts too and see if you like :D
Well hopefully my posts can help you learn to fix these devices! I'll definitely check out your posts. Thanks for the comment.
great job. you need to do one for iphone 6s. Thanks
My next one will probably be a 6 or 6s. We'll see. Make sure to follow so you don't miss it. :)