Drawing Challenge#4 - A Card for the Teacher 給老師畫賀卡
大家好,這是我參與 @helene 的畫畫比賽#4,題目是畫送老師的賀卡。其實我覺畫賀卡比畫某一件事物更難,因為畫賀卡某程度其實算是設計多於畫圖,要構思好一張有意思又美觀的賀卡可比要製作困難。這也可算是我的弱項,就姑且試試挑戰自己,看還有多大的進步空間吧,重要是志在參與嘛。
Hello Steemian, this time I am going to participate in the drawing contest #4 held by @helene . The theme is to draw a card to the teacher to show your appreciation. I think it's kinda difficult to me as it's like designing a card rather then simply drawing something. But anyway I would give it a try haha :)
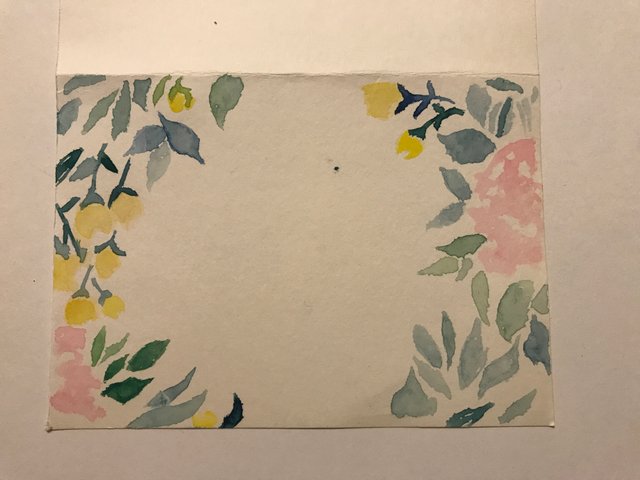
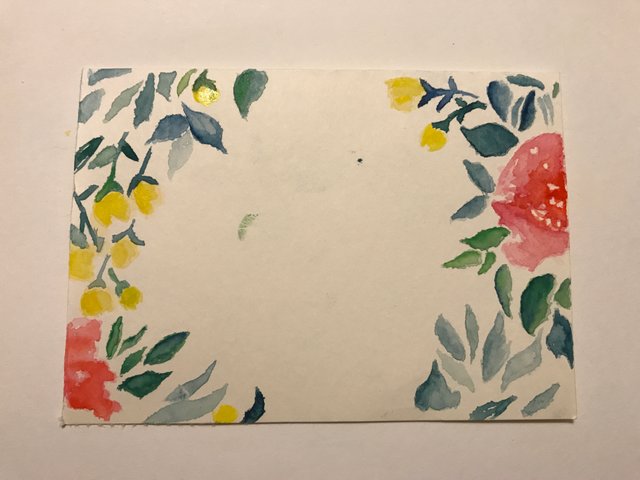
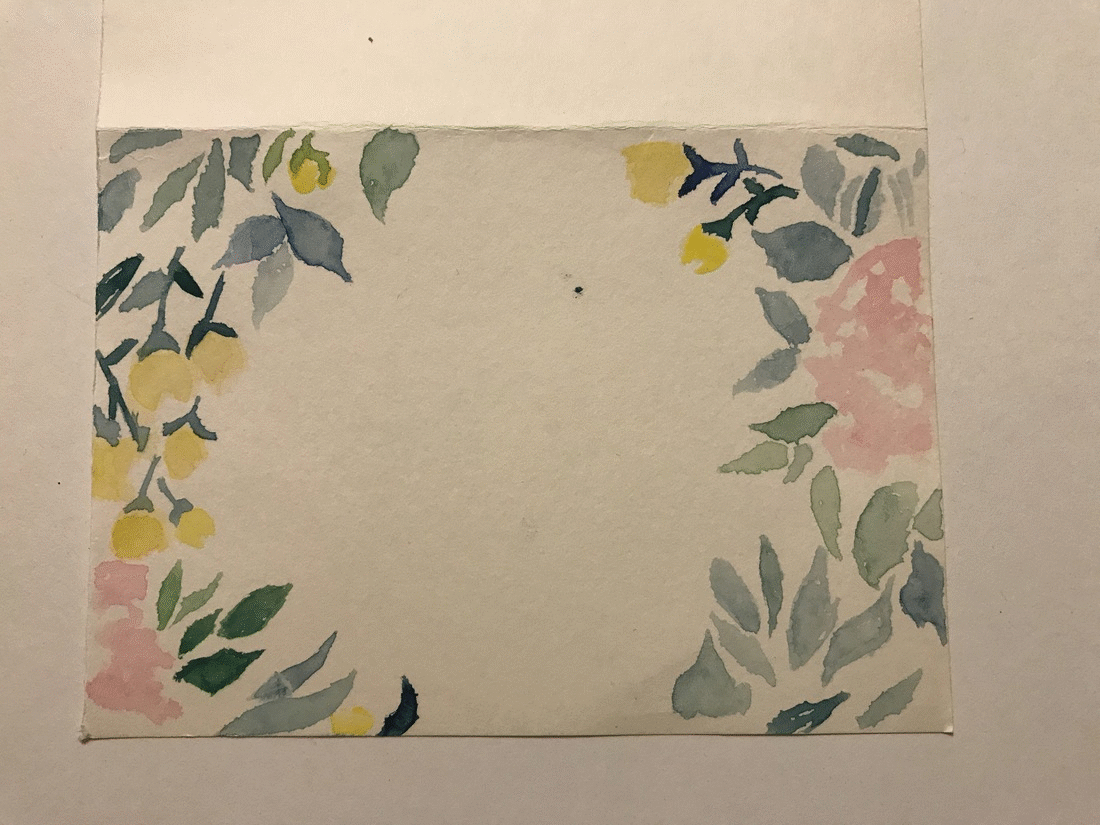
要感謝老師,我還是覺得給她們送花比較好,所以我就設計了一張以花為主題的賀卡。顏色方面我也選擇色彩繽紛一點,畢竟這是一件美事嘛,開心一點比較好。
To show my love and appreciation to my teachers, I would choose to draw a card with flowers to them. I designed a card with colorful flowers and hope they would love it if they receive.
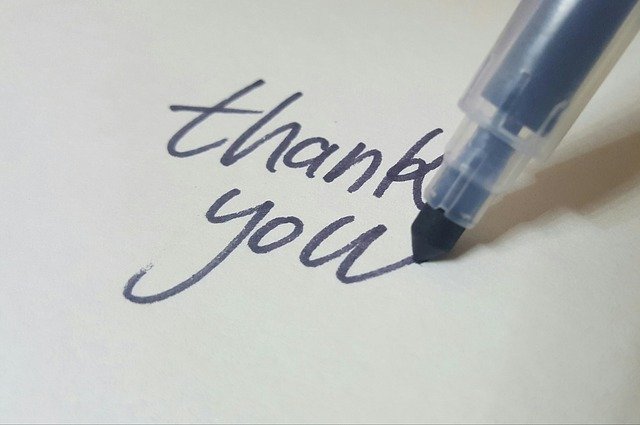
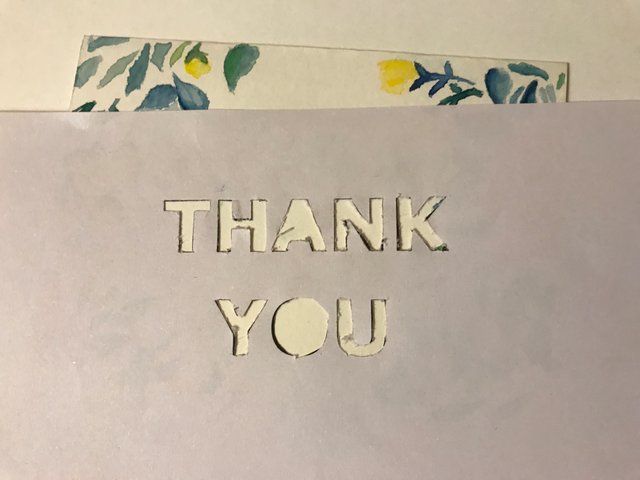
先說說畫這卡時出了一點小意外,因為在賀卡中央的感謝字樣我打算不用直接畫的,而是用特別一點的方式去畫,所以我要先挑空「THANK YOU」的感謝字眼,打算放上賀卡中央用顏料填充,可是當我準備完成的時候,因為太心急了,所以未等到顏料乾時就把字樣的紙拿起,結果弄得還是濕的顏料化開了(詳細看之後的部驟圖就會明了),沒有那麼好看了 ,哭啊。最後我要嘗試以白色蓋過,但是還是有一點痕跡,希望大家看到不要吐糟。
There was a little 'accident' happened during my drawing. Since I was trying to create the word 'thanks you' by placing a 'mould' on the card and filled it with color. But I was too impatient to wait for the color to dry out before I remove the 'mould' paper. As a result the color was split out of the boundary and messed up a little. (You could see the picture in the process and you could get it).
作畫的部驟
Drawing procedure
Step 1.
這次我沒有用鉛筆先起稿,因為稍後我用的顏色較淺色,鉛筆痕可能刷不掉影響美觀,所以我這次是直接用淡色水彩起稿。
This time I drew the outline of the picture directly. I drew the flowers and leaves in the sides of the card.
Step 2.
加強顏色,加上深淺部分。
Creating the dark and light color part.
Step 3.
打印好「THANK YOU」字樣,把它挑空。
Print out the word 'THANK YOU' and turn it into picture below.
Step 4.
準備好一支不要的牙刷,沾上顏料,顏料不能過稀,否則弄出來的圓點會較大粒。
Get a unused toothbrush and grab the color on it.
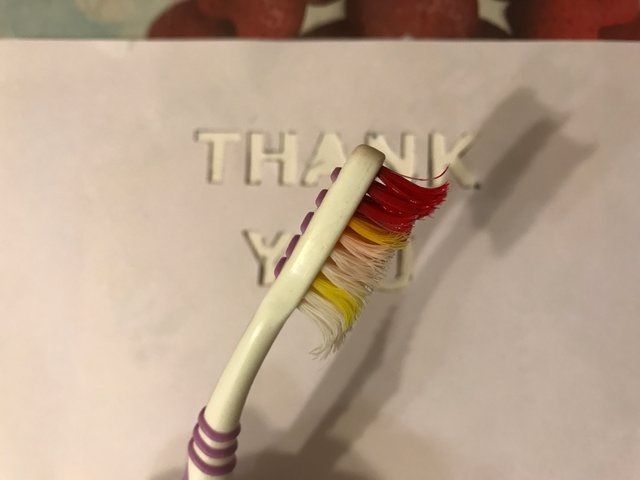
Step 5.
把字樣放在賀卡上,用手指撥動沾了顏色的牙刷,讓顏料濺在卡上,大概會如下圖,這次我都做得不好,顏料稀了點。
Place the hollow 'Thank you' on the card and split the color on it with the toothbrush.

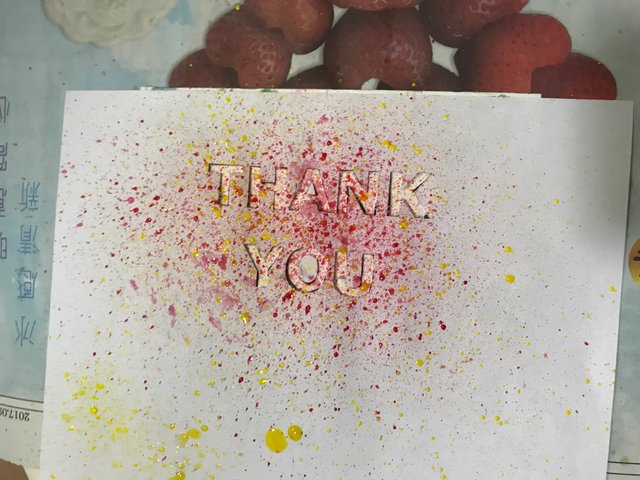
Step 6.
重覆用不同的顏色沾上賀卡。
Repeat the step with different colors.
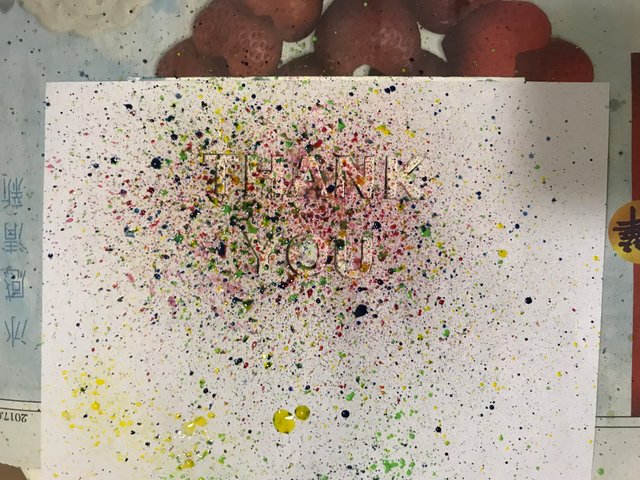
Step 7.
把字樣拿掉,賀卡就成了。(意外就發生在這部驟,顏料都糊了,還弄髒了附近,我不得不用白色盡量遮蓋 ><)
Remove the 'Thank you' paper and the mistake happened at this step.

動態圖
GIF for the process
如果部驟做得好,顏料稀稠適中,應該是可以見見人的,下次我也要更小心留意用這個技巧 :(
The card would look better if the color to be more solid and if I was careful when splitting the color. I learnt from the mistake and would avoid the same thing in the next art piece.
(設計靈感來自網絡圖片)
If you like my post, please upvote, resteem and follow me @kitcat.
如果你喜歡我的帖子,請幫忙點讚、推送及跟蹤我 @kitcat
well done!
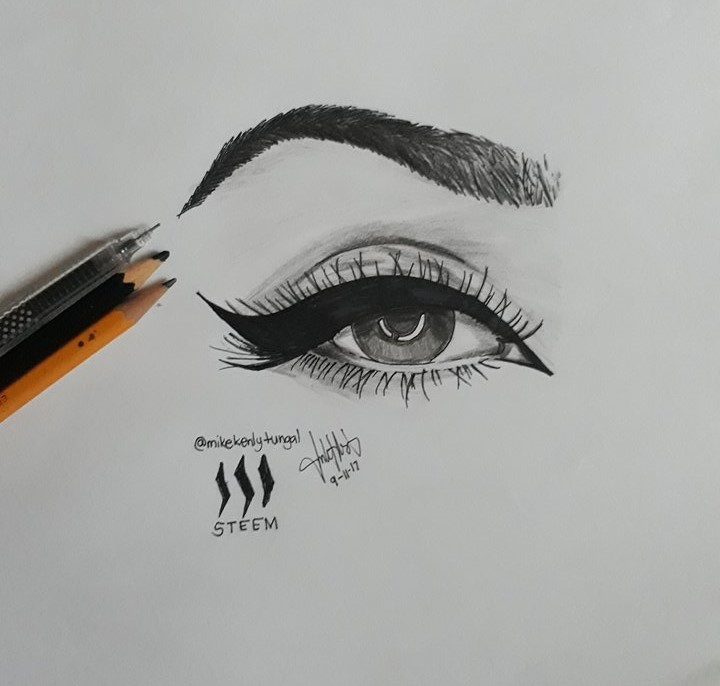
ive made drawing lately... with a step by step
if u want u can check it here
https://steemit.com/art/@mikekenlytungal/eye-or-drawn-by-pencil-color-pencil-and-mygel-ballpen-only-or-step-by-step
wlc.. really nice post
thanks!
型!
:(
好漂亮呢!!! 好喜歡那個顏色混搭~ :D
謝謝啊,搞成這樣都漂亮,有點情何以堪(搖頭~)
不會的! 有用心的都是好作品! :)
贺卡设计的很漂亮。
謝謝你的欣賞!
用到牙刷,很有創意!
謝啦~
牙刷原來咁多用途!
haha也算另類的用途
哇⊙ω⊙ 有创意
謝謝 ><
但是效果很美啊!!!
謝謝啊(感動掩面啜泣)
I really like your posts