Speedpainting challenge #1, Sunflower
Welcome to the Speedpainting challenge #1
Volume One, Issue One
Dear Friends,
How would you like to learn to paint and become a fantastic artist? Allow me to explain how I learned to do it. I'm so sure you can do it too. Become a fantastic artist and you would seldom be bored. I can help you learn to draw right here at Steemit. I want the same thing happen to you. It can.. sooner than you think. No experience necessary. On Steemit, I've developed a "how to post" for drawing on paper by using my new layering techniques. This post is based on my proven success as a professional artist.
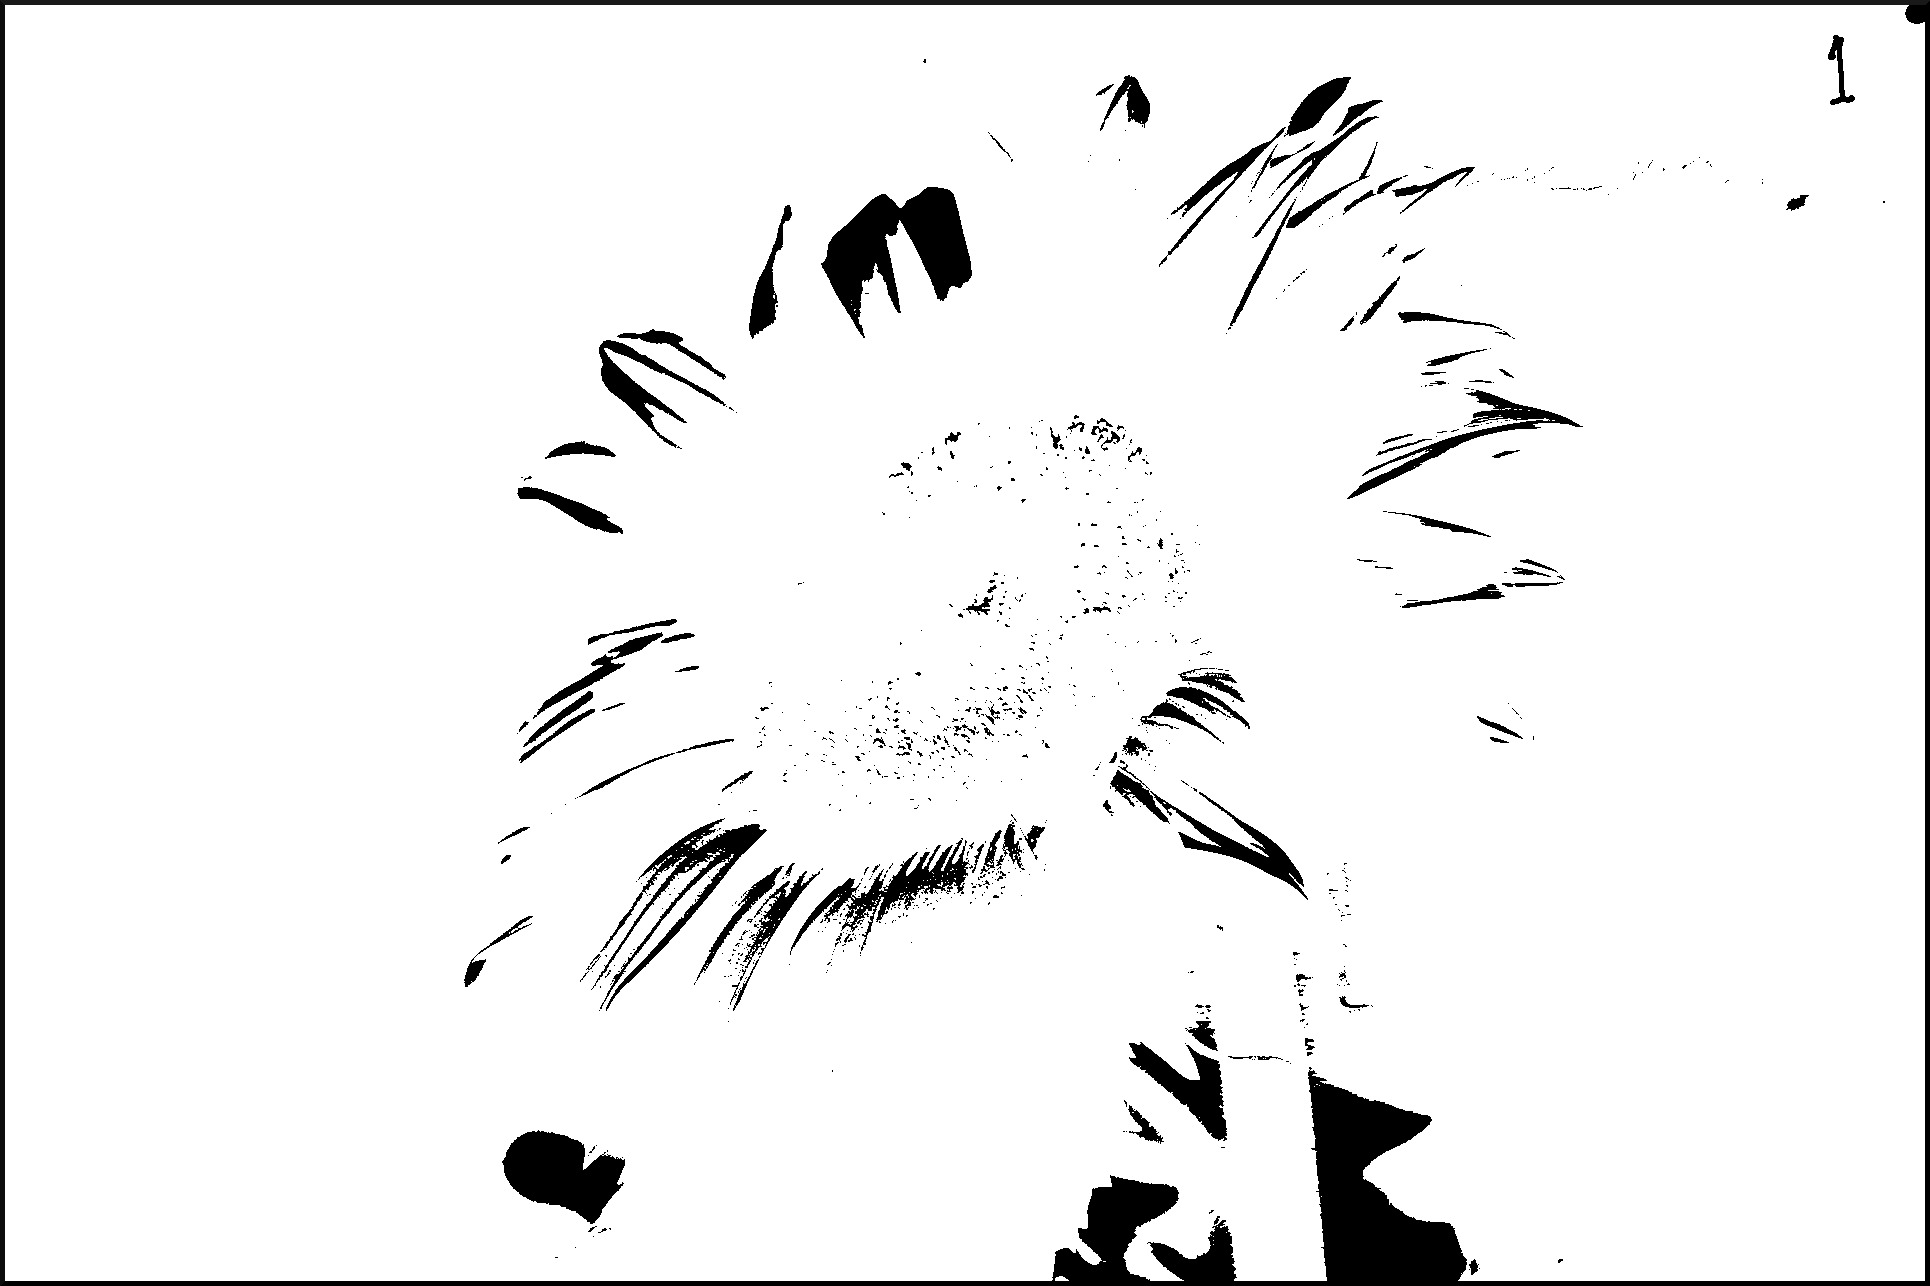
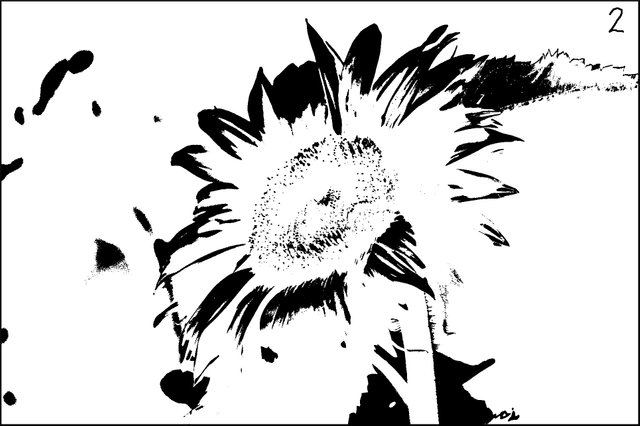
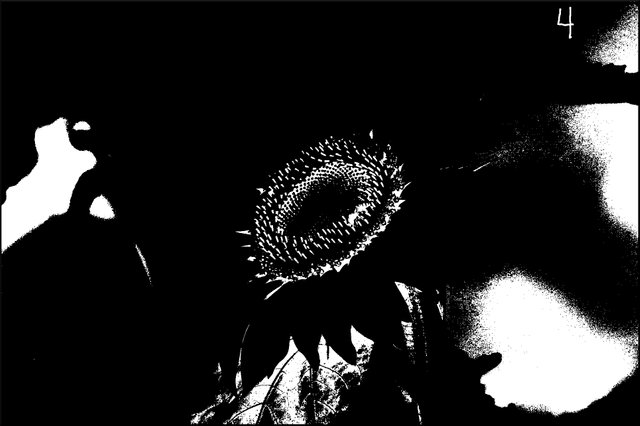
Where on the paper do I draw? That's the hard part. Picking pens and making creative penstrokes is easy. In this post, you need not to worry about where to draw. This post will show you where to apply your creative pen strokes. It's simple. Just draw over the white areas on your printed out images. These images are computer generated from a public domain domain picture of a sunflower. Using thresholds, I created 4 levels of brightness. These images are called, "cells". On cell 1, you'll see the lightest shades of the sunflower. On cell 4, you'll see the darkest shade of the sunflower. We will be using layering techniques with these 4 cells of brightness. You'll be using paper as your canvas. Your pen drawing will be applied directly on your printed out cells. The lightest, cell 1, will be drawn first and the darkest, cell 4 will be painted last.
Getting started, run to your nearest office supply store and buy some paper, carbon paper and a colored red ballpoint pen. Tips and hints: there are many other ways to use the layering techniques. you can use slides, projectors or lucy camera or lucidia apps and project them on canvas. You can draw this project with your drawing apps. You put the cells on a light table and draw on your thin transparent like canvas on top of the cells. I bought a big tea jar and put a lamp it. I taped the cell on the outside of the jar and then put freezer paper on top of the cell and painted on that. The number one most important thing is registering the corners of each cell. There are other mediums that can be used. Try different kinds of pens, paints and canvases. There are many ways to create a great piece of work. If you have any new ideas or would like to share your experiences with other artists, please share them in the comments of this post. Follow me for the next issue #2, challenges with more cells and in color ! This post is the basics of the upcoming challenges that could turn you into a fantastic artist. Even a 3 year old could paint like a professional. The professionals could paint with more freedom in creativity, especially in flash lightning speed. One could mass produce using these techniques. You can hire artists and have good quality control. You'll have the ability to deliver good work on time and more frequently.
Let's get started !
Printout the 4 cells. Use carbon paper. Printouts goes on top of carbon paper and then on top of paper or card. Using a colored (if possible) ball point pen, draw inside white shapes. Start with #1, then do #2, then #3 and #4. Each cell makes you card get darker and darker. Try it. Ask questions here. Important: use corners to mark for registration. Each cell must register with the card. You could use a needle and poke a hole at the 4 corners and line it up with the card.
Let's go over this again.
Print out cells, draw on cells with carbon paper on canvas.
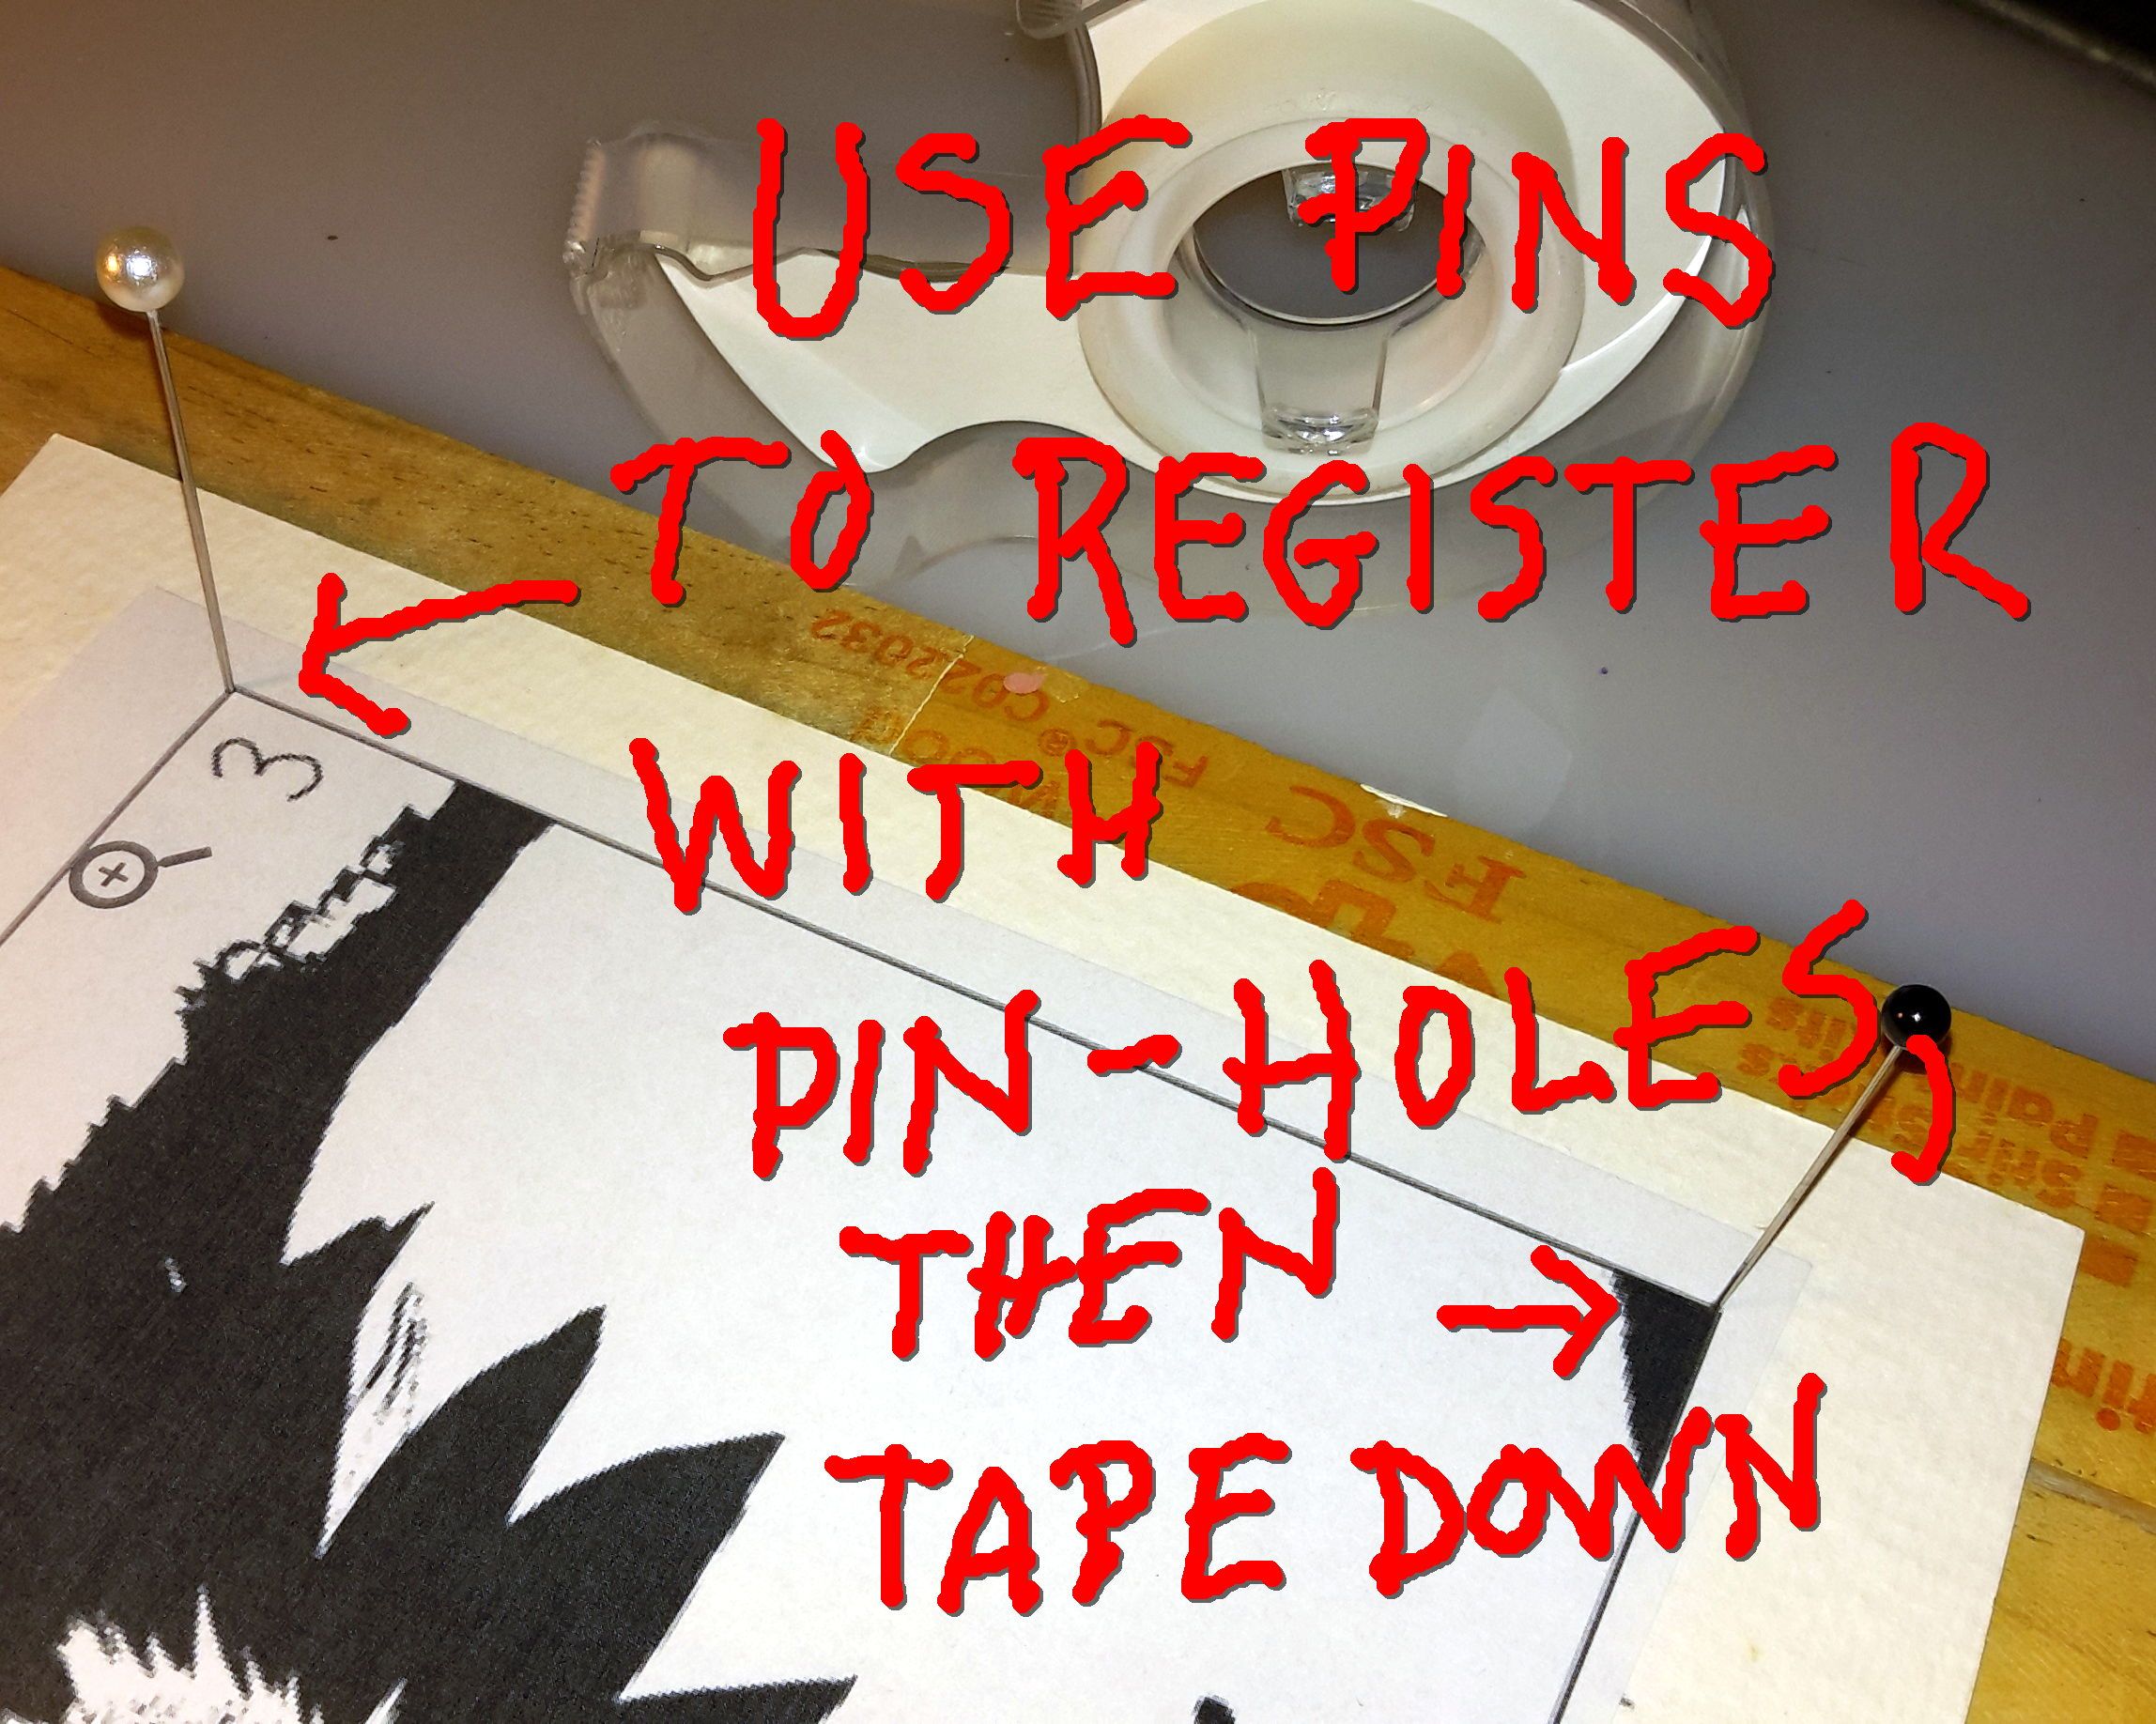
Register, at the corners, with pins and pin holes.
Draw with ball point pen.
Draw cell #1, #2, #3 and #4.
Don't forget to follow me for more upcoming issues, more colorful paintings and the great collaborative art challenge where we can all join together and make art together. It's going to be FUN !
Please show your results in the comments.
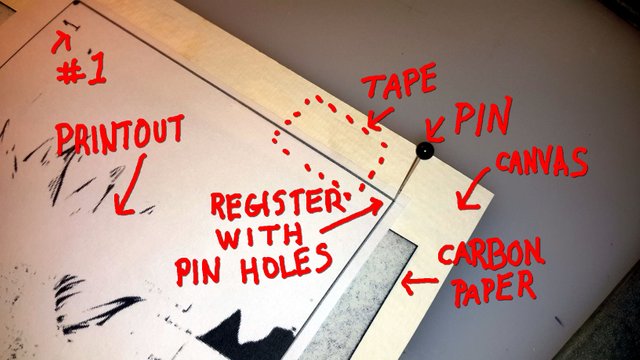
First, tape your printout to card or paper. Only tape your cell on one side so you can slip the carbon paper between your cell and canvas. Then poke a hole with a pin. the holes are your register marks.
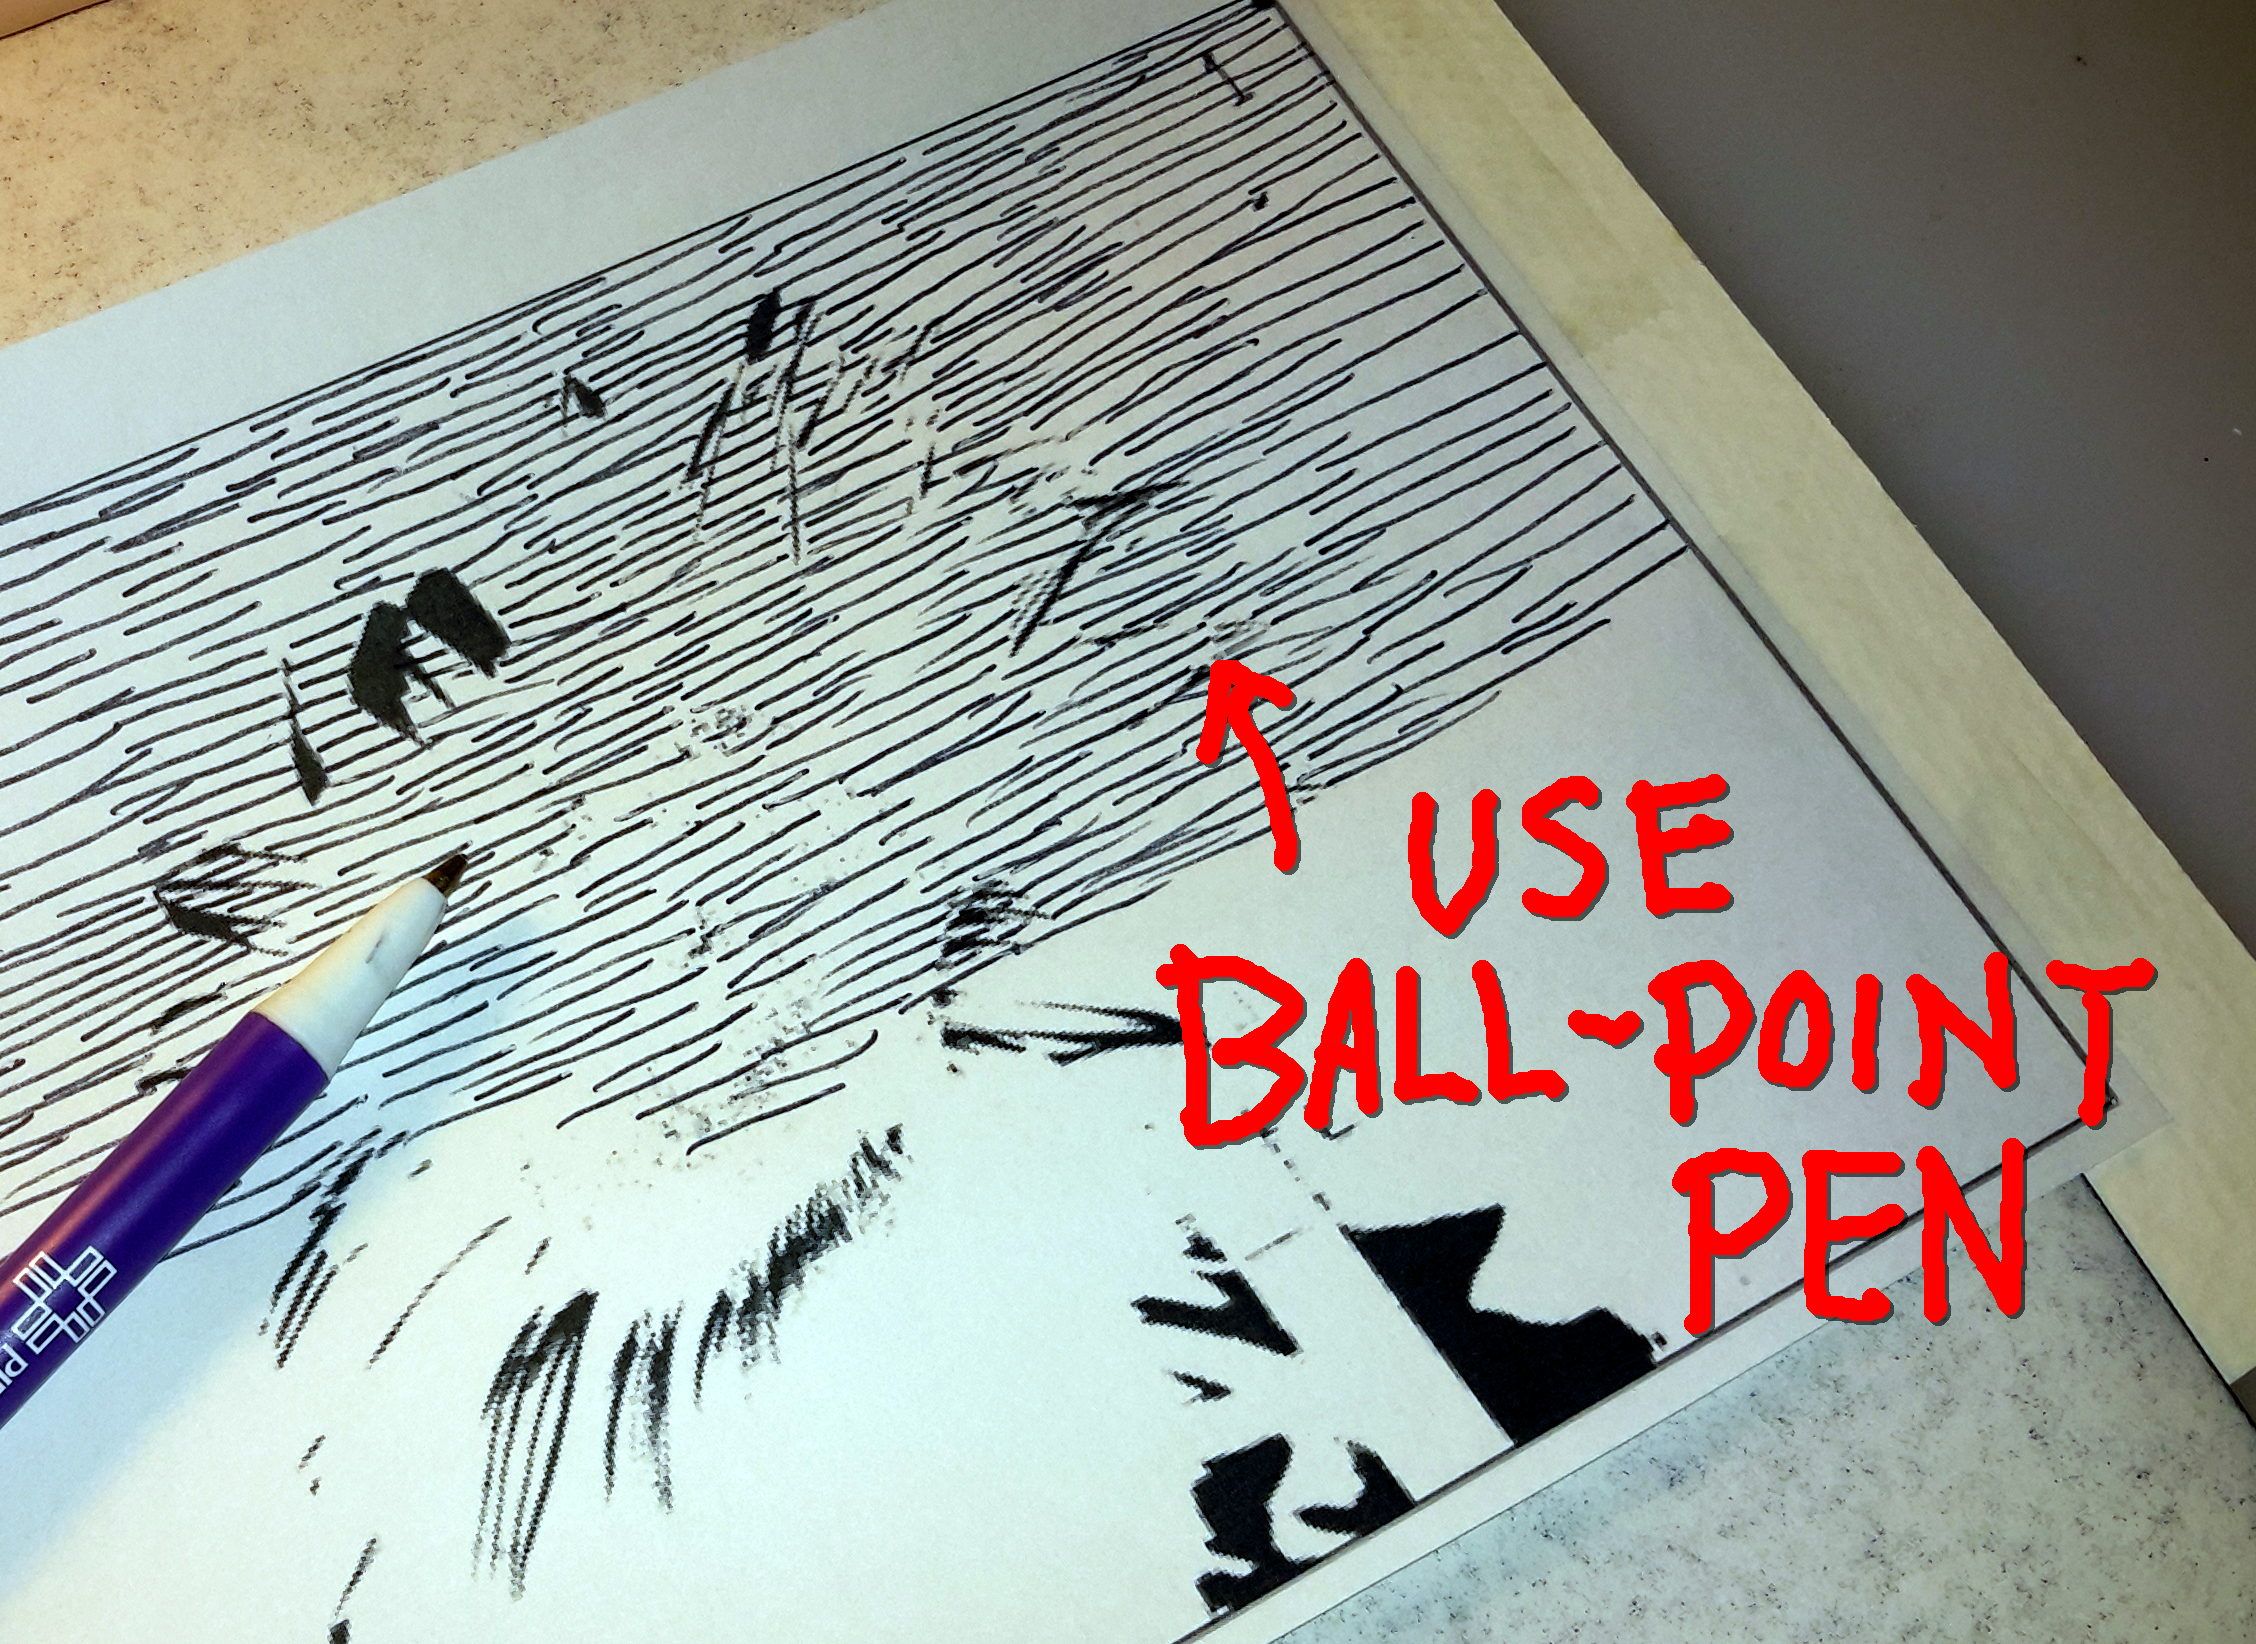
A red ballpoint pen works better and you'll need to draw hard. I did use a black pen here for demonstration. A red pen would be better so you can avoid black areas better. you'll need to see the difference between red pen and black on the cells while you draw.
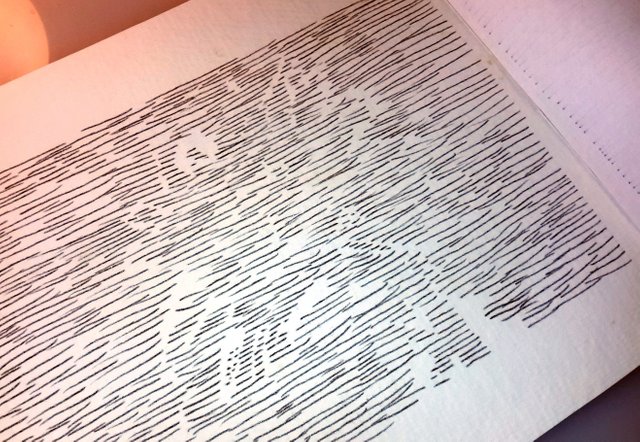
This is what the canvas looks like after you're done with cell 1. Now do 3 more cells.
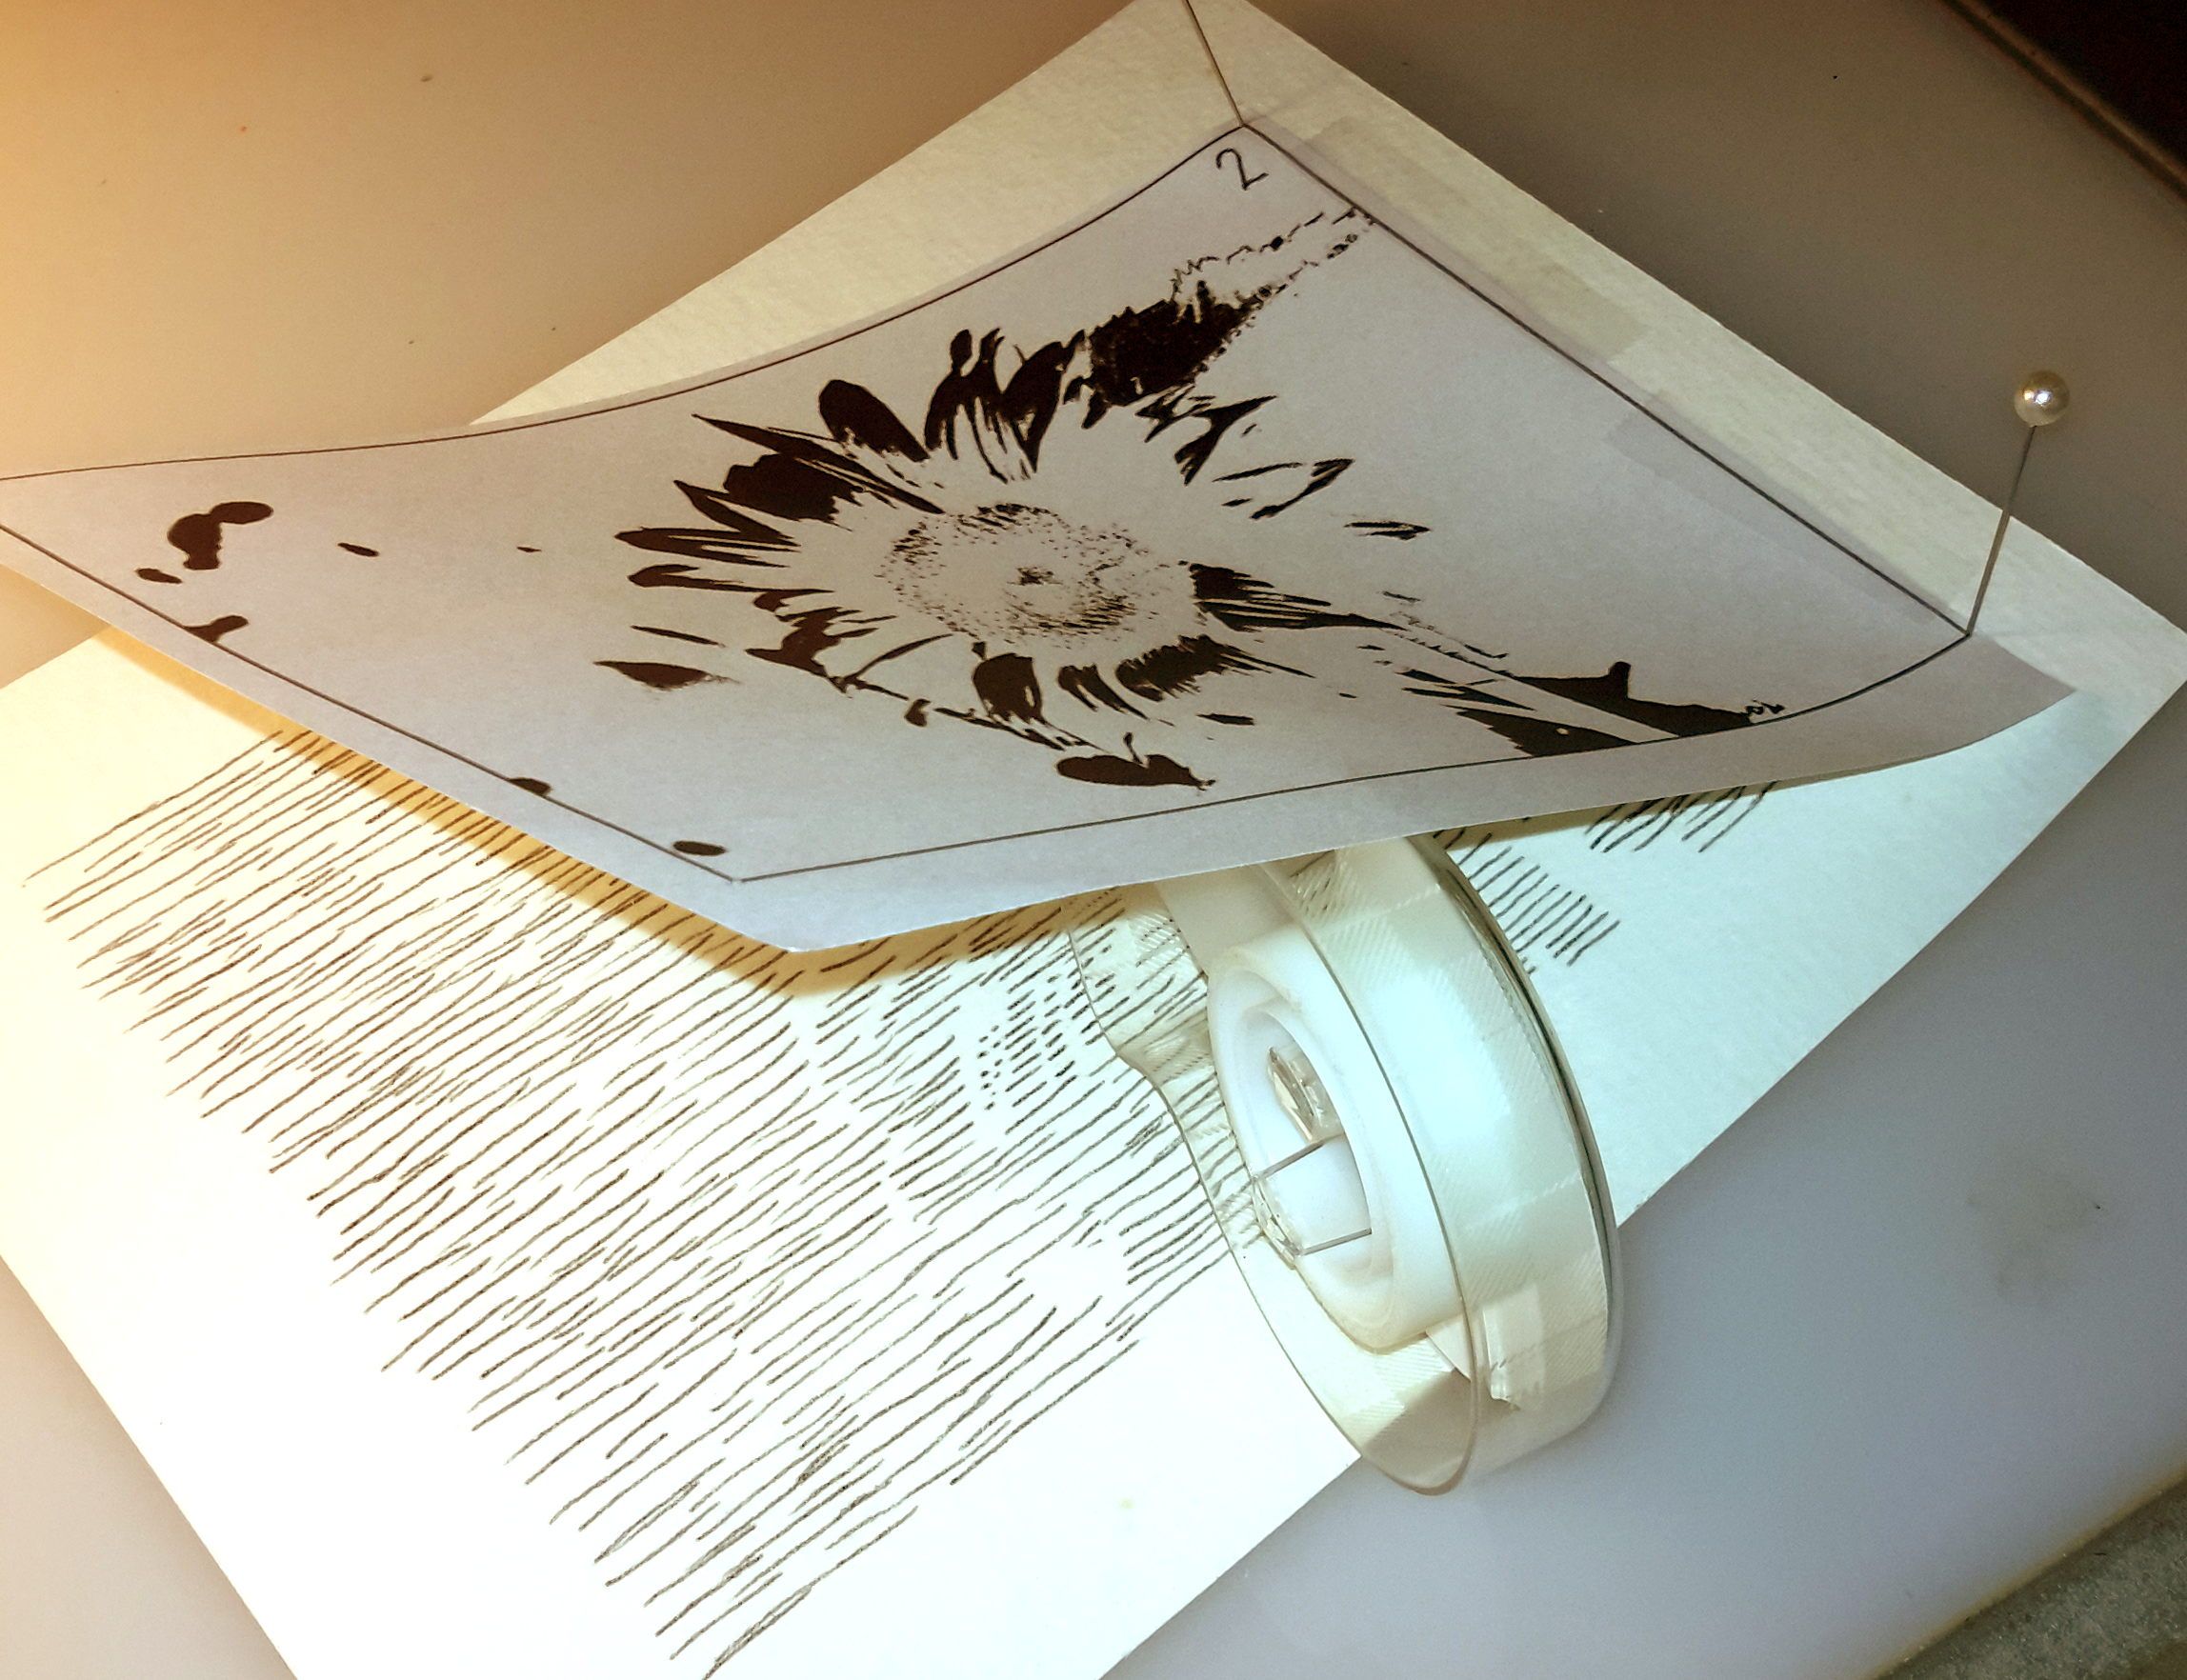
A view of the cell 2 on top of the canvas. You can see I taped only the right side of the cell. Slip your carbon paper, black side down, between the cell and canvas. The carbon paper is not shown in this picture.
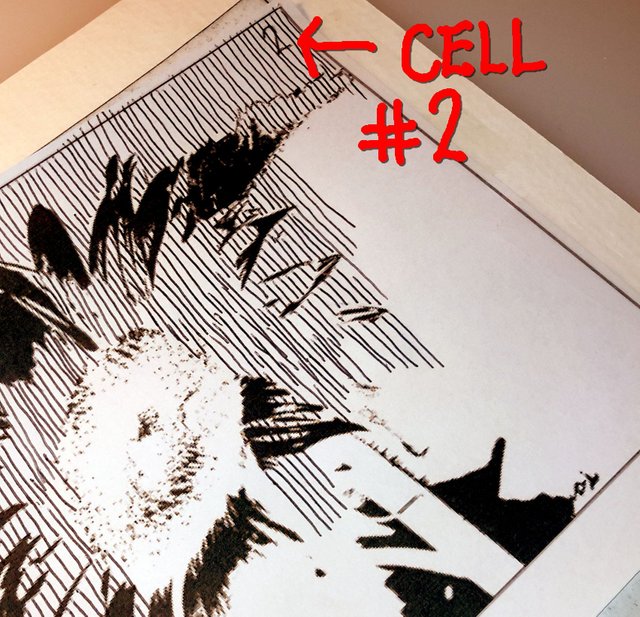
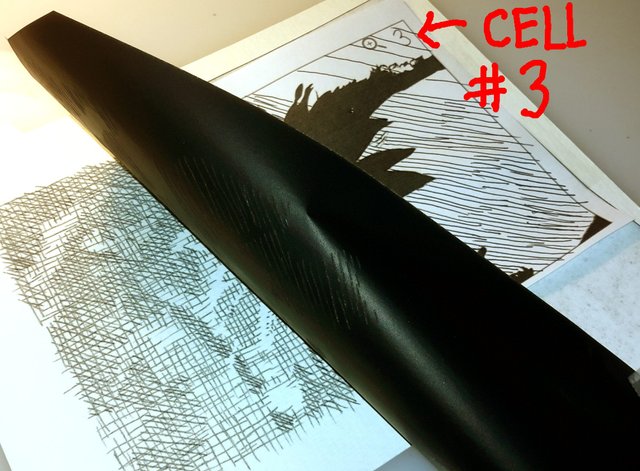
.jpg)
Here is the result. If you were to fill in the white areas a little more, the flower would show up more.
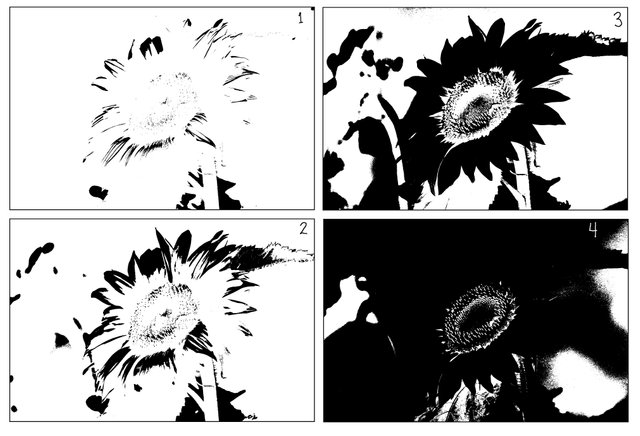
Here are the cells that can be printed out on one paper.
Below are the individual cells to be printed out.
I found this and might be helpful in tracing your images. Let this image, below, give you a clue how you find a light table. Use you window as a light table.
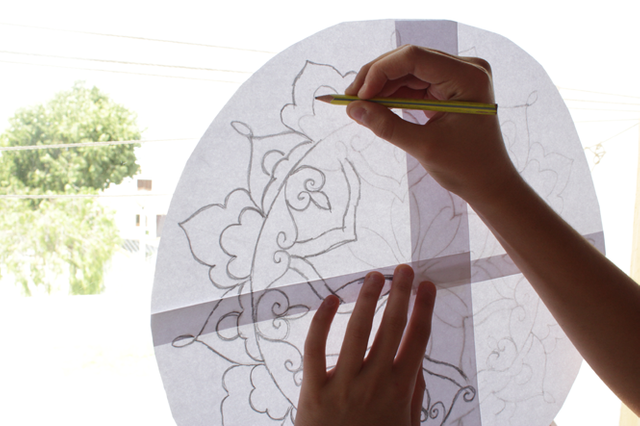
I noticed a tracing paper pad beside me while I was finishing up my next boat on Italy. I used tracing paper on a few painting projects. You can use tracing paper in this project. Note: you'll need to use paints like oil and turpentine or pencils magic marker, charcoal, pastels, crayons or something dry. If you use acrylics, inks or anything with water, the tracing paper will warp. Freezer paper don't warp much and it's cheap.
Congratulations @bubblingwells! You have completed some achievement on Steemit and have been rewarded with new badge(s) :
Click on any badge to view your own Board of Honor on SteemitBoard.
For more information about SteemitBoard, click here
If you no longer want to receive notifications, reply to this comment with the word
STOPCongratulations @bubblingwells! You have completed some achievement on Steemit and have been rewarded with new badge(s) :
Click on any badge to view your own Board of Honor on SteemitBoard.
For more information about SteemitBoard, click here
If you no longer want to receive notifications, reply to this comment with the word
STOPTop tips in this post, I was shown how to do this by my teacher in art school. :)
Thanks. I can't remember how I first came across it. More likely from working with lucidia or lucy cameras. I couldn't see anything on them so I came up with bright black and white shapes. I probably played with this kind of art while I was doing photoshop work. It seems to me that there are more active art challenges here on steemit than anywhere else I've seen.
Steemit is brilliant for these active art challenges, I didn't know what I was doing when I joined steemit but I found the contests a god send, I was able to play with my drawings and started to feel like I was a kid again. really do love this platform and every body seems so nice one here too. :)
I've resteemed this by the way as I would my followers to see this too :)
I found this and might be helpful in tracing your images. Let this image, below, give you a clue how you find a light table. Use you window as a light table. You could flip your printouts and draw on the other side of each image. Then scan them and post them here. I'll combine your images together, if I can, and post it here. If you do that, make sure you mark, a dot, at the corners as a registration marks. I'll need the registration marks so I can line each printout correctly.