Using toned paper to enhance light in your drawings

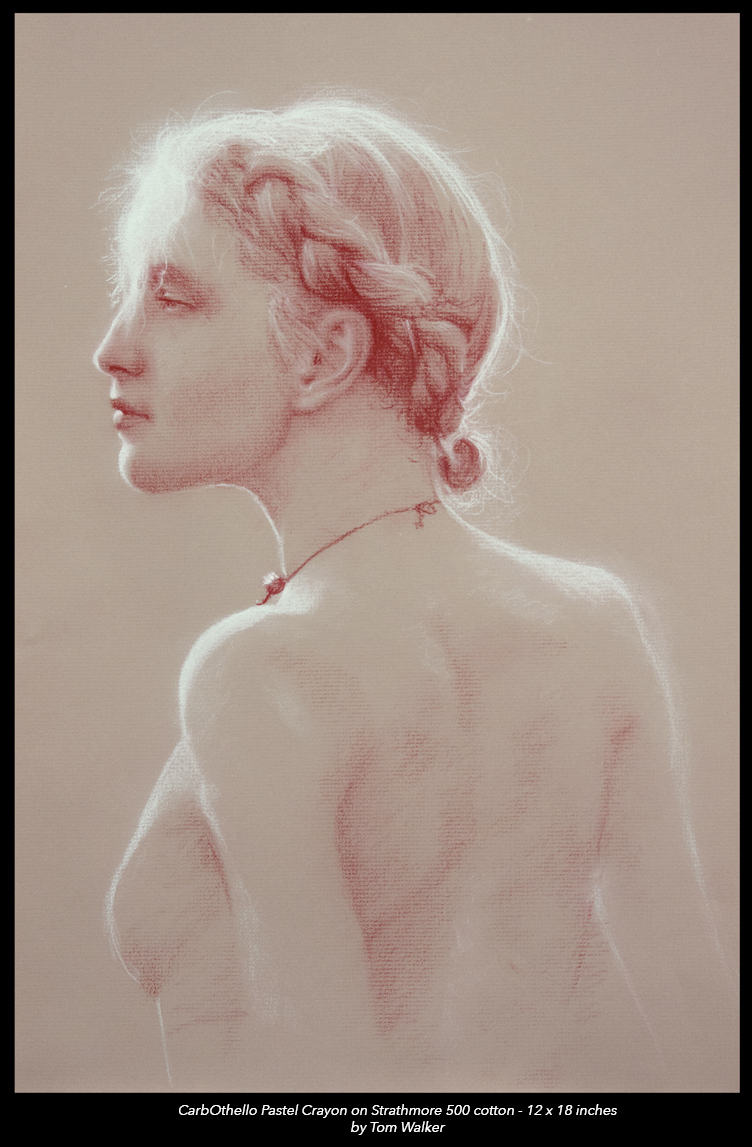
I'd like to share another drawing of mine. It's a nice example of using light to define shape.
The key is starting with a toned paper, in this case Strathmore Velvet Grey which is more of a browny colour that actually fades over time to grey/tan. (The paper colour is hard to photograph correctly!)
This paper is a mid-tone range, meaning it's neither dark nor light. This allows us to ignore the mid-tones that are often the hardest part of rendering successfully and focus on the light and shadow.
Using the Red pencil to build up the shadow areas and the White pencil to define the edges we get a brilliant light effect without much effort at all. This would be very difficult to achieve starting out on a white paper.
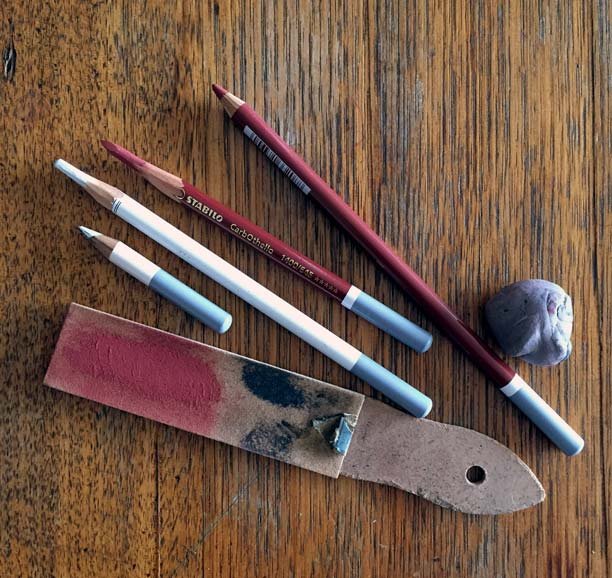
The paper is 100% cotton and has a great textured pattern which also helps in rendering tone. Dragging the pencil lightly over the paper keeps the pastel on the top ridges, while pushing hard fills them in. This gives you a lot more control than drawing on a flat smooth paper. The trick is to use your sandpaper to sharpen the pencil led into a nice long point, get it nice and dusty! To do this you must cut back the wood with a razor blade to expose the led, then use the sandpaper to create a point. You will draw with the edge of the led, not the tip. You can see in the photo below, a sharpened (but used) pencil vs a new out of the box pencil with a standard point.
When drawing in this manner, always 'ghost' in - draw lightly, find your forms and build up the tone slowly but surely. The darkest parts are the very last areas you will draw and often you will have drawn that area a few times, slowly building up the shadows. This is the opposite of painting where you tend to start with the dark areas and build up the lights with the whitest points being the final touches.
Finally, a kneaded eraser is the best tool to lift and remove any unwanted pencil or mistakes. The pastel pencil sticks to the kneaded eraser and lifts of easily, you don't need to rub madly like a normal eraser requires which can often leave more marks on the paper than what you want to remove.
Tools you'll need:
Paper: Strathmore 500 Charcoal Velvet Grey
Pencils: Stabilo CarbOthello Pastel Pencils
- carbOthello caput mortuum red (645)
- carbOthello Titanium White (100)
- Sandpaper board
- Kneaded Eraser


Great work, congrats!!
Great use of light👍
Wonderful work !!
Thank you! I'm not used to showing my work, i always expect more and think the next one will be better but i'm learning to open up a bit.
Love that white titanium.
I've never used sandpaper to sharpen like that, I use the knife blade to shave the led. But your way sounds better maybe. I will try. Thanks.
I love the drawing. It's really pretty. :)
Thanks for comments! Appreciate it.
Both methods have there purpose but if you use sandpaper you can get a nice softness to the led which helps with certain styles of drawing. It makes it easy to round out the led after you've done some drawing and developed some flat spots.
Plus i often break the leds when i use a knife, now i just carefully remove the wood and then get a point with the sand paper.
cool thanks I will try it :)
well done, see my last post, pencil drawing here https://steemit.com/art/@peacegeneration/pencil-drawing-of-my-sketchbook
and i'm waiting for advices, upvoted followed....
I love the backlighting!
Thank you! I must do another one, i can't buy the paper in Australia but i did order some from USA so hopefully in the future i can try again.
It's really fun to be able to use white, such a simple effect.
how can it earn just few cents? AMAZING!
Light is perfect, you done it great.