My 3 Super easy Five minutes DIY
These are my Five minutes DIY that are super easy and quick to make, And so much fun too! Yes, its economical and 100% natural, either Homemade or Handmade.
Homemade Wet wipes
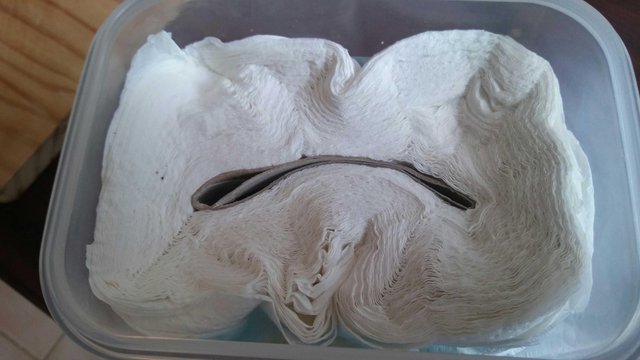
Materials
- Kitchen towel (firm)
- 2 cups hot water
- Container
- Baby wash of choice
- Tea tree oil, 3 - 4 drops
- Olive oil, 1 tbsp
Methods
- Halved the kitchen towel and place it in a deep container.
- In a separate bowl, combine the hot water, soap, oil and essential oil if using,Mix well.
- Pour it over to the kitchen towel and leave it until all the tissue absorbs the moisture.
- Remove the hard bit from the tissue and its ready to use.
It's smells fantastic! You can never ran out of wet wipes as long as you have tissue :)
Its 100 % natural
Side note, It doesn't tear easily, make sure though that you used a firm kitchen towel.
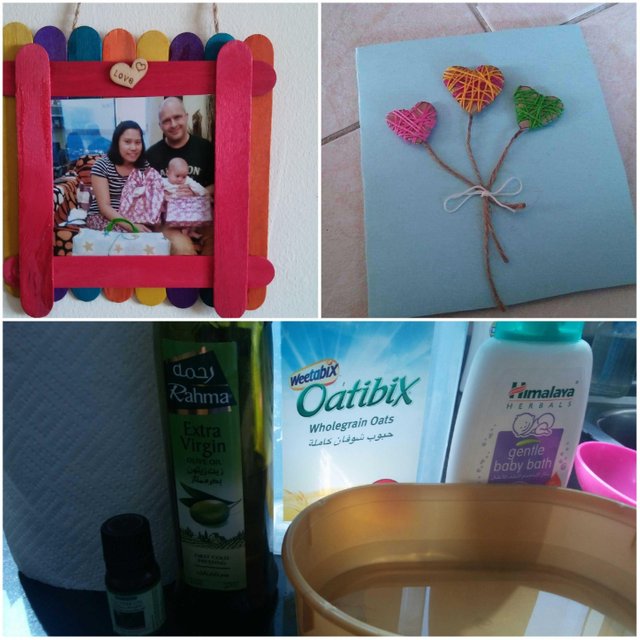
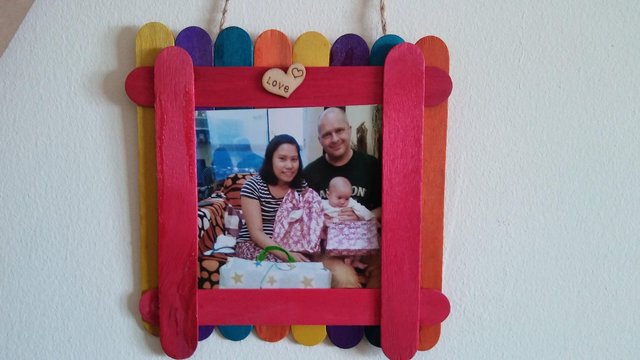
Popsickle Picture Frame
Materials
- Colored popsickles 12 pcs
- Favorite picture
- Glue
- Twine, 8 inches
- Paper, to avoid the mess

Methods
- Put glue in the sides of the sticks, and stick them one at a time till you finish 8 lines of popsickle sticks.
- Glue a popsickle stick across the line and the opposite.
- Glue another popsickle stick vertically on both the opposite sides to form a square. The hole that formed in the sides will serve to insert the picture.
- Add a little glue on the back and stick the twine, it serves to hold the frame
- And insert your picture.
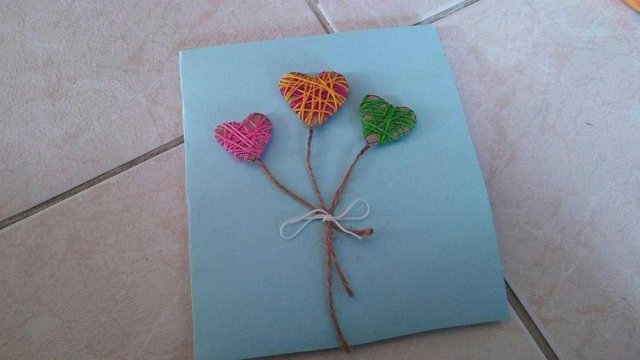
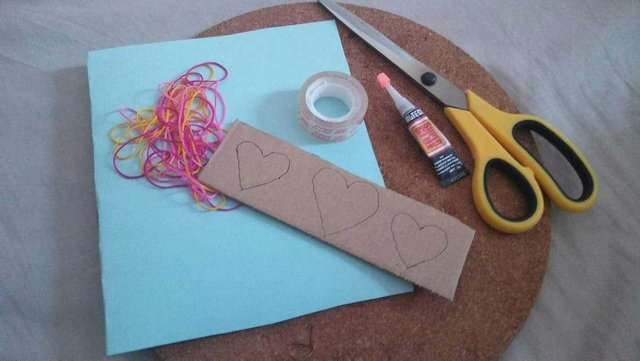
DIY Card
It's a very easy peasy card that can be done in minutes. A perfect activity for kids and young at heart. Help kids develop and practice their motor abilities and patience. Results can form a self accomplishment for young kids.
Materials
- Cardboard
- Glue/tape
- Scissor
- Twine
- Thread, any color
- Pen
Methods
- Draw a heart shaped in the cardboard and cut accordingly
- Tape the tip of the string behind the shape
- Wrap the shape around using the threads and tape again at the last end.
- Glue a twine at the back of the shape, It serves as a stem
- Glue them one at a time into the cardboard and tie a knot in the twine.
Try it for yourself, it's a lot of fun. Be creative, Discover and be amazed.
This post was manually curated by @upmewhale, in combined efforts with the eSteem curation team to bring further support to our valued Steem community! Post curated, courtesy of @horpey
~ eSteem Curation Team
Thank you so much. More power!
Thank you for using the #diy tag. We have manually rewarded this post from our @build-it.curator account with BUILD tokens in the form of an upvote.
Build-it is a central hub for DIY and How-To projects. It's an opportunity to find and share the latest in DIY, and How-To tutorials. The recommended tags required when creating a DIY article are #diy, #build-it. #how-to, or #doityourself. Please read our guide
Need help? Live technical support on Discord or Telegram
This project is run and supported by our witness @gulfwaves.net. If you like what we do, click here to vote for us