A small spare room/ closet update.
A very Happy New Year to everyone!
I do hope all you Steemians have had a good one, and may you all have a joyous and successful 2018 :)
Over the past few weeks - on days off and after work, we've slowly been working towards completing the closet in the spare bedroom. A relatively small job, but one going a long way towards the box room being emptied and turned into @costopher's office (and me organizing my clothes more efficiently).
So, to recap: we took out the old water tank, the two large wooden beams that the water tank was sitting on, and the pipes that had been protruding into the ceiling. We took off the old doors (two large doors below, two small doors above), the door frame and the old false floor. We removed the cornicing and had the ceiling skimmed with plaster to cover the artex. The plasterer also covered over the gap in the plaster work on the walls where the water tank had been. we painted all the walls and ceilings white, stripped out the old carpet and painted the floor boards. The last post made about the room was this about the skirting board being finished.
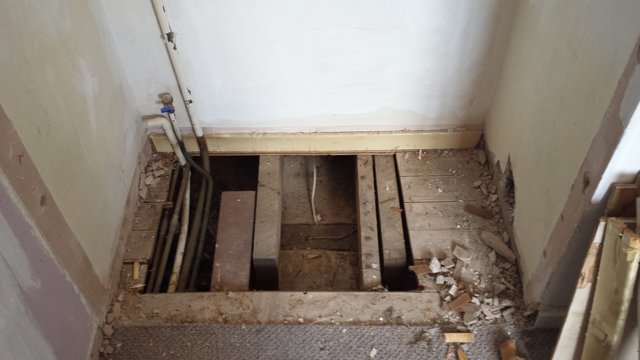
Here's a "Before" photo. Apologies for the odd angles of these photos - the shape of the room makes it tricky to get a proper head on shot of the inside of the closet.
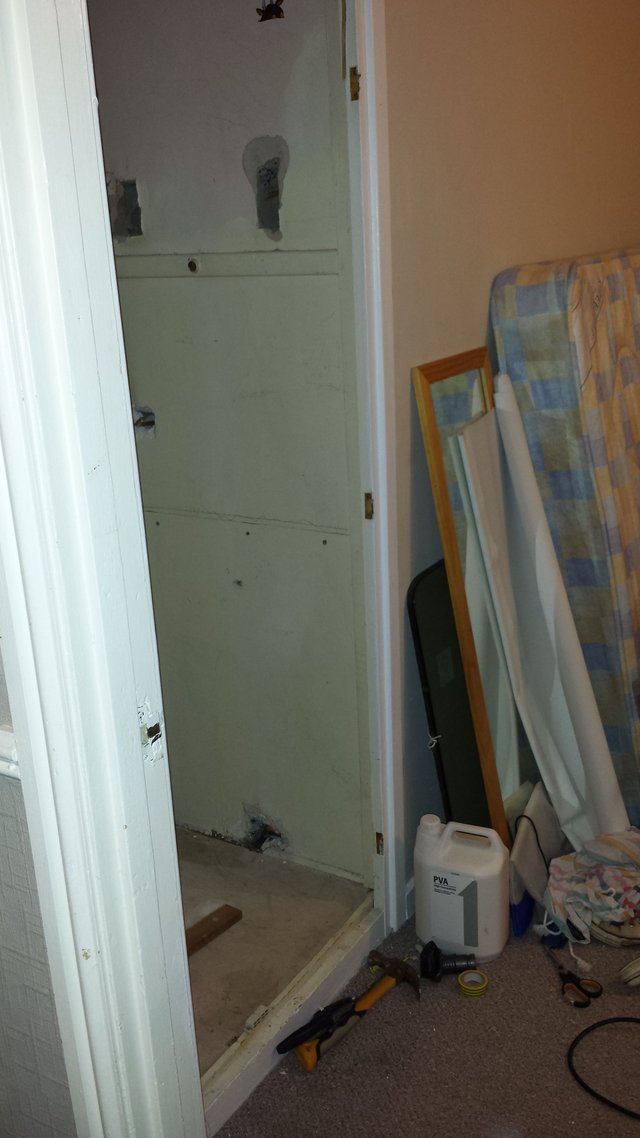
I neglected to take a photo with the water tank still in. I was just so happy to say goodbye to that fiberglass eyesore that I forgot about anything else.
I think the dodgy paint job around the missing line of plaster on the walls really ties the theme together, no?
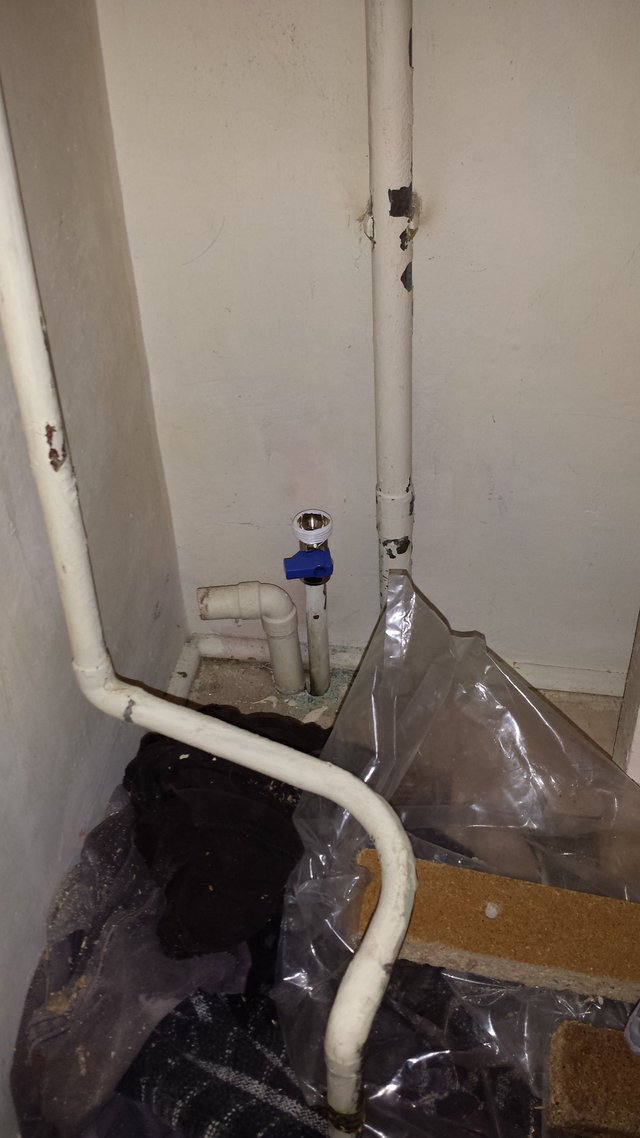
One of the fabulous pipes we got rid of. This was going up into the loft, and wasn't attached to anything, so we new it was safe to remove. There are some still left protruding up from the floor, but I'm too scared that they're important and terrible things will befall us if we touch them. At the moment we don't have the money for a plumber to investigate properly, and they're doing no harm as they are.
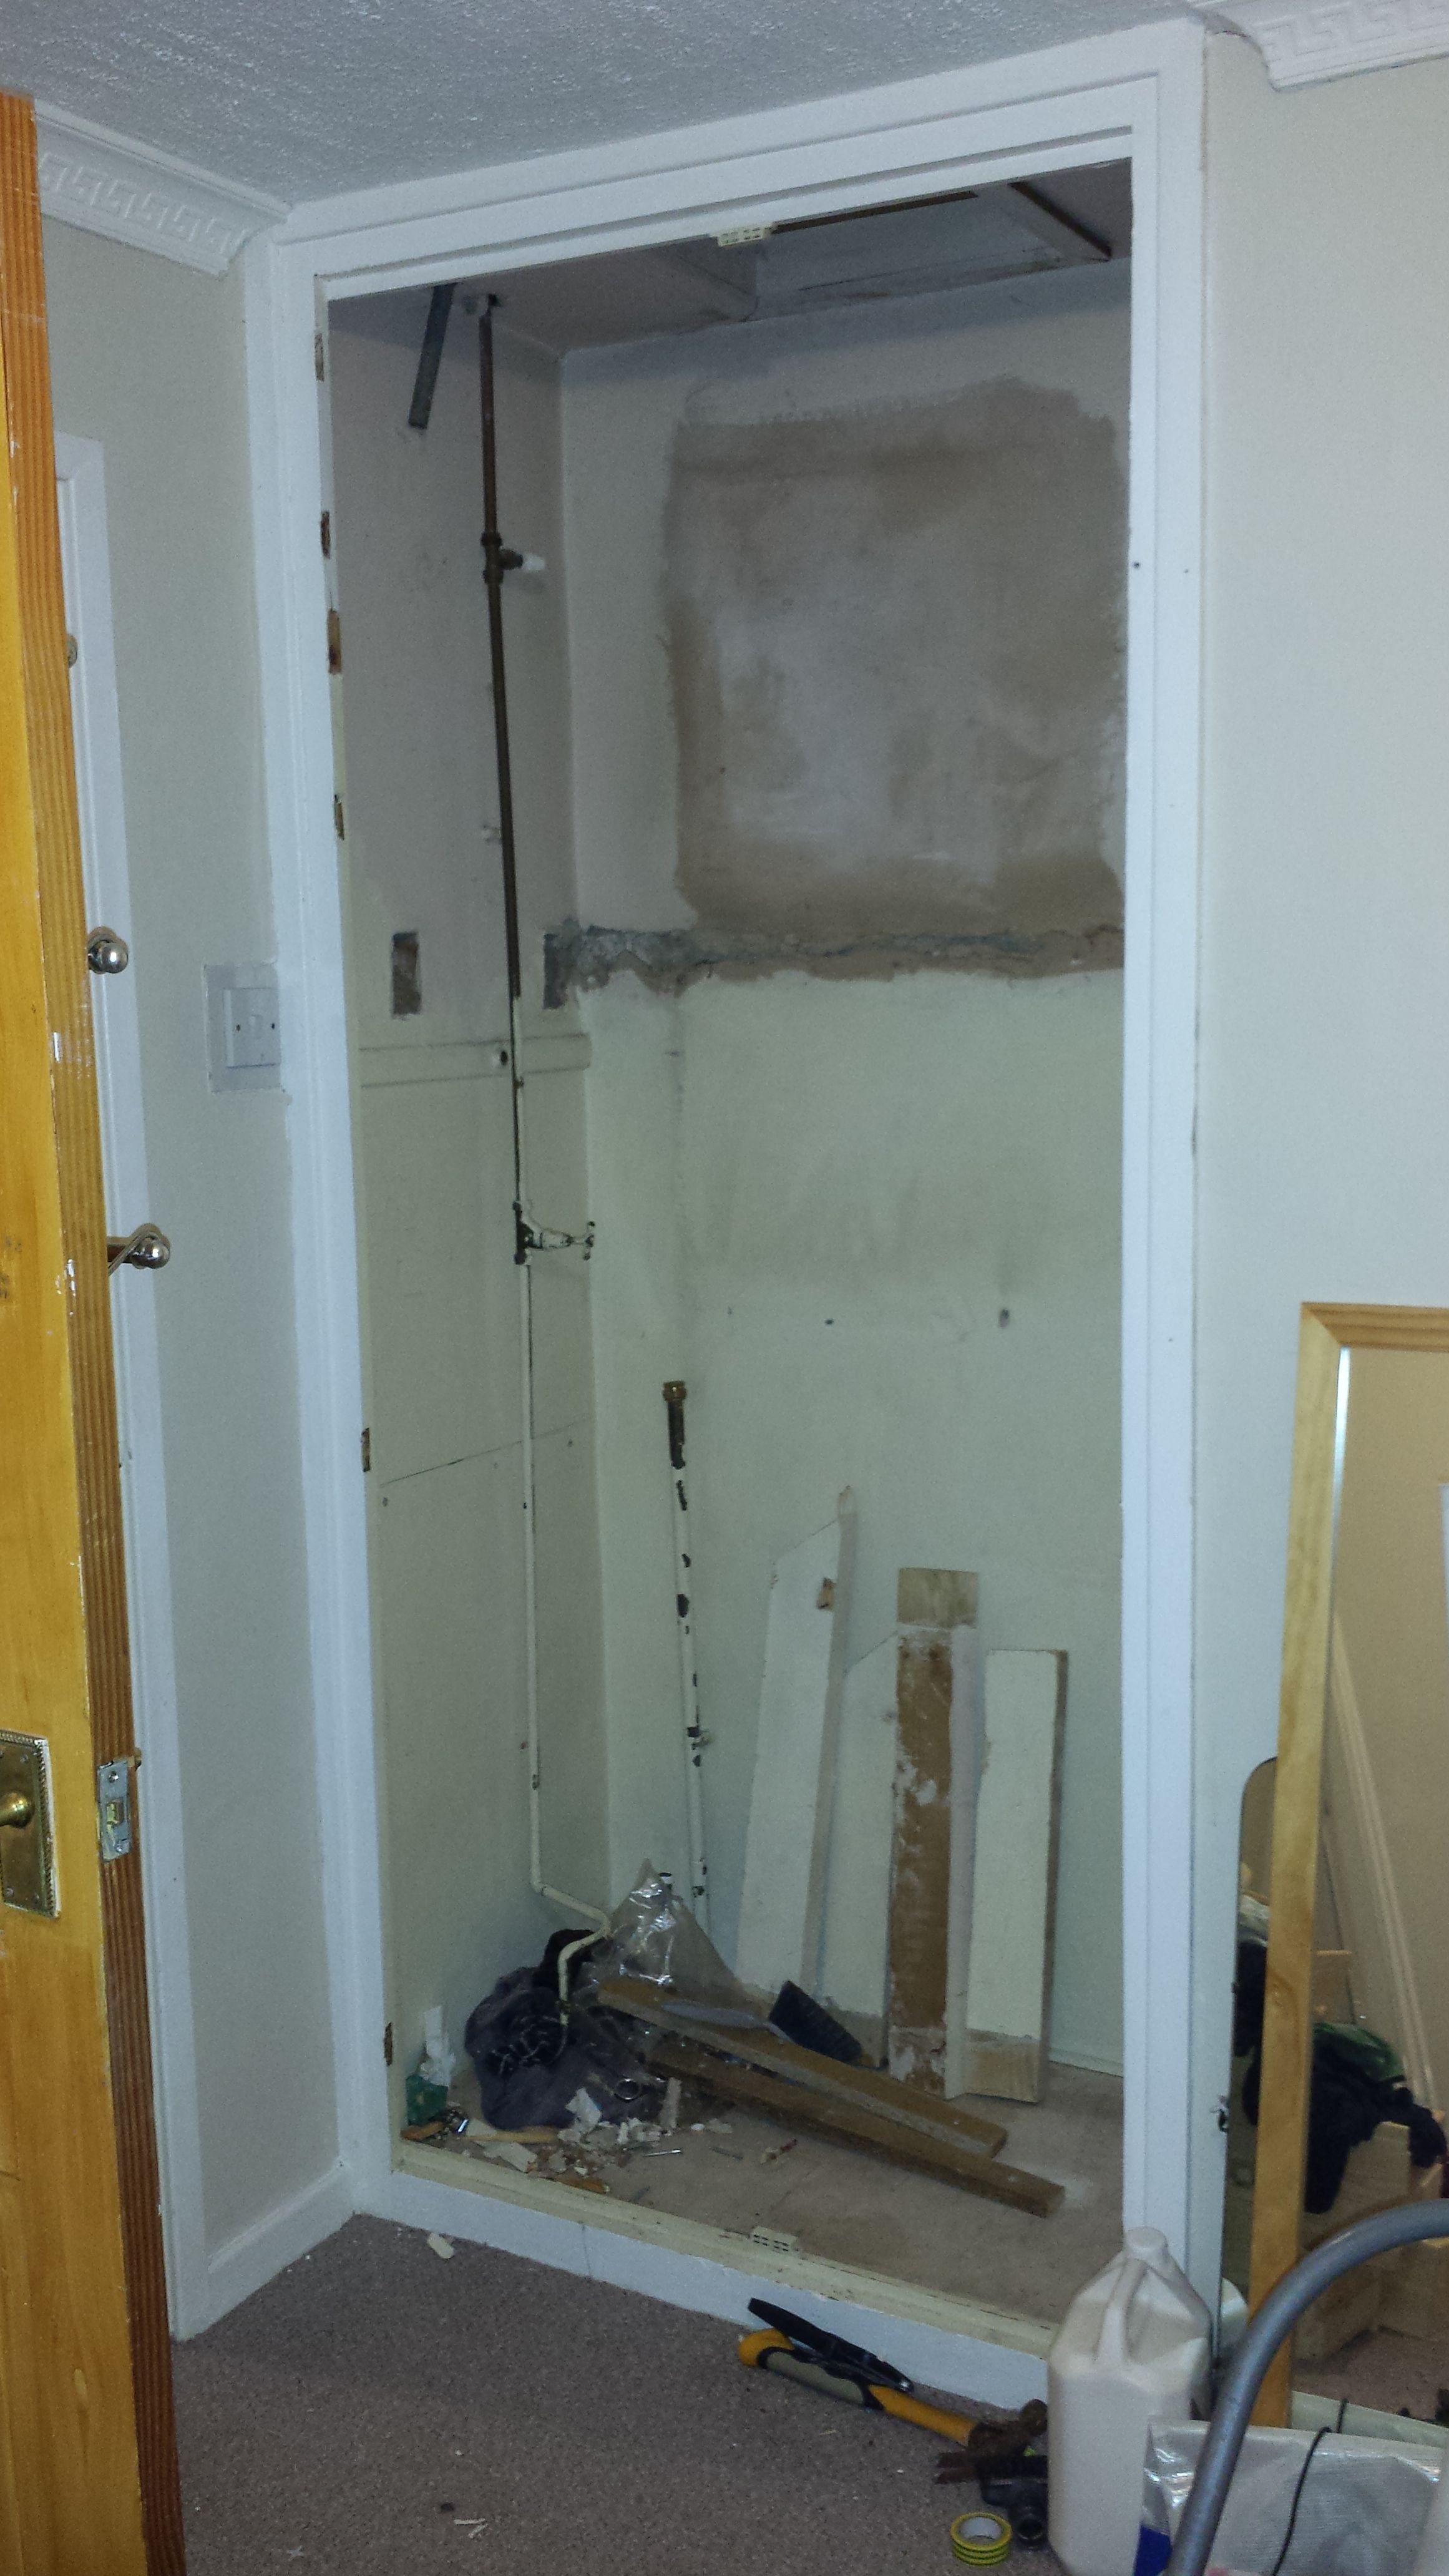
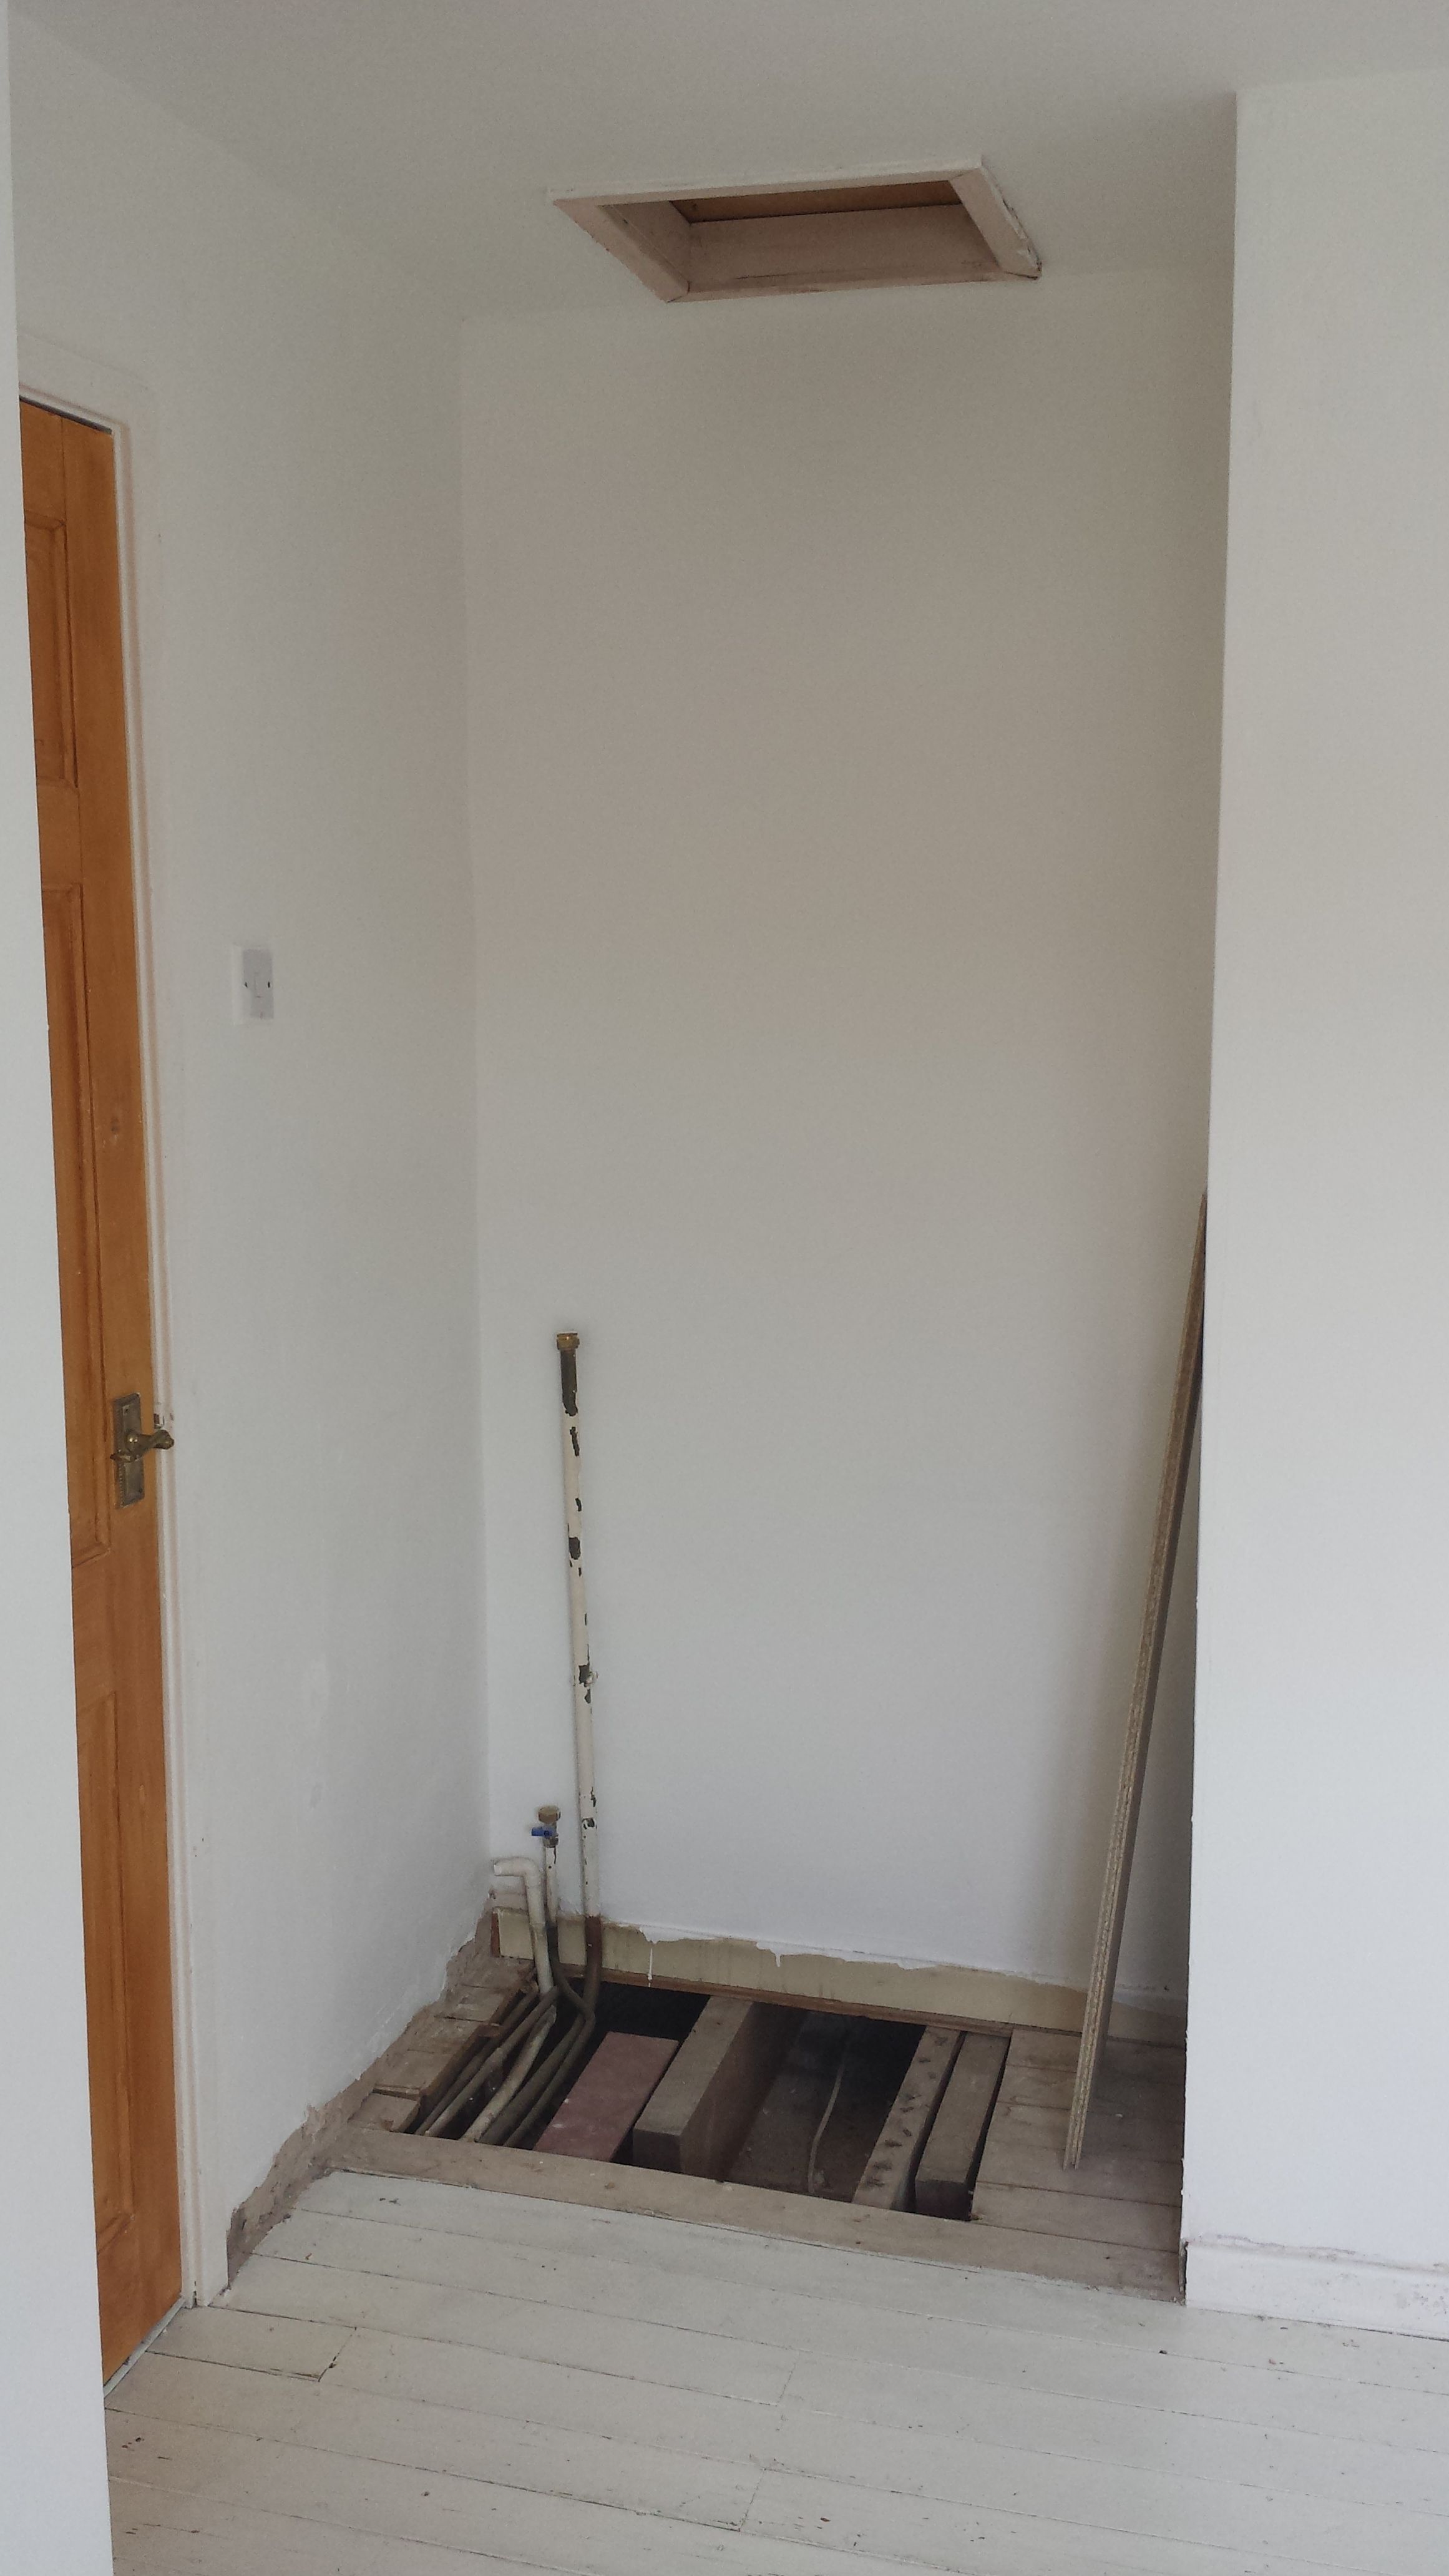
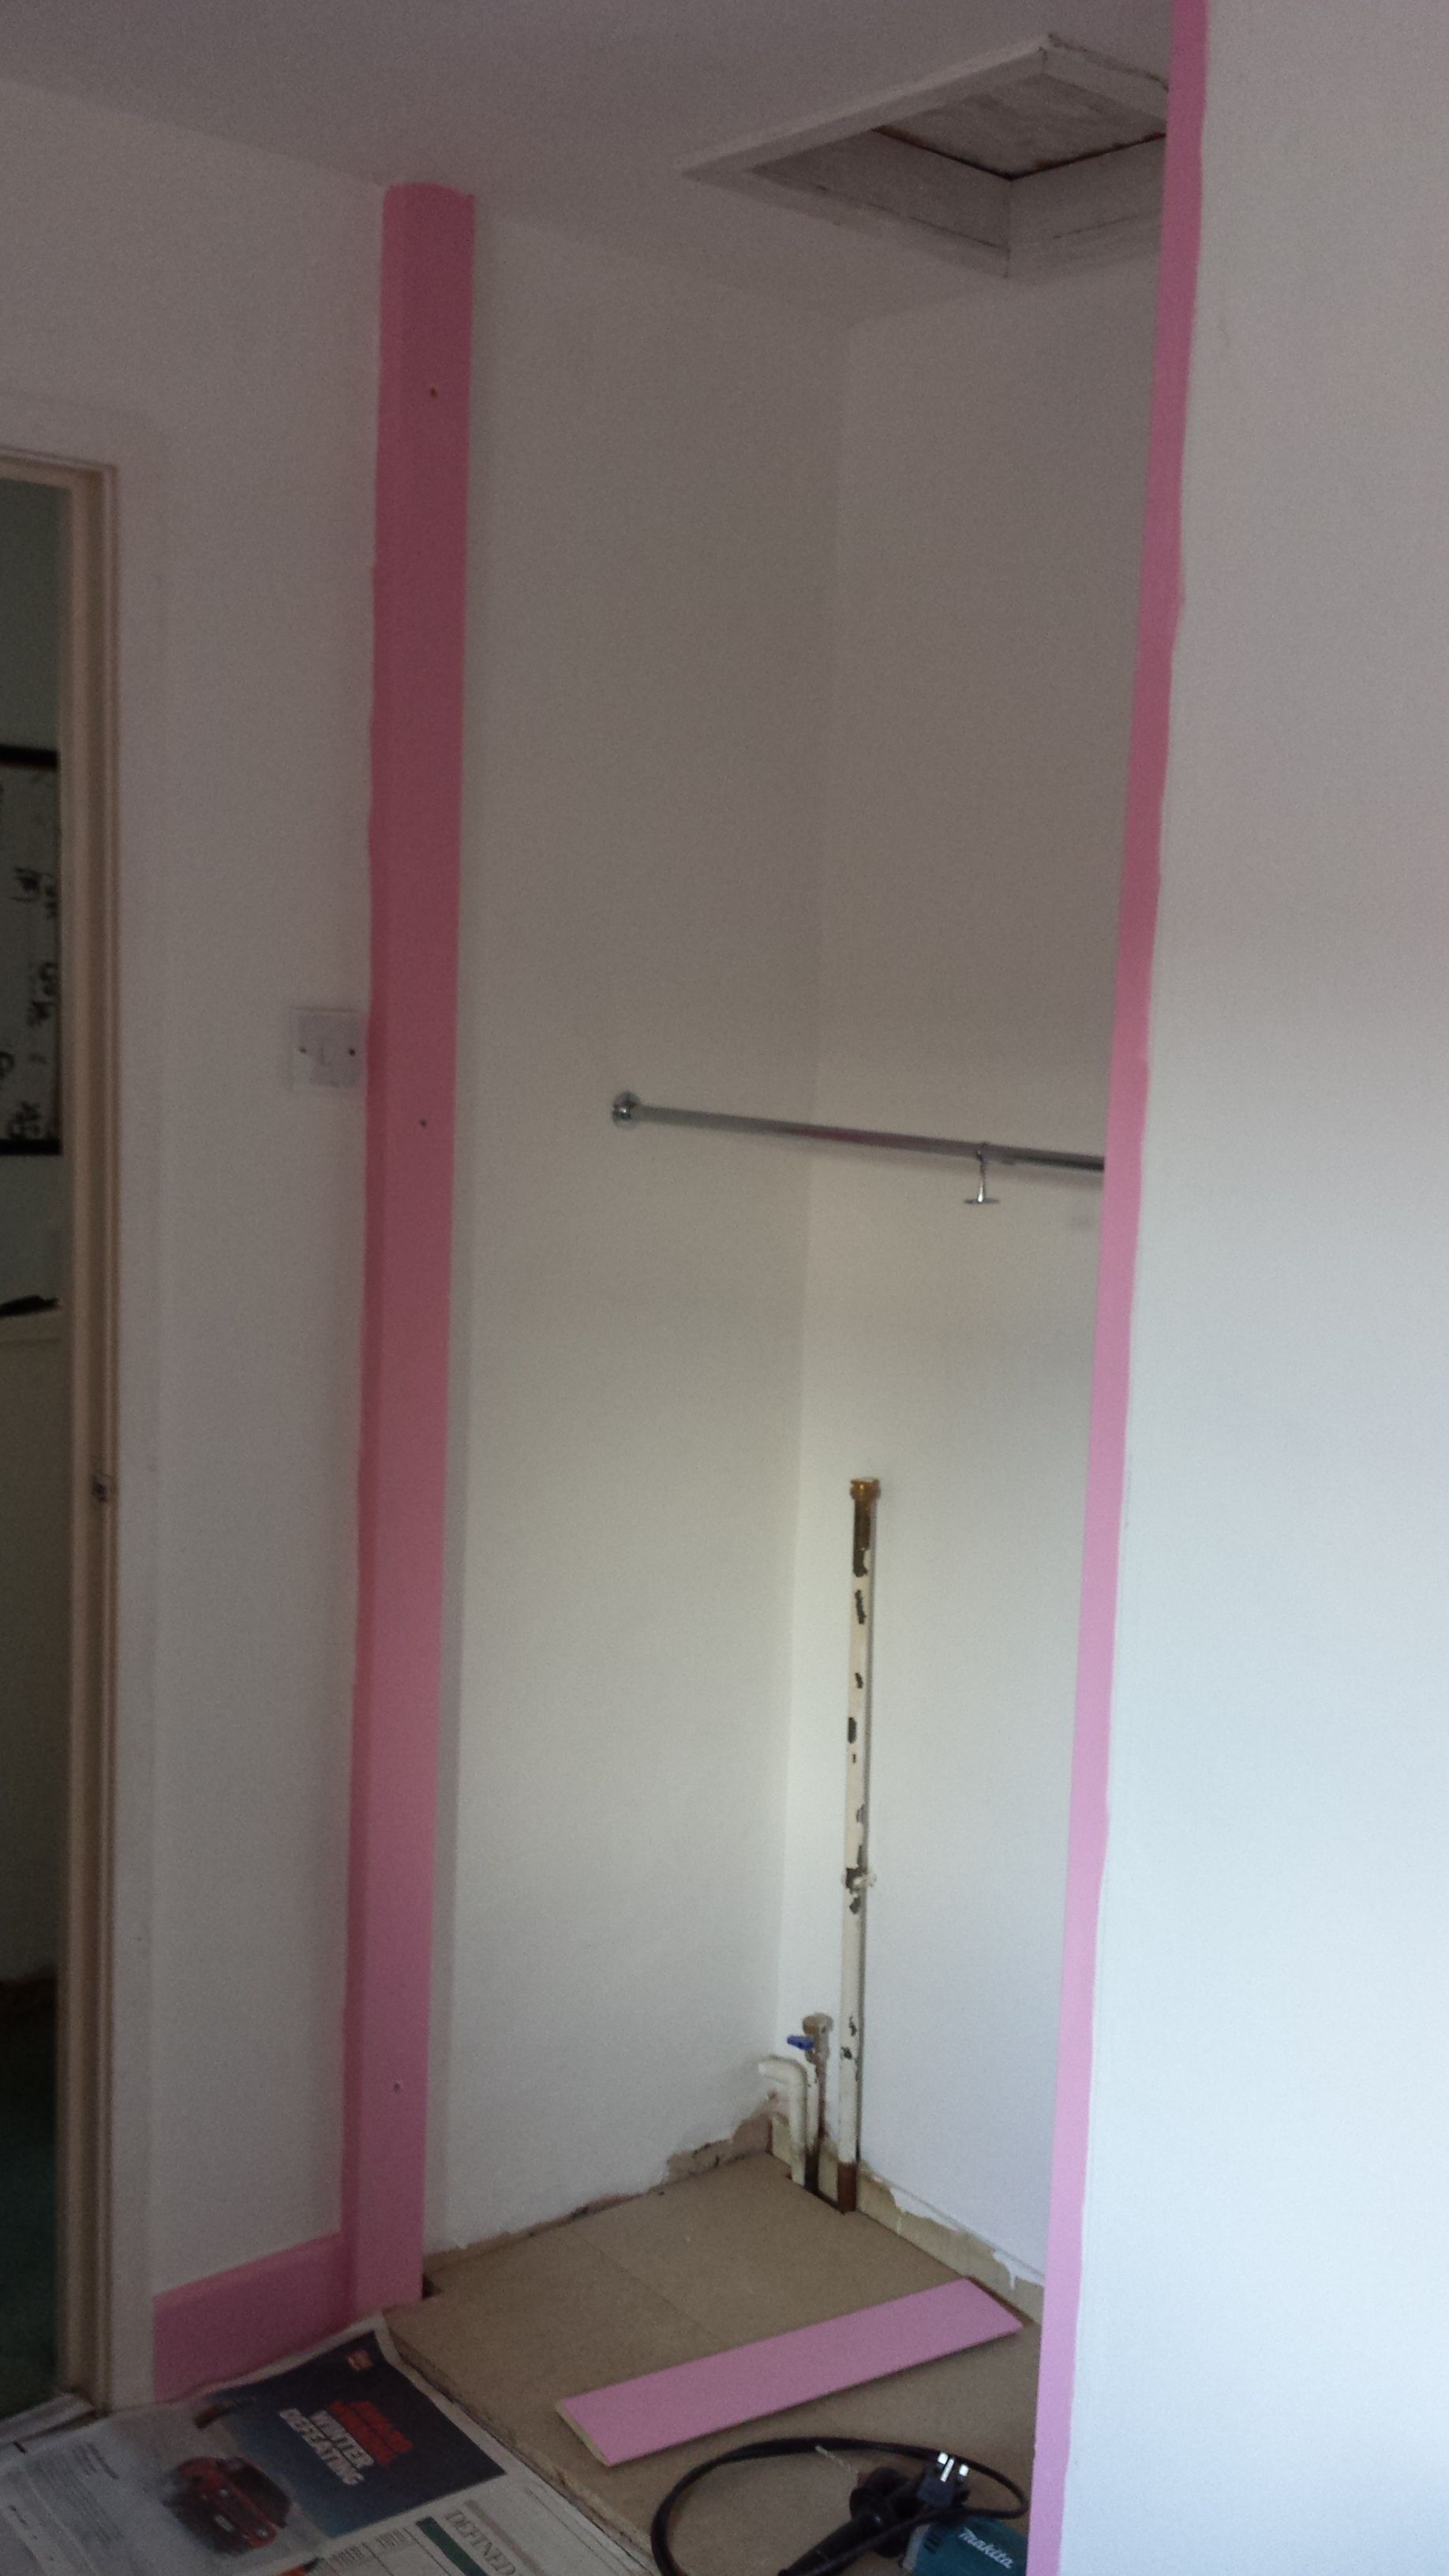
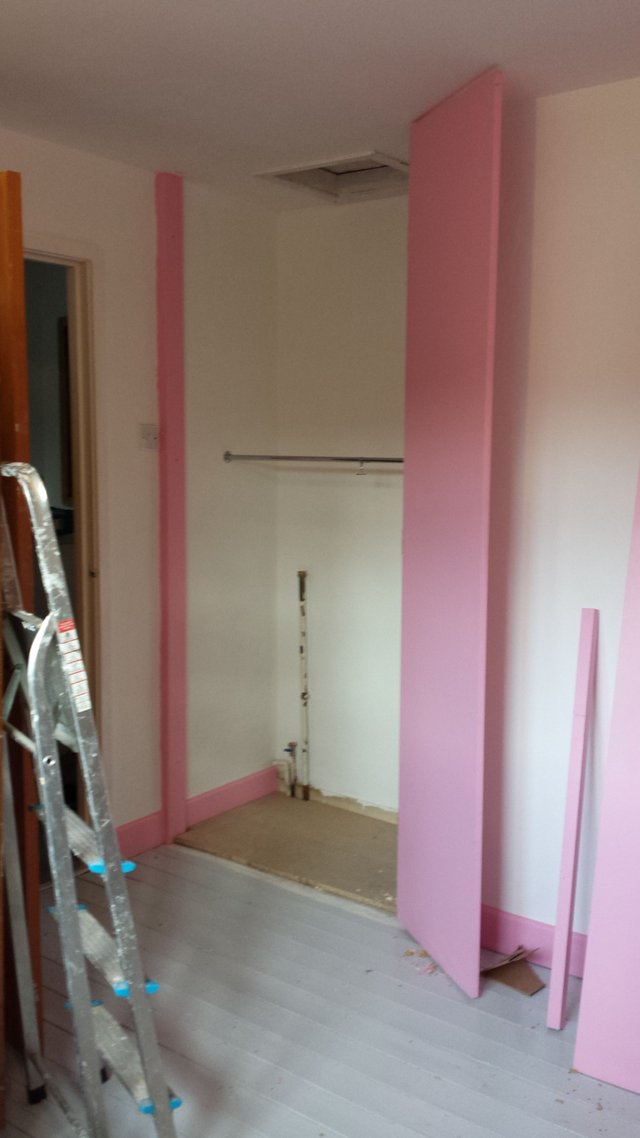
Getting rid of the old closet frame and raised floor.
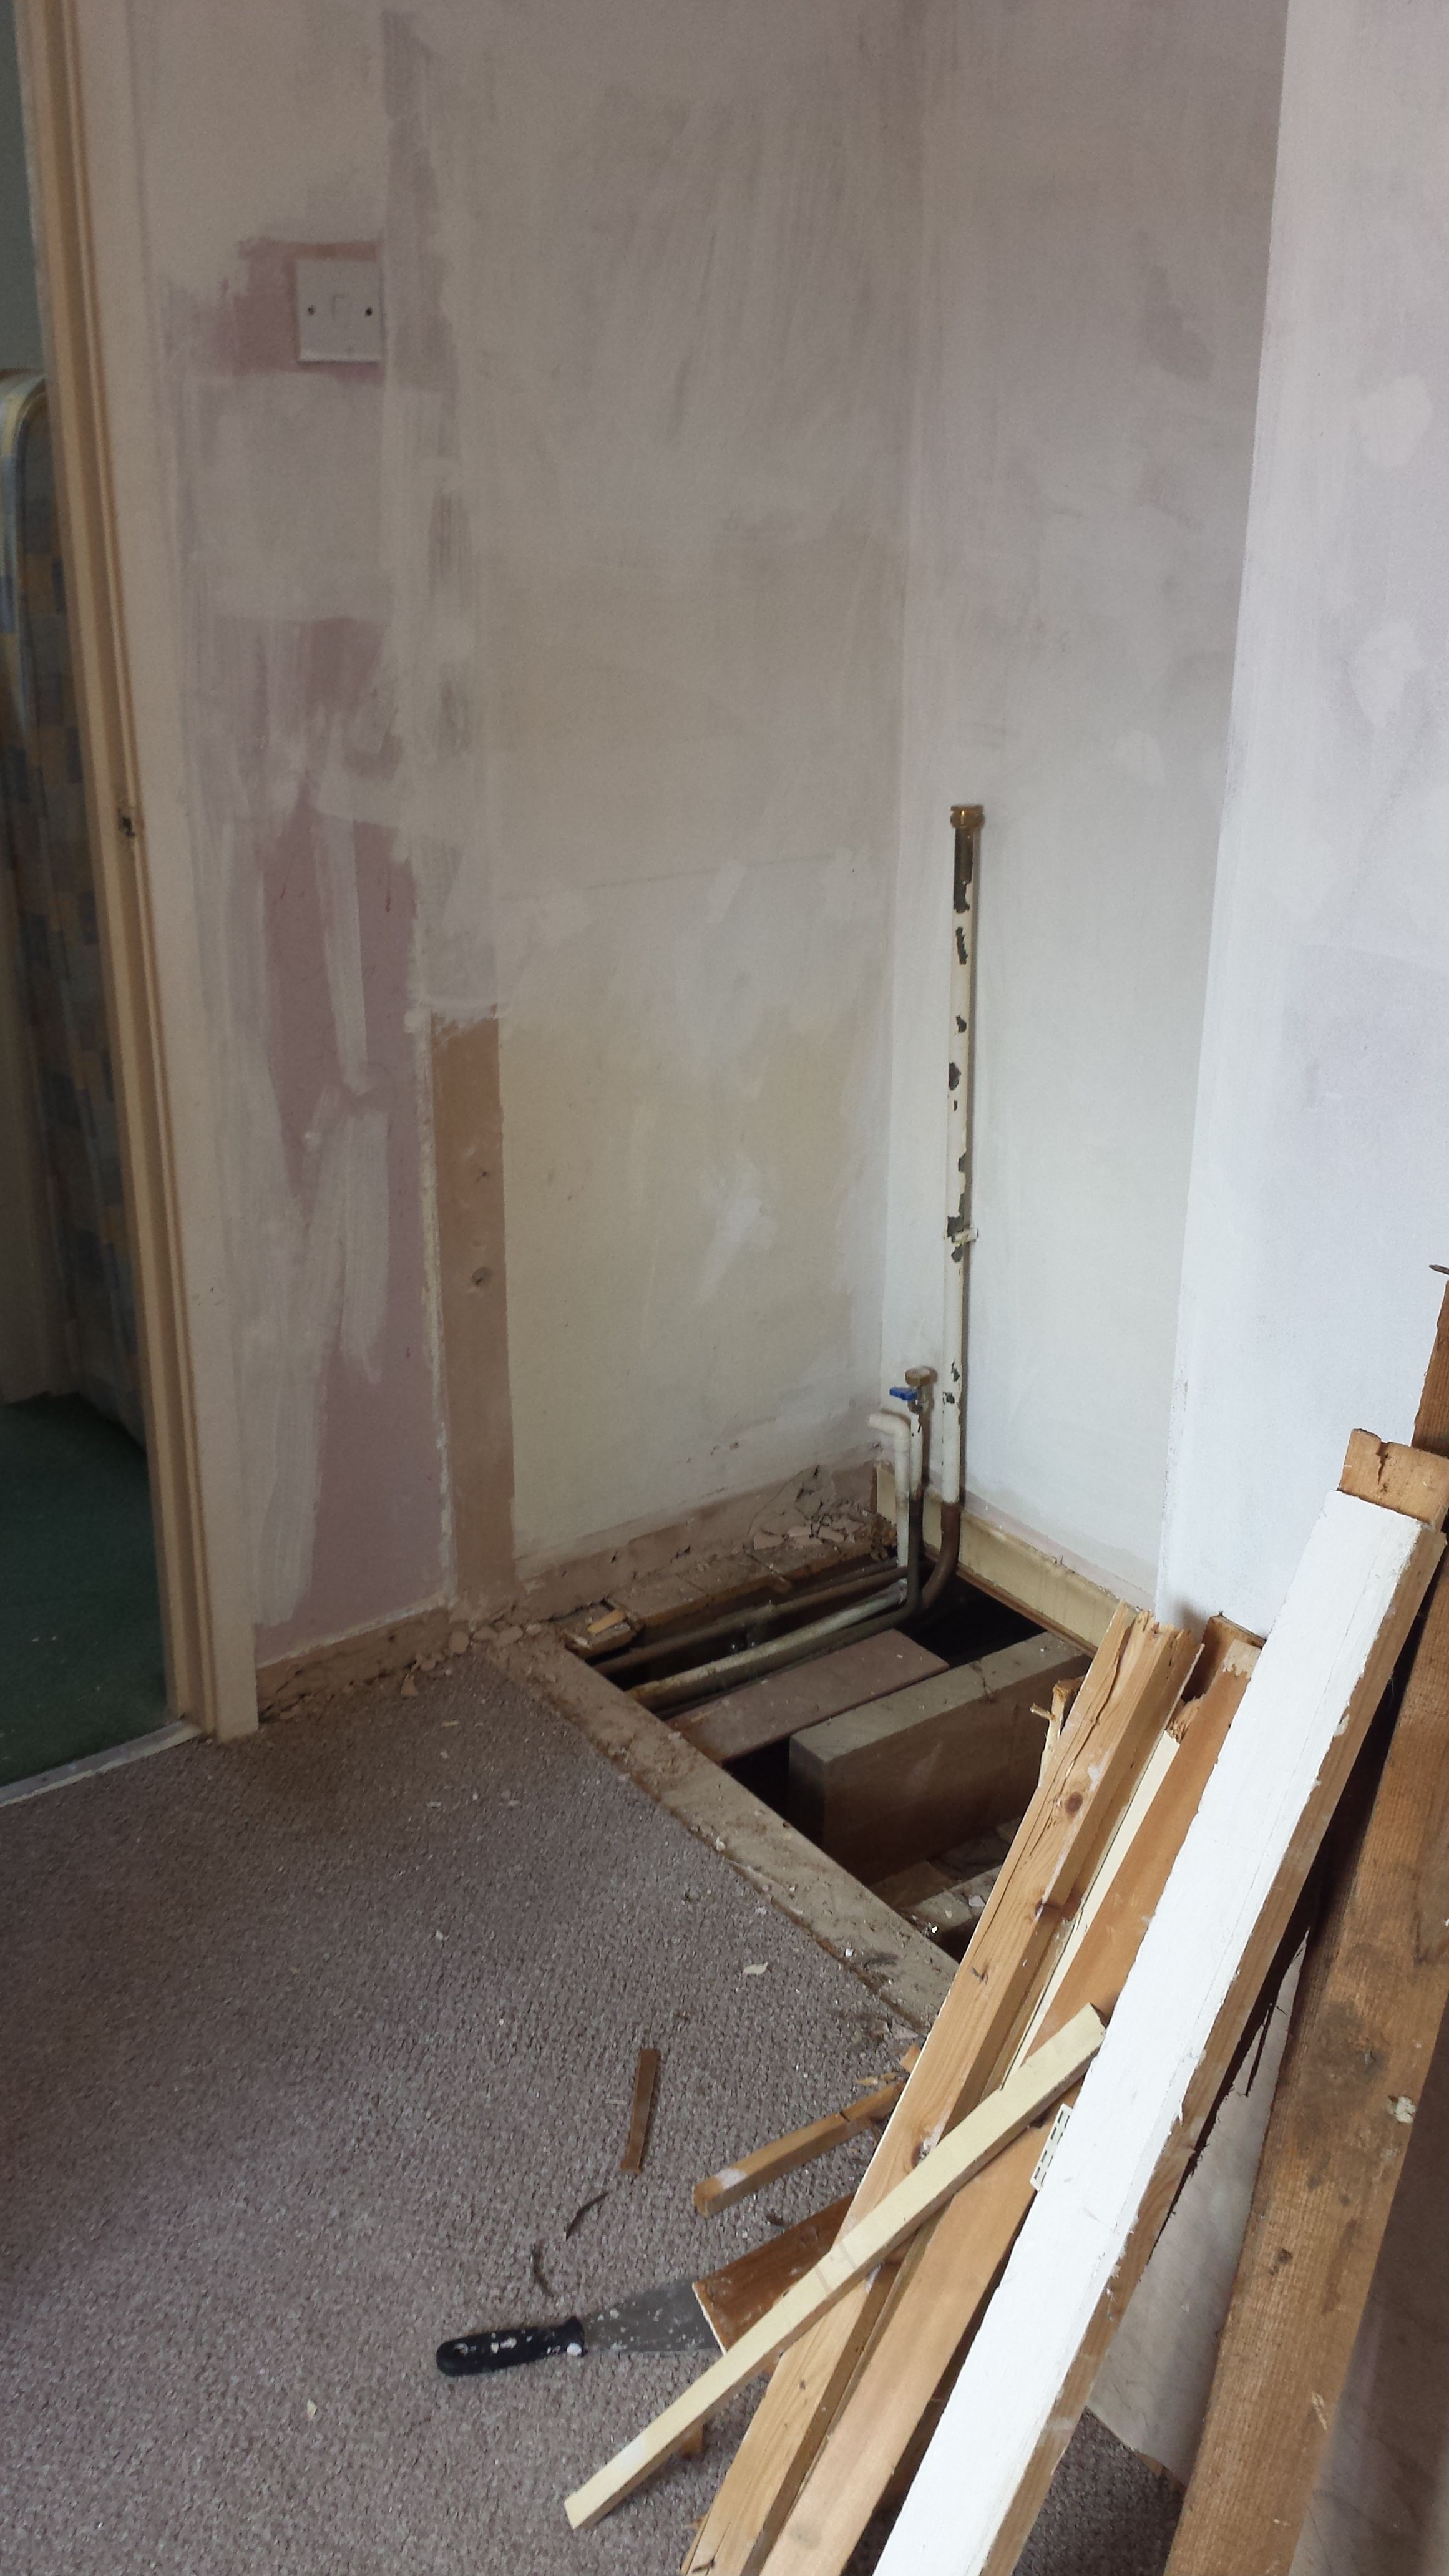
Once the room was turned into a blank canvas.
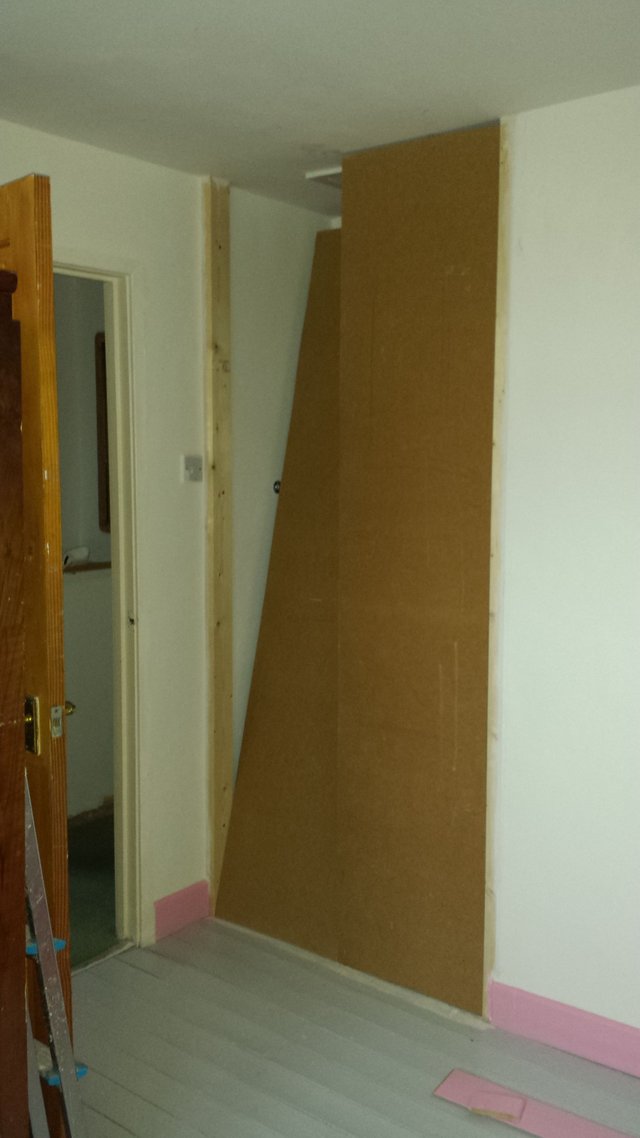
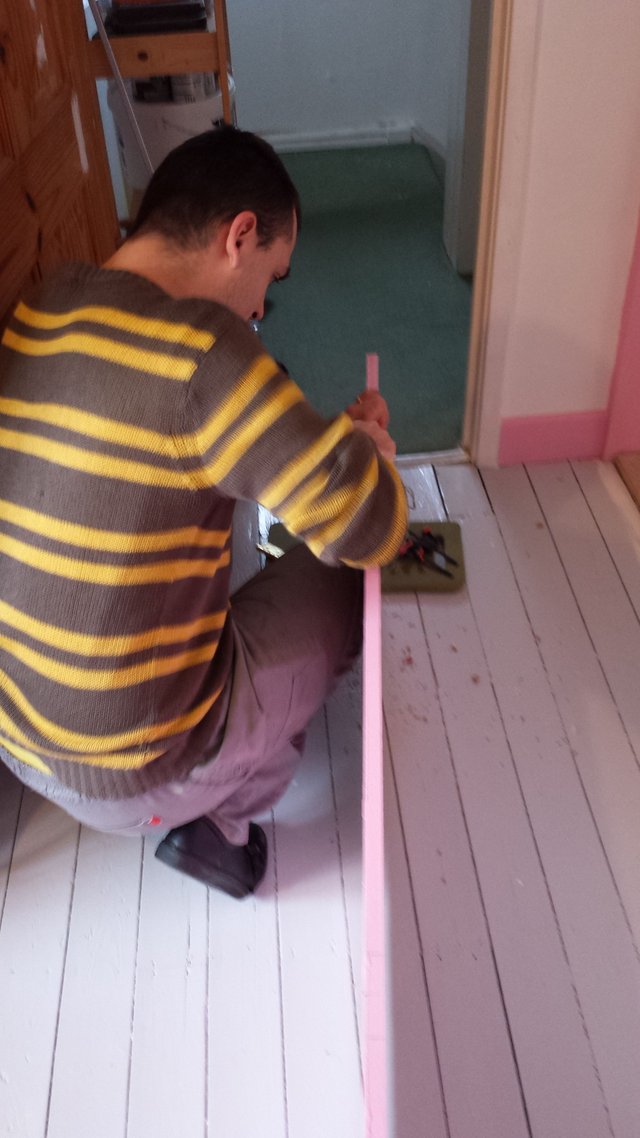
The next step was putting in a new frame for the doors. @costpher did this with my father, attaching thick wooden beams to the walls on either side of the closet.
I've love proper wooden doors, but it seems that in the UK getting hold of that size of sheets of real wood is tricky if you're not in the trade, or expensive. We looked at plywood, but it's tricky to get a smooth edge on plywood, and with the hinges I wanted the screws would have to be drilled into the edge of the ply, which never seems like a good idea. MDF it is! Cheap and cheerful, and going to be covered in paint to hide all it's sins.
I'm sure we're all aware that MDF (Medium-density fibreboard) is essentially the wood sweepings off the factory floor, bound together with resin and hope. It's not a nice material: is chips easily, it has no grain to work with; and most importantly: it can potentially cause health problems. You must always wear a mask when cutting it - in a well ventilated area. As it's basically just dust, it releases far more dust when cut than a normal piece of dust. This can cause lung and eye irritation when cutting or sanding. Even when you're not cutting it; if you just leave a piece of MDF alone in a room doing nothing, it emits free formaldehyde for at least several months after manufacture. The fun doesn't end there: urea-formaldehyde is ALWAYS being slowly released from the edges and surface of MDF. Woo hoo!!! So seal it up real good. Seal it, prime it, give it at least 2 coats of paint - all over, on all the edges, even where they won't be seen. It's just about the most boring death trap there is.
We found a large sheet of MDF from our local hardwear store that was about 2 cm shy of the height of the ceilings. That actually worked out perfectly, as none of our walls are ceilings are properly flat or perpendicular. The ceiling bows by about 1 cm just where the wardrobe doors open, so they couldn't be cut to full height anyway. To fill the gap at the top, we used a baton of wood left over from another DIY project. This was recessed back from the edge of the frame so that it acts as the stop for the doors. This is we attached the magnetic catches to.
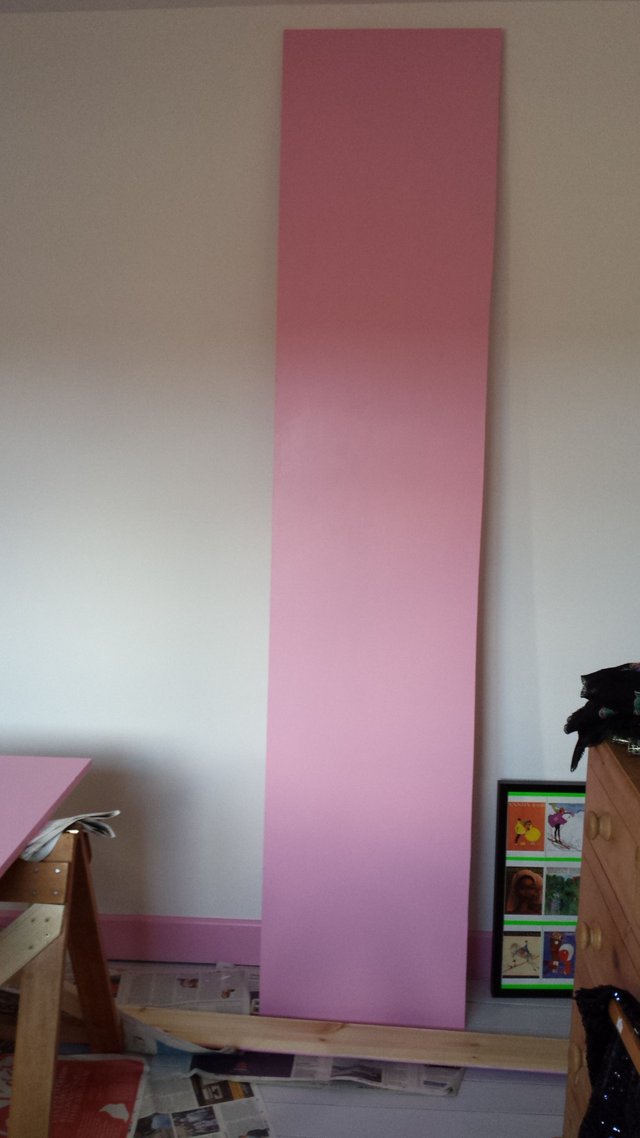
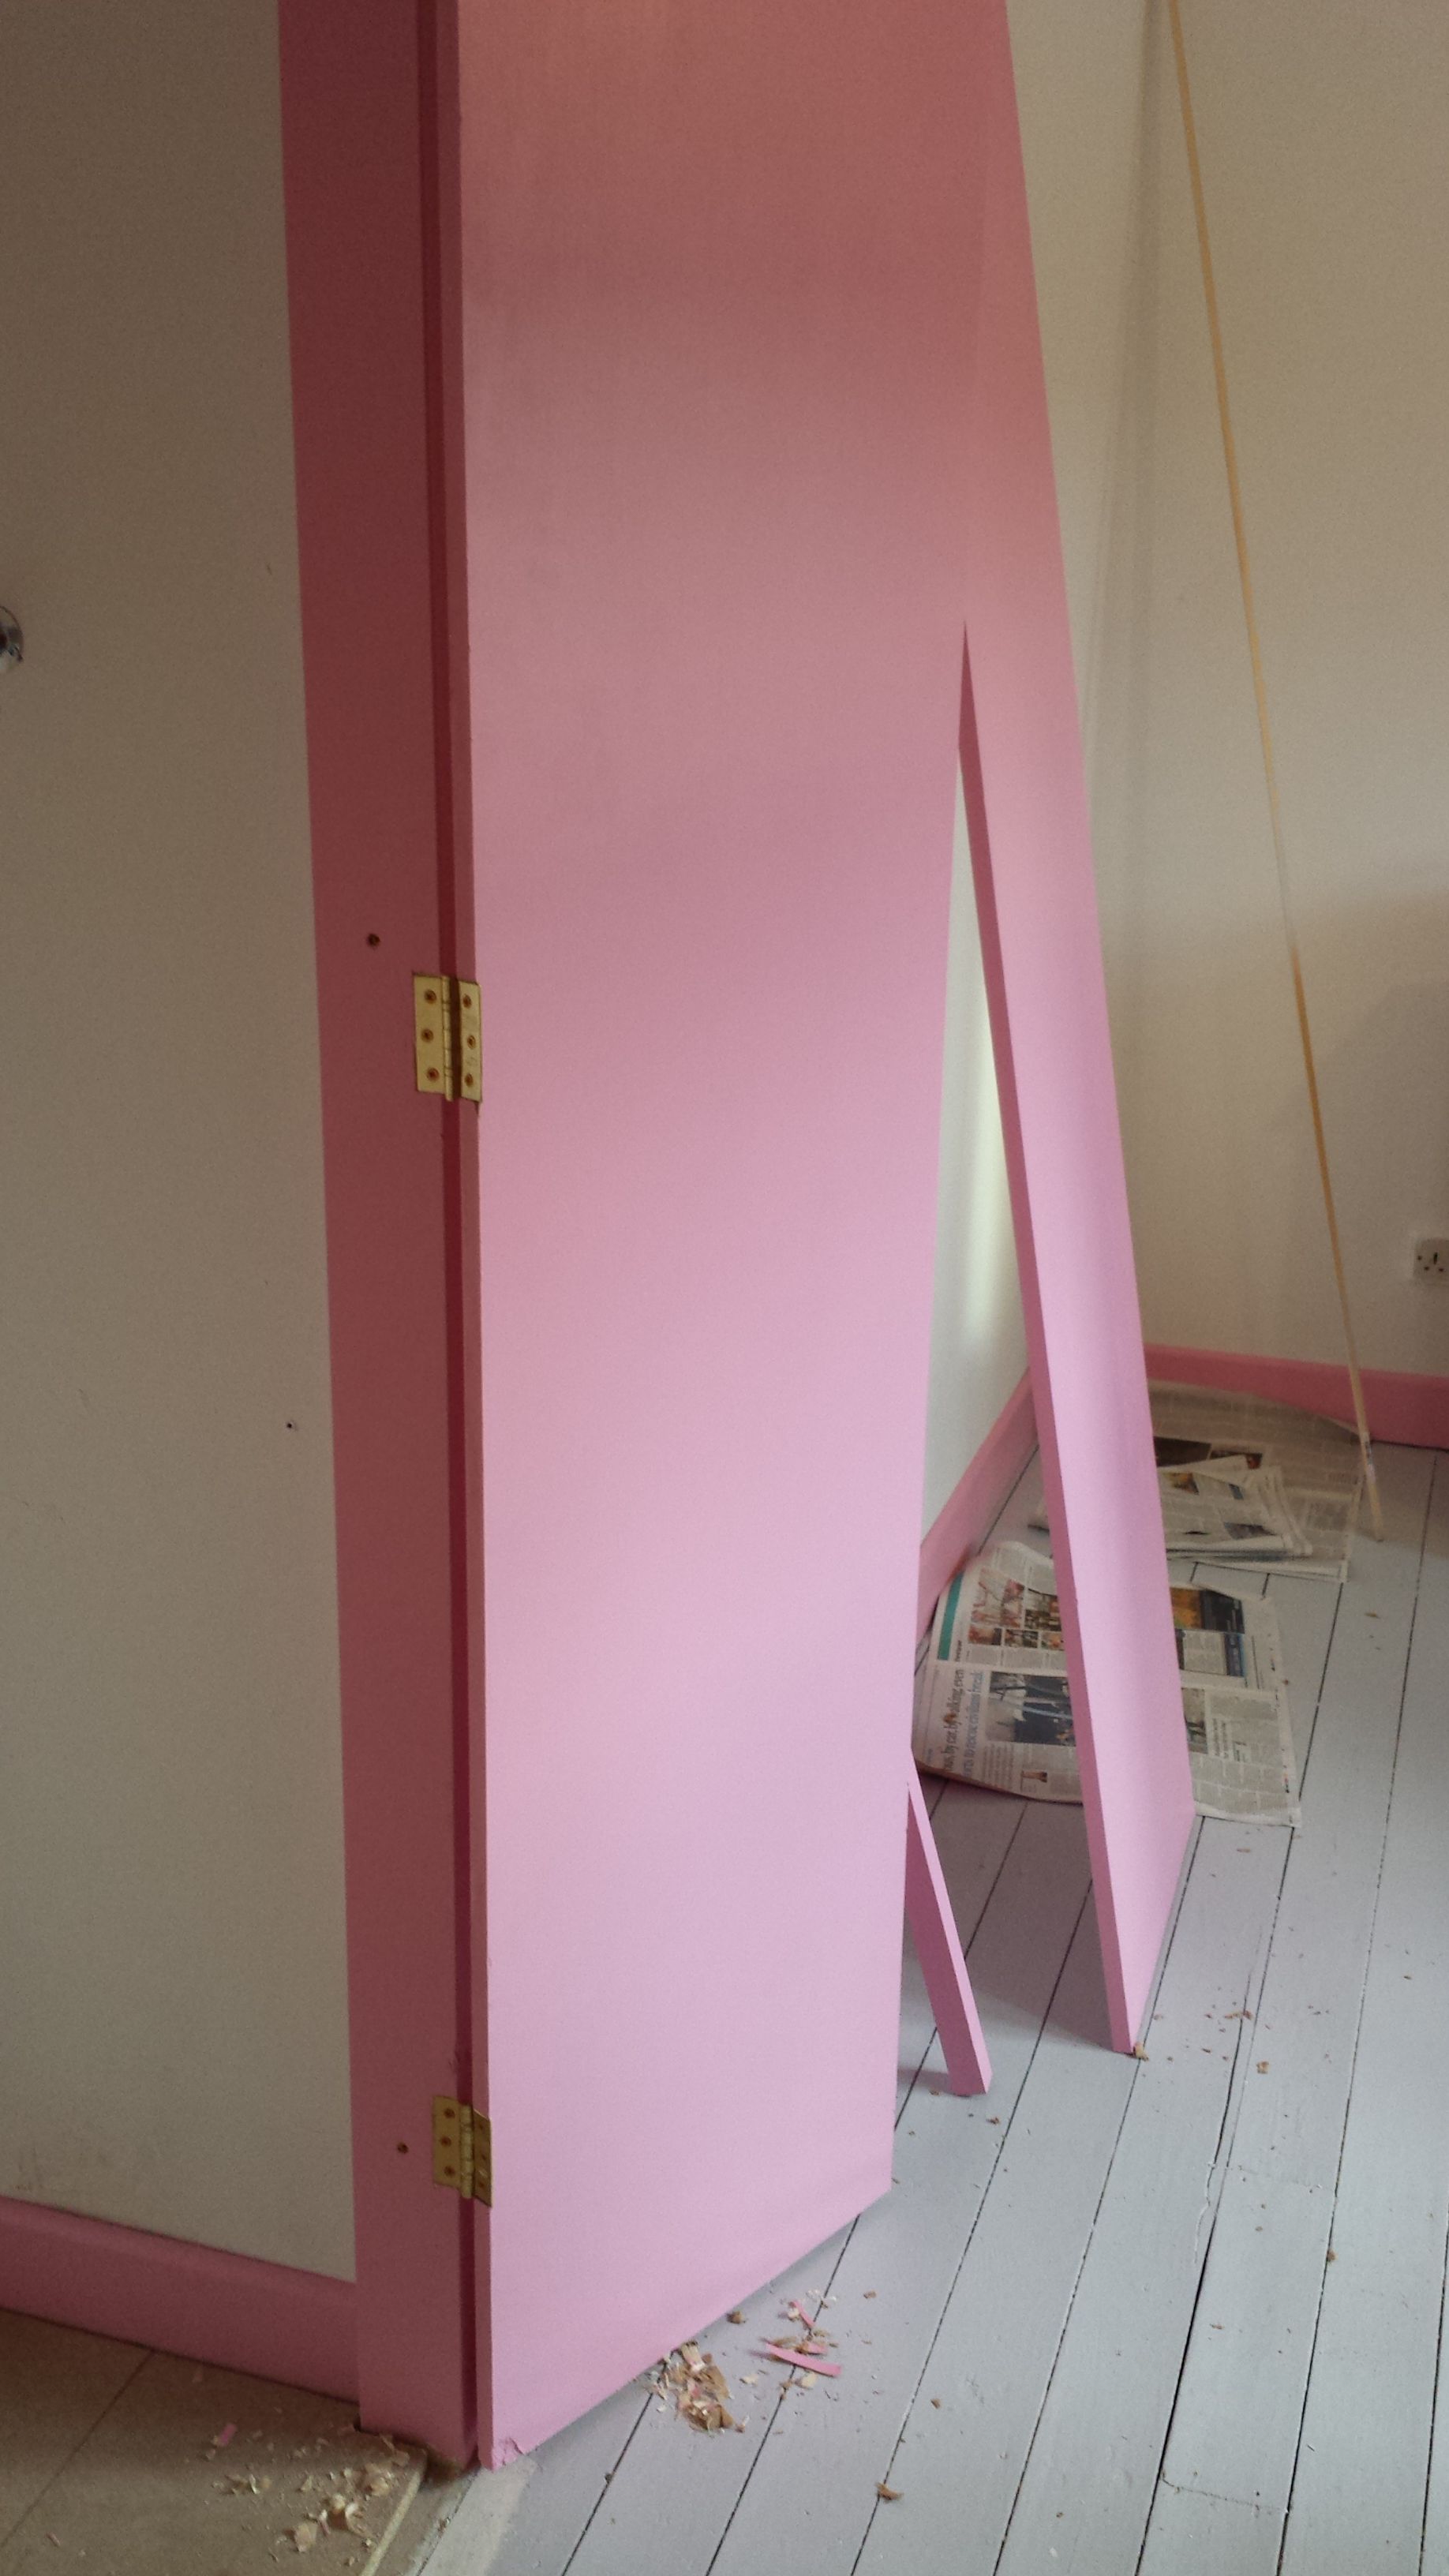
Below, the new wooden frame in place, and the MDF doors cut the size, ready to seal, prime and paint.
Painting up the new doors.
The frame painted and new flooring over the hole in the floorboards.
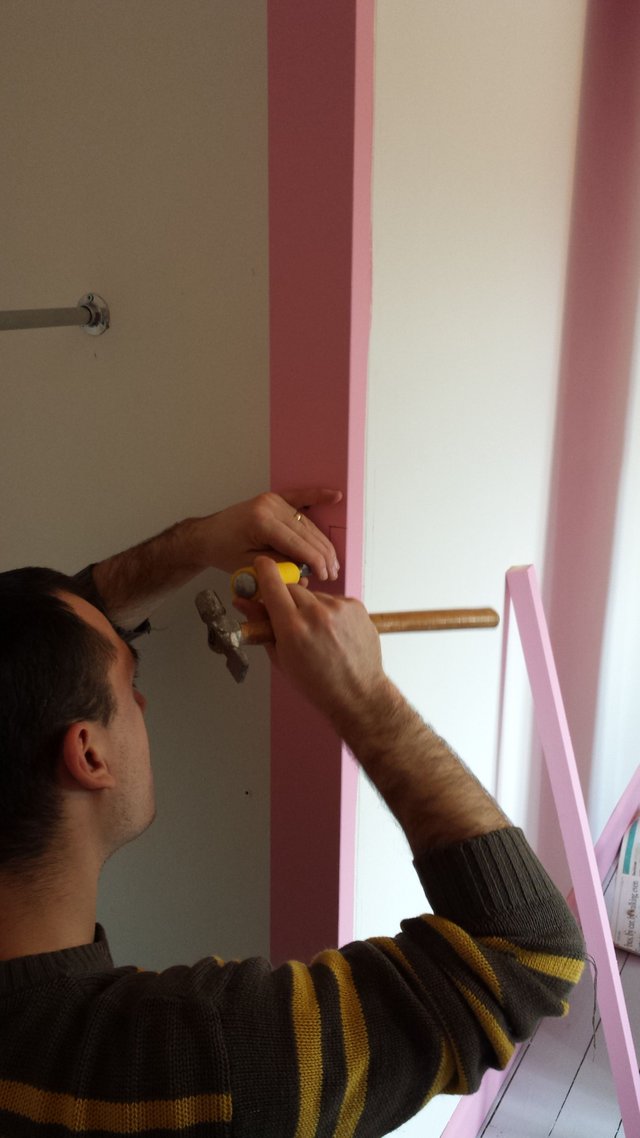
Making the indents for the hinges.
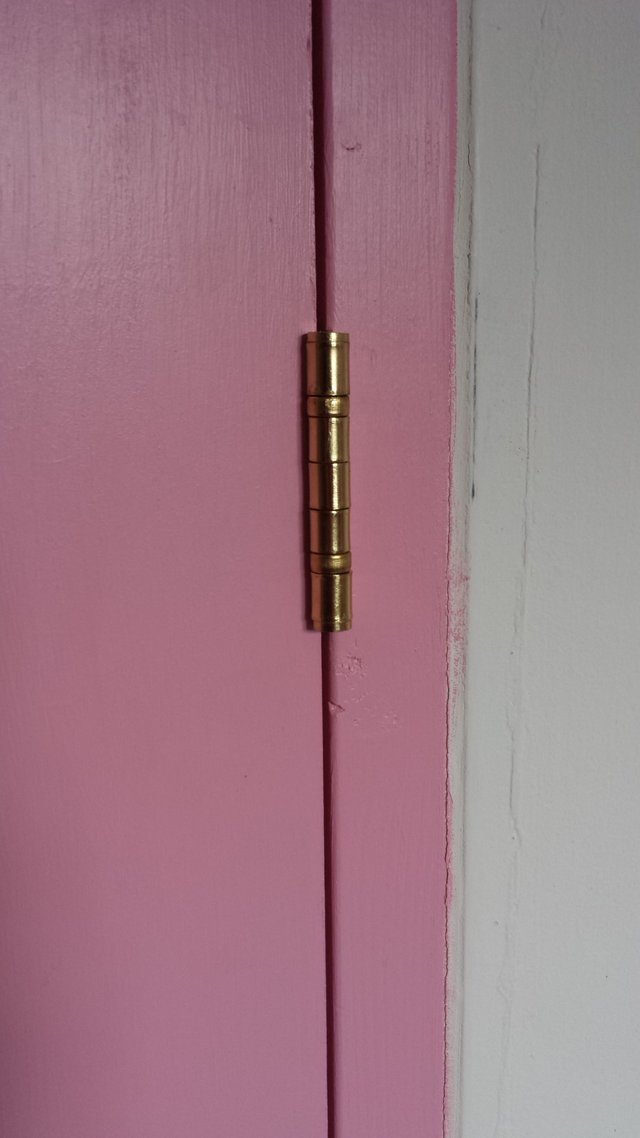
Matching the hinges on the door to the frame.
Chiseling out the places for the hinges
Hinges are attached!
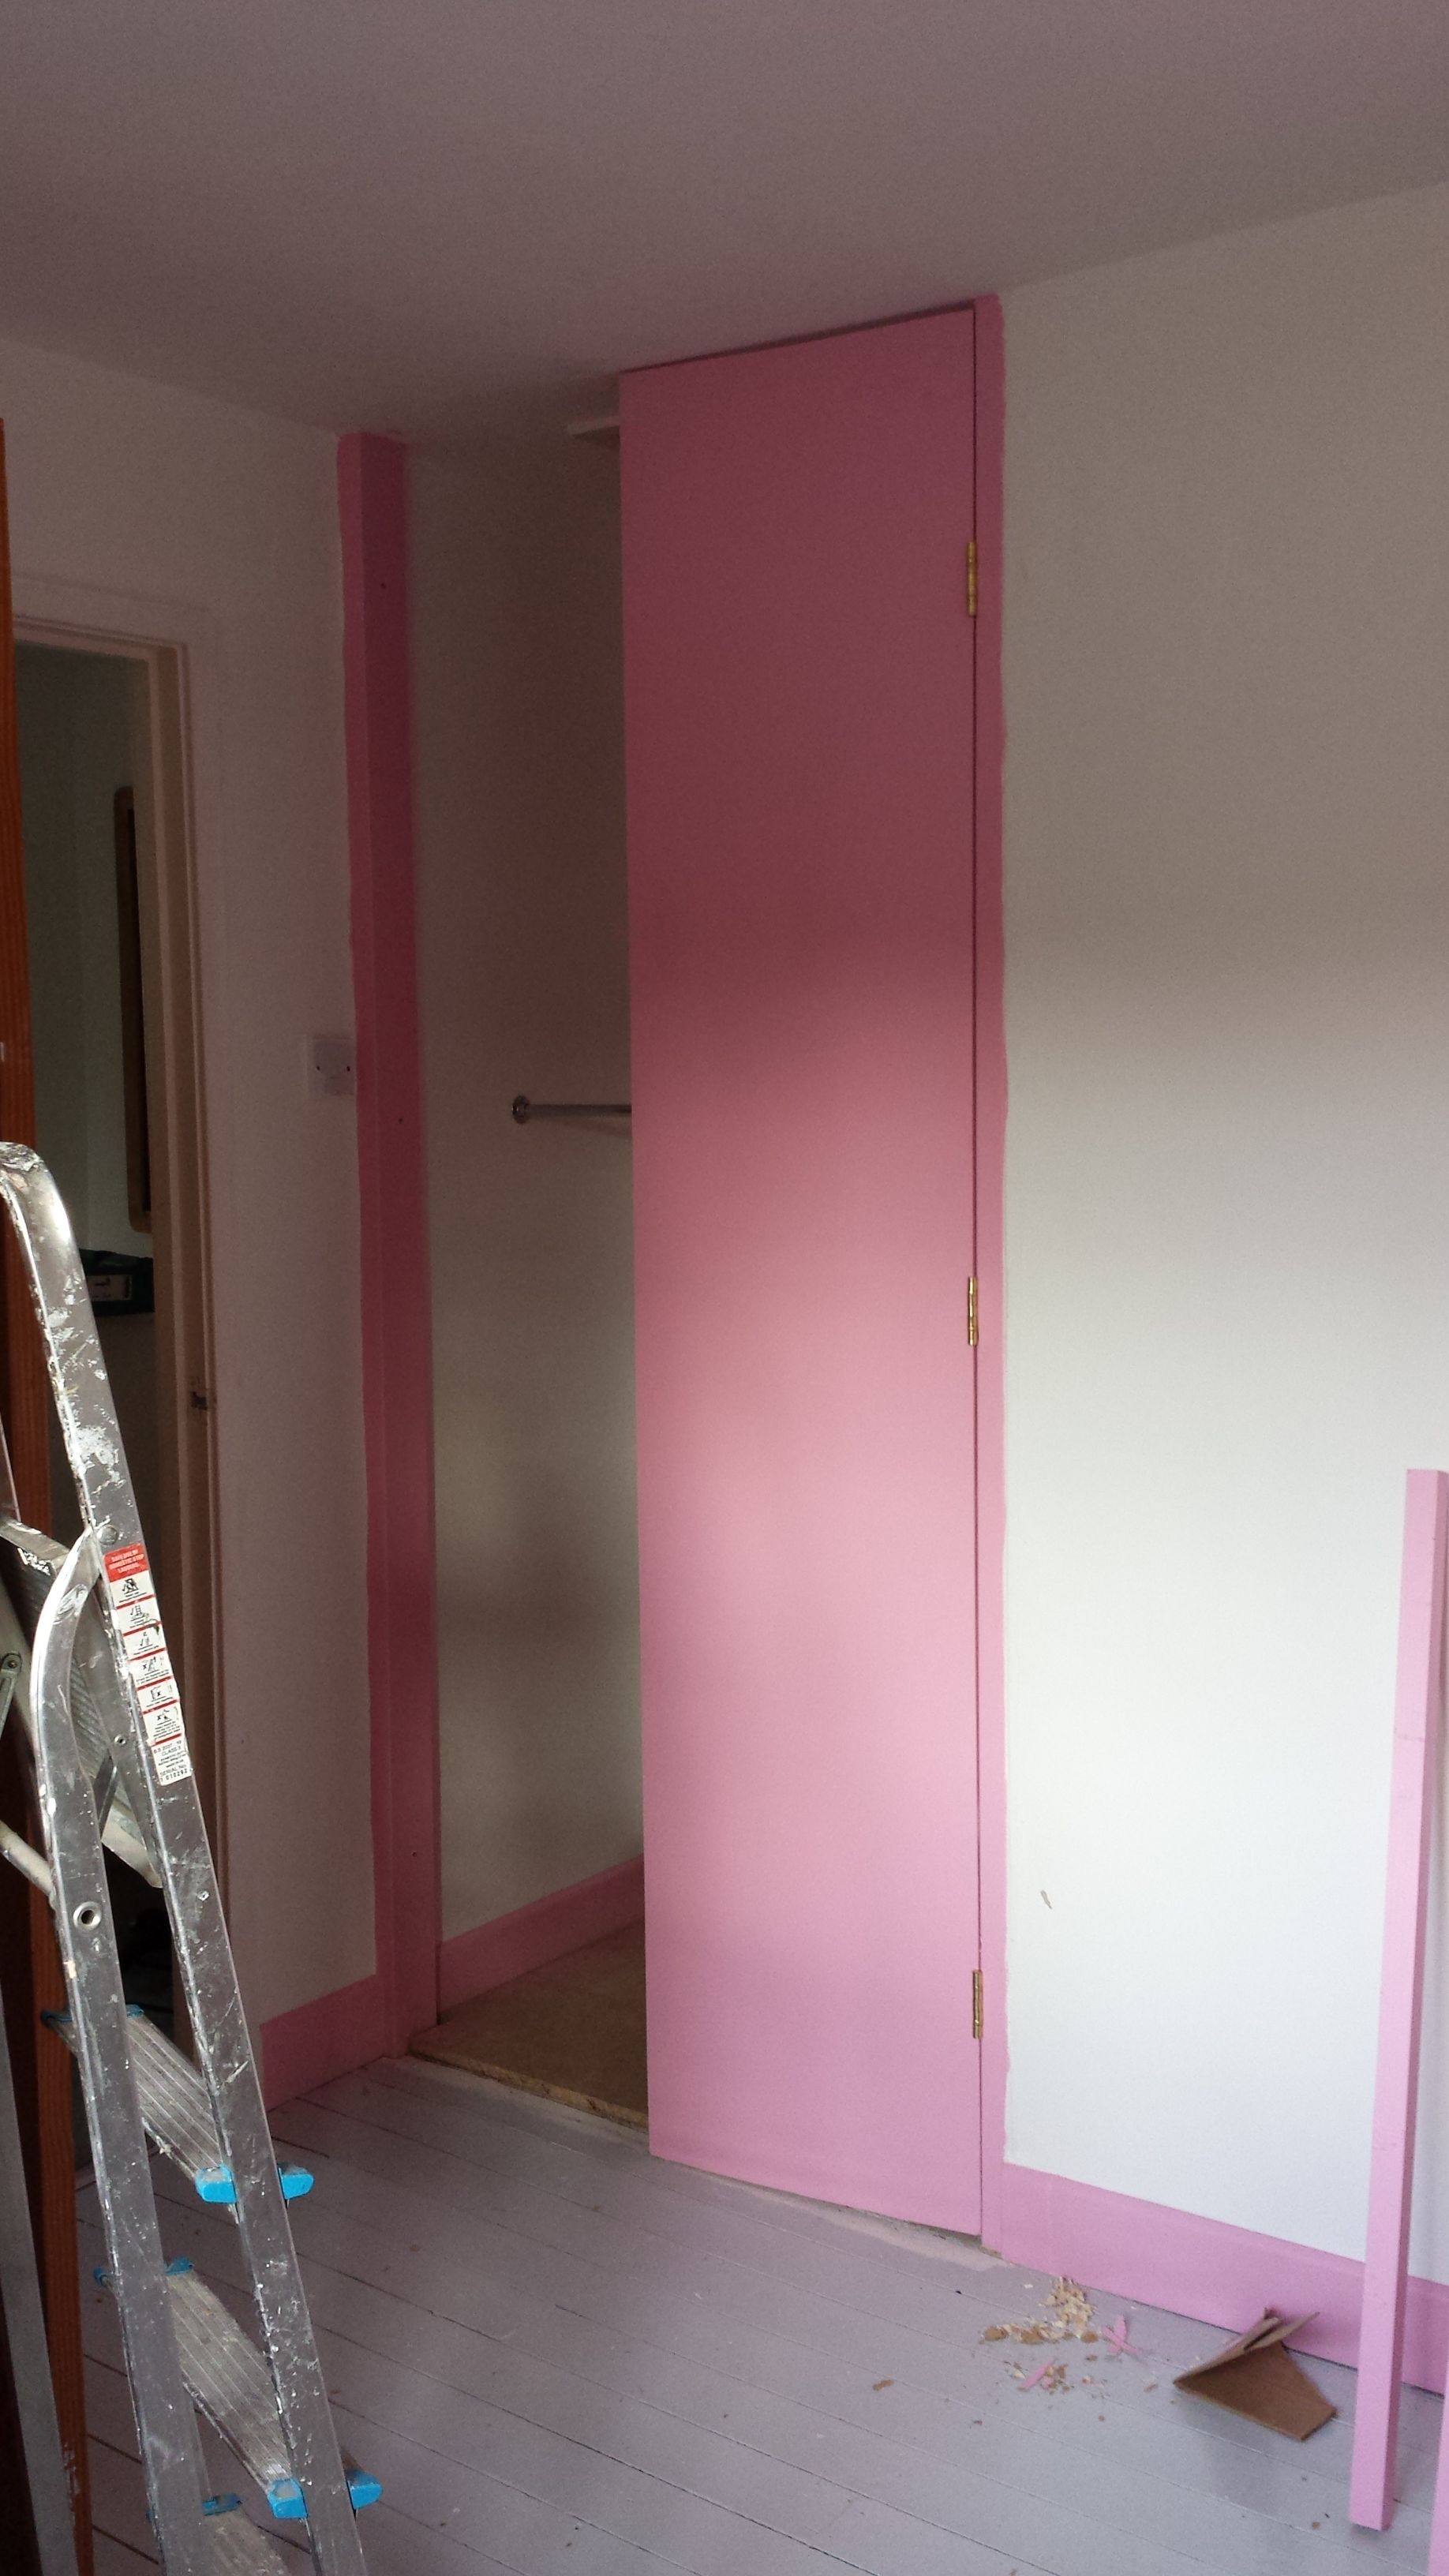
It's a working door!
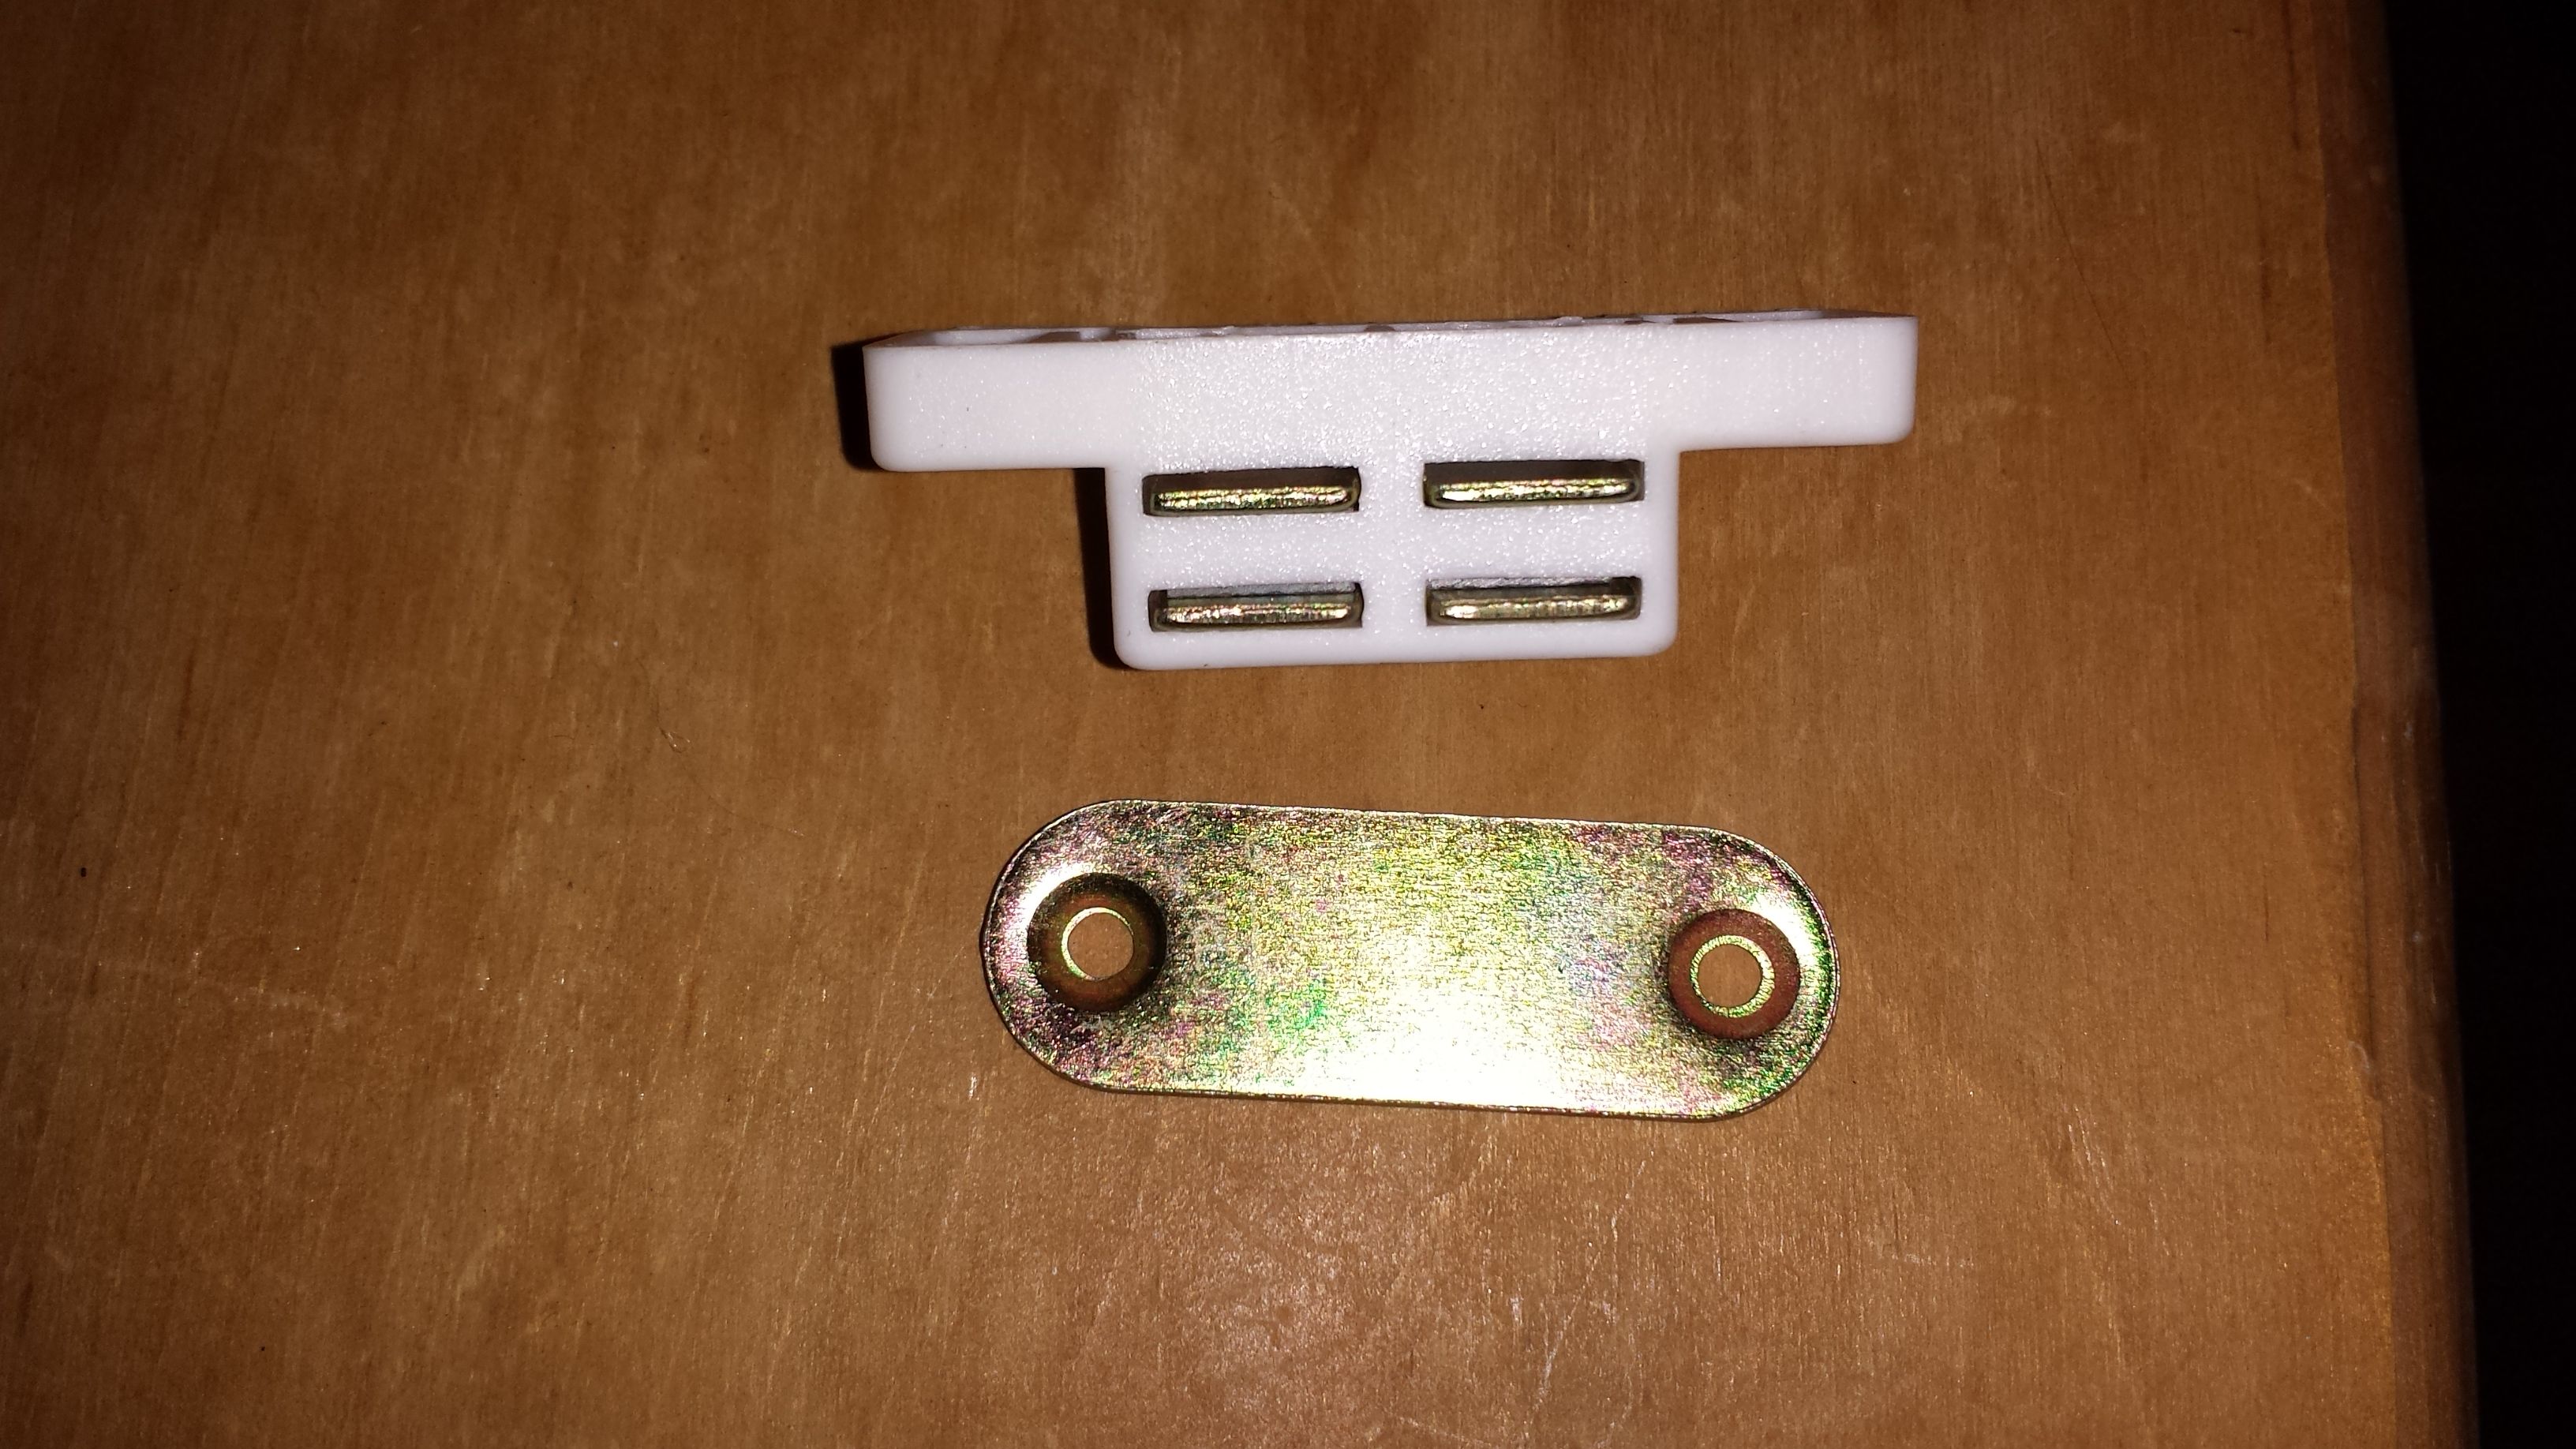
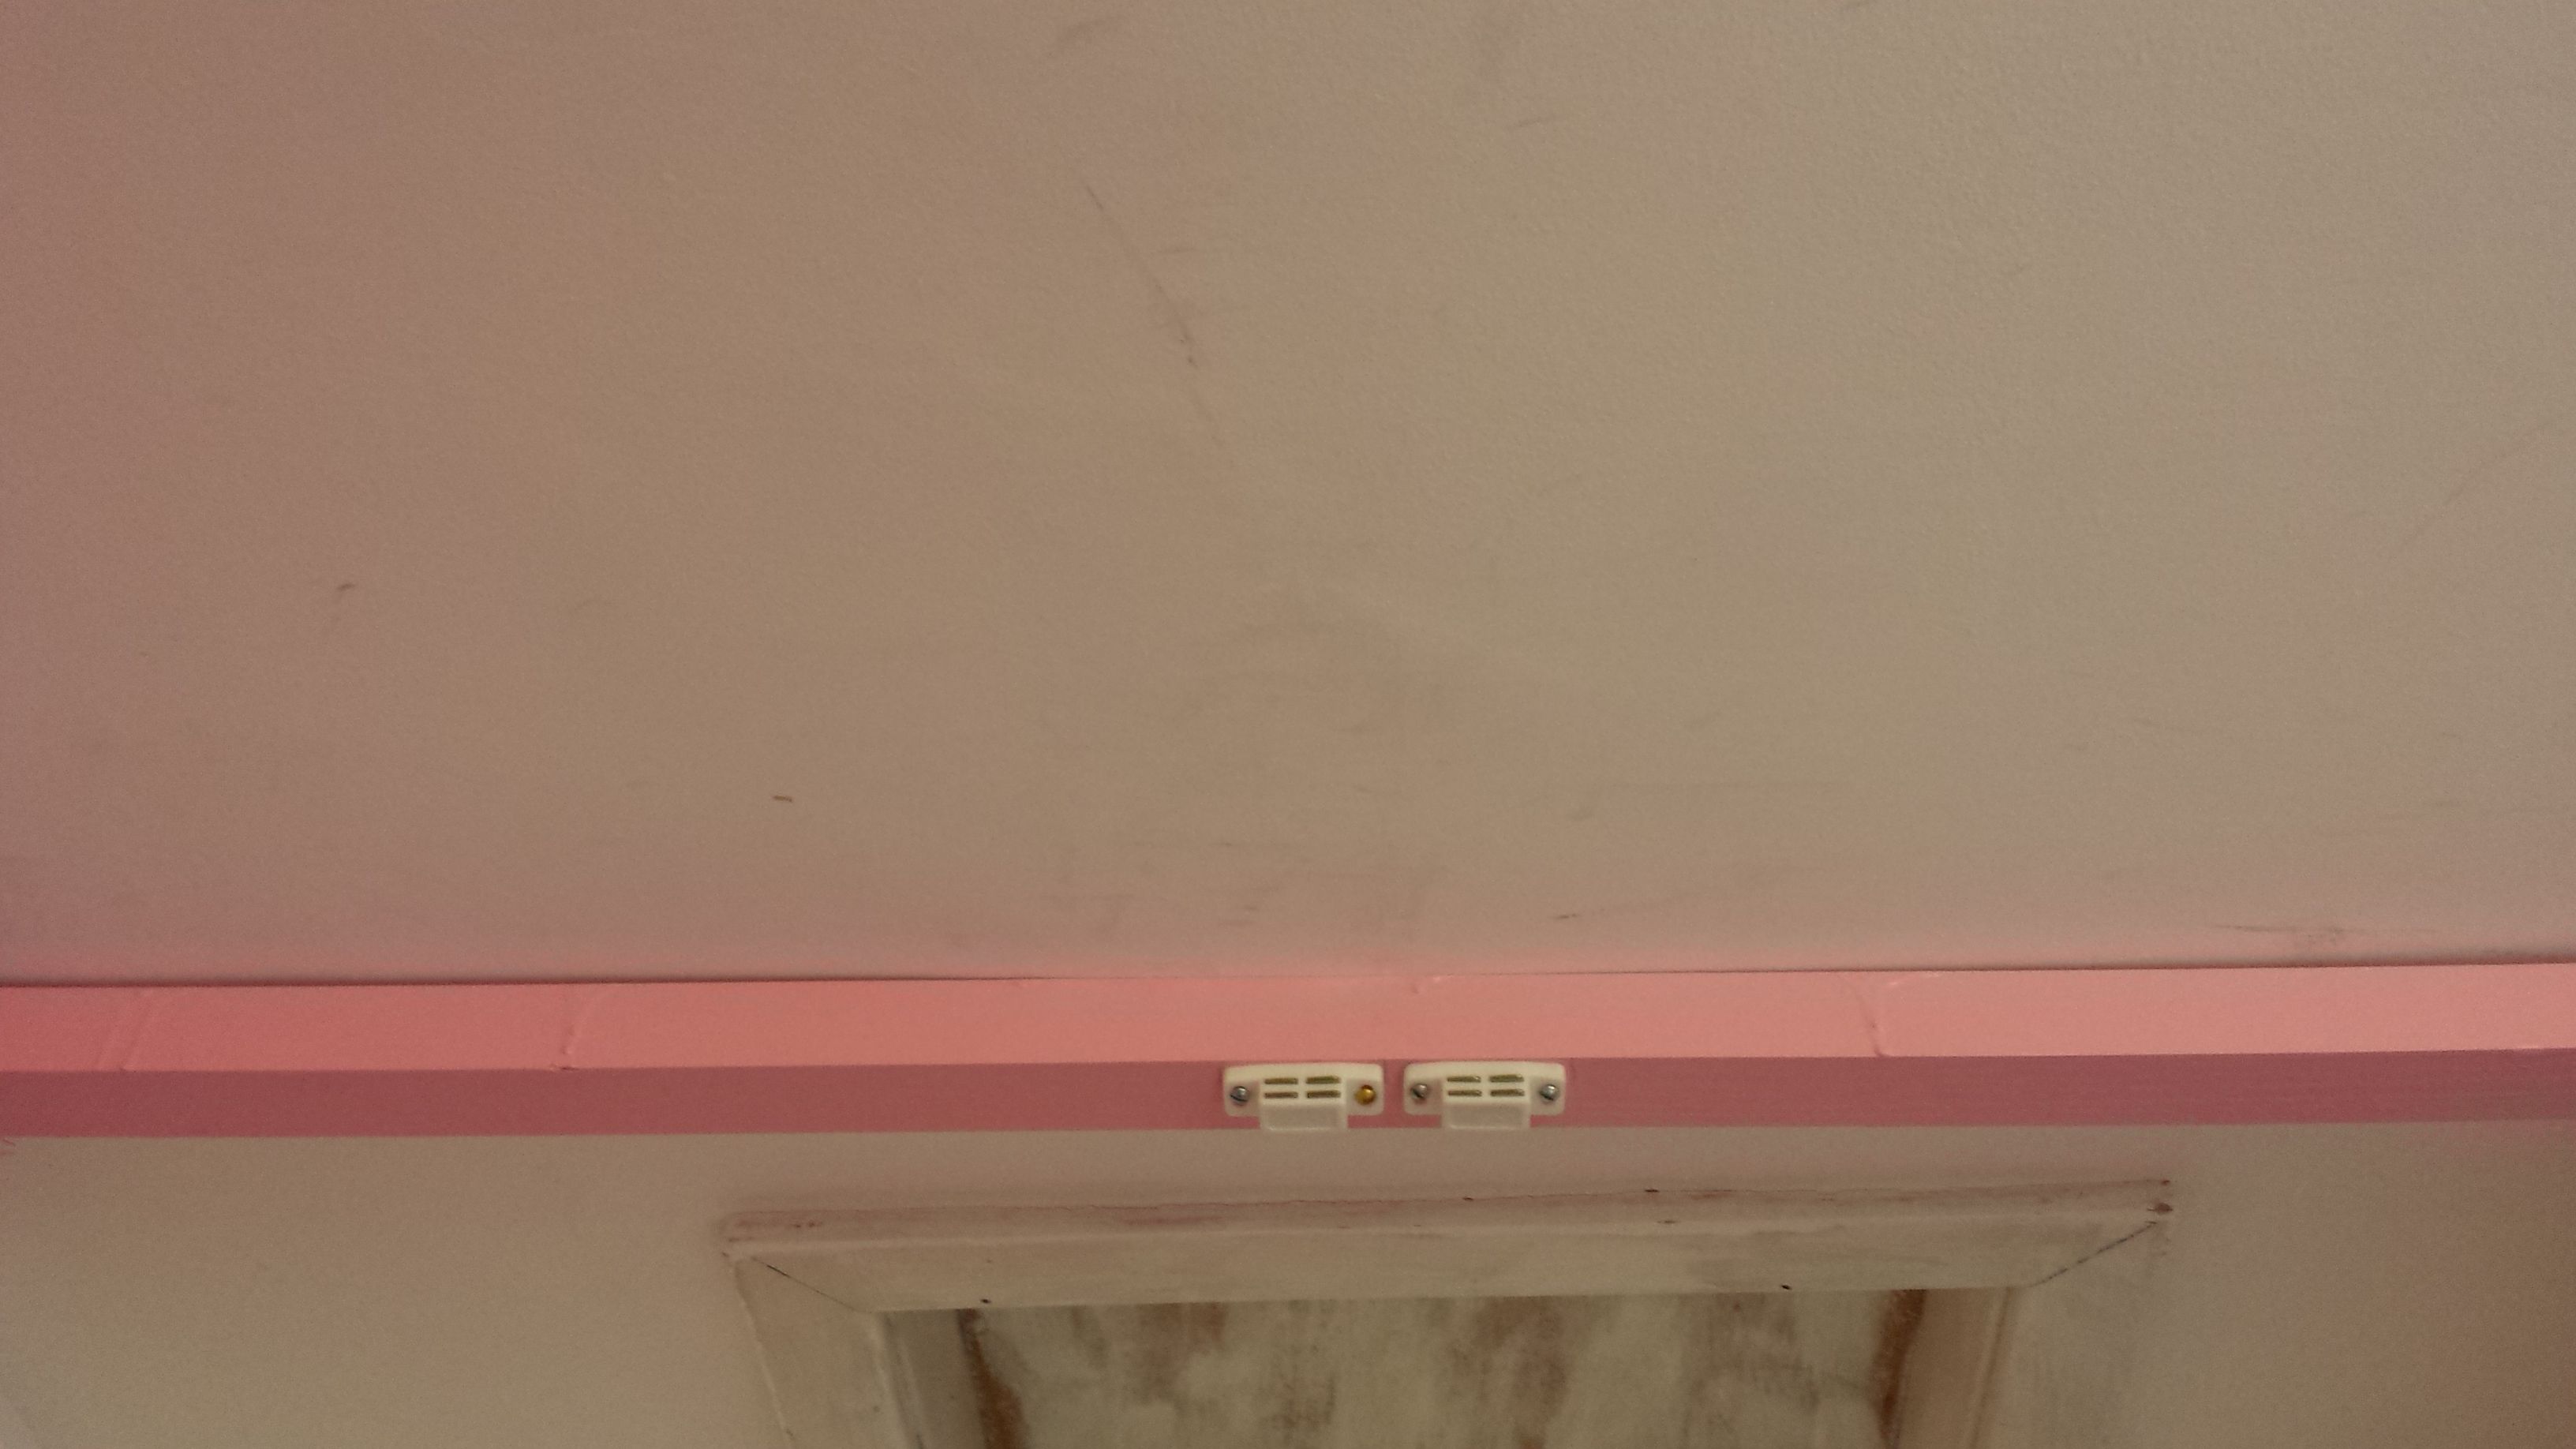
The magnetic catches for the tops of the doors.
The wooden baton at the top of the frame.

The magnetic catches in place.
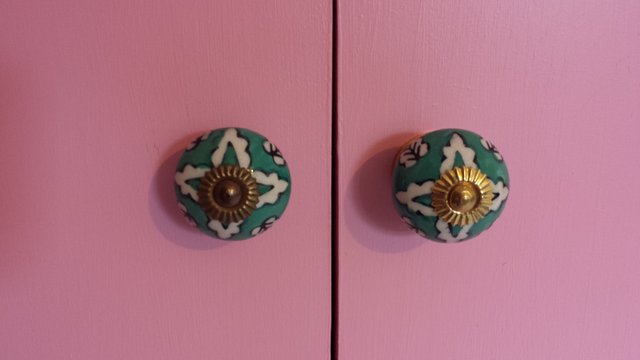
The rather fancy knobs that I've had for at least 5 years and been waiting for the perfect opportunity to use them.
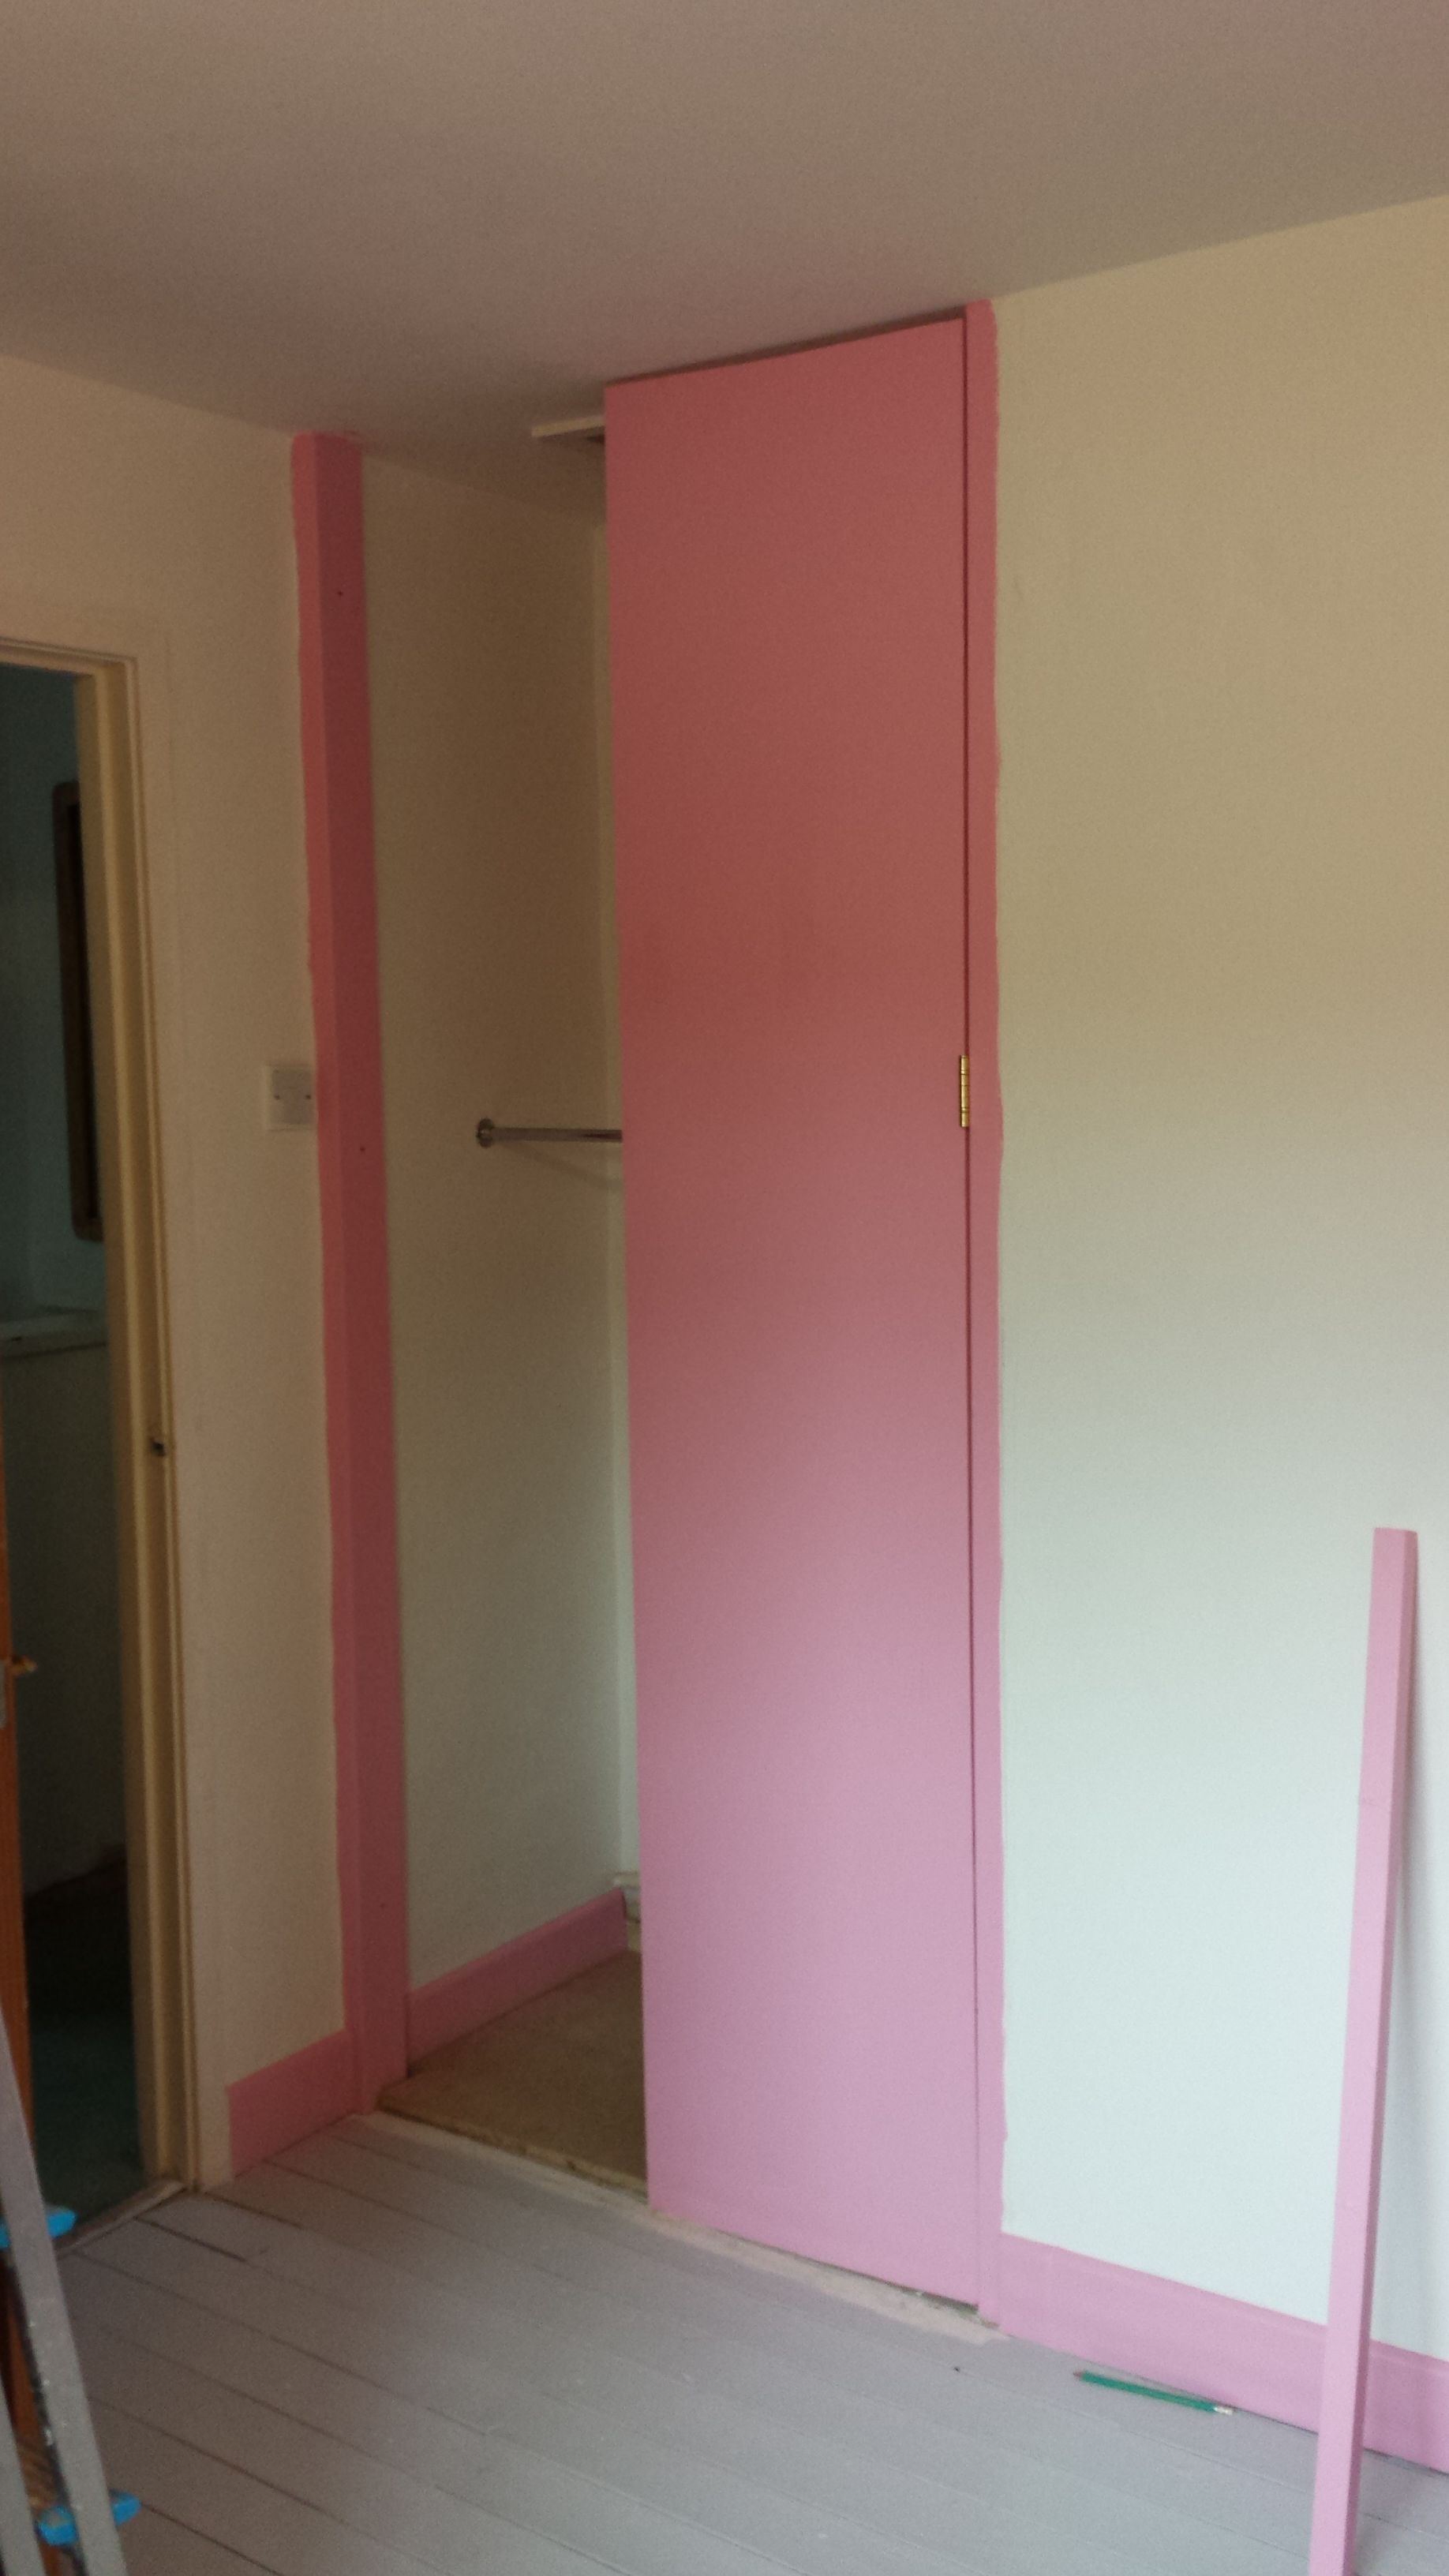
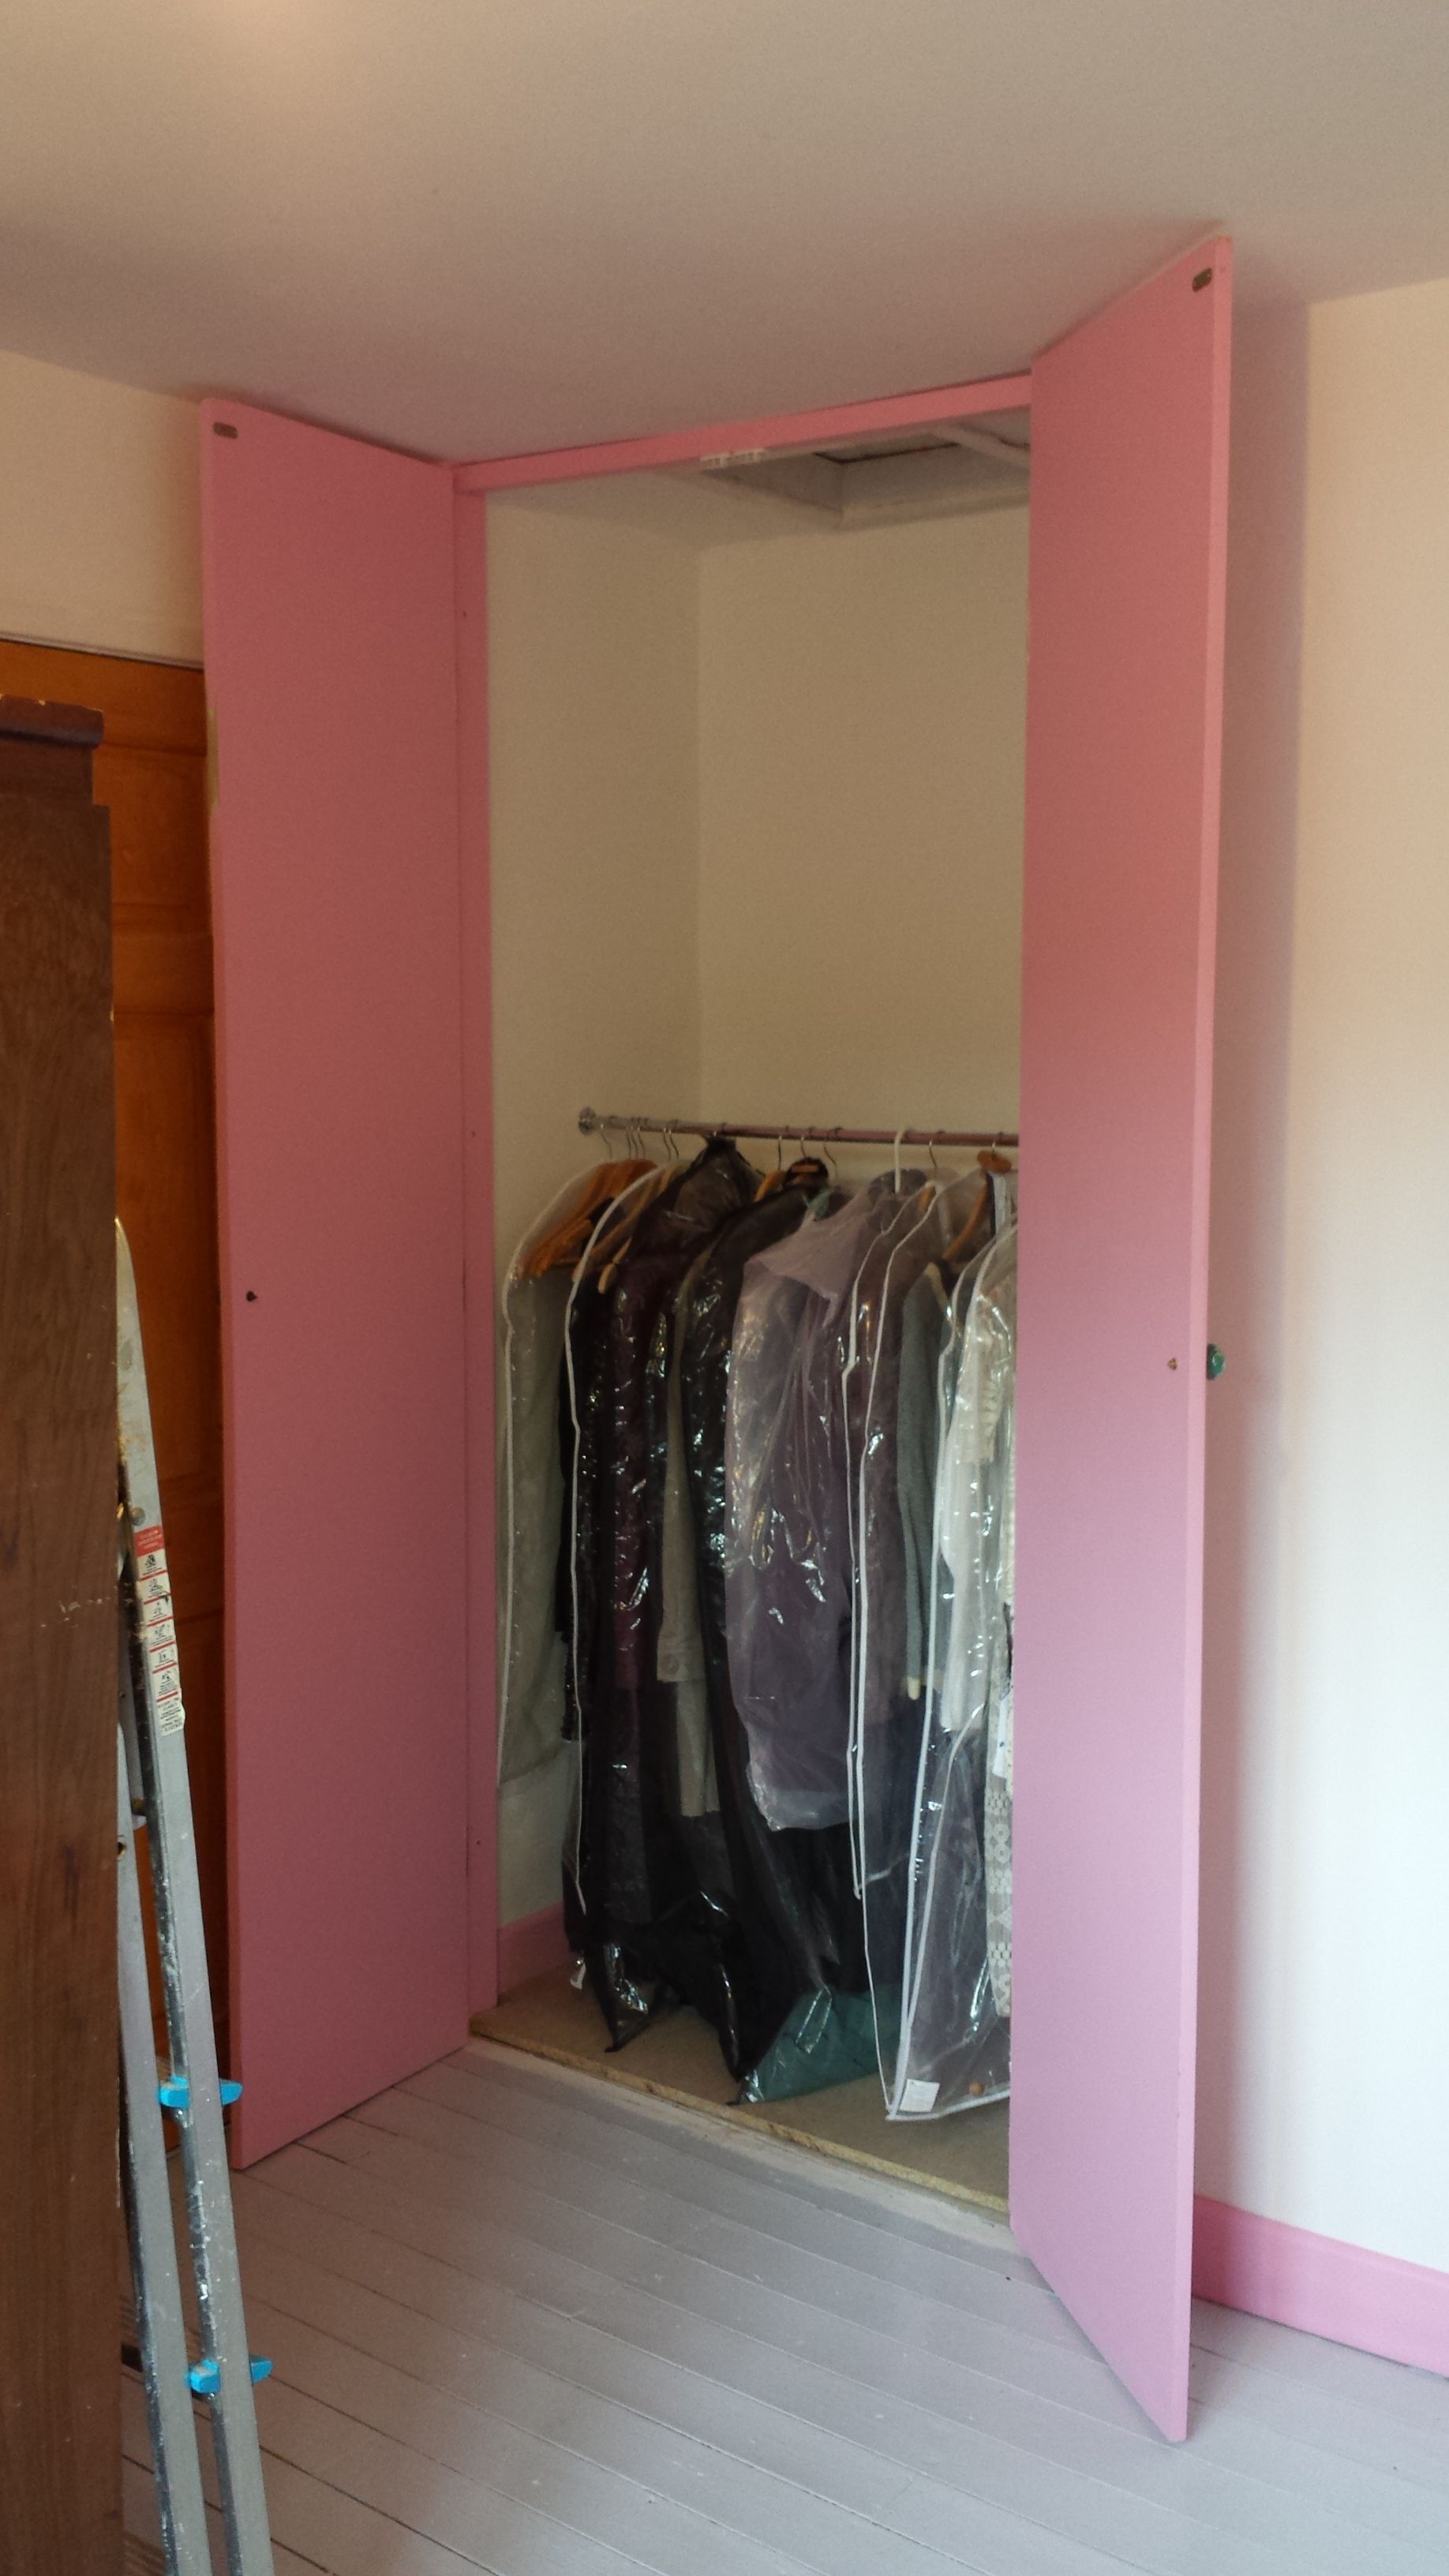
Two full doors. How satisfying.
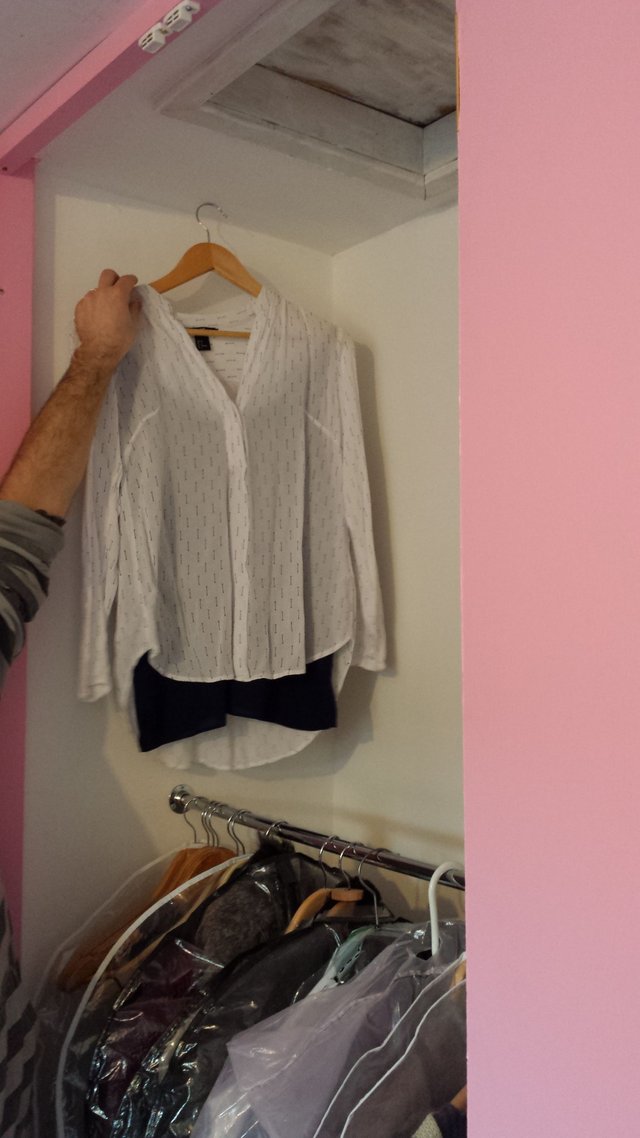
Below you can see the clothes rail. The bottom rail was put in at the lowest point it could while giving room for my longest dresses to hang, and leave room above. Initially I wasn't sure whether there would be enough room for all my out of work clothes on one rail. If there was, I'd have a shelf put up on which to store shoes; if not, then another rail would go up above.
Now I've had the chance to hang some of my clothes in, I've found that I don't have enough rail space, so another rail will go in at the top, giving enough room for shorter tops, folded trousers and skirts.
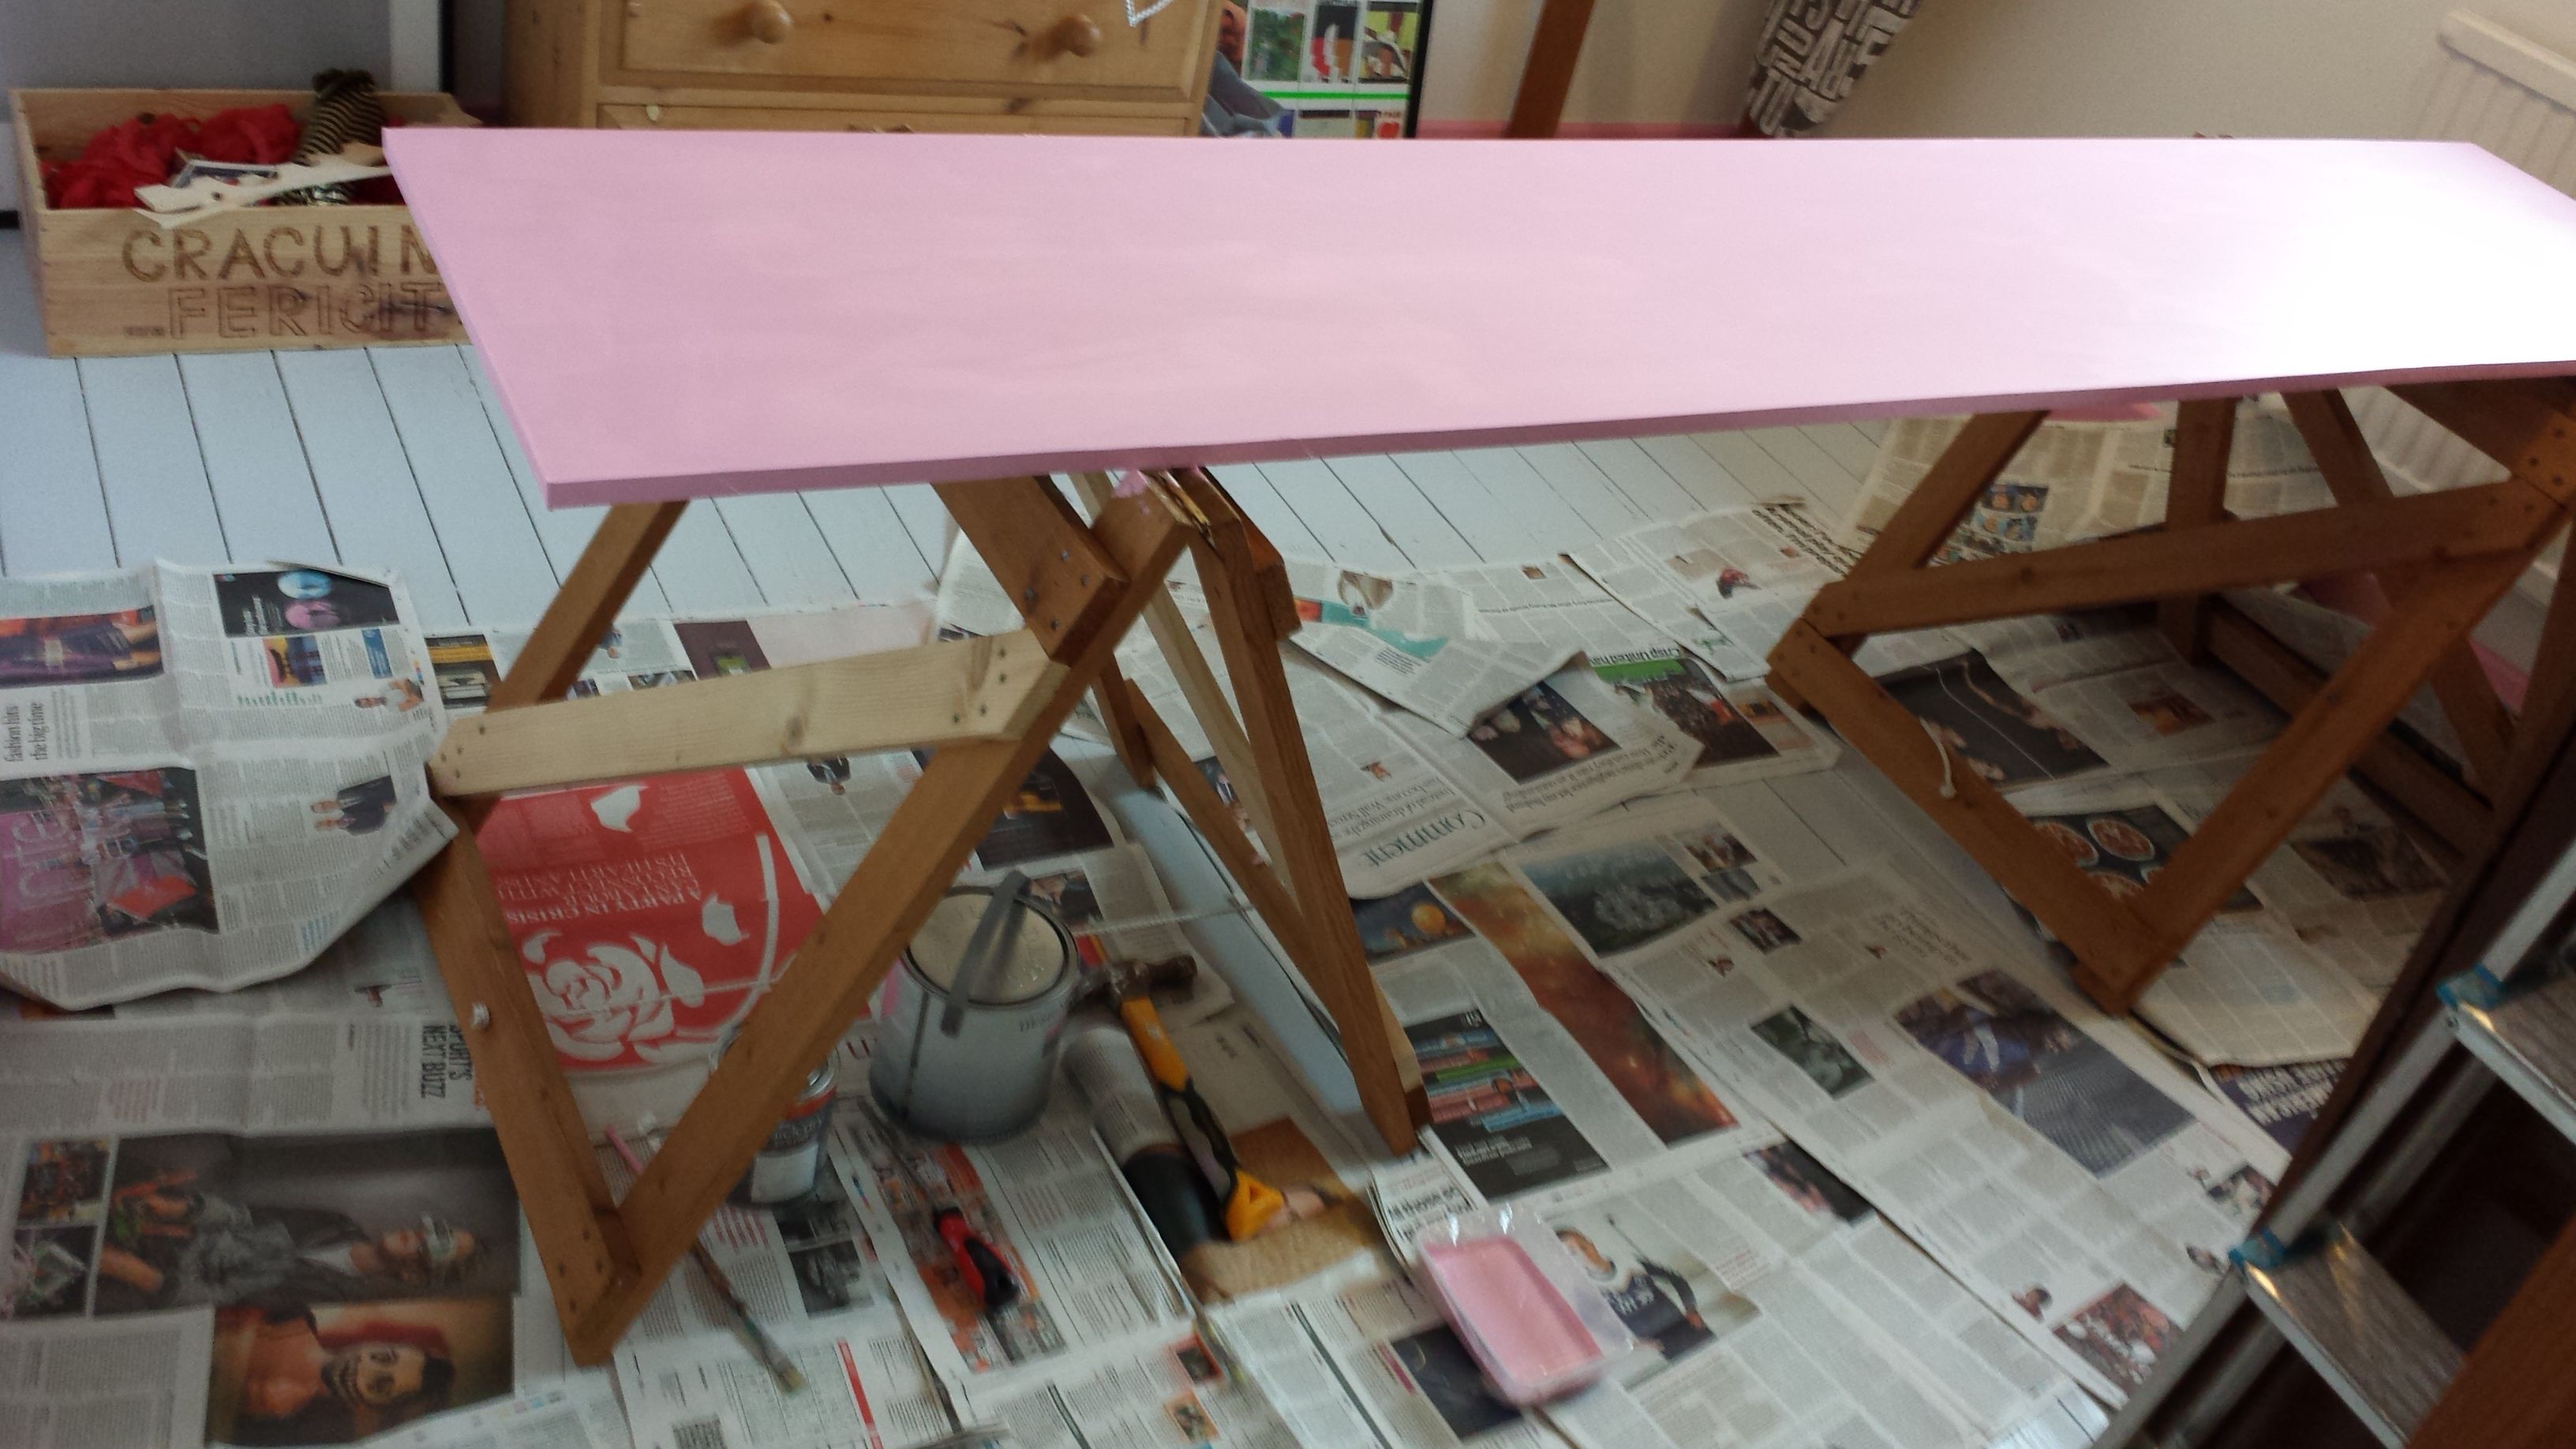
I'll be panting the small piece of decorative trip shown below in the same pink as the doors. This will serve to cover the slight imperfections in the edges of the doors where the MDF was cut.

There are just a few little bits of touching up the paint where things have gotten knocked during the process of fitting the doors.
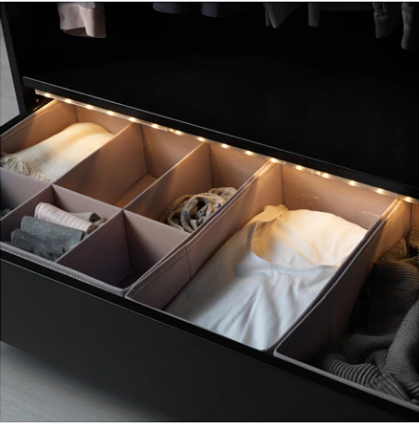
Then... one of my friends posted a very sexy video of their new wardrobe with lights inside. I am so jealous and need some lighting inside the wardrobe. Maybe like this from Ikea, or this from Amazon.
So my wardrobe will by beautifully lit, like the Ikea version below.
It's the little things in life...
Thanks for reading and hope you enjoy!
Nice way to start off the new year
Definitely! May the productivity continue :) Have a great one!
@massive-pop nicely done. House projects are always tough.
Love the pink :D