Installing Debian GNU/Linux (for absolute beginners)
Installing Debian GNU/Linux (for absolute beginners)
I recently decided to install Debian GNU/Linux on my laptop because of a large variety of reasons. If you are interested, I might write an article about those reasons but this would be way out of scope for the current one. Thus, this article will only deal with the installation of Debian and is meant for absolute beginners. This tutorial mainly consists of some pictures I took with my smartphone during the installation. I know that there are more professional ways of creating some screenshots of the installation process, but this time I decided to favour speed. If you have any problems reading the content of the images, please just let me know.
Step 0: What you need before we start
Installing Debian on your computer is anything but witchcraft. The only things you really need are:
- Obviously, a computer to install it on. This could be a desktop computer, a laptop or even small embedded systems like a Raspberry Pi these days
- An empty USB stick
Step 1: Perform a backup!
Before you continue installing Debian (or any operating system) an your machine, you should (of course) perform a backup first. This is very crucial because otherwise you would, in the worst case, be left with an unusable machine if anything goes wrong during the installation. Thus, please remember those three easy steps before attempting to install anything on your machine: backup your data, backup your data and backup your data!
Step 2: Choose the right version
Step 2.1: Stable, testing or unstable?
On their website, the Debian project provides a variety of different versions. In order to keep things simple, let's just use the .iso files marked as stable. Why would we use the stable version and not go for other versions such as testing or unstable? The short answer can be given as a quote from the official Debian FAQ: "If you are a new user installing to a desktop machine, start with stable.". If you are interested in a longer answer, you can find it here.
Step 2.2: CD or DVD?
Well, we are going to use an empty USB stick as installation medium. All .iso files provided by the Debian project on this website are suitable for CDs, DVDs or USB sticks. Thus, it makes sense to go with the CD version if you have a very small USB stick and to go with the DVD version if you would like to have a larger variety of different packages right from the beginning. As I had a 8GB USB stick at hand, I opted for the DVD .iso. Of course, you could also literally use a CD or DVD as opposed to a USB stick to install Debian on your system but this would require actually burning an optical medium which (at least to me) sounds like very ancient witchcraft and a path only few people should want to take these days.
Step 2.3: amd64, arm64, armel, armhf, i386, mips, mipsel, powerpc, ppc64el, s390x, source or multi-arch?
Although the decision whether we should go for the CD or DVD version was already hard enough, we now have to decide which of the CPU architectures mentioned above will most likely fit our computer. That looks like a very confusing list but fear not, my dear friend. We will figure out together what is the best choice for you. As you seem to be a curious young padawan I don't expect you to use any kind of exotic hardware, which basically leaves you with two options only: Either amd64 or i386. i386 is a 32-bit microprocessor architecture introduced in 1985. It is highly unlikely that many people still rely on 32 bit CPUs for desktop computers or laptops, which leaves you with your most likely choice: The amd64 architecture .iso which can be used for either AMD or Intel CPUs using 64 bit technology. That's indeed a bit confusing but let's not worry about that too much.
Step 2.4: debian-something-amd64-DVD-1.iso, debian-something-amd64-DVD-2.iso or debian-something-amd64-DVD-3.iso or all of them?
We are now left with yet another choice we have to make. Let me just give you a hint on how you would go about this decision by, once again, quoting from the corresponding Debian site: "In most cases it is not necessary to download and use all of these images to be able to install Debian on your computer. Debian comes with a massive set of software packages, hence why it takes so many disks for a complete set. Most typical users only need a small subset of those software packages.
Initially, you will only need to download and use the first image of a set (labelled as debian-something-1 to be able to start the Debian installer and set up Debian on your computer. If there are more images available here (labelled debian-something-2, debian-something-3, etc.), they contain the extra packages that can be installed on a Debian system (as mentioned previously). They will not be bootable and are entirely optional. If you have a fast Internet connection, you're most likely better off installing any desired extra packages directly from the Debian mirrors on the Internet instead of by using these extra images."
Step 3: Copy the chosen .iso file to an empty USB stick
We finally decided on downloading the file debian-something-amd64-DVD-1.iso from this site. Now, how do we get this .iso file on our USB stick? Once again, I can only quote from the official Debian tutorial:
"To prepare the USB stick, you will need a system where GNU/Linux is already running and where USB is supported. With current GNU/Linux systems the USB stick should be automatically recognized when you insert it. When the USB stick is inserted, it will be mapped to a device named /dev/sdX, where the “X” is a letter in the range a-z. You should be able to see to which device the USB stick was mapped by running the command dmesg after inserting it. The CD or DVD image you choose should be written directly to the USB stick, overwriting its current contents. For example, when using an existing GNU/Linux system, the CD or DVD image file can be written to a USB stick as follows, after having made sure that the stick is unmounted: cp debian.iso /dev/sdX && sync. The win32diskimager utility can be used under other operating systems to copy the image."
On my machine, all I had to do was to enter the command "cp debian-something-amd64-DVD-1.iso /dev/sdb && sync" in my terminal. Please make sure that you enter the correct device name here as an incorrect name could lead to data loss if you, for example, specify the address of your hard disk here instead of your USB stick.
Step 4: Prepare your BIOS
Now, the next step is to make sure that the BIOS is able to boot the USB stick we just prepared. There are many different BIOS systems available and I won't be able to cover all of them here. Just try to find the correct settings by looking for "Boot" or "Boot sequence" tabs in your BIOS. This should lead you to the relevant settings you need. On my machine, I was able to activate a "Boot manager" that allowed me to choose which medium I would like to boot from. Of course, we would like to boot from our USB stick as shown in figure 1.
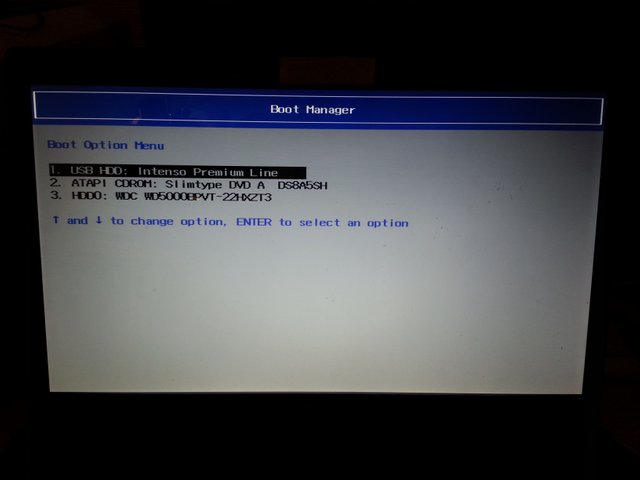
Figure 1: The Boot manager
Step 5: Install Debian
From now on, I would like to let the images do all the talking. Most of the times, the installation steps are pretty self-explanatory, which is the reason I only provide a brief caption for each of the images. Please let me know if there are any open questions concerning the content of any installation step.
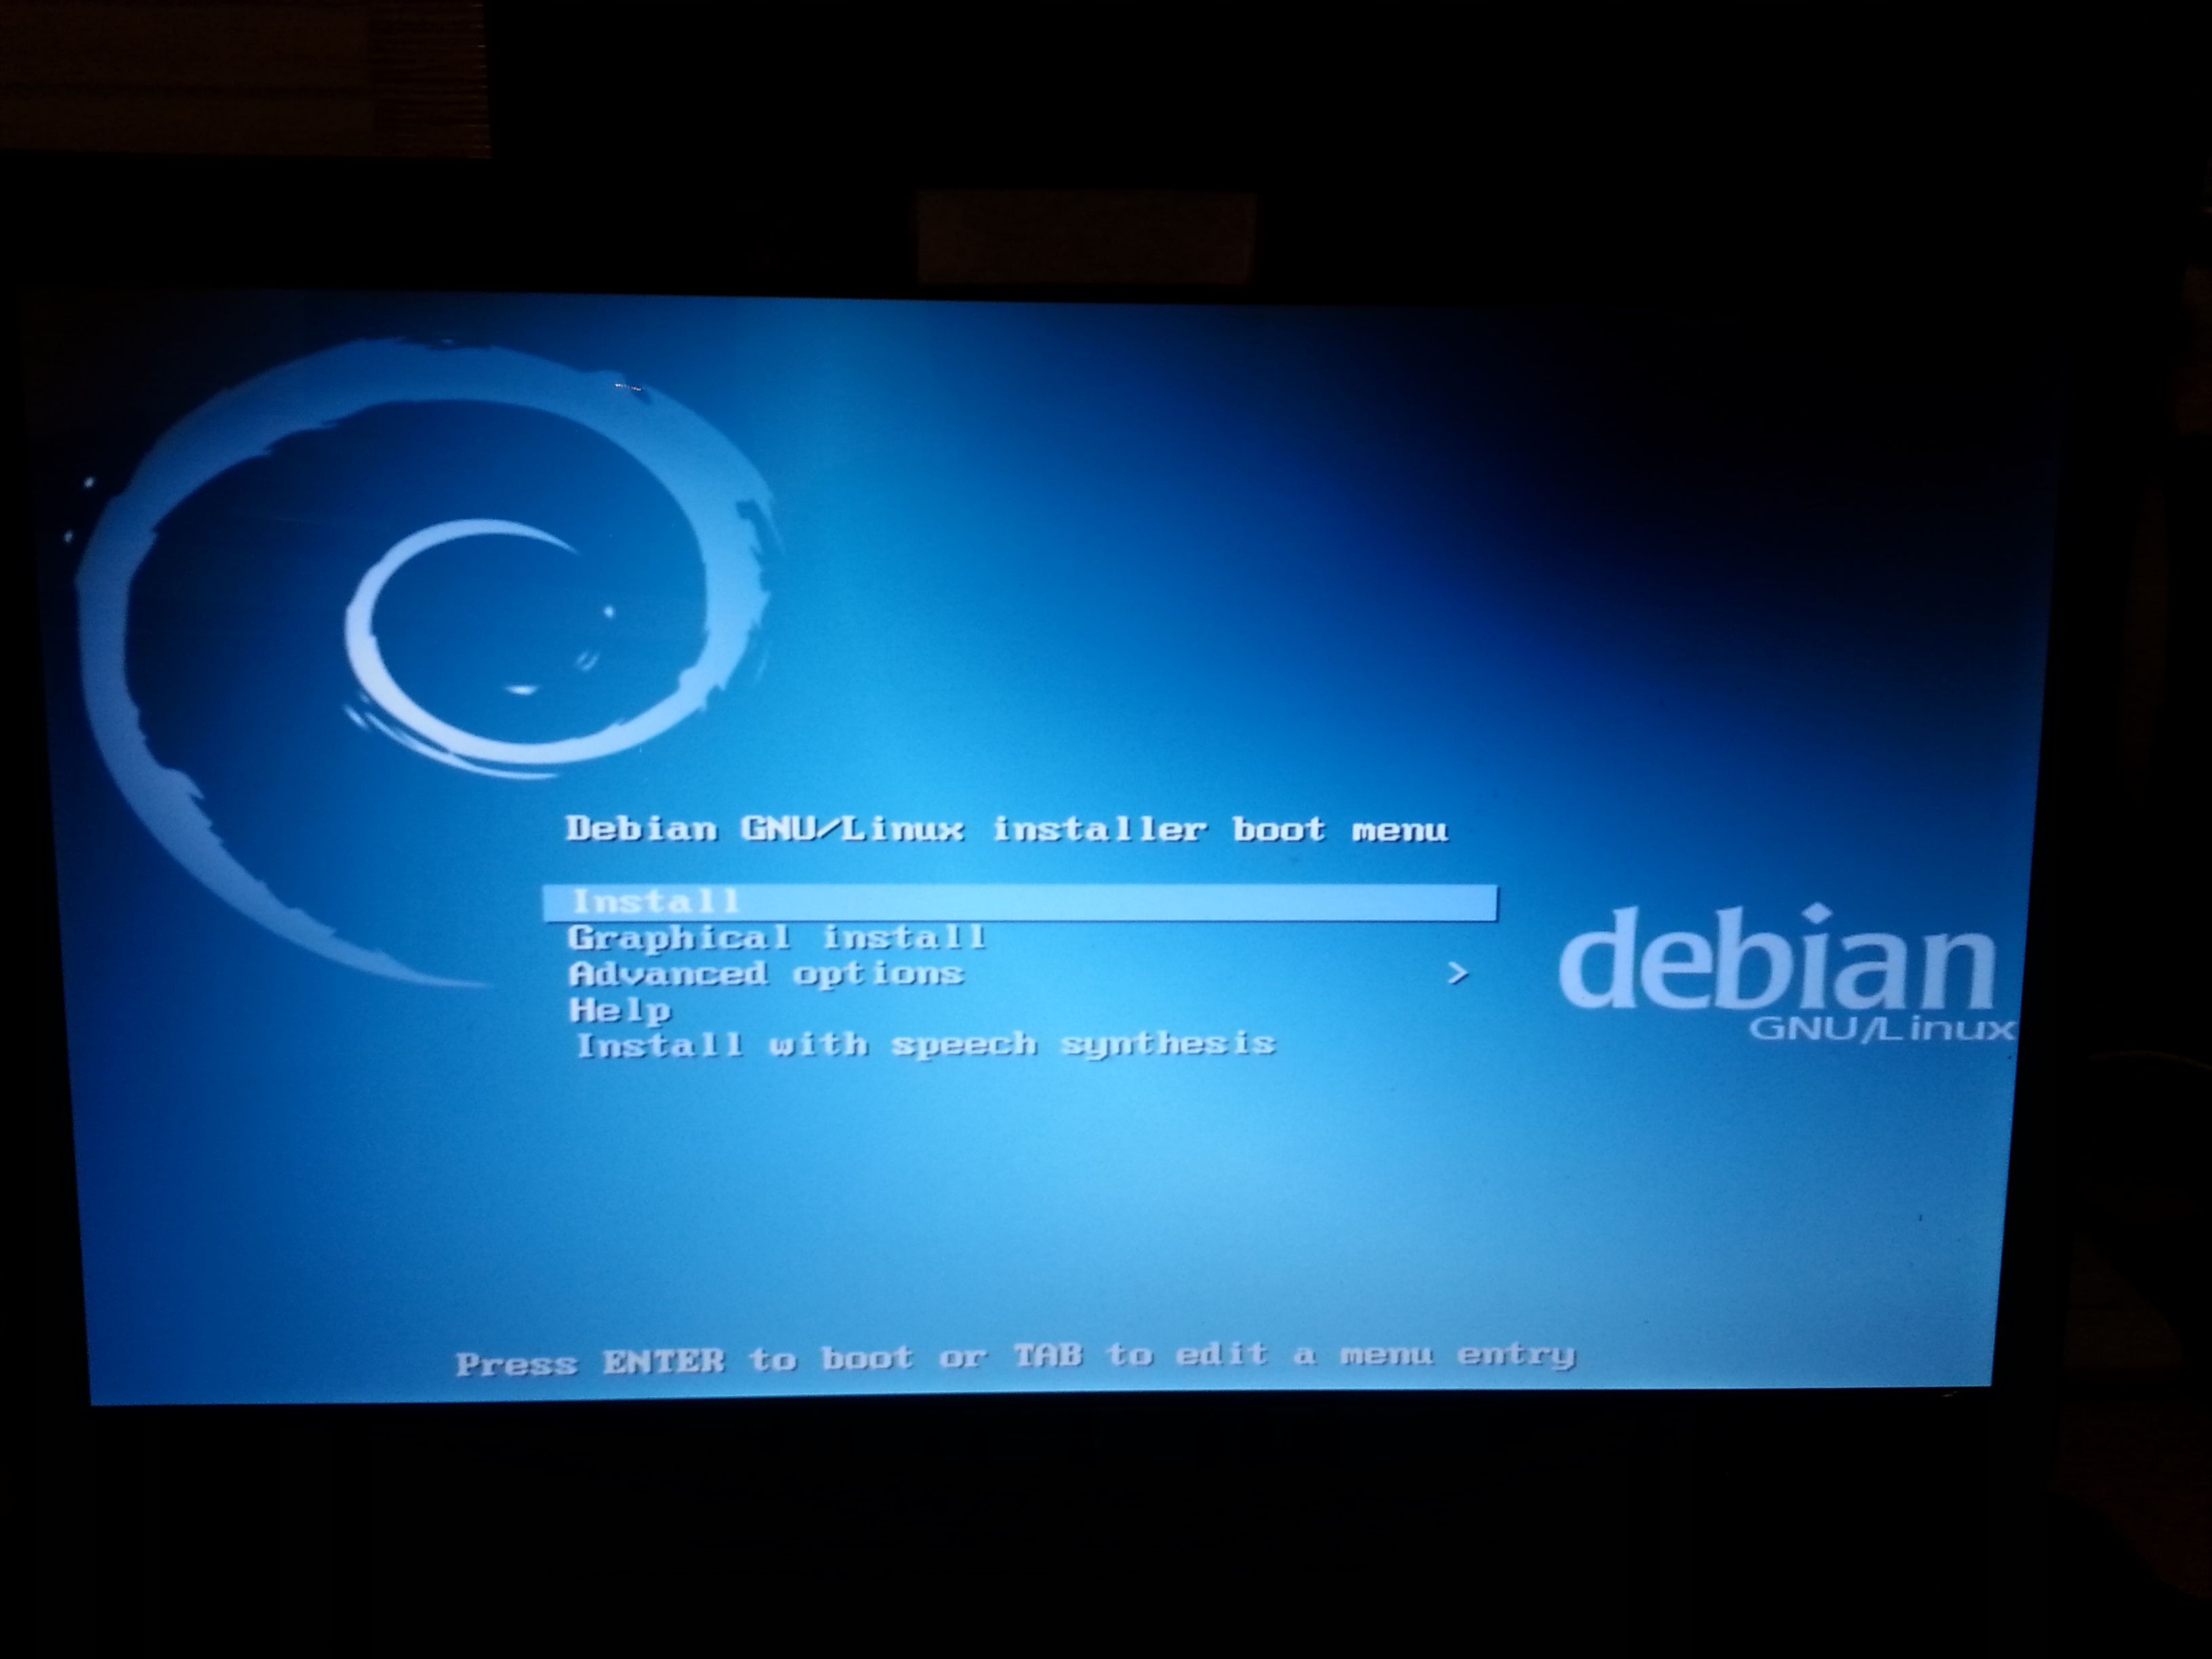
Figure 2: The screen after deciding to boot from the USB stick. Obviously, we choose to install Debian. Note that we would have the option to do a graphical installation but for now we would rather want to follow the old school style.

Figure 3: We have to choose a language for the installation process.
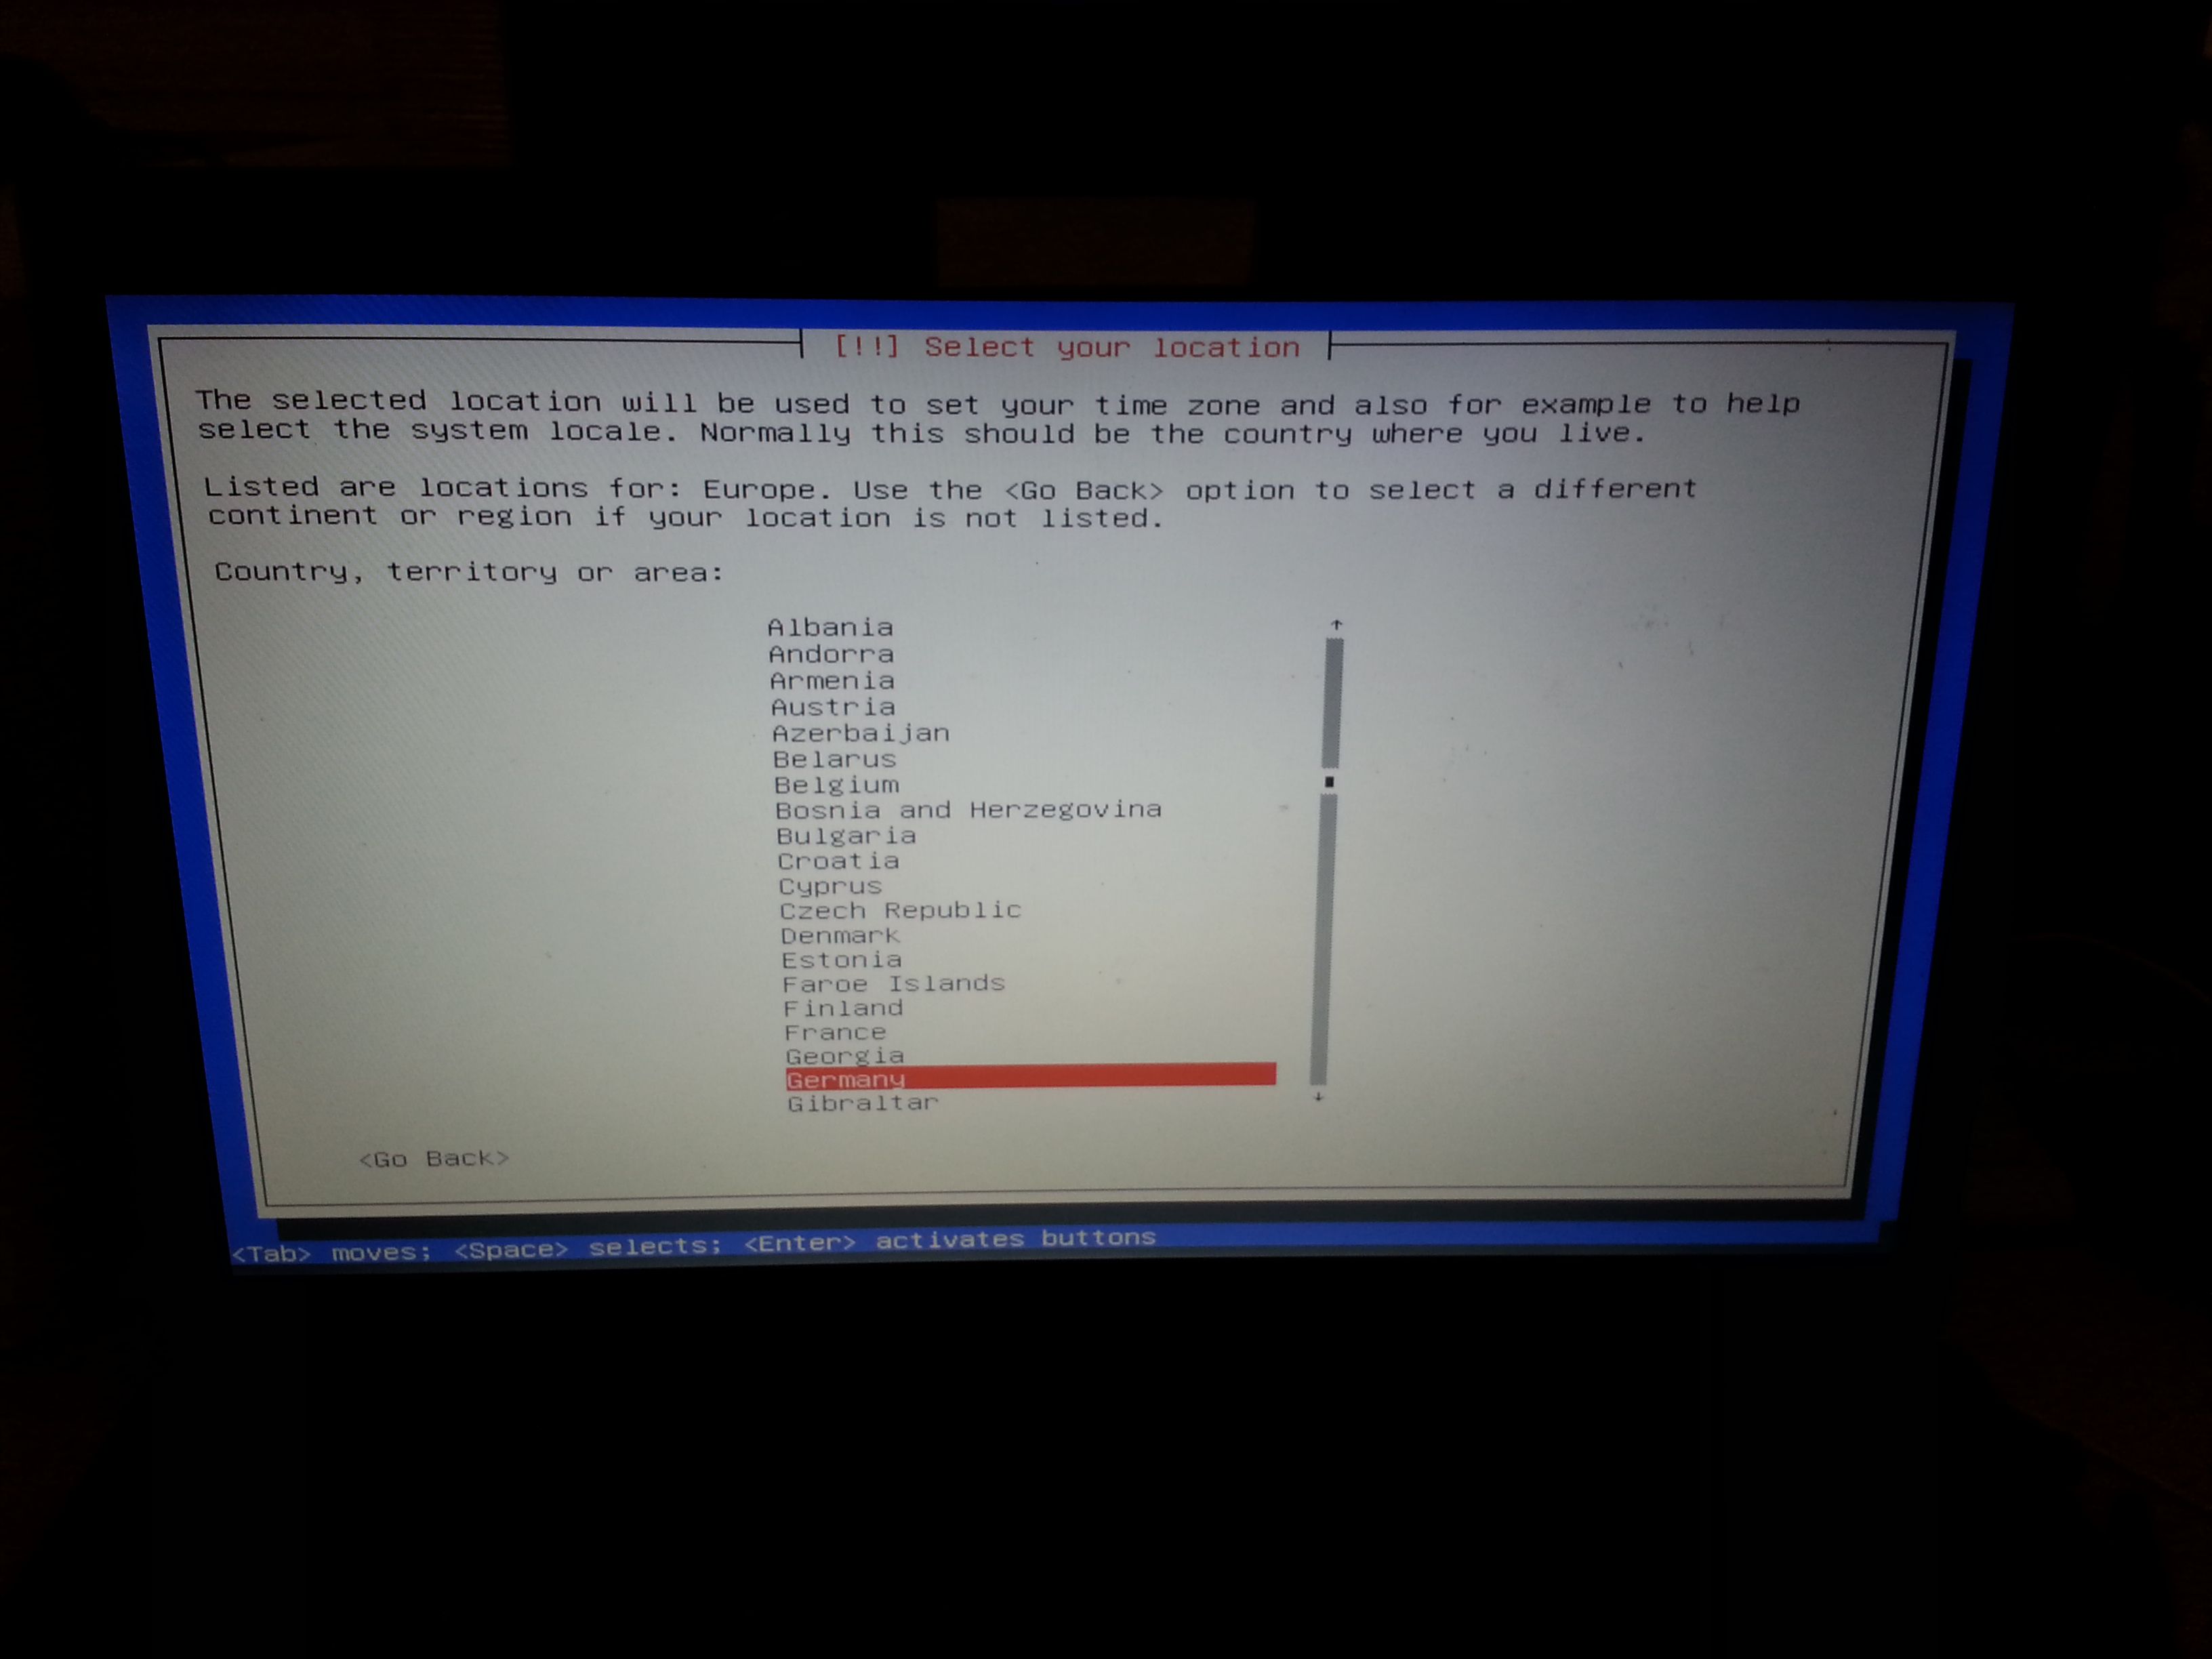
Figure 4: In order for the time zone to be set correctly, we have to specify a location as well. In my case "Germany" is the closest fit. ;-)
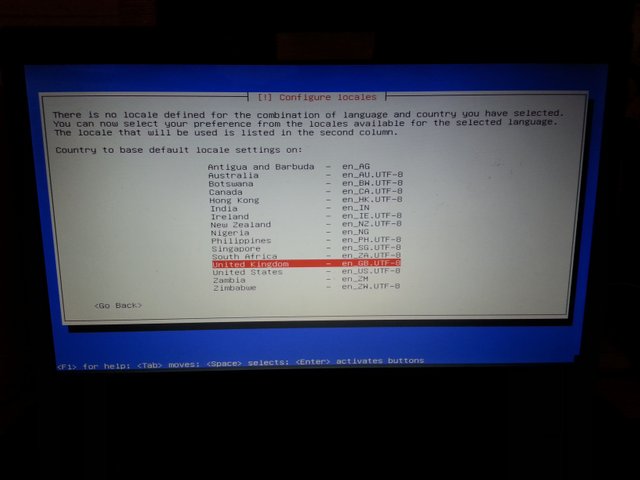
Figure 5: Now, we go on by specifying the language we would like to use as our default system language once everything is installed properly.
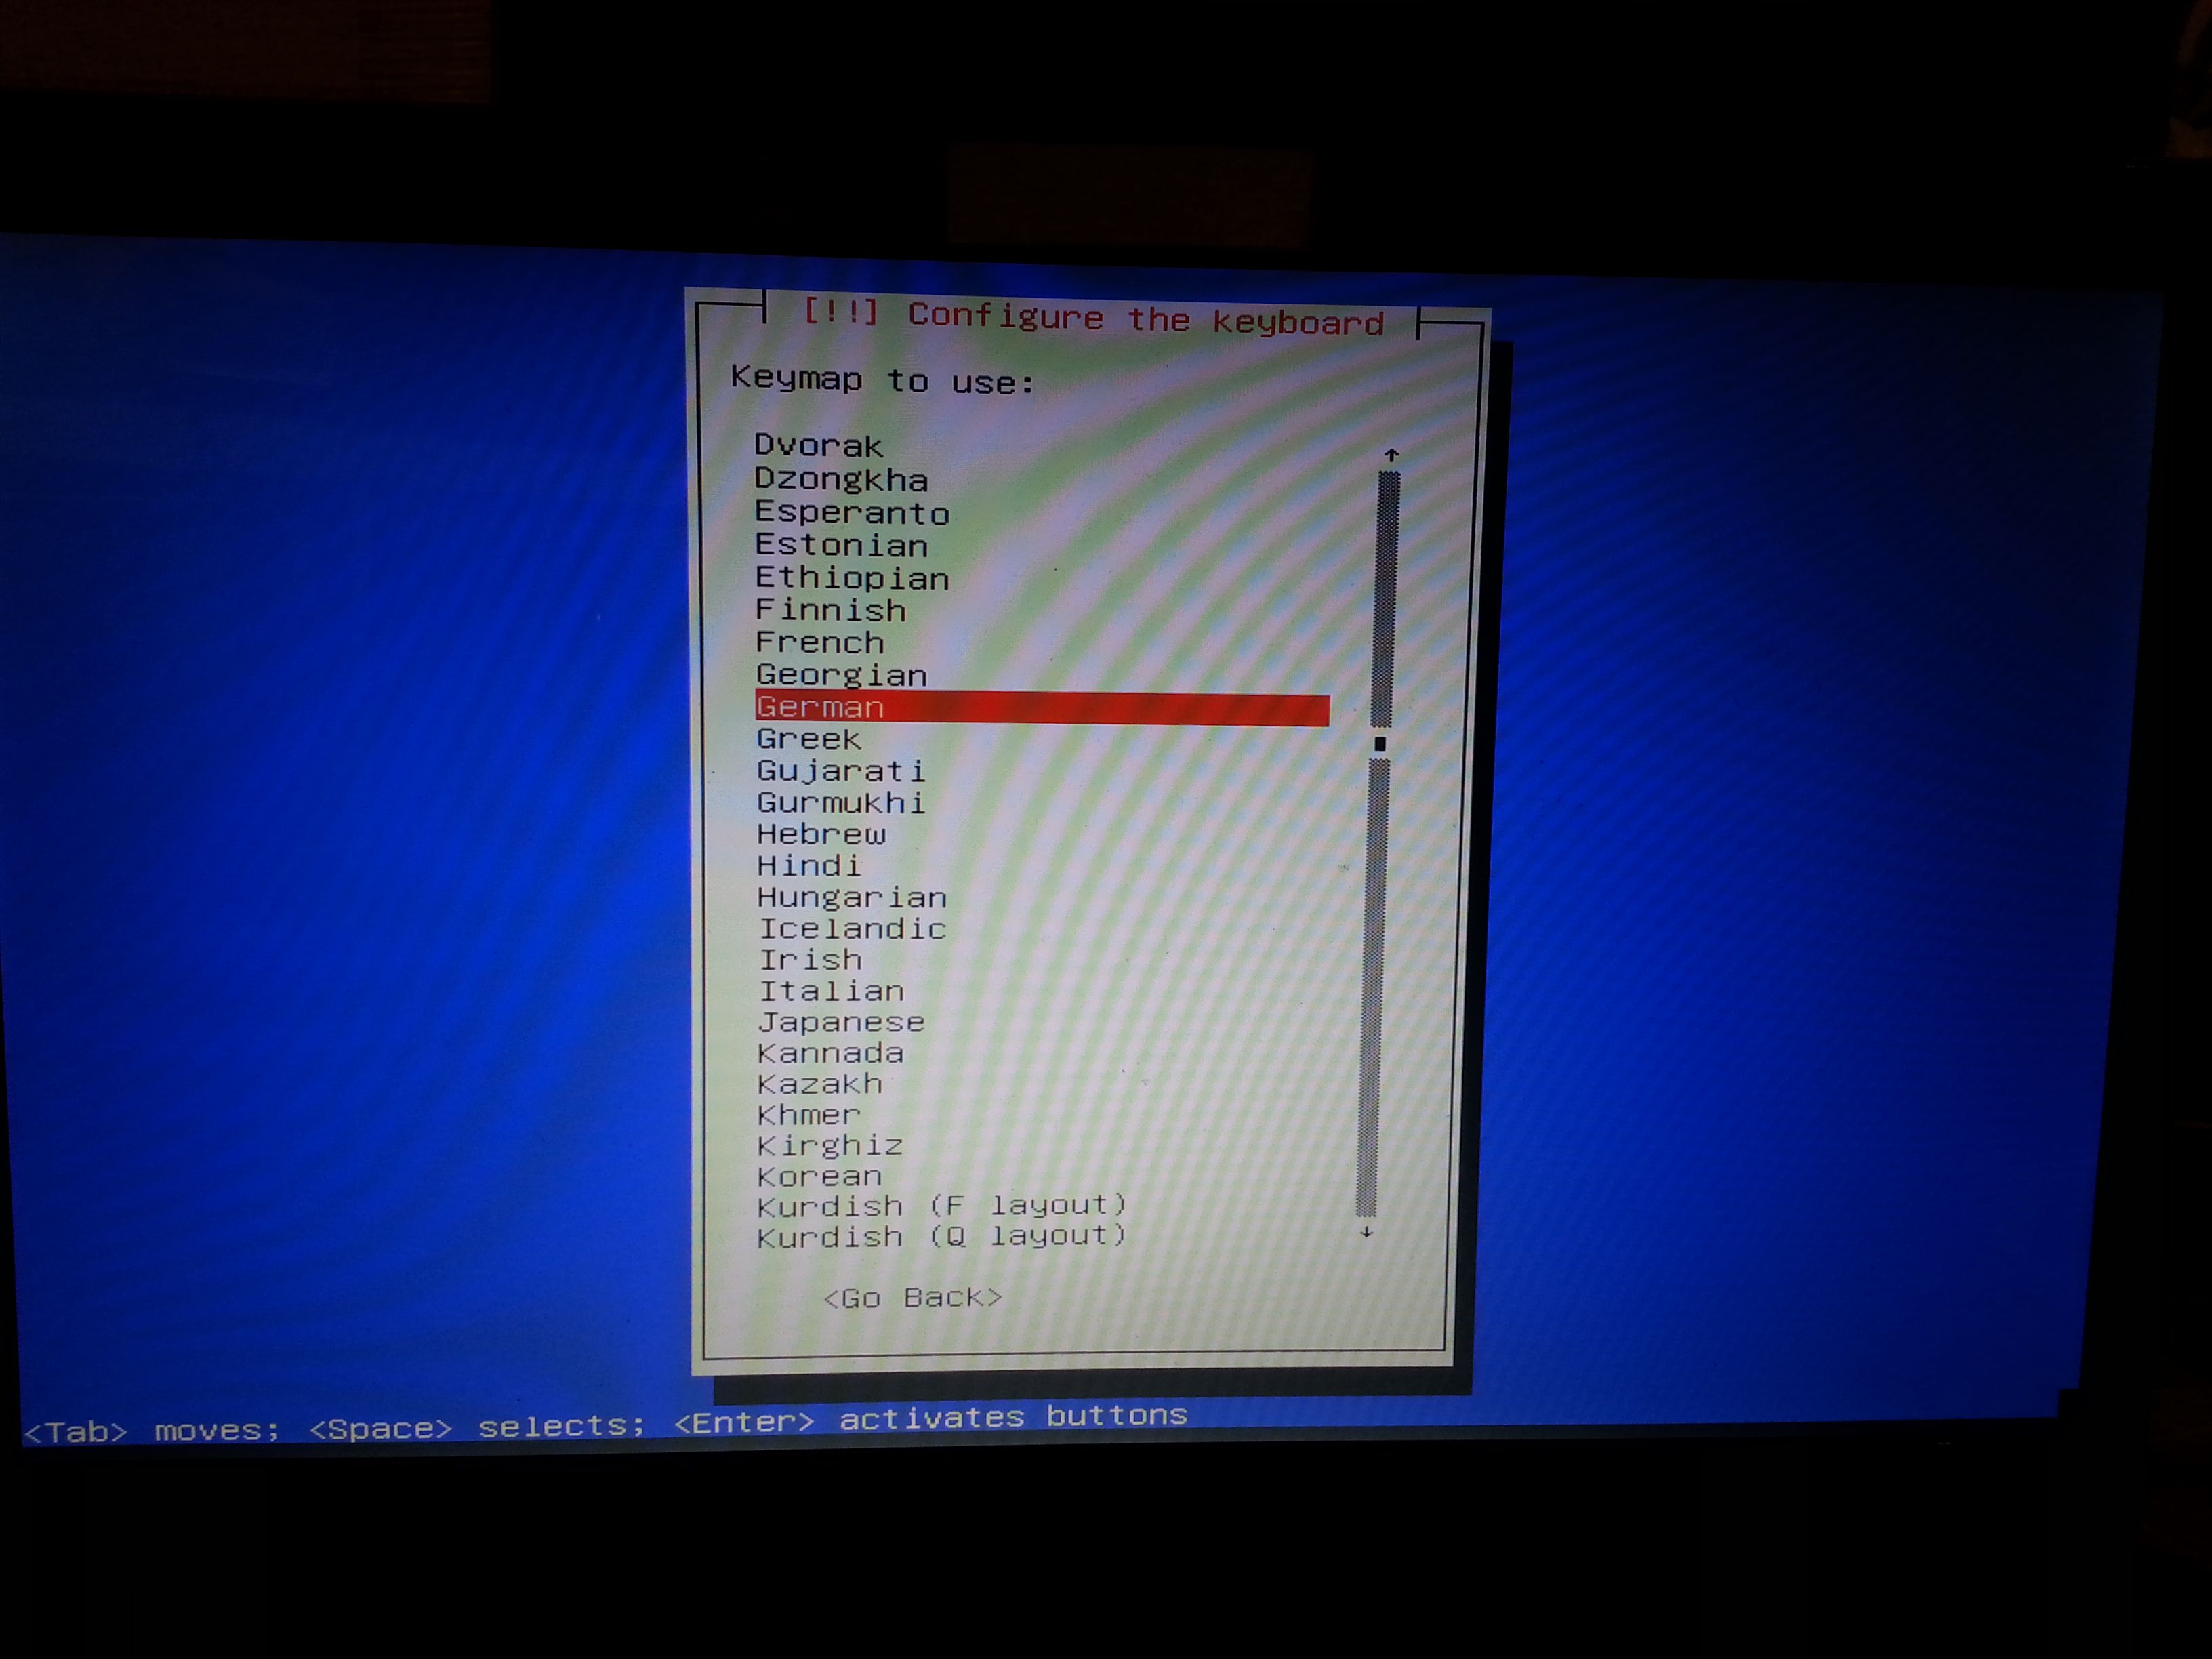
Figure 6: The keymap defines the layout of your keyboard. In my case I'm using a default German layout, which is why I chose "German" here.
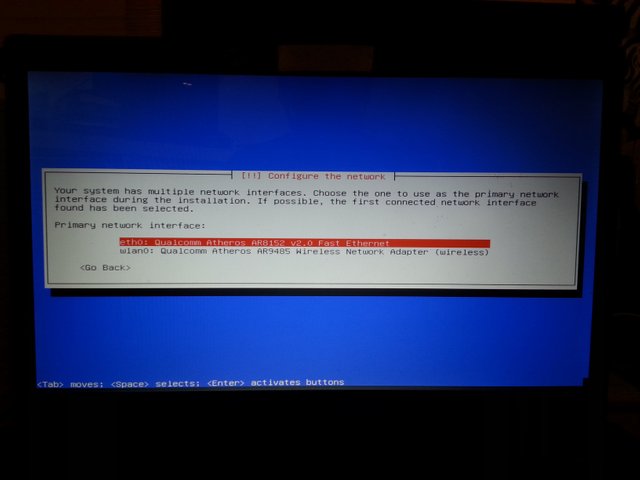
Figure 7: Having an internet connection is very crucial for the rest of the installation process. The installer found two possible interfaces on my system. "eth0" is the ethernet interface and "wlan0" is the wifi interface. I chose "eth0" as default internet interface.
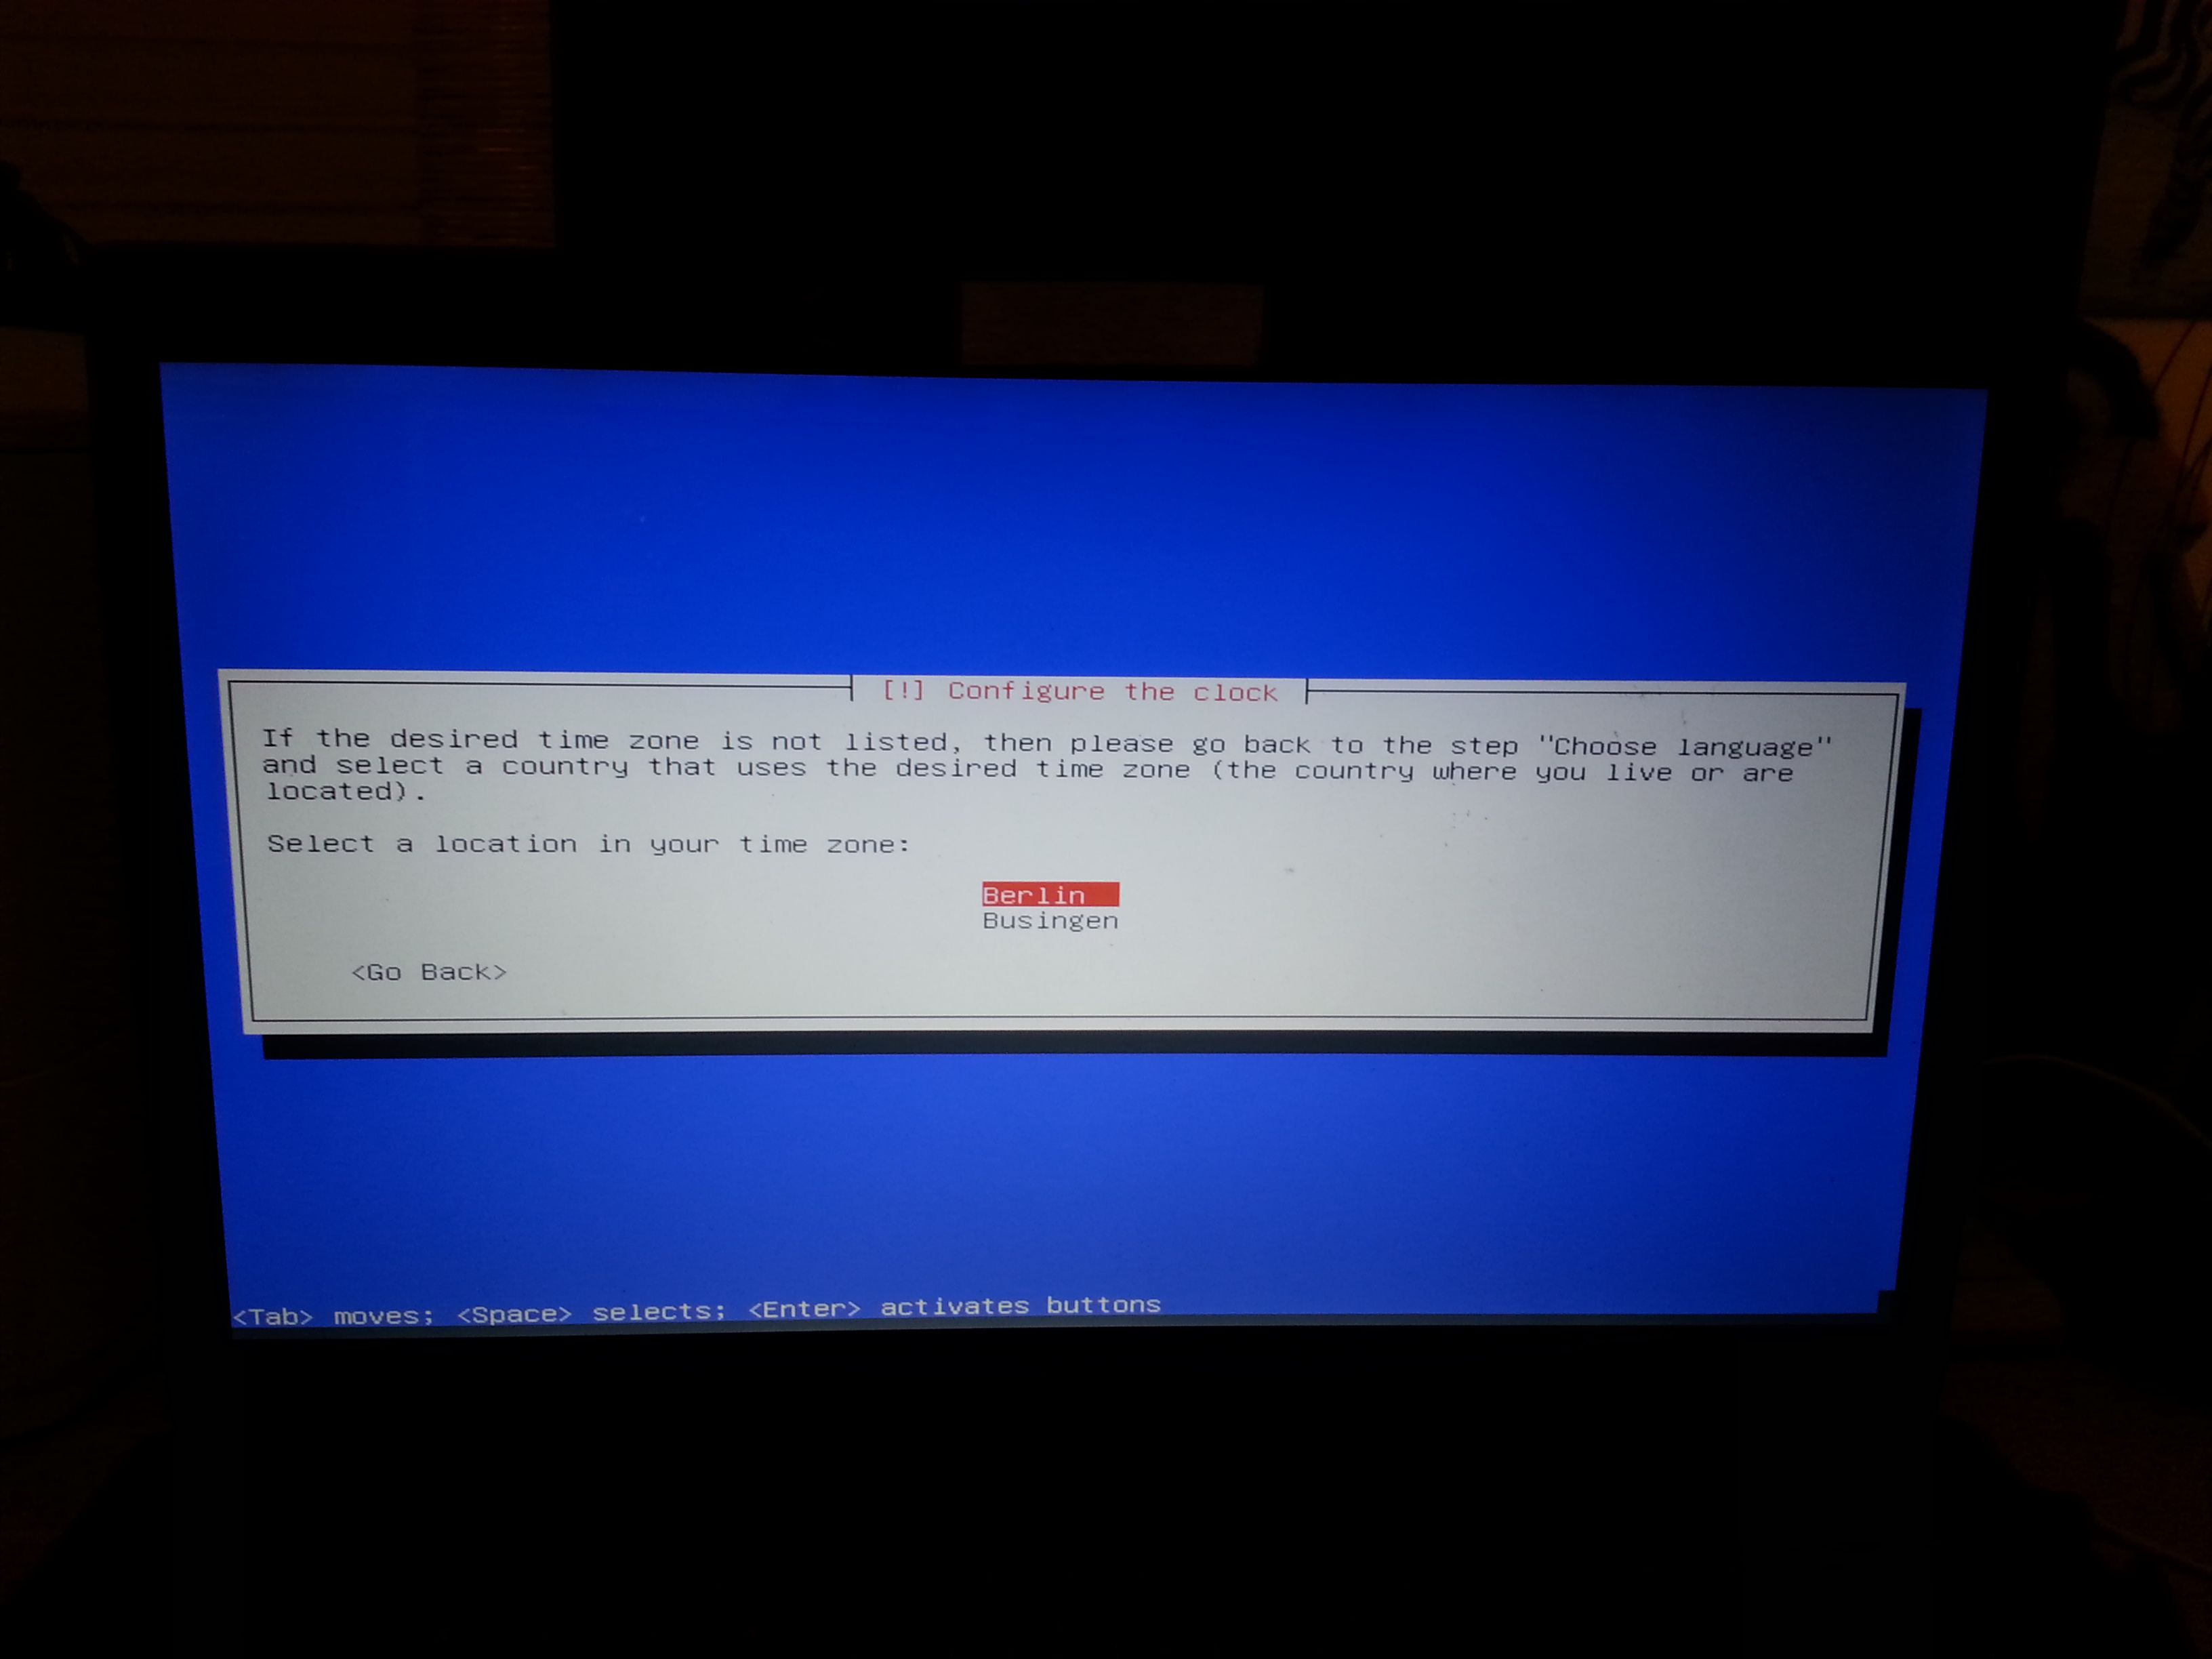
Figure 8: In order to configure the clock, it's now crucial to specify a location in our chosen time zone. Please note that I skipped a few steps in which you had to specify a host name, a domain name, a root password and a user name in order to safe some space. Just keep in mind to choose names here you can easily remember. Furthermore, you mustn't forget the root password which gives you "root rights" (i.e. all rights you'll ever need) on your newly installed system.
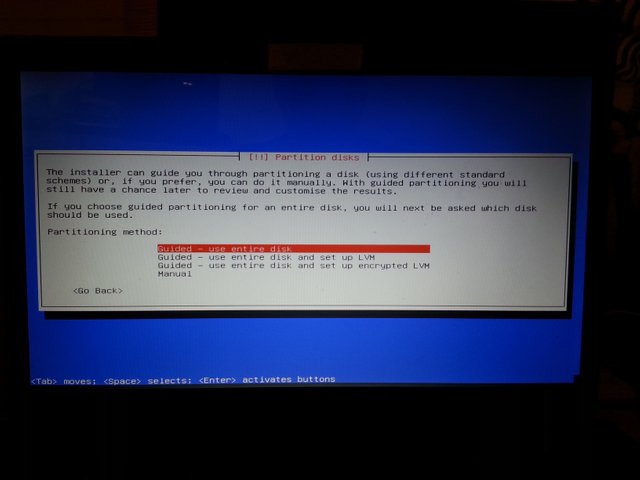
Figure 9: The partition step is very crucial for the installation as it divides your hard disk in several "chunks". As this is a tutorial for absolute beginners, I won't go into any details here. Thus, we just make sure to choose the guided partition procedure here, which means that the installer actually takes care of anything related to partitioning the hard disk. I might go into some more details in a future post if people are interested.

Figure 10: In this step, we should just make sure to really choose the hard disk and not the USB stick as medium.
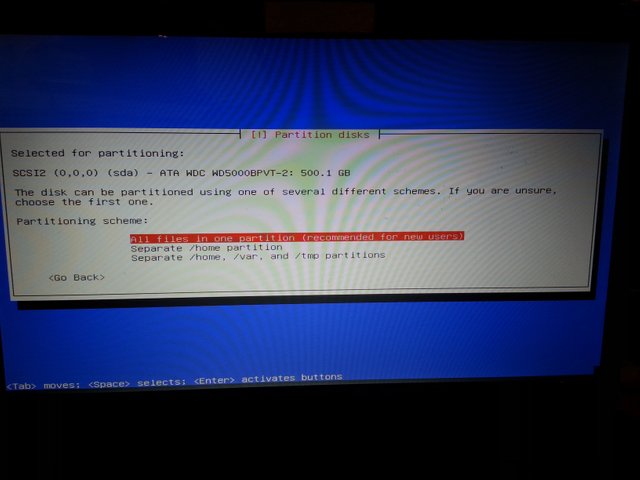
Figure 11: Here, we just verify that we want to have all files in one partition. This is recommended for new users. If the installer says so we have no reason to doubt it, do we? By the way: Please excuse the image artefacts on this "screenshot".
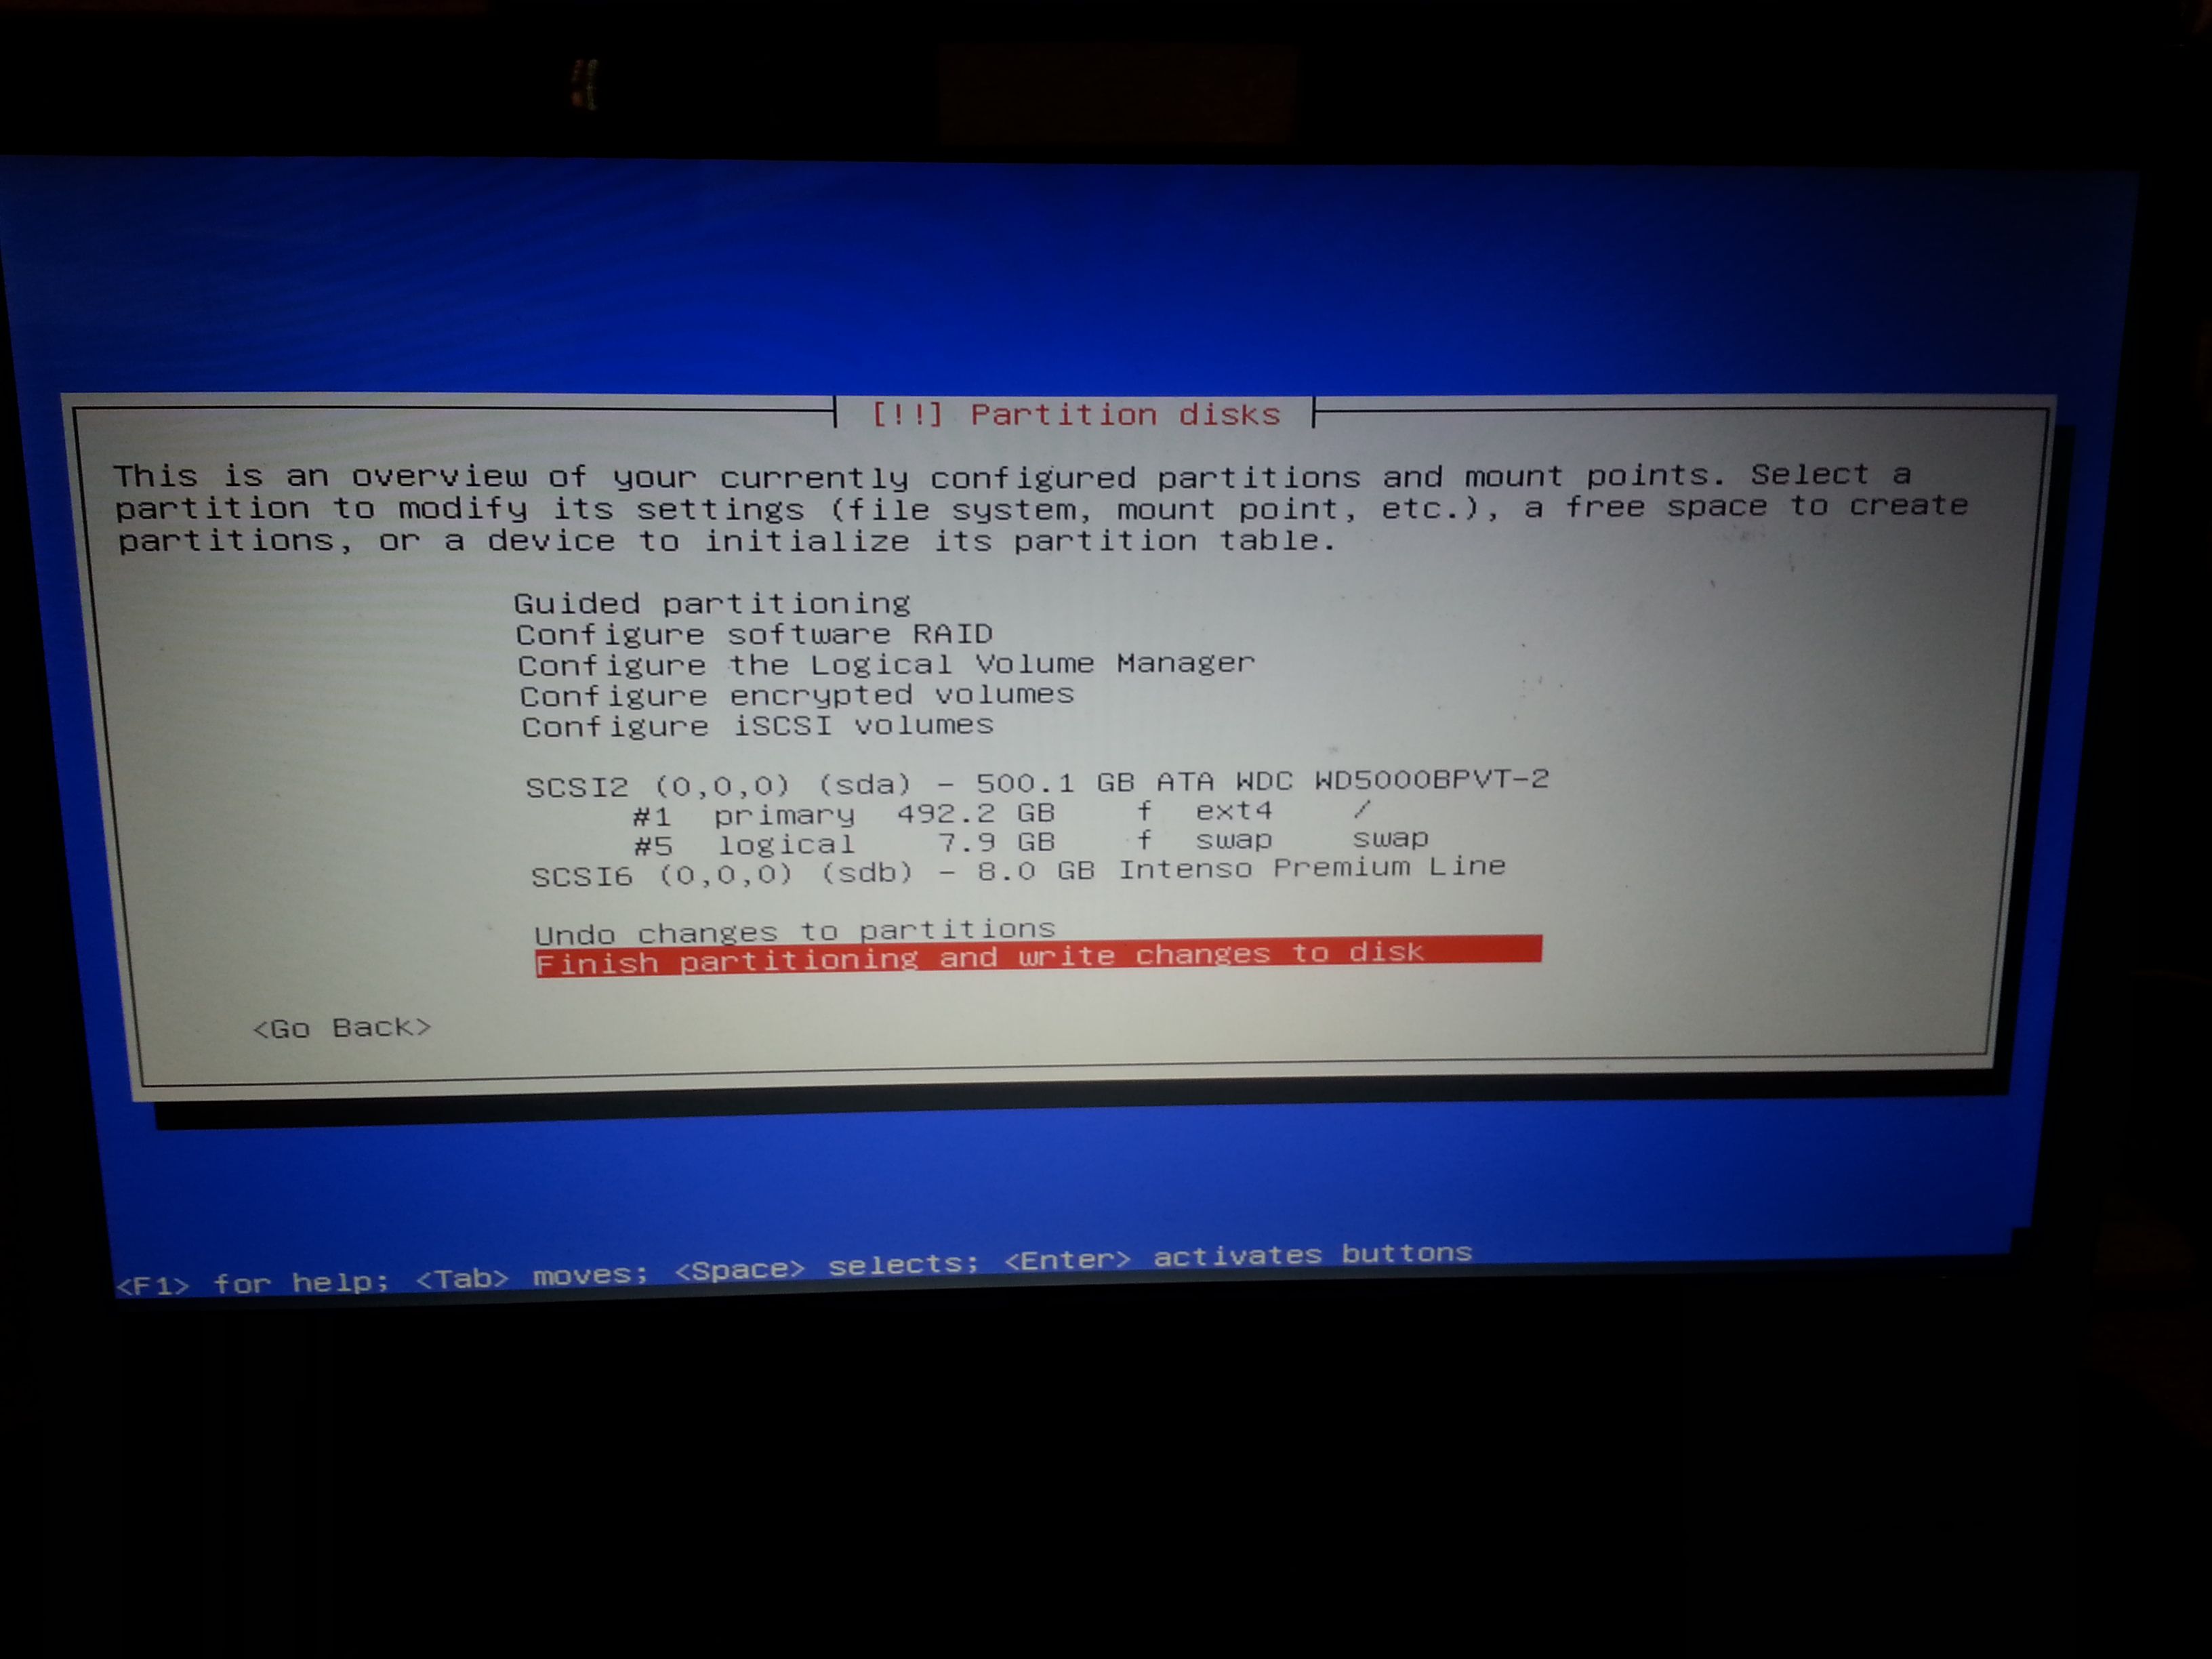
Figure 12: If we decide to finish the partition, all data on our hard disk will be erased. Luckily, we don't have to worry about this too much as we already have a backup of all our data. We sure have one, don't we?
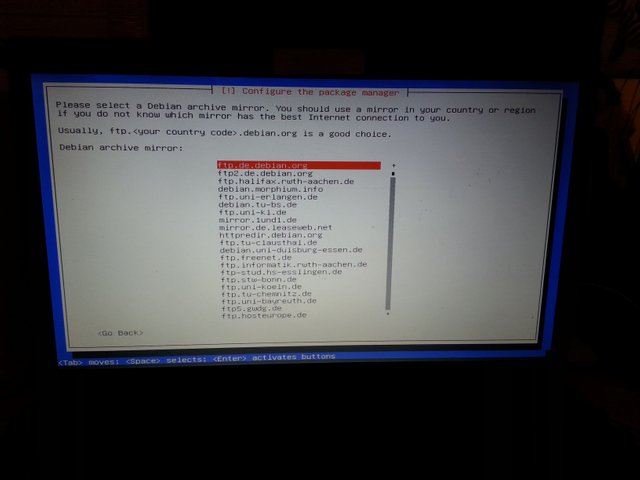
Figure 13: In this step the installer wants us to specify a package mirror to ensure that some packages can be downloaded from the internet while we perform the installation. Well, if we are asked so nicely, let's just specify one.
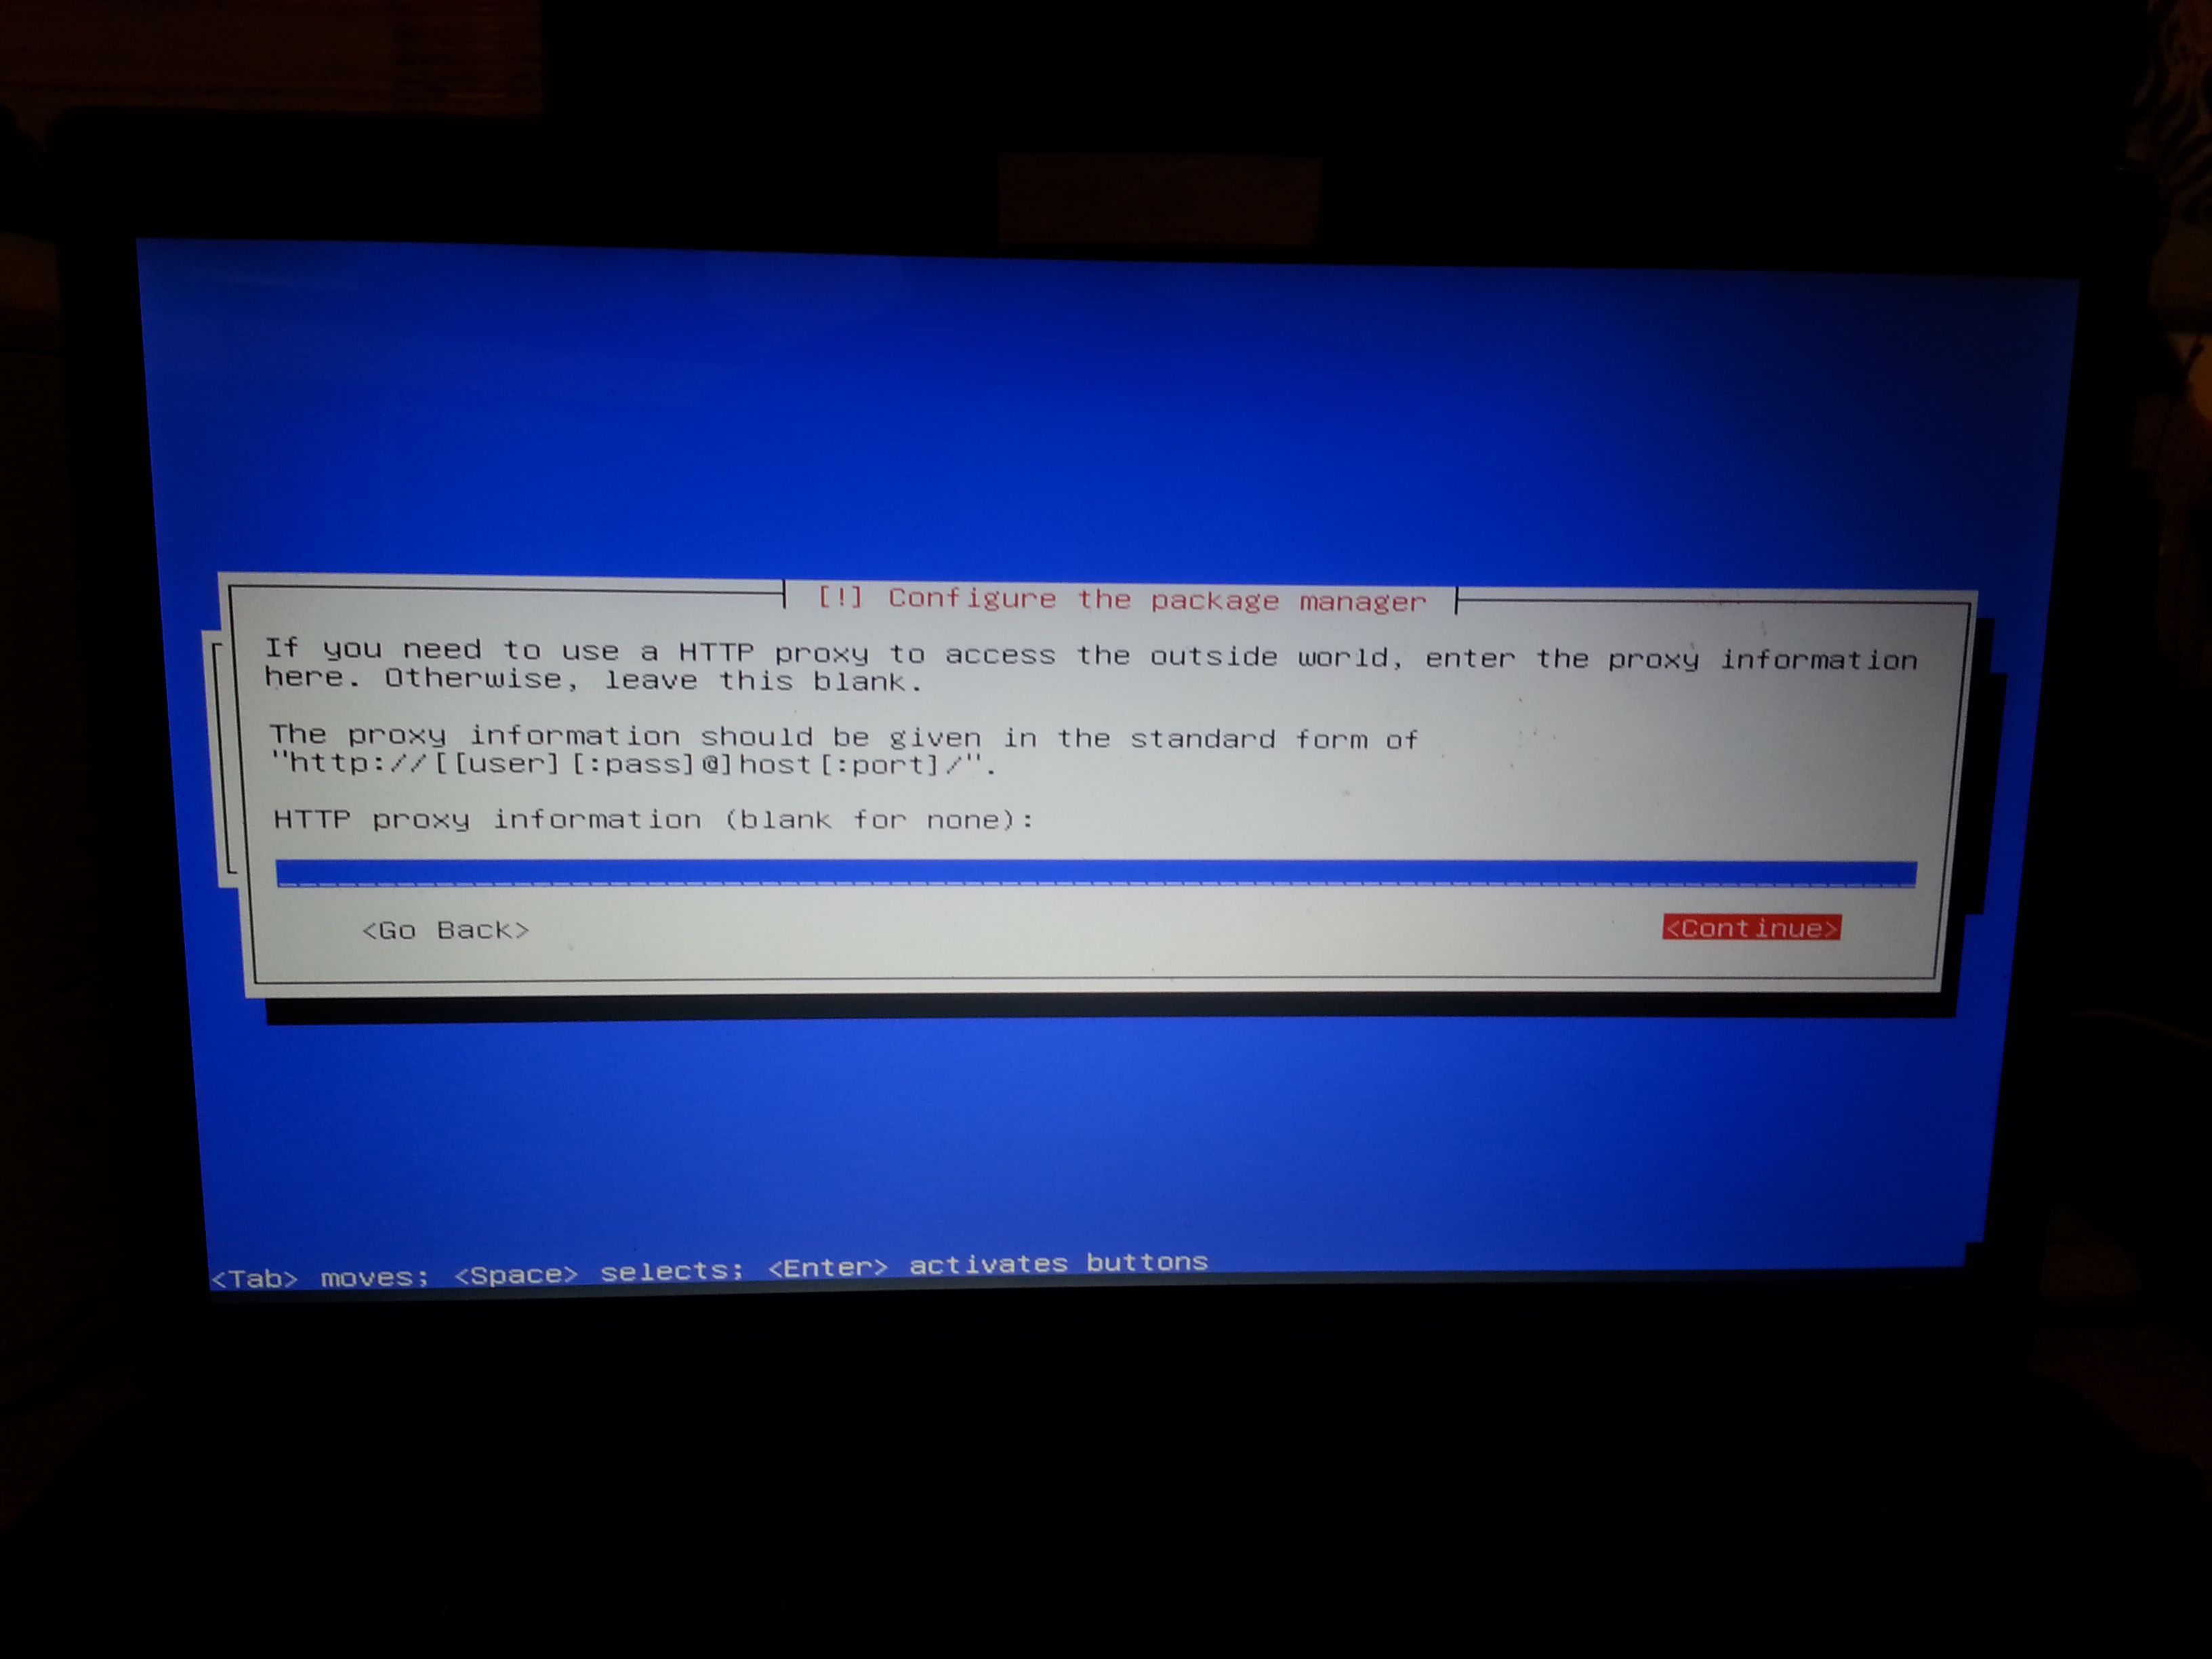
Figure 14: In case we are using a proxy for our network connection, we can specify one here. However, all we have to do here by default is to leave this field blank and simply press "Continue".
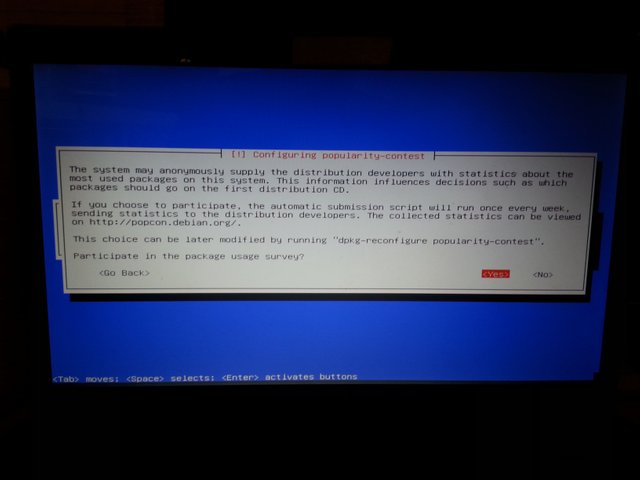
Figure 15: It's possible to (anonymously) participate in the Debian popularity contest in order to help the Debian maintainers to choose a proper selection of packages for the installation media.
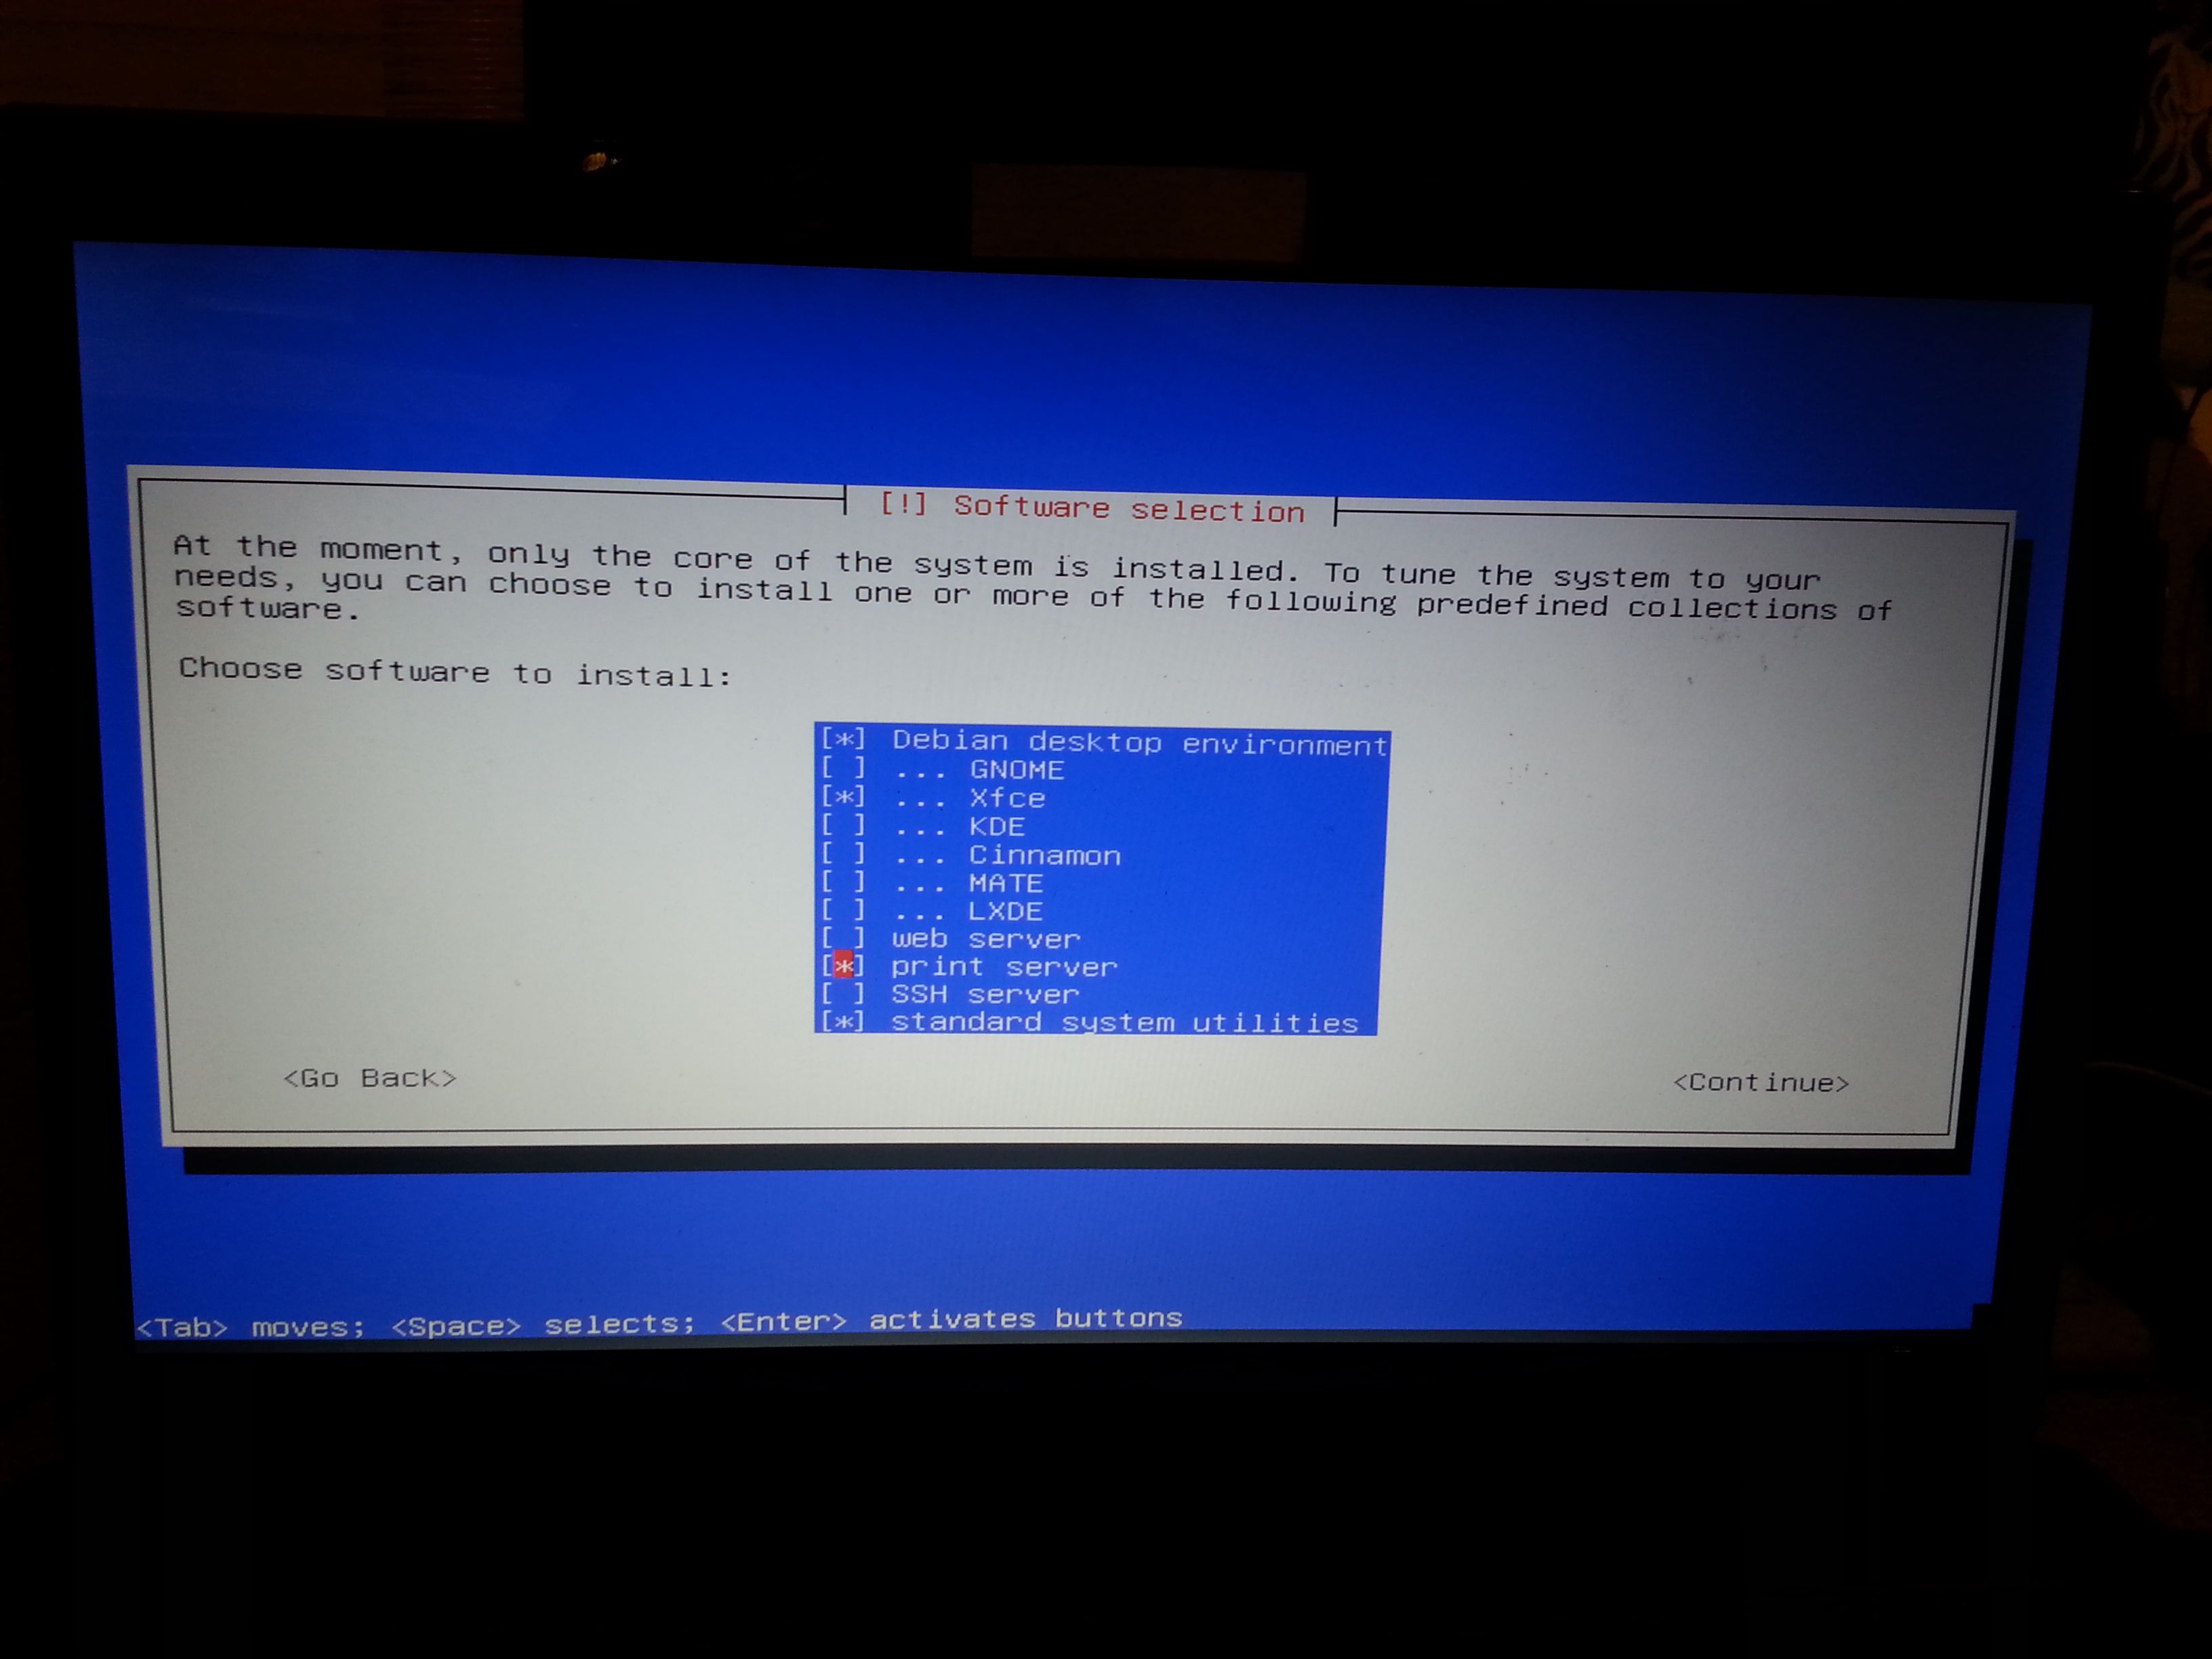
Figure 16: We are almost done! All that is left to do is to specify the package bundles we would like to start with. In my case I went for the "Debian desktop environment", the "standard system utilities" and the "print server". These bundles include everything you need to start working with your system productively. These bundles include packages such as Libre Office, printing drivers, an image viewer, etc... As desktop environment I went for XFCE. However, please note that this decision really is a matter of taste and many people opt for other desktop environments such as Gnome or KDE.
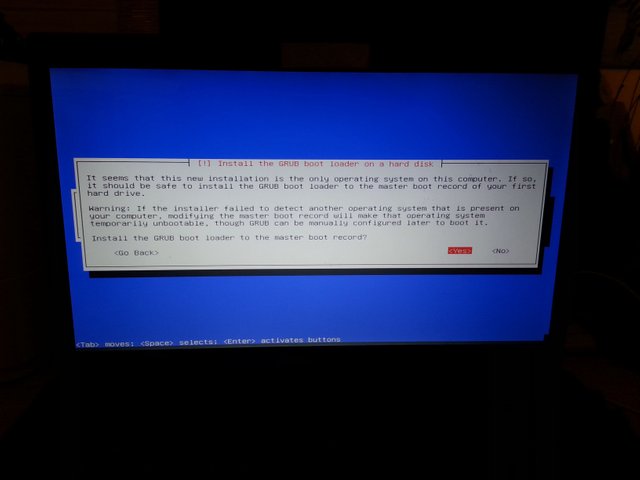
Figure 17: After waiting for a longer time (roughly one hour on my machine), we are now set for starting our new system. The last step is to tell the installer where we would like to install the bootloader (i.e. the piece of software starting the operating system). If Debian is the only operating system on your hard disk, the "Master Boot record " is a safe bet. However, if you have other operating systems installed as well this could lead to some complications.
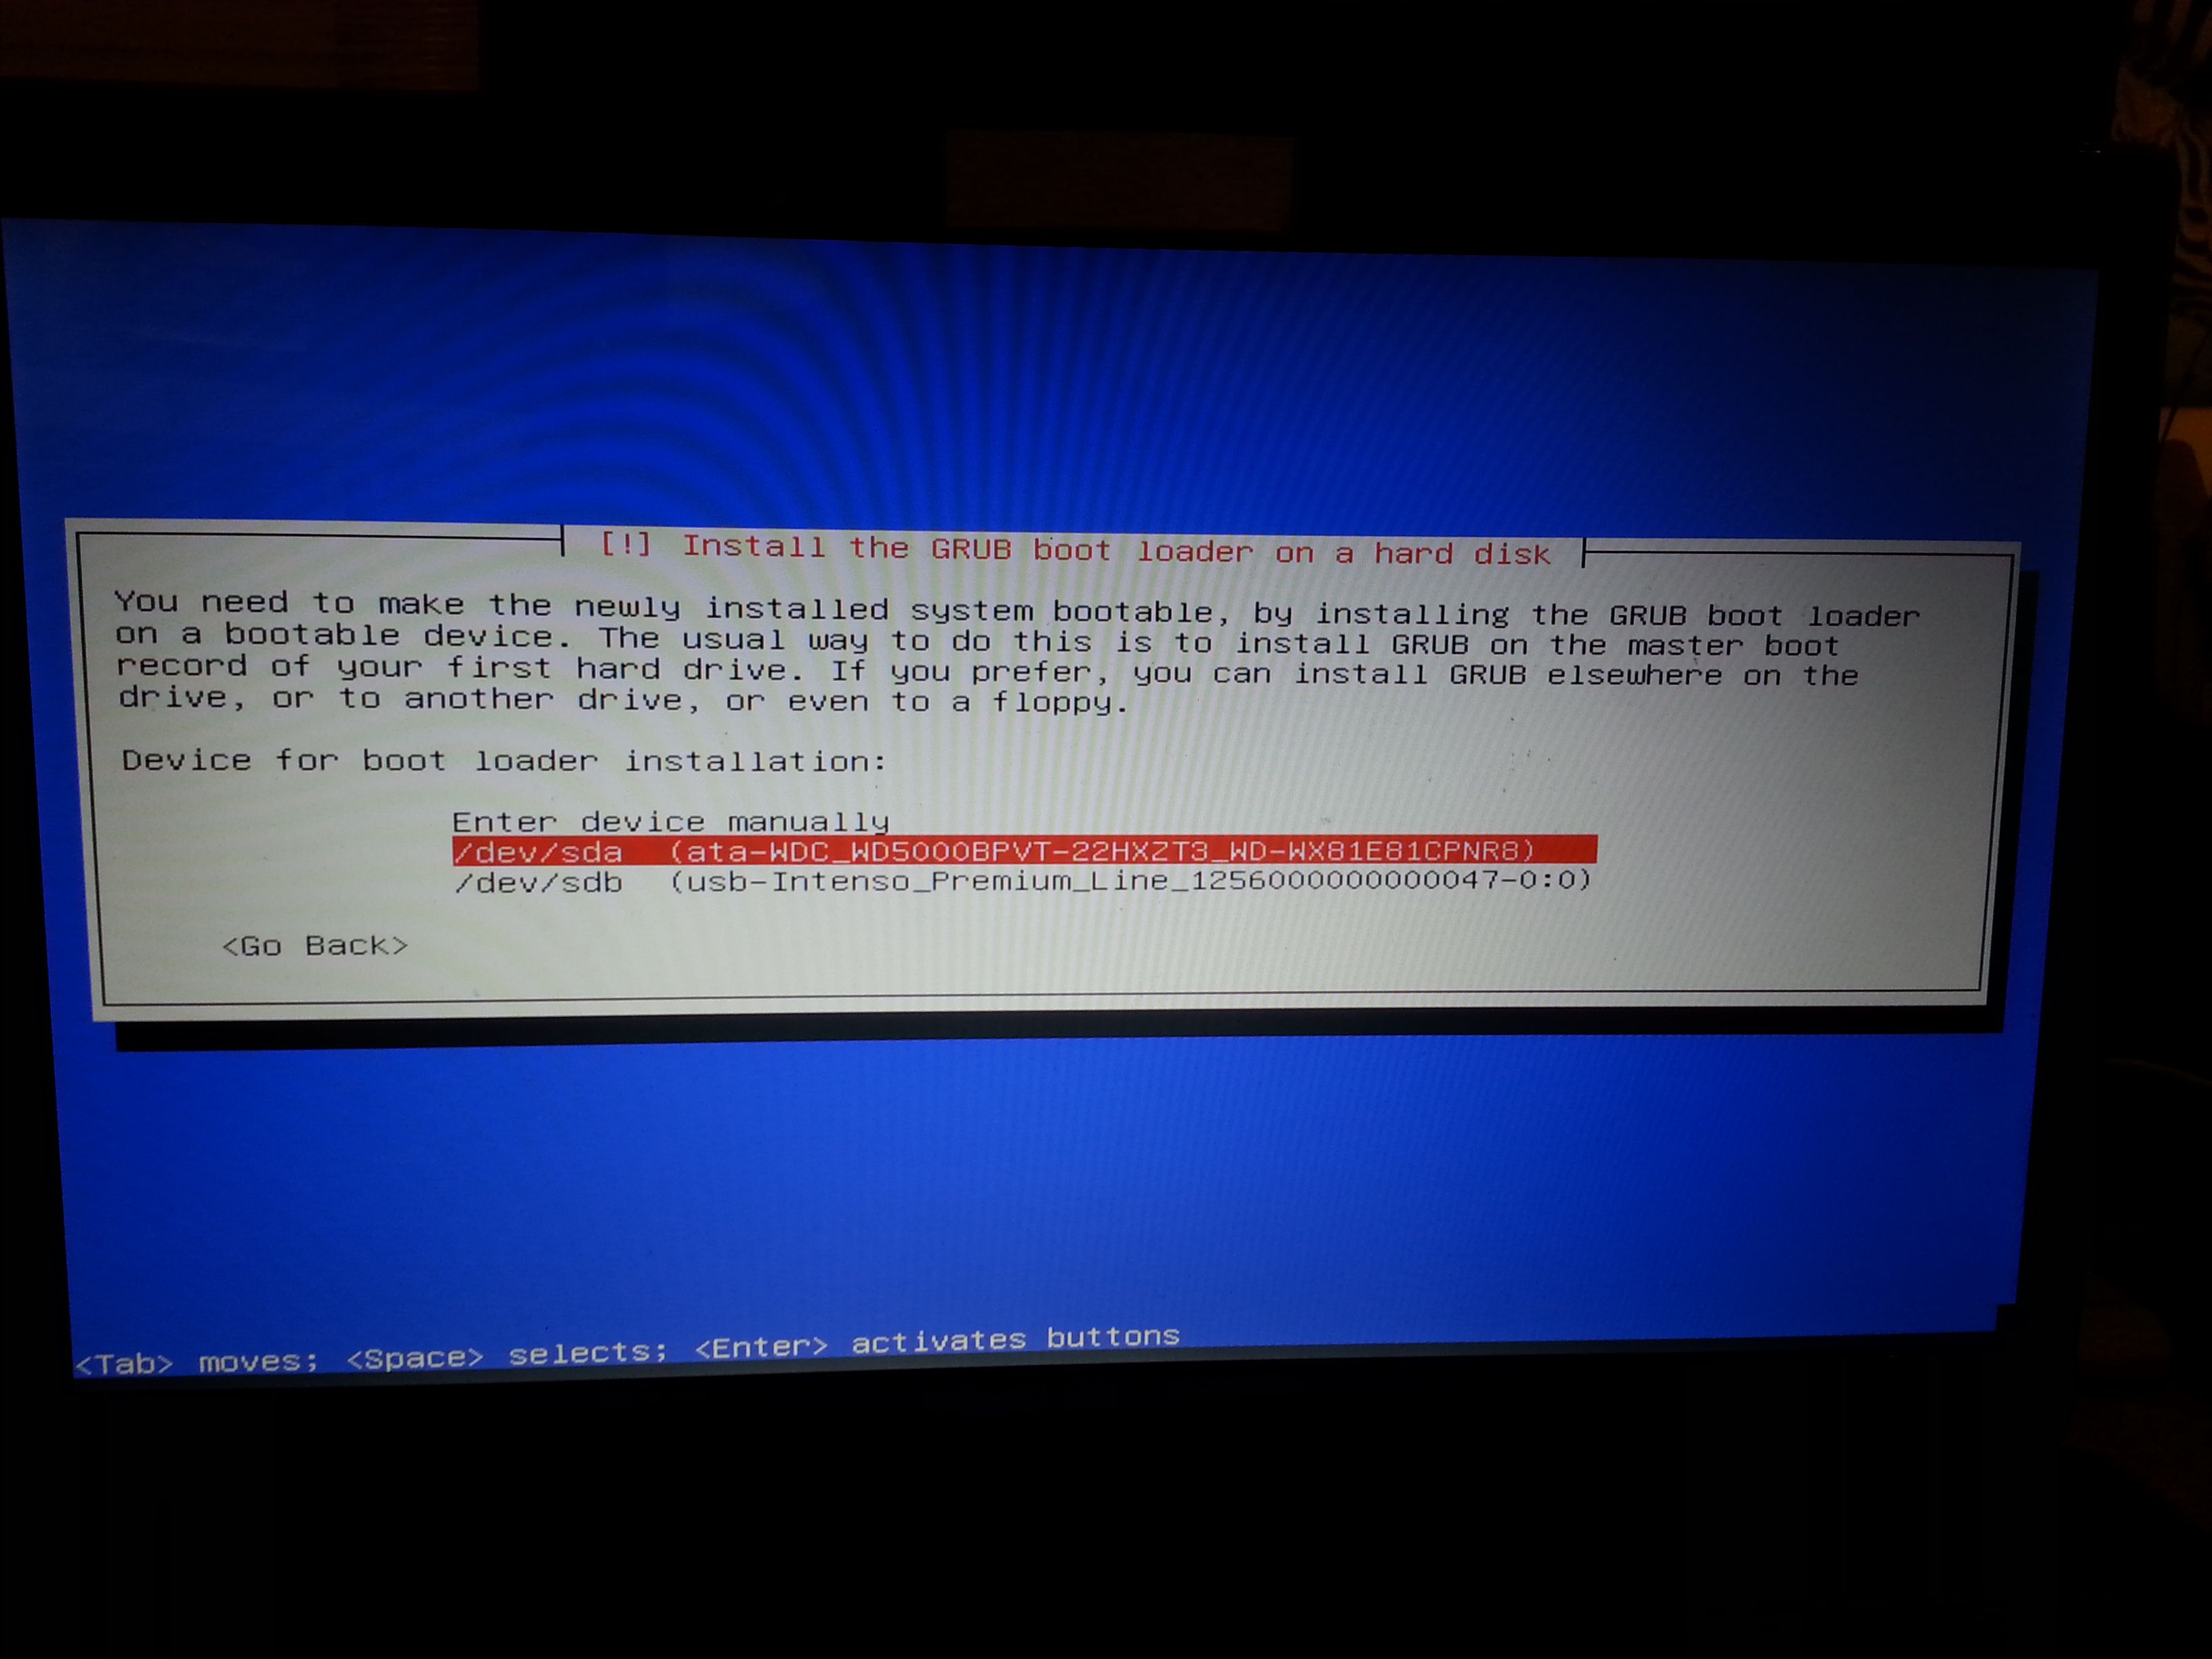
Figure 18: In this (last) step, make sure to specify to right location of your hard disk.
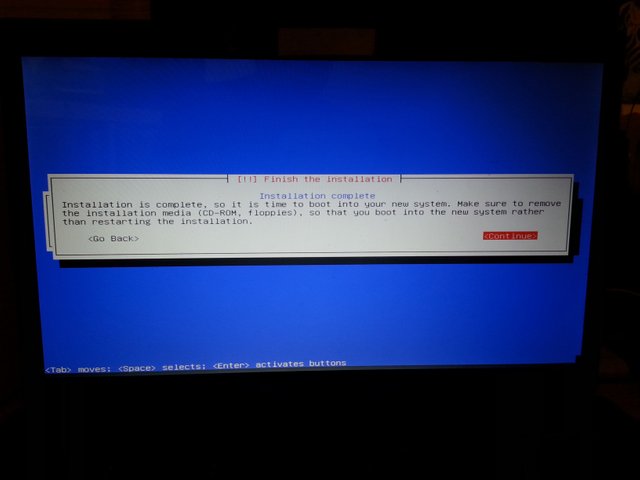
Figure 19: Congratulations! You just installed Debian successfully on your machine and you can now boot it by simply removing your USB stick and starting your system.
Figure 20: As a reward for reading through the whole tutorial, I send you many greetings from my dear happy Tux. Enjoy your new Debian installation and let me know if you have any questions or comments.

Excellent tutorial, sir. I would only make one suggestion. To improve the quality of some of your images, I would have done the installation in Virtualbox, and took screenshots from the host machine during each step of the installation. Otherwise, the content itself was excellent. And I look forward to hearing a lot more from you. Btw, I do I repost your work?
Thank you very much for your kind feedback. You are very right about the quality of the images. The thing is that I was just installing Debian on my main system anyway and spontaneously decided to make an article of the whole process.
Resteeming is possible by pressing the small arrow below the article. I will post more articles about GNU/Linux as soon as time permits (which doesn't seem to be too likely these days)...
Why debian?
Why not?
This is great! I've been writing a "homelab" series where I talk about this kind of stuff, so I'm going to Resteem this. :)
Hey! I included your article in my recent homelab post. :) https://steemit.com/homelab/@tfj/homelab-reiteration-pt-5
Wow, thank you very much for resteeming the article and including it in your "homelab". I would definitely start to follow you right now but I'm already doing that. ;-)
So long ago I haven't installed any linux system... ;)
That sounds like you should do it again. ;-)
It is hard to admit, but I am too much used to Mac OS. We will see in four years when I will have to replace my brand new laptop by something else :D
Please let me know if I can be of any help freeing your computer from MacOs. ;-)
Replying here. There are free alternatives. But first of all, I have a very powerful machine (a lot of CPU power for a single laptop, a decent SDD space) for a reasonable price. Then, I am very used to the mail client, the keynote program, the numbers program, iphoto, etc. For the rest, since I am mostly using a shell (programming, writing letters, etc.), it does not count :D
One strong point is the fact that it works out of the box when connecting my computer to a projector ;)
I can of course change, and I will if necessary. But for the moment, I am happy with mac.
The mac platform and machine is actually well suited for my needs. I was on linux before, but moved to mac for various reasons...
If you want you could share those reasons and we'll see whether there are any free alternatives for your current programs. But only if you really want to change...
I have been told to start using Linux but I just have not gotten around to it yet. Fear of the unknown.
Well, there is nothing you have to be afraid of. If you would like to give it a try first without altering your system you could simply opt for a live medium which lets you use Debian (and many other distributions) without changing anything on your system. This way you can also see whether everything works smoothly as expected.